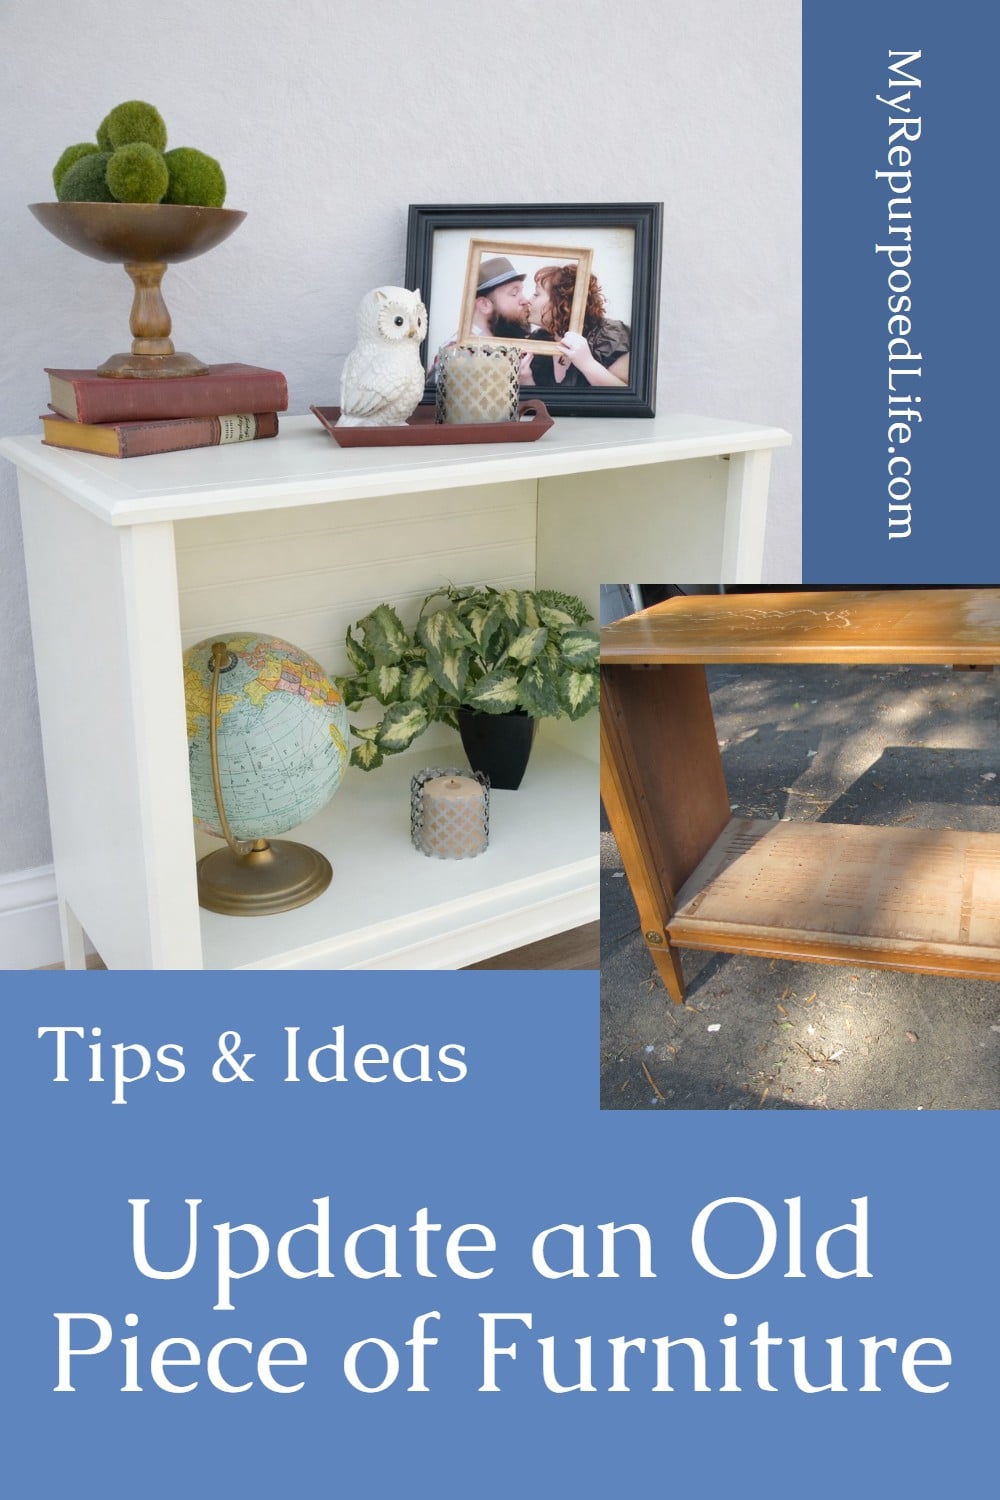
Repurposed tv Stand Dog Bed
As an Amazon Associate, I earn from qualifying purchases.

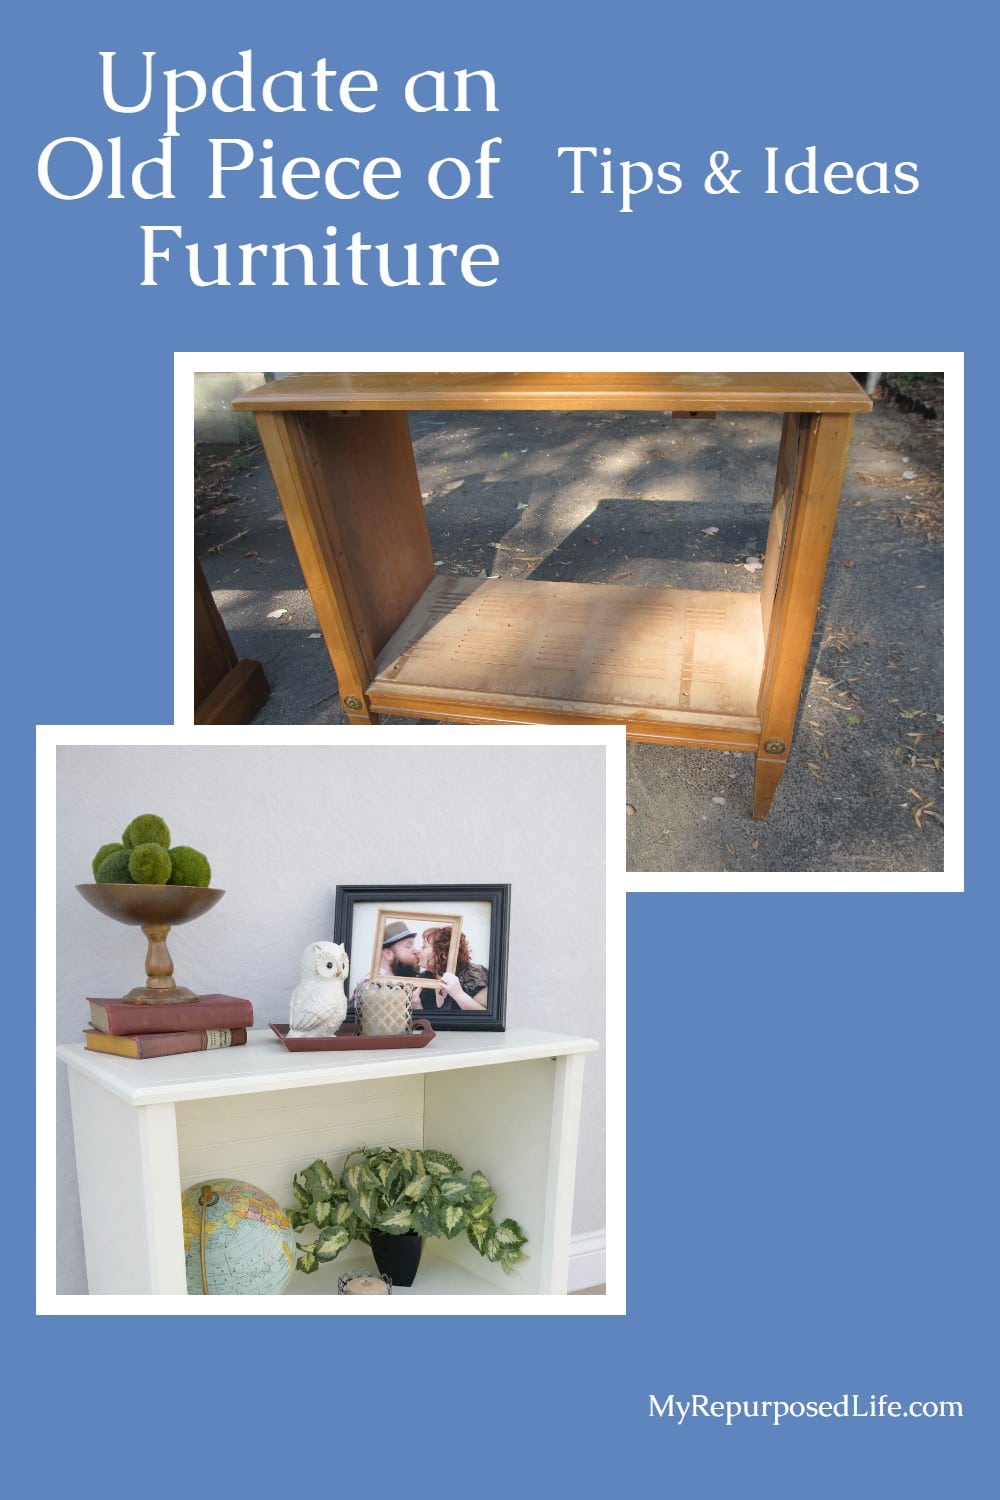
This repurposed TV stand project has always been one of my favorites because it proves that even furniture with flaws can become something useful and charming. What started as an outdated mid-century cabinet with scratches on top turned into a versatile piece that works as a side table, storage spot, and even a cozy dog bed nook. If you’ve ever wondered what to do with a bulky old TV stand collecting dust, this makeover shows how a little effort and paint can give it new life.
It had deep scratches on top and sat in my basement shop for over a year until I finally saw what it wanted to be: a cute little cabinet that works as a side table and a cozy dog bed nook. If you have an old TV stand with good bones, this weekend makeover turns bulky and forgotten into useful and stylish.
Mid Century Modern TV Cabinet

Here is how it looked then. It had deep scratches on the top.
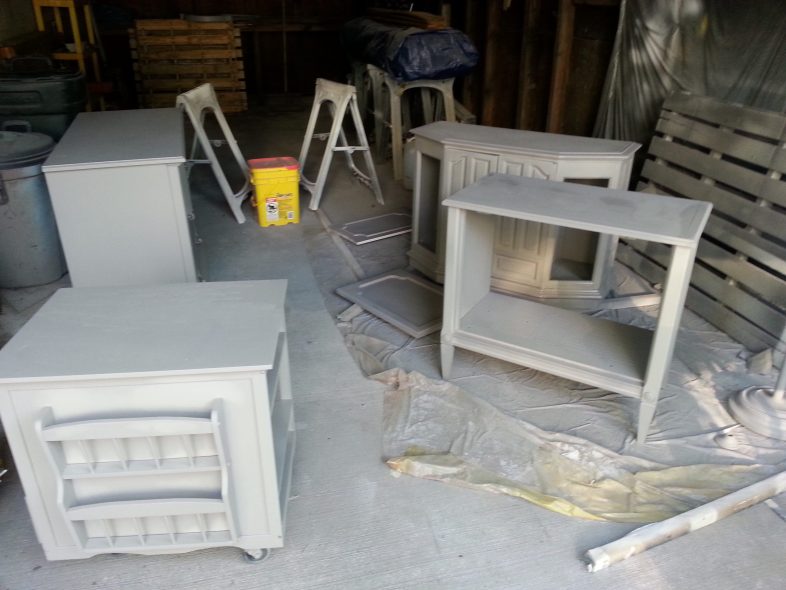
Some time later, I collected all the recent finds and applied the same gray primer to them. When I know I’m going to paint something, I tend to cover the wood tones so they speak to me about their new purpose.
I’m not sure whether it wasn’t being spoken or I wasn’t listening, but here it sat in the basement shop for over a year.
Here’s how I worked some magic on this repurposed TV stand into a cabinet or side table, perfect for a pet bed. . . .
Disassemble TV Stand
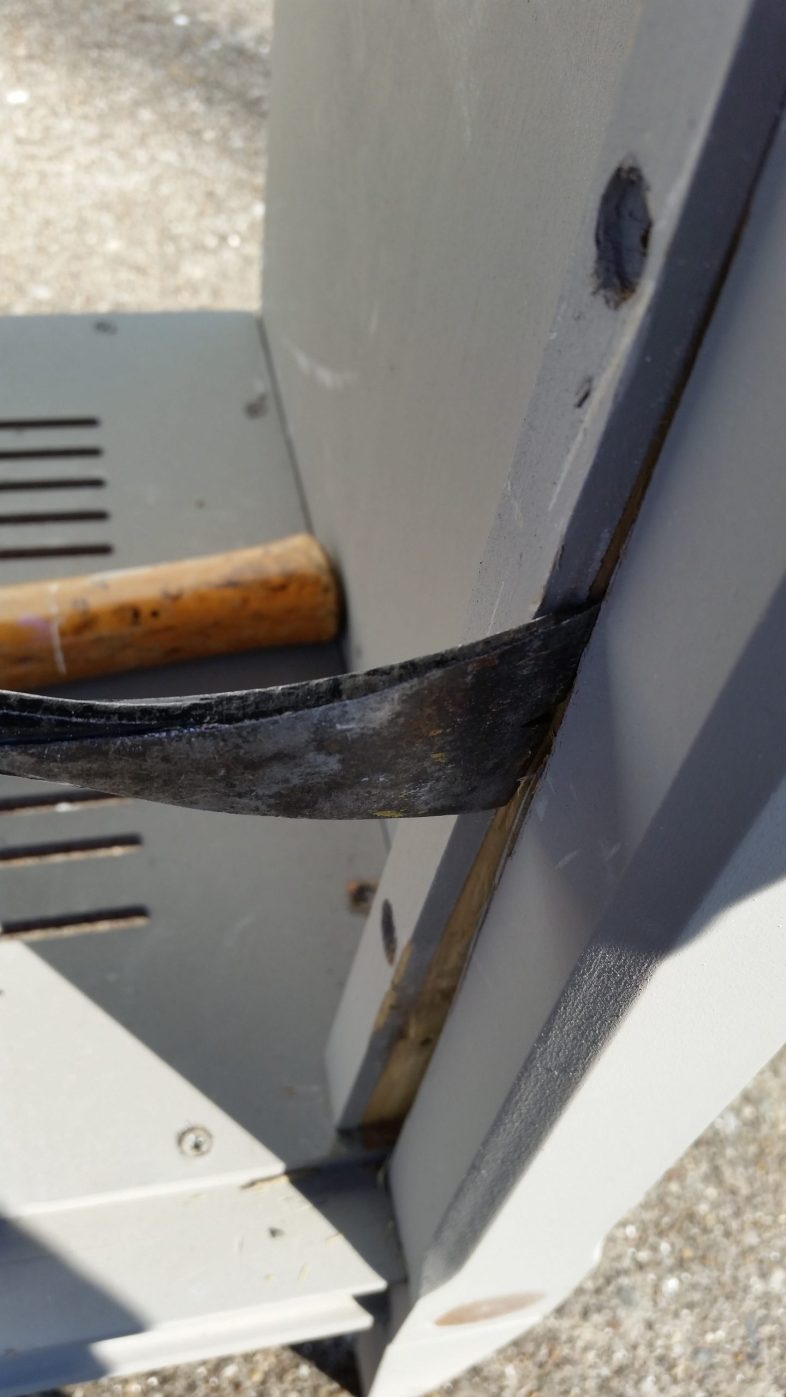
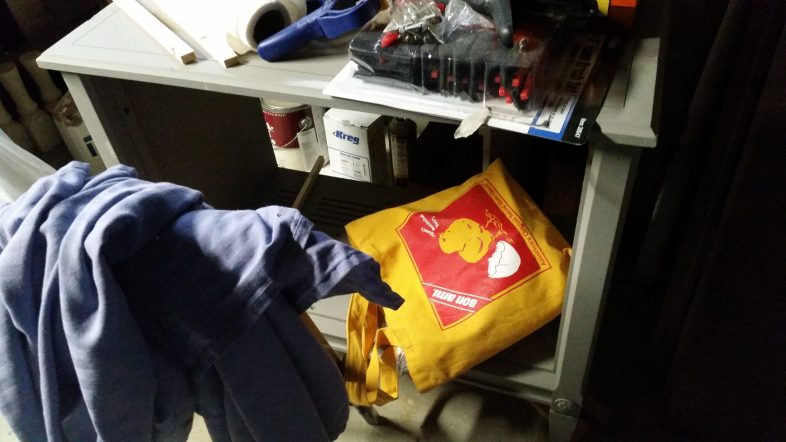
I dragged it out of the basement when we had some nice weather last month. I got right to work on it. Sometimes I wonder why I make things more difficult than they need to be. I removed the screws from these side pieces, thinking they would pry right out. NOT! I banged, pried, hammered, and worked… these pieces were glued in place, and they didn’t want to go anywhere.
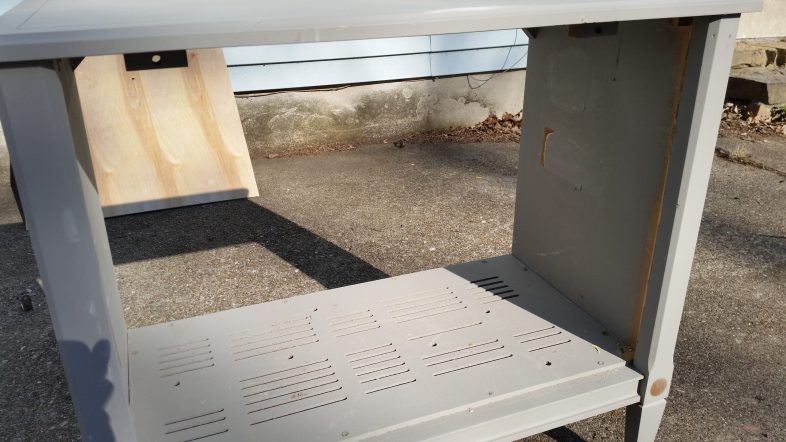
After a lot of sweat equity and huffing and puffing, I got both sides removed. I’ve done several of these cabinets (the ones you see above in the truck), and generally, I have only put thin plywood in the bottom. But because I removed those pieces, some ugly pressed wood was exposed and needed to be addressed.
Add Thin Plywood
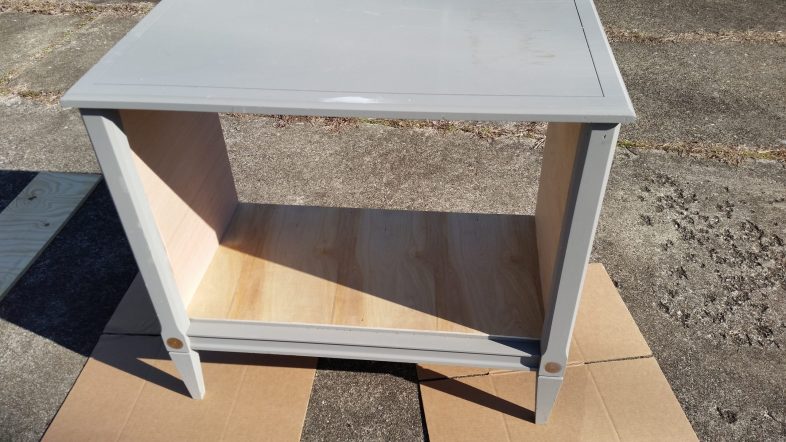
You can see that I have installed new sides cut from thin plywood, along with a new bottom, to give the cabinet a cleaner look. The sides needed to be notched out on the top near the back. I think it just gives it a cleaner look; it’s well worth the time and effort.
Make Your Own DIY Chalk Paint
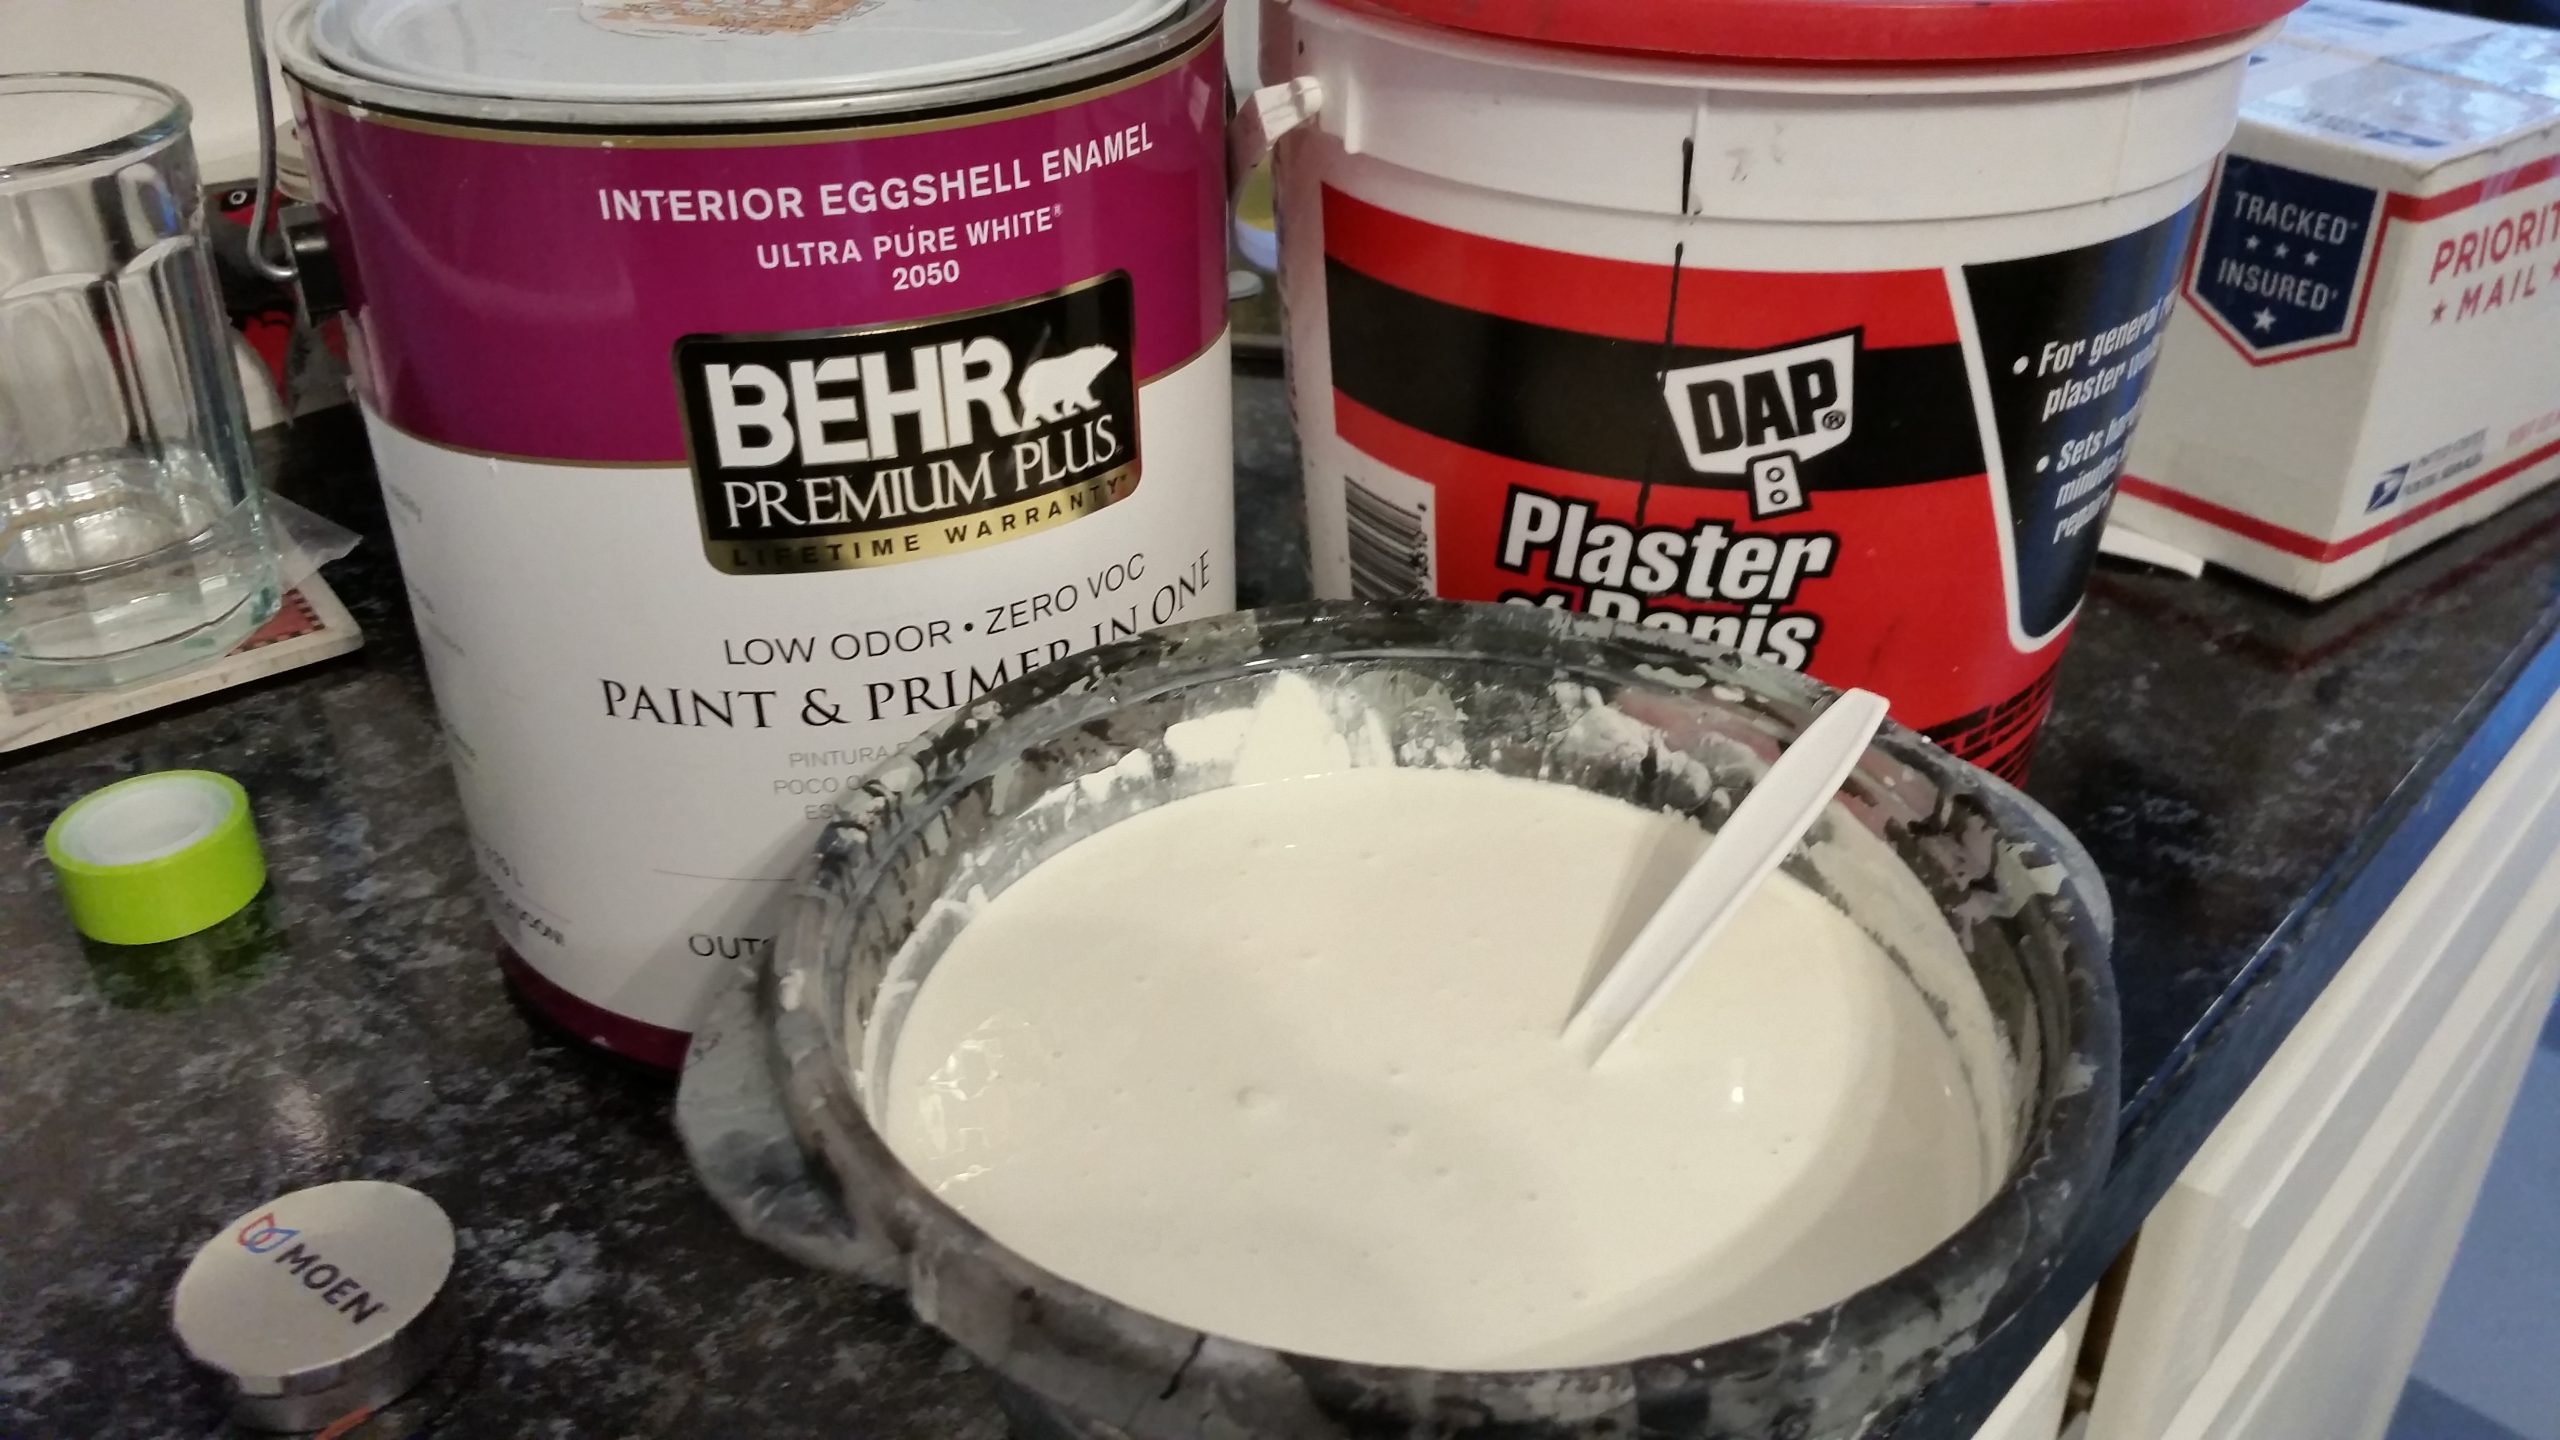
The weather was a little too cold to break out the HomeRight Finish Max, so I just mixed up some DIY Chalky Paint to use as a primer.
I applied two quick coats with a chip brush.
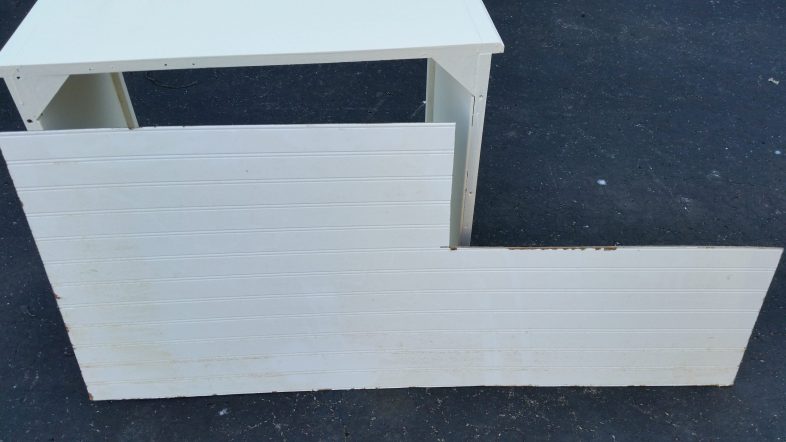
So, I love it when this happens. I dug around in my stash and found the perfect piece to use on the back of this t.v. cabinet. Granted, I would have preferred the grooves go vertical, but I’ll settle for horizontal beadboard. I cut the end off on the table saw. It was late, so I actually brought the bead board into the kitchen to do its primer coats.
Paint Many Pieces at One Time
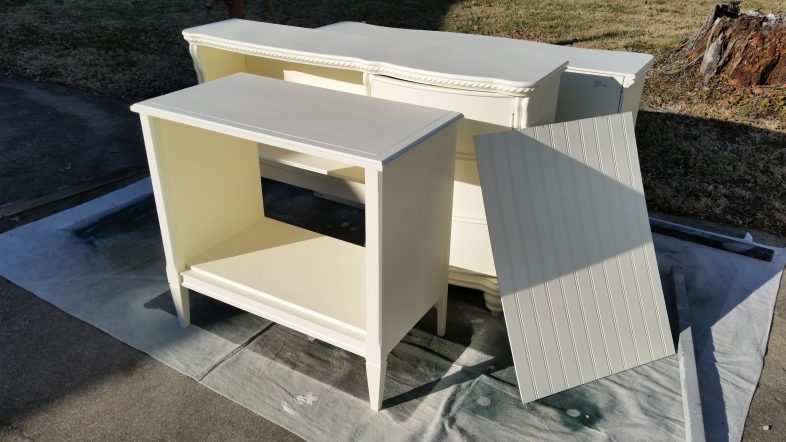
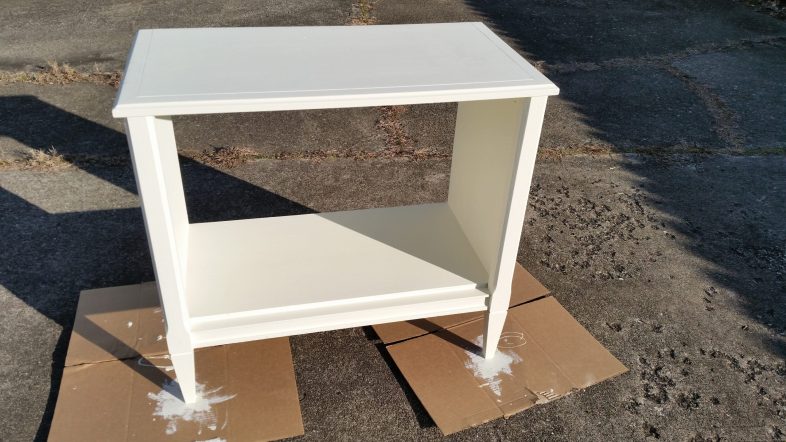
The next day it was warmer, and I had another painting marathon, this time with the Polished Pearl. You can see that I completed the modified desk and hutch simultaneously.
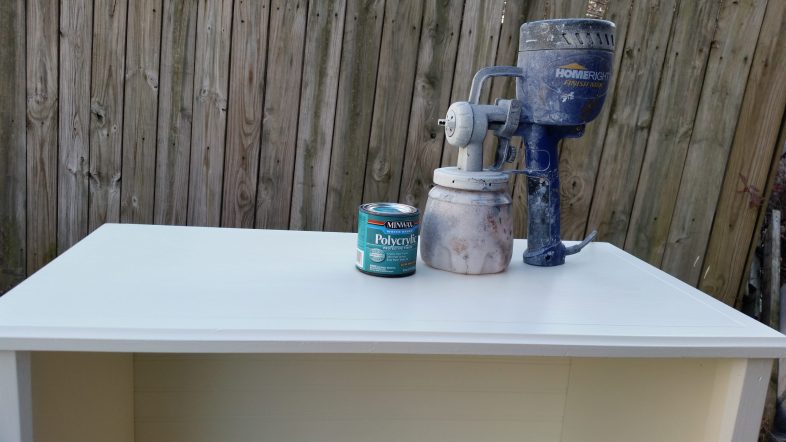
Not shown: I used my Ryobi Airstrike Stapler to attach the bead board to the back, then I used my Finish Max to apply a quick coat of Minwax Polycrylic.
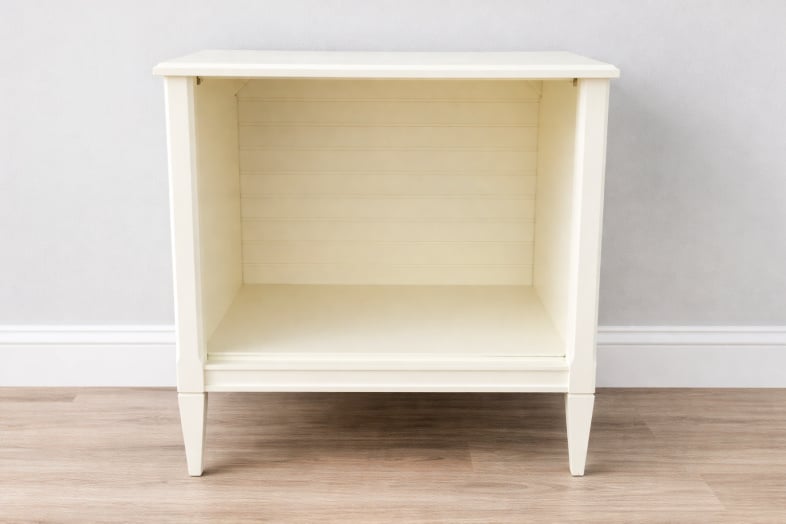
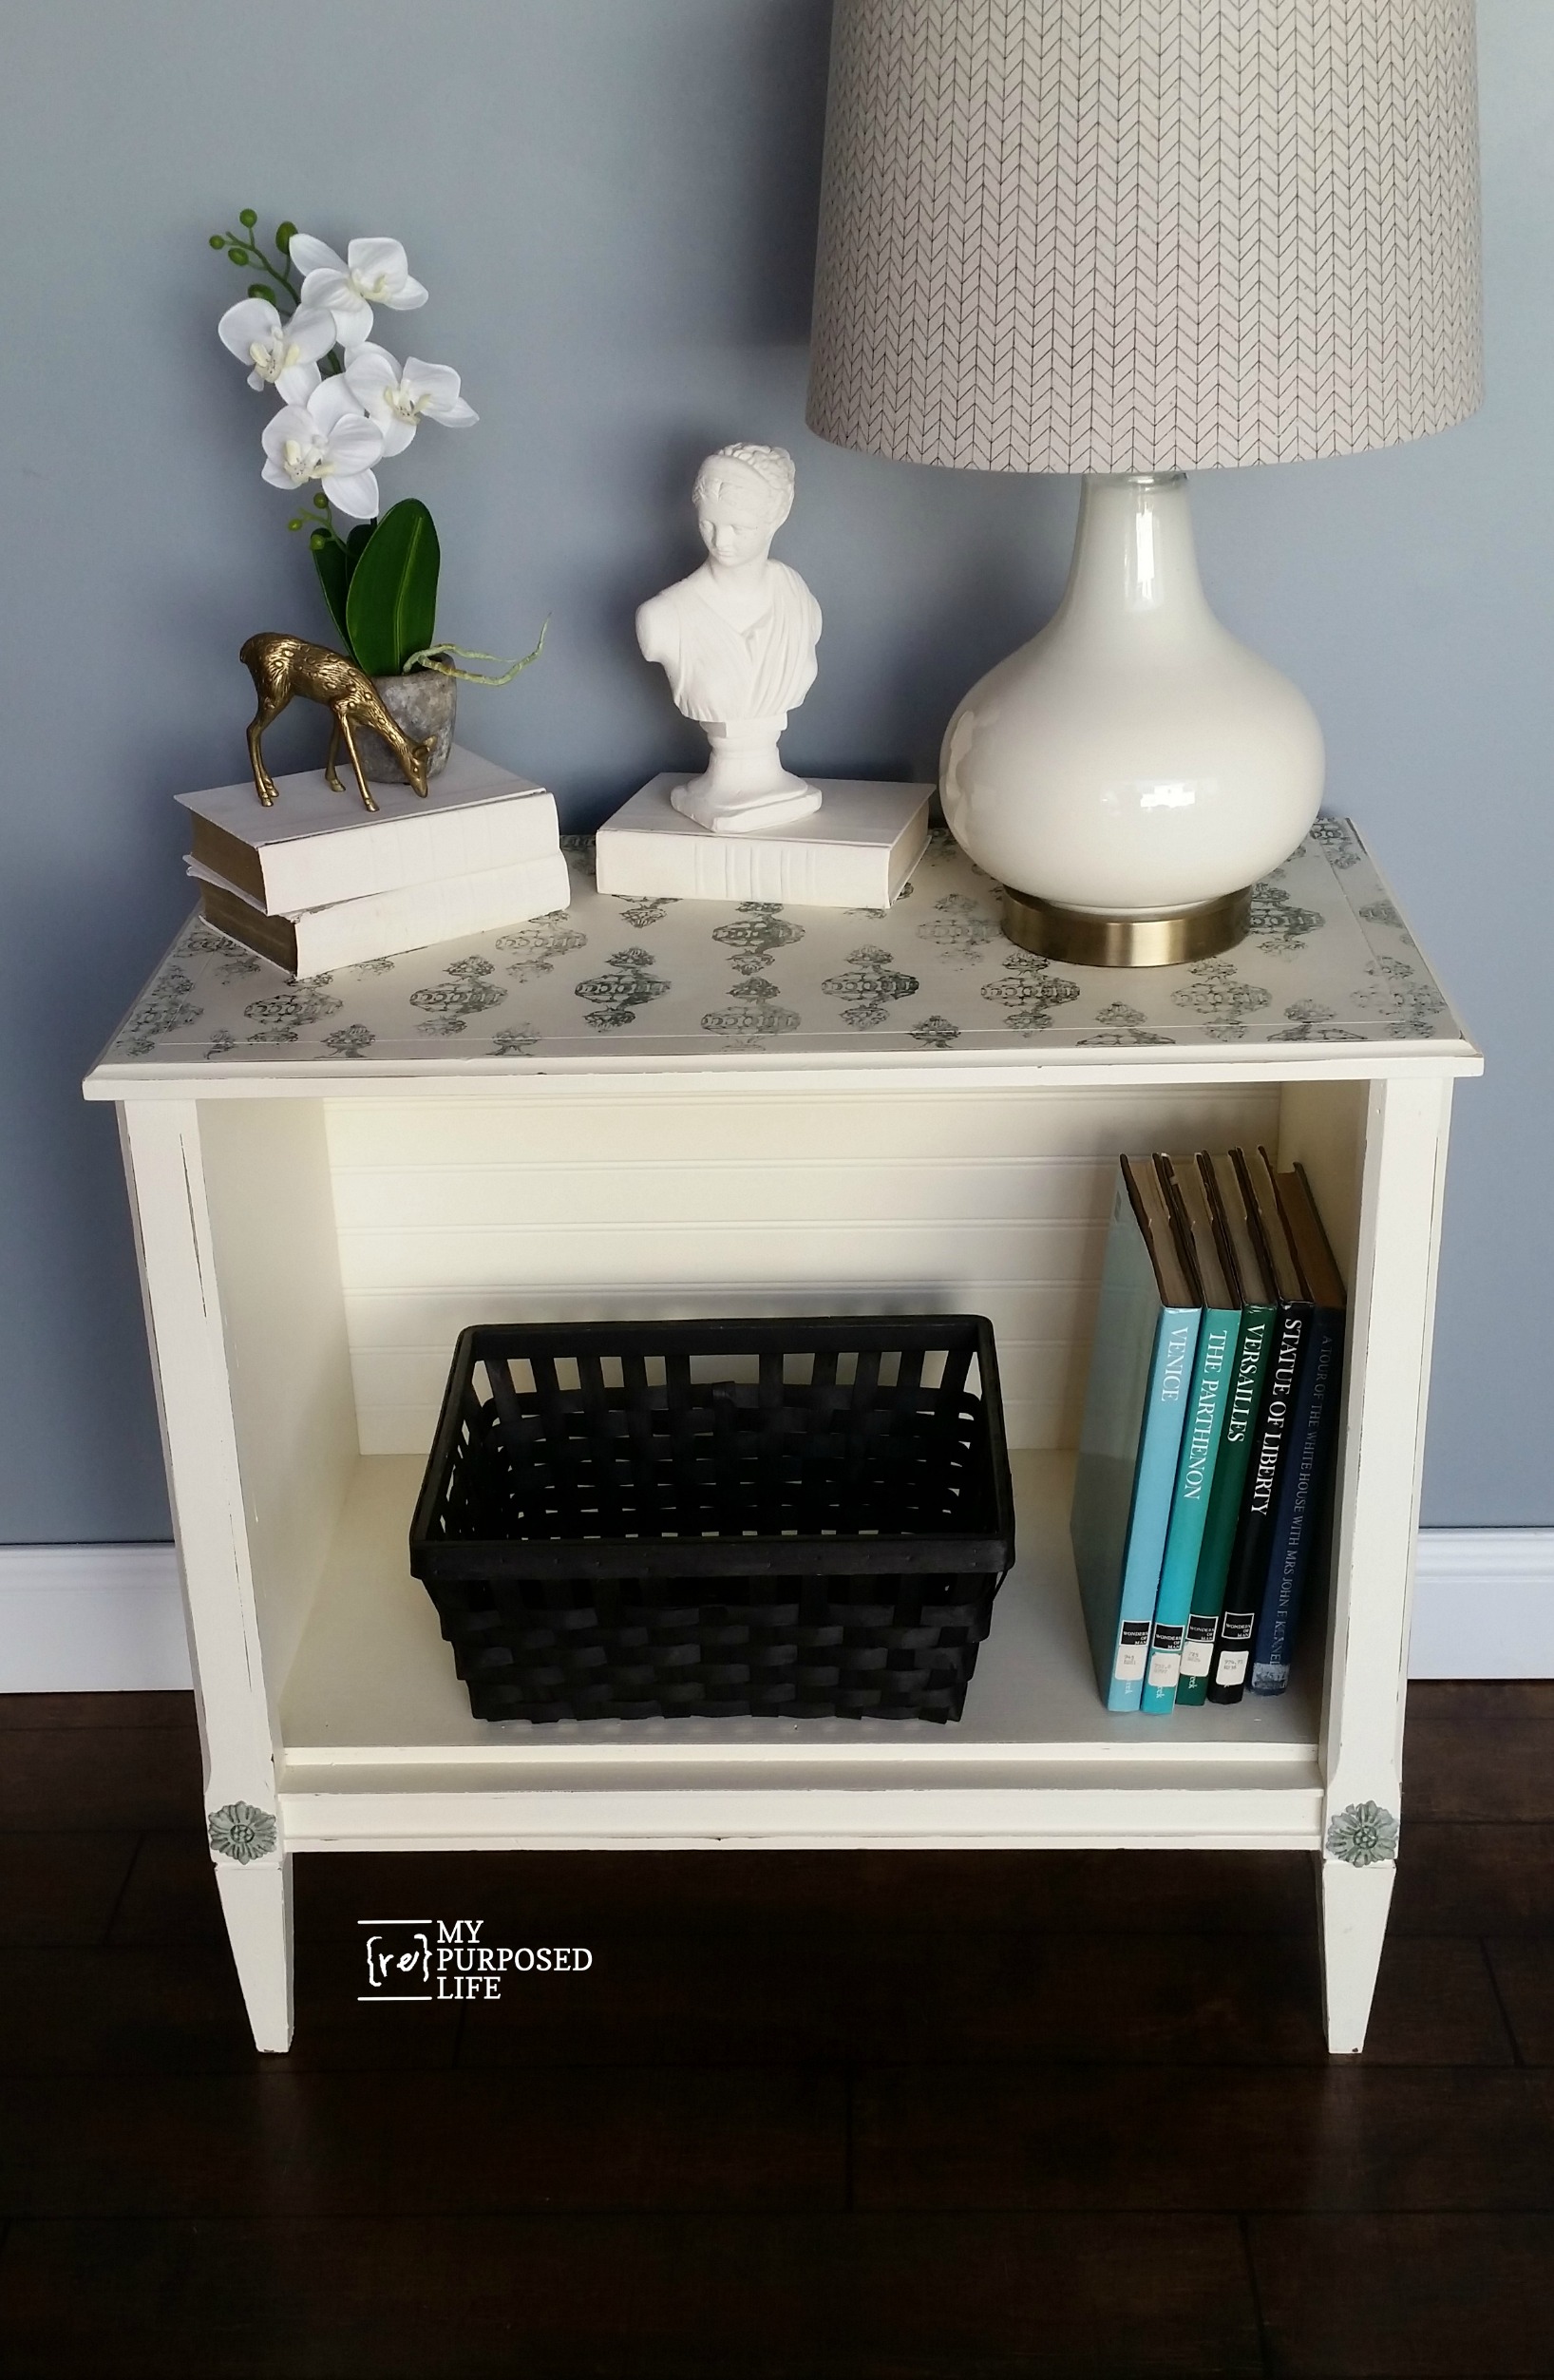
And here she is in all her glory a perfect specimen of a repurposed tv stand!
Repurposed TV Stand
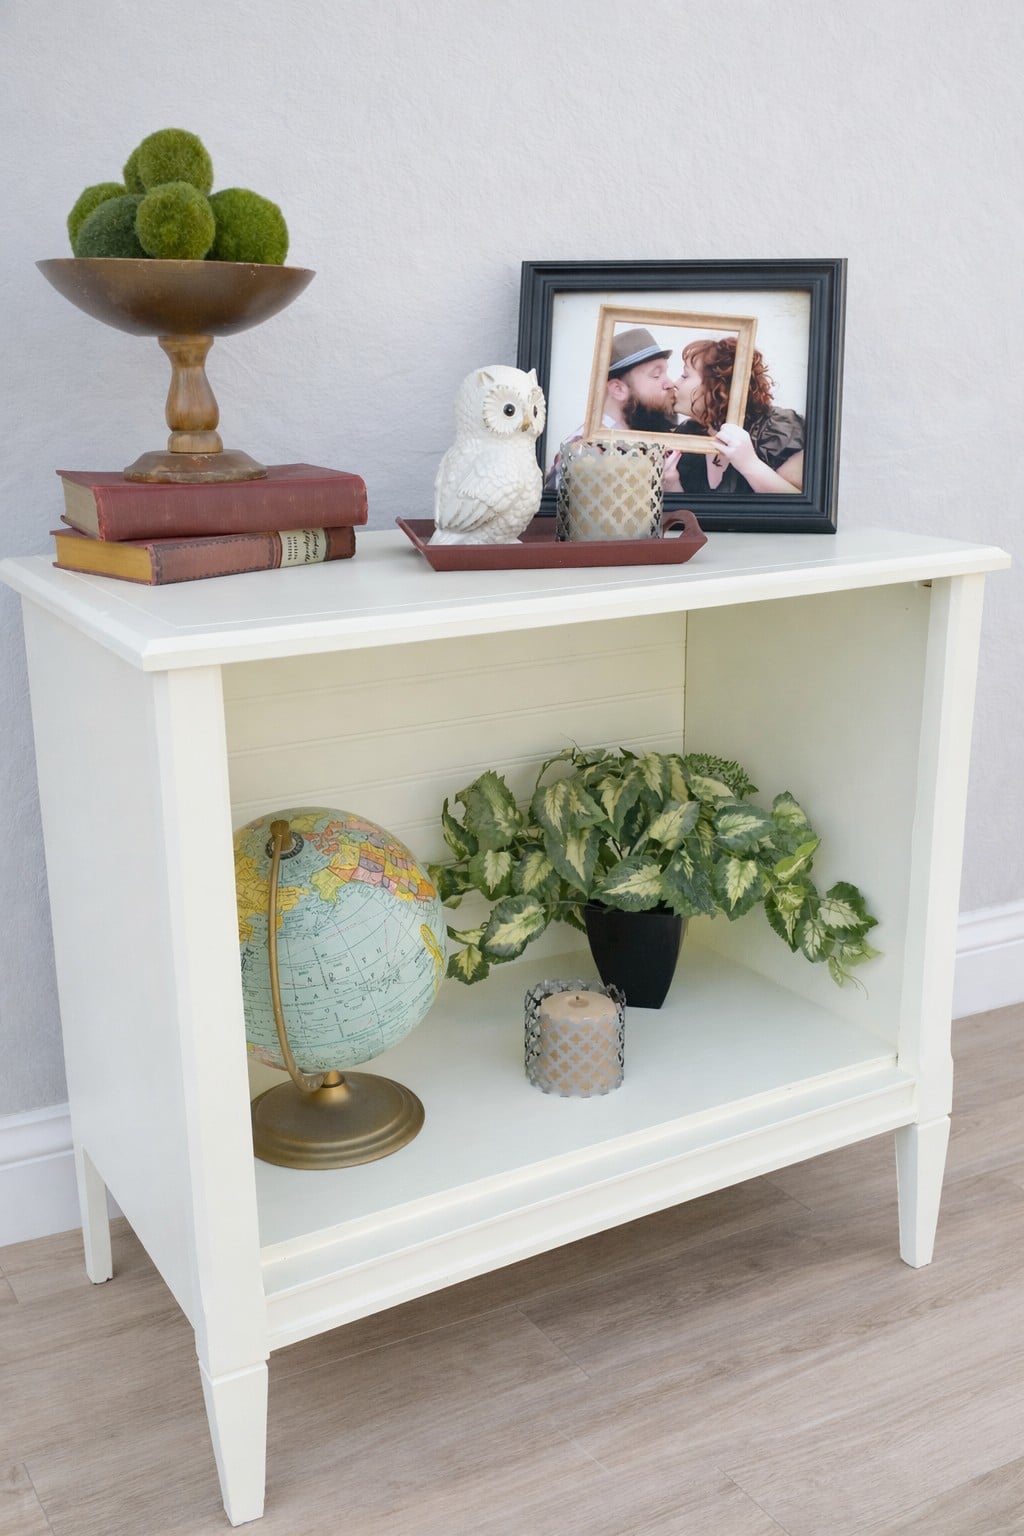
It makes a great side table.
Repurposed TV Stand Dog Bed
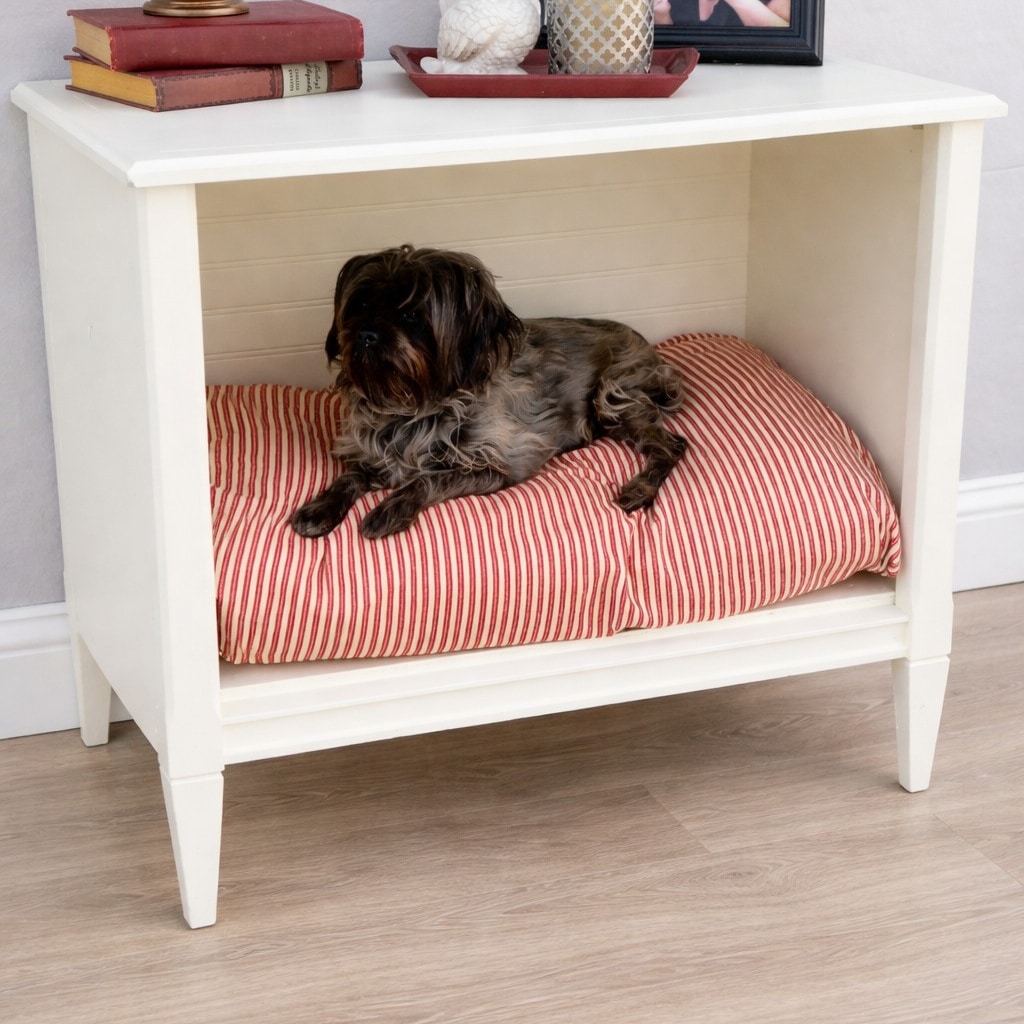
It also makes a fun pet bed! Let’s take one more look of the before and the after—I would love for you to pin it!

Share this idea on Pinterest, it helps spread the word for My Repurposed Life, thank you!
How would you use this cabinet? It’s very versatile.
UPDATE! I changed up this old t.v. cabinet again!

What you’ll need:
- Piece of boring furniture
- Paint of your choice
- Prima IOD Clear Décor Stamp (Louis)
- Stamp Block
- Décor Ink (Rouen)
- Baroque Vintage Art Décor Mold #1
- Paper Clay
- Gorilla Wood Glue or drywall mud (what I used)
- Paper Towel
- Baby Wipes
- Sander
- Emery Board
- Chip Brush
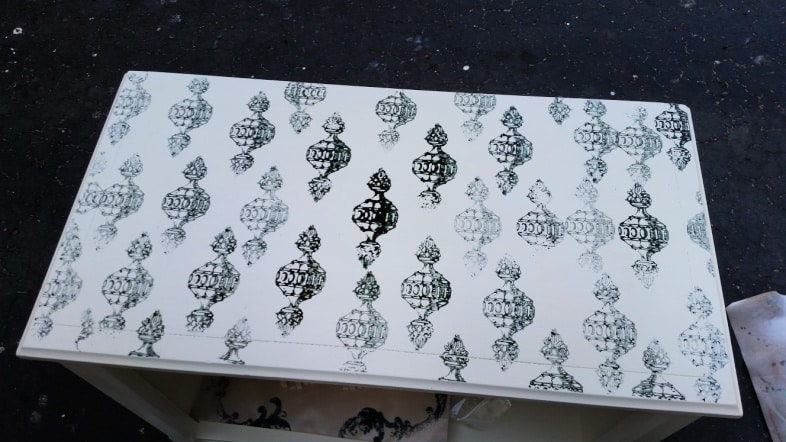
After testing the stamp and mastering the technique, I began stamping on top of the TV. stand in a semi-random pattern.
Distress With Orbital Sander
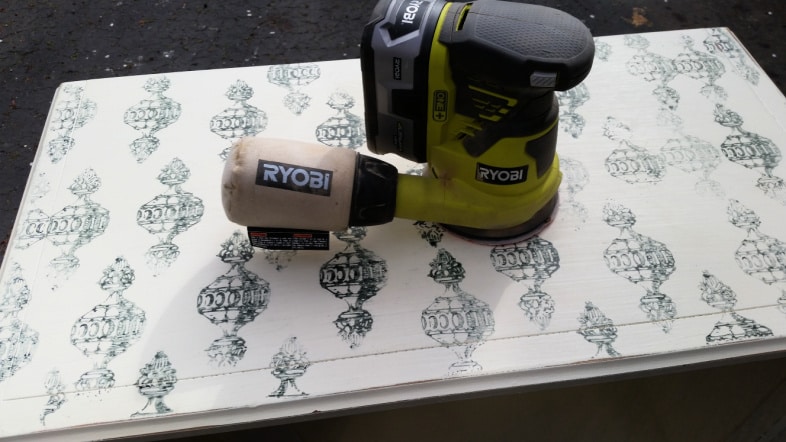
I used an orbital sander to distress the ink lightly to match the distressed cabinet.
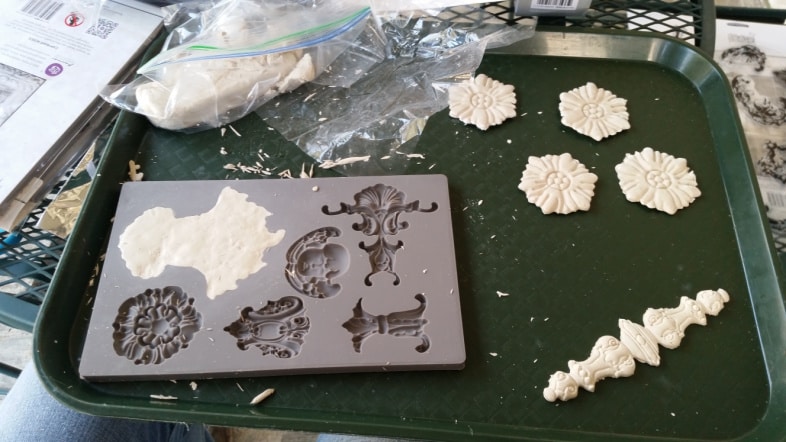
I jumped right in making some paper clay molds, the same day I got my package for another project I have in the works.
Distress Small Spaces With Emery Boards
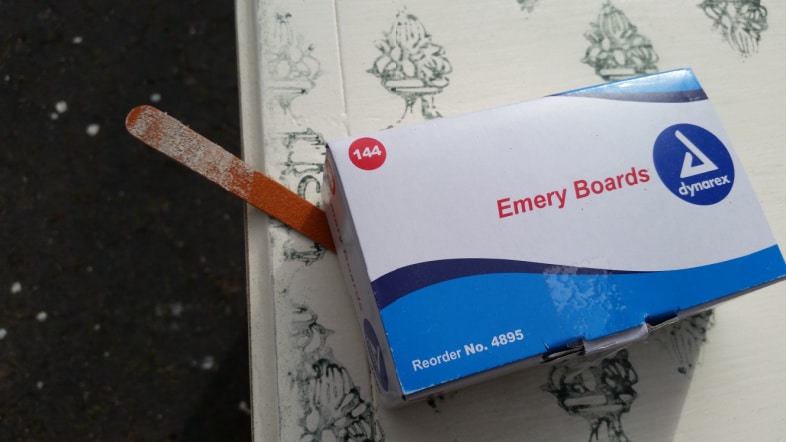
Then, I did some distressing on the old t.v. cabinet with an Emery Board . The best deal is on Amazon for the box.
While distressing the cabinet, I remembered that there were two small medallions that I removed and thought that two of the pieces would work perfectly in their place.
Paper Mold Applique
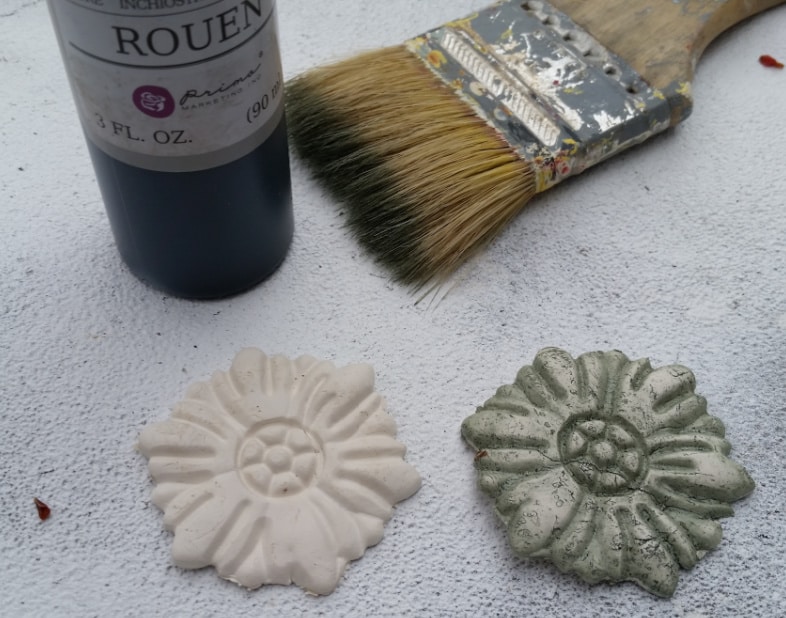
I used some of the IOD ink and a cheap chip brush to give a nice green highlight to the molds.
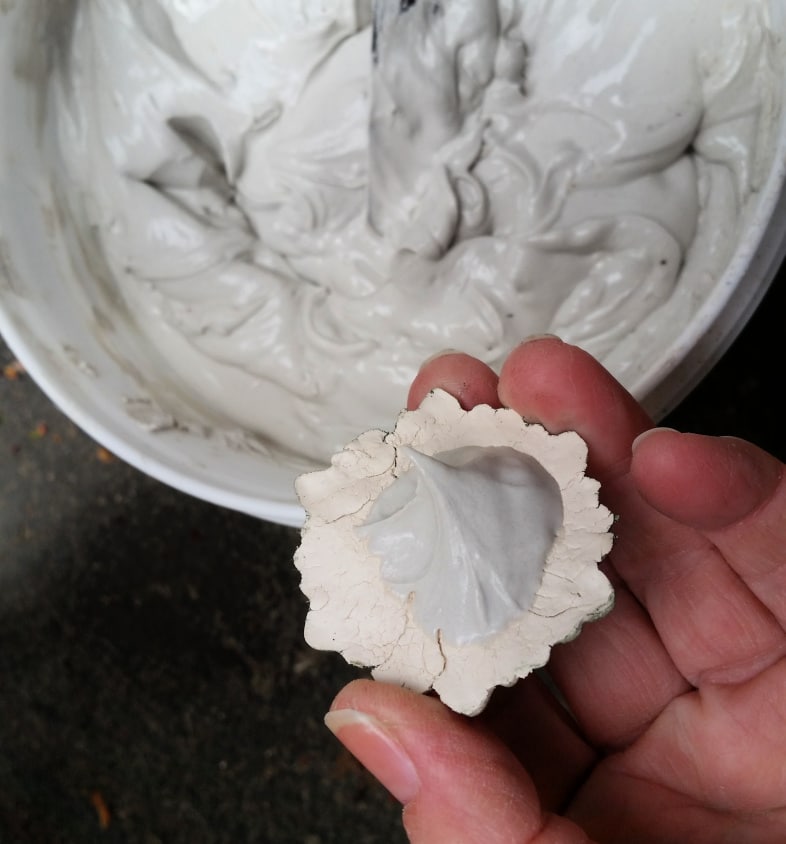
You can attach the mold appliques with Gorilla Wood Glue, which I have a LOT of, but I wanted to sort of fill around the edges of my appliques, so I used drywall mud.
For more ideas on paper clay mold appliques, visit my friend Debbie at Refresh Restyle. She did some fabulous projects using the IOD molds.
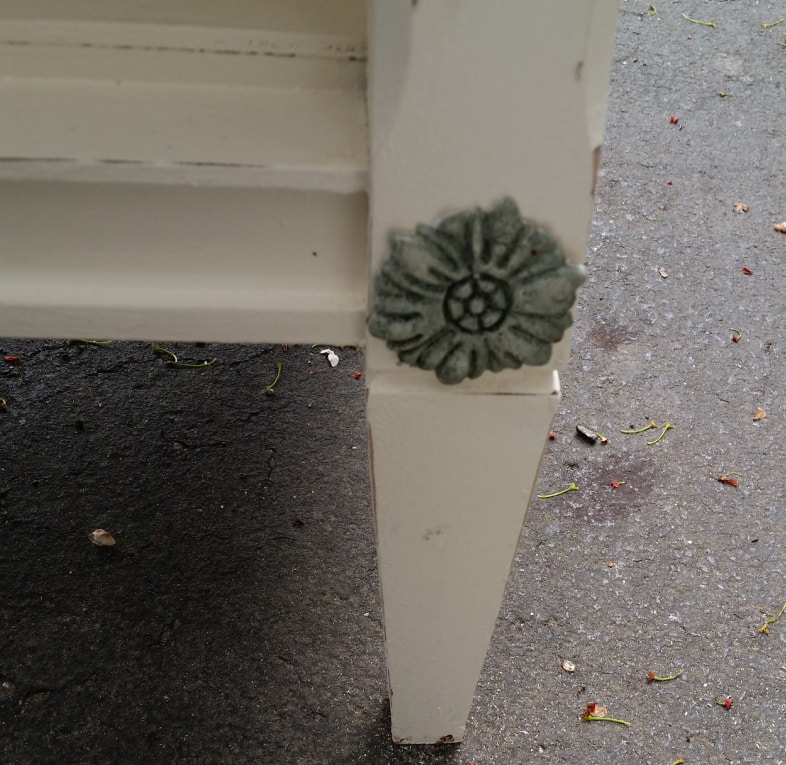
It gives the old piece a little pop of color, eh?

I think that using these extra-large décor stamps on furniture and fabric projects is brilliant! You can even do these stamps on walls and more!
gail
Related Content Dresser to TV Stand
Gail I love what you did with this piece, my little rusty would love it. You really did work your magic!
Love it Gail! Louie looks so kingly perched on that comfy pet bed! I like the head board that way, so nice you had the perfect piece!
You really gave that cabinet a new life! Adding the bead-board was just what it needed. Love the model, such a natural 🙂
I think the beadboard going horizontally is perfect!! LOVE LOVE LOVE it!!!
Looks great!
I would use it for a TV stand. Looks good.
Great color! and i like that you can use it for AT least 2 things! i would probably store books in it.
I love this piece and I love how you styled it. And I’m really falling in love with the polished pearl color!
Looks great. Love the color on that project. Nice job….
Nicely done!! I love the cabinet as a pet bed but my dogs are way to big. 🙂
Denise
Cute! I like the beadboard running horizontally, too.
Looks lovely and refreshed in white. Your model is adorable there!