Repurposed Windows (display cabinet)
As an Amazon Associate, I earn from qualifying purchases.
Good morning! I’ve been very busy this week, but I’m still not totally finished with this project. But since I didn’t really have anything to blog about, I thought I’d show you the first few steps.
") I love these 8 pane windows. I hadn’t been able to find any curbside, so I actually bought these from the Peddler’s mall. One side is white.
I love these 8 pane windows. I hadn’t been able to find any curbside, so I actually bought these from the Peddler’s mall. One side is white.
 The other side is stained.

I had to remove this metal piece of weather strip.

Windows (inside pane) are angled on the side where the weather stripping goes.

I ran it along the table saw to remove the angle.
 Here you can see how much I took off to make it a straight edge.

On the outside there is a ledge that makes the window uneven. I used the table saw to remove it to make the window flush.
 I designed a box around my two windows using the knowledge I learned when I made my media center. I used the mdf I had left over from the media center. I had (3) 8 ft sections that were 5 1/2 inches wide.
 I temporarily taped the edges to make sure I had all the measurements right. I drilled pilot holes and countersink holes, then glued and screwed all the corners together.

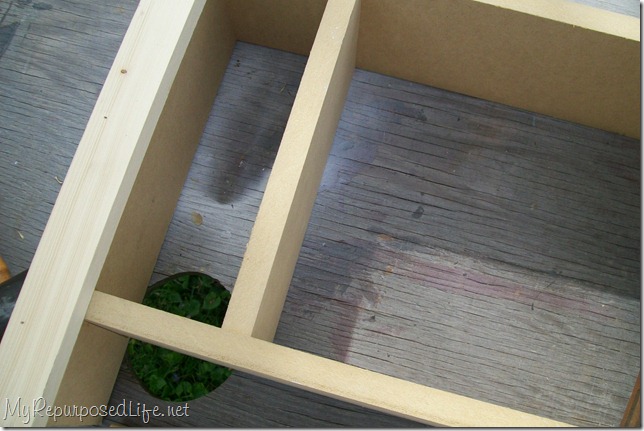
 I then glued and nailed the front facings on all around the edges. In this picture you can see that I used an extra piece of mdf to determine the measurements between the shelves. You can also see my speed square that I used to make sure the box was squared.
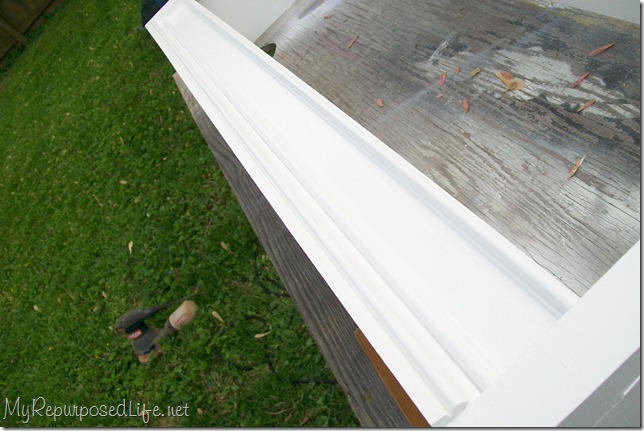
 I had a piece of curbed molding that I used on the front (bottom). I used a 2×2 to brace the bottom from side to side so that I would have something to sturdy the molding.
 You can see the facing that goes all the way around.
 And the molding across the bottom.
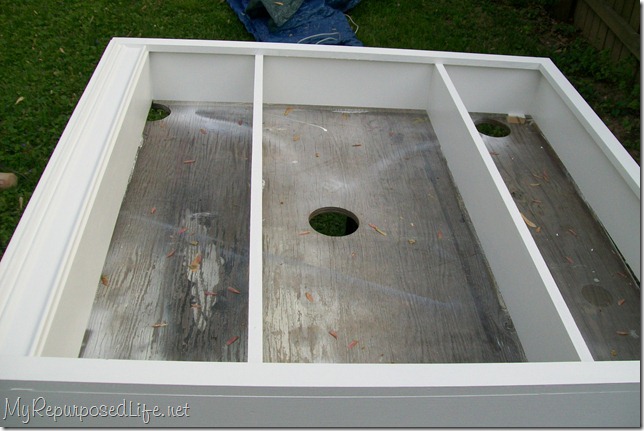
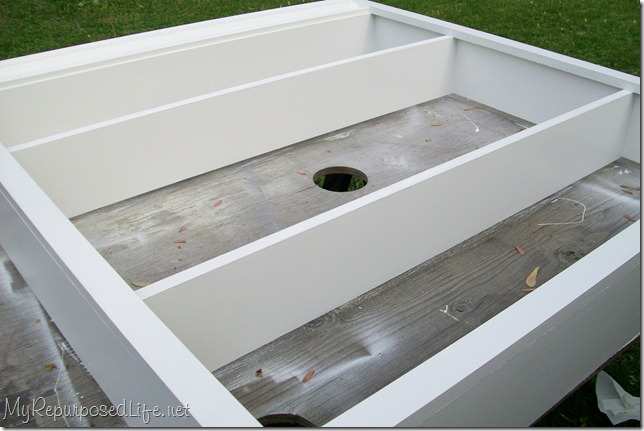 This is at the end of day one. I painted two coats of primer and one coat of semi-gloss. I had tried to find hinges in my stash to work, but I was unable to find any. So I called it quits for the day.
You can see the finished project in my post Window Display Cabinet
gail
it’s Earth Day… save something from going to the landfill! If you can’t do that, please recycle something. Take care of our Mother Earth.
I am chomping at the bit to see the reveal! You amaze me!
looking good! You had me laughing about the linky party thing. I totally know what you mean! There are quite a few out there, so sometimes it’s a little linky overload! You will always be a Creative Cat whether or not you link up every Friday!
Thanks for the sweet comment and telling Hannah goodbye. I know it means a lot to her. You’ve always been so nice!
Have a wonderful weekend!
I cannot wait to see your finished project! You got some MAD SKILLS!
This is great! you are good with the tools! Lezlee
Looks great, can’t wait to see the finished product!
It looks great so far, I’m interested to see the finished project! I wish I had the space to do projects like this!
Looks like it is going to look great in the end, hope you’re able to get it finished and we can all see it next week.
I’d like to use some windows around the house too.
You’re right, they’re not easy to come by.
Ooooh I can’t wait to see how this turns out! All your projects turn out so good!
Oooh ideas! I just found a truck cab full of these old windows and I am looking for ideas… I’m looking forward to seeing the end result!
Very interesting indeed – I am on board, and cannot wait to see how you finish it up!
great project! i can’t wait to see how it turns out.
great project! i can’t wait to see how it turns out.