Repurposed Window Cabinets
As an Amazon Associate, I earn from qualifying purchases.
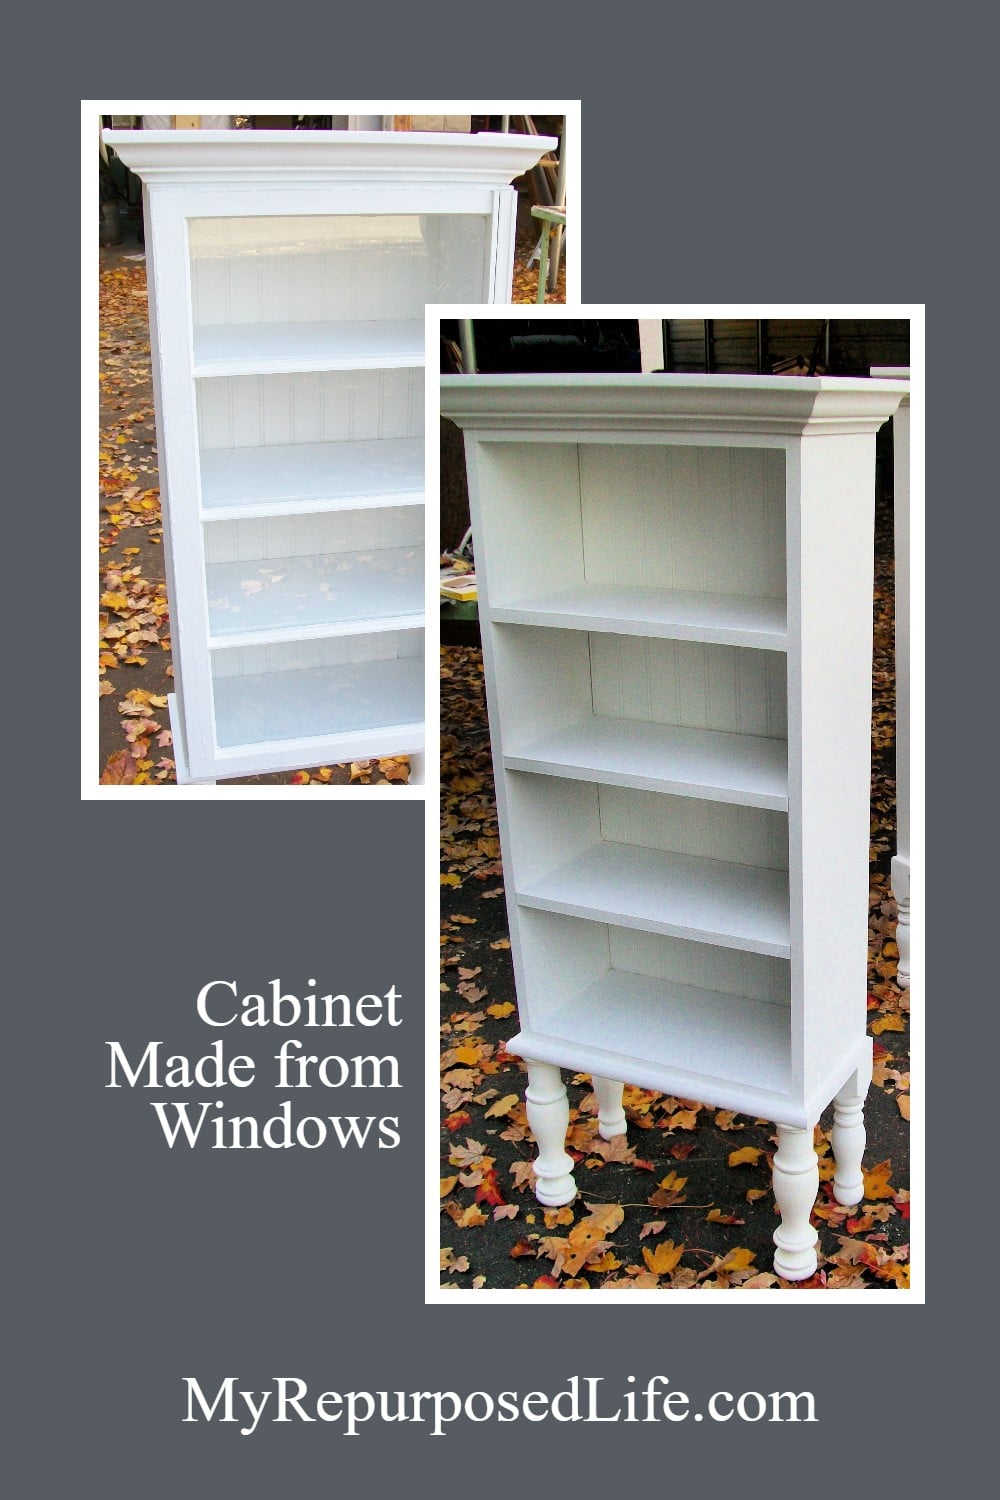
How to make repurposed window cabinets

Friends and family know I collect JUNK. People love to unload their unwanted items on me as much as I love getting random junky finds.
MDF is not my “go to” building material, but I wouldn’t turn it down if offered to me. Nor would I throw it out.

I always have old windows in storage. Many times I even have matching windows as in this case. Since I was making two window cabinets, I wanted to use two windows that matched.

My friend Missy brought me all these spare bed parts from her mom to use on these window cabinets.

*This post contains affiliate links, read more here*
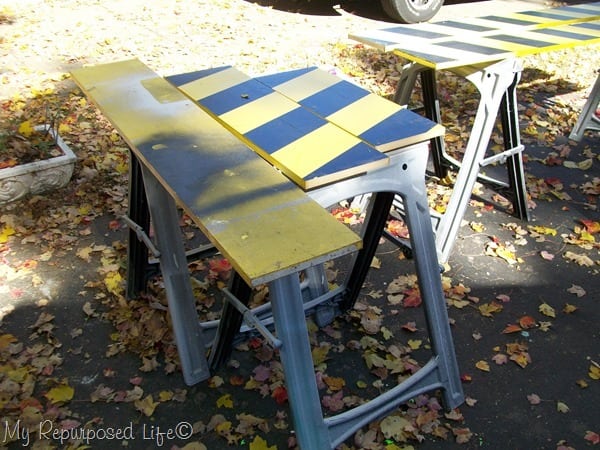
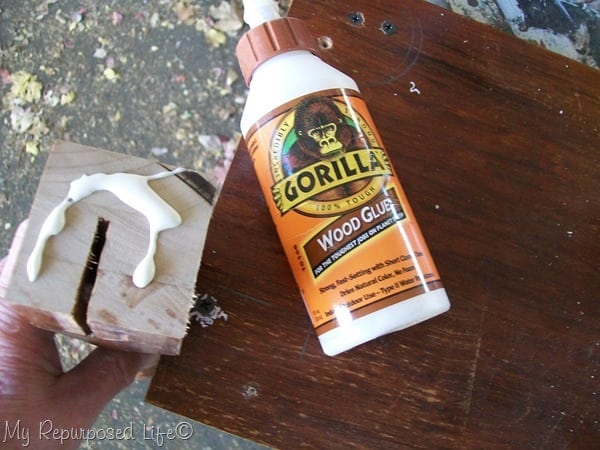
After putting two coats of primer on the mdf wood, I got busy building a standard box to fit the size of the windows. I used Gorilla wood glue for a strong hold.
.

Using a countersink bit is useful for a project like this. It not only drills a pilot hole, but allows you to easily hide the screw heads.
Build a base for the repurposed cabinets
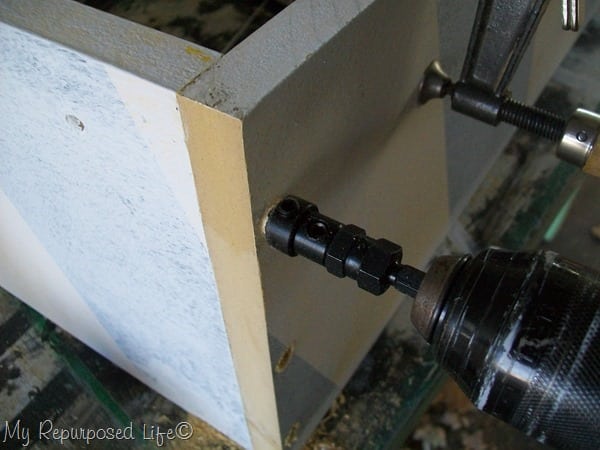
I clamped the glued pieces together and used the countersink bit to drill my pilot holes. After I built the box, I started putting together the “stand”.
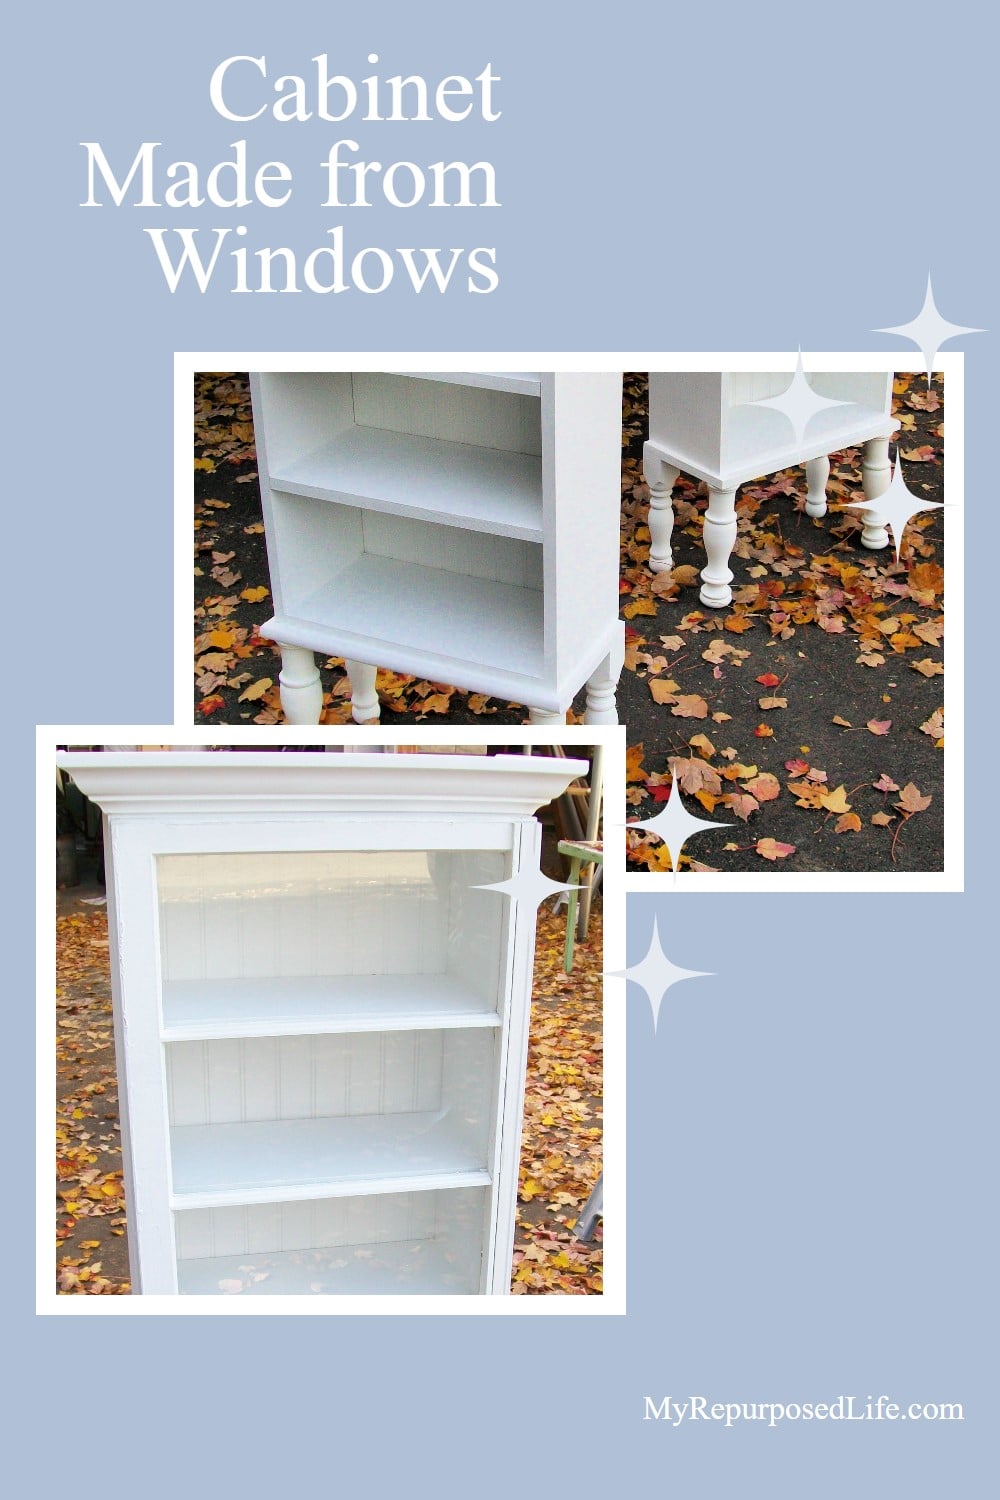
How to attach legs to window cabinet

I cut the bedposts down to size. Drawing a circle around the leg on the top of the wood allows you to know where to drill the pilot holes
Here’s a tip: It’s difficult to hold the leg and the top together to get the screws in. I used very long screws to hold the board to the legs. In order to do that I first screwed a shorter screw through the pilot hole in the board just barely going into the leg.
Remember: Most bedposts are VERY hard wood. You MUST drill a pilot hole into the leg.
Work smarter not harder
After the short screw secured the leg (barely) I drilled the pilot hole through the original pilot hole into the leg. Then I inserted my long screw. I did this a second time, then I removed the original short screw, drilled the pilot hole into the leg and inserted one of my long screws.
You may think to yourself why not just use one of the long screws and not go all the way with it. The long screws were coarse (too big to do this without first drilling a pilot hole). The short screw I used was more of a fine thread and easily screwed into the leg enough to hold it temporarily. Another option is to shoot a brad nail through the base into the top of the leg to hold it until you can secure it with screws. I highly recommend using Gorilla wood glue for an extra strong hold.

I soap my screws, they go in much easier that way. Even then sometimes they squeeaal. If that happens to you, back it out slightly and push it in again. Sometimes you might have to do that twice.
Stand for window cabinet

This is the stand.

In this photo I’m testing the fit of the repurposed window box onto the stand base.

I took this picture to show you how I work! Working in the driveway is my best option.
You can see here that I have the crown molding on the first cabinet.
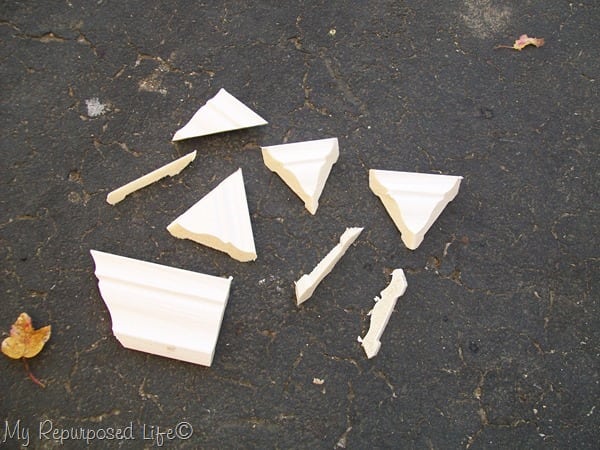
This is all I had left of the length of crown molding I used. I was a little stressed. There was NO room for error here.
Embellish window cabinet with molding

This is the basic design of the window cabinets.
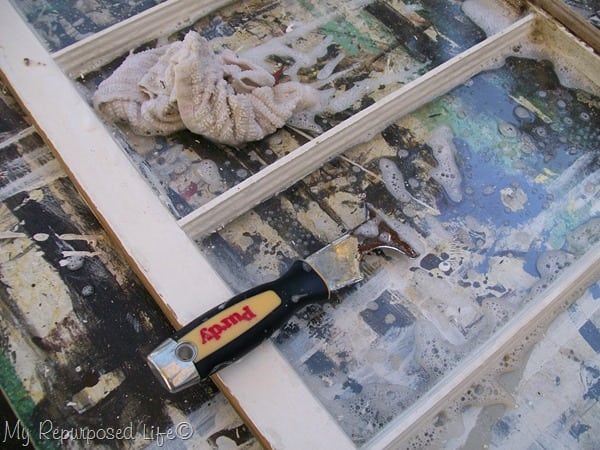
I cleaned the windows and scraped all the years of paint off.
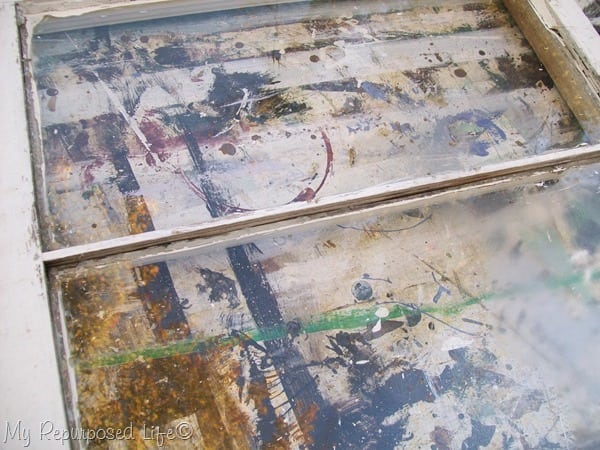
While removing MASSIVE amounts of putty on window #2 I had a little accident. OOOPS! I pressed a little too hard near one of the points and one of the panes cracked. You can see how to cut a new pane in my post How To Cut Glass
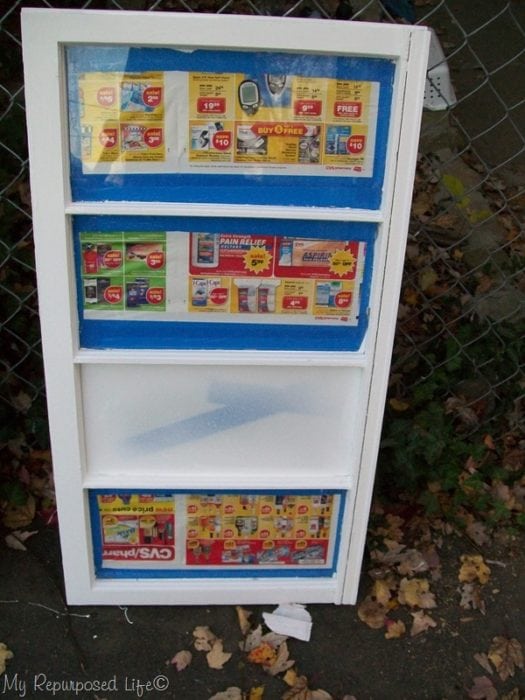
I taped the windows so I could paint them. You’ll see the second from the bottom pane is NOT taped. Well, it has a piece of tape on it to keep it from breaking completely. That’s the one I had to replace.

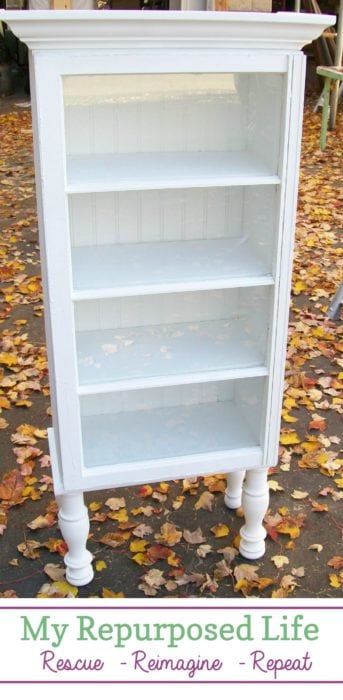
Here is one of the cabinets after 4-5 coats of primer and two coats of flat white paint. I added shelves that lined up with the panes of the glass. That really makes a big difference in the end product.
Window Cabinet Display Cases

I made the cabinets so they would open opposite. One is hinged on the right, the other is hinged on the left. Don’t you love how the twin window cabinets turned out? I love that they stand on the floor instead of hanging on the wall.
gail

If you love this project, you will not want to miss this roundup of window projects.
EDITED TO ADD: Missy emailed me some pictures she took with her phone of the twins in their new room. Her mom Mary dressed them really pretty, don’t you think?


You are seriously talented! It really takes a knack to see things for what they could be, instead of what they are.
Fabulous, as always. You have a wonderful talent… vision and the skills to actually make the vision a realty. Thanks for sharing your creations and the tutorials, too. Not that I’ll ever actually build anything 🙂
OMG…you totally rock. You never cease to amaze me with your creations! Such inspiration!
As always, these are fantastic! You make such beautiful pieces from piles of scrap materials 🙂
Amazing, once again! You have such an eye & a ‘midas touch’ that turns everything you touch into perfection!! What a great idea, and what a cool use for a bunch of scrap materials 🙂
Oh my gosh, Gail, every time I look at your projects I say “I want to do that!” However, I never seem to get it done. These window cabinets are truly amazaing! I know I say that all the time, but jeez, your work just leaves me speechless in a new comment sort of way : ) I have everything needed just sitting around in my shed… I so feel like playing hookey today!
OMG! These are so beautiful! I gotta have some of these. I don’t know a thing about wood work but I am fixing to learn. I have some very old windows that my mom gave me years ago that came out of an old church that was being torn down. I’ve had them in storage for years. Now I know what I want done with them. Thanks so much for the inspiration. I just wish that I lived closer to you like Missy. I know that her mom is going to love these. I can’t wait to see them in her house. Great job!
Hugs,
Lee Laurie
Those are really great! Good job!
I am always amazed at your work, every post has something awesome to look at and dream about doing one day, but you definitely have a brilliant and creative mind! Great job I bet your friends mother was over the moon with how they turned out.xMx
I am always amazed at your work, every post has something awesome to look at and dream about doing one day, but you definitely have a brilliant and creative mind! Great job I bet your friends mother was over the moon with how they turned out.xMx
Hello sweet friend….thank you for all your hard work, mom is SO pleased. 🙂 I’m going to do a post today on visiting you…I’ll link over so people can see what an amazing job you did! It was so fun to actually meet you…never thought I would ever get to meet any of my blogging buddies..it was great! :)HUGS and thanks again!Love ya!
ARE YOU KIDDING ME!? You get better every day. I love this…I have a stash of windows!