Ripping up carpet and padding 101
As an Amazon Associate, I earn from qualifying purchases.
Have you ever wanted to rip up the carpet to expose your hardwood floors? I’ve done it a couple of times before. Once at Jamie’s house when she first moved to Nashville, and here at my own home when I got tired of the carpet. It’s always full of surprises and each of those experiences were different.
Being a glutton for punishment, I decided to do it yet again, at a small rental property known from this point on as the “project house”.
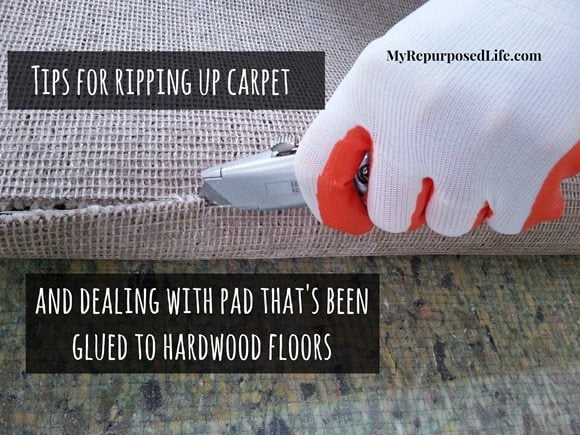
TIP: fold carpet to expose underneath side and use a utility knife to cut the carpet in more manageable widths, about 2 to 3 feet.
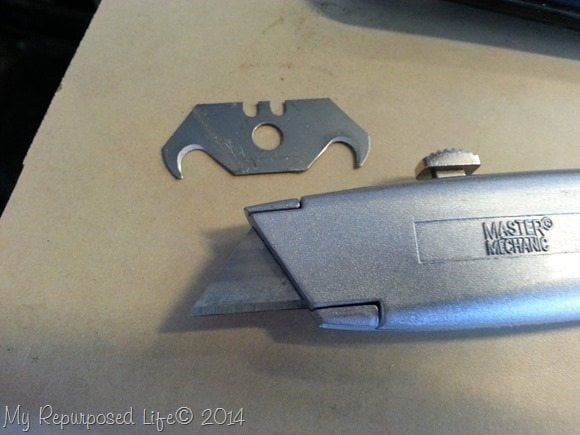 I tried both of these blades and found that the regular blade worked better for me, especially using it on the wrong side of the carpet.
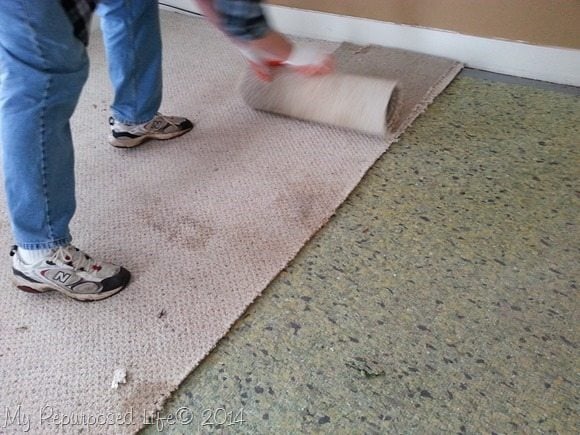 After cutting the carpet into a small section, simply roll it up and secure it with Gorilla Tape.
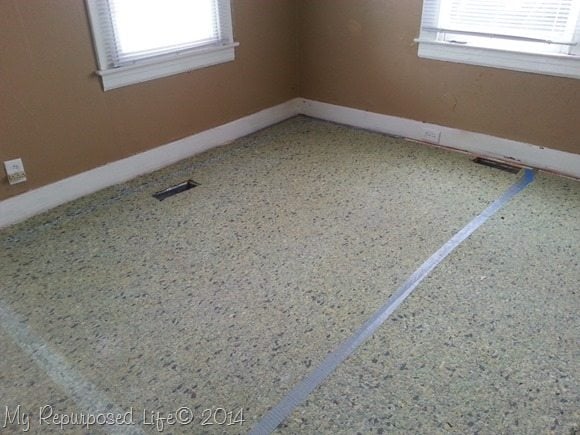 After removing the carpet, it was on to the padding. The other two times I’ve exposed hardwood floors, there were tons of staples everywhere hold the pad in place. You can see from this photo there are NO staples, I was pleasantly surprised (this giddiness was short-lived)
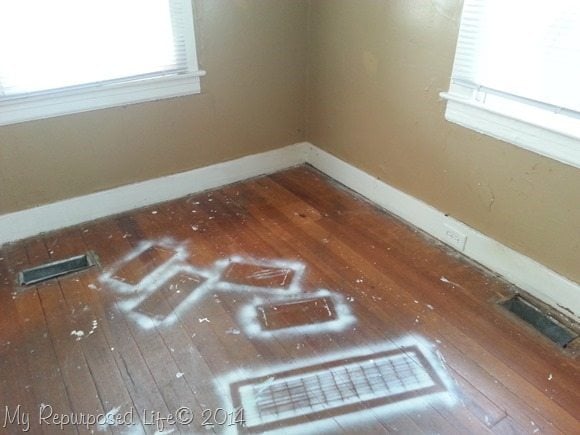 Look what was lurking underneath that padding—who spray paints vents while they’re laying on the hardwood floors? But, like I said the pad was not stapled down.
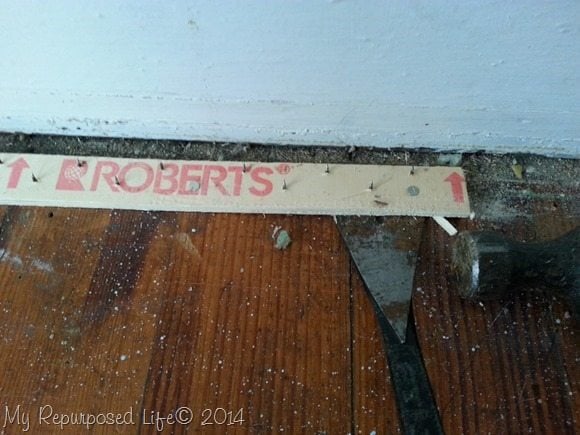 There was of course the dreaded tack strip. I discovered this handy tool when Jamie and I removed her carpet all those years ago. I still keep this cat’s paw in my tool box for dismantling my furniture pieces. So, the living room was fairly easy. There were some random staples from years gone by, but they are easily removed with a hammer and the cat’s paw.
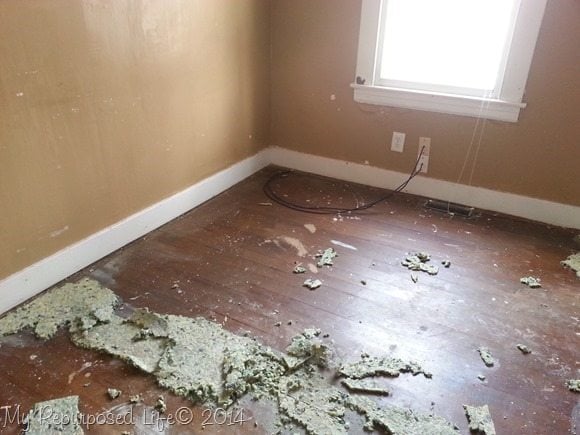 Room two at the project house. NO staples, BUT a lot of adhesive to hold the carpet in place.
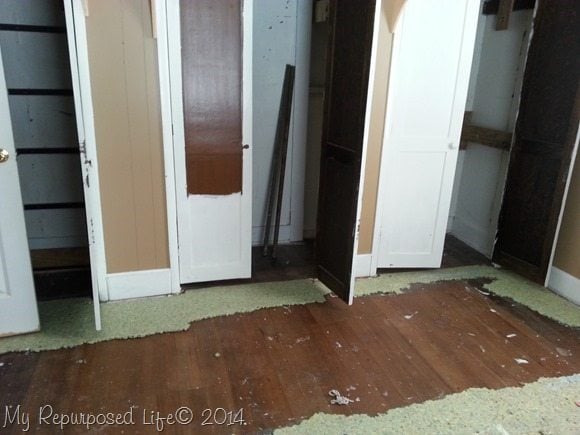 Room #3 at the project house was even worse. The pad was glued in front of the closet, along a couple of the walls, and right across the middle of the floor.
You know how things go… it got worse as I went. Had I uncovered this room first, I may not have done the other two. This was b.a.d.
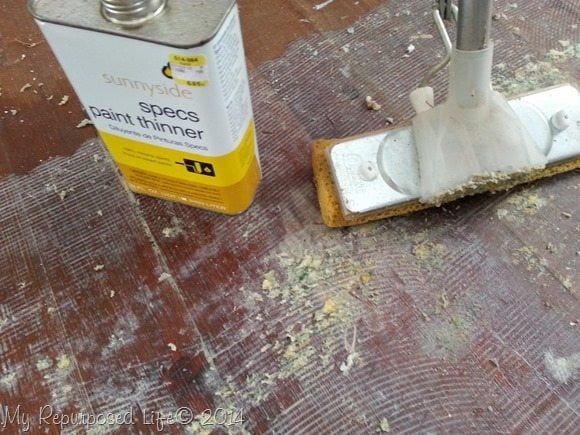 In room #3 I used an old mop to apply some paint thinner. If you have carpet padding glued to your floor, please investigate what works best for your adhesive. Some adhesives take a professional grade remover.
I did try sanding a spot without the glue being removed, thinking that the sanding would easily take care of it—it did not. I suggest you remove as much glue as possible before you start sanding.
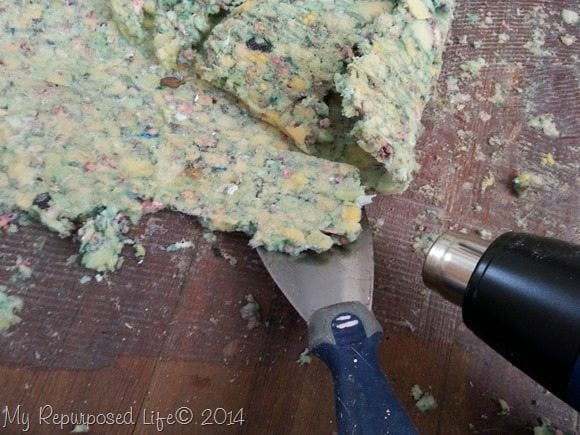 Back to room #2. I decided to try my HomeRight Heat Pro Plus . I think both techniques worked equally well, it just depends on your patience level, and whether you’d rather use chemicals.
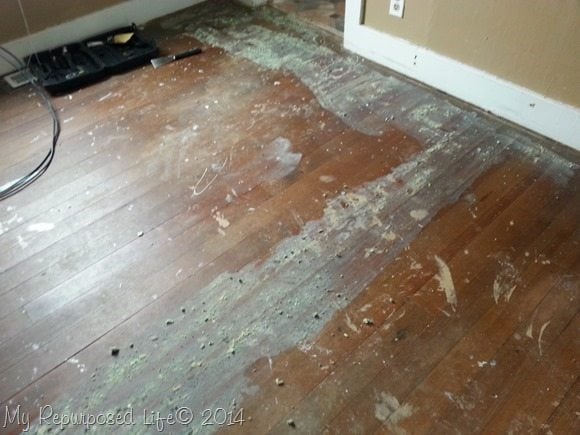 Room #2 with most of the padding removed, but still a lot of adhesive left behind. I ended up mopping this room with the paint thinner to remove as much of the adhesive as I could.
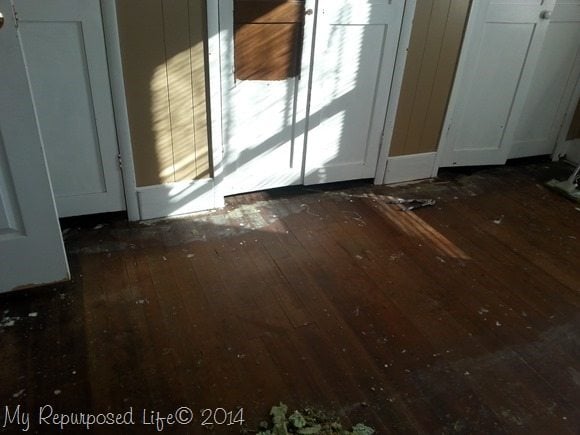 Room #3 with most of the padding and adhesive removed.
Overall the floors were in good shape, better than I expected them to be. This house was built in the 40’s.
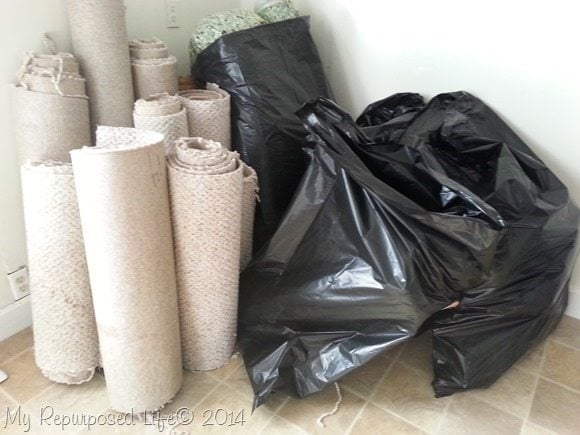 This is the carpet and padding. I secured each of the rolls with my Gorilla Tape and set half of this mess out to the garbage for 2 different weeks. I don’t believe the garbage company would have taken it if I had removed each room in one large roll, nor would I have been to carry it.
Next week, I’ll share a very detailed post on sanding these hardwood floors.
Have you ripped up carpet? Do you have some tips I didn’t include? Please share them with us in the comments below!
gail


We had to remove carpet from our current home but wood floors were not underneath them. I can’t believe they spray painted the vents on the wood floors!!! Who does that?!! Ahhh! I can’t wait to see your next post on sanding the floors down!
I’ve done it the same way as you, cutting into sections is so much easier to work with and dispose of, as you say. I HATE the glue on the floor, it is such a lot of work to get off. I remember when my parents covered all their hardwood with wall-to-wall carpeting. I guess it was the late 70s or early 80s and the thing to do.
Yup, we have done this several times, and helped friends with the process as well. Nothing we look forward too, but the finished result is worth it.
Uh–G a i l ……not trying to sound scolding or anything, BUT……
Are you SO TOTALLY RECOVERED that you should be doing THAT MUCH crAZiness–??
Good Lord—that much stress, physicality, AND chemicals……what next crazy girl–?
Can’t you just do the usual FUN stuff? (I know THAT wasn’t FUN!)
Catherine
Can’t wait to see the project house and the finished floors!!! 🙂 🙂 🙂
There is that “cats paw” again! I’m going to have to get one for my tool box. That one room has a lot of doors going on for a room! That whole job looks hard, good for you for sticking with it, can’t wait to see the finished results!
I haven’t ripped up any carpet, YET! Will definitely keep the tools you are using handy when the time comes to do the job. Thanks for the pics along the way!
Oh gosh! I’m just giddy reading this! I love love love the old hardwood floors! Some people just don’t care about them, as shown with the spray painting and the gluing. I know it’s a lot of work, but I am very excited to see the end results of this project. 🙂
You have a “project house”…I am so envious right now! I would love to be able to renovate an old house! Of course I would also want to have lots of money to pay someone to do most of the work, lol! Can’t wait to follow your journey!
The project house around here is known as “the little blue house” we have a habit of naming everything. We’ve owned it for about 15 years, and it’s small and needs a ton of work. It has the potential to be really cute, but lack of money, time, and energy has kept it a diamond in the rough. I would love to redo it and use it as my shoppe to stage and sell my pieces, but again, the lack of time, money and energy. 🙂
It’s currently for sale, should it not sell, some minor things will be done to ready it for rental again.
What a job! I haven’t had to do that before, thank goodness! Too bad about the spray paint (who would DO that???). Your “project house” sounds interesting, it looks like it’s got good bones. Good luck and have fun!!
The project house.. huh?? Sounds interesting…will be fun to follow this. 🙂
That will be my life in May. I plan to take up carpet in two rooms (the only rooms with carpet). I am not looking forward to it, but we have got to get going on this house. At the rate we’re going, the house will be “done” exactly twenty-four hours before they cart me off to assisted living.