Rolling Tool Cart with Pegboard Storage
As an Amazon Associate, I earn from qualifying purchases.
I’m so excited to share my latest DIY with you! It’s a rolling tool cart with pegboard storage!
I keep my tools in my 1 car garage. That leaves very little room to maneuver around the garage. I build my projects in the driveway, and it entails hauling my tools out of the garage, generally one at a time as I need it. At the end of the day, I have so many tools out—it takes forever to get everything put away.
I built a rolling tool cart with pegboard that will enable me to put all of my tools away quickly using this project as my inspiration.
I purchased 1 large furniture dolly, 1 sheet of pegboard, and a couple of 2×4’s to make my rolling tool cart.
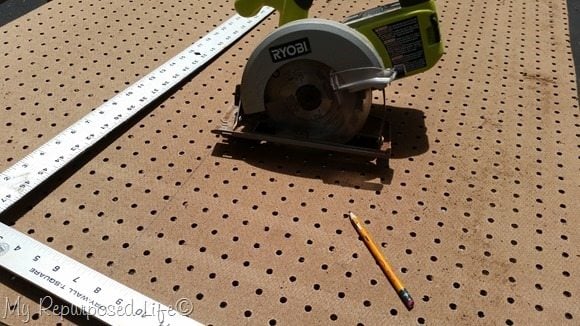
First, I began cutting my pegboard into sections that fit the dimensions of the rolling furniture dolly.
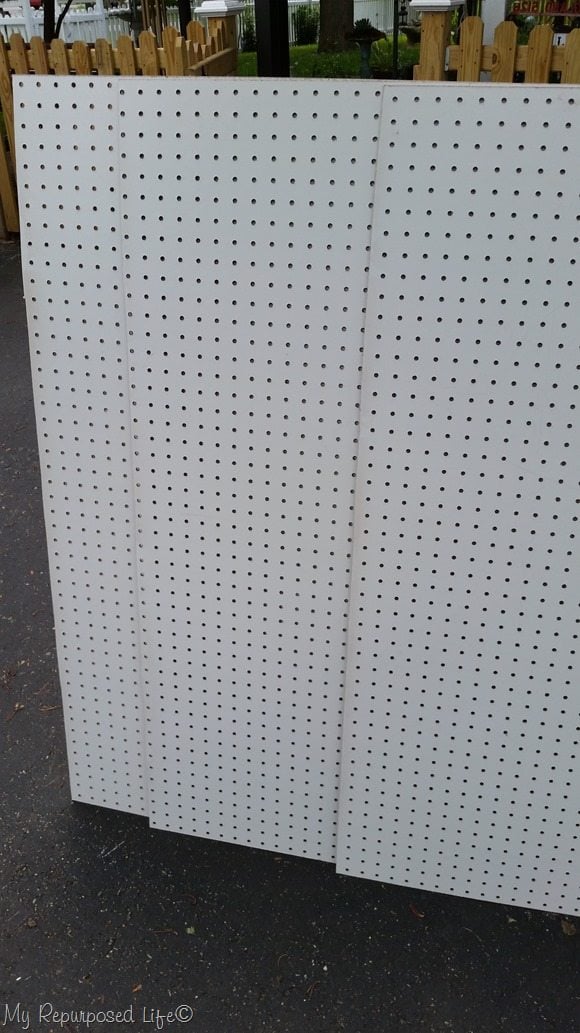
I had 3 panels to work with. Two panels for the side, and one smaller panel for the back. I decided to leave the front of the rolling tool cart open. That way I could use it for shelving and additional storage.
I love looking at background clutter… you can see that the diy picket fence still isn’t completely finished-more to paint!
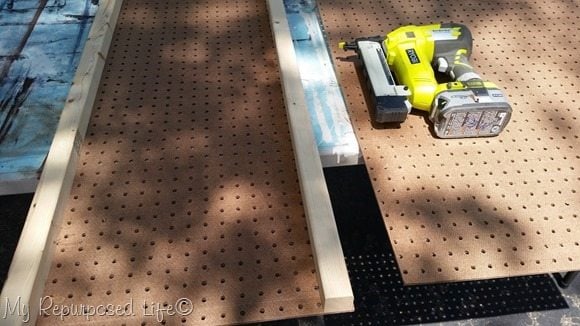
I ripped some 2×4’s to use as the frame of the portable tool cart. Because I wasn’t sure how it was all going to come together, I used my ryobi nail gun to “tack” the pieces together.
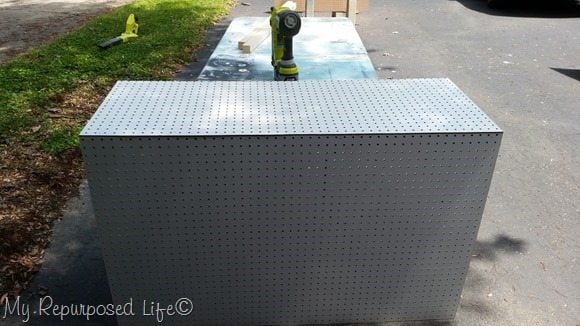
This is where I was attaching the back and one side to the frame.
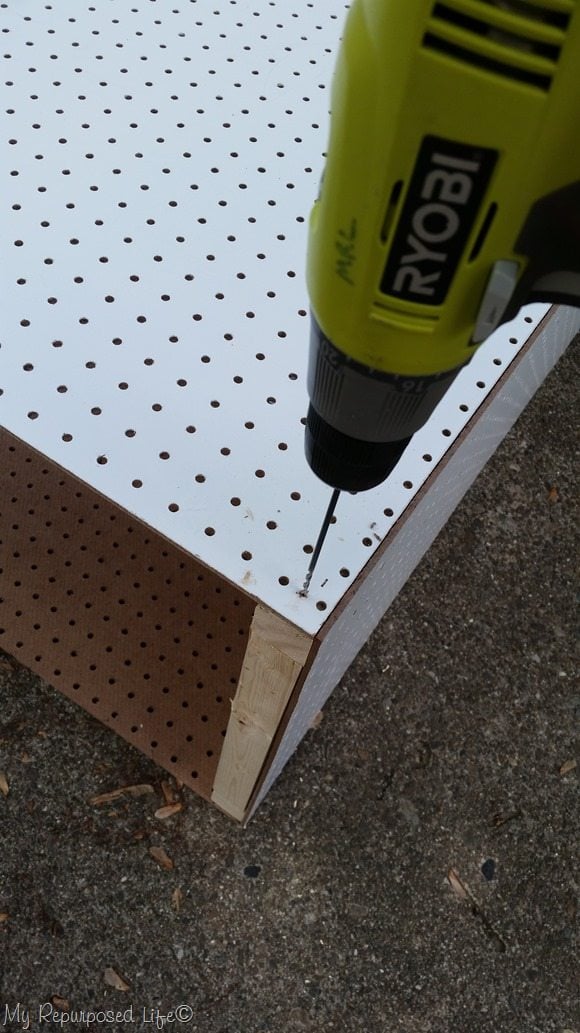
After getting both sides and the back attached to the ripped 2×4’s, I cut a couple of more ripped 2×4’s (basically 2×2’s) to give added support. I used wood screws to secure these pieces together. (I pre-drilled the holes)
Easy Rolling Tool Cart
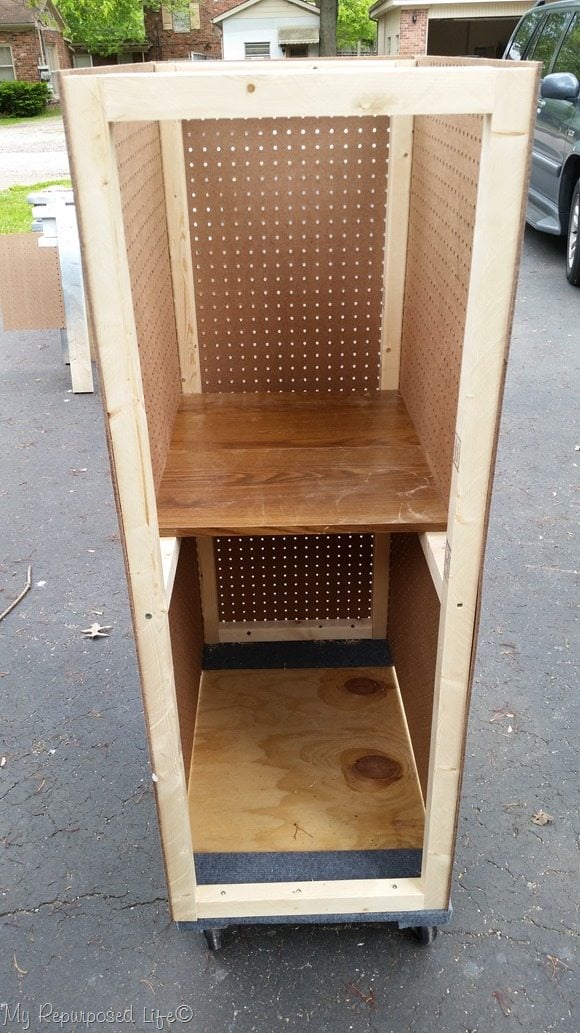
I put the braces at the top and bottom on both the front and back.
I also used these kind of boards along the side to make shelving an option.
NOTE: see the screws on the bottom cross brace (front and back) where I attached the unit to the furniture dolly. Not shown in pictures above, I used a scrap piece of plywood to make a bottom shelf between the two carpeted pieces on the dolly.
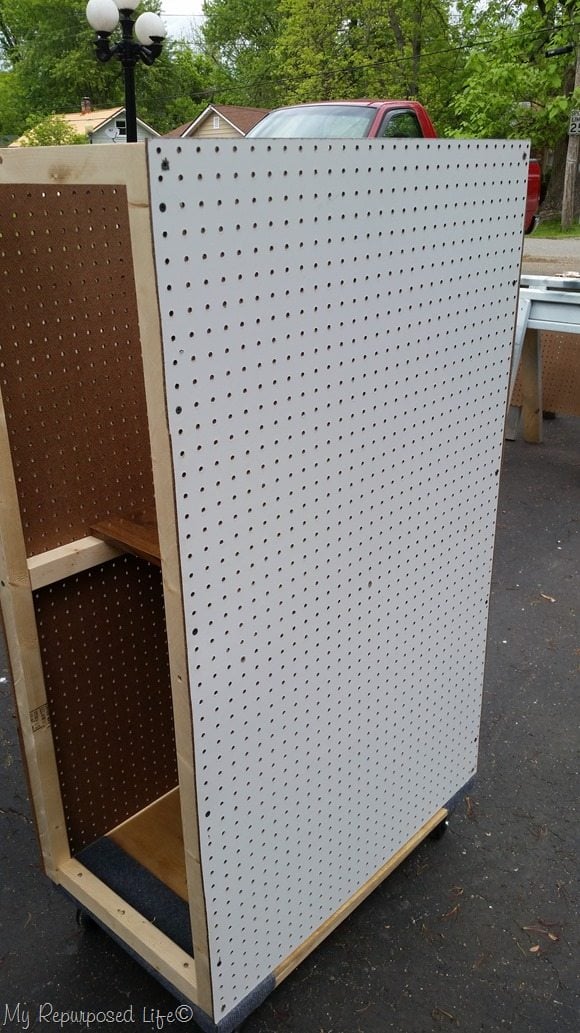
A side view
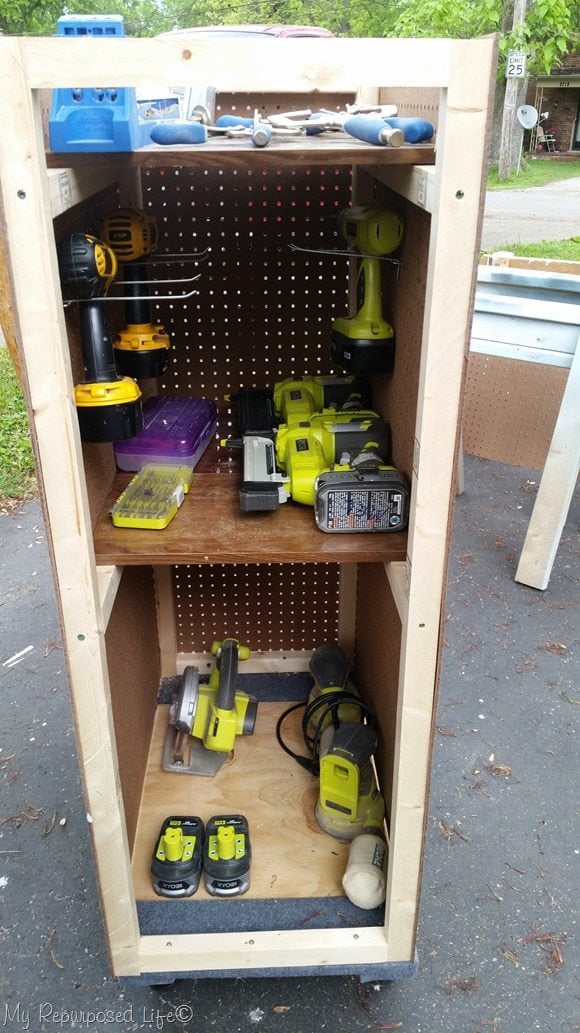
I added a top shelf to the rolling tool cart using more of the ripped 2×4’s and some shelf boards I’ve been hanging onto.
I decided to use long pegboard hooks to help hold my drills on the inside of the cabinet which allows for extra storage, up off the shelf.
NOTE: I lowered the top shelf a bit so the items would be safe from falling off the shelf while I move the tool cart.
Using a nail gun in place of clamps
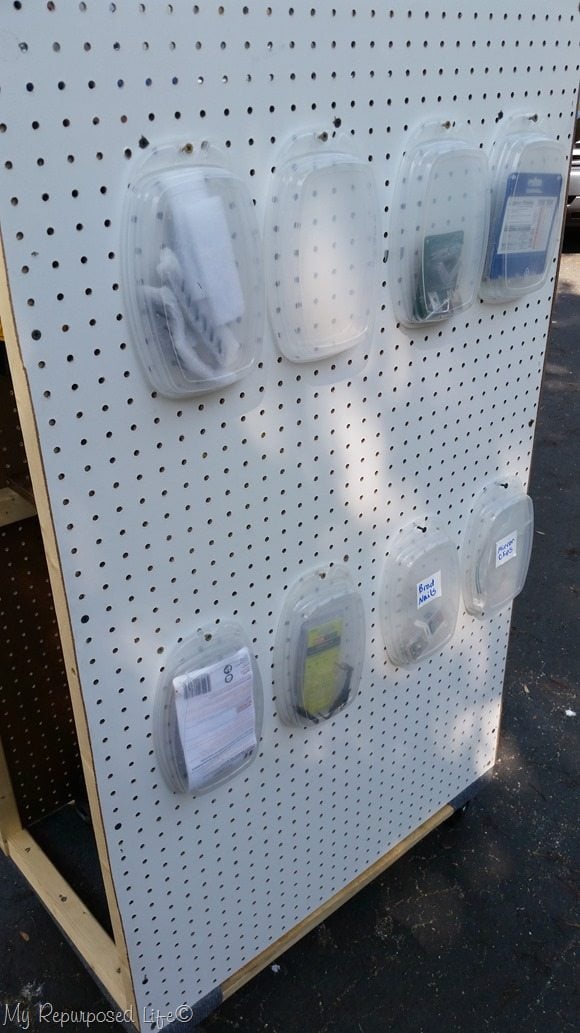
I didn’t have any pegboard hooks that didn’t stick out a lot, so I chose to use screws and some lunch meat containers to hold some lightweight items.
You can see in this photo that I used wood screws to secure the pegboard after I saw that it was all going to come together. But, I gotta tell ya—using those brad nails to tack it all together was so easy! Think of it as a fancy way of clamping! (I’ve done it for headboard benches as well)
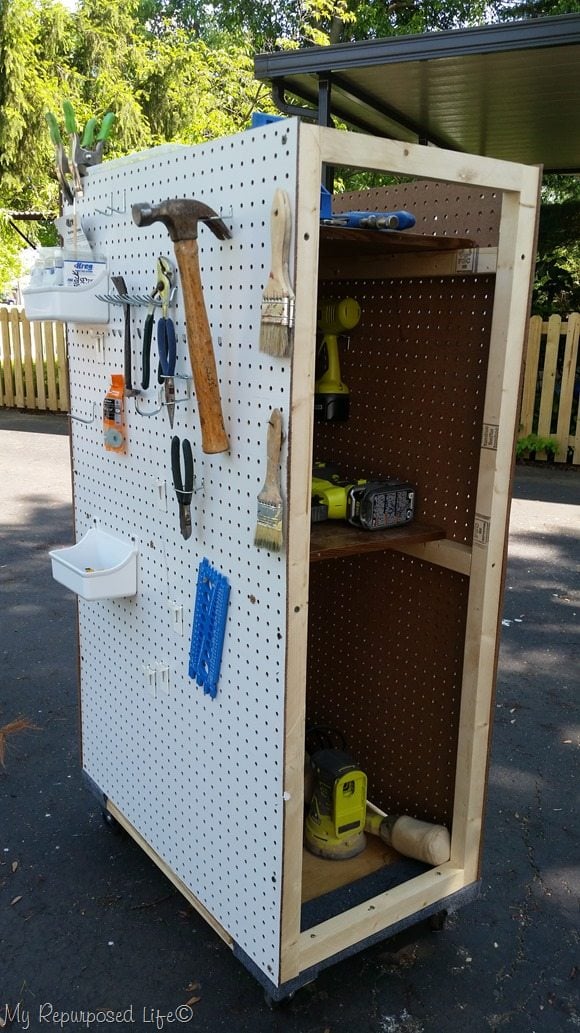
I used all of the smaller pegboard hooks on the other side.
OK, keeping it real folks. It’s not perfect—it needs some tweaking. I ran out of 2×4’s. I will need to add more braces on the top and bottom. (from front to back)
We have had so much rain lately that I haven’t been able to get much done. I’m really behind!
What do you think? Could this rolling tool cart be something that could help you out? Do you need to roll your tools to your work site? Or are you fortunate enough to have everything “at hand”?
gail


Genius !!
I loved your idea so much that I had to make one for my tools. We moved into a really small mobile home that needs a lot of work so we have been buying a bunch of power tools and so forth with no place to put them without having to dig around in a bag or a bin. So I started looking for a solution and found your cart idea. The funny thing is that I already had the pegboard which I acquired from a store doing a remodel throwing it away. So, I already had all the parts to build it except for the peg hooks. Now I’ve decided to paint it to make it look a little better. But thank you so much! It has come in so handy!
Oh my gosh, this makes me so happy! I love helping other people do it yourself! Thank you so much for letting me know. Good luck fixing up your new home.
Gail
Many thanks for the inspiration, Gail! I just made a tool cart like this today, using your idea as the basis.
Awesome Karl! Thanks so much for letting me know. I hope you find it as useful as I do! 🙂
gail
Gail!
This tool cart is the BOMB! I am going to make one for my power tools and my
gardening tools!
I love, love, love this project idea and imagine all the other uses you could use
one for!! (I may need to make a scaled down version for my sewing tools!)
Awesome Marlene! I’m so happy you found inspiration from my project. It’s why I do what I do!
good luck, have fun!
gail
Gail, this is the best idea you could show me. I have tools all over and when I need one it’s hard to find.
I have tried an old rolling TV cart for me drills, but my saws are in another place etc. I will make this as soon as the weather cools off. I’m in Minnesota and our temps have been abnormally high with high humidity. I work in my garage as soon as the snow stops and my car is out till the snow starts back up in winter. I can work when it’s chilly but not this heat! Keep up the good work and thanks for sharing it with us.
Di,
I feel your pain! I spend so much time looking for stuff, and putting stuff away. Granted, I love getting in the extra steps to put things away, but I don’t like wasting time.
I hope you cool off soon. We’re going to have a slight cool down next week, and believe me, I’ll take whatever I can get. I’m itching to get back outside and do some projects. I’ve been collecting a lot of great stuff this summer.
Thanks so much for stopping by and taking the time to leave a comment, it greatly appreciated.
gail
I really like the idea of the rolling cart particularly if you work outside a lot. I have my shop set up in our garage but still take things outside to set up and use. My only question is have you had any problems with the cart tipping over as it seems like it would be a little top heavy, and a furniture dolly has a fairly small foot print. Would really like to know how tall the cart is as well, and that may be where the stability comes in. Any dimensions or other information would be appreciated.
Hey Steve!
Great questions! I used the width of the 4×8 sheet of pegboard, so the height of the pegboard is 4 ft. (plus the dolly) It is not top heavy. There are 2 small issues I have run into.
1) I have a huge HUMP going into my garage, and it’s difficult for me to get it over the hump, particularly coming OUT of the garage.
2) The wheels on the dolly tend to be a little stubborn, and not turn in the direction I need them to at times.
It’s been pretty hot, so I haven’t done a lot of work lately… but when I do work in the driveway, it’s going to be a real time saver for me.
The dolly is 18″ x 30″
Hope that helps!
gail
This is an awesome cart. Sure will save a lot of wasted steps and frustration I’ll be able to get projects done a lot easier.