Scrap Wood Christmas Ornaments
As an Amazon Associate, I earn from qualifying purchases.
Did you see my repurposed drawer front Welcome sign? I dismantled the drawer so I could have nice wood to make these scrap wood Christmas ornaments. I felt like my normal 1x2s were too thick. The materials on most drawers are nice, sturdy, thinner stock. The tips for dismantling the drawer are shared in the Welcome Sign article.
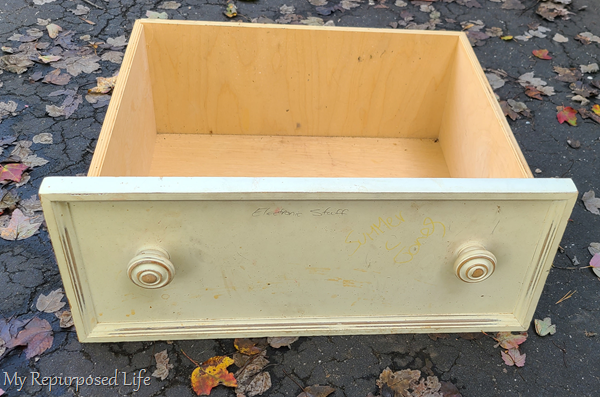
This is the vintage drawer I dismantled. Can you see how nice the sides and backboards are? They are made of cabinet-grade plywood, not the sheets used for other projects.
Visit the My Repurposed Life Amazon Store to shop my favorite items.
Dismantle Wooden Drawer to Harvest Reclaimed Wood
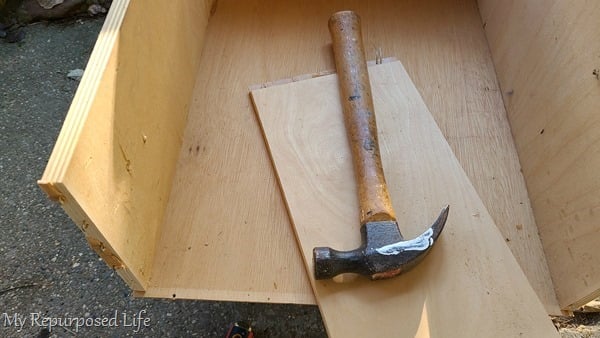
Can you see the edge of the drawer side the hammer is lying on? All staples had to be removed, and then that little edge needed to be cut off before I could harvest the wood I needed for the scrap wood ornaments.
Cut Wood Slats on Miter Saw
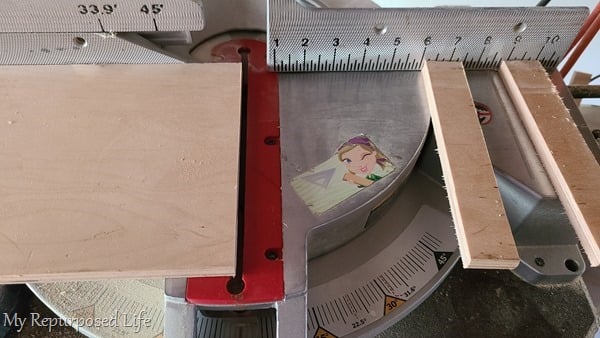 After trimming off the end pieces, I was ready to cut my slats for the ornaments. The size is totally up to you. I chose to make some narrow slats and some wider slats out of the repurposed drawer lumber.
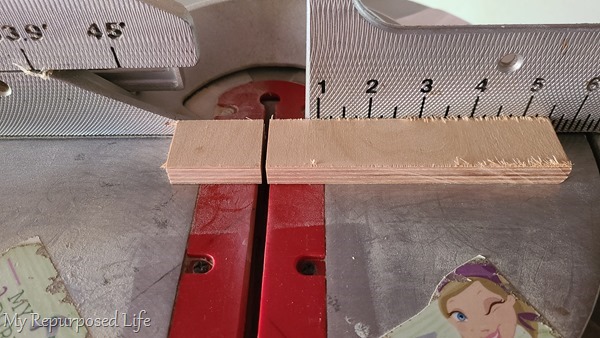
After cutting the widths, I cut the slats to about 5.5” long.
Sand Edges Smooth
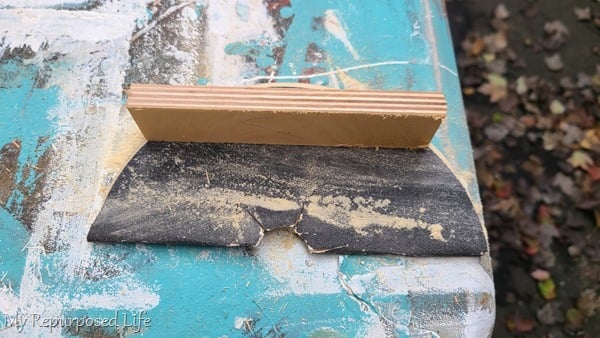
Did you know that when sanding small pieces of wood, sometimes it’s easiest to move the wood instead of the sandpaper? So, I held the sandpaper on the table and moved the wood back and forth.
Easy Staining Technique
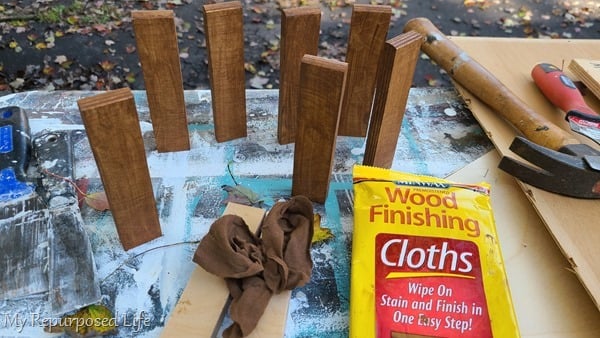
I seriously can’t explain how easy these wood finishing cloths are! The cloths are really old and may be out of production. But they really gave a nice finish on the scrap wood, with literally NO odor. They are water-based, but I did wear latex gloves.
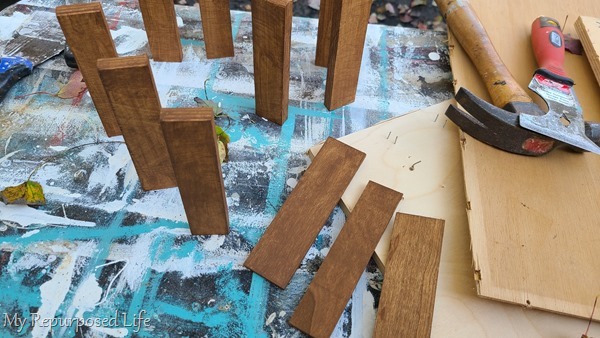
It isn’t easy to see, but the three pieces lying down are Woodsies. I got them at Walmart and cut them on my saw. You could easily use paint sticks.
I prepped a bunch of the wood slats at home and took all the supplies to my Nashville campsite. Crafting while camping is fun, but it’s even better when you have someone to join in the fun!
Painter’s Tape to Transfer Vinyl
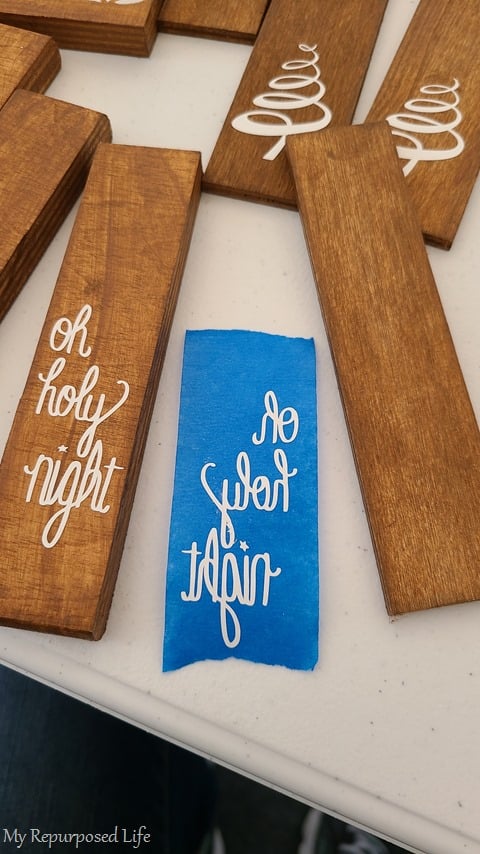
I cut out some vinyl before I left home. Then Jamie popped over to the campground one afternoon for some fun crafts. I showed her how to transfer a small vinyl phrase with painter’s tape, a great option for transfer tape. The phrase has been removed from the backer sheet with the painter’s tape.
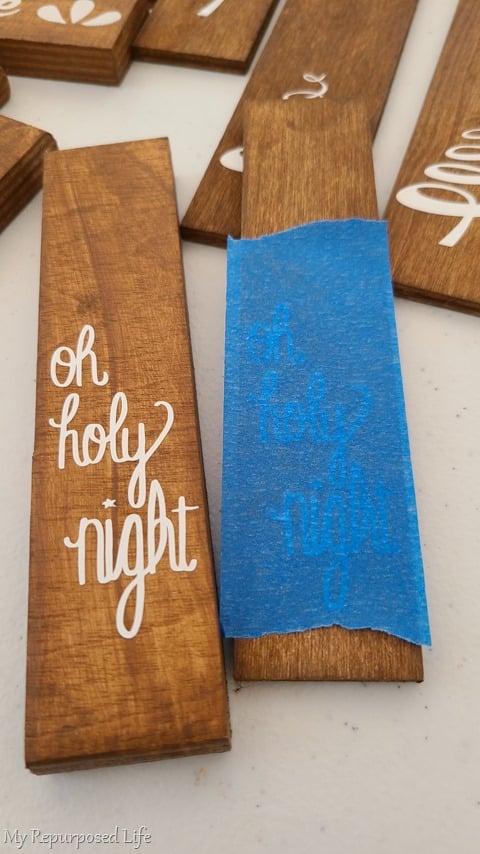
You can easily see the image on the ornament using the painter’s tape.
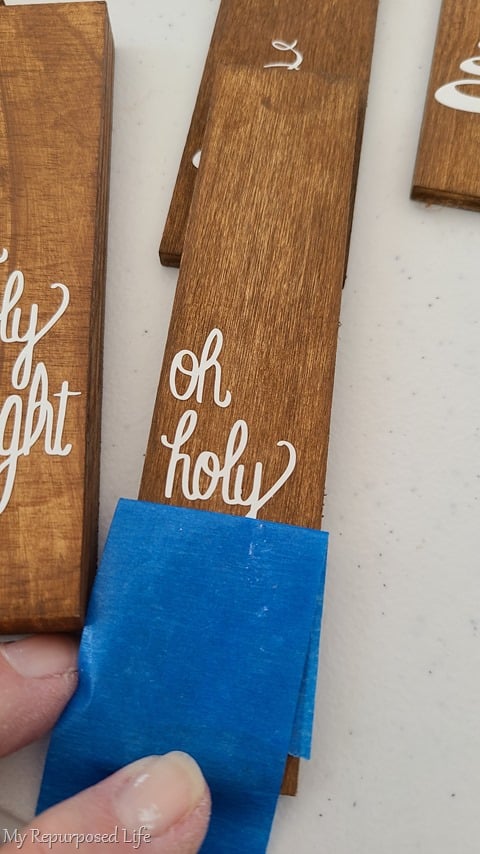 Laying the tape over itself allows the vinyl to adhere easily to the surface—in this case, scrap wood ornaments!
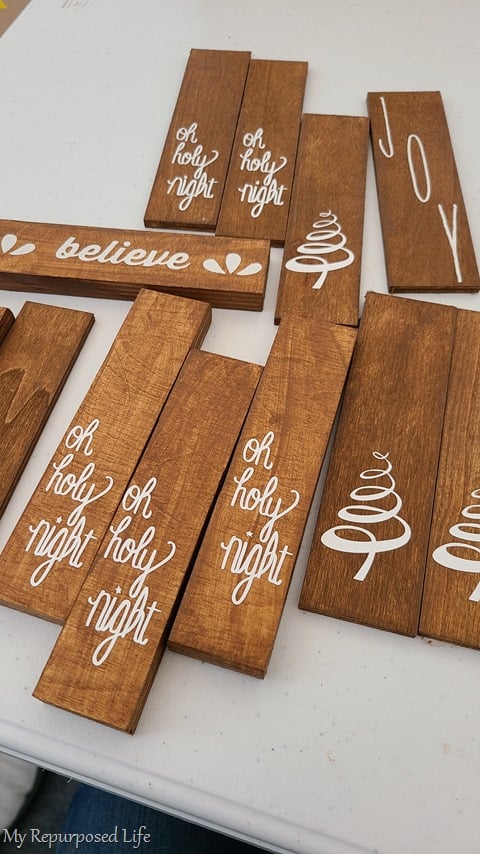
Then, I showed her how easy it is to decorate scrap wood ornaments with Chalk Paste !!! Above the JOY and believe are both done with a Chalk Couture Transfers from The Junky Chalker Shop.
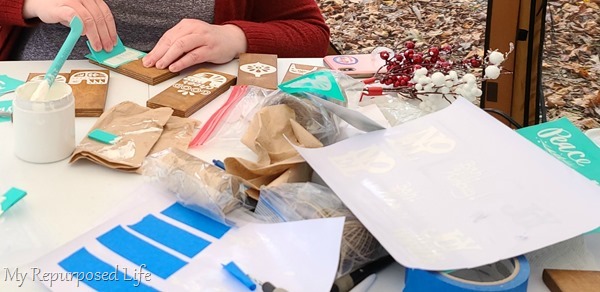
There are so many options for scrap wood ornaments!!
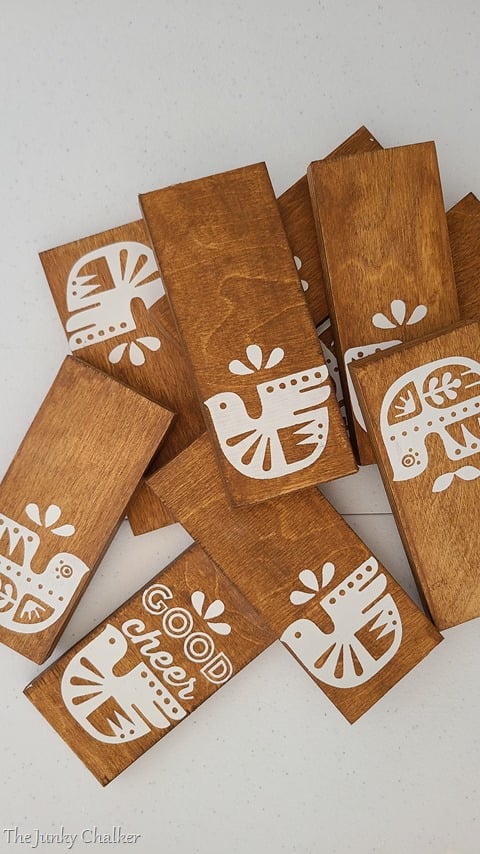
Jamie was hooked! She loved these birds and even used other transfers to embellish them. That’s all we had time for that afternoon. I wish I had taken a picture of our setup. I put up my Clam shelter with a card table and two other tables to make things easy. We had stuff everywhere! It’s so much more fun crafting with someone you love!
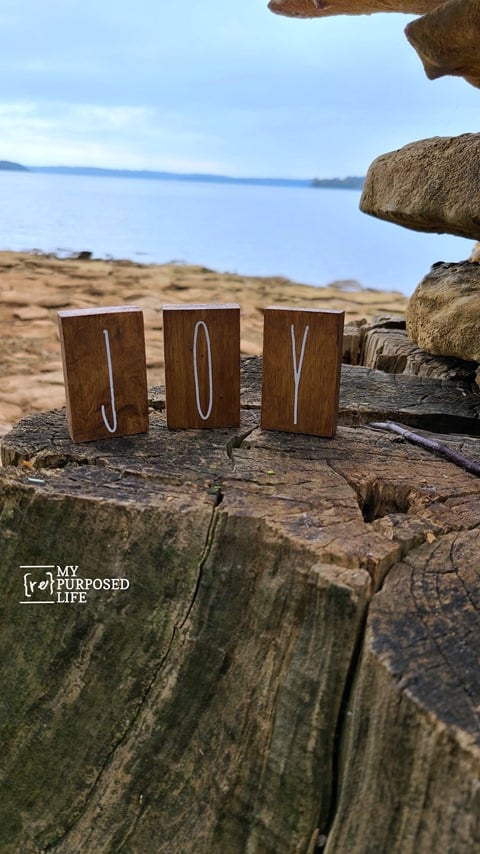
After Jamie left, I played around, taking pictures of the smaller JOY I made. I love this font!

My lake view at night, isn’t it gorgeous?
Drill Holes for Hanging Wood Ornaments
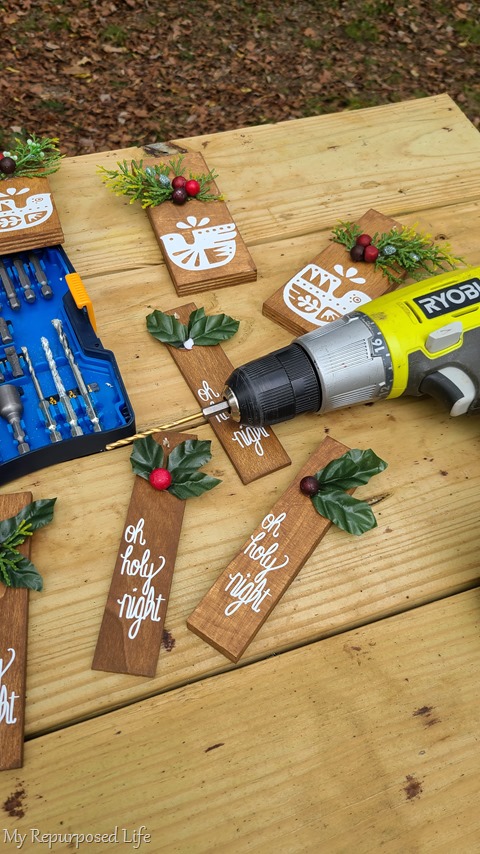
Jamie and I worked a little on embellishing the scrap wood ornaments at her home. Then I returned to the campground and got busy drilling holes and adding twine, ribbon, etc.
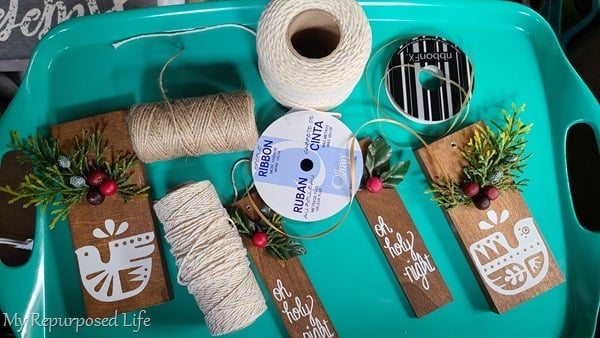
It’s a little challenging to see, but the twine on the bottom has a gold thread running through it. The twine is beautiful in real life.
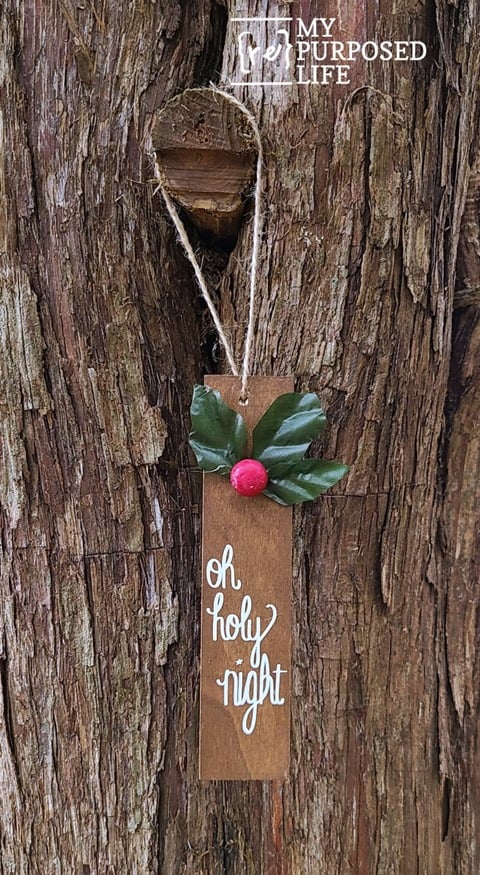
The winds of Hurricane Zeta rolled across the lake, making it difficult to take pictures. As I write this post, I can feel the camper rocking back and forth in the darkness.
This vinyl was done on my Silhouette Portrait. I elongated the image to fit on the narrow scrap wood, but I think it still looks good. Do you agree?
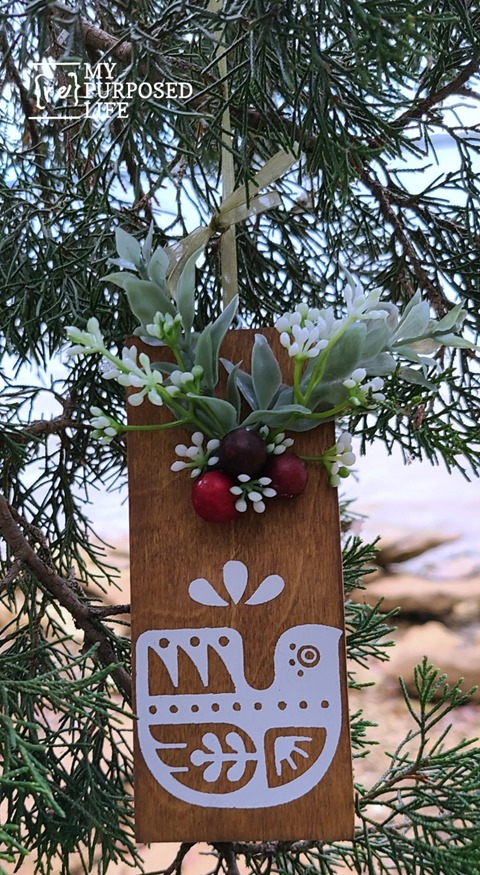 These are the little birds that Jamie had so much fun working on.
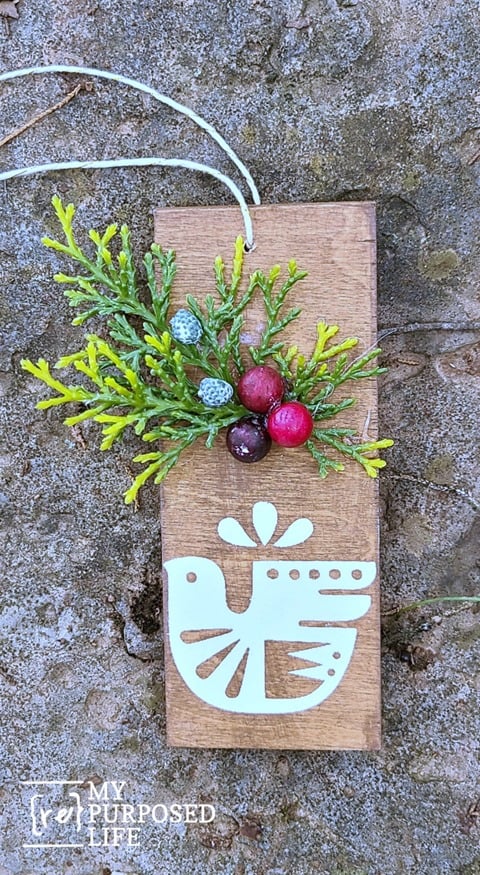 I finally had to resort to laying the ornaments on a rock because of the high winds. At first glance, you may think the birds are the same, but scroll up to see that they are slightly different. Can you see that thin thread of gold in the twine in this picture?
The scrap wood ornaments were fun and easy to make. Crafting while camping is also a lot of fun!
Do you routinely make Christmas ornaments? How about Christmas trash-to-treasure projects? Stop by Sunday for a great collection of ideas from the Thrift Store Decor Team!
gail
Related Content: Scrap Wood Christmas Decor


love these! so nice!