Shabby Side Table
As an Amazon Associate, I earn from qualifying purchases.
Do you remember my friend Jan? I made a shutter cupboard, shutter shelf, repurposed door shelf, and a headboard bench for her. I also recovered a rocking chair and made a couple of teacup lamps for Jan. She curb shops quite a bit, and is always finding really good stuff.
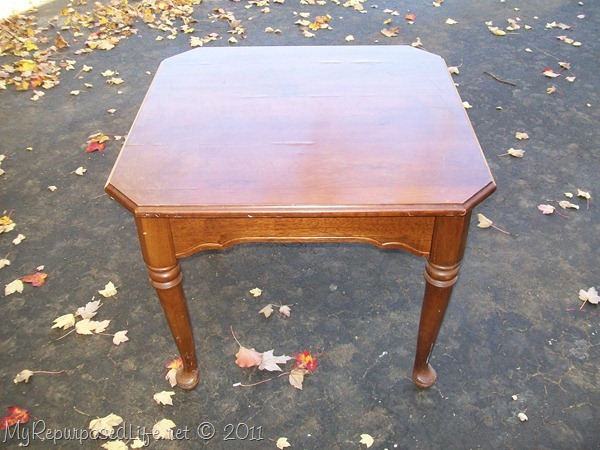 Jan curbed this table, and decided to pass it on to me, Thank You Jan!
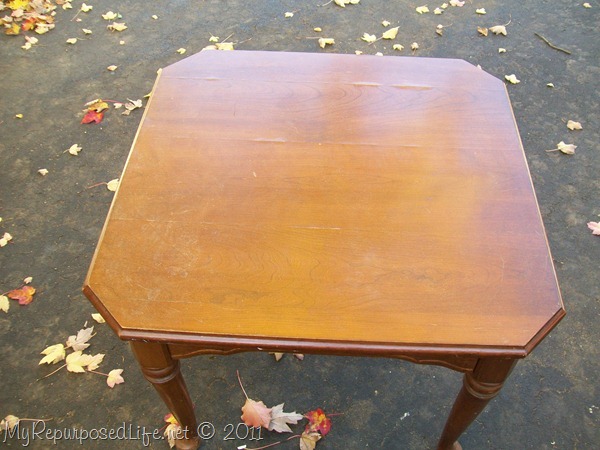
The top had a couple of issues.
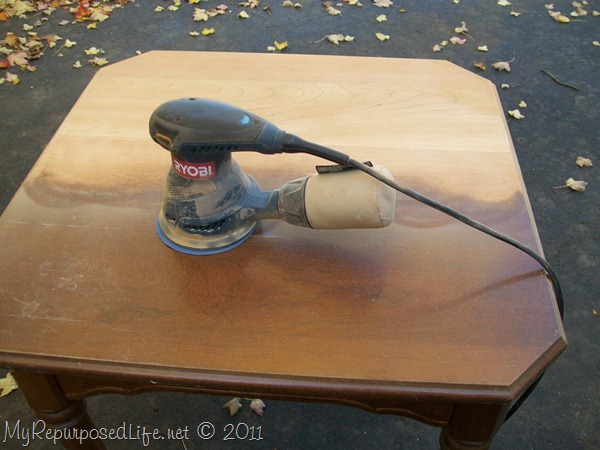 I decided to remove the finish, and I find it easiest to sand rather than strip.
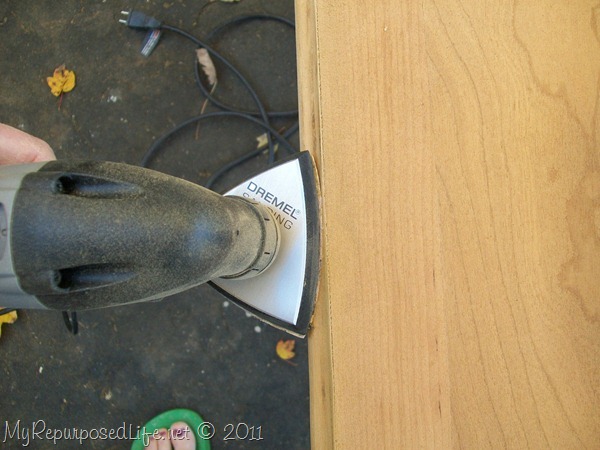
I used my Dremel MultiMax to sand the finish off the edges, LOVE it!
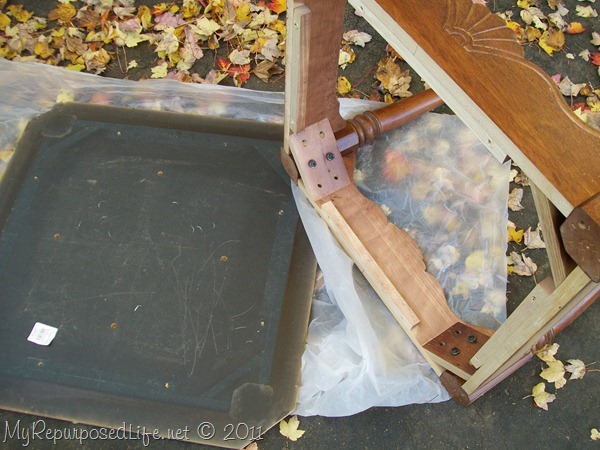 After sanding the top, I removed it from the base so it would be easier to paint.
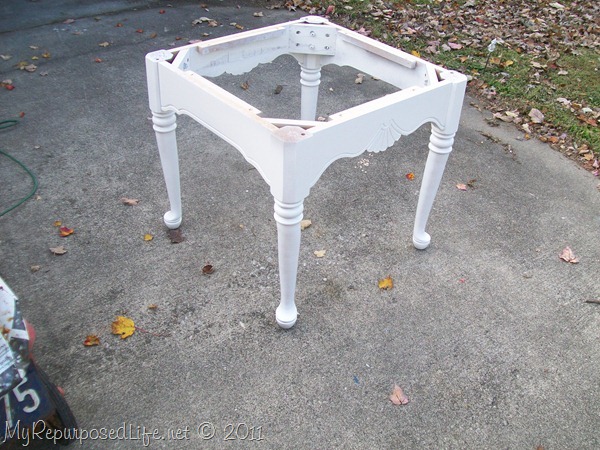 I primered and painted it with my HomeRight Finish Max Fine Finish Sprayer . That sprayer makes projects go so much faster!

I used my new favorite stain, Minwax Jacobean. After a couple of coats of stain, and a few coats of wipe-on poly—I have a nice new table:
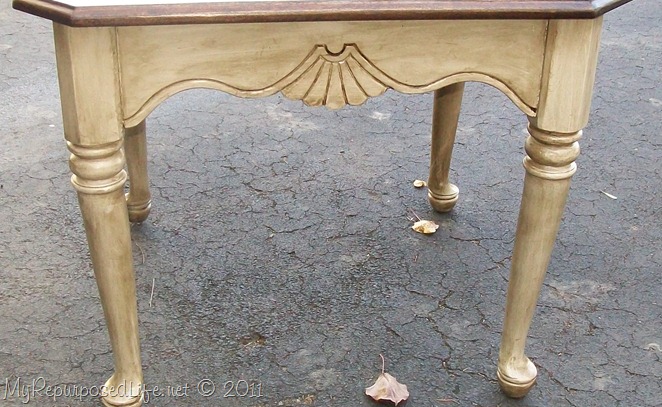
Oh, yeah, I glazed it on my marathon glazing day when I did the sewing cabinets (triplets).
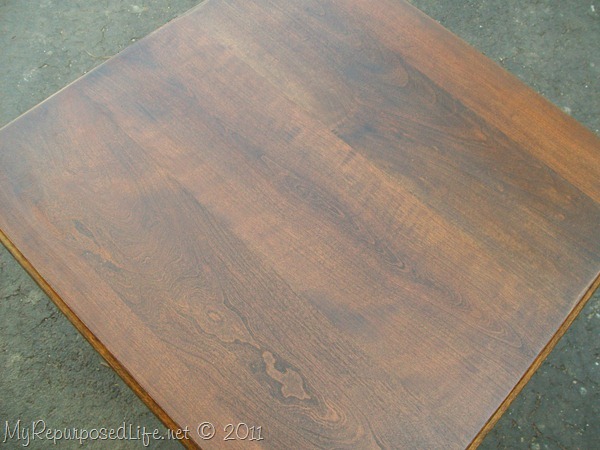 The top is still not perfect, but it looks a lot better don’t you think?
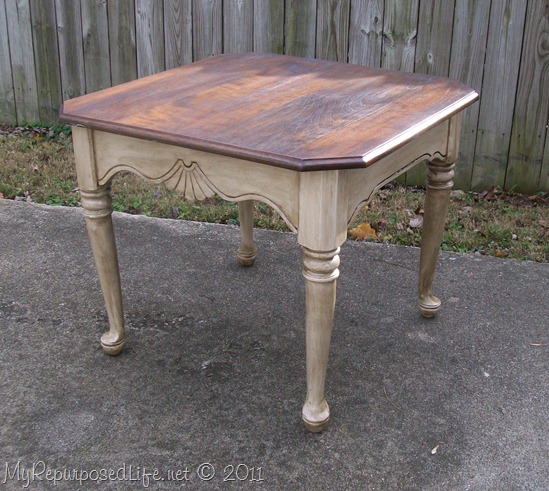
I just can’t stop combining the white(ish) and stained top. The first piece I did that on two years ago was my thrifted coffee table.
Curb finds are fun! Have you curbed anything lately?
gail
ps Jamie and Andy arrived yesterday!

Mary,
You can see my post on glazing 101 here: https://www.myrepurposedlife.com/2010/07/glazing-101.html You can use the umber paint, or minwax stain, it really doesn’t matter. Just practice on something a couple of times to see what you like the best. On this table I wiped on Minwax Jacobean, then quickly wiped it right back off working in small sections at a time.
have fun, good luck!
gail