Sliding Barn Door for the Bathroom
As an Amazon Associate, I earn from qualifying purchases.
Good morning once again, it’s Joan from Scavenger Chic. I have a great project for you, a sliding door, also known as a barn door.
I first made a sliding barn door a few years ago. At the time, you could only buy barn door hardware at places that specialized in Barn Door Hardware such as Barndoorhardware.com. And because only a few places sold the hardware, prices were rather expensive…around $300 and up.
Well, barn doors have become mainstream and everybody seems to be selling the hardware, which is fantastic for us. I bought the hardware for this door from Amazon for $89 a few months ago. I just checked, the current price is $99, it went up a bit, but still a lot cheaper than $300.
This is the barn door hardware gail used on her DIY barn doors.
I’ve mentioned it before, but when my younger brother was cleaning out his storage garage, he found some treasures he thought I would be able to use. He loves to go to architectural salvage yards and had picked up some great treasures to use in his own home. He had found uses for many of his finds, but he still had a couple of vintage doors, a bunch of spindles and a pile of great interior shutters leftover. I will happily take his leftovers any day.
One half of one of the doors became a coffee table that I shared here at My Repurposed Life, some of the shutters turned into a headboard and 8 of the spindles are now legs for a couple of side tables. There have been more projects, but those were the bigger ones.
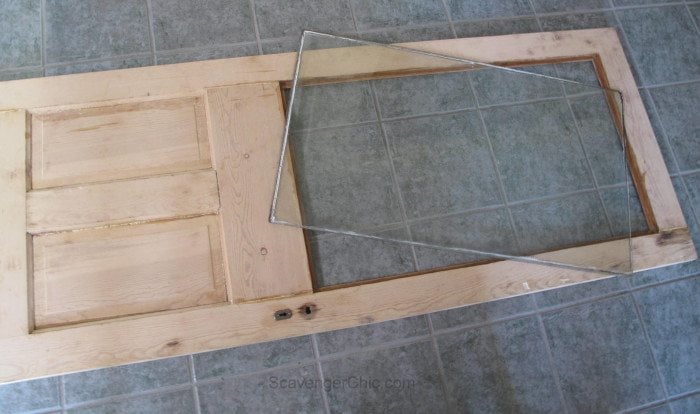
I don’t know what he was planning to use this door for, but he had had it stripped of all it’s old paint.
I knew immediately what I would use it for, because I had made my own trip to the salvage yard, and the only reason I hadn’t brought a door home was, I didn’t have measurements. Note to self, always take your measurements.
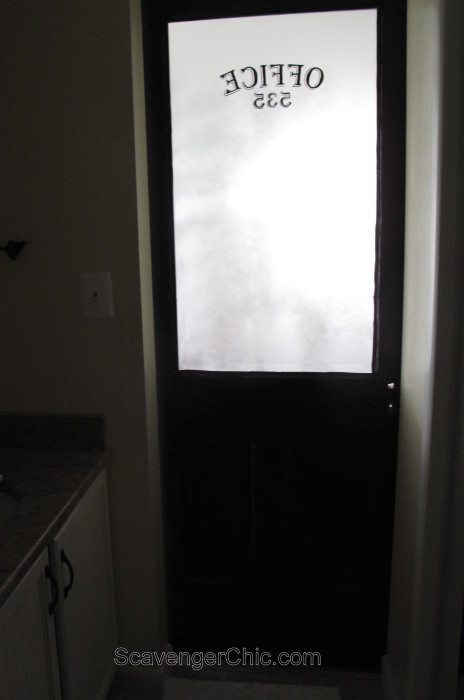
The door would become a sliding barn door for a bathroom. This bathroom was built in the 80’s when somebody had the great idea that people don’t like doors on their bathrooms. Actually, it does have an interior door to give privacy for the shower and toilet but not the sinks.
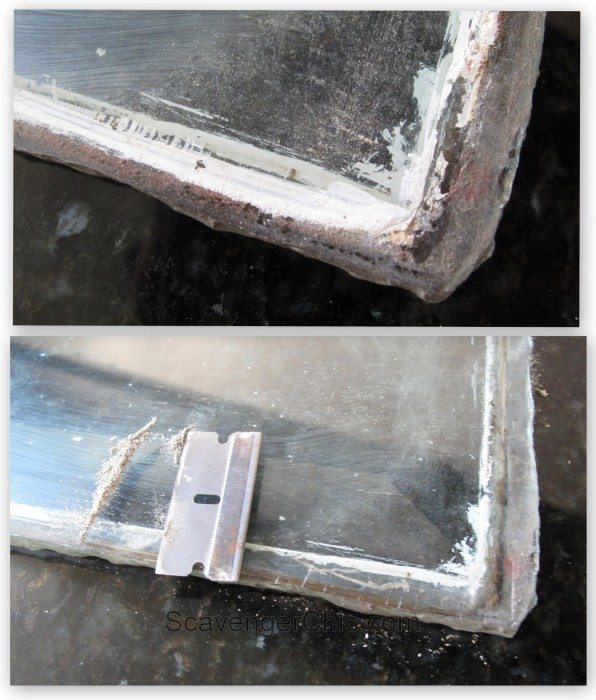 With a razor blade, I scraped off all the old gunk…dirt, paint and glazing, from the window.
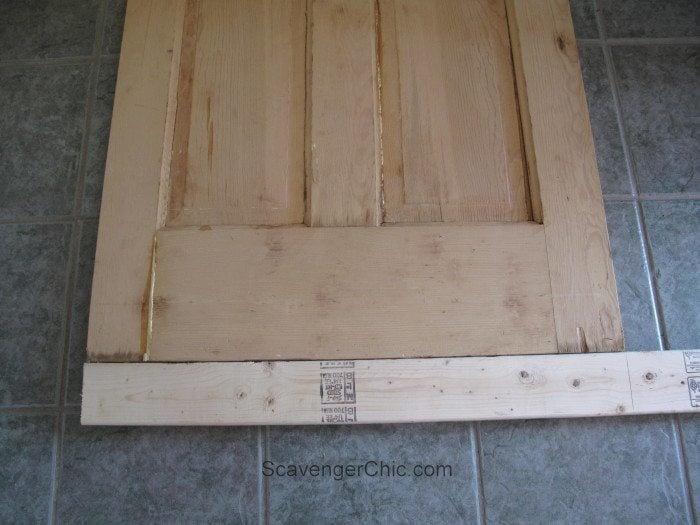
The door was actually 3 1/2 inches too short for my bathroom opening (beggars can’t be choosers) which just so happens to be the perfect width of a 2×4.
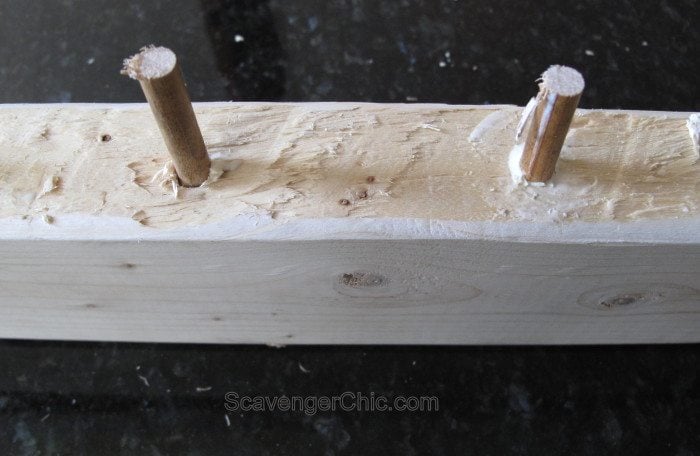 With glue and dowels, I attached the extension to the bottom of the door. Thanks to Gail’s encouragement, I now have a Kreg jig which would have been perfect for this job, but at the time, I just used what I had.
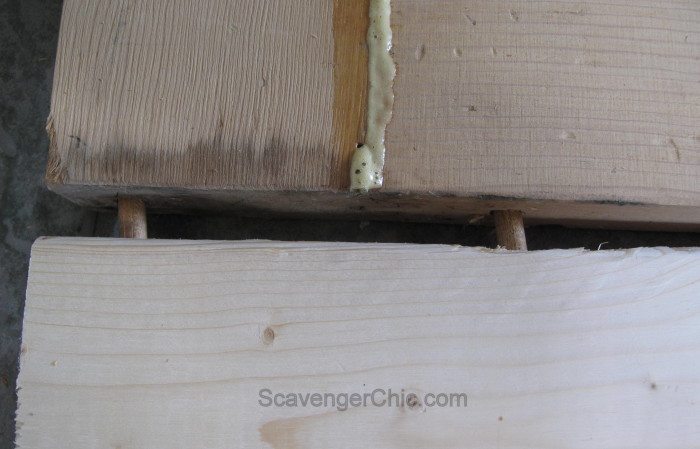 Once glued, clamped and left to dry, the door was sanded. I don’t know what that glob of glue is in the above picture, but that had to come off before painting.
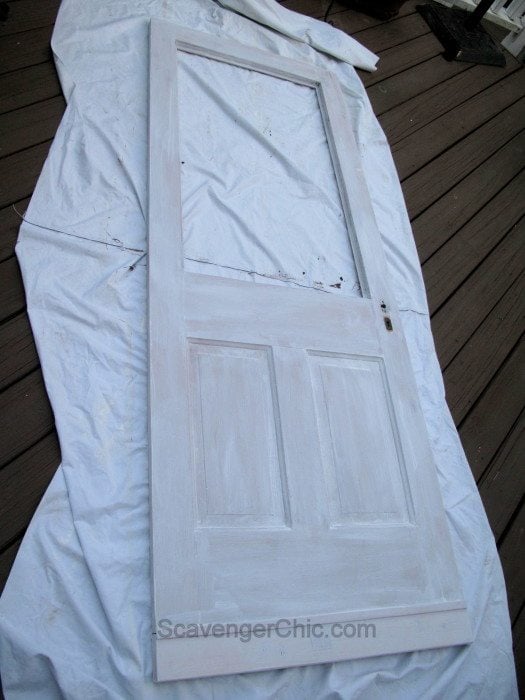 Before priming the door, I added a piece of molding to hide the seam of my door extension.
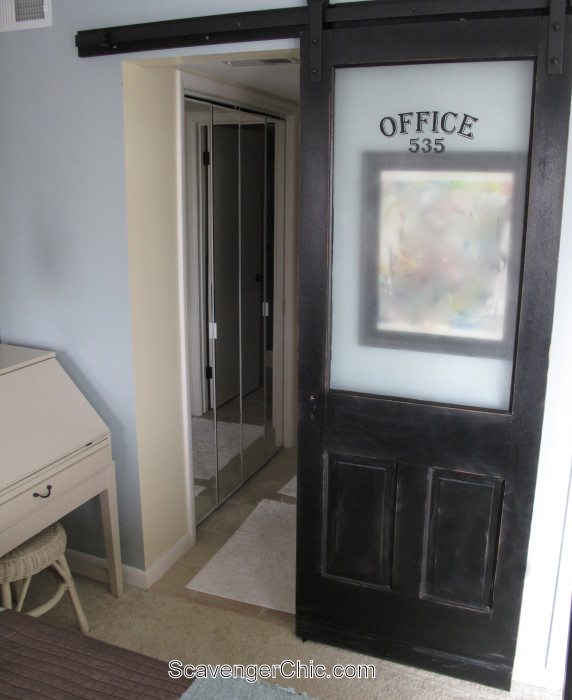
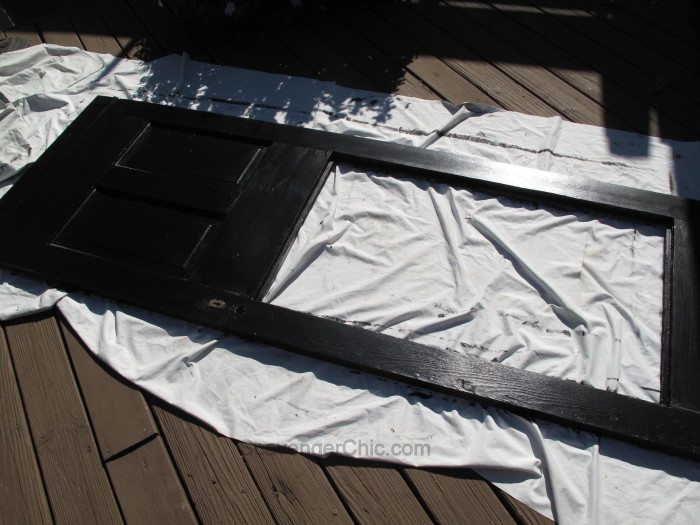 The entire door was painted with a couple of coats of semigloss black paint.
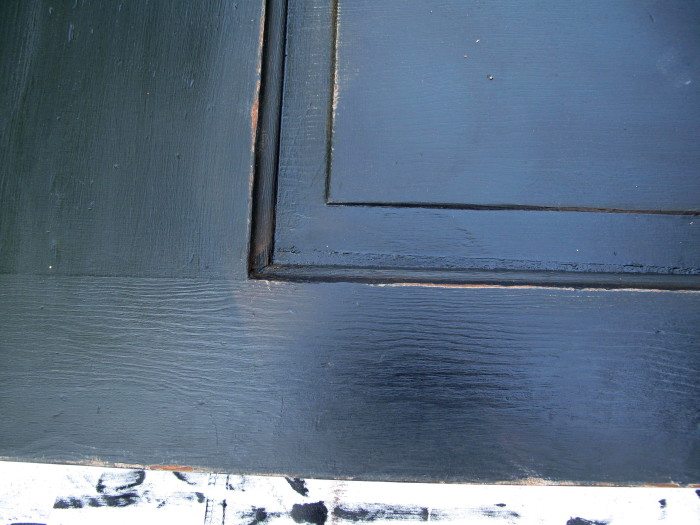 Sanded off a couple of the edges to give that aged look.
 The glass was then sprayed with a couple of coats of frosted glass spray paint.
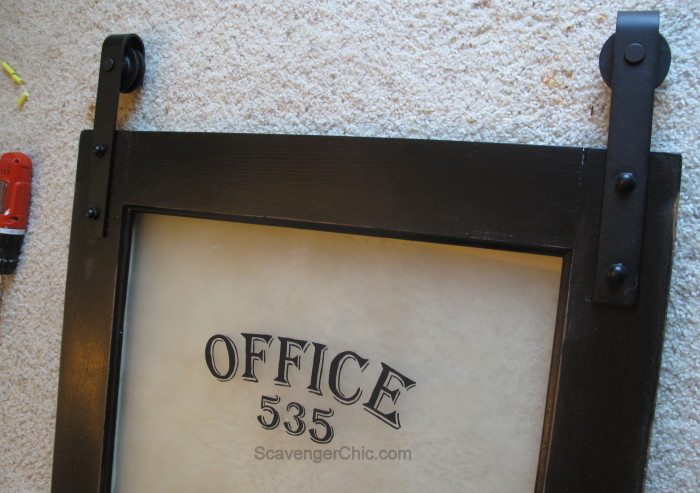
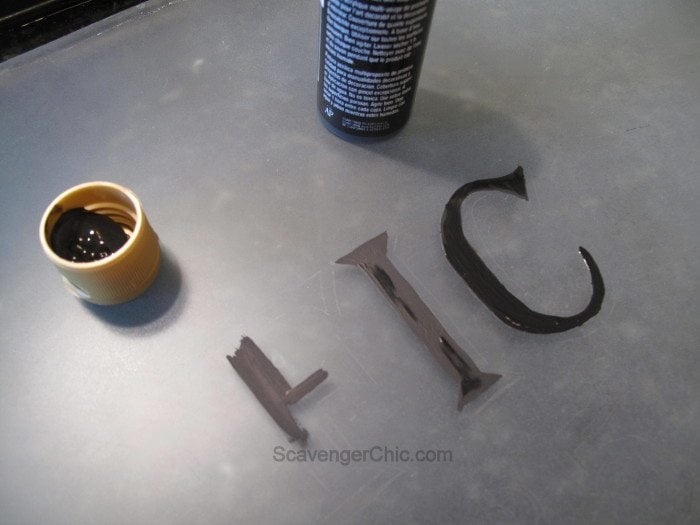 It took a little while to decide on what I should write on the bathroom door…PRIVATE, BATH, DETECTIVE AGENCY, LADIES & GENTS, TOILET, LAUNDRY….Eventually we settled on Office. If someone asks you where you are, you just tell them you’re in the office. 🙂
“Office” was printed out on the computer the exact size I needed and the outline of the letters was transferred to the glass with carbon paper. Office is printed in an Algerian font, size 36, but just choose your favorite. The lettering was then hand painted. I had tried stenciling the lettering on a scrap piece of glass, but I didn’t like the way the paint bled. If you’re more comfortable with stenciling, that may be the way to go.
 Reinstalled the glass into the door with window glazing. The glazing needed to dry overnight before being painted.
Affordable Sliding Barn Door Hardware
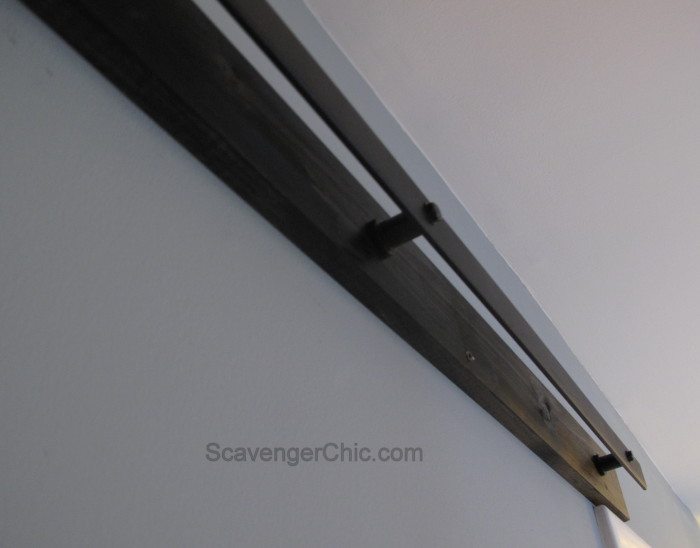 The track that came with the barn door hardware was installed. If the holes that are pre-drilled in the iron rail don’t match up with the studs in your wall, you may need to install a backer board. Ours was painted black to match the iron rail.
 While the door was still flat, installed the rollers for the barn door.
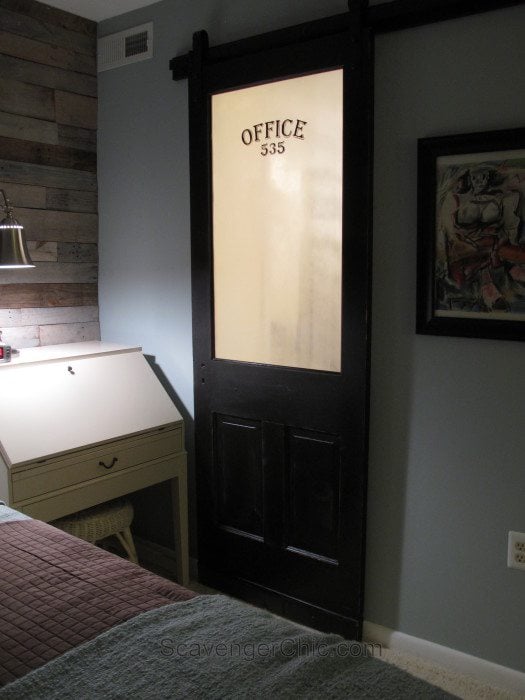 Still needs some kind of door knob or handle, but the door works great and gives a bit more privacy while you’re in the bathroom.
 This is from the inside looking out. If an object is right next to the door, it’s pretty clear, otherwise the object is just a blur.


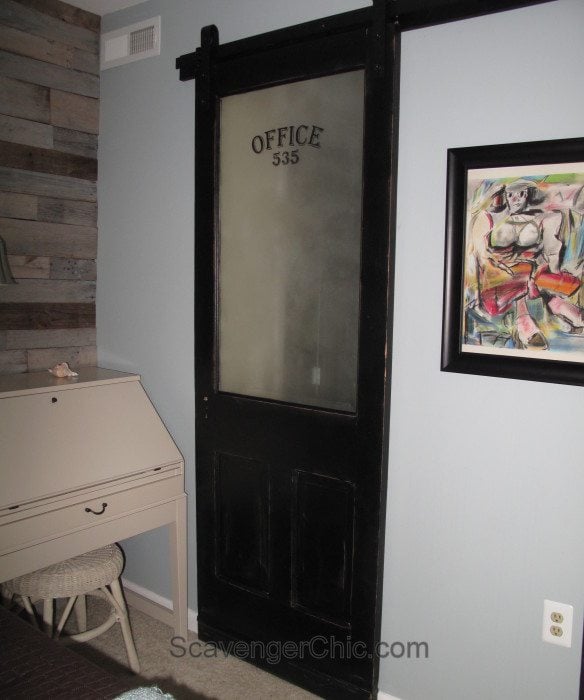
The door goes great with the pallet wall that I shared a while back and if you need me I’ll be in my office 🙂
Joan
sharing here DIY Like a Boss
I just got a salvage Pantry door with glass in it. I am making it a pantry barn door, but it was a prehung door, how do I hide the hinge cut outs and the door knob cut outs? I love the dark stain and rustic look, so I would prefer not to paint it.
I am not creative so I am hoping you can help.
Patti,
I would try to get some stain to match the hinge (mortises) cutouts and leave them. As for the knob, do you know someone who could cut out a circle using a hole saw to “patch” the hole?
Honestly, if it were my door, I’d probably just leave them as is, and use a glass knob to make it prettier. If you need more help feel free to email me a picture and I’ll try to give better advice.
gail
Thank you, here are the pictures. the side that is pre-hung is towards the living room. It is rustic, well loved and that is what I like most about it. I am a horse gal, so…
I found two sets of rustic handles handles with a plate behind them, thought maybe if I like one set then I would put one on each side of the front??? Both sets should be wide enough to hide the cut out, just not sure if they are too big of a style for this door and the space.
I do like your idea of filling it in with a round and I did buy a wood filler also. My stain people said it is pricey to make a custom made stain. 🙁 I even thought about painting the sides a contrasting color, but that can be tricky, and again I love the color. We are building a little mother in-laws house to retire in.On a tight budget and I can not go crazy on stuff for this door.
I found these hinge fillers on Amazon, but they are 10 bucks each.
Here is the barn door top, I love the horse shoe look.
How do I attach photos on here?
Again, thanks for your advice. 🙂
Patti