Small Claw Foot Table
As an Amazon Associate, I earn from qualifying purchases.
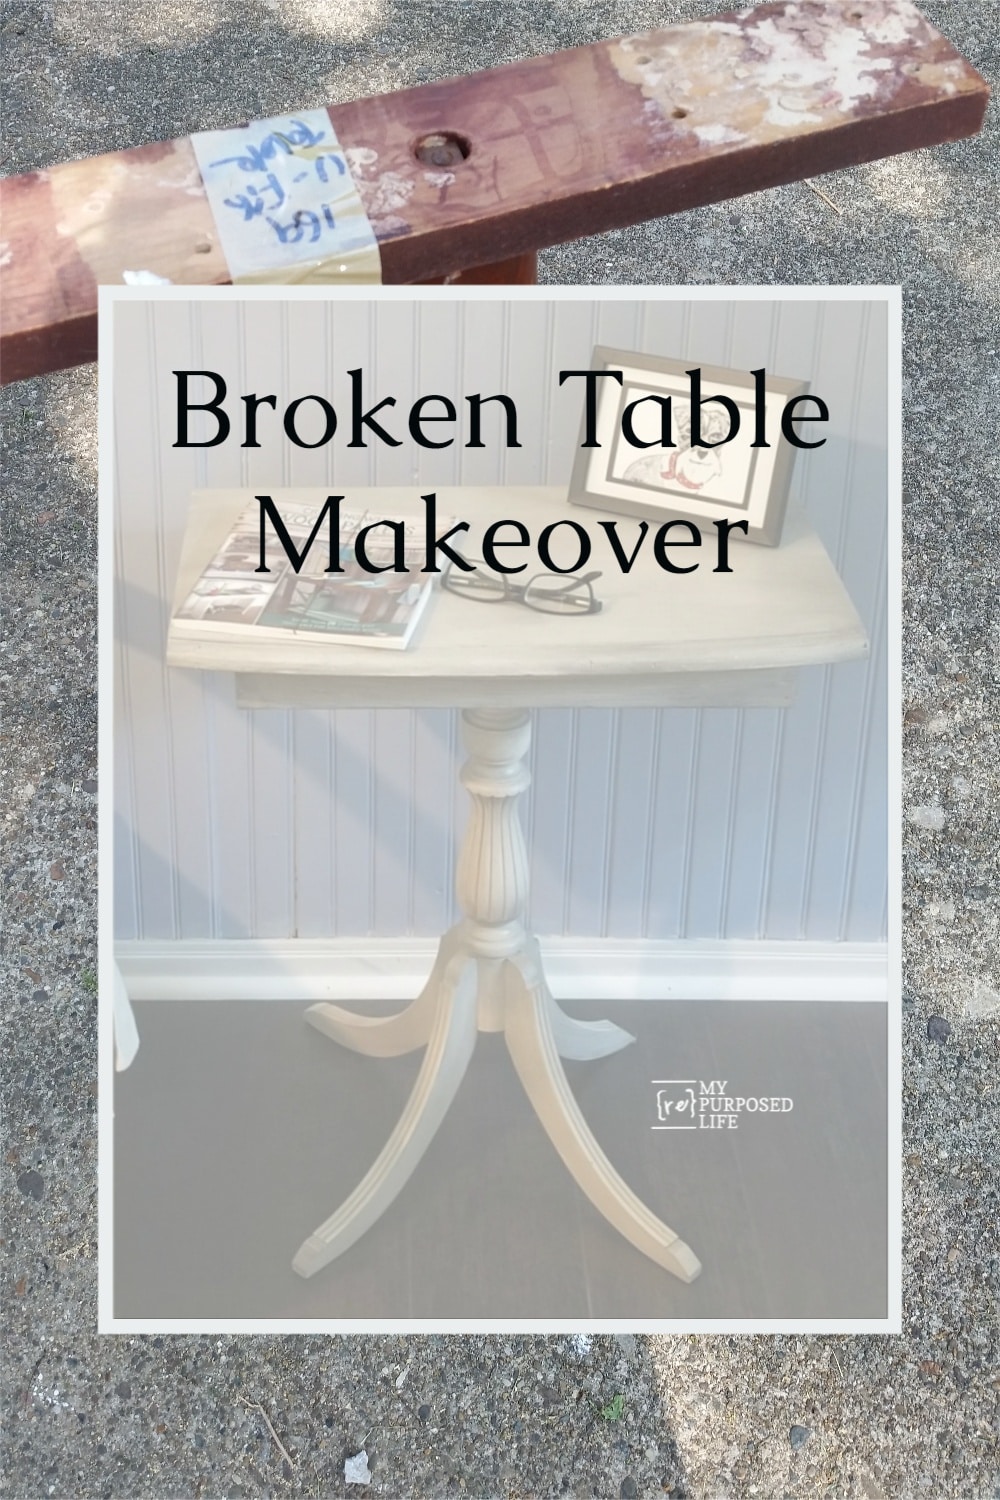
I purchased a broken claw foot table at Vendors’ Village for .99. I’ve been holding onto it for about a year.
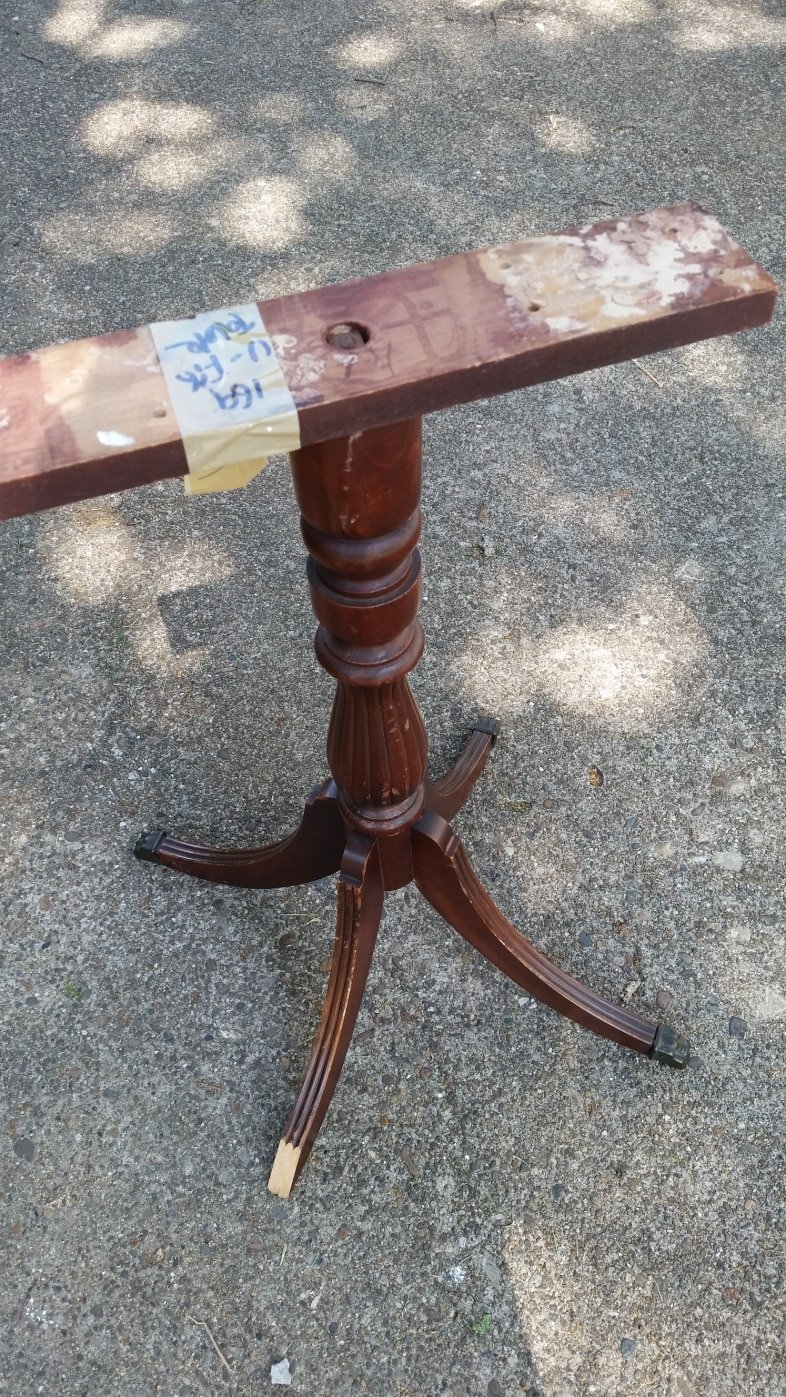
You can see where one of the feet broke off. I’m sure that’s why it was so cheap.
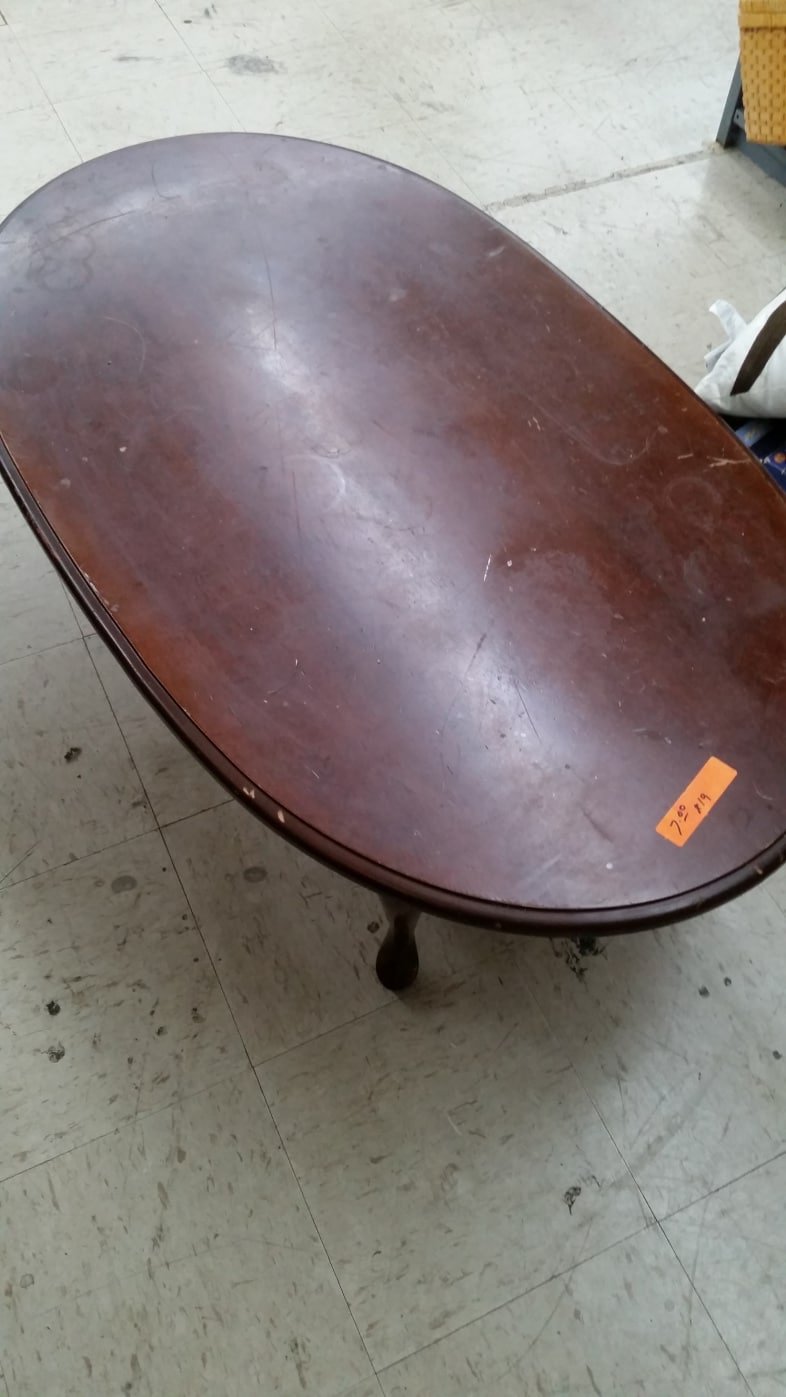
A few months ago, I bought this damaged $7 coffee table. I removed the top and cut it in half to make a half table that’s great for an entryway or hall table.
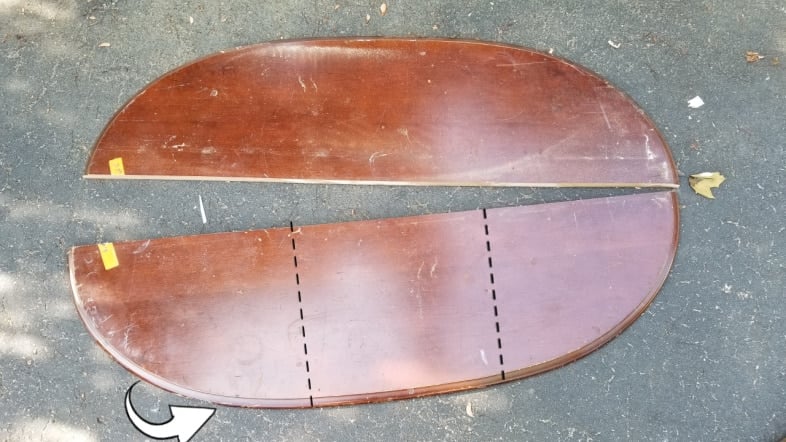
You can see that I used the smaller half for the cleat table and was left with this larger half that was damaged (where the arrow is pointing). I cut this off on the sliding compound miter saw and put it with my scraps. One day, while I was painting, I was looking for something to use the leftover paint for; I grabbed the broken four-legged table.
Then, suddenly, I remembered I had that scrap table top just waiting for its purpose.
Fit Topless Base With Tabletop

Don’t they look like they were made for each other?
Paint New Table Pieces
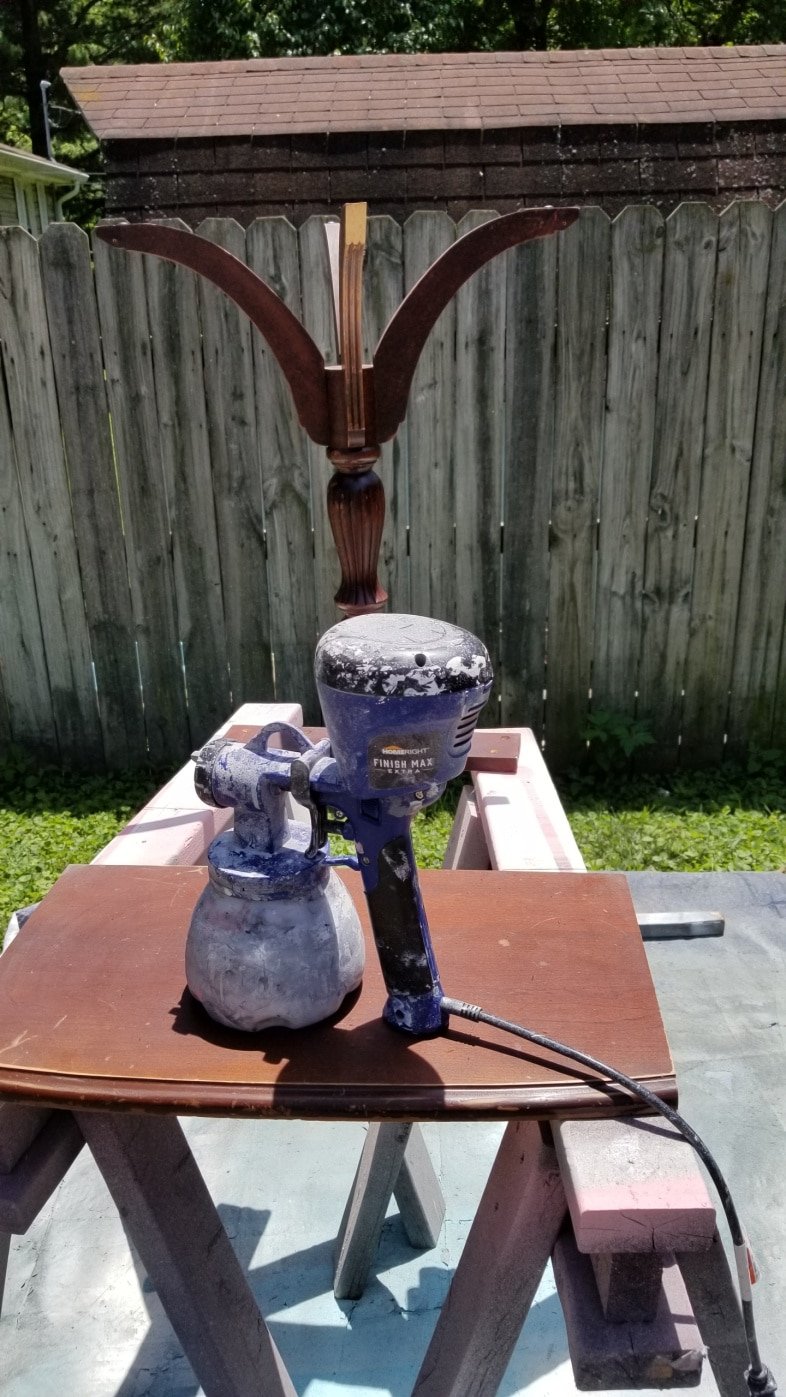
I already had the DIY chalky paint primer mixed in an off-white. Using my easy DIY sawhorses and the Super Finish Max Paint Sprayer, I painted the base and the top. I often do this—find a quick project to use leftover paint that is already mixed.
Visit the My Repurposed Life Amazon Store to shop my favorite items.

This is my favorite part of a project . . . after the primer. I love it when all the pieces come together and look alike.
Attach the New Piece to the Topless Table Base

My handy Kreg Multi-mark tool makes it easy to center the base onto the tabletop. As usual, I used wood screws and Gorilla Wood Glue to secure the base to the top.
Related content:
Project ideas and a video of “how to glaze painted furniture and more”
Glaze White Table

It was time for the Smoked Glaze paint treatment. I love how this glaze makes the paint look better and helps seal the project due to the flat finish of the chalky paint.
Watch my video of How To Glaze Painted Furniture
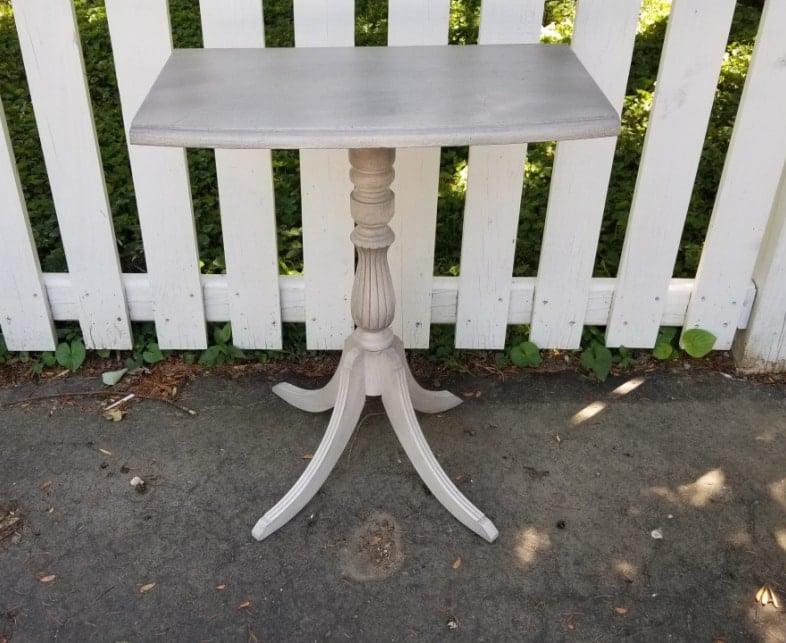
Here’s the small table after I glazed it. But I felt like it was missing something that most tables have, but we take it for granted. It needed an apron or a skirt to make it all come together.
Add a Skirt to the New Side Table

Keeping scraps of all kinds works so well for me. I only had to cut the skirt/apron to length. Again, using the mark-mark tool and my Kreg Jig to make pocket holes, installing the apron was quick and easy. I shot some brad nails with my nail gun on the corners.
Since the trim was already primed white, I added a little Smokey Glaze to make it all come together!
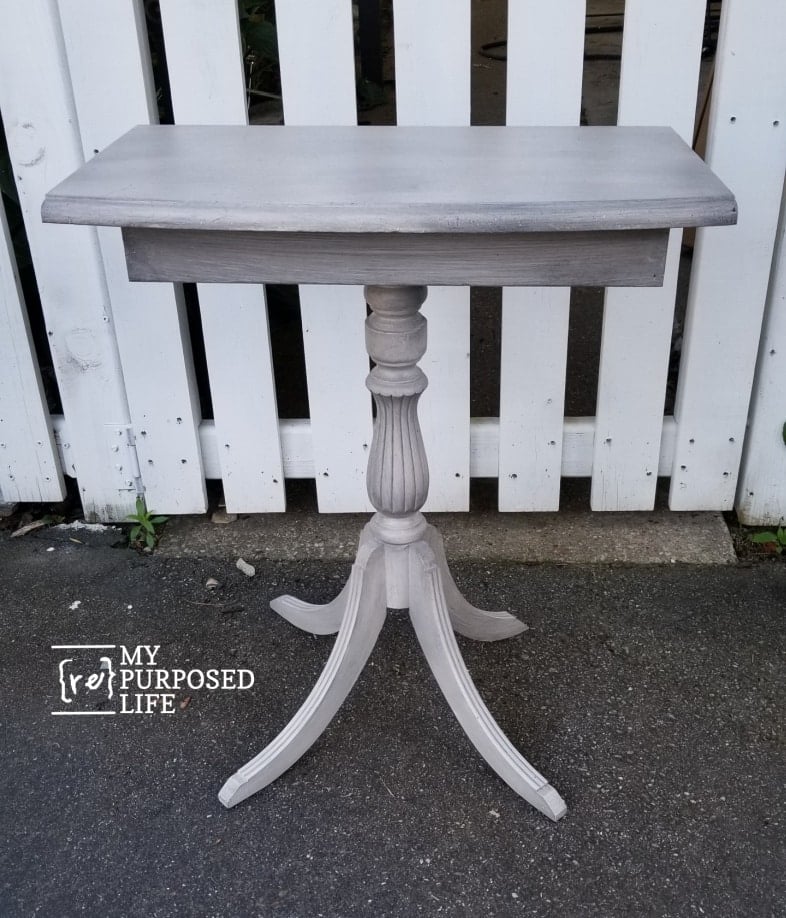
So, do you love it? Don’t you think the skirt completes this small four-legged table?
Four-Legged Claw Foot Table
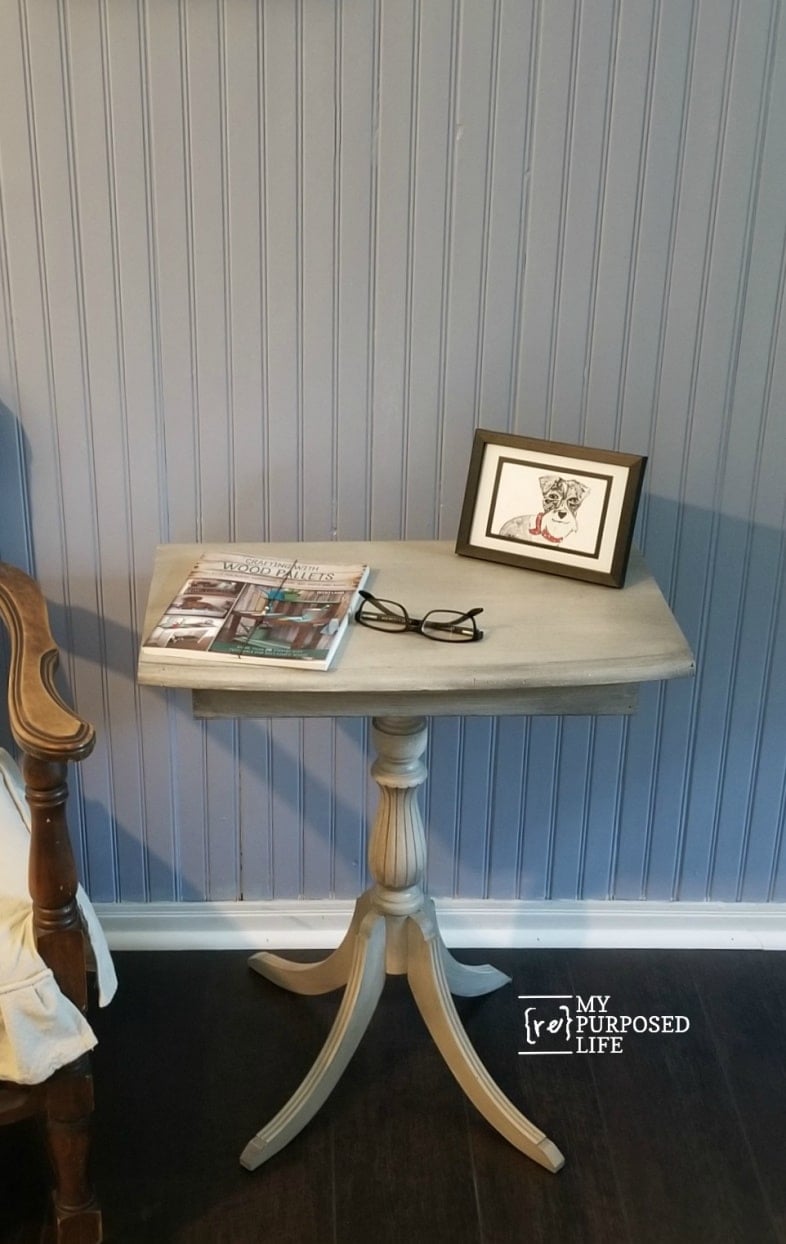
This small vintage four-legged claw foot table makes a perfect side table with its new salvaged tabletop!
I removed the toe caps and left the little broken foot as is. However, I have since found a great fix for a broken claw foot. You can see all the details in my article Three Tiered Table Plant Stand.

Thank you for pinning it and sharing it with your friends.
Watch my video of How To Glaze Painted Furniture
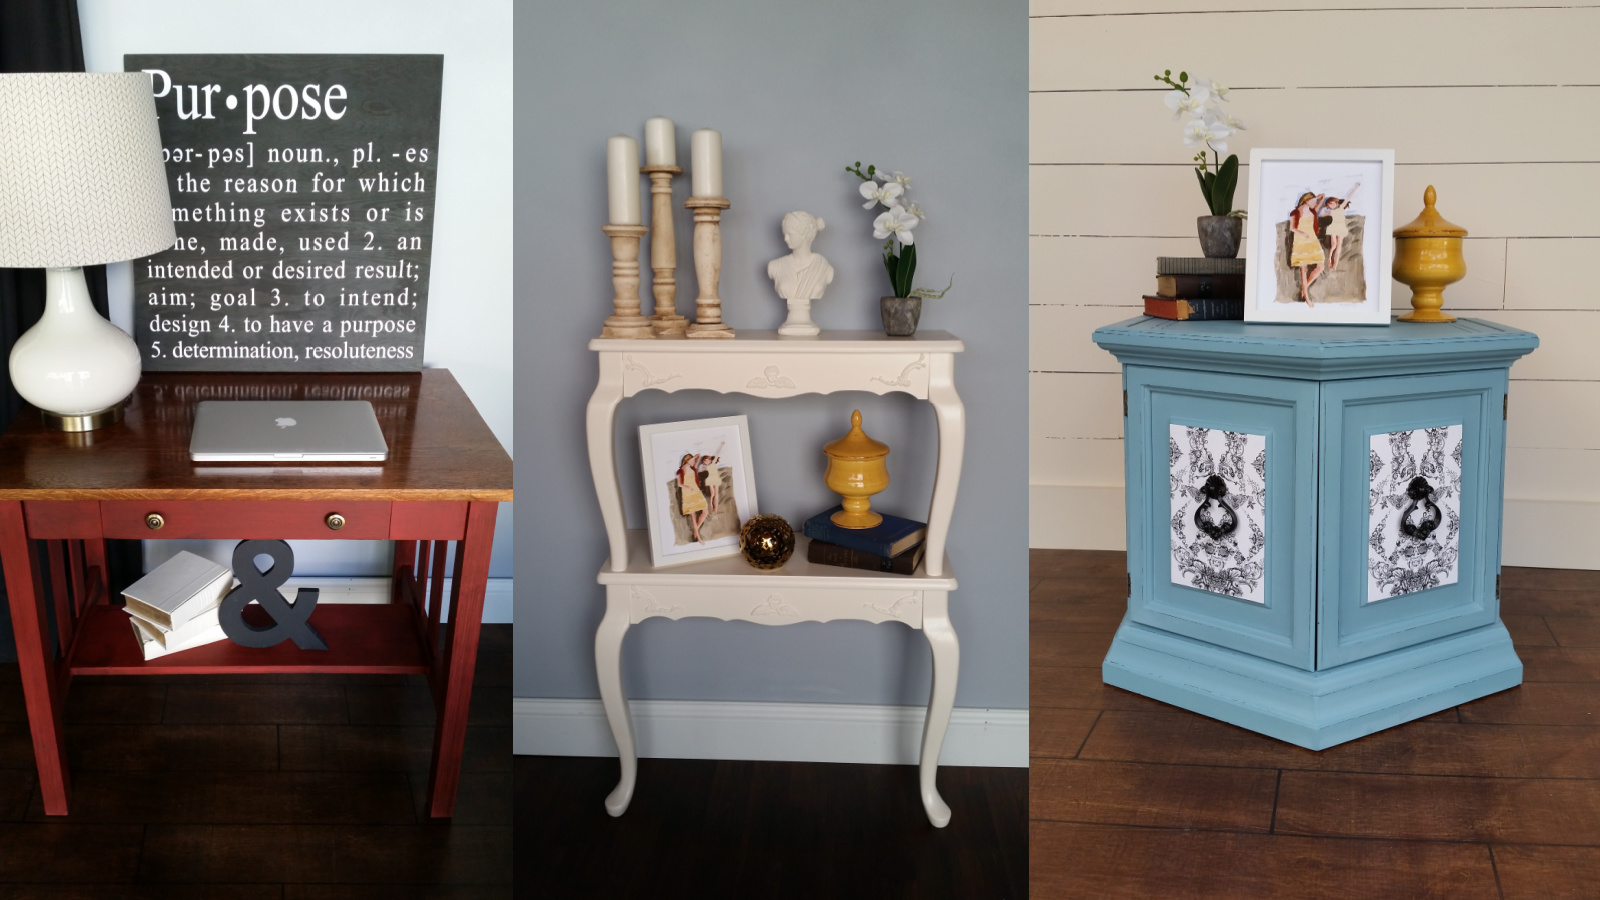
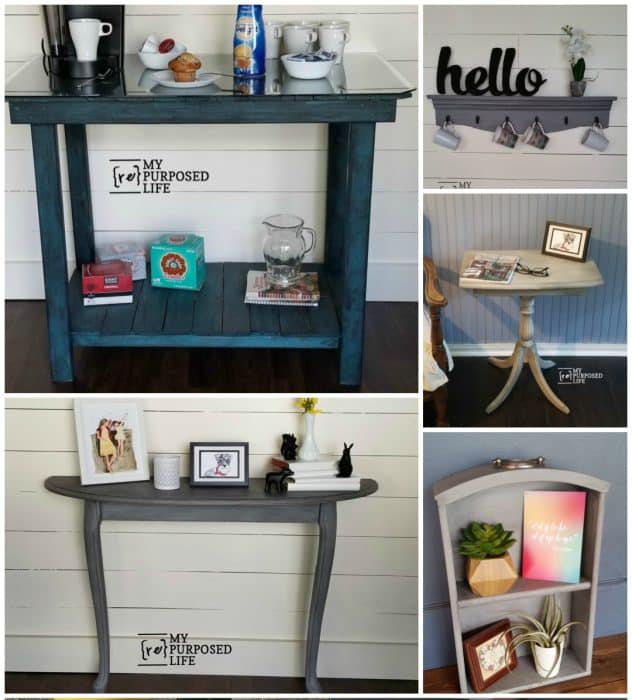
See more table makeovers on My Repurposed Life.
Gail, really like this 99 cent save but I too wondered what you did about the broken foot. When in in doubt ….reading. I’d very likely have done the same thing you did but Jennie’s comments really grabbed my attention ! Unfortunately, I DO have an heirloom dining table with double carved pedestals with a great deal of detail and claw feet. During a move ………….the movers broke off one leg on one pedestal and worse than breaking it (if that’s possible, they took the broken leg with them.! They had delivered the furniture ahead of us so there was no retrieving it. I would surely be interested in using the very method Jennie suggested but she didn’t mention resources for the molding putty or the type of polymer clay ? I do have an art degree and worked as a sculptor’s assistant for anatomical research lab years ago, plus a very talented retired carpenter /husband . do believe we could handle this method. Any help would be full of gratitude.
Sara
Love this! Turned out so great, perfect little table. Great project!
cute little table.
Gail this is awesome! Best repurpose I’ve seen in a very long time!
I love it. The foot missing isn’t even noticeable. But if you have a table that has too much of the foot broken off, making it sit wonky or make it wobbly, you can make a new foot with amazing mold putty and polymer clay. Using the mold putty, follow the instructions and make a mold of one foot. Slice down the back of the mold to remove it when it’s set up. Drill a hole in the leg that’s broken and slip a metal post into it but don’t glue it in yet. Fill the mold with polymer clay. (Don’t use the white sculpy it chips to easily). With the metal post in place in the leg do a test fit. Bake the clay in the mold according to the instructions. Remove mold, give it a quick sanding, glue the pin in each piece and the clay and wood where it meets. More sanding if nescessary and paint.
hahah! Don’t you know me by now? I would never go to such lengths for a 99 cent table redo. 🙂
I appreciate you leaving the comment for those who would be interested in fixing a broken claw foot table. ps I didn’t have the shoe for this one, so why bother?
thanks Jennie!!!
gail
I know, and it doesn’t bother me either, 😂🤣😂but there are those that it would drive nuts. Oh and the shoe would be molded right on. But on second thought, if I tell them how to fix it, they might buy the 99 cent table!
Lol love it!
How did you fix the broken foot?
Kate,
I didn’t fix the foot. I removed the other three “shoes” and painted it as is. 🙂
Since I only had $1 invested in this piece, I didn’t feel it was worth the effort to repair it. It’s not like it’s a family heirloom.
gail
Love it Gail, great pairing up. Would love to have this! Hugs….