Small Jewelry Organizer
As an Amazon Associate, I earn from qualifying purchases.
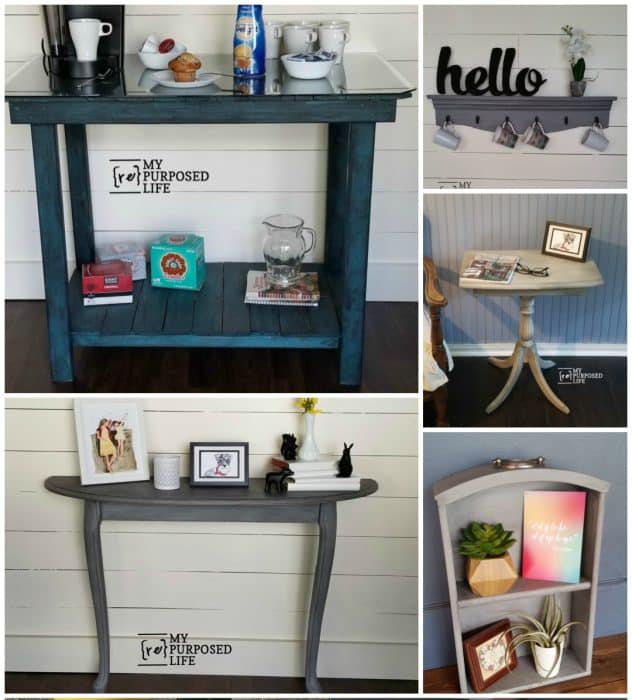
For this month’s Thrift Store Décor Challenge I am making a small jewelry organizer out of parts from an old table leaf. I used the table leaf to make the diy console table. I never throw anything away, and that allows me to use small bits and pieces for new projects!
Small Jewelry Organizer

Here are the side pieces that I removed from the table leaf. I guess most people may throw them away. Not me!
Paint Scrap Board with Trim

I cleaned the small trim pieces. I used Heritage Collection from Heirloom Traditions to paint the pieces.
Project ideas and a video of “how to glaze painted furniture and more”
Add a lighter topcoat and Glaze

You can see I only did one thin coat of the Cobblestone (gray) on the wooden trim pieces. Then I grabbed my new best friend, Rustoleum Chalked Smoked Glaze. Using a cheap chip brush I applied the glaze.
Watch my video of How To Glaze Painted Furniture
Measure for knobs

Isn’t that finish yummy? I have mentioned on Facebook that I’m addicted to this color! I used the metal yardstick to mark the spaces for the knobs. It was also helpful to get all the knobs the same distance from the bottom edge. This is the back of the wooden trim.
Install knobs or hooks of your choice

You may notice the scrap wood. I used that to keep a clean surface when I drilled my holes. It really makes a big difference placing the scrap under the board.
Attach Saw Tooth Hangers

I used easy to install saw tooth hangers that simply hammer into the back. I placed on on each side.
Display Jewelry

After hanging necklaces on it, I considered adding three more knobs. After placing them on the board, I decided against it. Although it will hold more necklaces, I’m not sure it would sell quickly at my craft show in October. It’s more pleasing to the eye with less knobs.

This necklace holder was such an easy project, and I absolutely LOVE the way it turned out. Do you love the color as much as I do? It’s amazing how different the glaze turns out on my projects, but I love each an every variance of the color.
Related Content: Other Smoked Glaze Projects
See over 100 Awesome Thrift Store Projects here
Now, it’s time to see what my Thrift Store Décor friends have been up to . . .

Oval Quilt Hoop Wreath Refresh Restyle
Thrift Store Pumpkin Basket Domestically Speaking
Serving Stands Petticoat Junktion
DIY Weathered Basket My Uncommon Slice of Suburbia
Small Jewelry Organizer My Repurposed Life
DIY Earring Organizer Our Southern Home
Do hop over and tell them I sent you. I know you will be inspired by their creativity. They inspire me every day!
What thrift store makeover have you done lately?
gail
You never cease to amaze me on makeover day! Love that paint finish!
Will probably sell quickly at Glendale. Looks really nice!
You tore out the tile in your kitchen? What was the whim that made you want to do that? what are your plans? I can’t wait to see it done.
Jennie,
I’ve wanted to redo that floor for too many years. I mentioned it to my neighbor, and he showed up the next day to get started. 😉 I’m putting down a new planked laminate floor. Laying the sub-floor today. I’m exhausted.
gail
My daughter’s home has that throughout. Everything makes a mark. She even has a tear in the picture of hard wood on top in the dining room where a chair slide with a large man on it. It’s made by Armstrong and has only been in for 2 years. In our old house that we just moved from, we had engineered wood 5″ plank. It was even in my art studio and still looked new.
I really like this project Gail and I have a bunch of those knobs. Inspiration!
WHO WOULD OF THOUGHT! I LOVE HOW THIS TURNED OUT, SO PRETTY (SORRY ABOUT ALL CAPS, NOT SURE WHAT IS GOING ON)
Love that color – I need to check out that glaze!!!
It’s great what can be done with odd pieces. I had the decorative back of an old chair (I think they’re called “fiddles”). It was so pretty, but I didn’t really know what to do with it except admire it. Then it hit me – I needed something to hold necklaces. The transformation was easy – I pounded in a dozen small nails and hung it on my bedroom wall. Now I can admire the beautiful scroll work and enjoy its practical use.