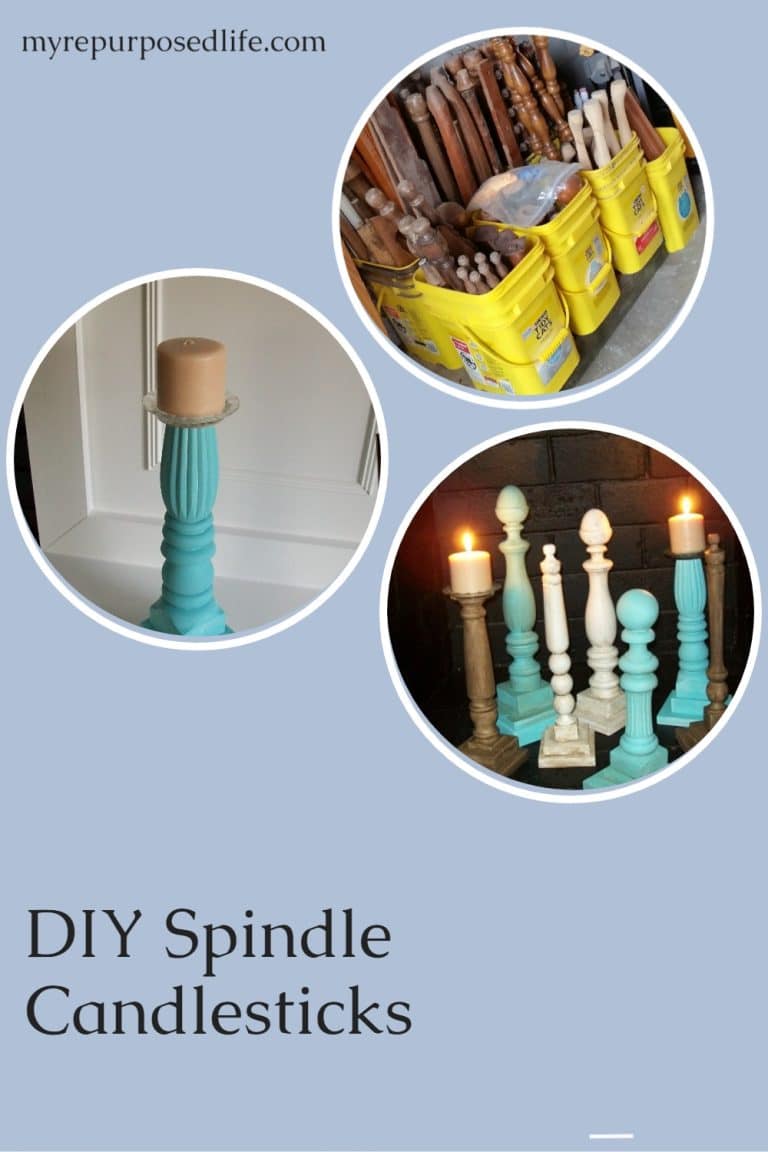
Spindle Candlestick Ideas
As an Amazon Associate, I earn from qualifying purchases.

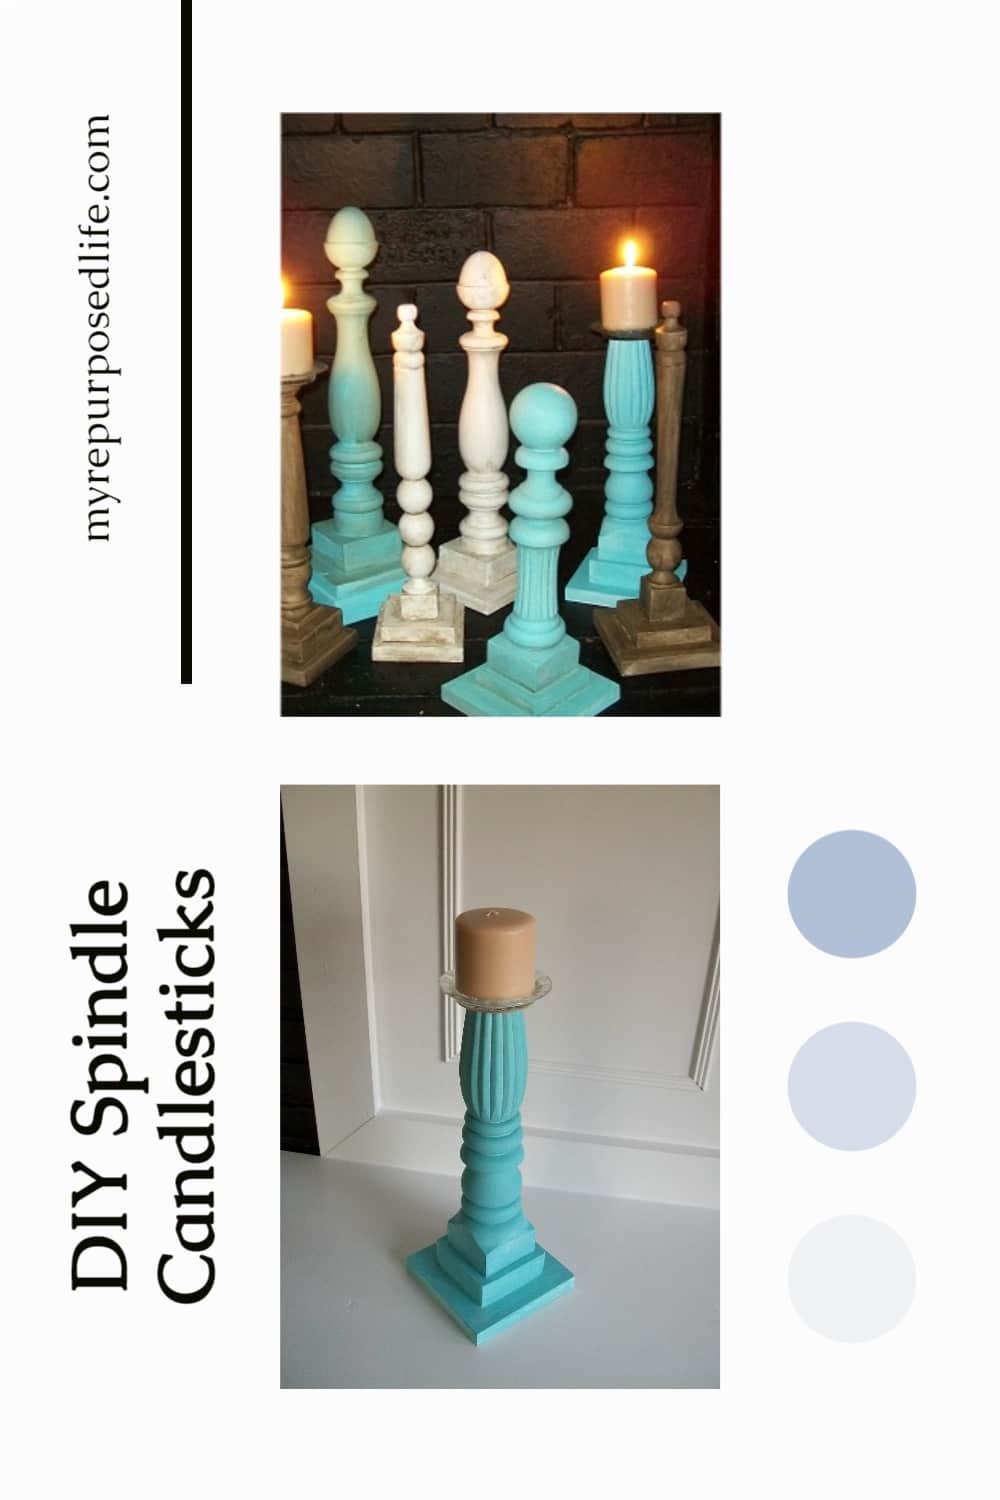
Why not make your own DIY spindle candlestick out of scraps and bits and pieces?
Candlesticks can be very expensive, and maybe you don’t like the colors, shapes and sizes of those you see at the store.
WHAT CAN YOU MAKE A SPINDLE CANDLESTICK FROM?
- Chair legs
- Chair supports
- Bedposts
- Bed Legs
- Porch Spindles
- Curtain Rods
How to cut a spindle on a miter saw
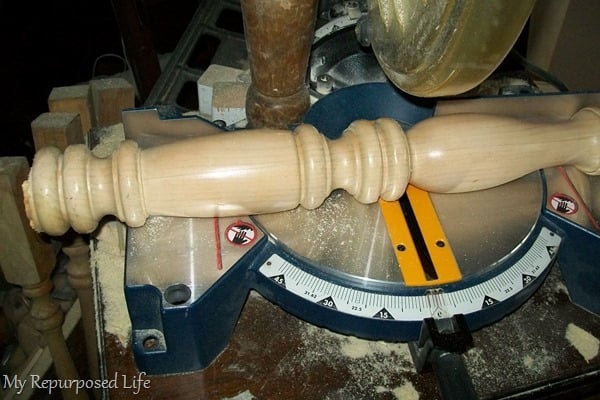
This is a bedpost from a full sized bed that was found on the curb. It wasn’t really bench worthy, so I parted it out. I cut off the posts and legs, and threw the headboard away. Have you seen my headboard benches?
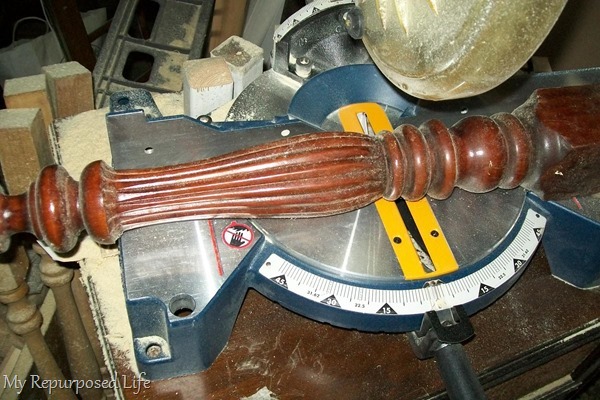
This is another bed post, I’m not sure where the rest of this bed ended up. 🙂
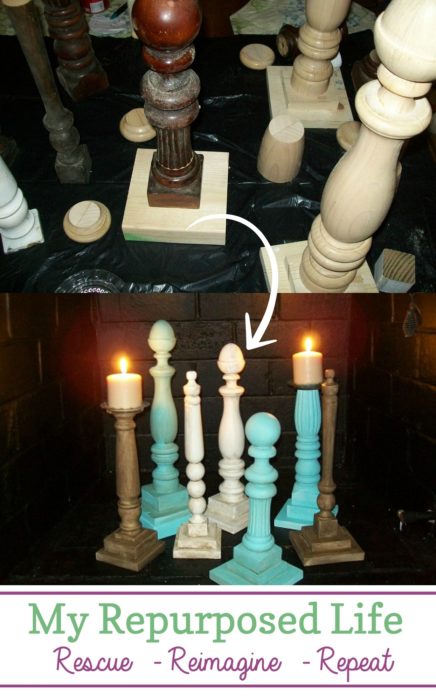
Stacking bits and pieces to make a Spindle Candlestick
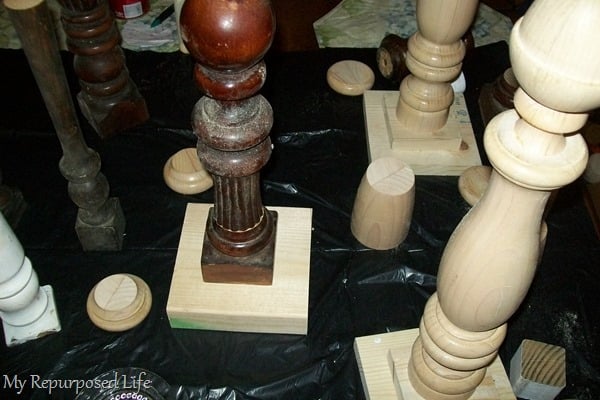
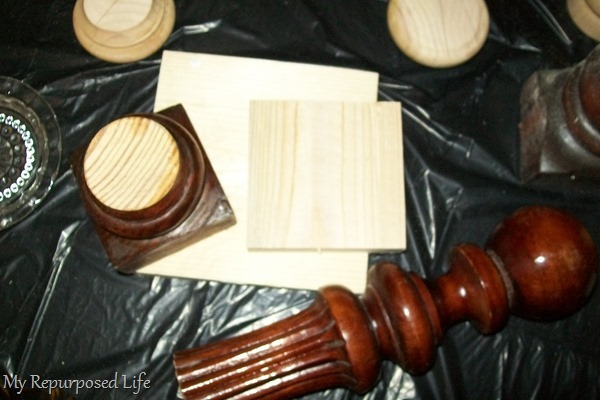
While in the garage, I also cut some 1x’s and some 1×4’s into squares for bases. All of these bases were made from scraps.
Then I sort of just started playing around with the configurations. A lot like I do when I make glass totems.
Cut Varying Sizes of Bases for Spindle Candlestick
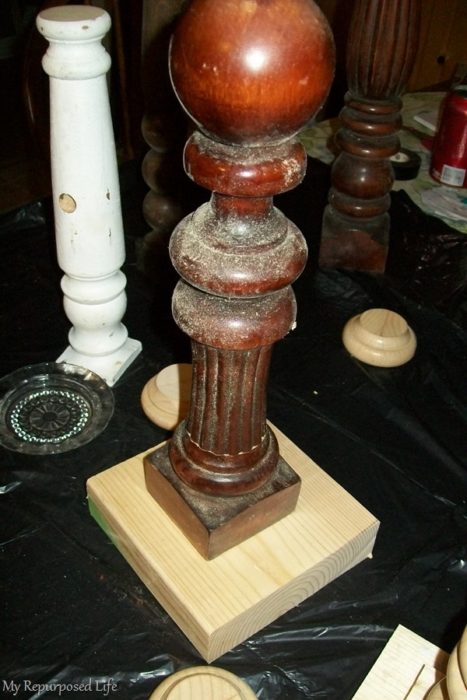
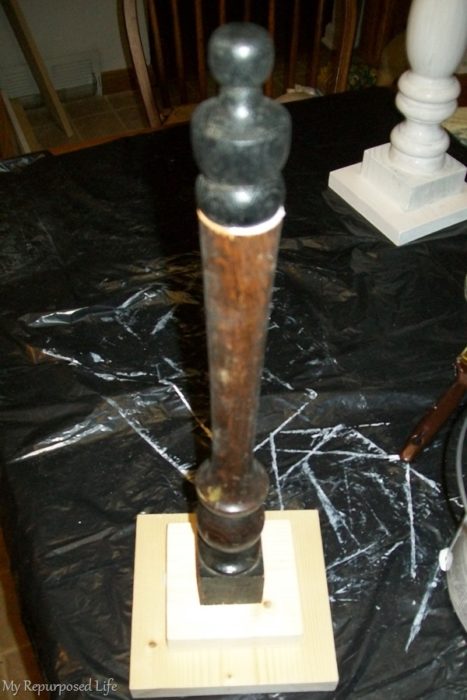
This is a 1×5, and the bottom part of a bed post/leg.
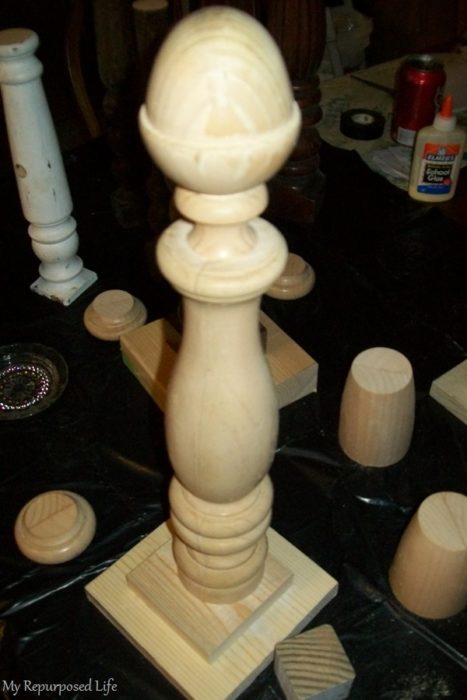
Don’t forget the finials!
Here I added the top of another bed post to make the spindle candlestick.
I sanded the rough edges, and cleaned up all the saw dust.

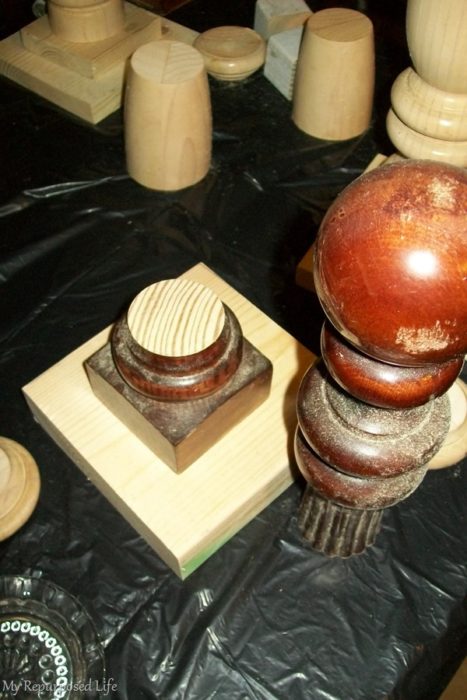
This is the bottom part of the bed post pictured above.
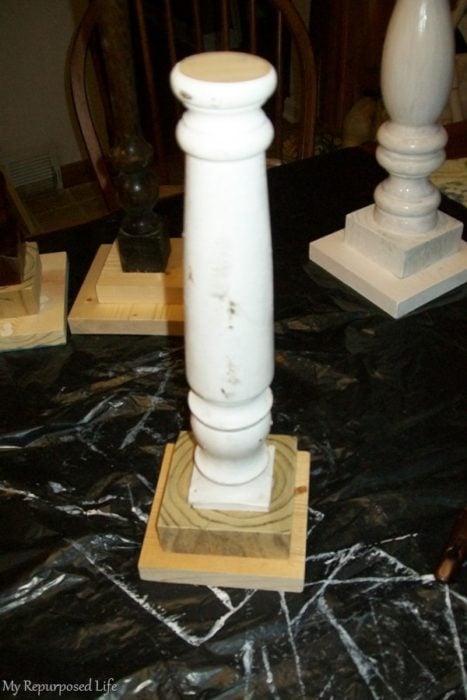
Here, a 1×5, 1×4, part of a staircase spindle, and the top (finial) of an old chair make up a great diy spindle candlestick.
Chair Parts as Spindle Candlestick
Oh, this little cutie is a 1×5, 4×4 and a chair leg!
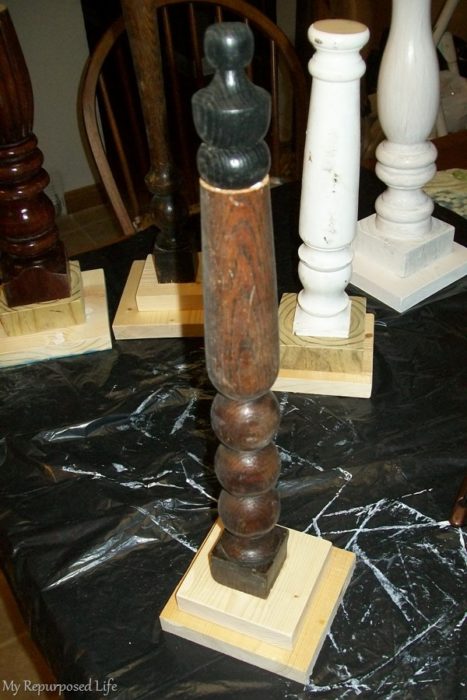
Finally, we have the other part of the stair case spindle, with another chair finial on top.
Glue Bits & Pieces Together
I used gorilla glue to hold all the pieces together. So, I could not decide what color I wanted, so I chose 3 different colors.
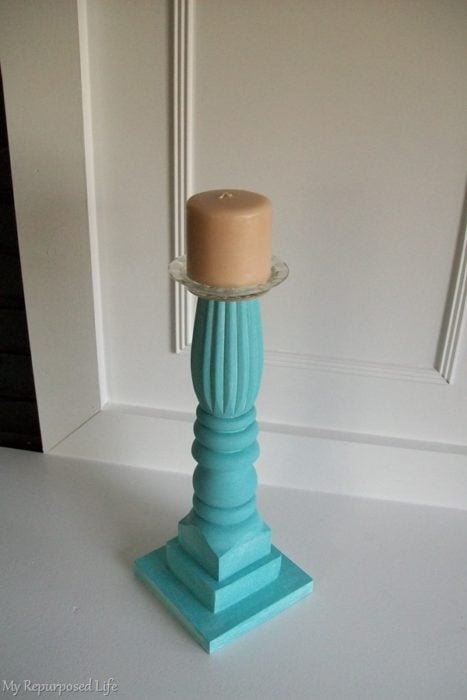
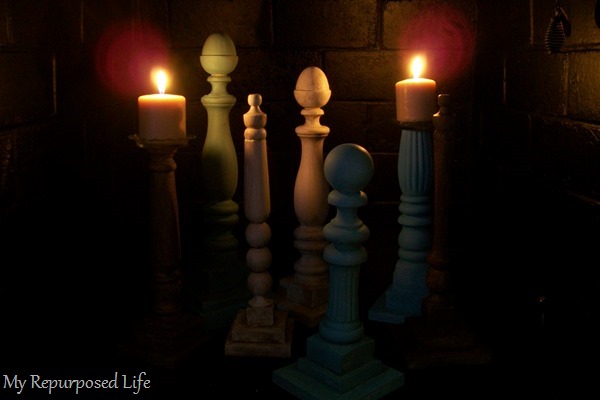
Here I have one of those cute little glass ashtray pieces I picked up at the peddler’s mall. Isn’t this a pretty spindle candlestick? DIY is sooo much fun!
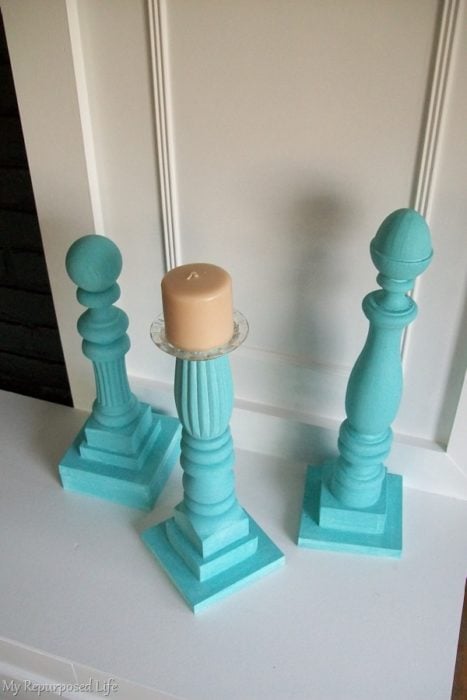
The paint is the same turquoise I used on a window cabinet I made. I watered it down so it was more like a glaze. I used Kilz on all of these before I painted their new colors on them.
Paint and Glaze DIY Candlesticks
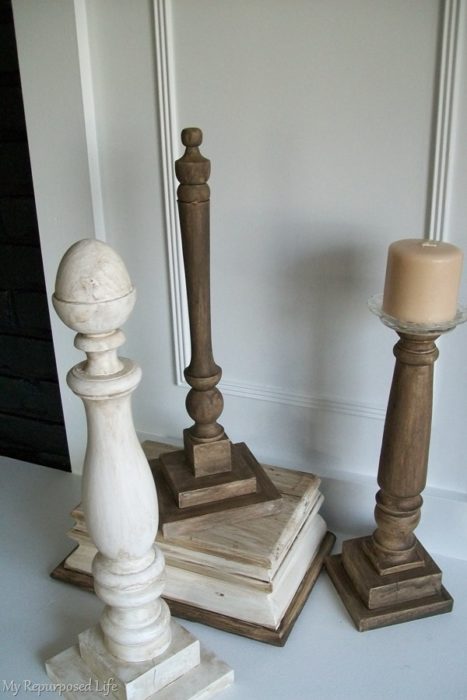
The white one is painted with Glidden “Crisp Linen” having a wash/glaze of raw umber over it. A glaze of raw umber was used on the brown diy candlesticks.
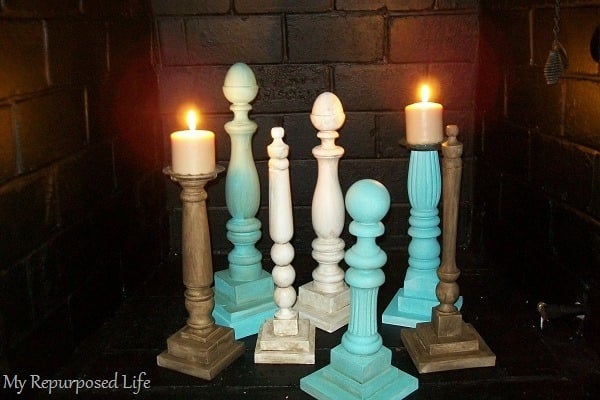
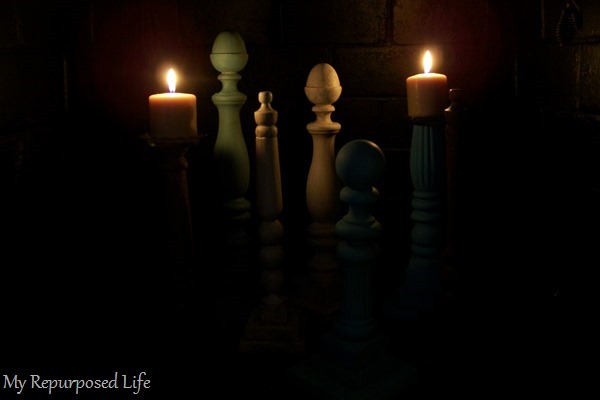
I put them in my gynormous firebox and lit the candles. Have you ever seen my ugly fireplace makeover?
I’d love for you to share this on Pinterest!
If you prefer shopping thrift stores, you can find great wooden candlesticks to makeover. I love making candlesticks and more out of bits and pieces from my scrap pile. Be sure to check out the links I’ve included below.
love these still!
Thank you soooo much! They are still in my fireplace. 🙂
gail
These are adorable Gail! 🙂
Thank you Christina! I love doing these easy projects. 🙂
gail
Love it!
I like them in the firebox if you don’t use it. I would put more in (maybe double) and I would do mostly brown 🙂
Cool stuff
-Stefanie
2ndChanceCreations.etsy.com