
DIY Spindle Candlesticks from Repurposed Wood
As an Amazon Associate, I earn from qualifying purchases.
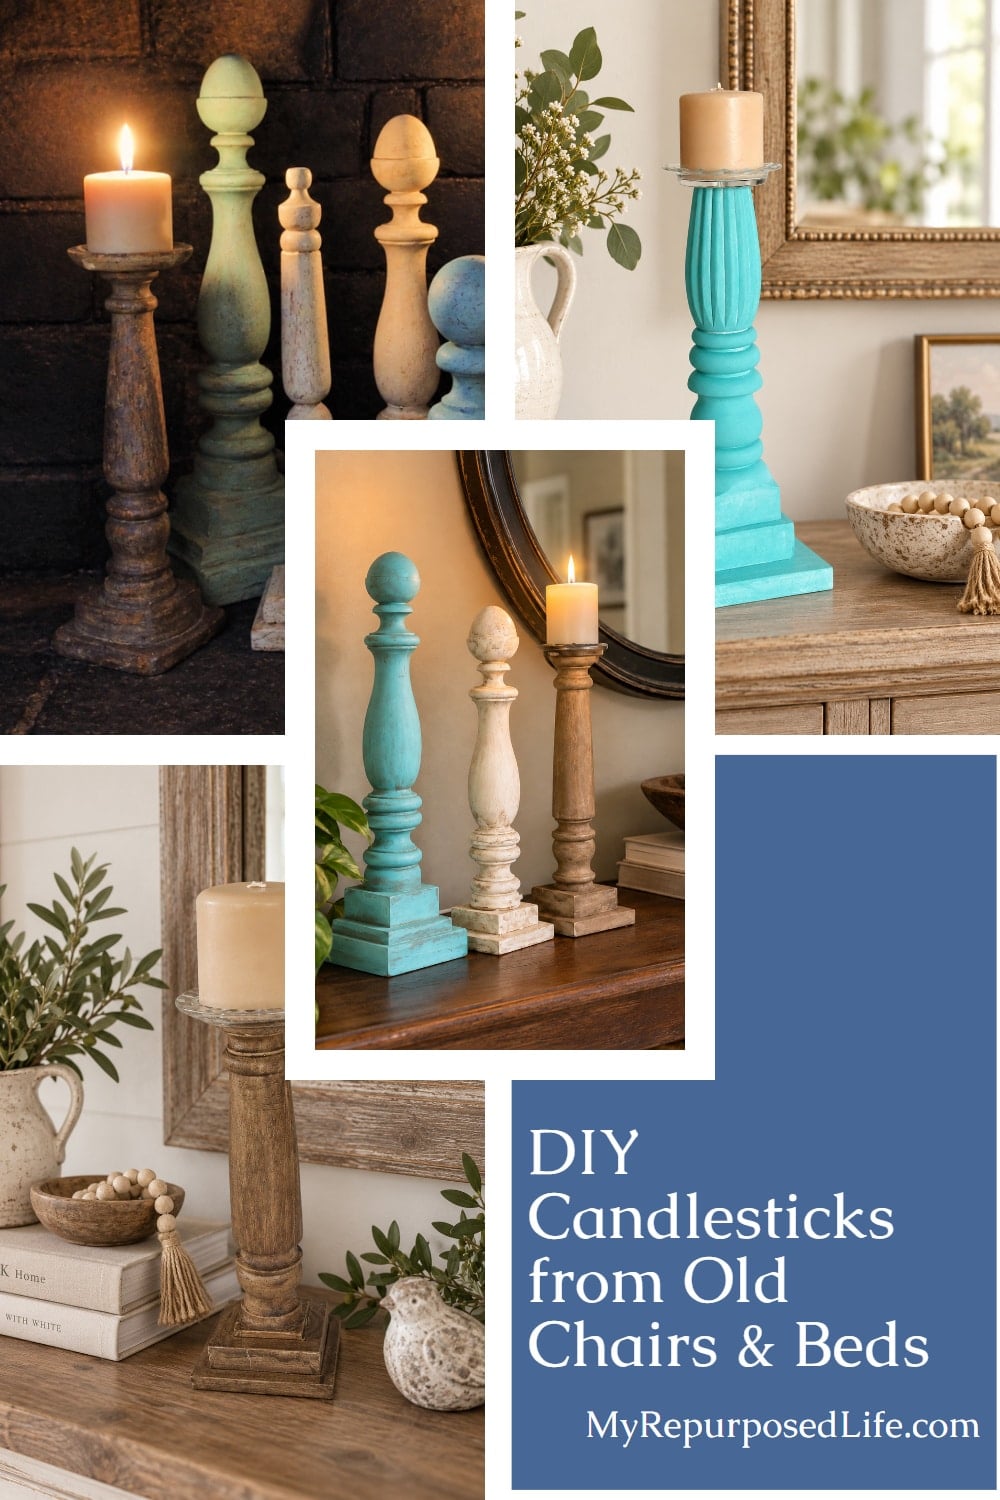
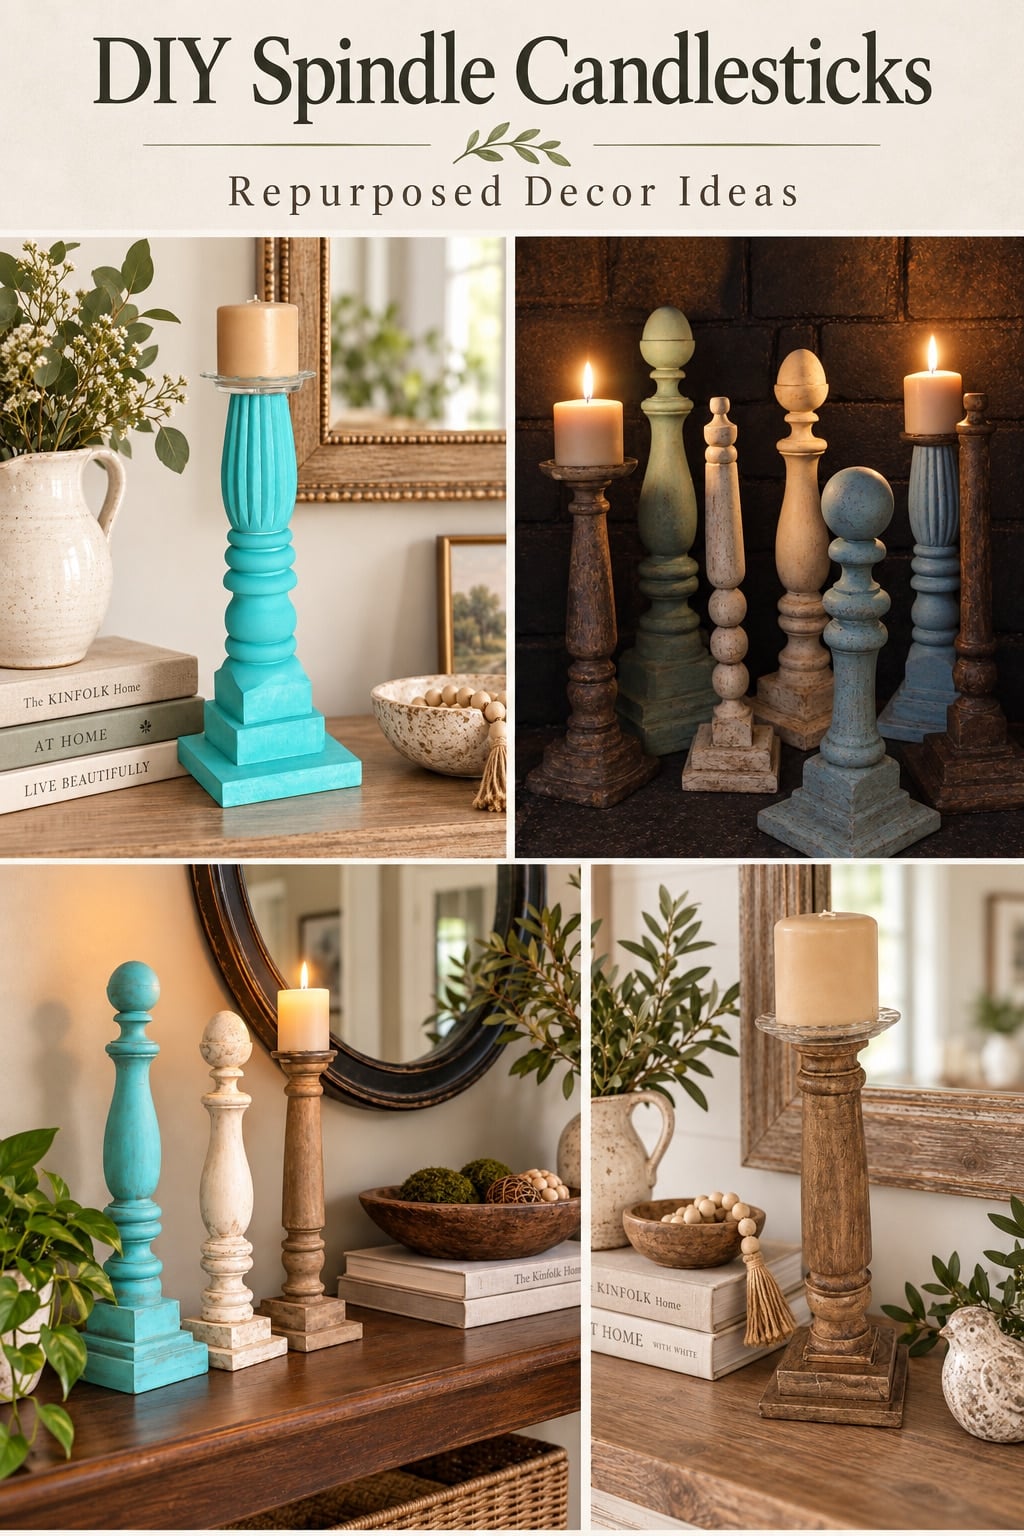
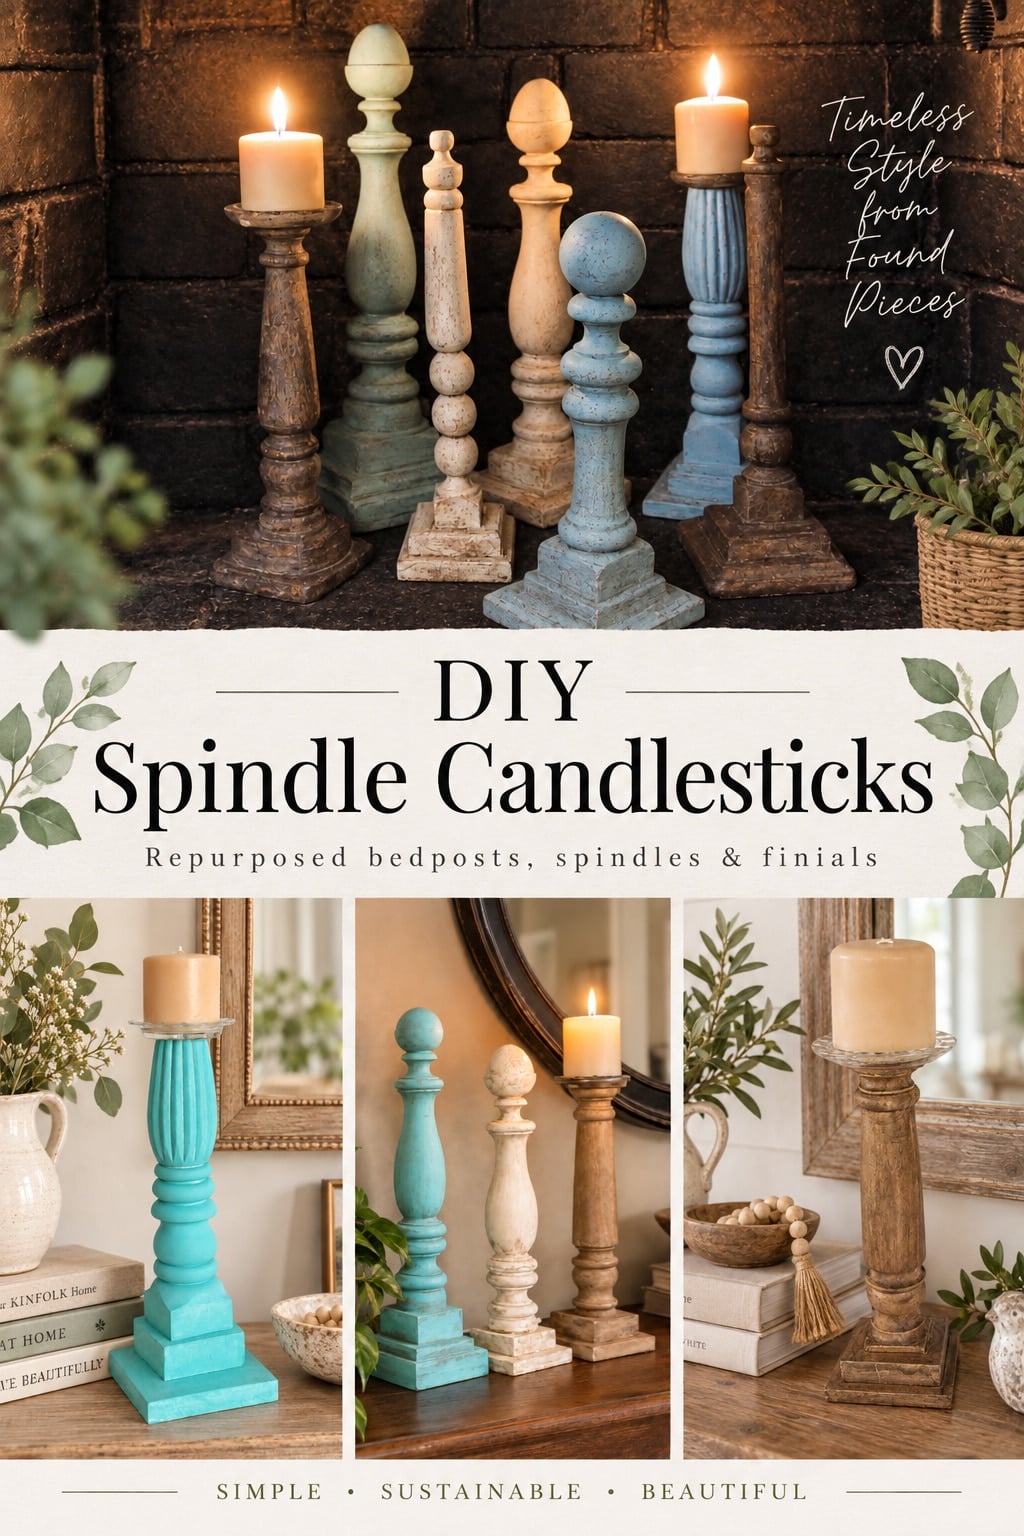
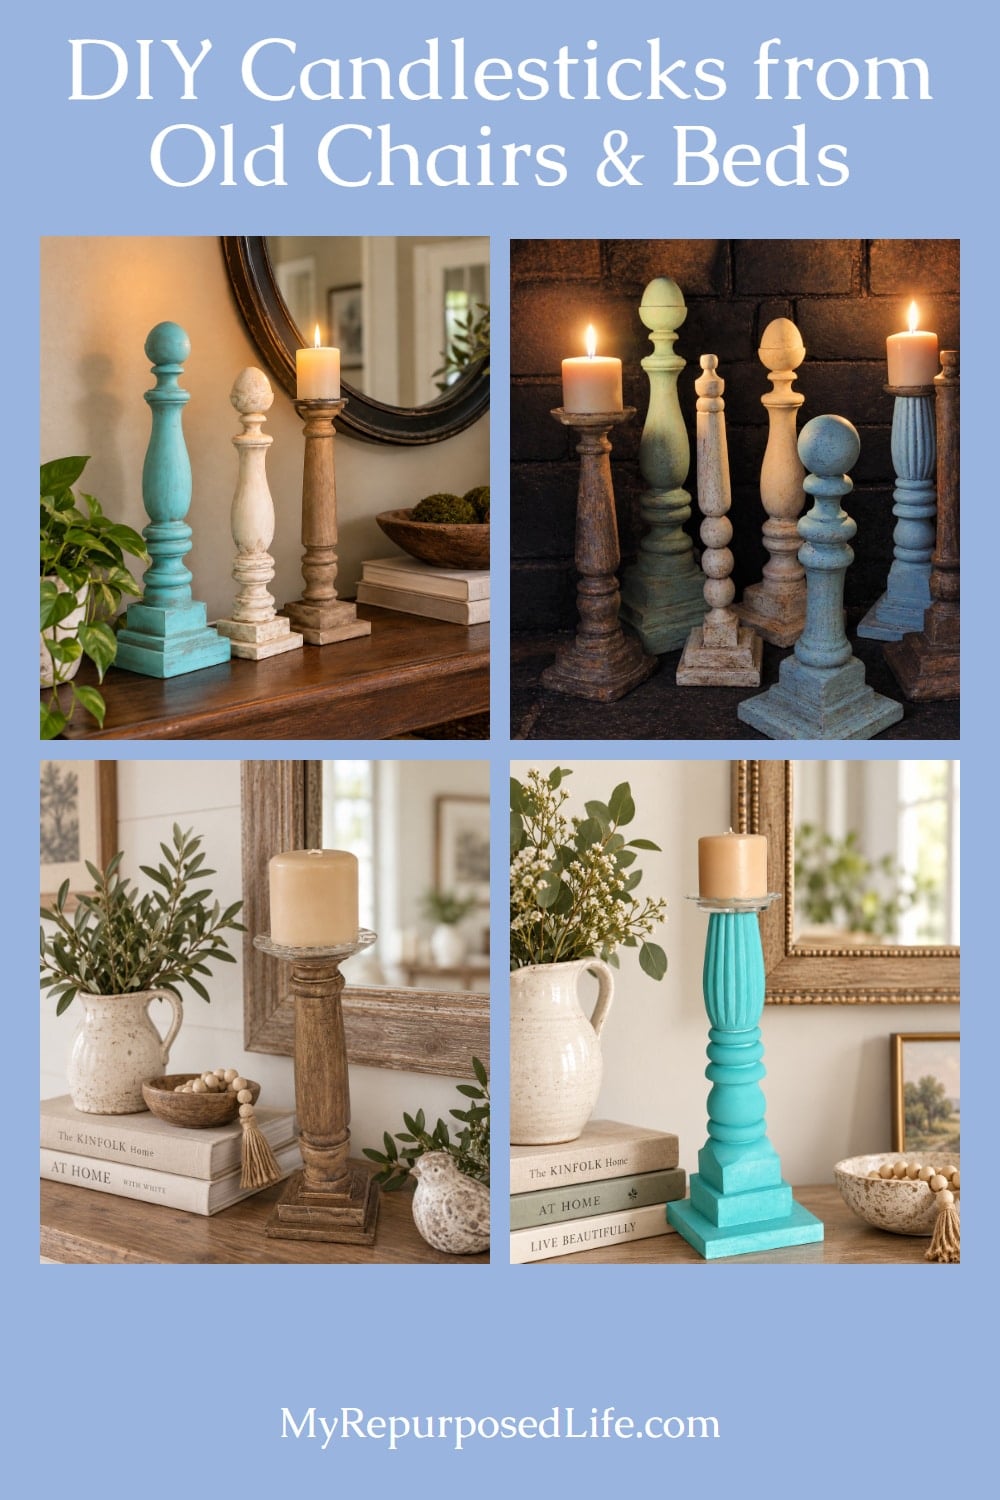
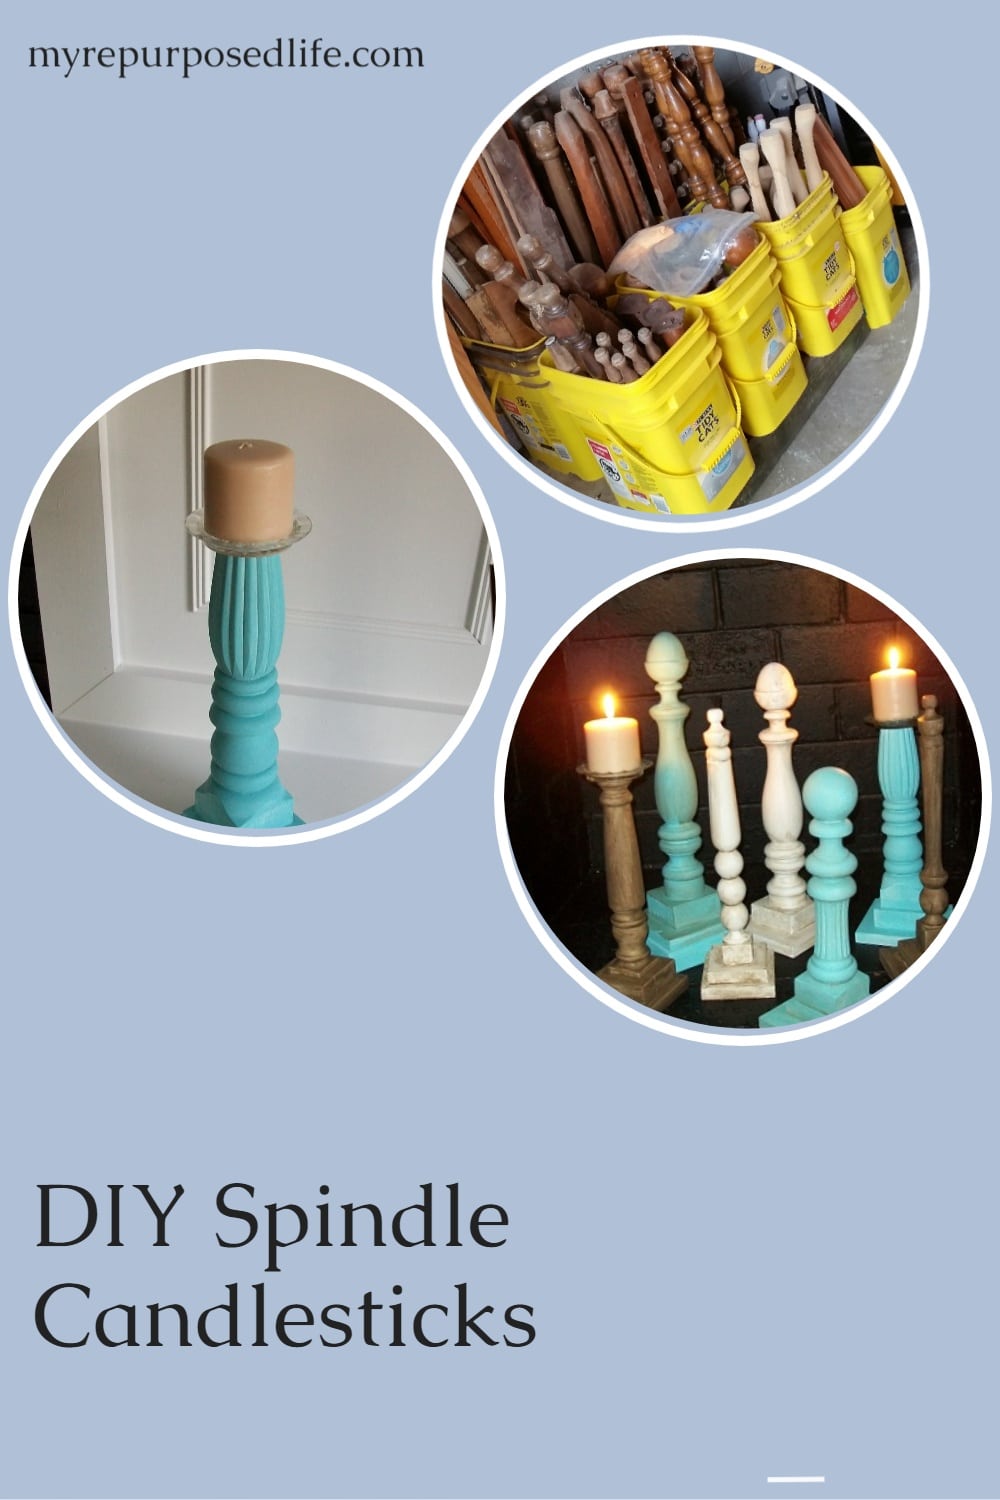
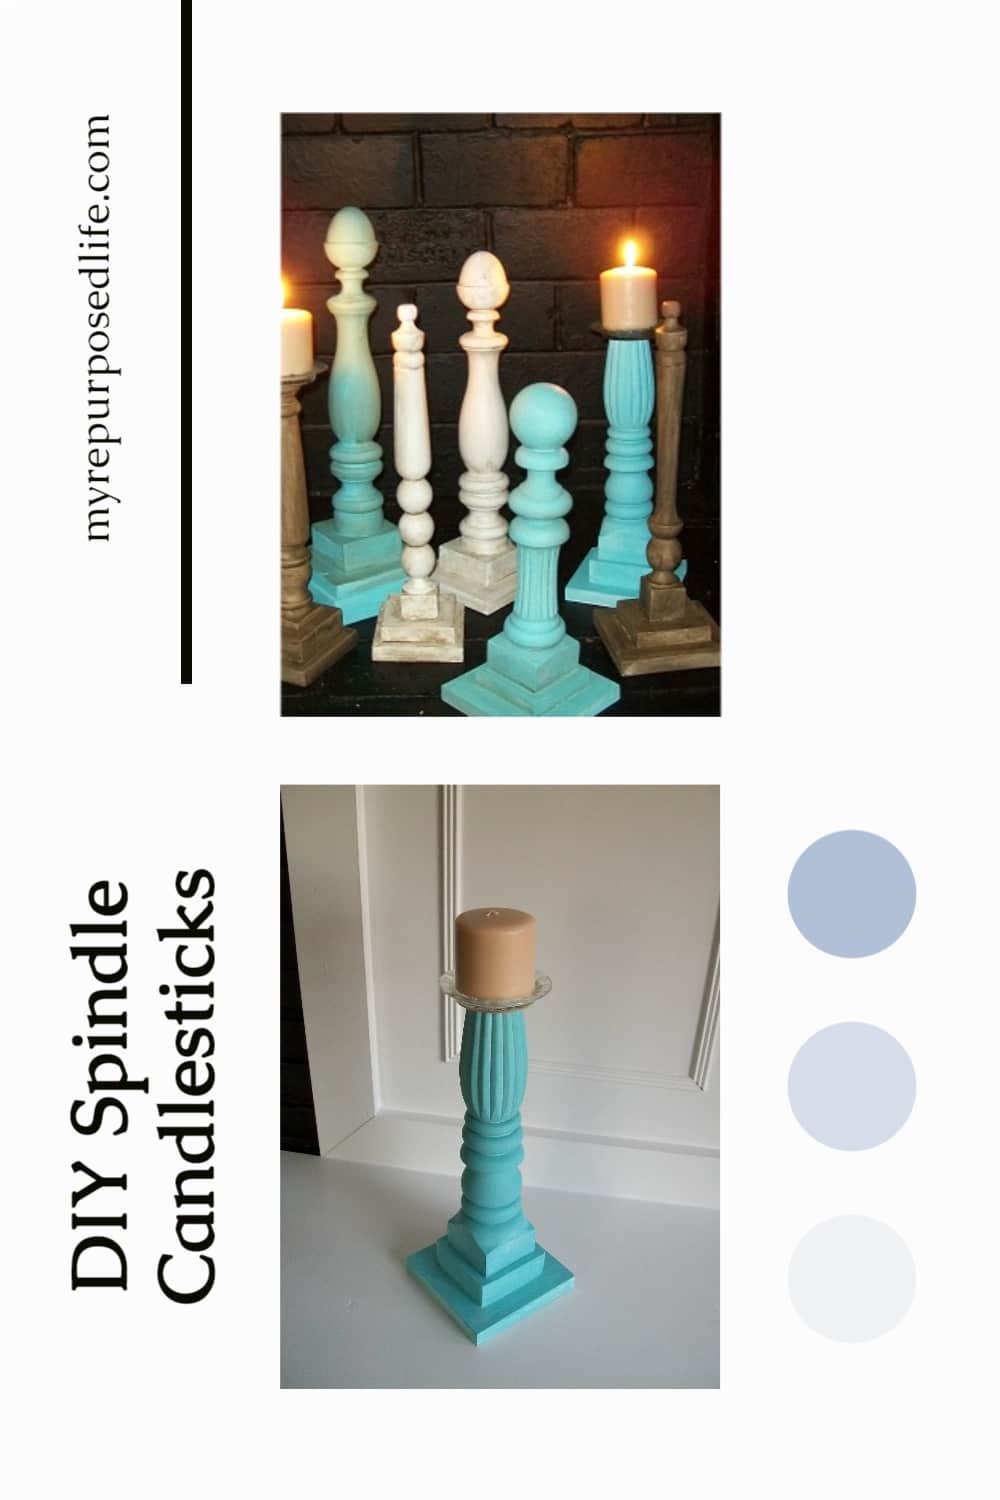
Old bedposts, chair legs, spindles, and leftover wood pieces are some of my favorite things to keep in the workshop. You never know when a mismatched collection of scraps will turn into something useful. These DIY spindle candlesticks are a perfect example.
By mixing different turned wood pieces with simple scrap wood bases, I made a collection of tall wooden candlesticks in several shapes and sizes. They’re especially pretty grouped together inside a non-working fireplace, but they would work just as well on a mantel, buffet, or large dining table.
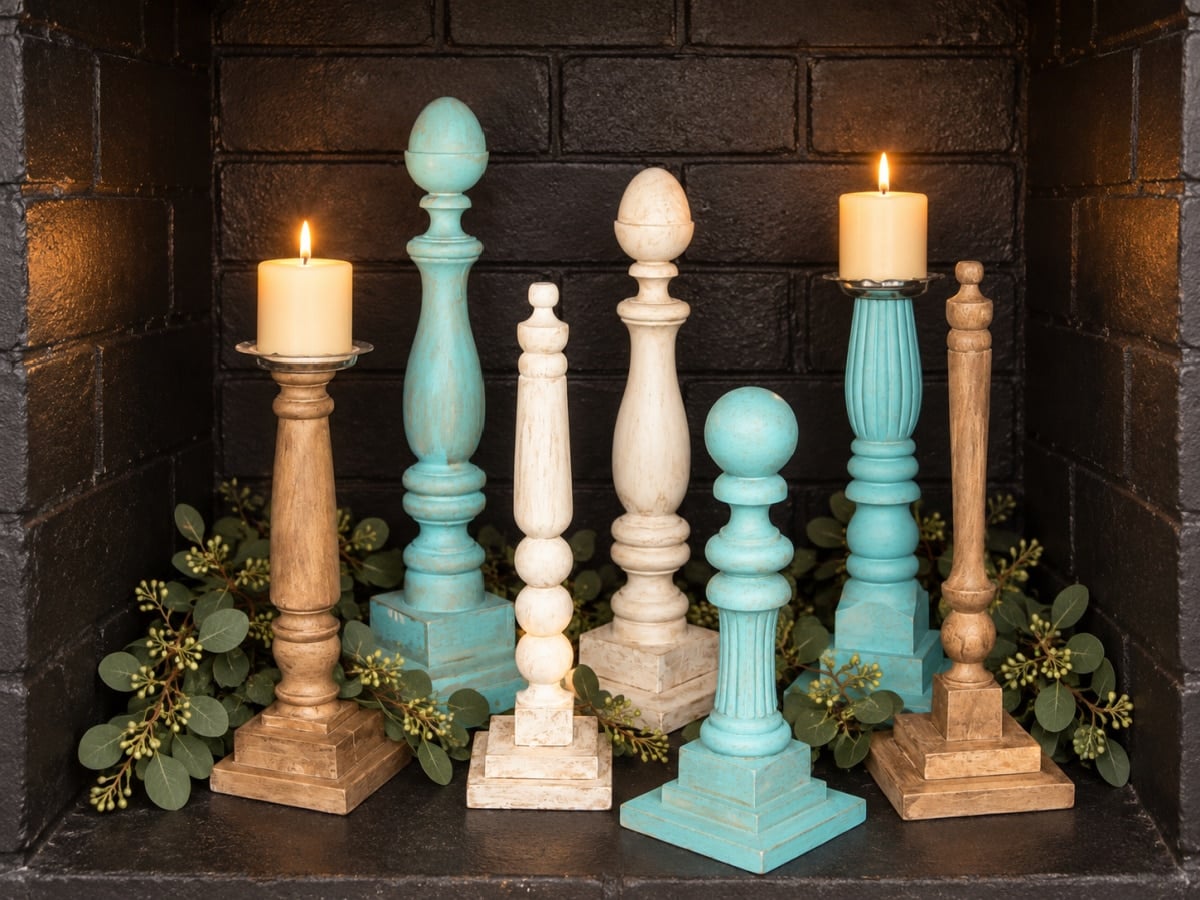
Why I Love These DIY Spindle Candlesticks
You don’t need matching pieces to make this project work. In fact, the different heights and shapes are what make the finished collection interesting. Old bedposts, chair parts, stair spindles, finials, and wood scraps can all be mixed and matched until you find a combination you like.
Safety Tip: If you use real candles, keep the area around them completely free of greenery, fabric, or other flammable decorations. Flameless candles are a great option when adding seasonal greenery or other accessories to a fireplace display.
What Can You Use to Make Spindle Candlesticks?
- Chair legs
- Chair supports
- Bedposts
- Bed Legs
- Porch Spindles
- Curtain Rods
Cut Repurposed Spindles to Size
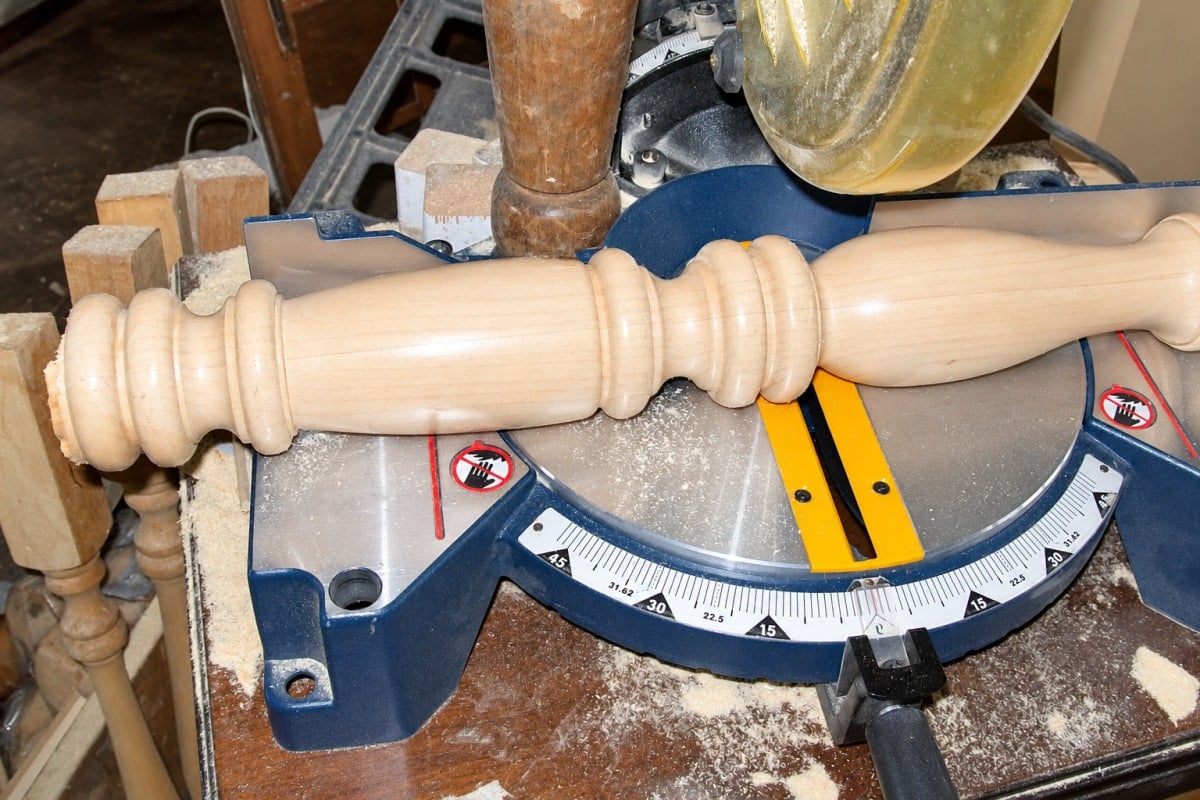
This is a bedpost from a full-size bed that was found on the curb. It wasn’t really bench-worthy, so I parted it out. I cut off the posts and legs, and threw the headboard away. Have you seen my headboard benches?
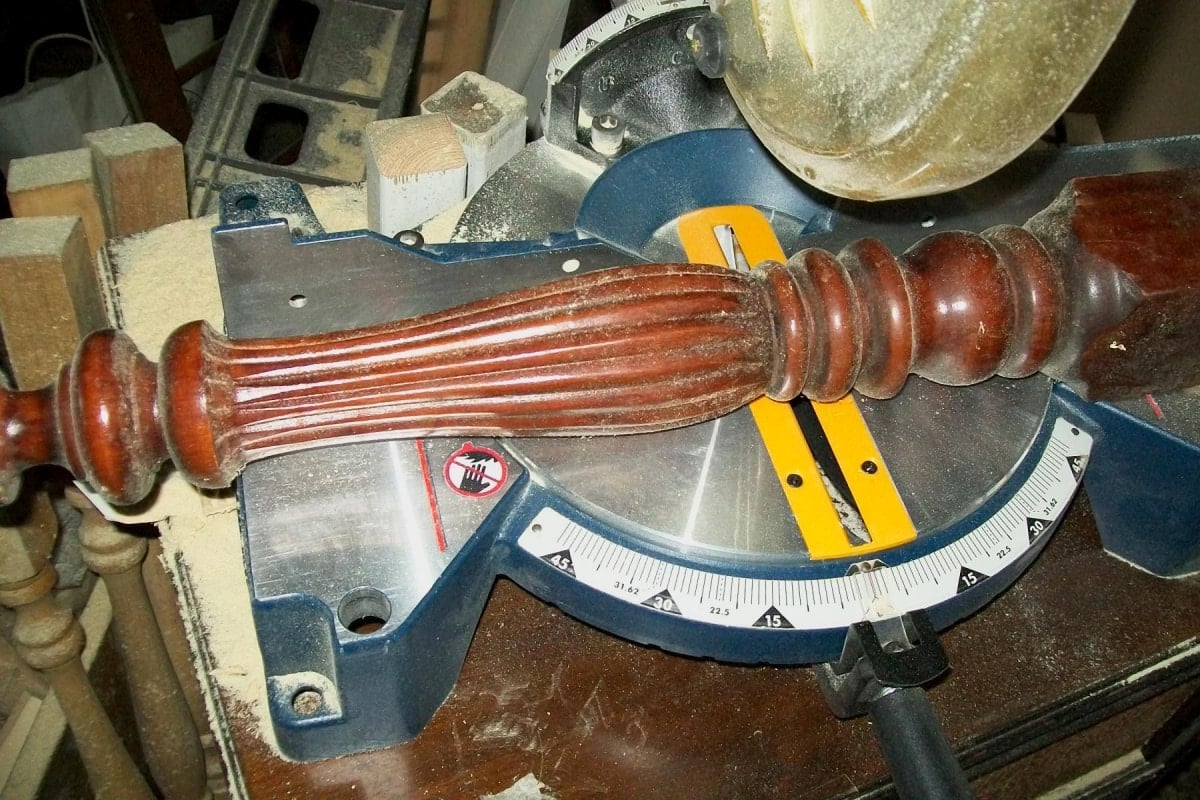
This is another bed post; I’m not sure where the rest of this bed ended up.
Make Scrap Wood Bases
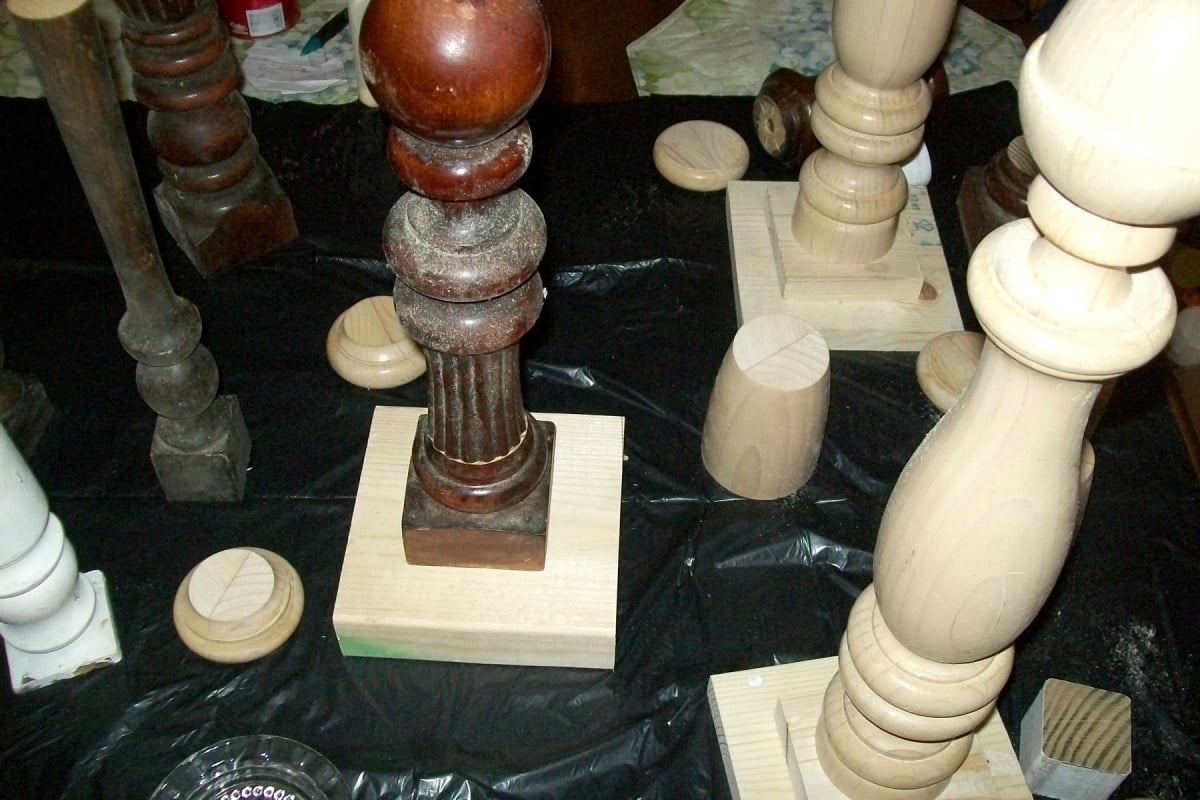
While in the garage, I also cut some 2x lumber and 1×4 boards into squares for bases. I made all of these bases from scraps. It really is like putting puzzle pieces together, and it allows you to be so creative.
Another base option would be wooden plaques or the bottom of a cheese cloche.
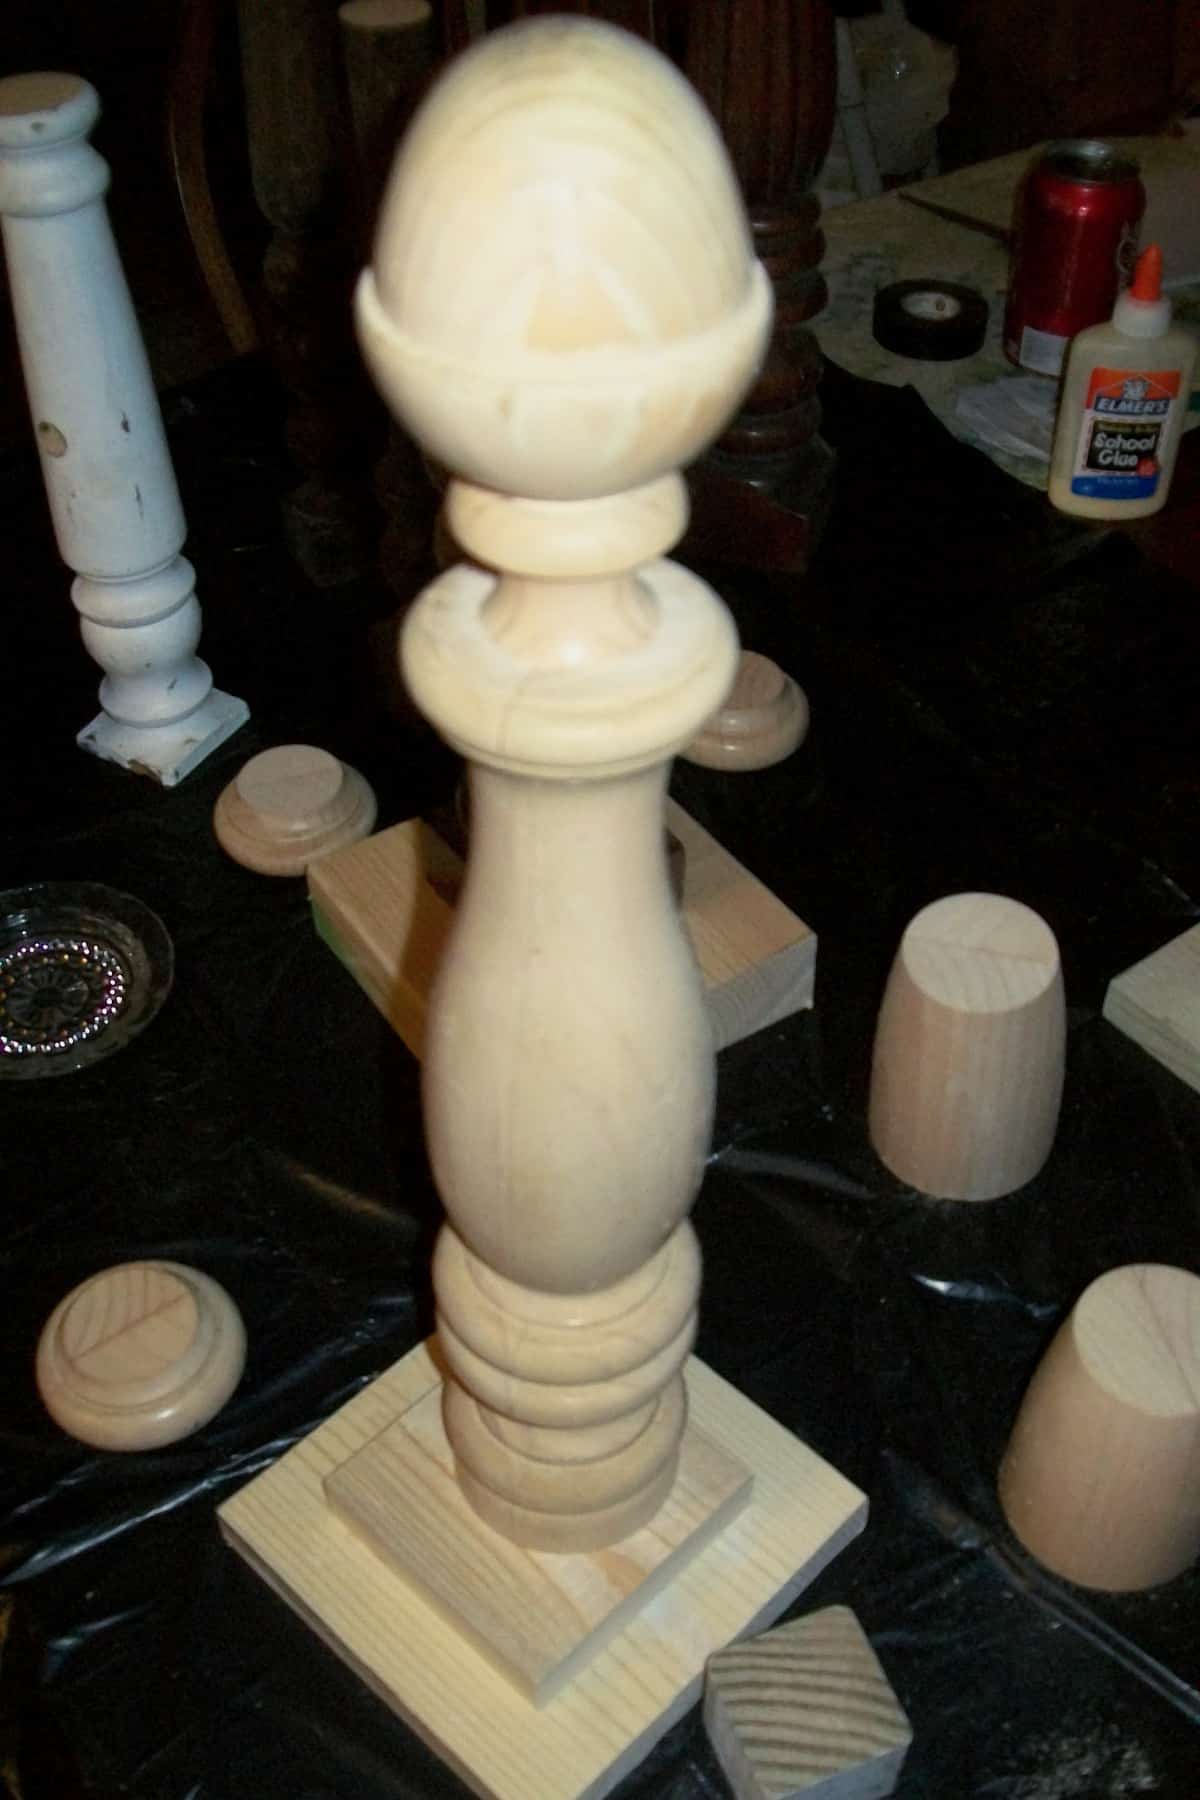
Then I started playing around with the configurations. A lot, as I do when I make glass totems.
Mix and Match Spindles, Bedposts, and Finials
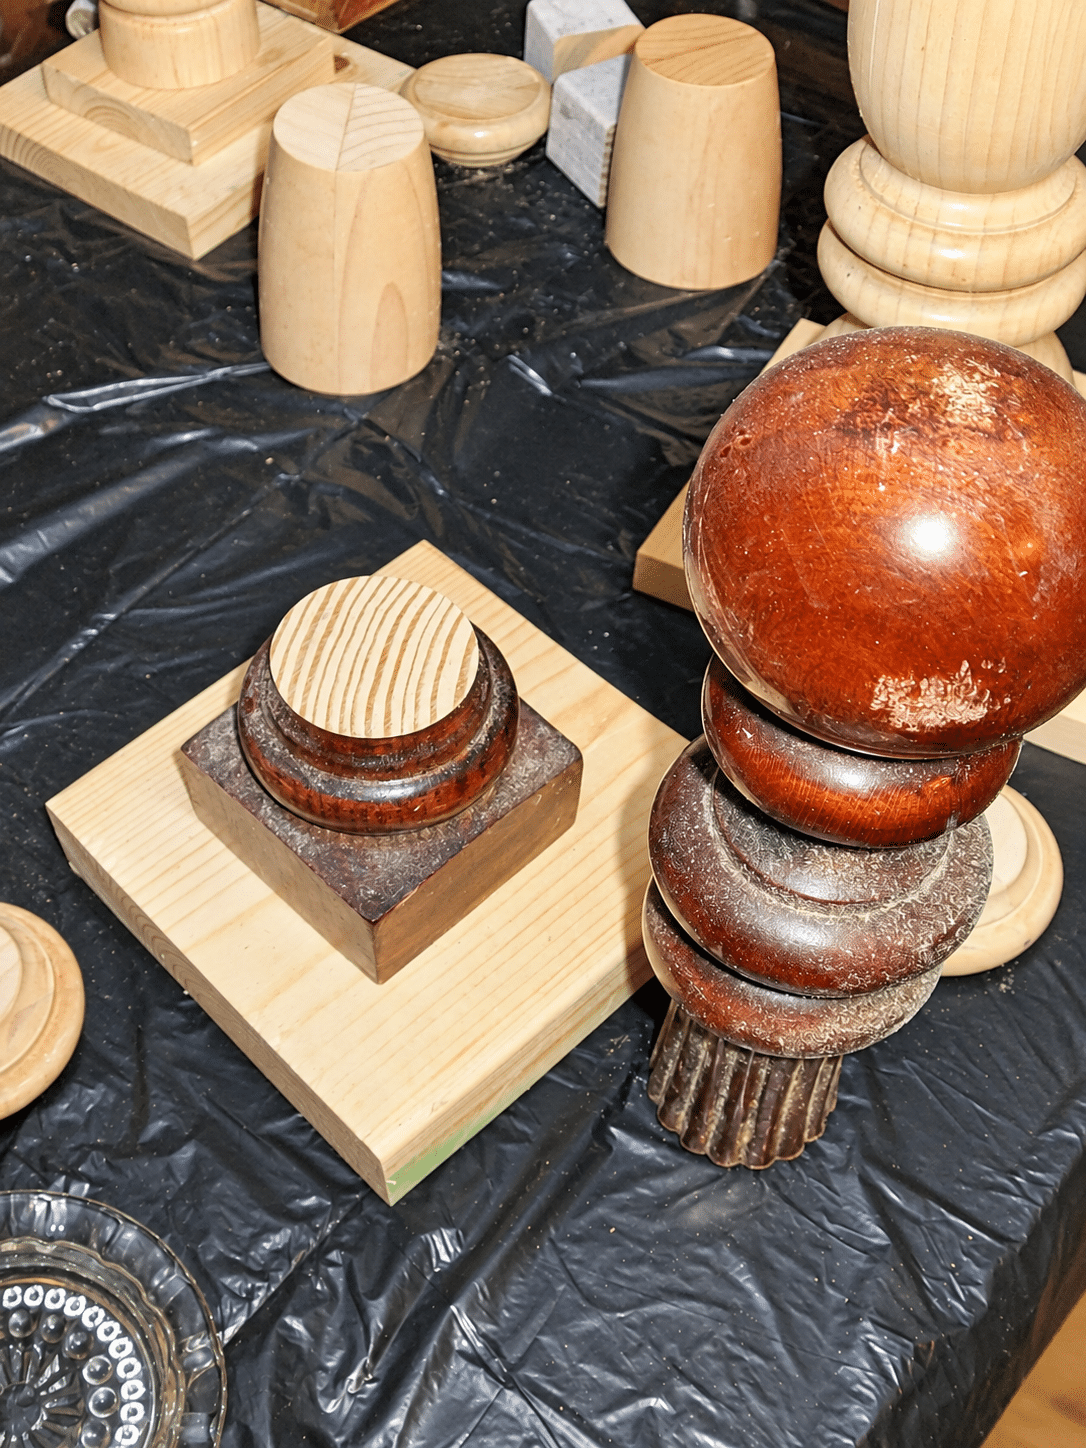
This is a 1×5, and the bottom part of a bed post/leg.
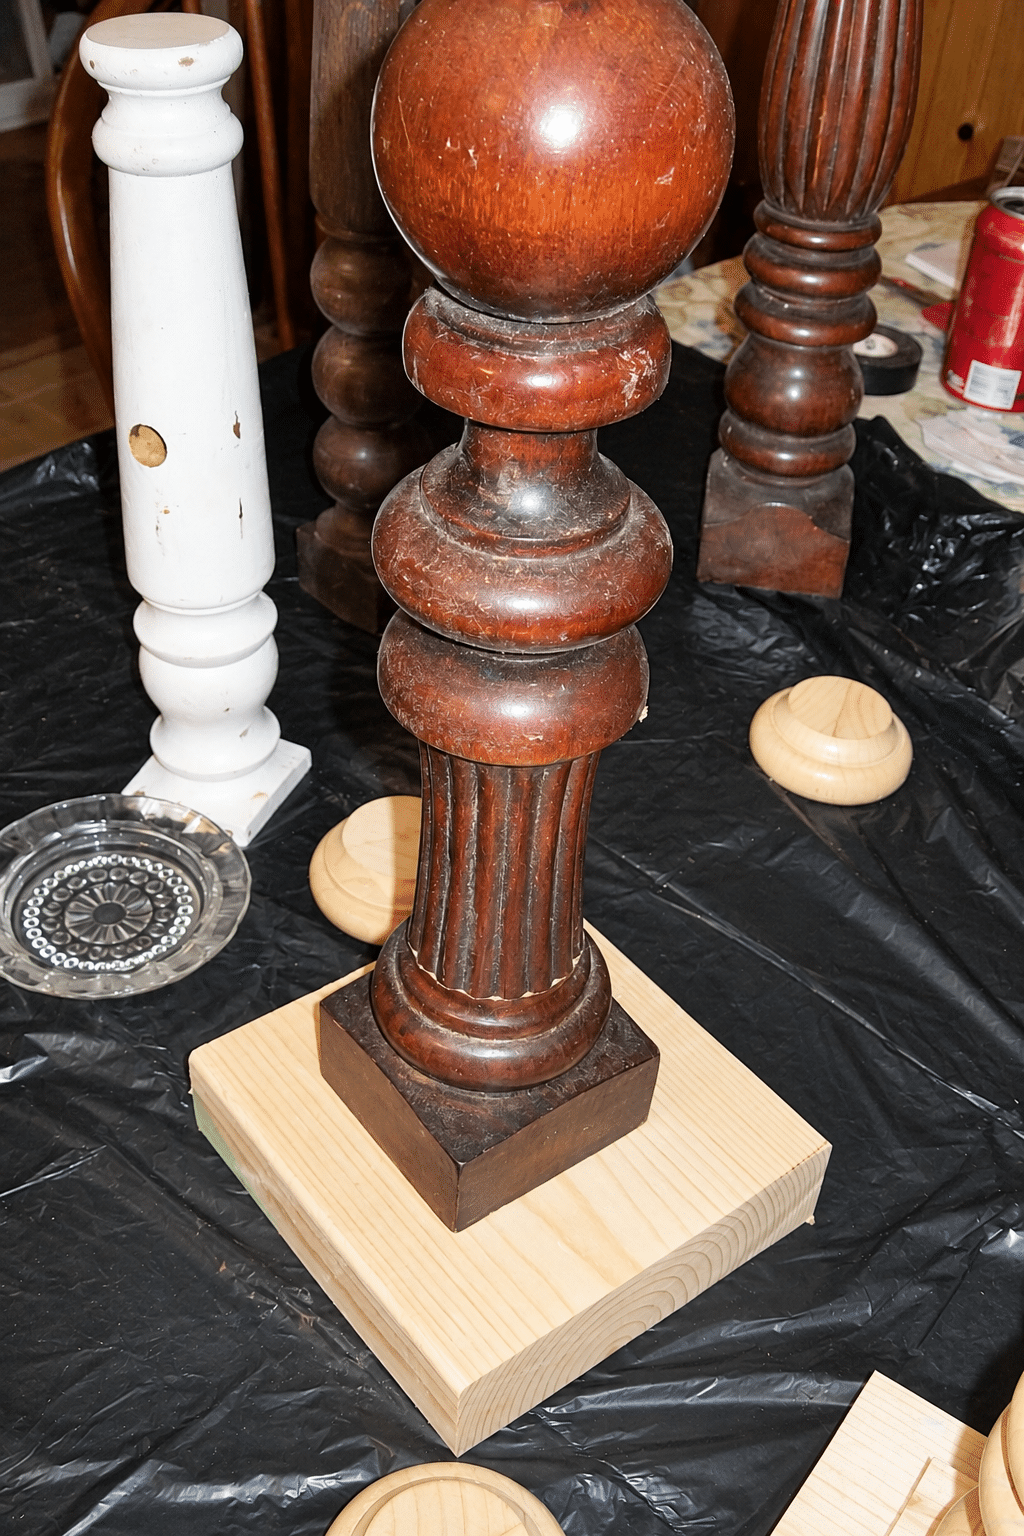
Here I added the top of another bed post to make the spindle candlestick.
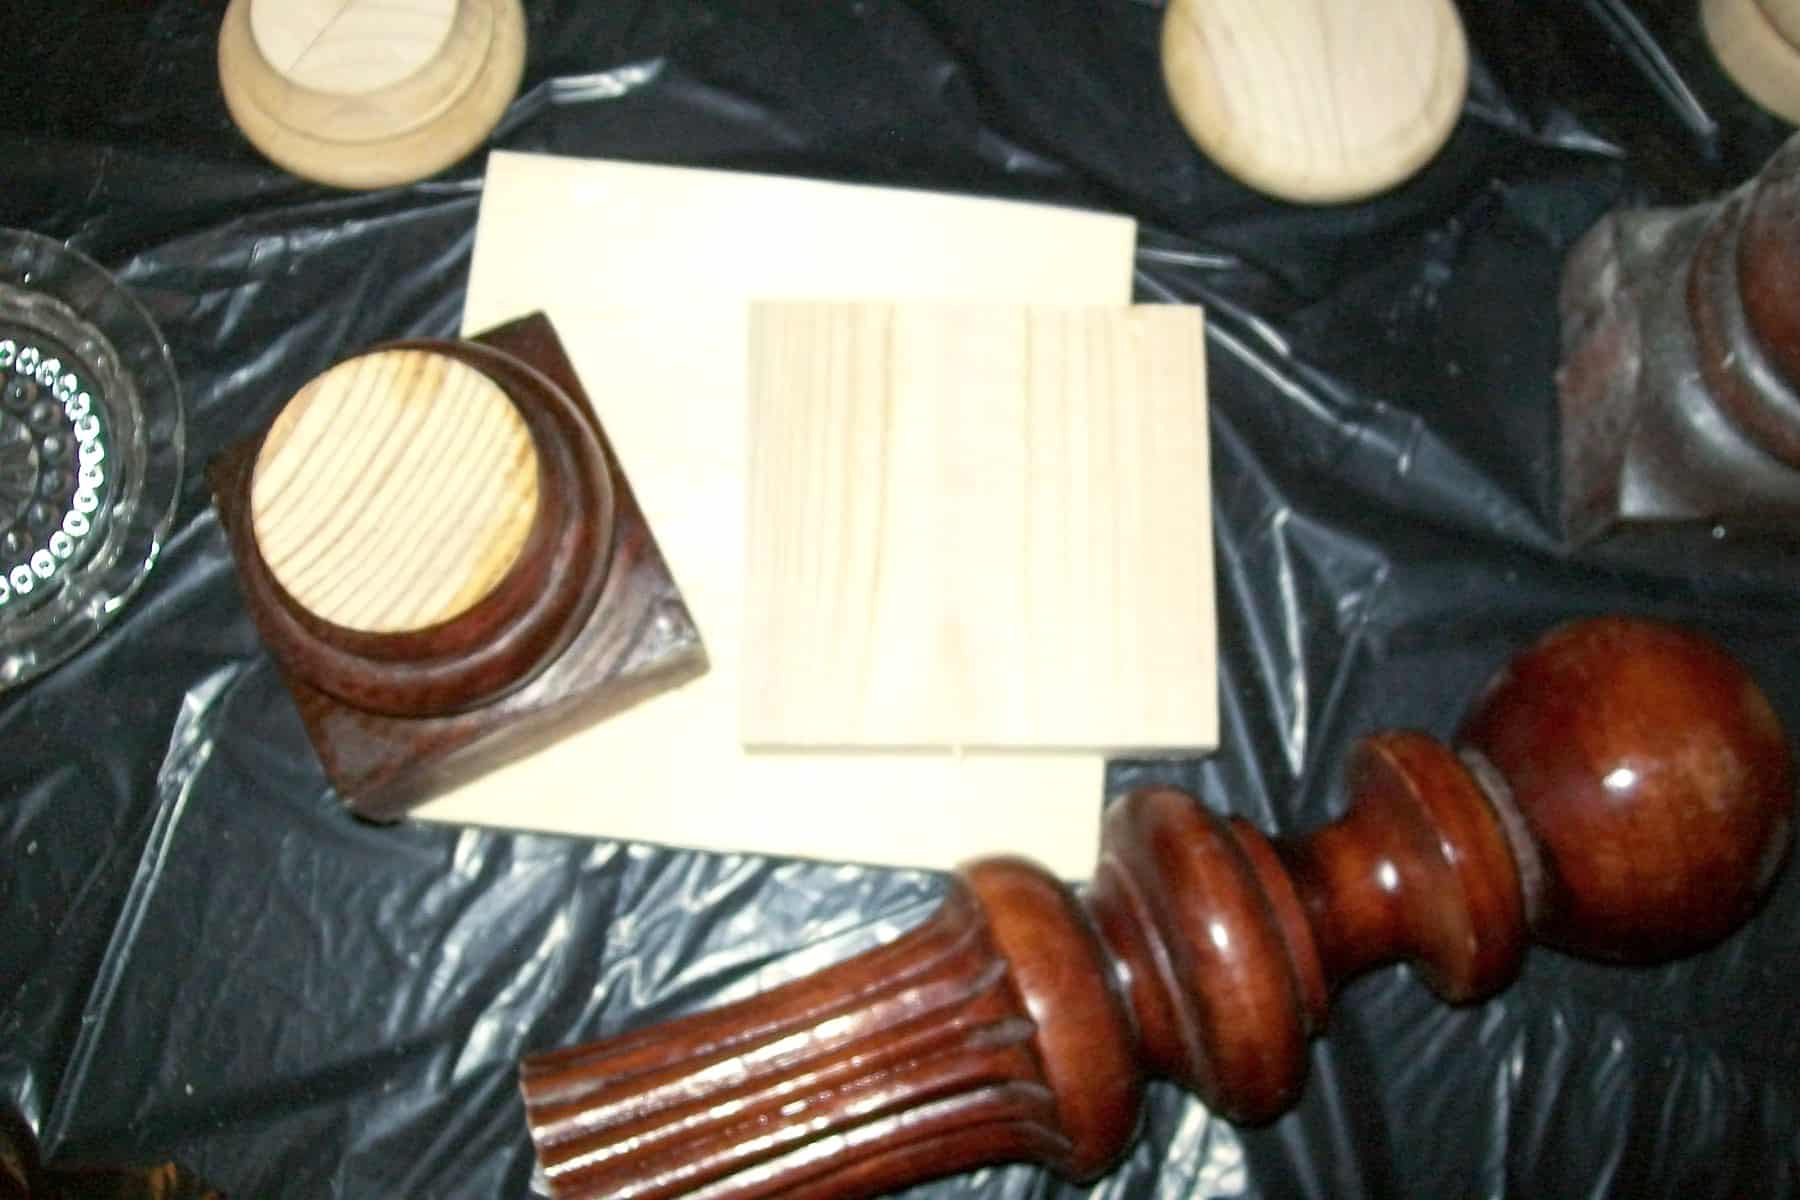
I sanded the rough edges and cleaned up all the sawdust.
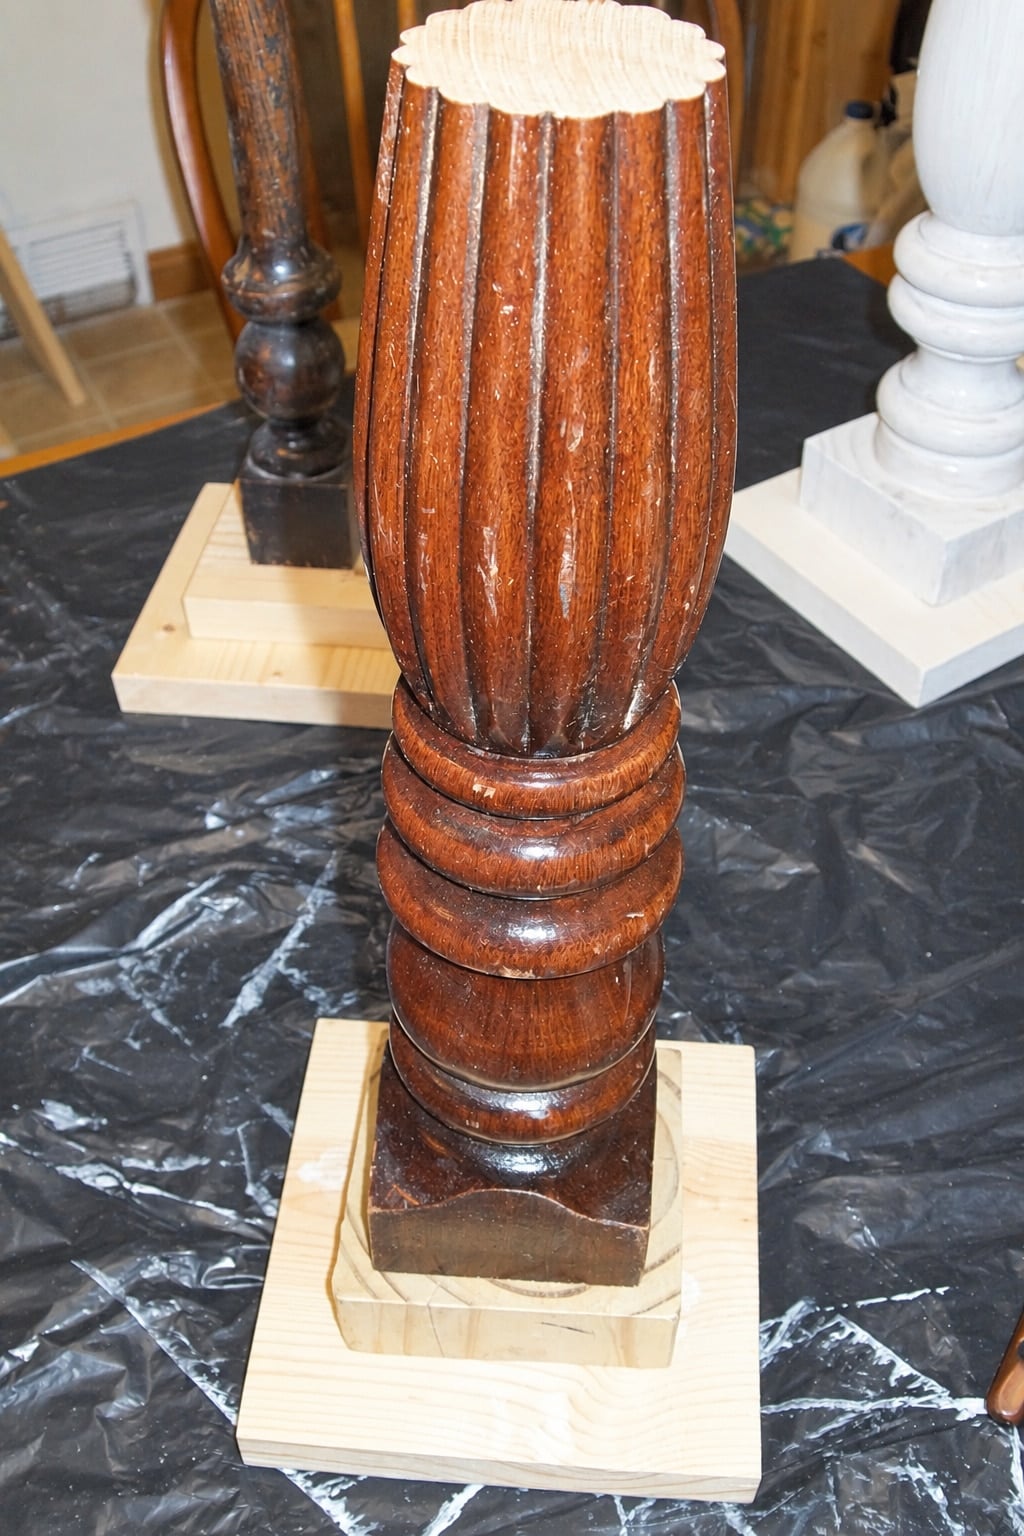
This is the bottom part of the bed post pictured above.
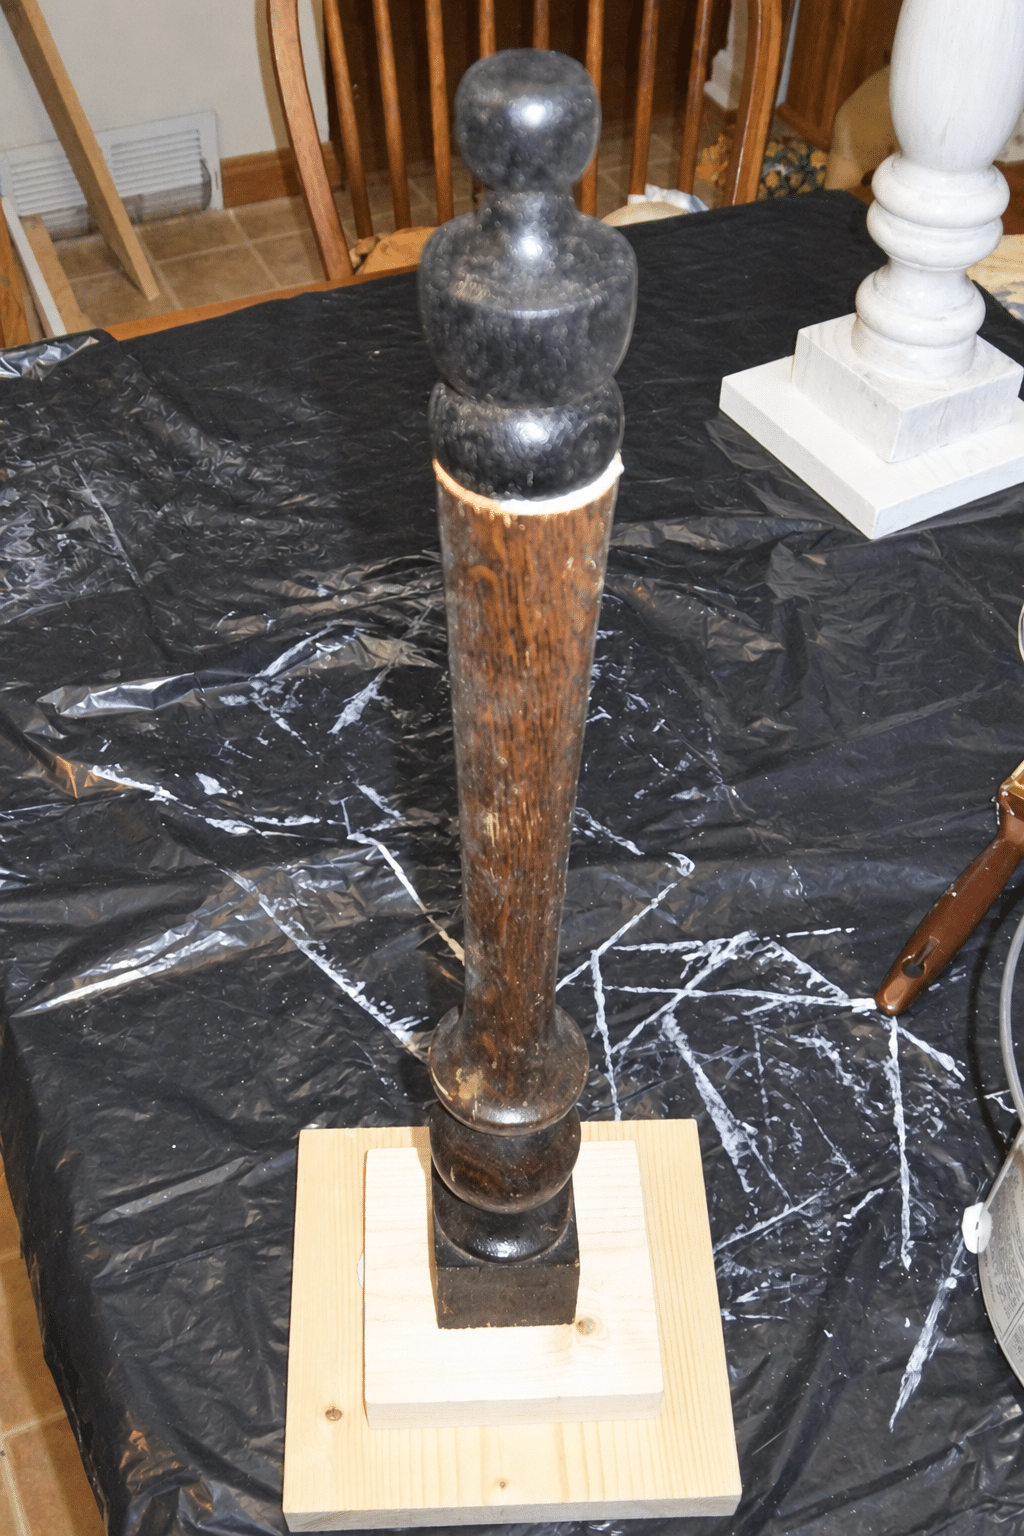
Here, a 1×5, a 1×4, part of a staircase spindle, and the top (finial) of an old chair make a great DIY spindle candlestick.
Make Candlesticks from Old Chair Parts
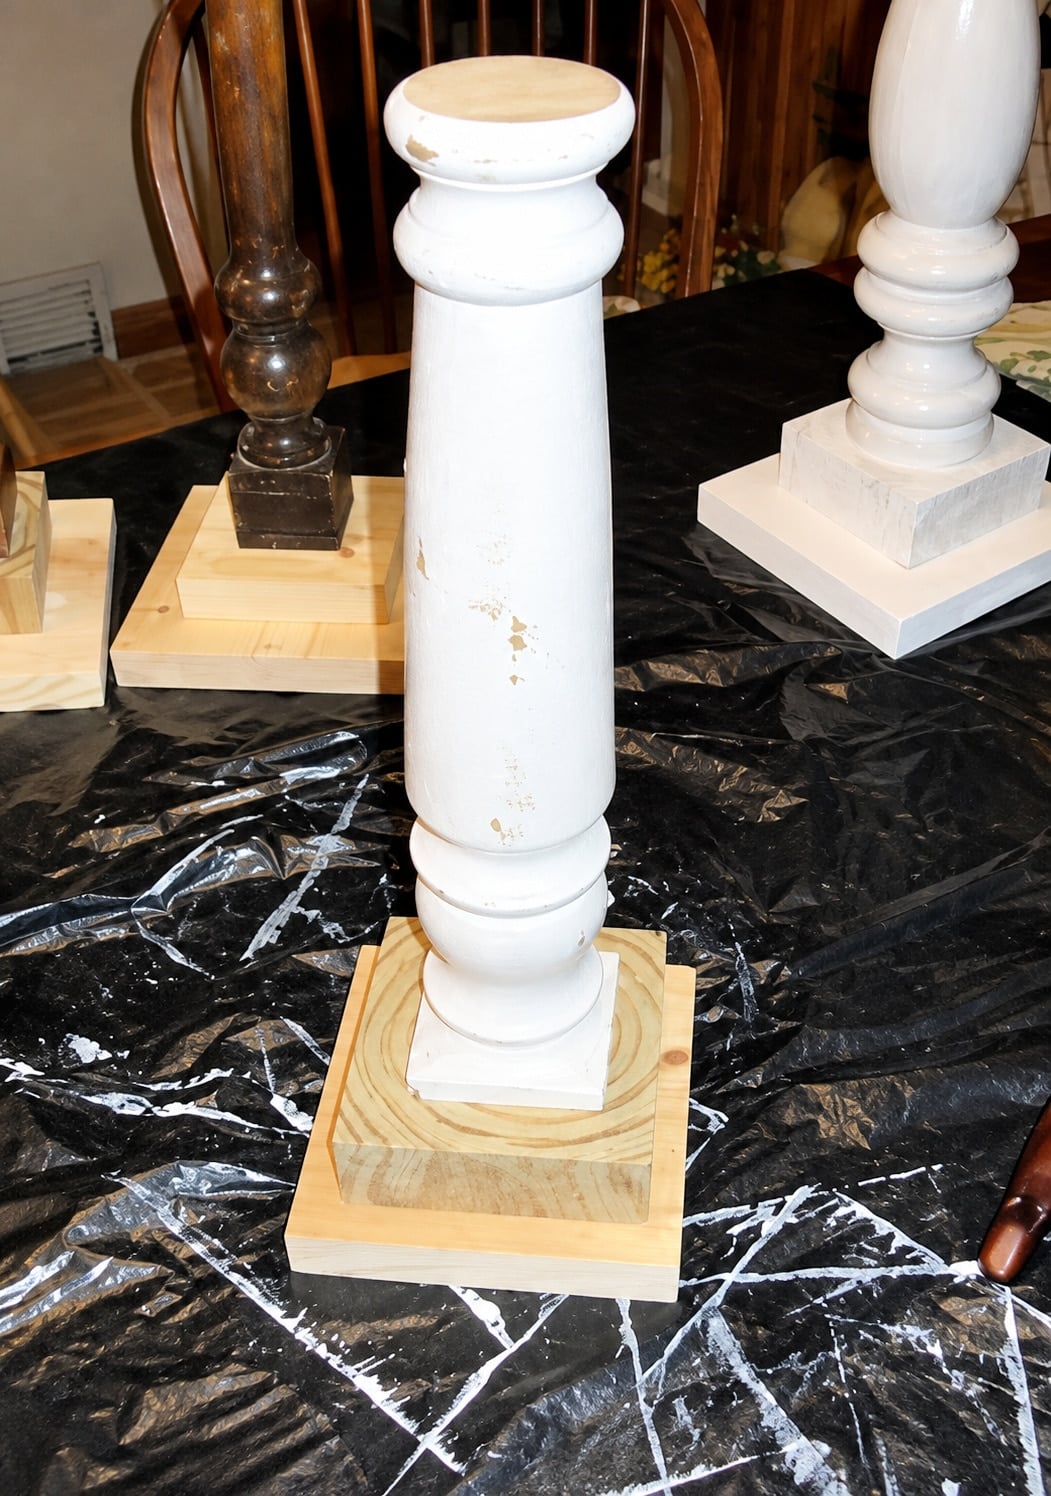
Oh, this little cutie is a 1×5, a 4×4, and a chair leg!
Glue the Candlestick Pieces Together
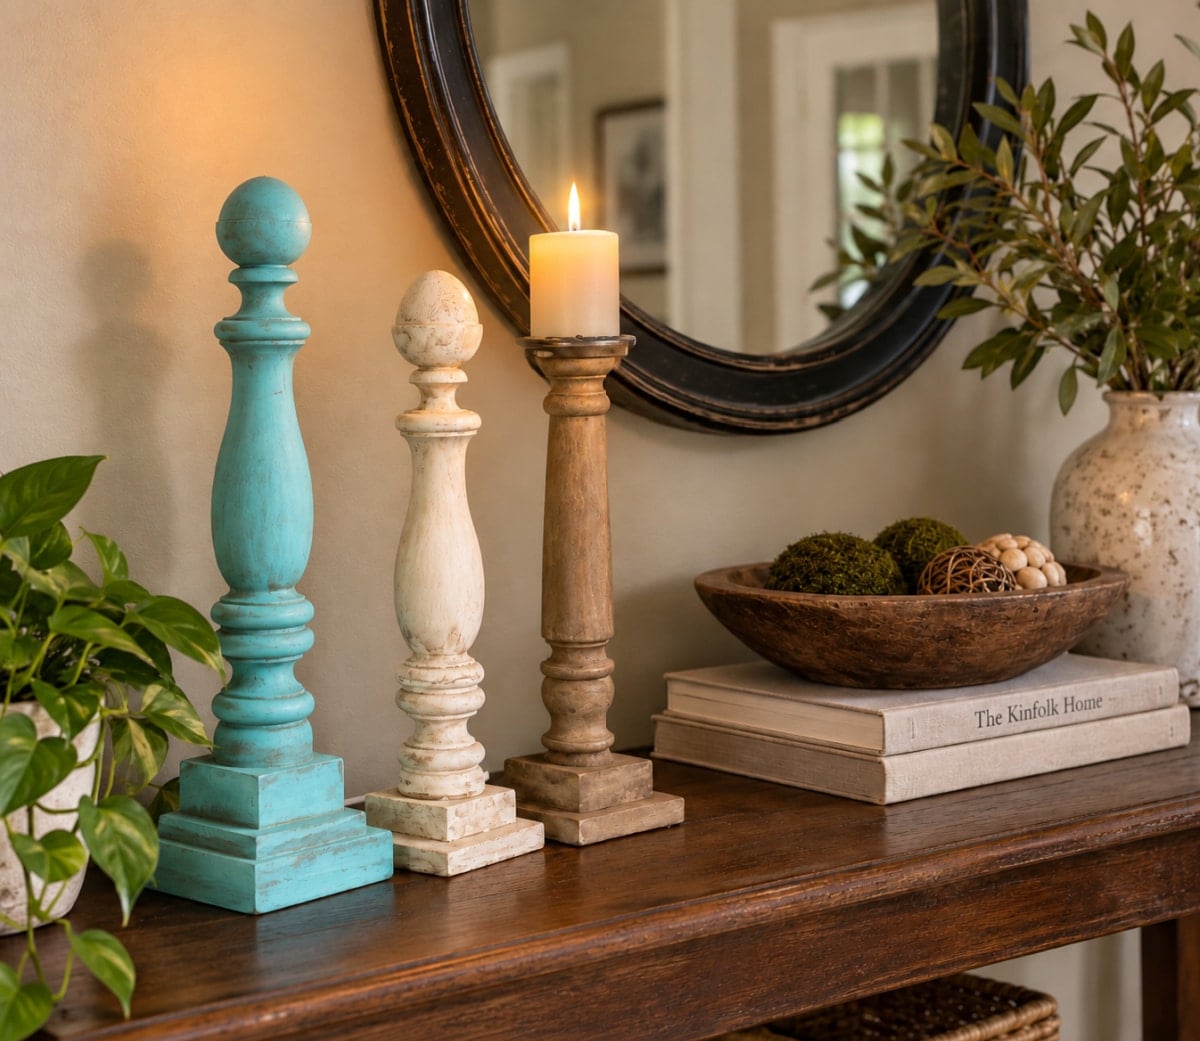
I used Gorilla Glue to hold all the pieces together. I couldn’t decide on one color, so I chose 3 different colors.
The white one is painted with Glidden “Crisp Linen,” with a wash/glaze of raw umber over it. I used a raw umber glaze on the brown DIY candlesticks.
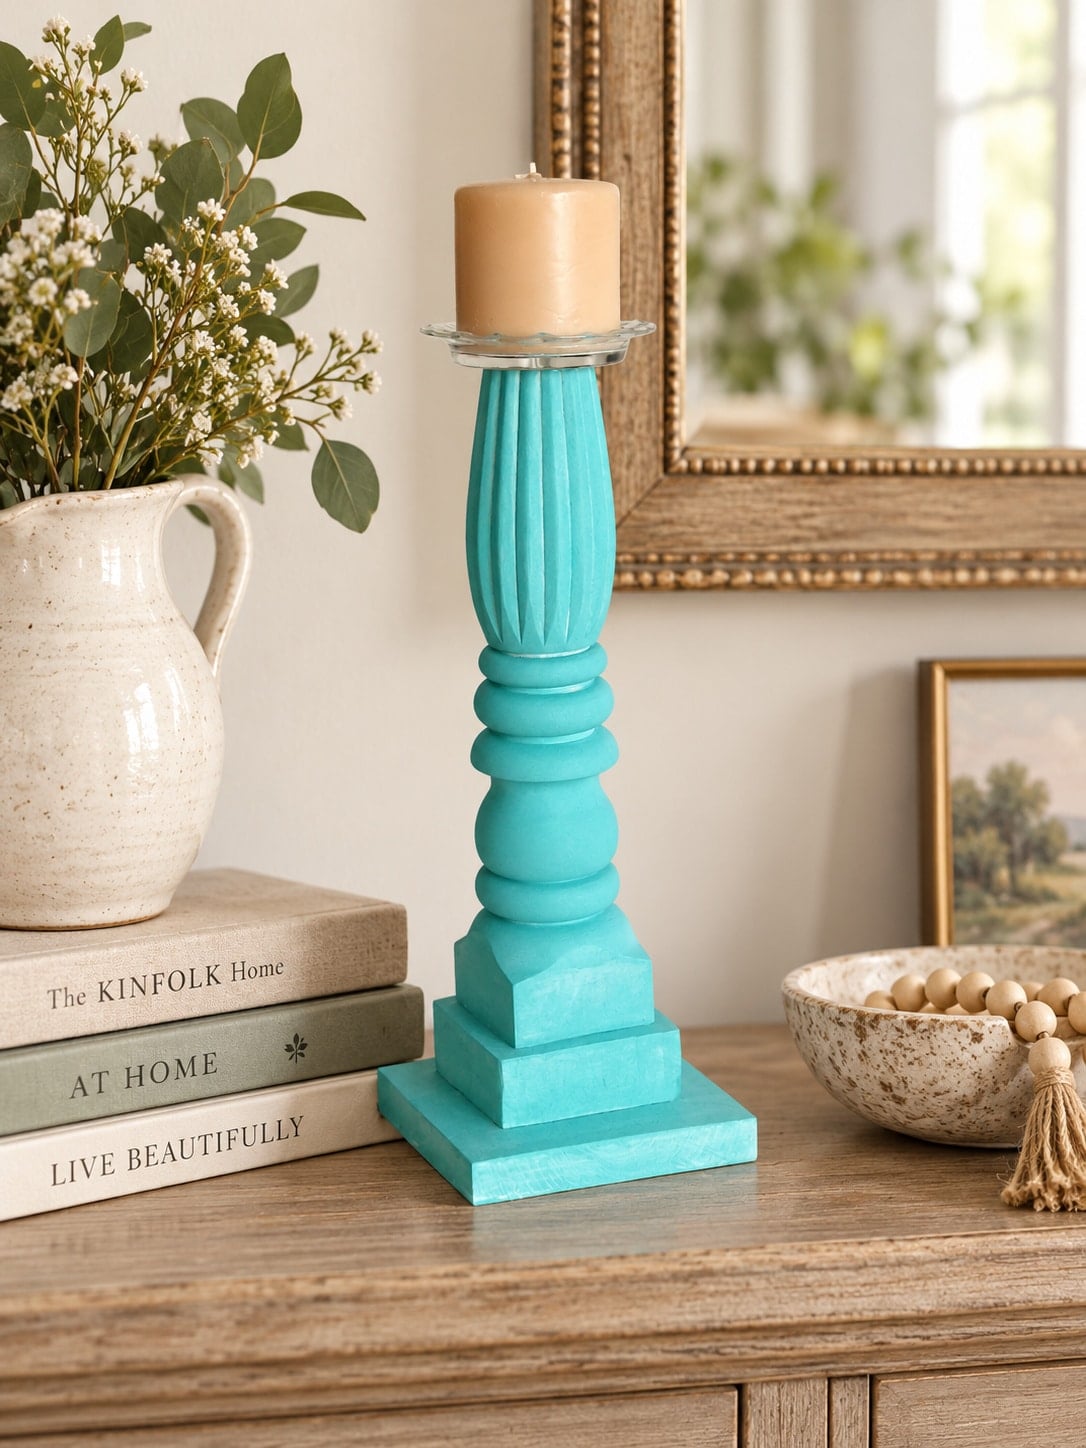
Here’s one of those cute little glass ashtray pieces I picked up at the Peddler’s Mall. Isn’t this a pretty spindle candlestick? DIY is sooo much fun!
The blue paint is the same turquoise I used on a window cabinet I made. I watered it down so it was more like a glaze. I used Kilz on all of these before painting their new colors.
Paint and Distress the Wooden Candlesticks
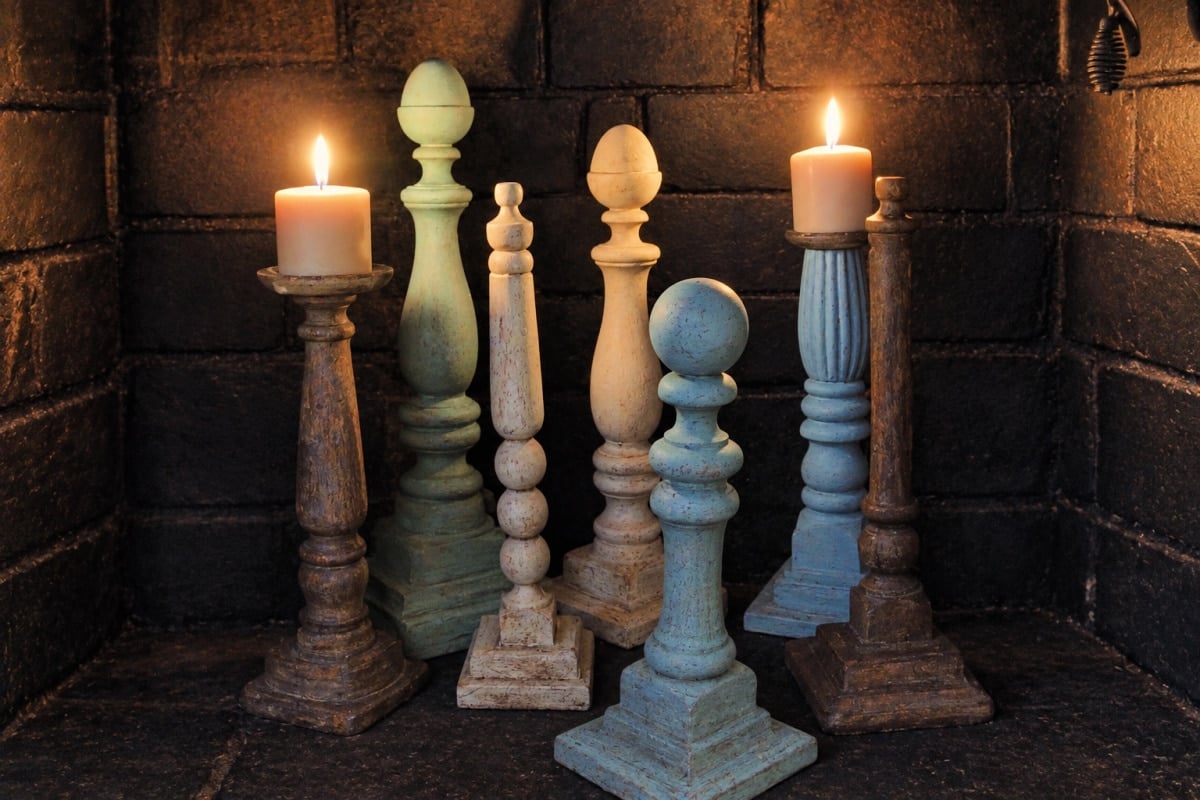
I put them in my gynormous firebox and lit the candles. Have you ever seen my ugly fireplace makeover?
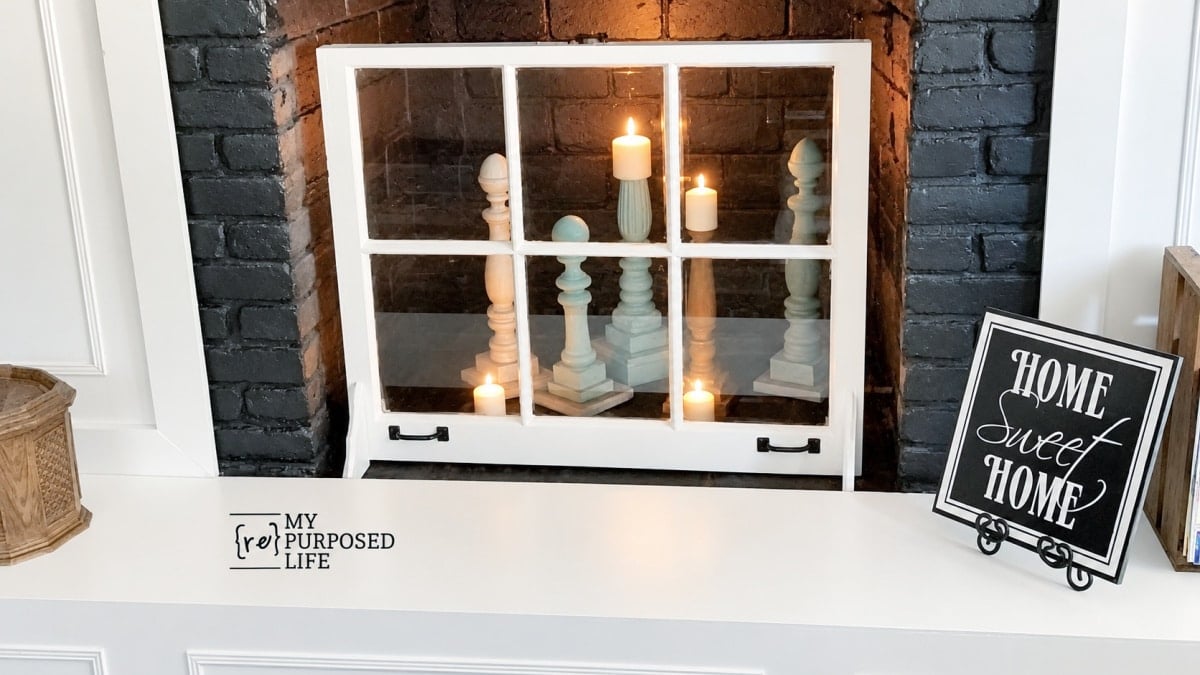
I haven’t used my fireplace in years, so it is strictly a statement piece. That is why I made this fireplace screen from a window.
I’d love for you to share this on Pinterest!
Decorating a Fireplace with Spindle Candlesticks
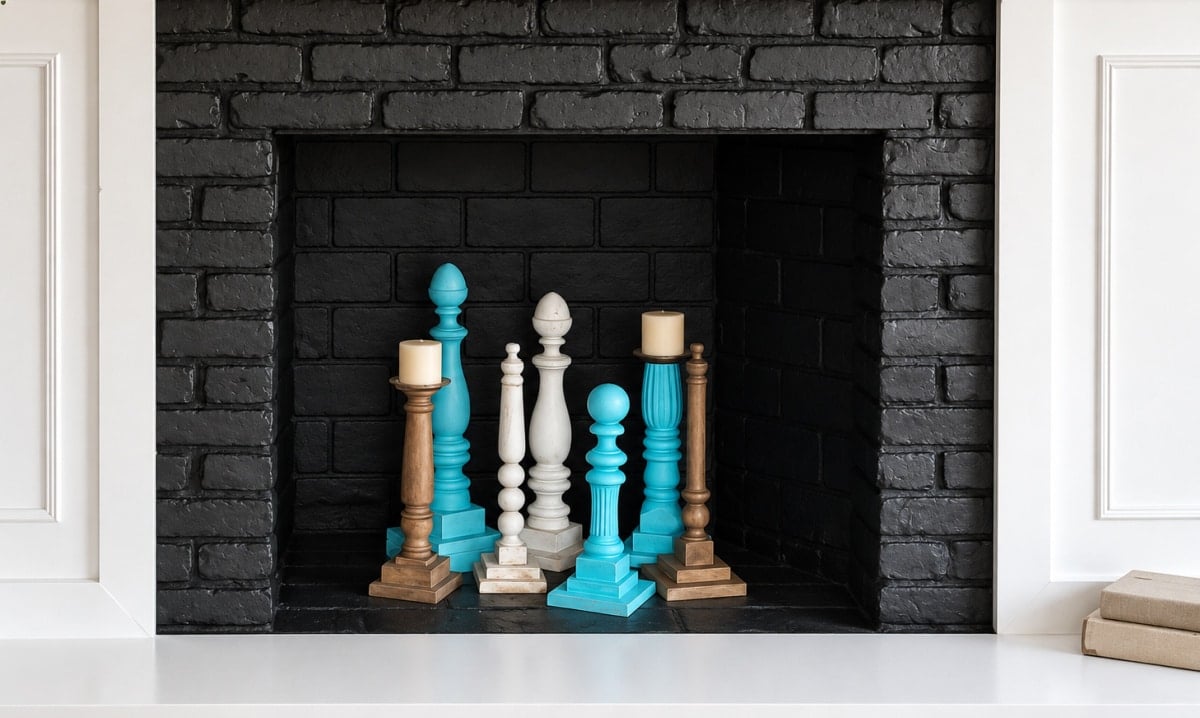
If you prefer shopping at thrift stores, you can find great wooden candlesticks to makeover. I love making candlesticks and more out of bits and pieces from my scrap pile.
There’s something especially satisfying about turning leftover pieces from other projects into decor you’ll actually use. None of these spindle candlesticks needed to match, and I think that’s what makes the collection work so well. Different heights, shapes, and finishes add so much more character to the fireplace display.
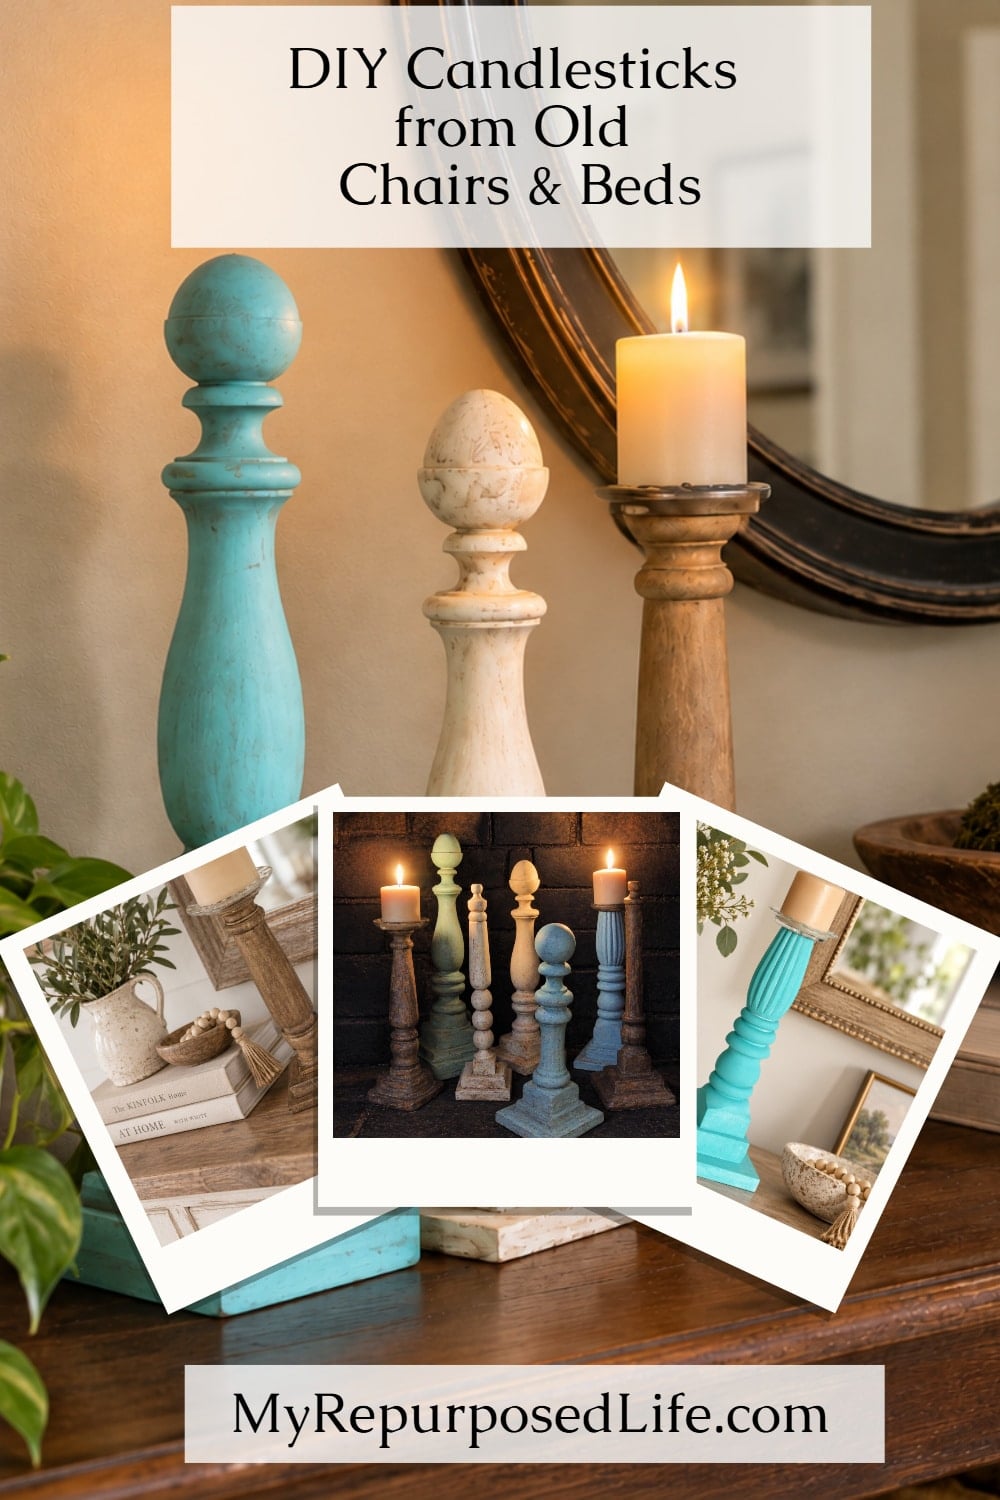
Before you toss an old bedpost, broken chair, or lonely spindle into the scrap pile, take another look. It may be just what you need to make your next candlestick.
What odd furniture parts are hiding in your scrap pile right now?
Awesome idea for candlesticks! Lookit you go with that power tool!!!
Thanks for linking it up to SNS!
FJ Donna
Thanks for this great idea! They look so good!
First let me say what a great job you did on the candlesticks – they are indeed awesome pieces for height, and I love your method of mixing and matching pieces til you got what you liked. When you showed the pic of the three of them in turquoise, my heart went pitter patter -how adorable!
But oddly enough, I don’t like them as much when you put them in the group with the white and brown ones… it makes them look out of place – the others are so classy looking to their whimsical.
Eh, who am I kidding. By the time I finished this comment, going back and forth looking at them, I do like them together… They just don’t have the POW for me that they did alone, with the contrast to that crisp white of the mantle. (So sorry for such a long comment, but I really liked them and wanted to share my crazy thoughts!)
Oh the possibilities!
Gorgeous! Absolutely gorgeous. I really love the white and brown. How creative to put umber over the white paint. You are really talented.
Very very very CUTE!! I love them!! Great color choices too.
Great idea! I never thought to use bedpost legs to make candlesticks!
I really like the cream ones with the brown glaze.
Good job!
These are fab! And the turquoise color is sending me over the top, it is great! So cute, way to pull things together.
Love those “candlesticks.”
Love those “candlesticks.”
Gail, These came out great! Love that they are all so different. I’ve never tried this one, thinking the posts all had to be the same circumference where joined but I see that yours aren’t and they look just wonderful, esp all painted up! Maybe that huge firebox needs just a few more candles to make it really pop when they’re lit? Just a thought…
I’m so going to try making these now!
Rose
OH MY! LOVE these! Great colors.