Spindle Mirror Makeover Thrift Store Find
As an Amazon Associate, I earn from qualifying purchases.
I love getting a good deal on an old dresser mirror, especially when it’s wooden! This spindle mirror makeover stumped me for a while. When I finally got it out to work on, I posted a picture of it on facebook asking people what they would do with it. But being an impatient diy’er, I got to work on it before all the comments were posted.
This post contains affiliate links, read more here.
Thrift store spindle mirror makeover
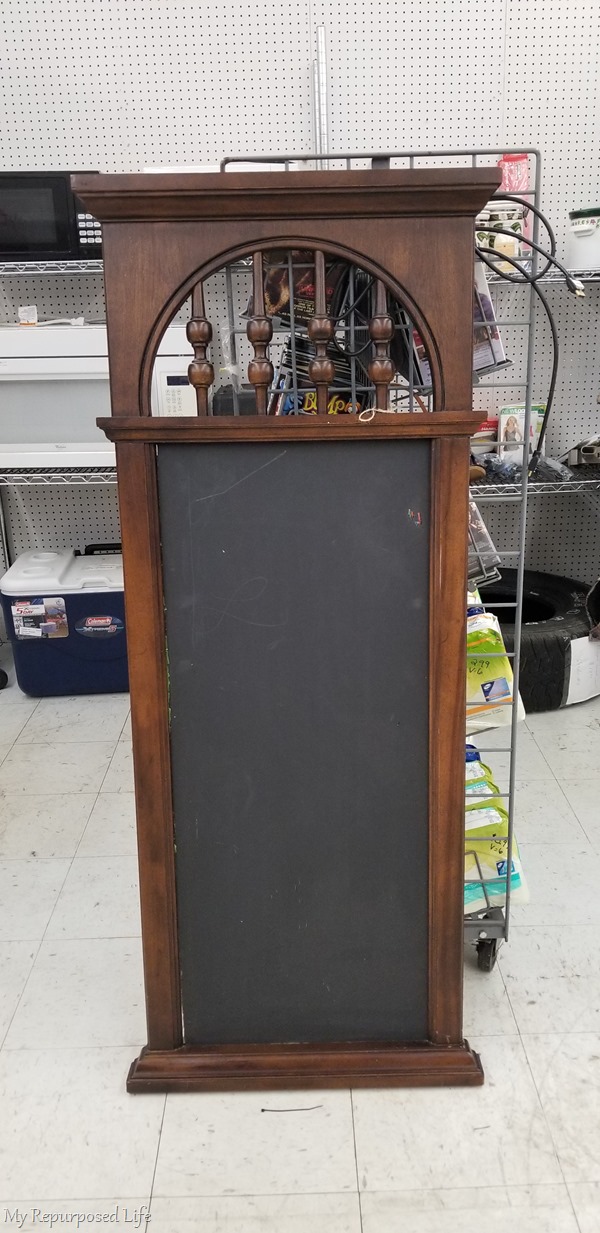
As I recall, this wooden spindle mirror was higher than my normal $5 limit. I think it was $6.99. Someone had already given it a makeover, using chalkboard paint on the mirror.
Do you ever buy something, then wonder if it’s going to fit in your vehicle? On this shopping trip I was with a friend in a small car. But the White Elephant will hold purchases, so I had to pick it up later in my truck. It literally took up the width of my truck behind the front seats. Plus, this mirror is heavy!
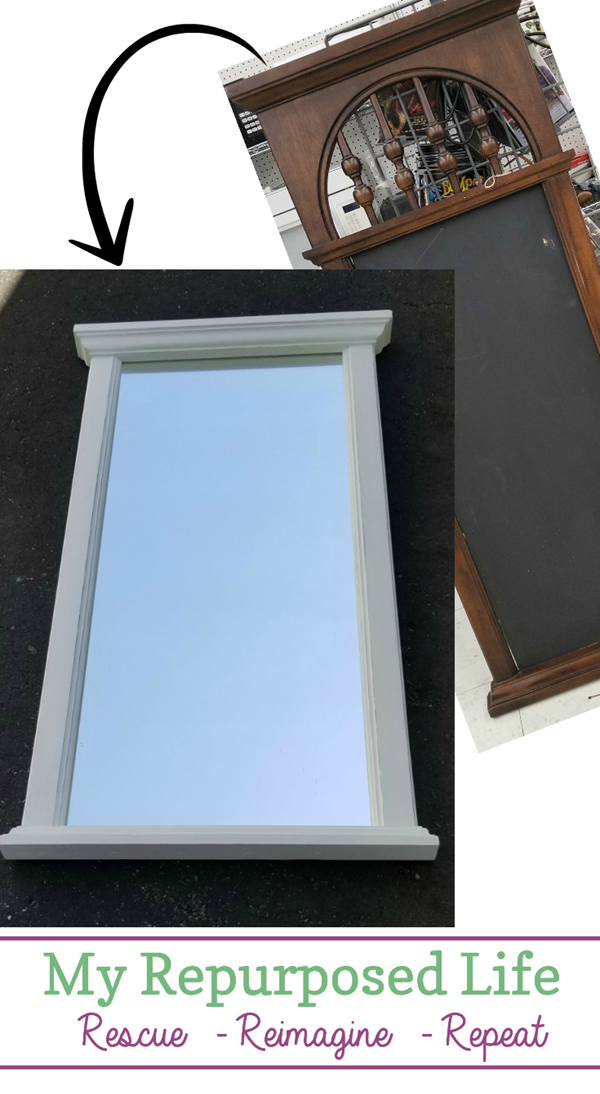 I would love for you to pin this for later!
Read below how this spindle mirror makeover came about!
Cut spindles with jigsaw
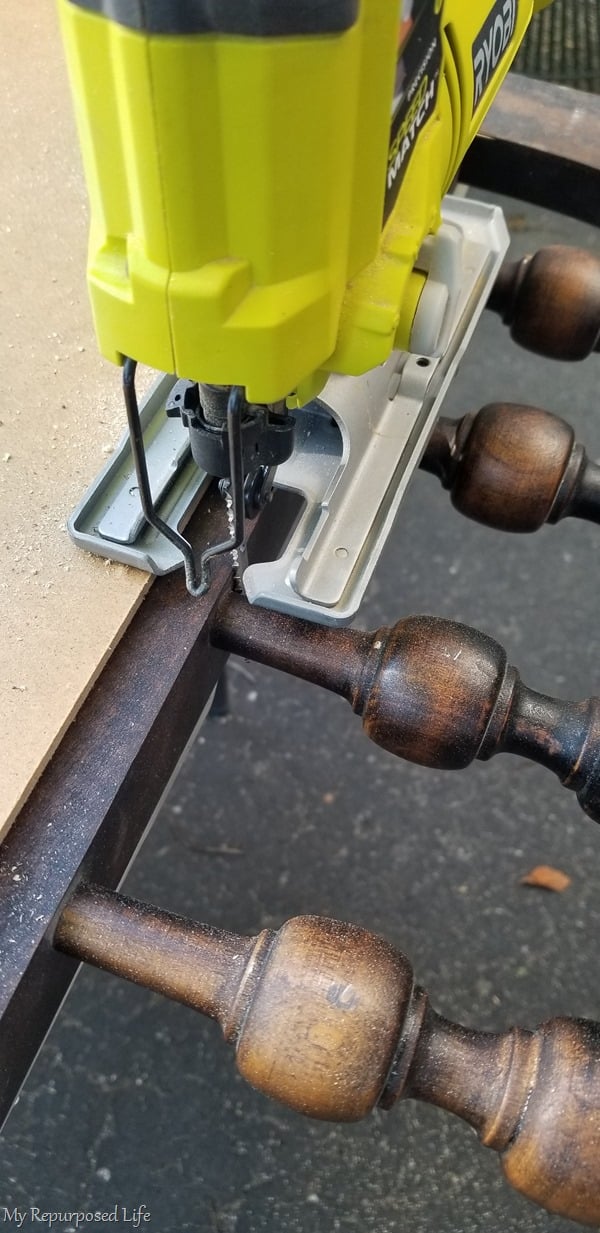
Why do I cut furniture apart rather than dismantling it? Using a saw leaves me with less bumps in the road. Had I tapped the spindles out of the mirror frame, I would have been left with holes to fill.
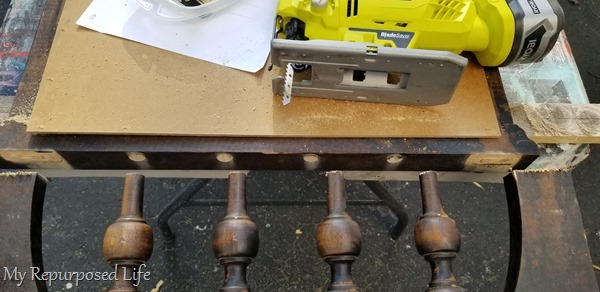
You can see that it would have been quite a few holes to patch, including dowels that were holding the side pieces in place.
Sand area smooth with orbital sander
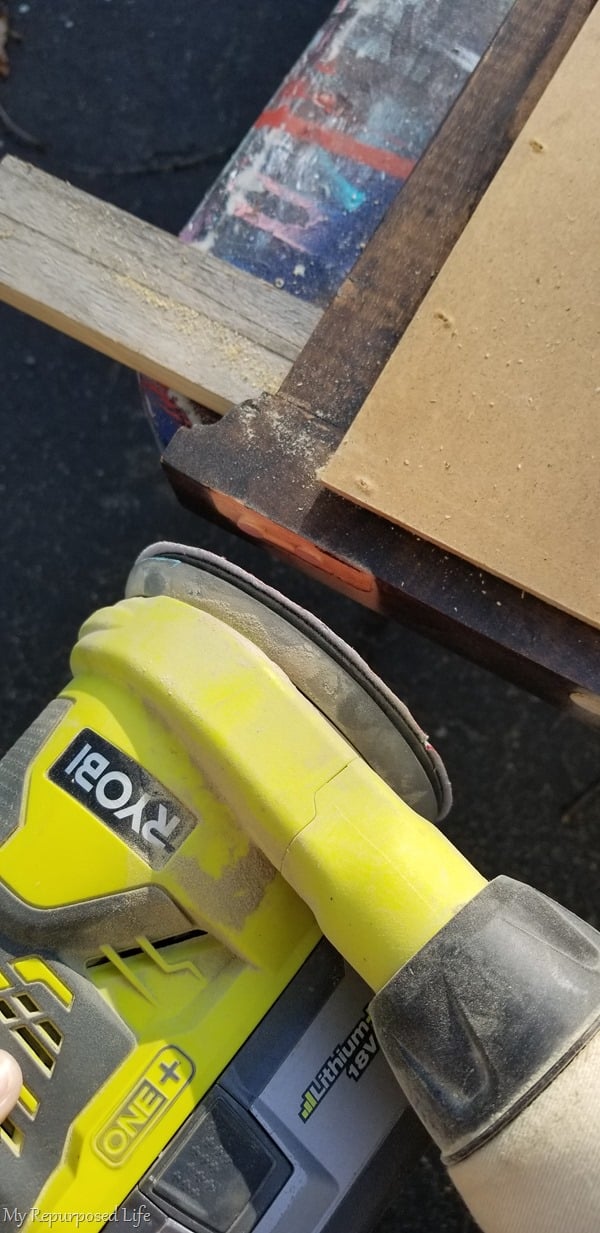
Because I had to rest the base of the jigsaw on top of the board holding the mirror in, these dowels needed a little more sanding with the orbital sander. At this point I wasn’t sure what I was going to do with the mirror, so I left it attached.
Spindle mirror Makeover – so much prettier
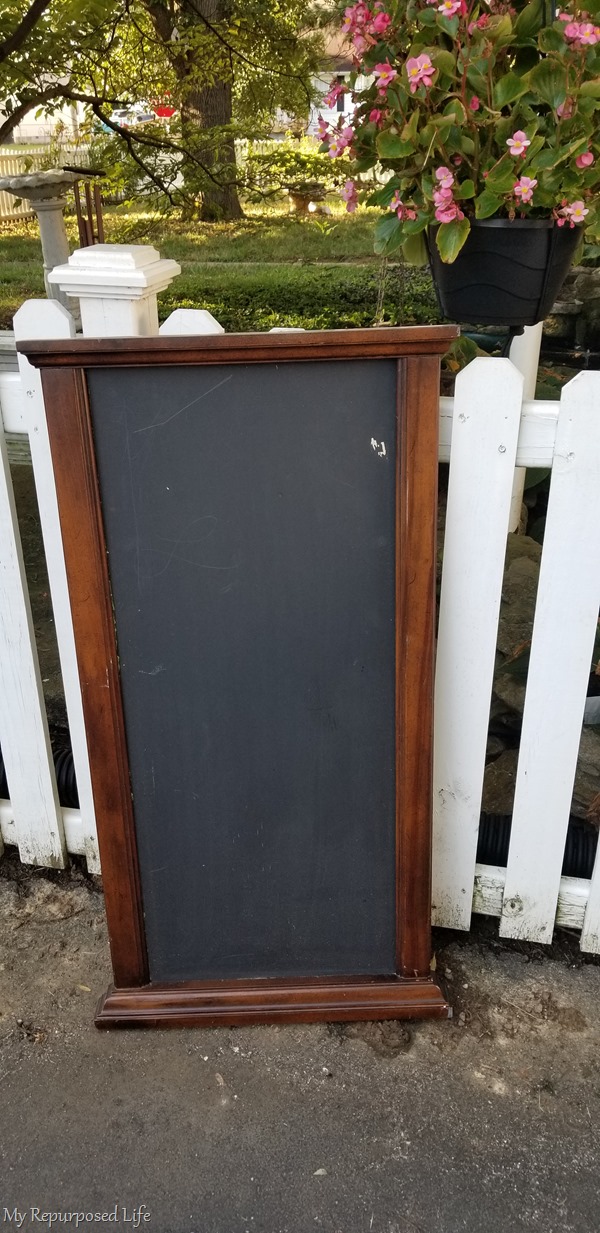
However, as soon as I got the spindles removed from the mirror frame, I knew this gal wanted to have her glory revealed again to be a mirror once more.
Save all hardware in plastic bag
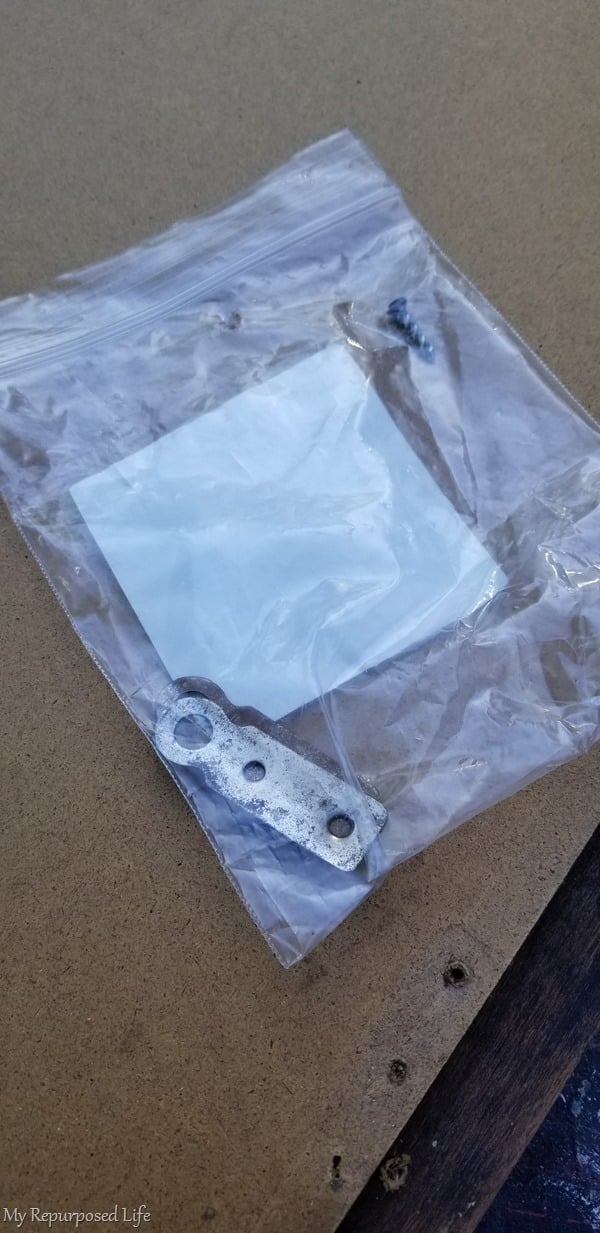
I have lost old hardware more times than I want to talk about. I removed the hanging hardware and placed it in a plastic bag. Whenever I get orders from Amazon, I save all the plastic bags just for this purpose.
Carefully remove mirror backer board
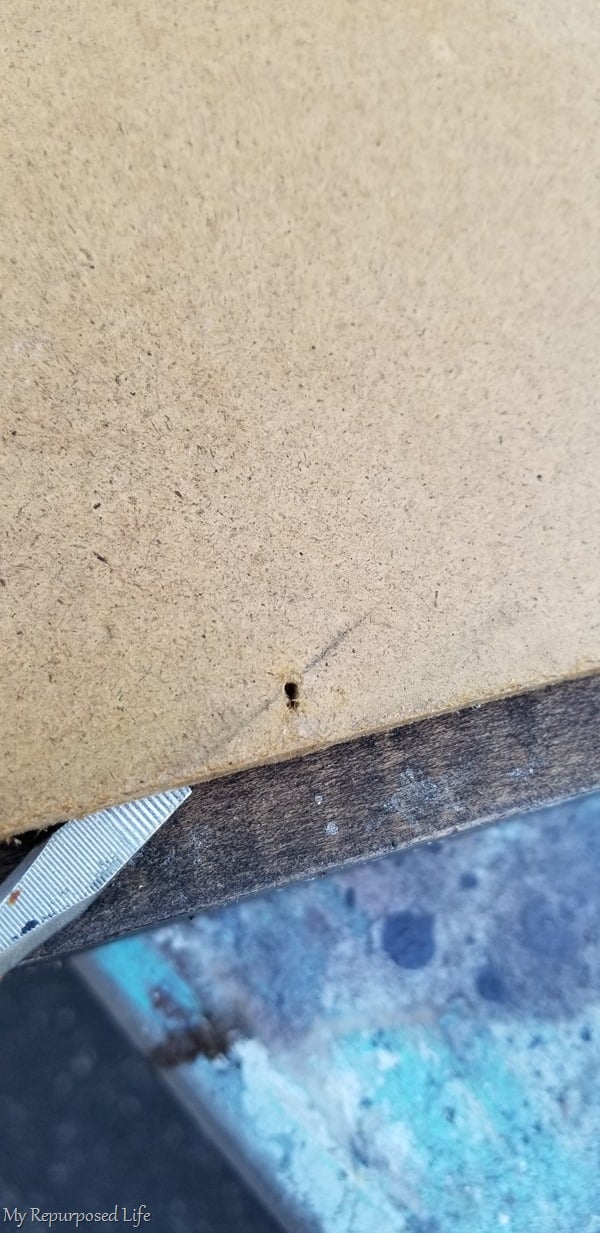
A flat head screwdriver was used to pry off the back of the spindle mirror.
Remove all staples
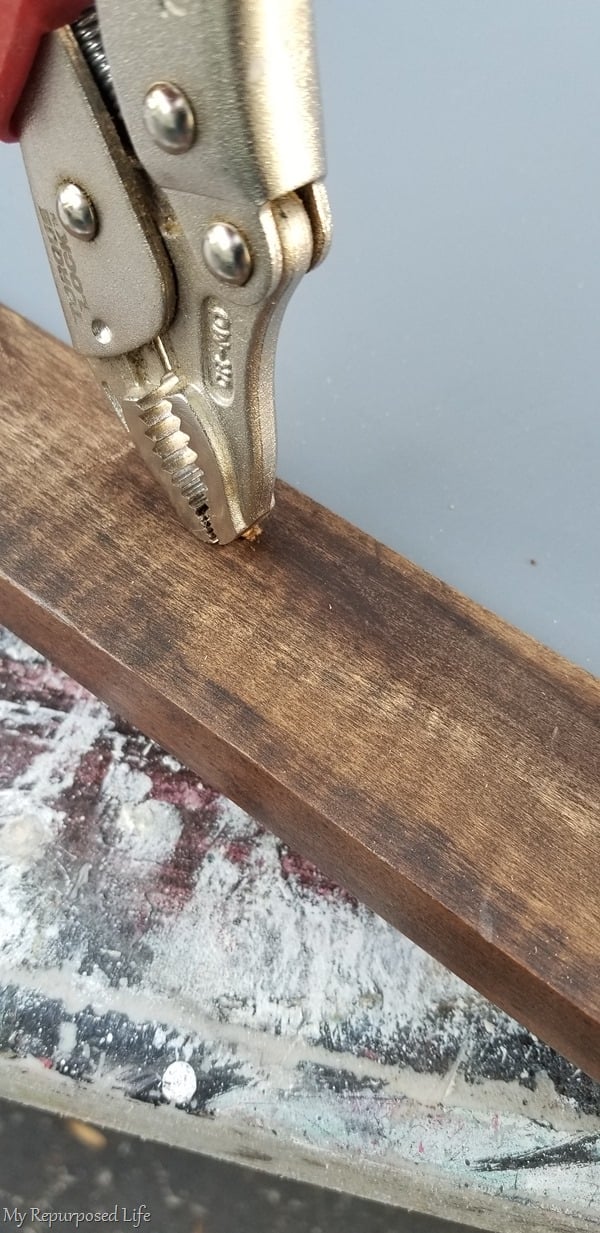
Rocking a pair of locking pliers easily removes the staples that held the mirror in place. Simply lock down, and rock to pull out the old staples.
DIY Chalky Paint Primer
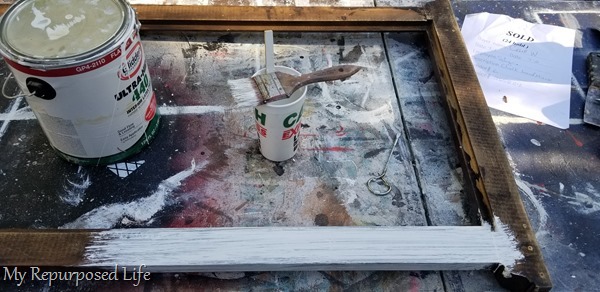
Mixing up a batch of my diy chalky paint primer using plaster of Paris and this old oops paint, I was ready to paint! I like to use cheap chip brushes because they clean u so easily.
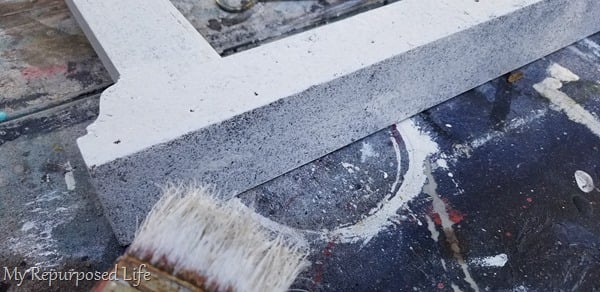 Initially I planned to do a light coat of white paint, sort of stippled on, giving the spindle mirror an aged look.
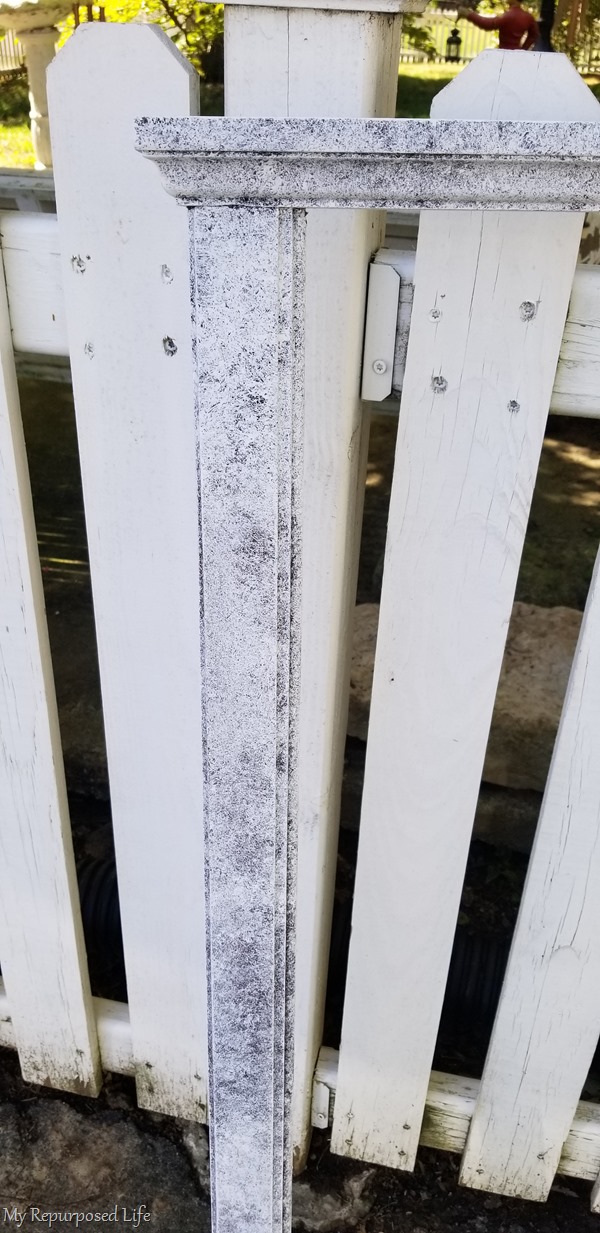
I was unsure if this is what I wanted. So while the paint dried . . .
Remove chalkboard paint from mirror
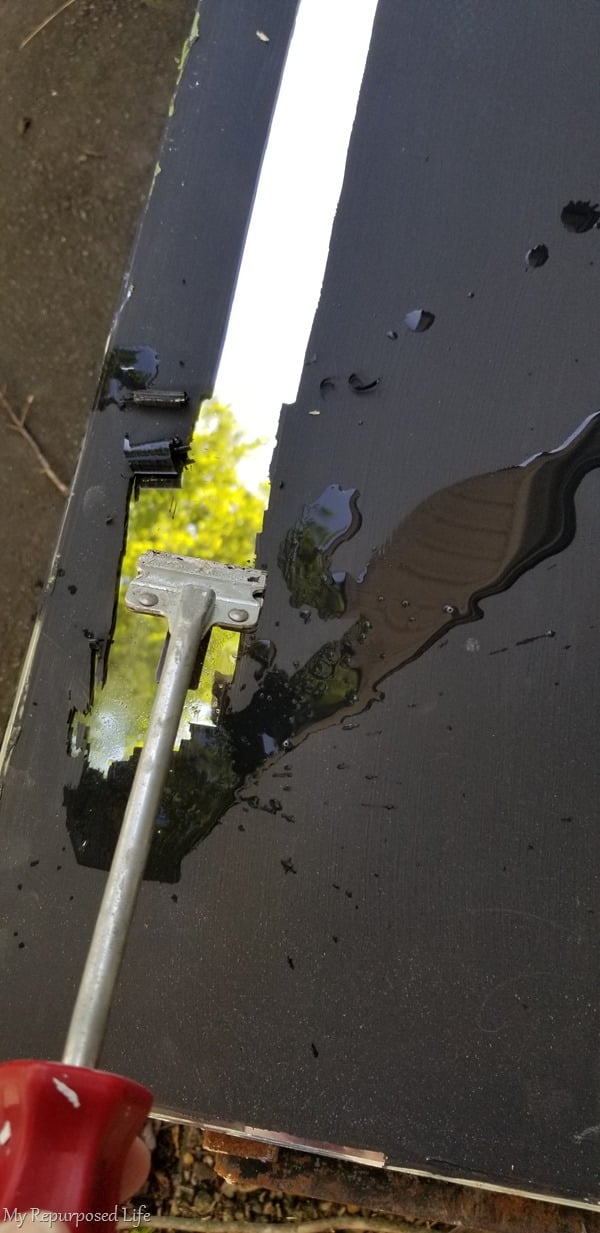
. . . I got busy removing the chalkboard paint from the mirror. This handy razor blade scraper made the job really easy! I used a little of my diluted dish soap for good measure. That really made it easier near the end, when there were a few flakes left.
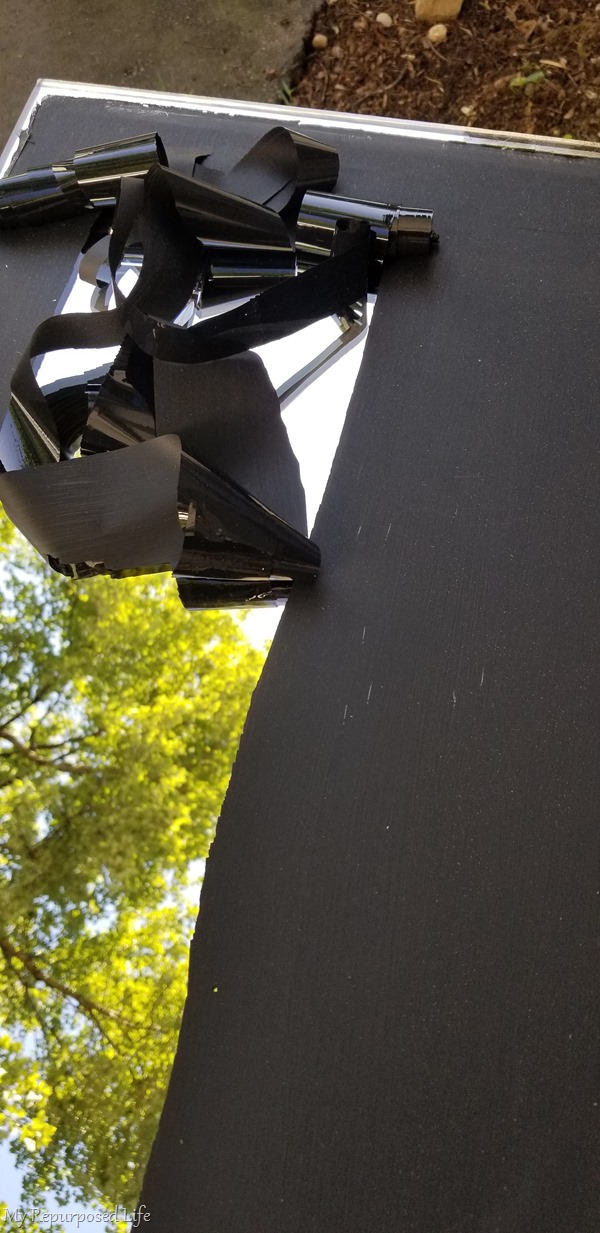
Look at how easily the chalkboard paint came off the mirror, exposing the reflection of the trees and the sky!
Apply second coat of white paint
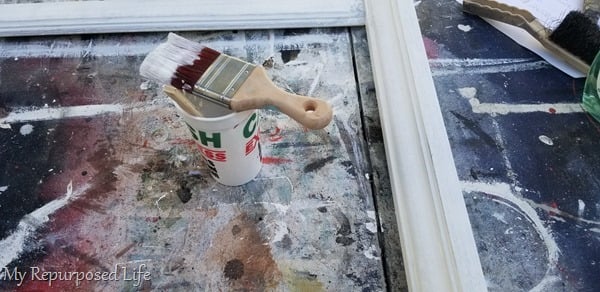
With a clear head (and mirror) I decided to go with a second coat of the white paint. The paint was naturally distressing a little on the edges, so I decided to help it along a little bit.
How to distress with emery boards
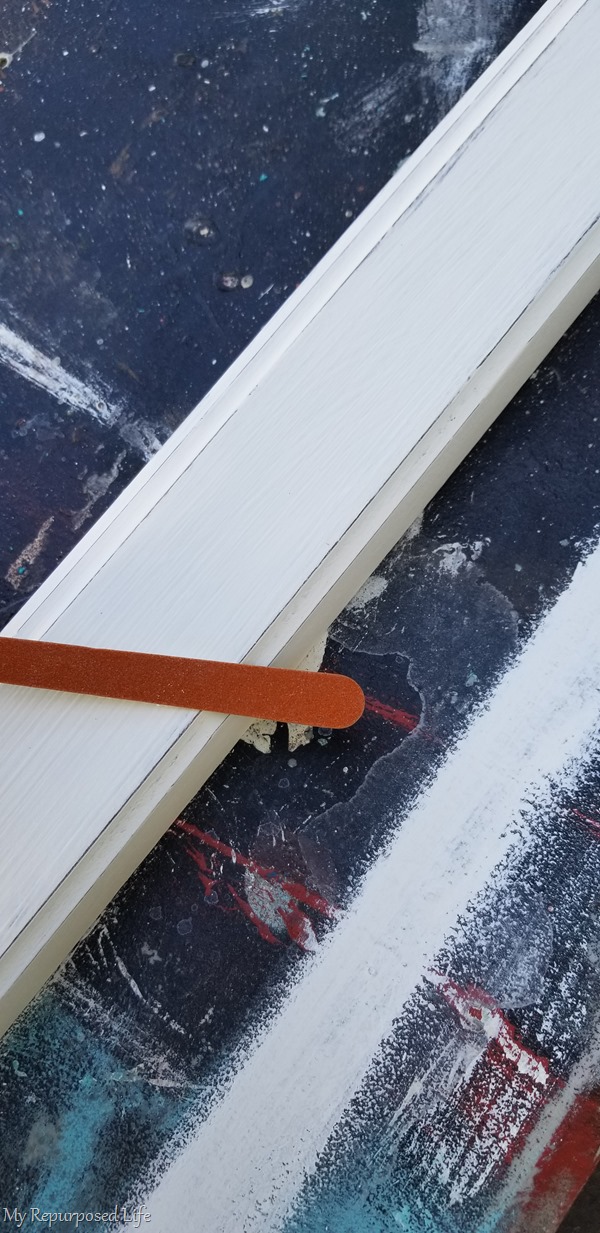
I used the emery board distressing technique—the same way I did on the repurposed lamp plant stands. The emery board give you more control when distressing lightly.
Reuse mirror braces
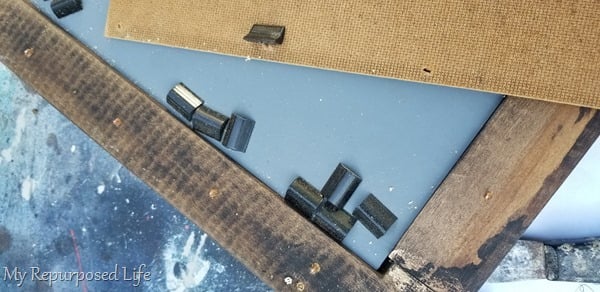 After taking the back off the mirror, I saw where all these little braces had settled to one end of the mirror. I had saved them in the baggie with the hanging hardware.
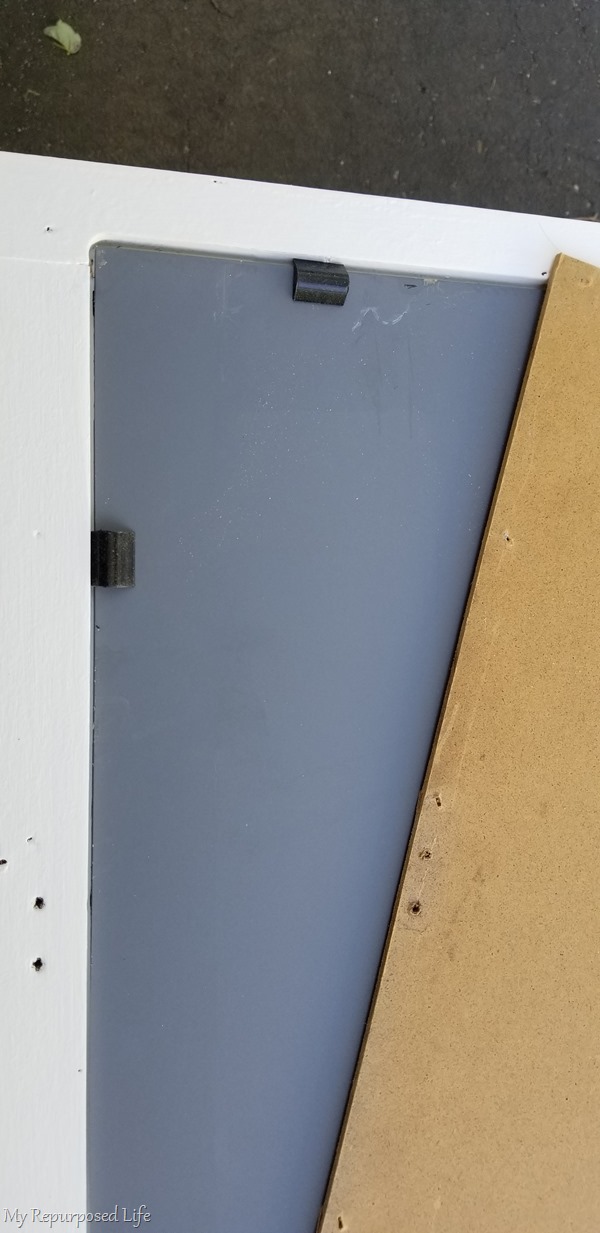
I placed the mirror spacers all around the mirrors where they should have been before.
Staple mirror backer board onto wood frame
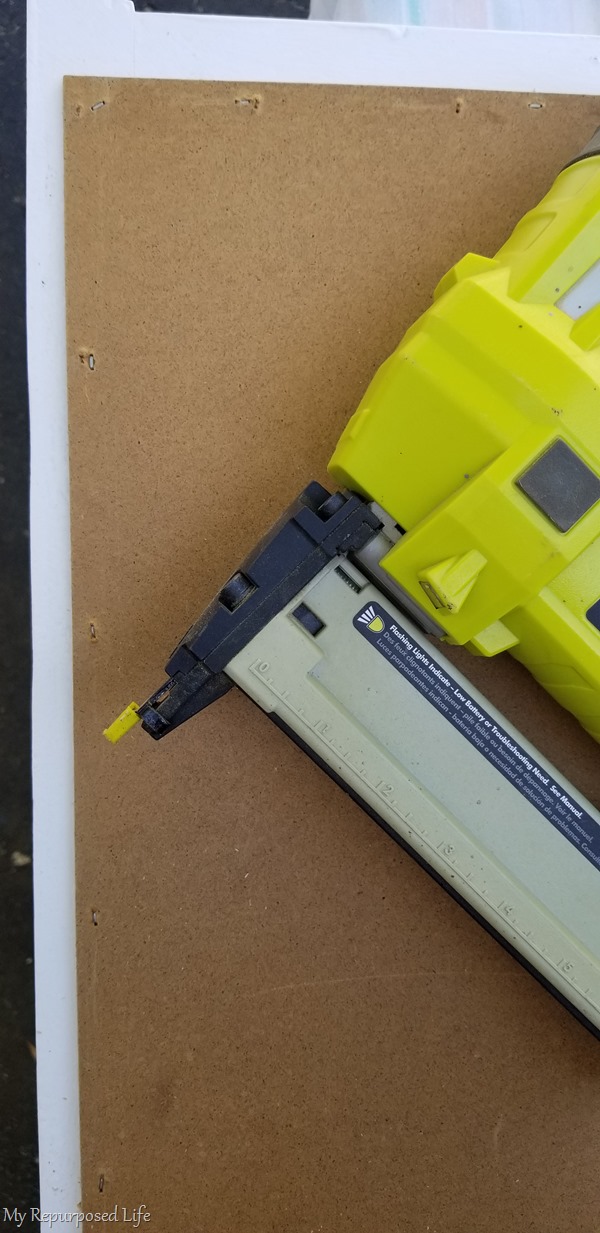
Using my battery powered staple gun, I shot staples next to each of the original spots on the backer board.
Attach sturdy hangers—mirror is heavy!
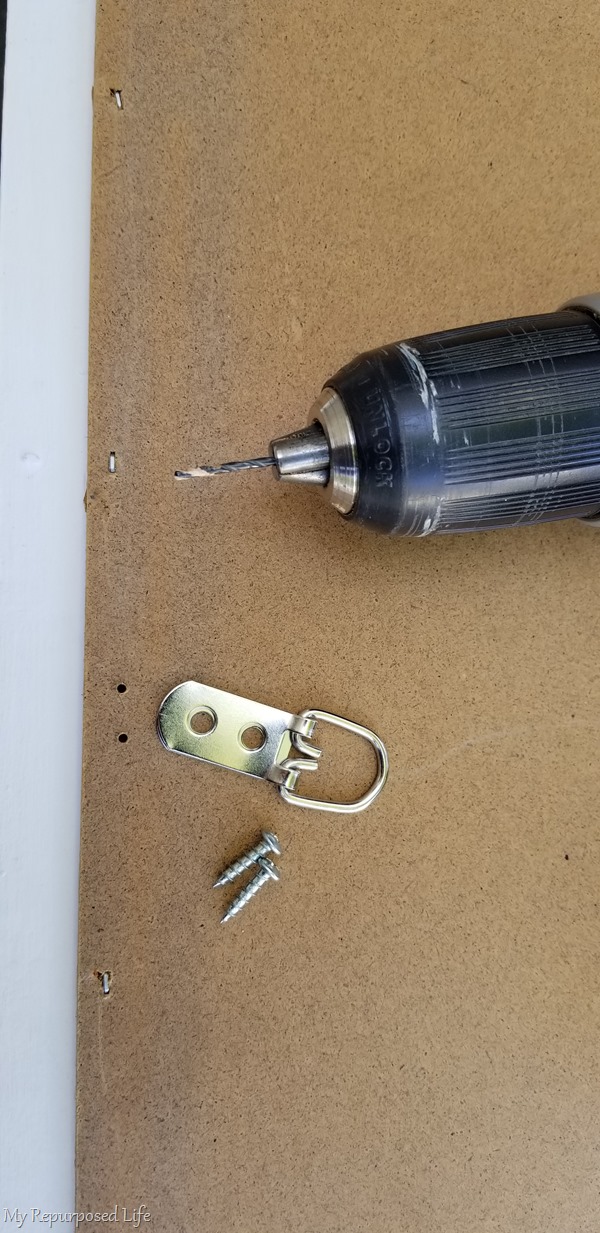 I opted to use new heavy duty d rings for hanging the mirror. After much consideration I chose to change the orientation of the mirror and installed the hangers accordingly, pre-drilling pilot holes for screws.
Updated thrift store spindle mirror makeover
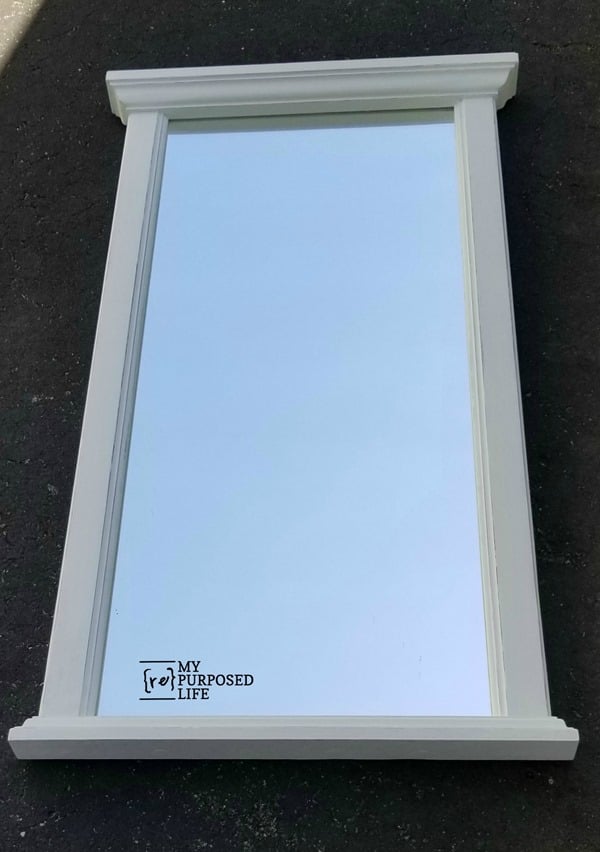
It’s so difficult to take a good picture of a mirror without getting an ugly reflection. I absolutely LOVE how this spindle mirror makeover turned out! It’s more traditional and timeless now and I think it would go with any decor in a hallway or even leaning on a mantel!
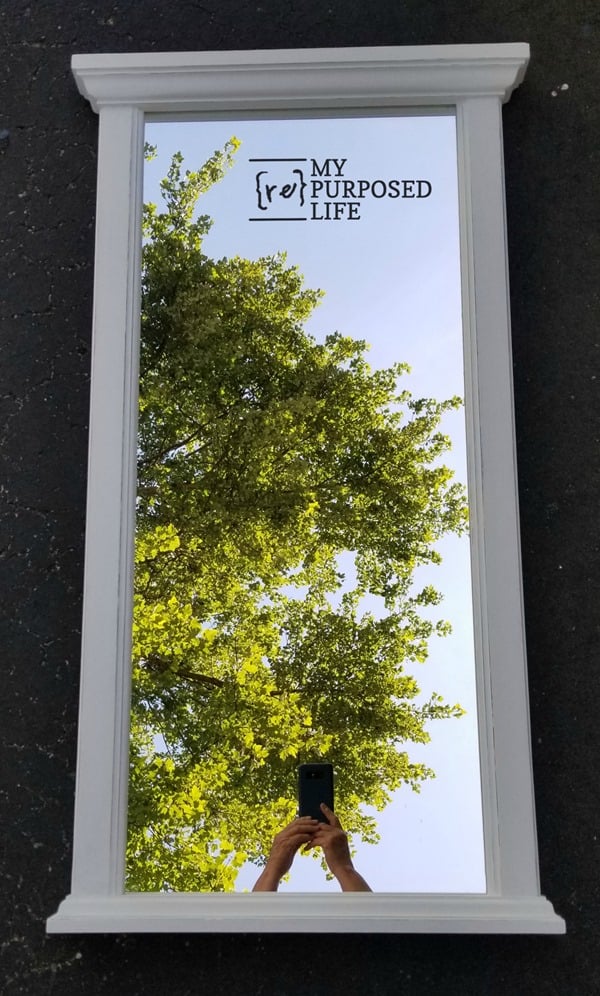
The previous picture shows only the reflection of the sky. This one, of course shows my hands and the tree above me.
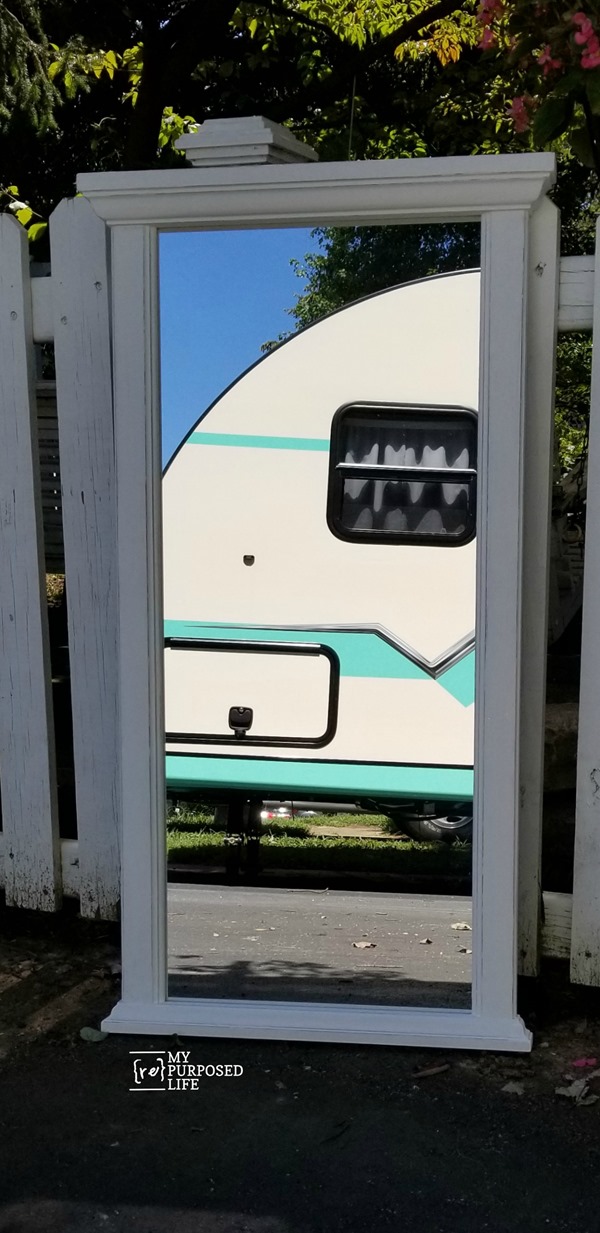
Although the mirror is now shorter, don’t you think it looks so much better???
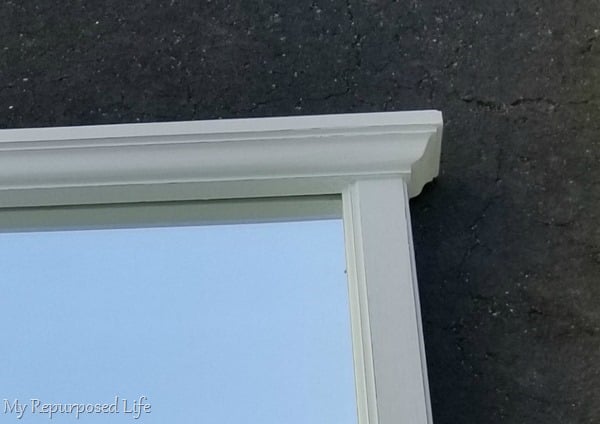
This close-up shows the light distressing done with the emery boards.
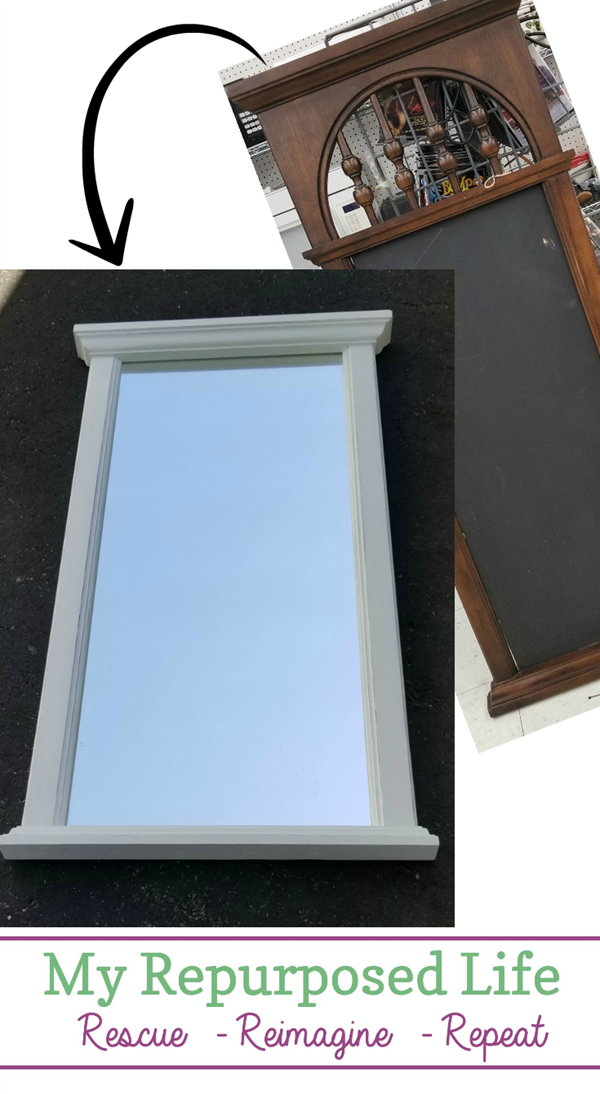
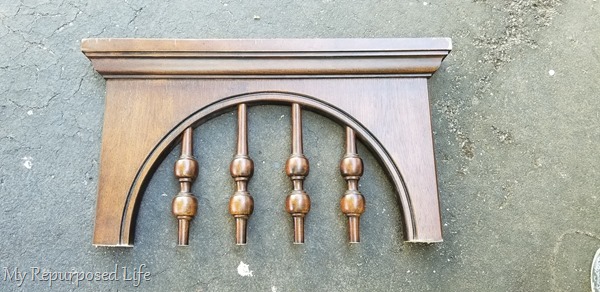
Are you sad to see the spindle mirror makeover? Personally, I’m so happy the spindles are gone. I don’t let anything go to waste, check out Jewelry Shelf I made from this scrap piece off the mirror.
gail


looks beautiful. love the color you picked.
Thank yo Nova, I wanted something that goes anywhere. It was really hard not to add my favorite glaze to it! 🙂
I’m working on a space to sell my stuff…. keep your fingers crossed that it works!
gail
I like it much better without the spindle piece. Can’t wait to see what you make from the top. Stippling looks like I ran out of paint in the sprayer.
Jennie,
thanks!!
I thought the spindle piece dated it too much. Yeah, the stippling sounded like a good idea, I wanted an aged look . . . but I really love the end result!
gail