Tall Cupboard with Repurposed Windows Pt 1
As an Amazon Associate, I earn from qualifying purchases.
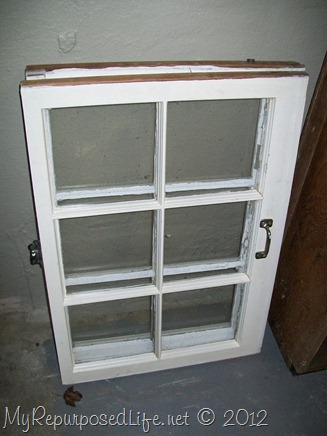
I bought some windows at Tickled Pink for $4.00 each. I’ve been wanting to make another repurposed windows cupboard. I have made hanging window cupboards, and even a double window cupboard that was side by side. I suppose after making the tower of terror, I’m into “tall” these days.
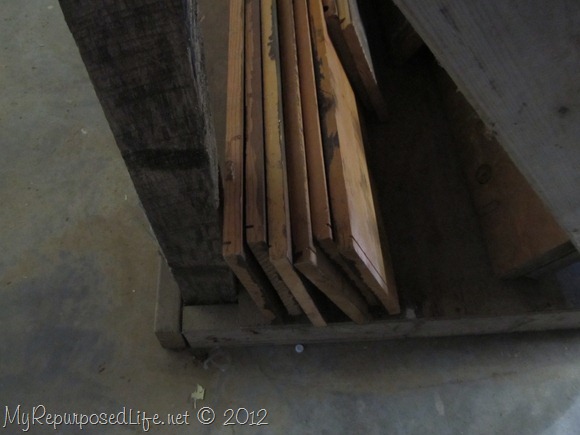 This is the 1x’s I’ll be using for this cupboard. I’d like you to think about what this lumber use to be. I’ll show you next week, it’s a great repurpose!
This post contains affiliate links
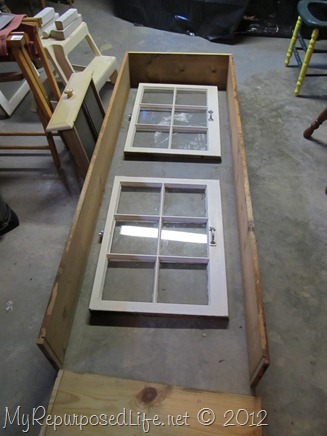 For the most part, I left the lumber the original length. I laid out the windows to try to figure out my configuration.
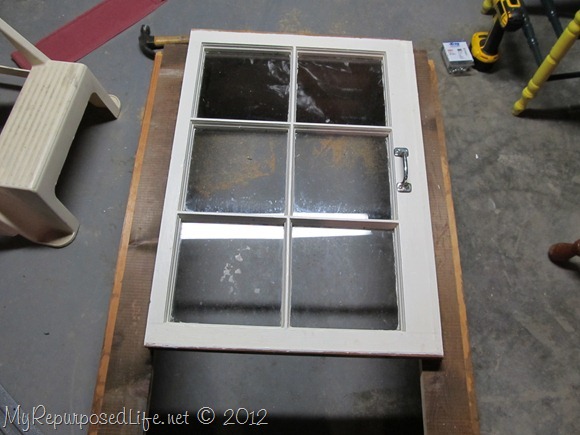 I ripped one of the long boards to make the side and top front pieces (rails and stiles). Which I refer to as “front facing”.
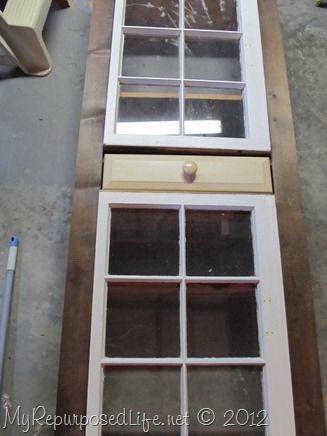 Because I had enough room for both windows with a little extra room, I decided to add a drawer. This drawer is from the desk I repurposed into my kitchen island. I cut it down (depth) only to discover that it wasn’t going to be wide enough.
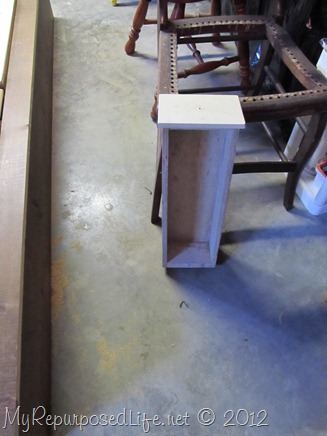 So, I went looking for more drawers. I found this simple drawer, and thought to myself . . . “I can make drawers myself”. So that is what I did.
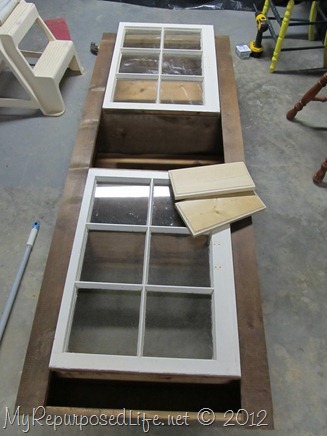 I’m still in the process of laying it all out – doing the math to see where everything goes.
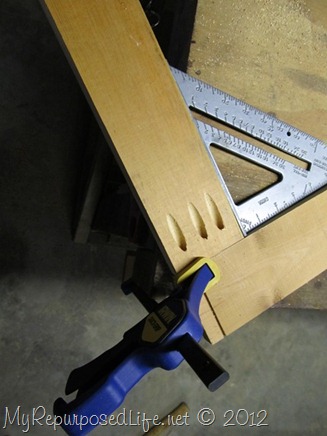 After I felt reasonably comfortable with the measurements, I decided to start putting together my front facings. So, I drilled some pocket holes with my Kreg Jig
 and of course I use the speed square to make sure everything IS square.
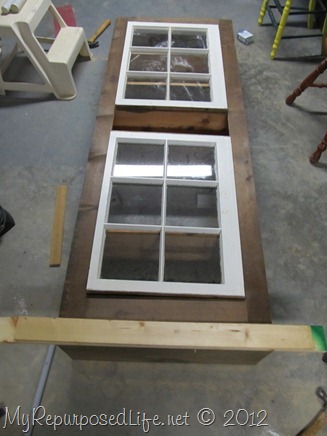 I lay the front facing on the “frame”. The windows are being held up by the shelves (not yet attached). Trying to figure out the bottom trim.
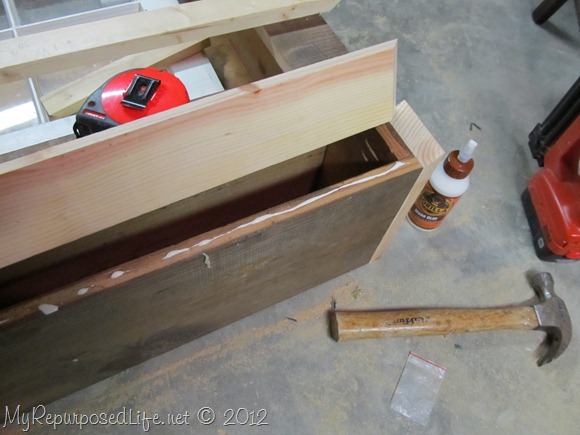 I mitered my corners, used some gorilla glue and affix it all with my nail gun.
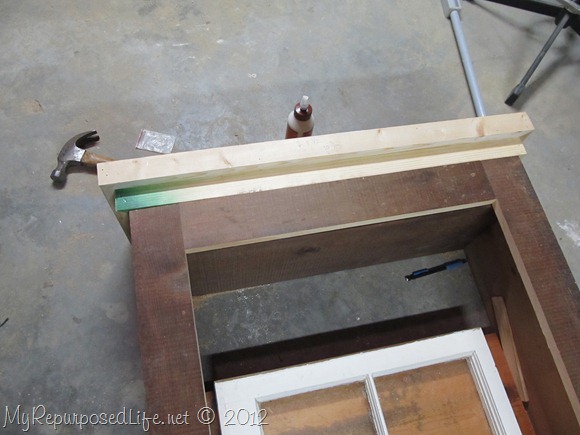 I do two layers, mostly so that the “footprint” of this piece will be larger and more sturdy. Looks good, eh?
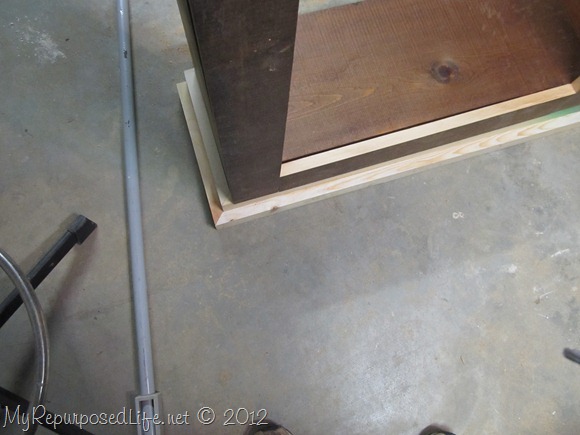 Until I stand the shelf up. If you look closely, you will see that there are two layers on the side, but oops! only one layer in the front.
 After taking it apart and redoing it, I’m very pleased. Two layers on both sides and the front.
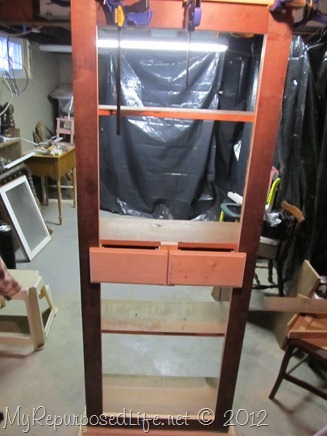 When I put the drawers in, I noticed that I put the drawer front on the wrong end of the drawer. They were too wide, and too short. I had to remove the drawer front and turn the drawer around and reattach it.
This cupboard has been a big pain in the patootie!
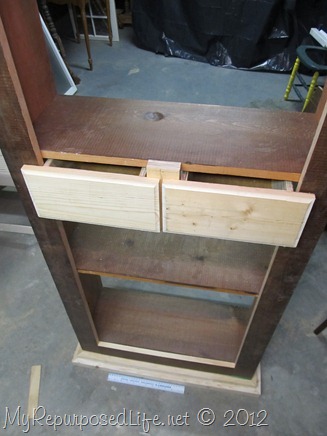 I put a piece in the middle (no idea what to call it) to keep the drawers stable when they shut.
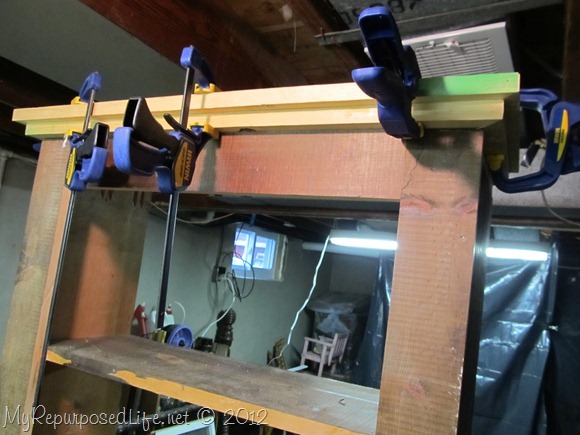 I glued and clamped the top trim.
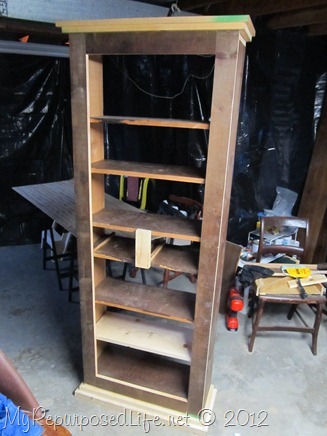 At least it’s finally resembling a cupboard! Have you been thinking about what this lumber use to be?
I have started painting the cupboard, but the windows are being a little stubborn . . . ugly glazing.
Would you like to see the update? See Part II of the Repurposed Windows Cupboard here.
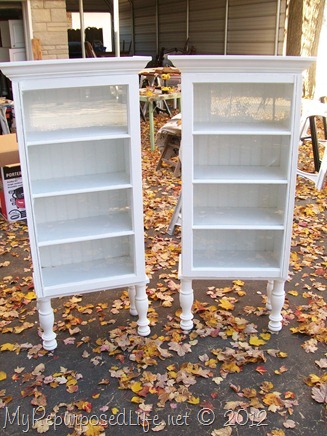
Want to know what else you can make with matching windows?
gail

Wow! That’s going to be one of your all time best pieces!
I still don’t know what the wood used to be. 🙂
Wow, that is looking so good already! I hope you’re going to keep this one, it just too cool to sell.
Great thinking on the bottom trim. Don’t you just hate to tear apart and redo? 😉
Woah that’s really stinkin impressive! Love them! Great job (:
I love it when you make stuff! I love the cupboard. I have the jig waiting to be used. You give me the courage! As soon as I knock out some other project I will give it a try!
Gosh Gail, I just paint furniture. You actually build the furniture first. You are amazing!
awesome! You are like the master of power tools and building stuff! Can’t wait to see it all finished!