
Thrifted Side Table Makeover
As an Amazon Associate, I earn from qualifying purchases.
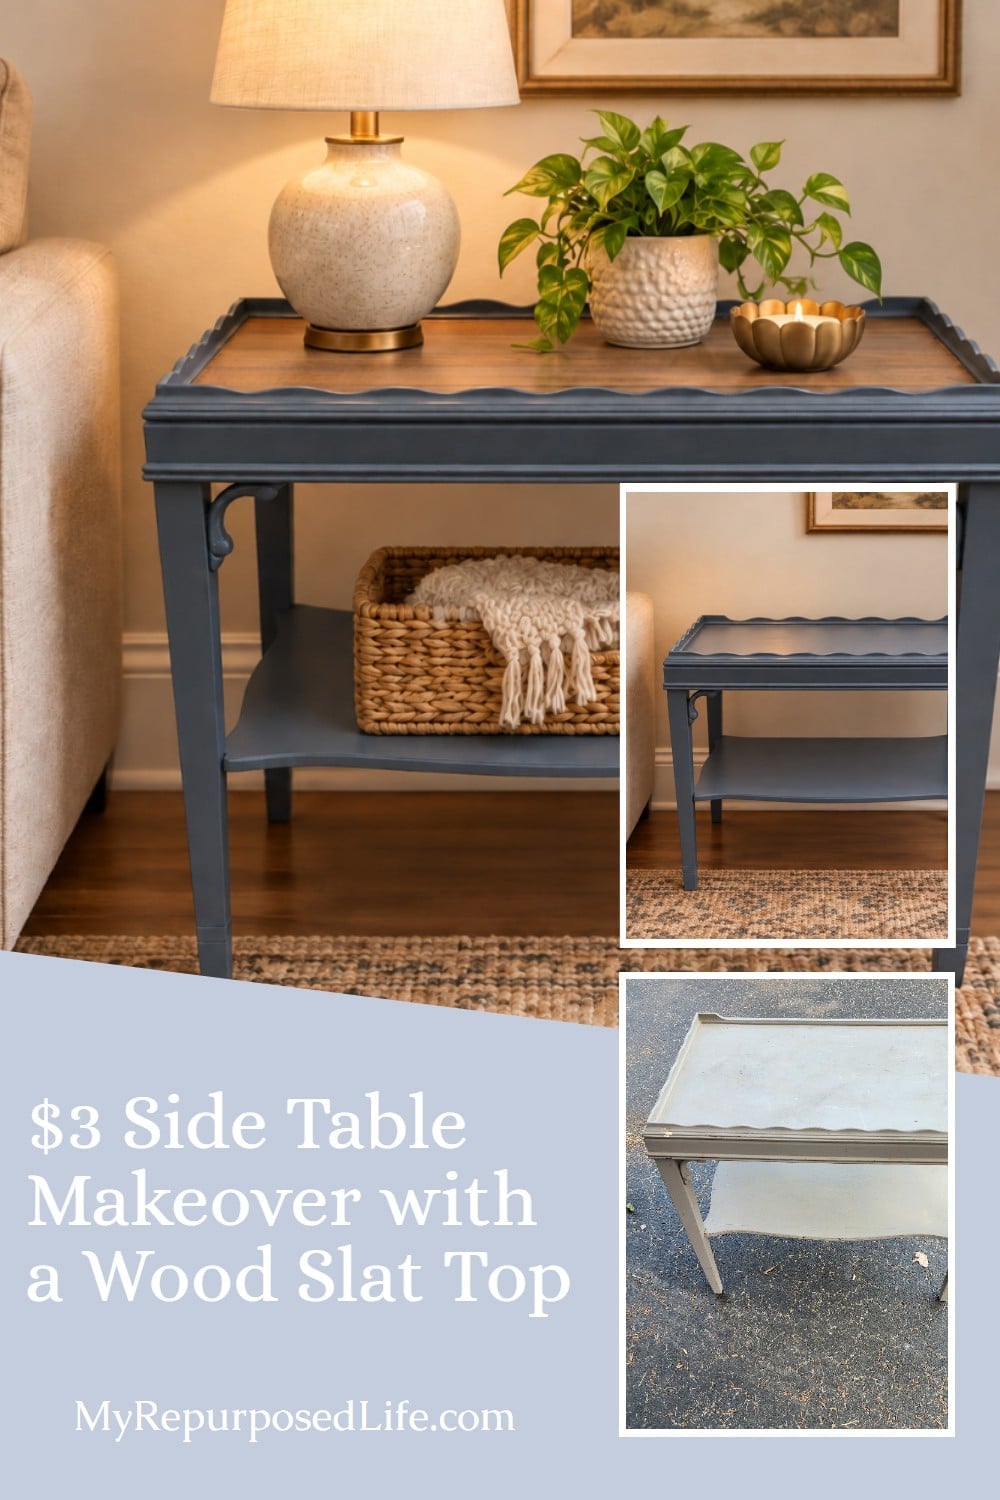
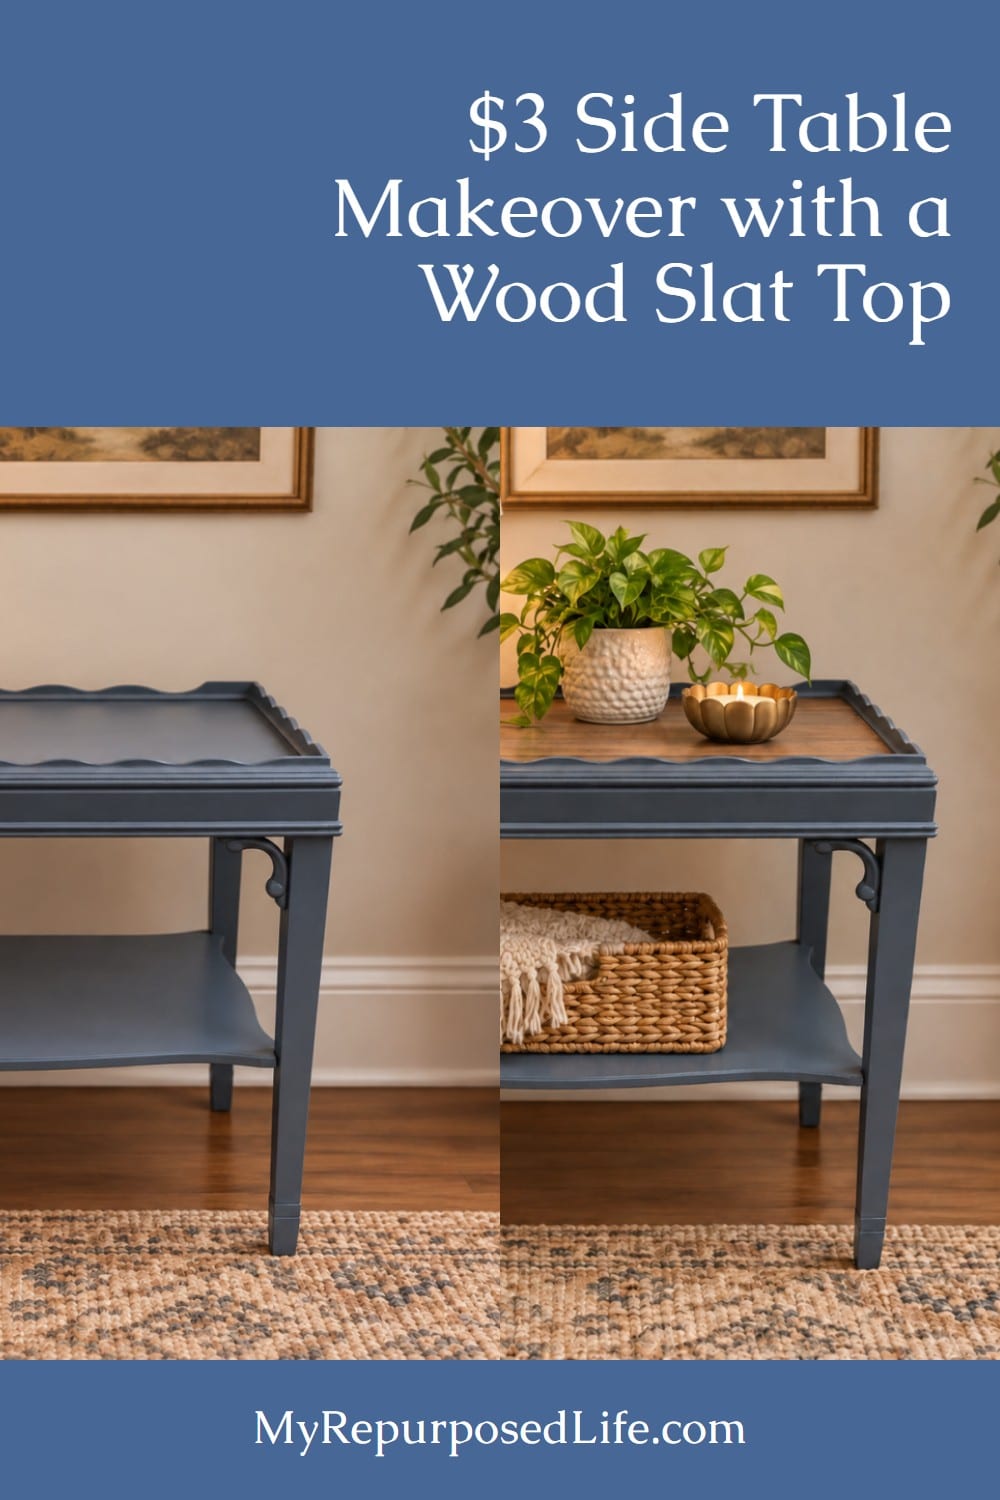
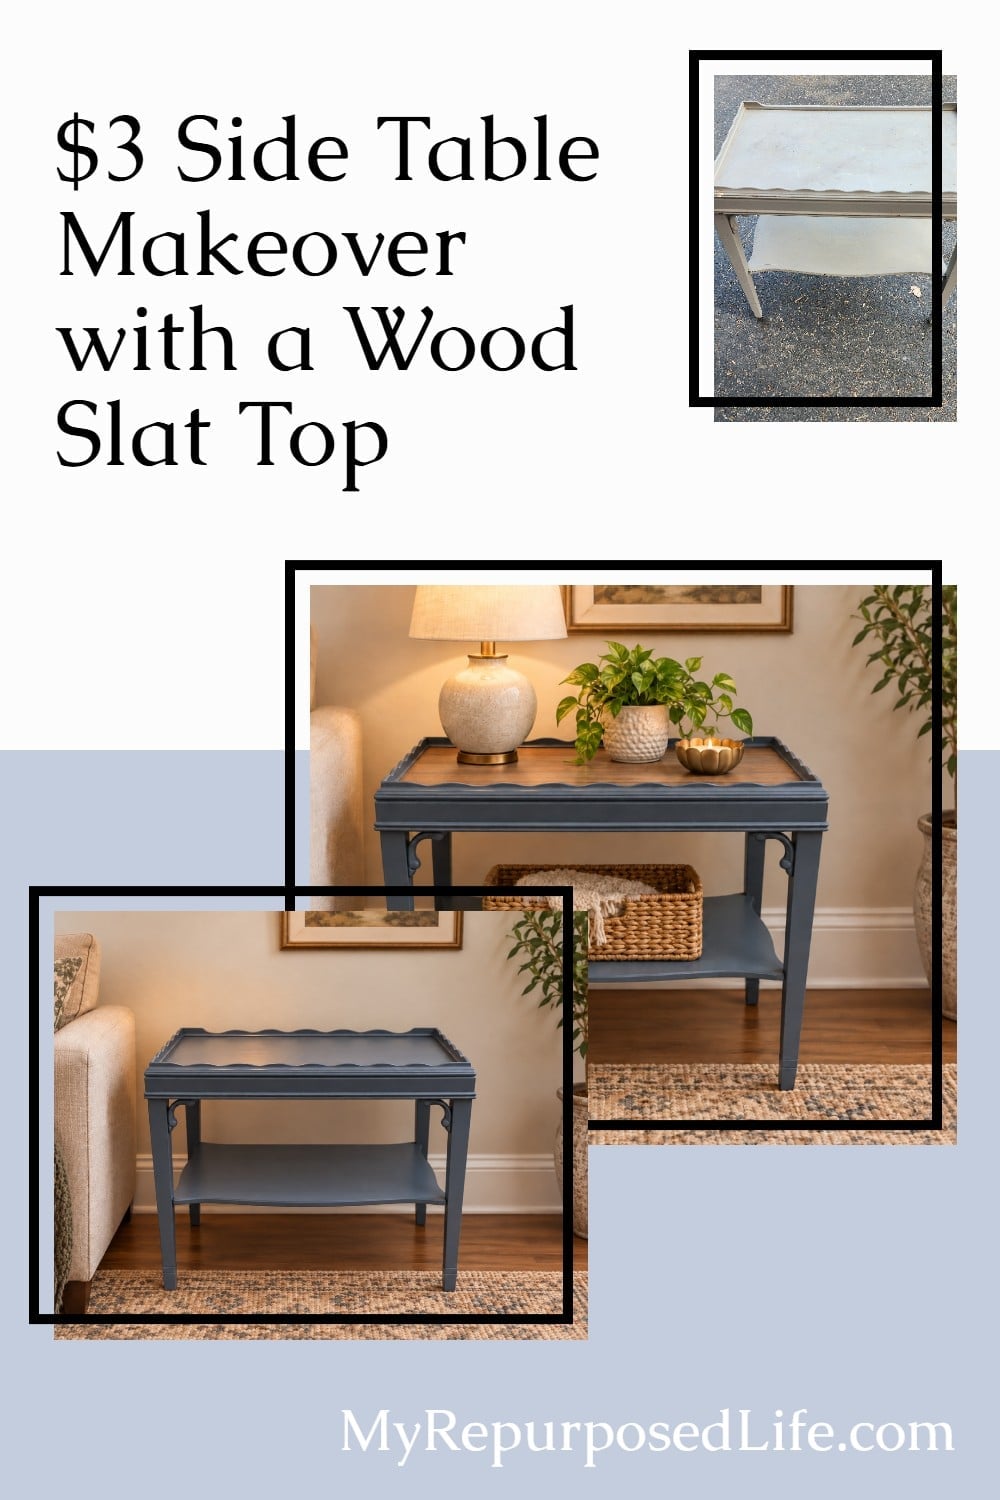
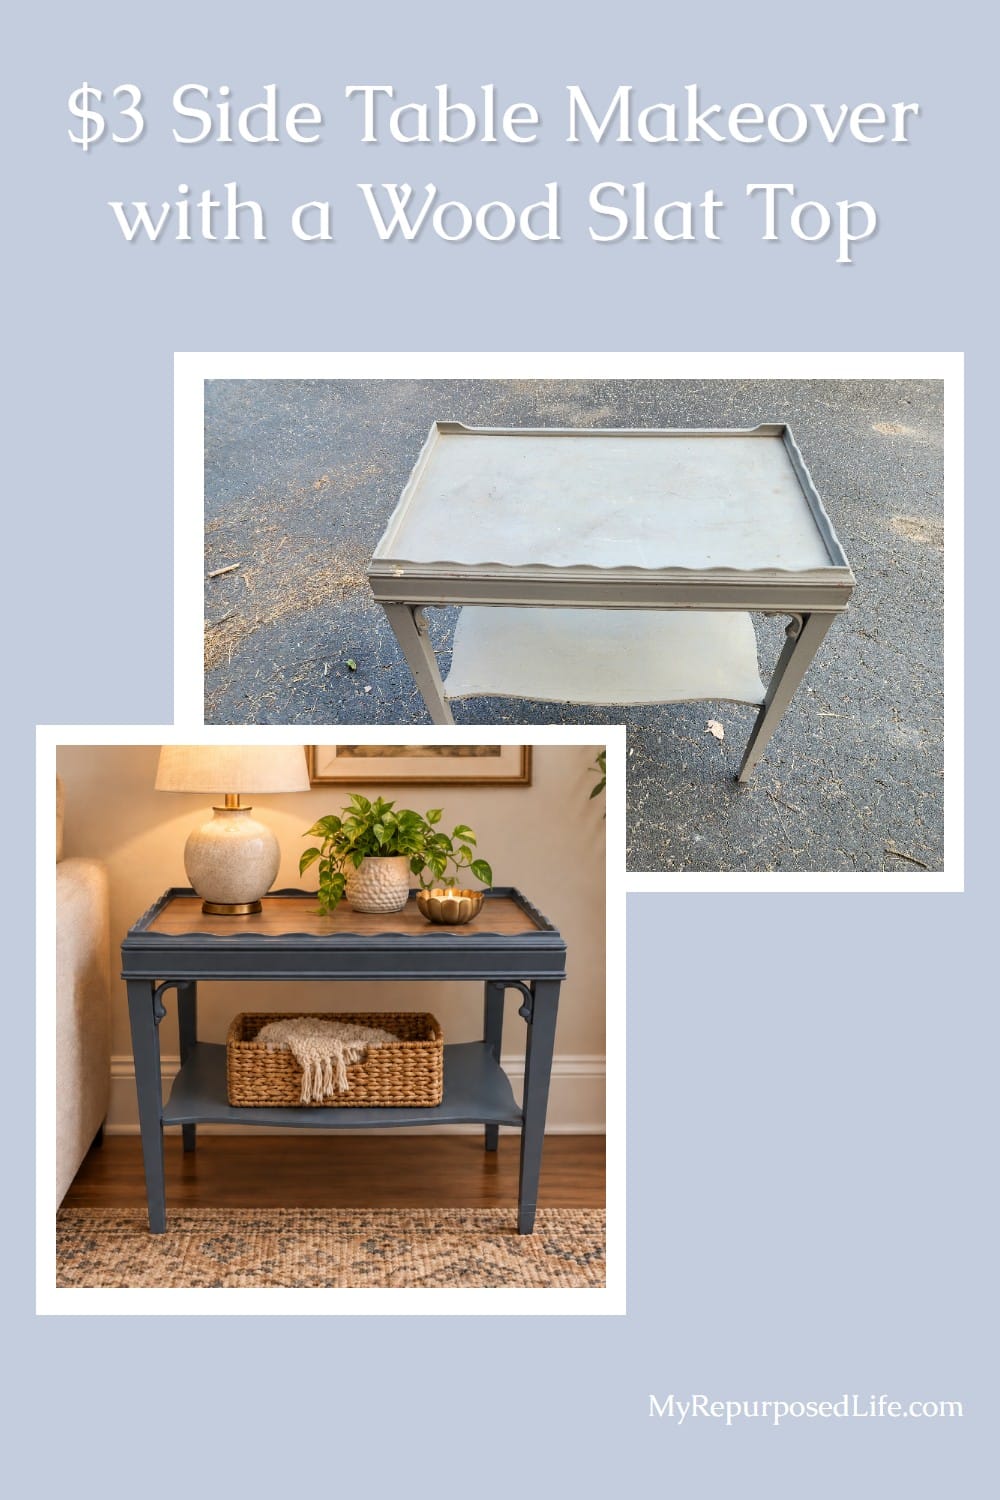
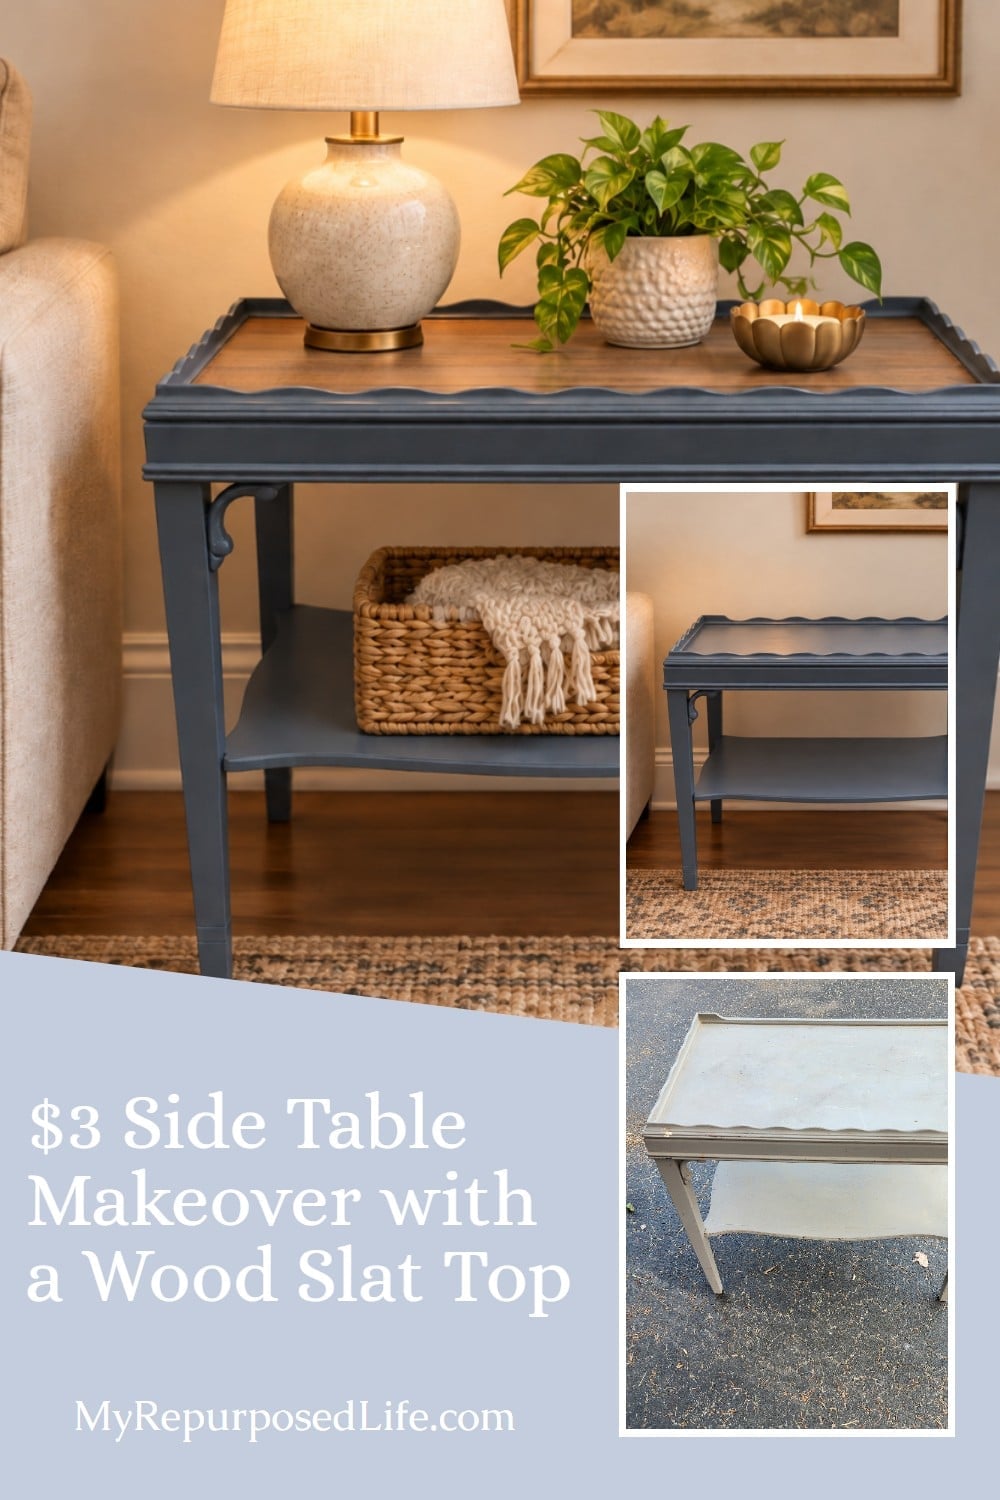
Some furniture makeovers seem planned from the start. This little thrifted side table definitely wasn’t one of them. What started as a simple $3 find turned into peeling paint, an unexpected repair, and more than one tabletop idea. In the end, a change of direction was exactly what this small table needed.
A $3 Thrifted Side Table
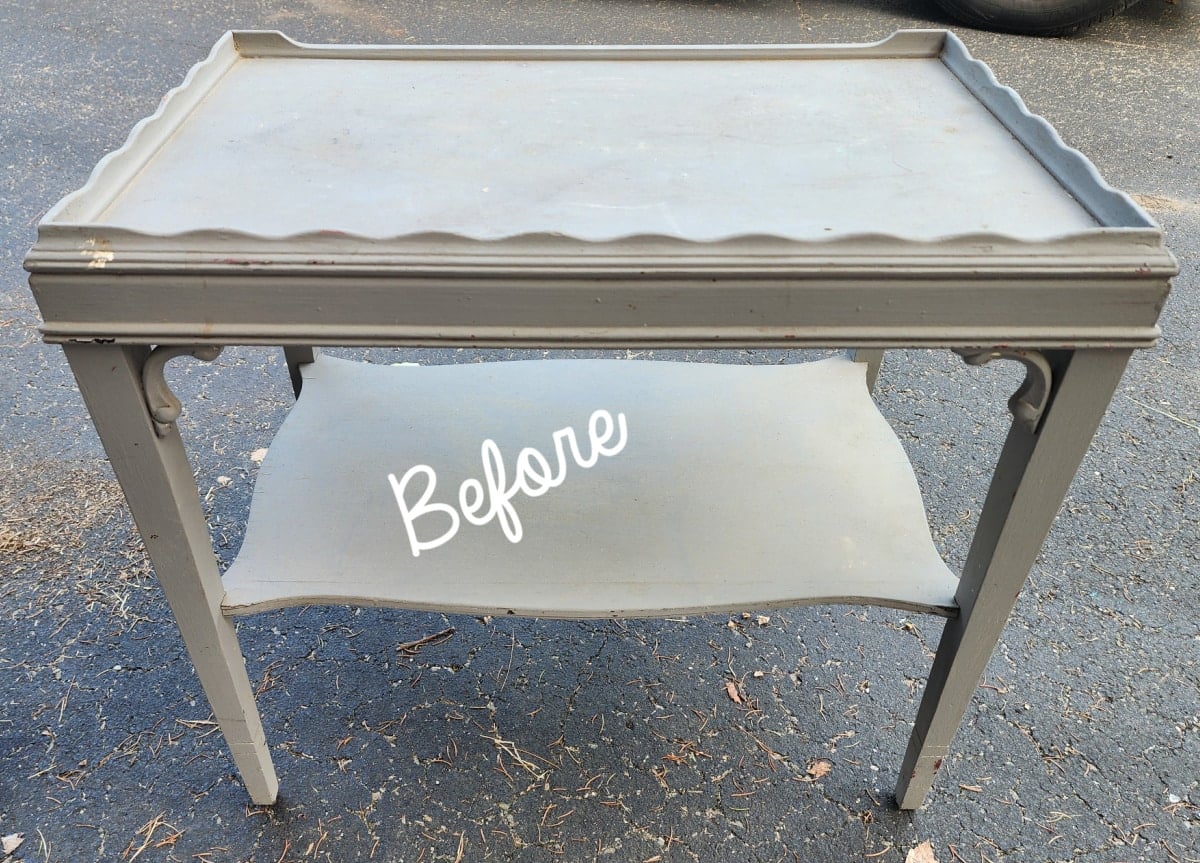
This little table was a steal at only $3 at a Masonic Lodge Rummage Sale in Fredericksburg, Indiana. It’s the same sale where I bought that pretty floor lamp I turned into a table lamp.
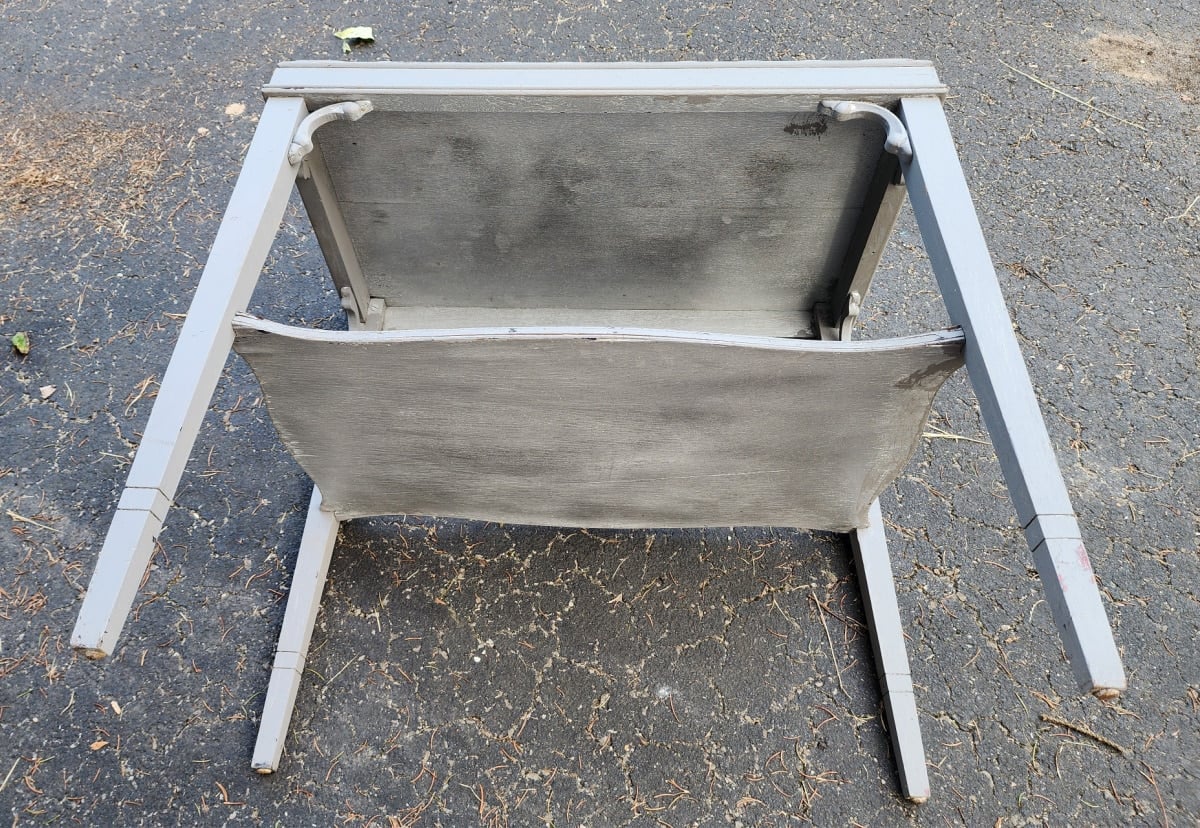
Someone had already attempted a makeover on this small side table. I’m not sure why the underside was silver while the base was gray chalk paint.
The Furniture Fixer Upper Tour is a monthly furniture makeover series featuring a small team of furniture-painting friends. Each month, we all start with a tired or thrifted piece and share how we clean it up, repair it, and give it a fresh new finish. After you check out this project, be sure to visit the links at the bottom of the post to see what the rest of the Furniture Fixer Upper team did with their finds.
Preparing a Previously Painted Side Table
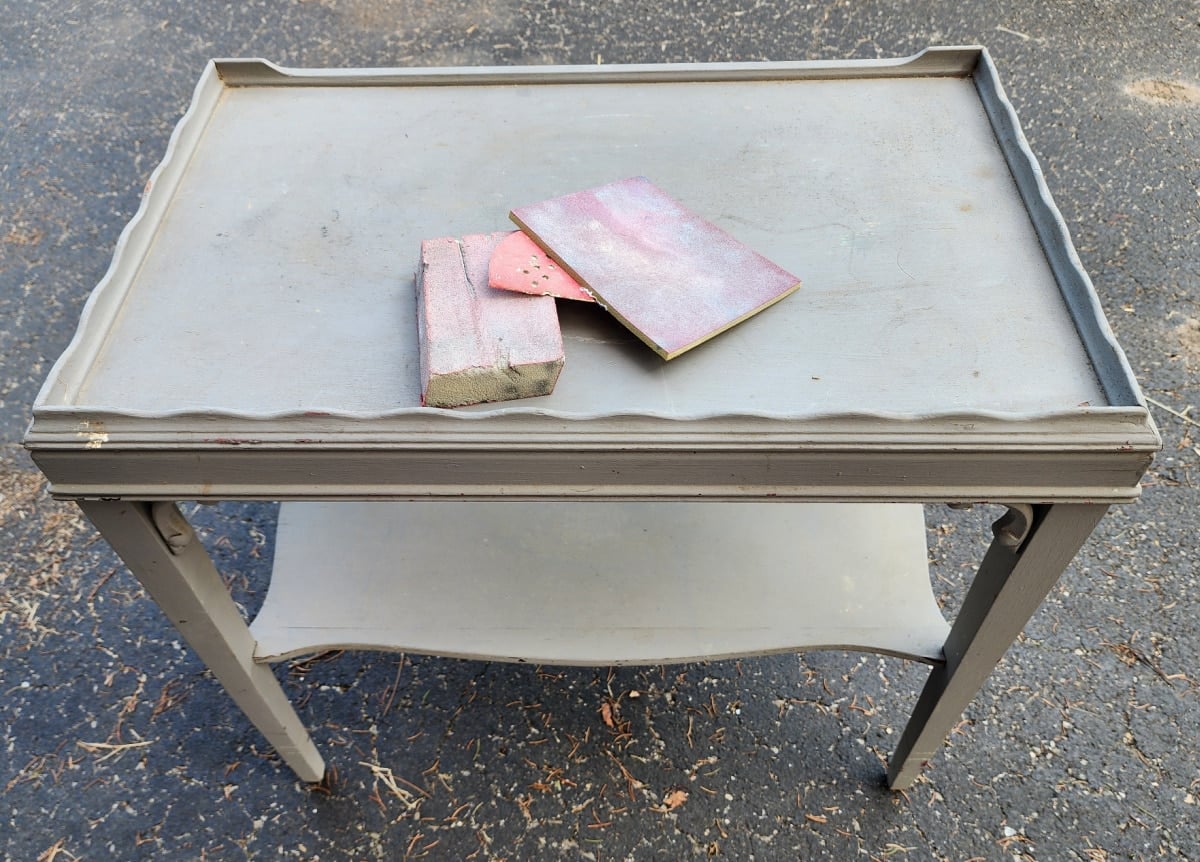
I chose several options to begin this makeover by sanding. Because of the curvy scallops, I felt that sanding pads and sponges were a good place to start.
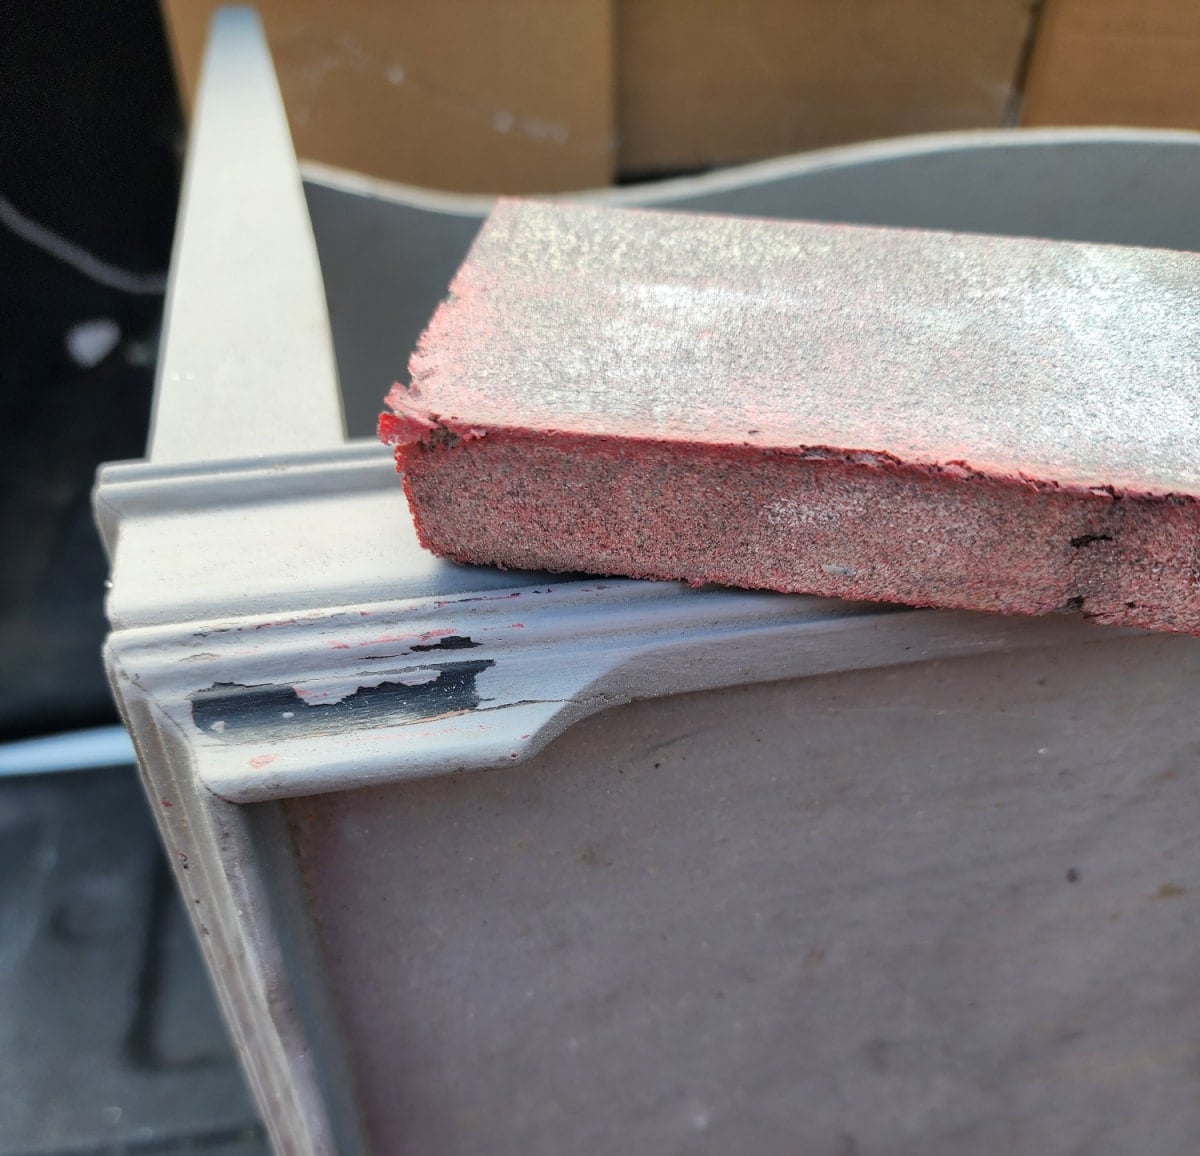
While sanding, it became clear the previous DIYer didn’t follow proper procedure. I planned to rough up the surface; I didn’t expect the paint to flake off so easily. Prepping furniture is a must before you pick up a paintbrush.
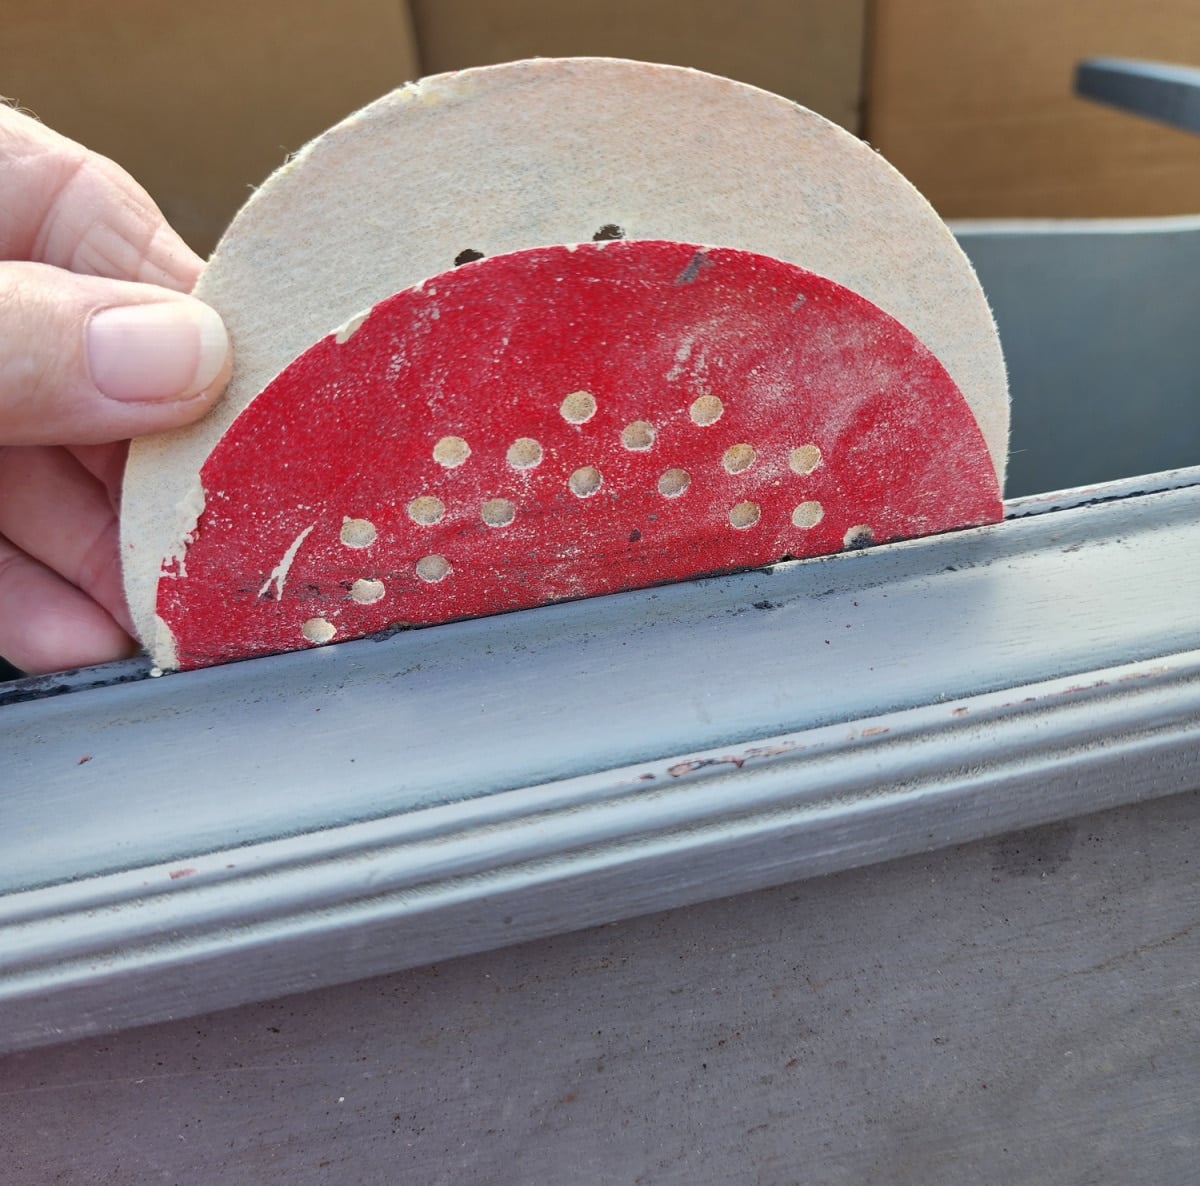
A folded piece of sandpaper not only sanded the grooves, but also removed years of dirt and grime.
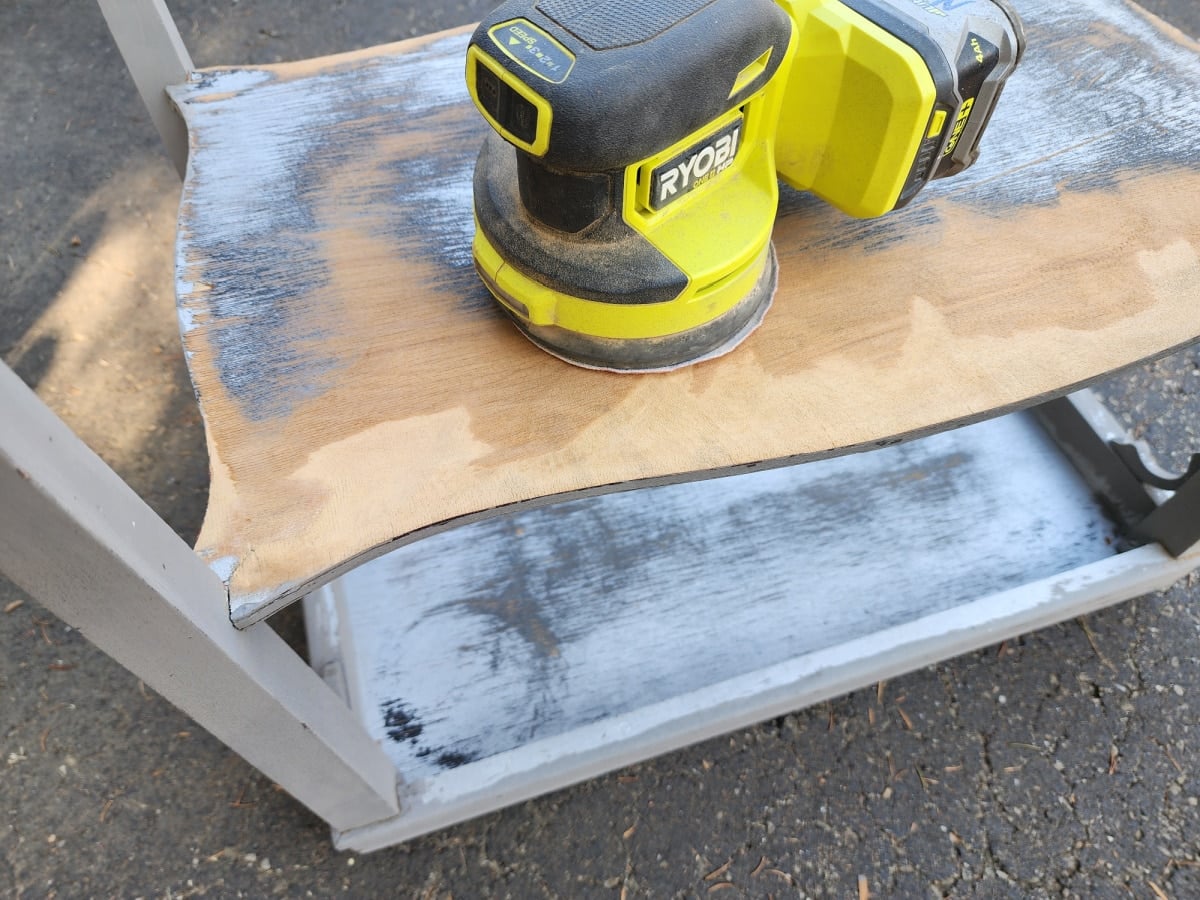
I used an orbital sander on all the flat surfaces. Whenever I do a furniture makeover, I’m very conscious of having a very smooth surface on tabletops, etc.
Repairing the Damaged Lower Shelf
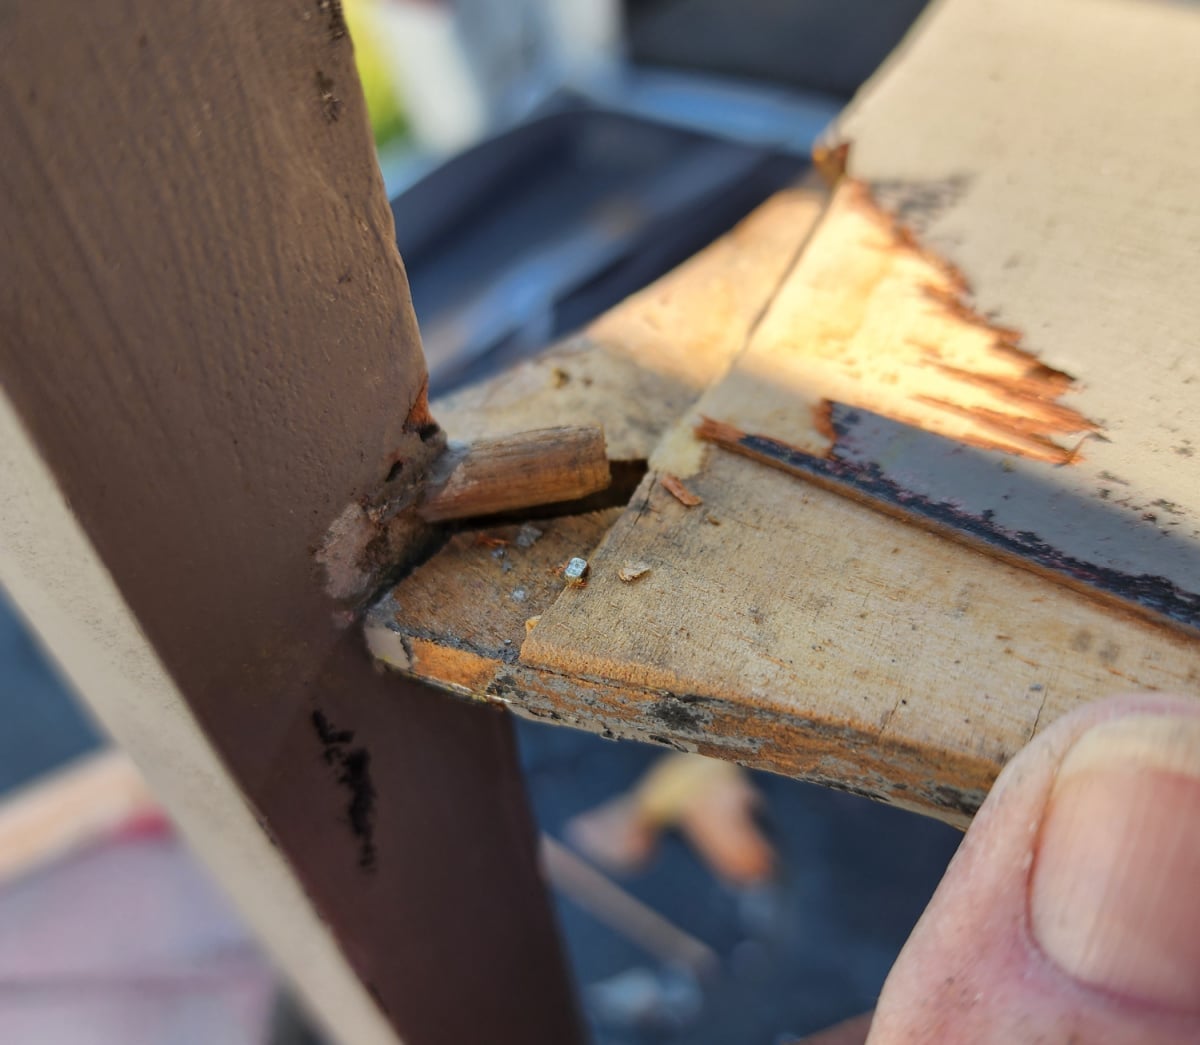
While I was using the orbital sander on the underside of the lower shelf, I noticed an issue with one corner. The shelf was loose.
You never really know how something is constructed. I was surprised to find this small dowel holding the shelf in place.
First, the veneer came loose; then I saw the plywood separating where the pin held the shelf.
Repairing the Loose Corner with Bondo
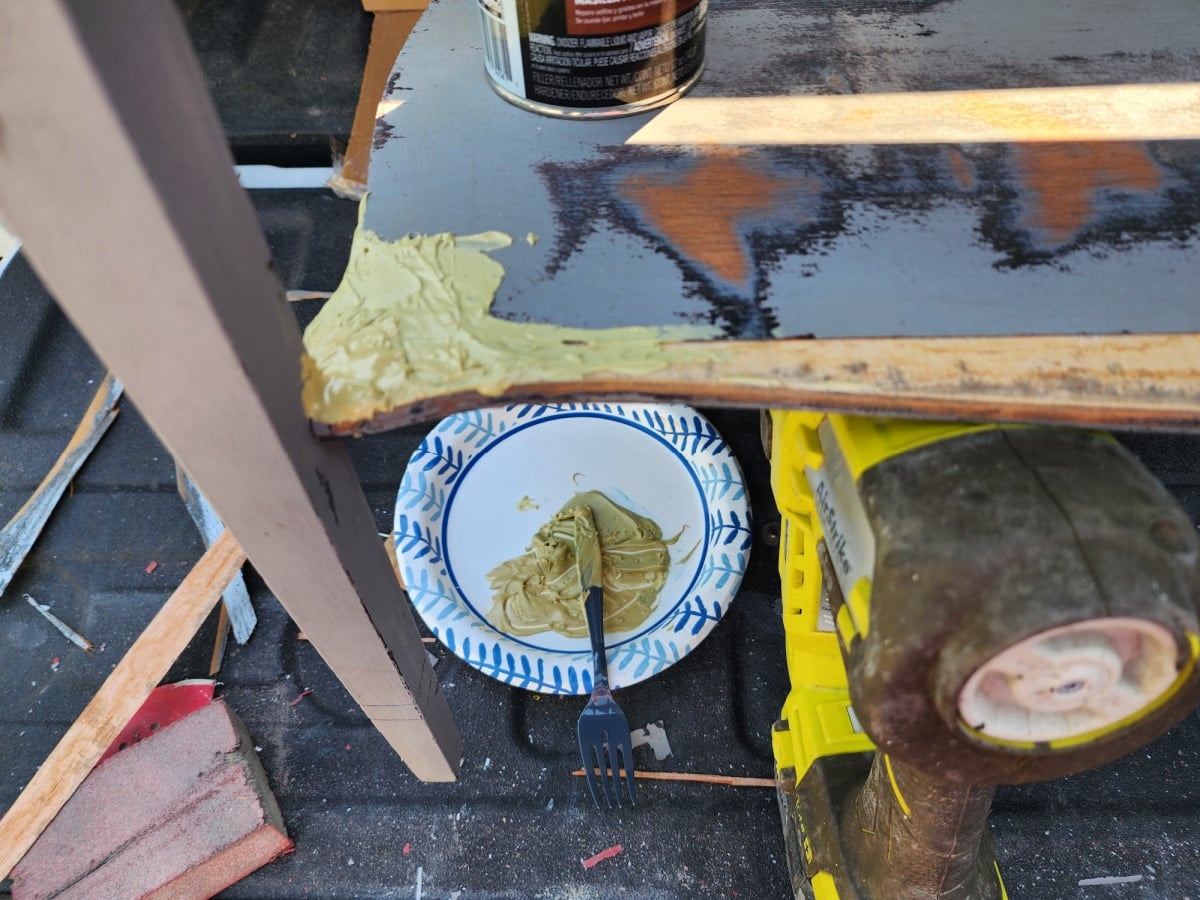
I am not an expert on using Bondo for patching. I did make a new foot for a dainty table out of Bondo. But I knew Bondo was the fastest and easiest way to fix this shelf.
Keeping it real: I must have mixed the Bondo incorrectly because it didn’t set up and dry as quickly as it should have. I had to let it set overnight.
Note: A large piece of veneer came off while I was repairing the damage.
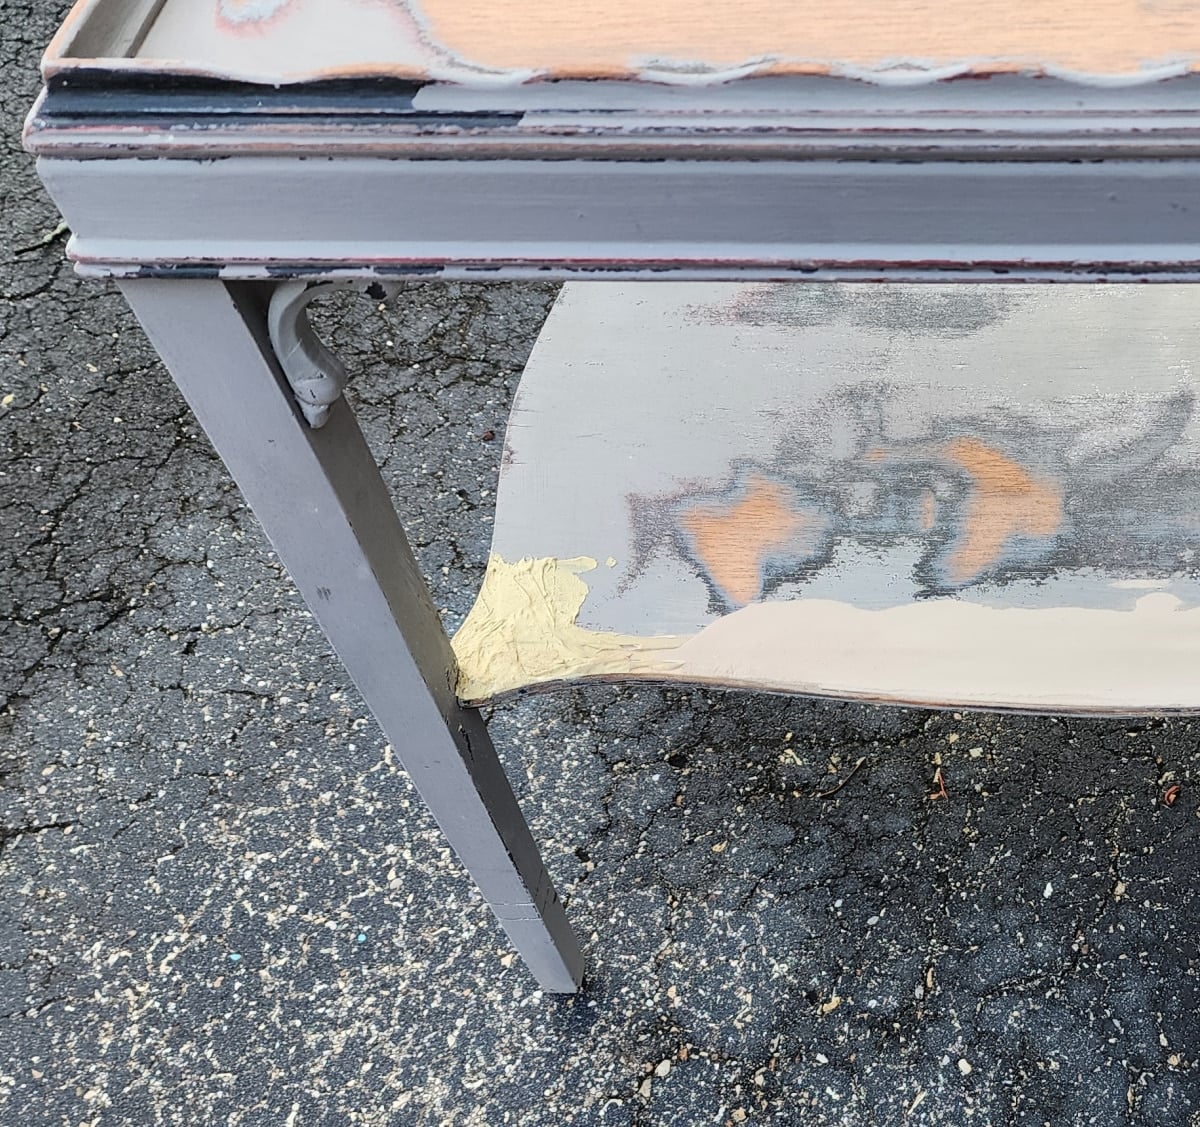
While I was waiting for the Bondo to set, I used Dixie Belle Mud to patch the missing veneer. I sanded it smooth.
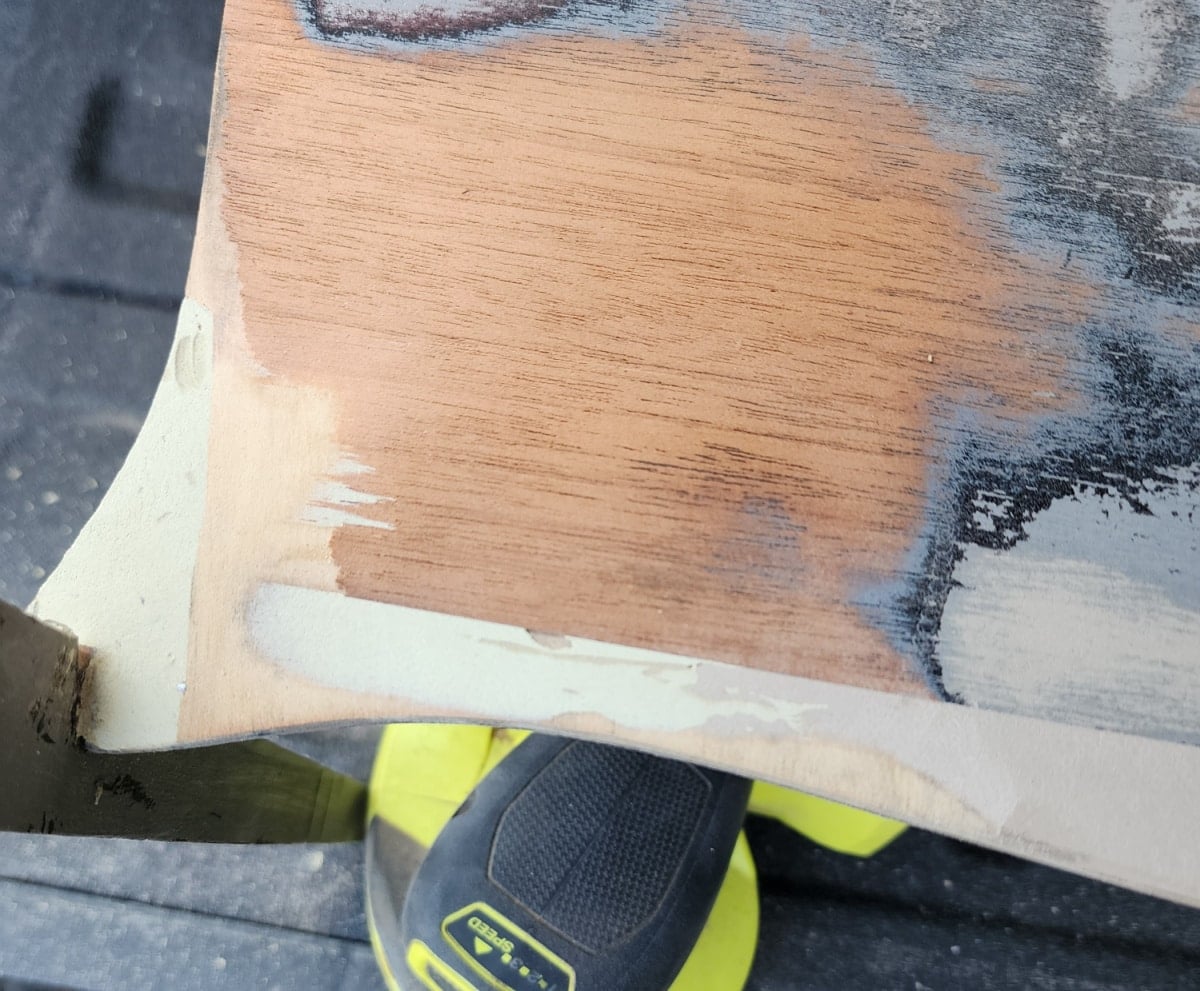
This is after I sanded the Bondo. There is a small blemish, so I decided to go over everything with the Dixie Belle Mud.
Filling Missing Veneer
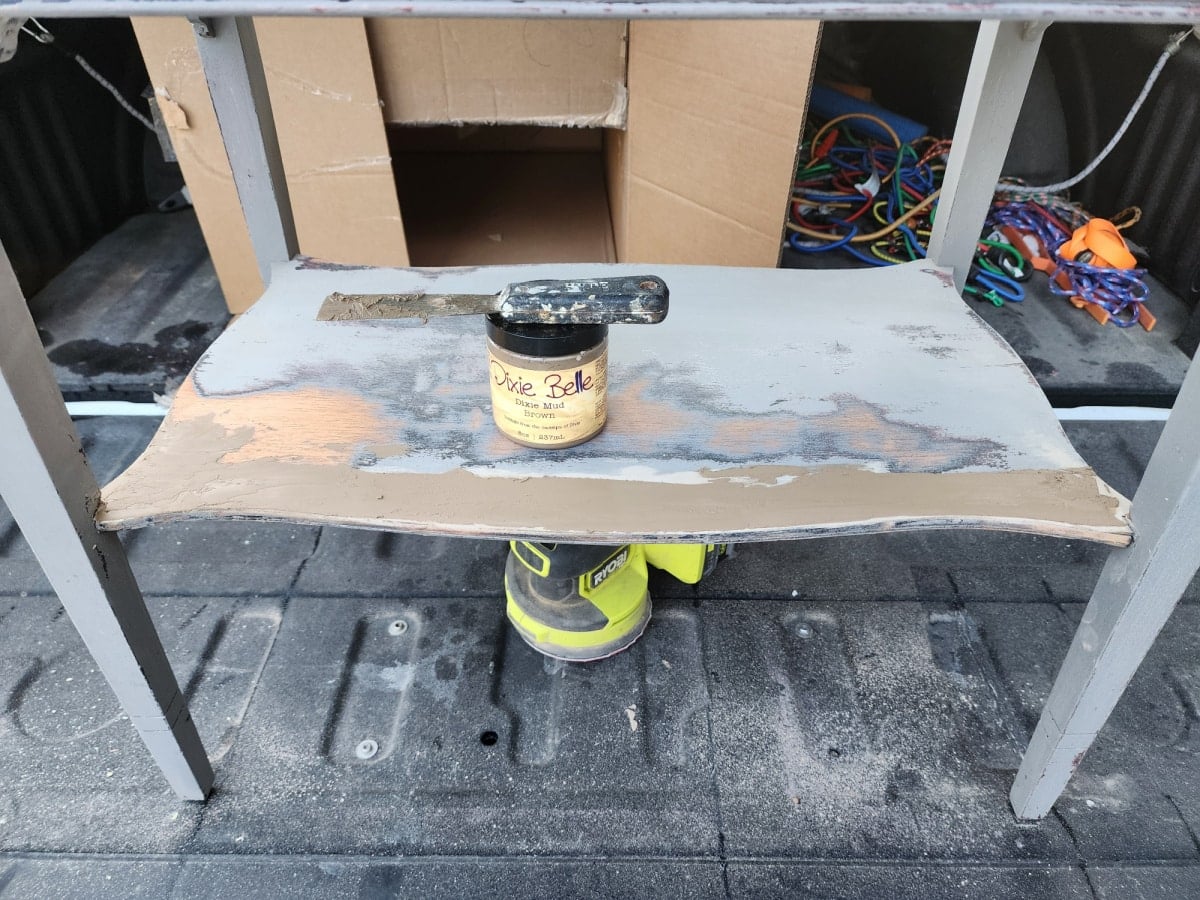
I haven’t used this mud much, but I think it’s much more user-friendly than regular wood putty.
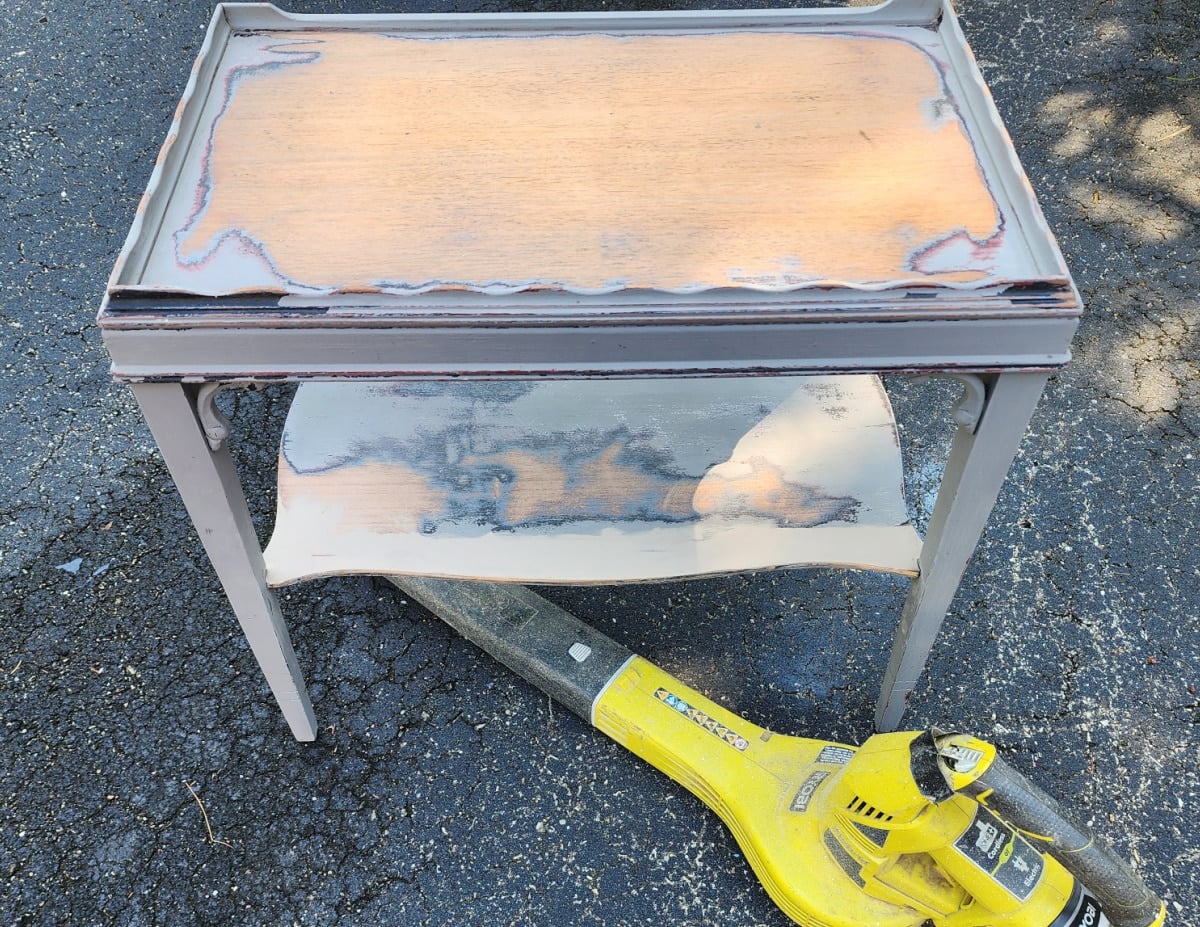
While sanding the mud, I realized it looked great until I blew away the dust. The dust tends to settle into any small divot. Using the leaf blower periodically helped reveal these places. The small thrifted side table was ready to paint.
My First Idea for a New Tabletop
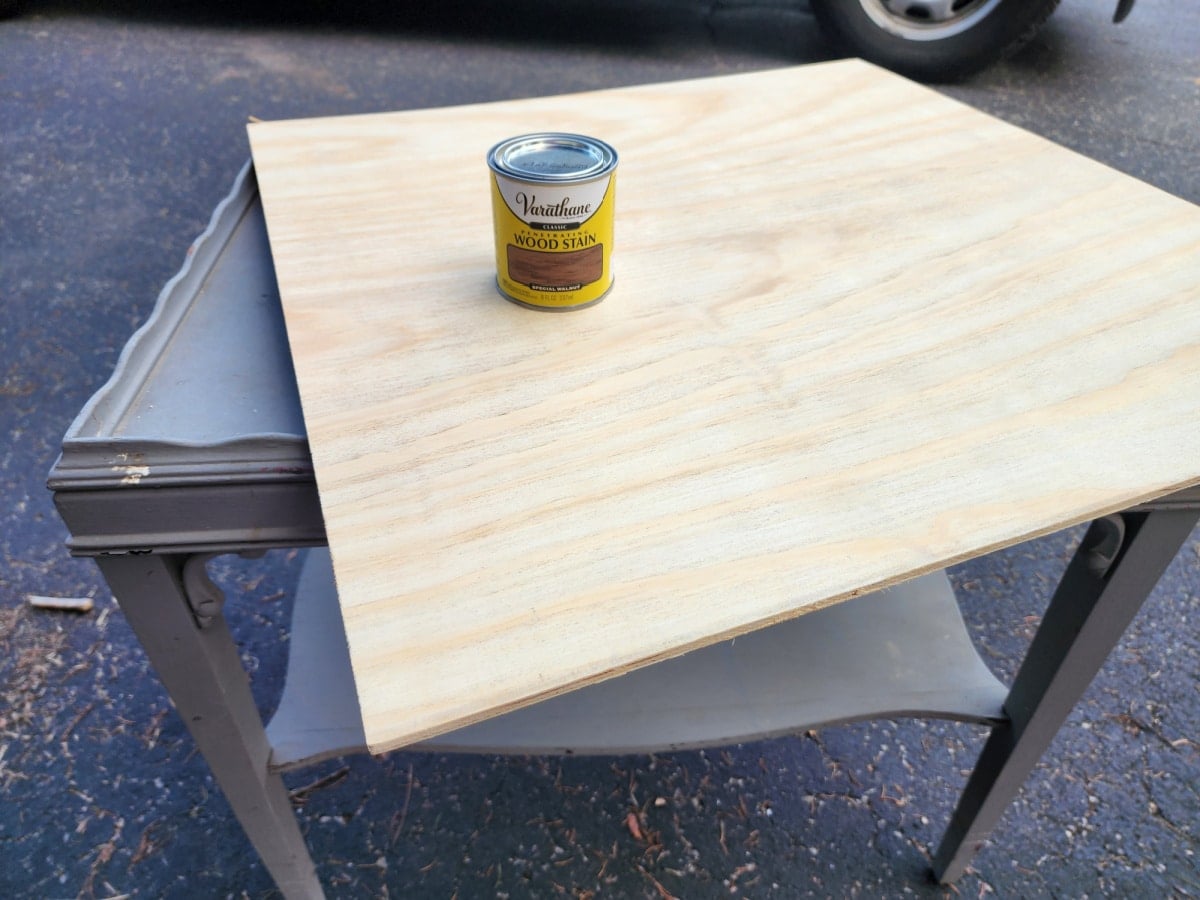
But first, I wanted to add a new top to the table. The side tabletop was too rough, and my vision was a stained top.
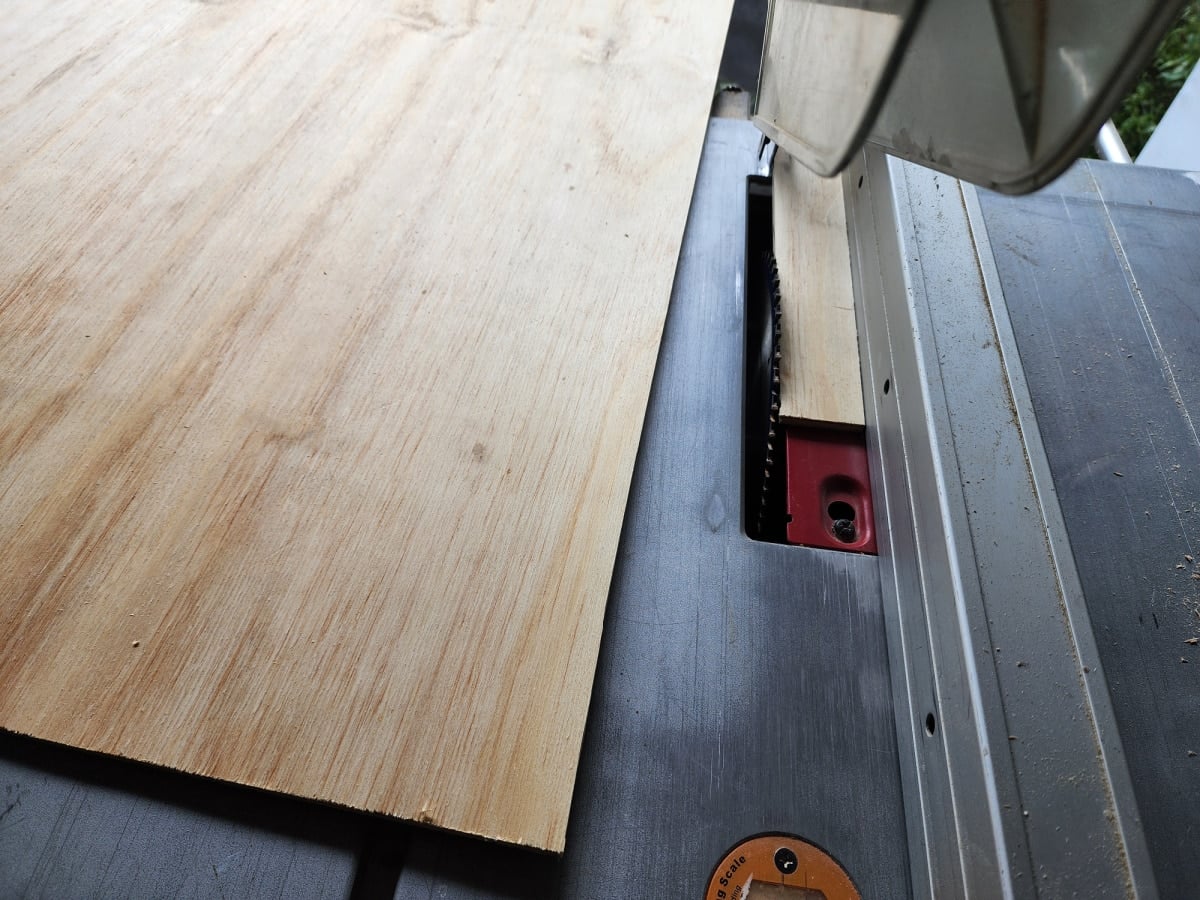
I trimmed the plywood on the table saw to fit inside the scalloped portion of the tabletop.
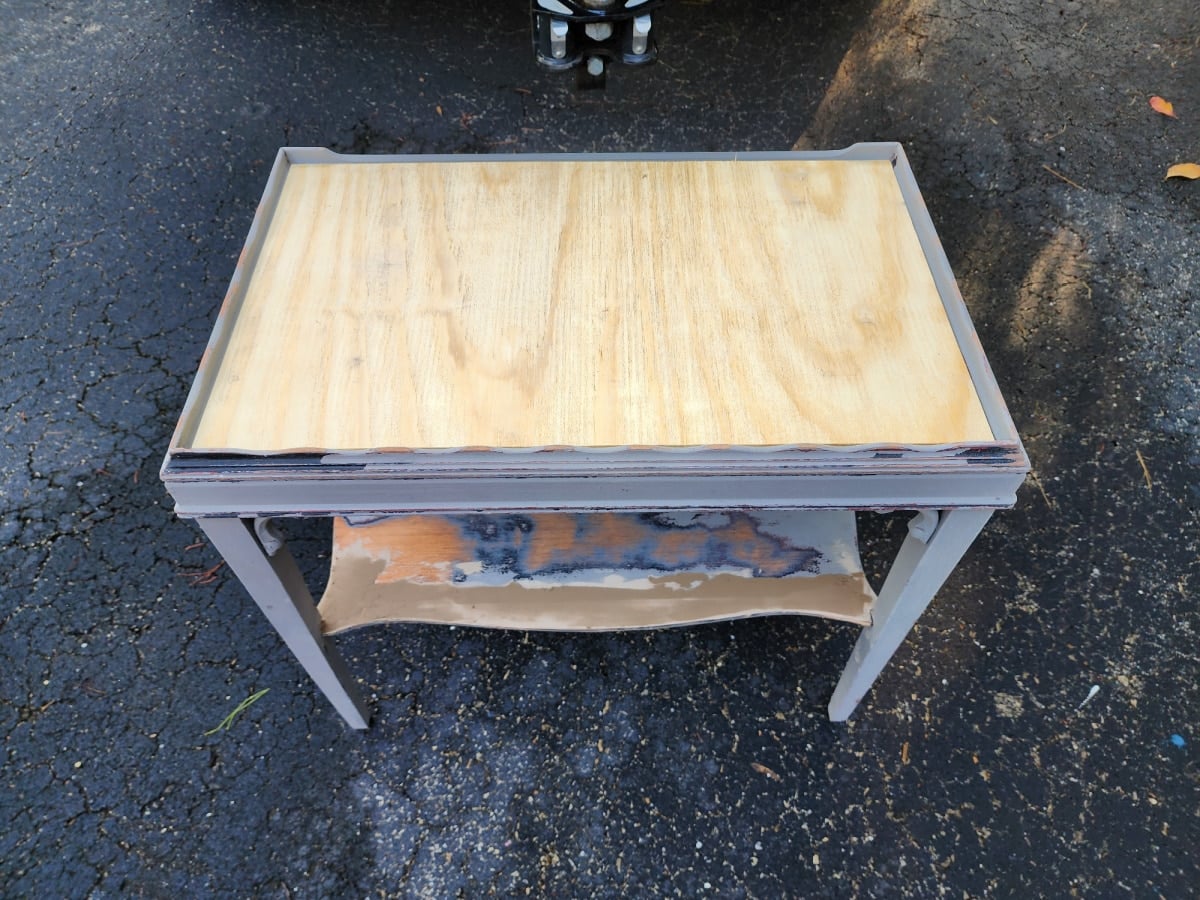
I wasn’t really a fan, but maybe after both sides are stained, I may feel differently.
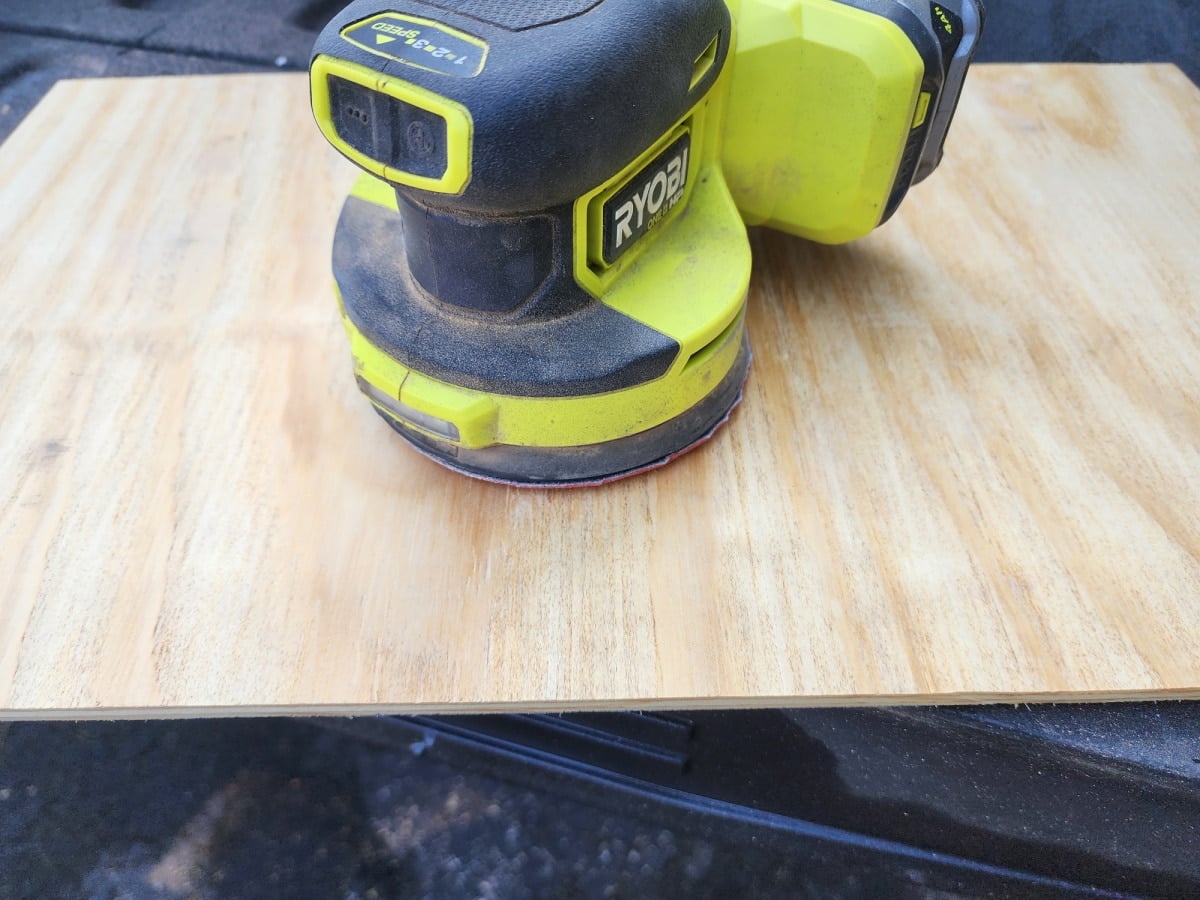
To stain the plywood, I sanded both sides smooth with 220-grit sandpaper using my orbital sander.
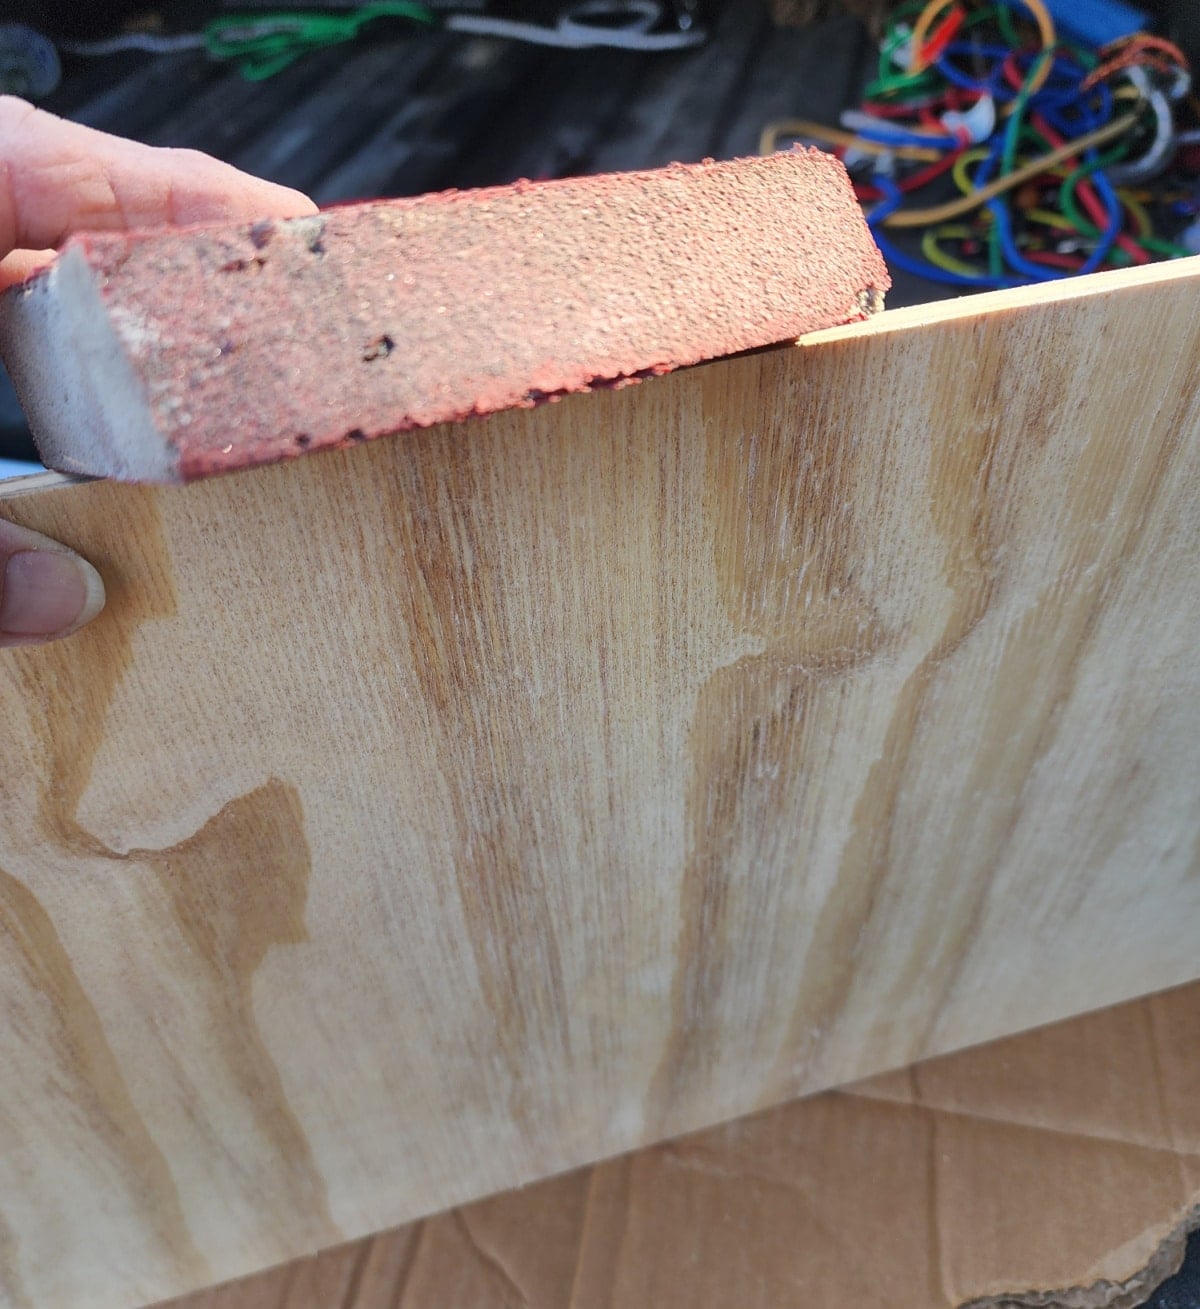
I used a sanding sponge on all the raw edges of the plywood.
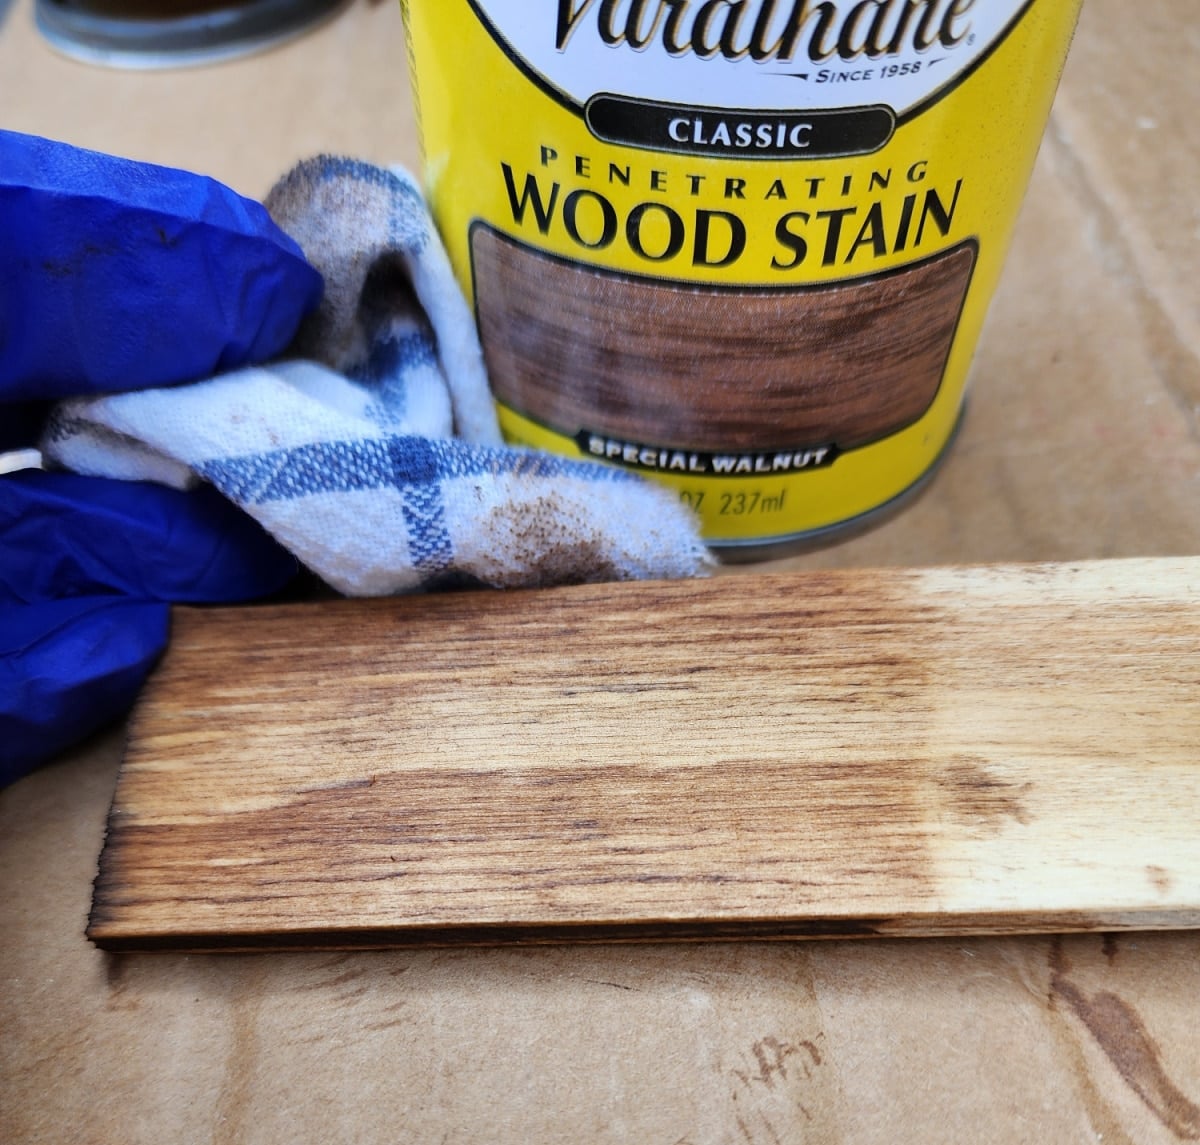
A scrap piece of plywood was used to test the Special Walnut stain.
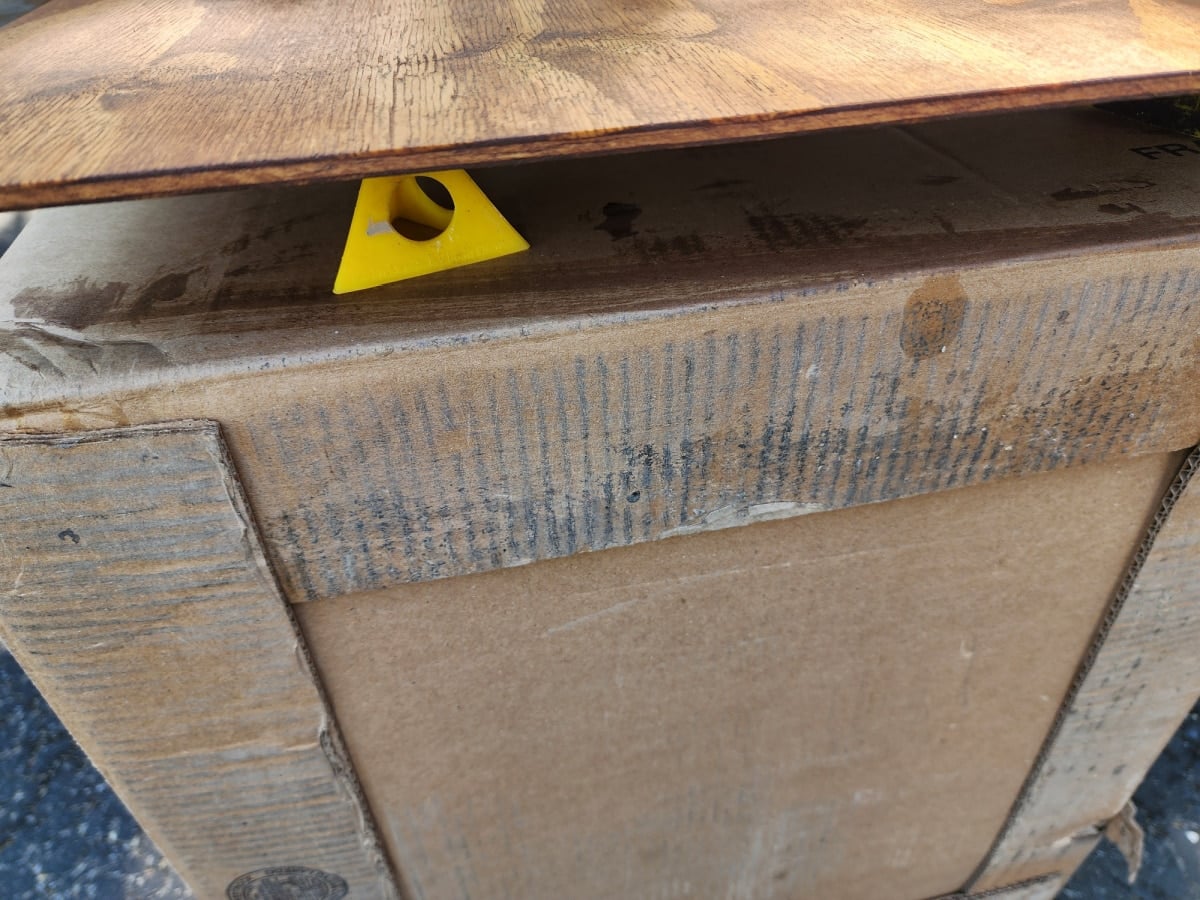
To save time, I stained both sides at once and propped the plywood on four painting triangles.
Keeping it real, I went through all that cutting, sanding, and staining only to decide I didn’t like it at all.
Plan B: Make a Wood Slat Tabletop
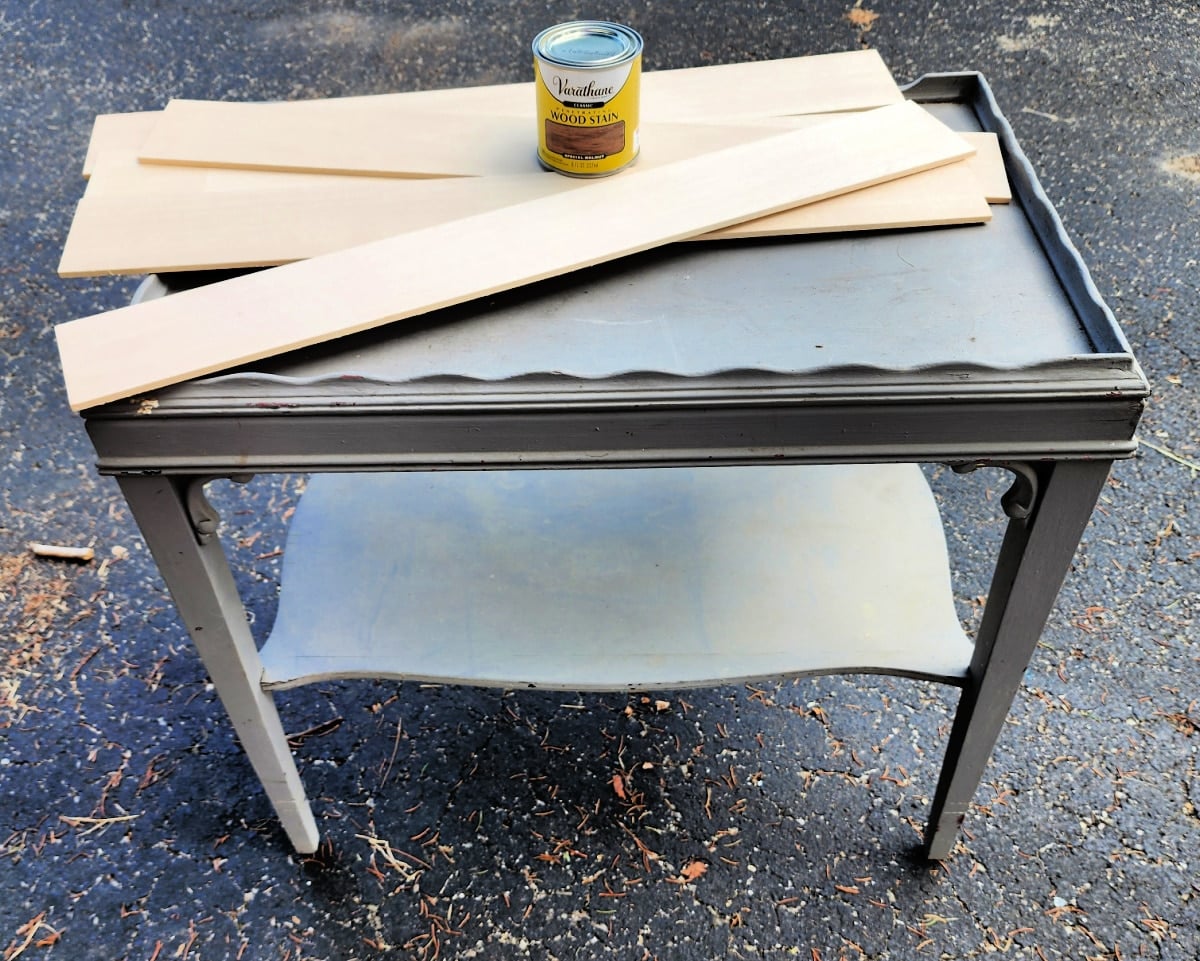
If I’m being perfectly honest, this really was Plan A. However, I thought that if I could use plywood, the tabletop could be removable and used as a writing lap desk. But after seeing the stain on the plywood, I decided to go back to my original plan and use wood slats I got a great deal on at clearance at Hobby Lobby.
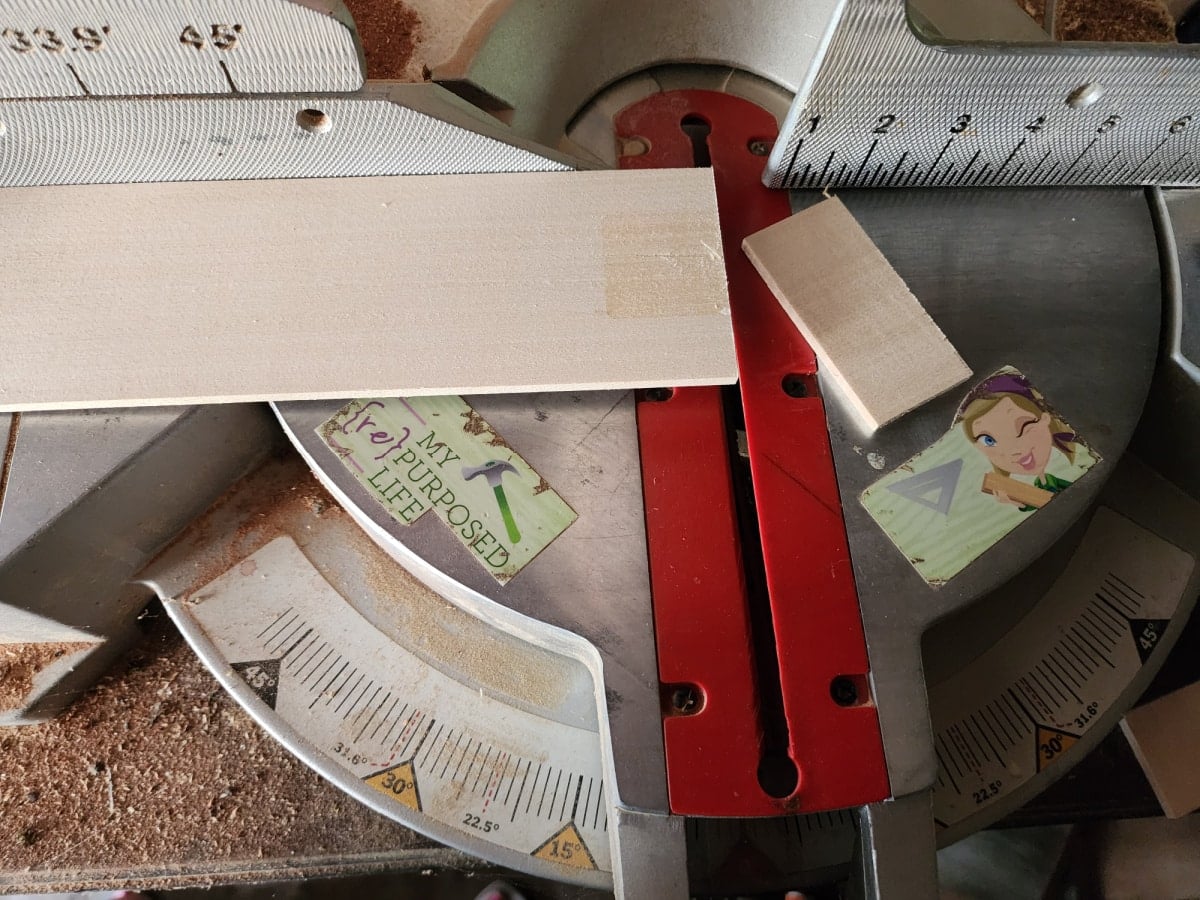
The five wood slats were trimmed on the compound miter saw.
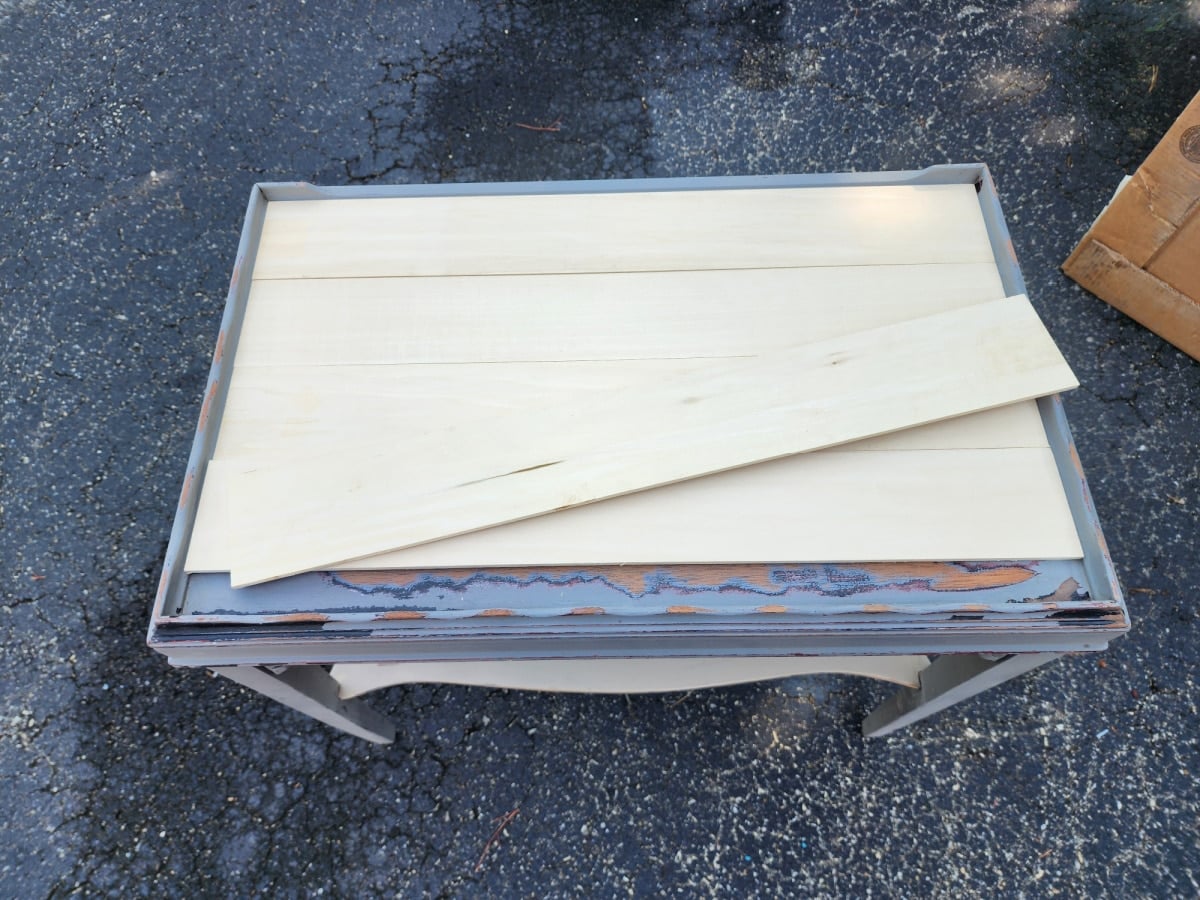
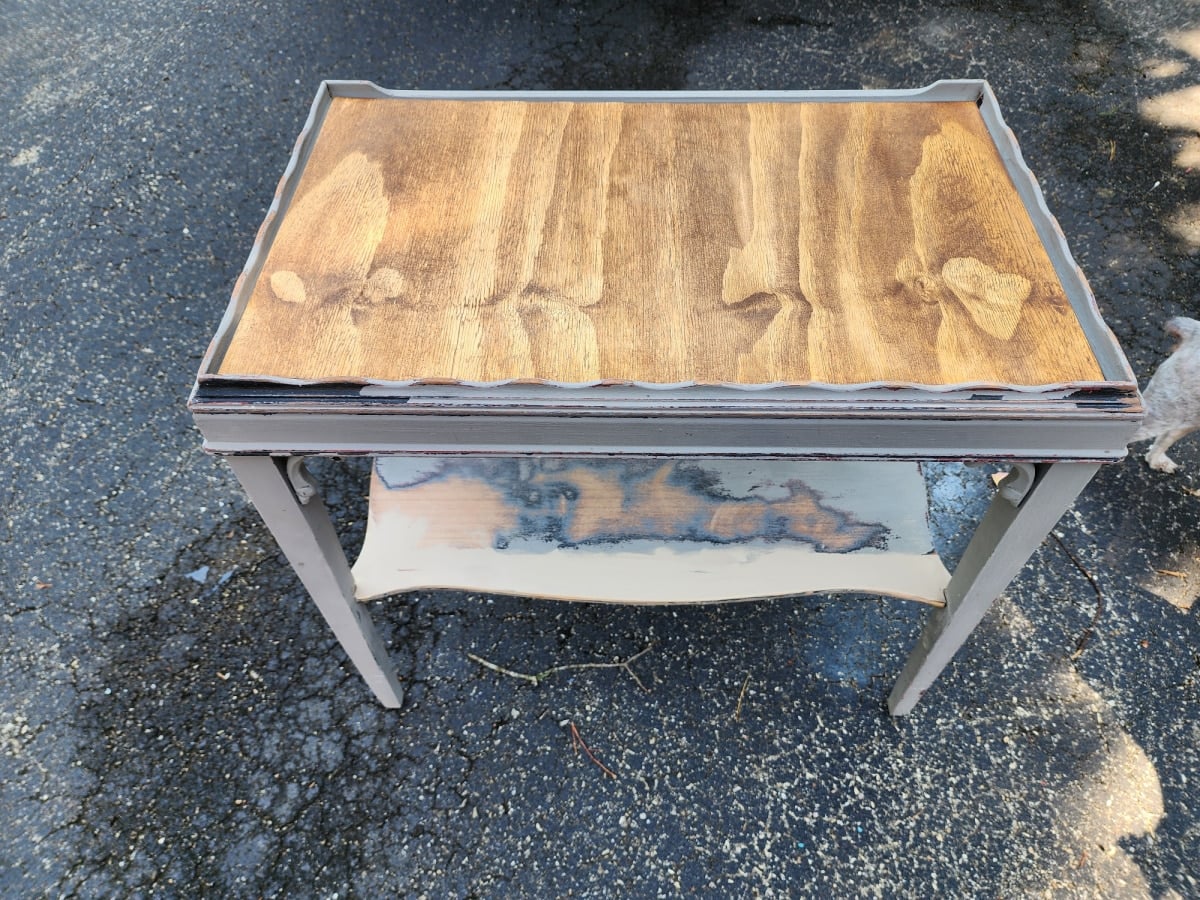
Then, I placed them inside the border of the thrift store side table. I already knew they wouldn’t fit from front to back. But I’m already really loving how they look.
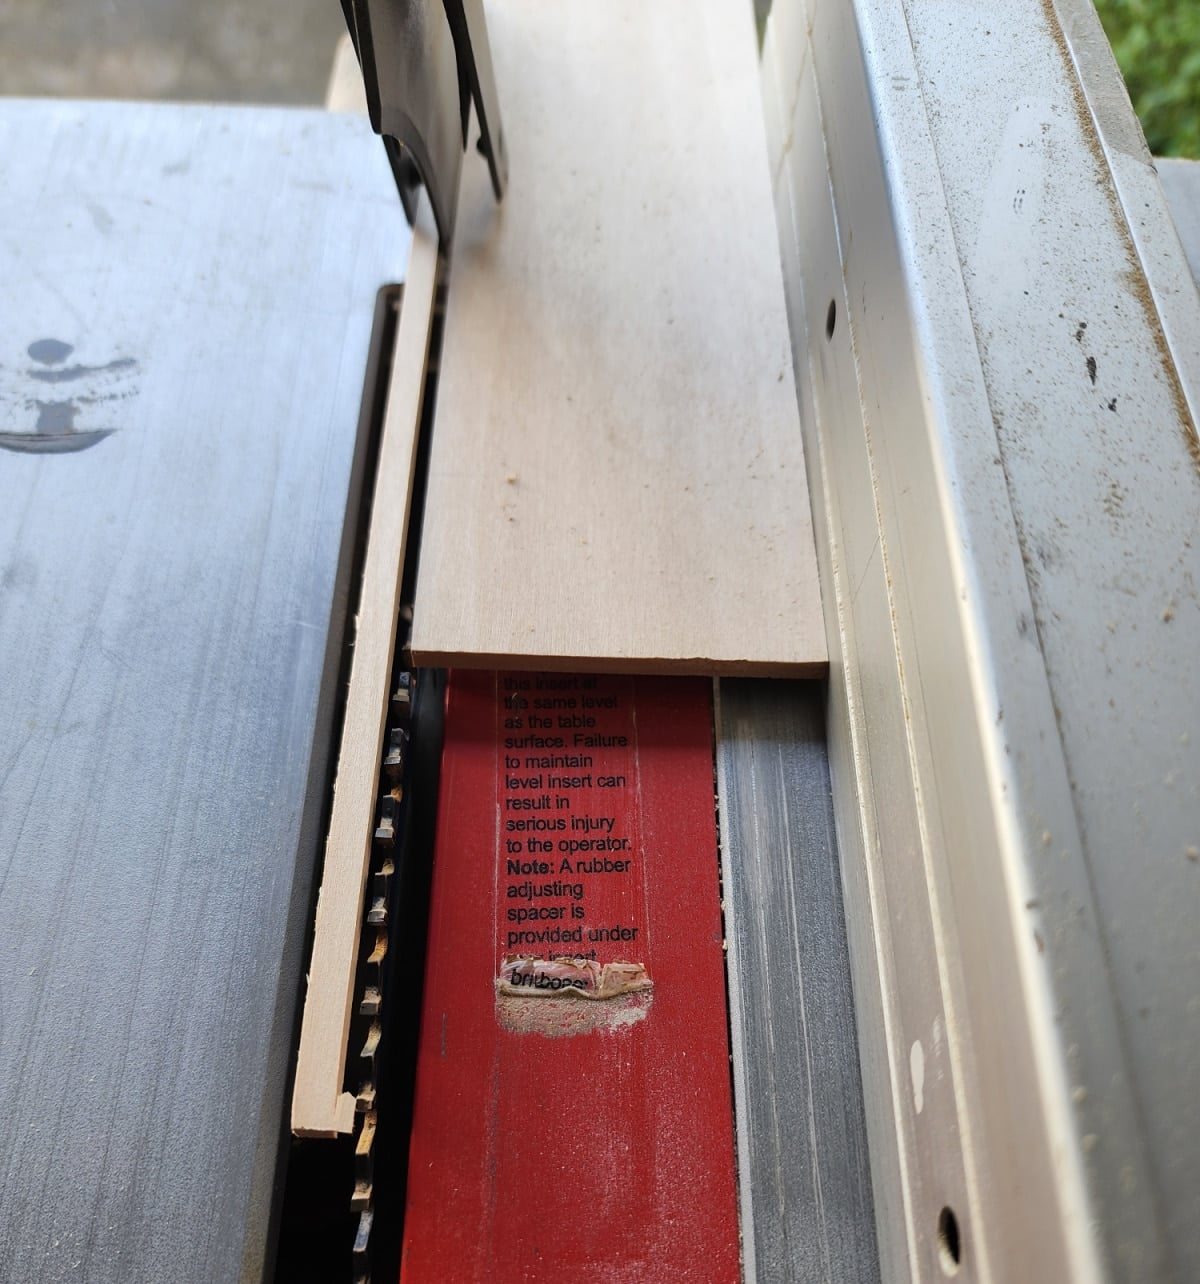
Back to the table saw to rip the five wooden planks.
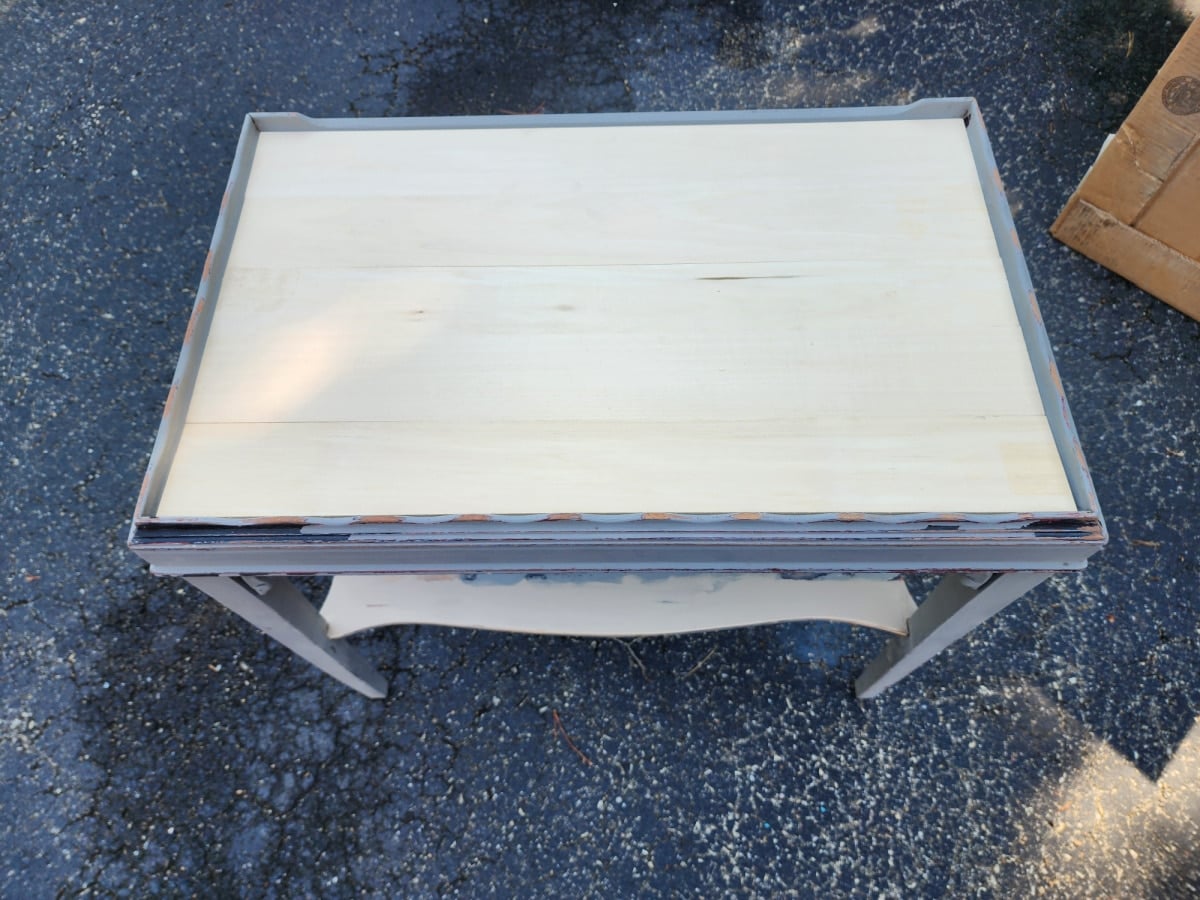
What do you think? Are you loving them as much as I do?
Staining and Sealing the Wood Slat Top
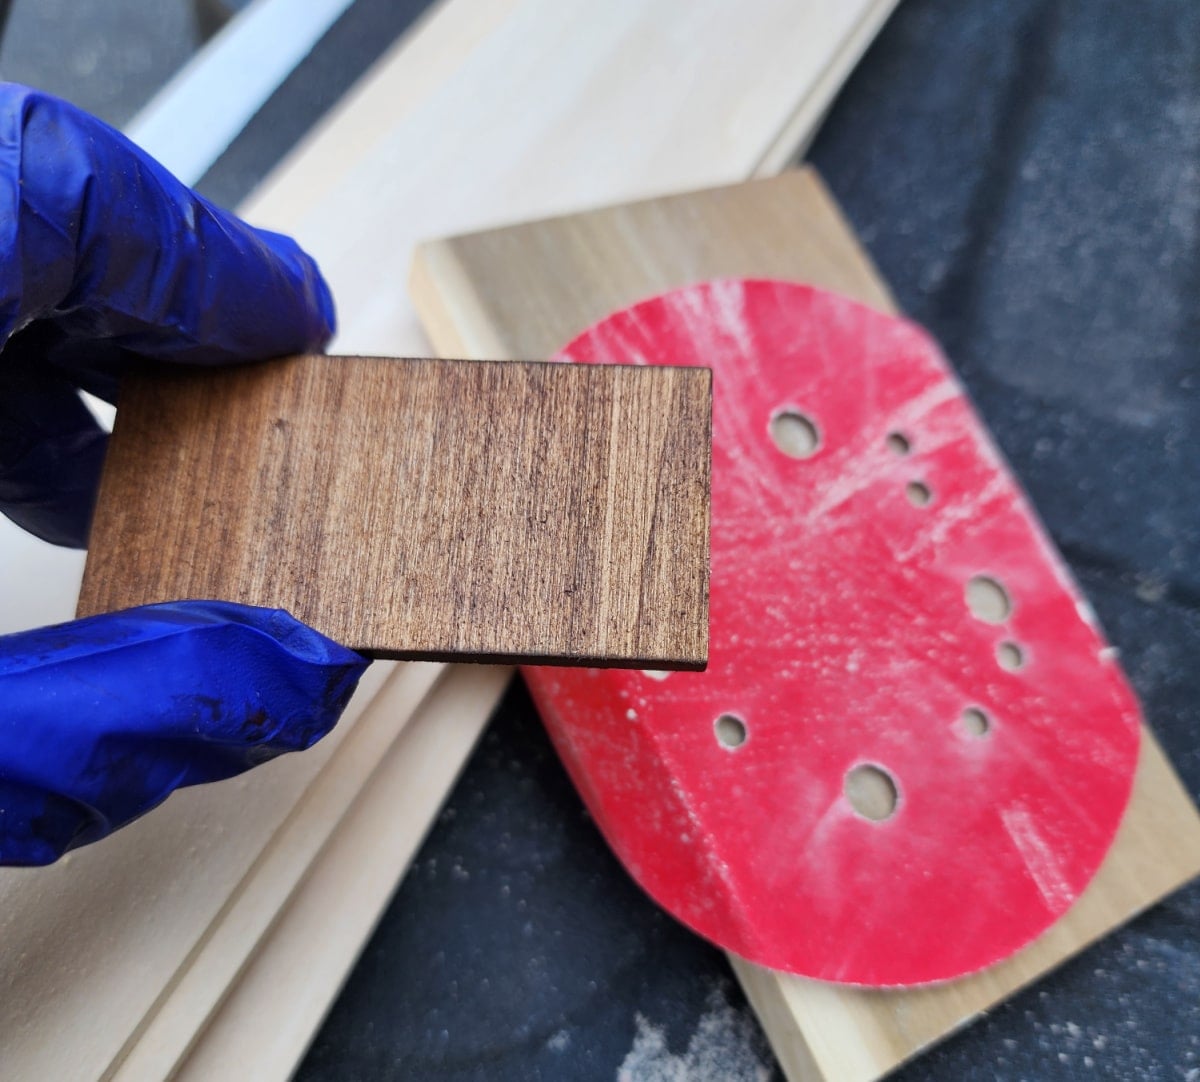
I lightly sanded all of the planks with sandpaper wrapped around a block of wood. Then I tested the stain on a scrap. So pretty!
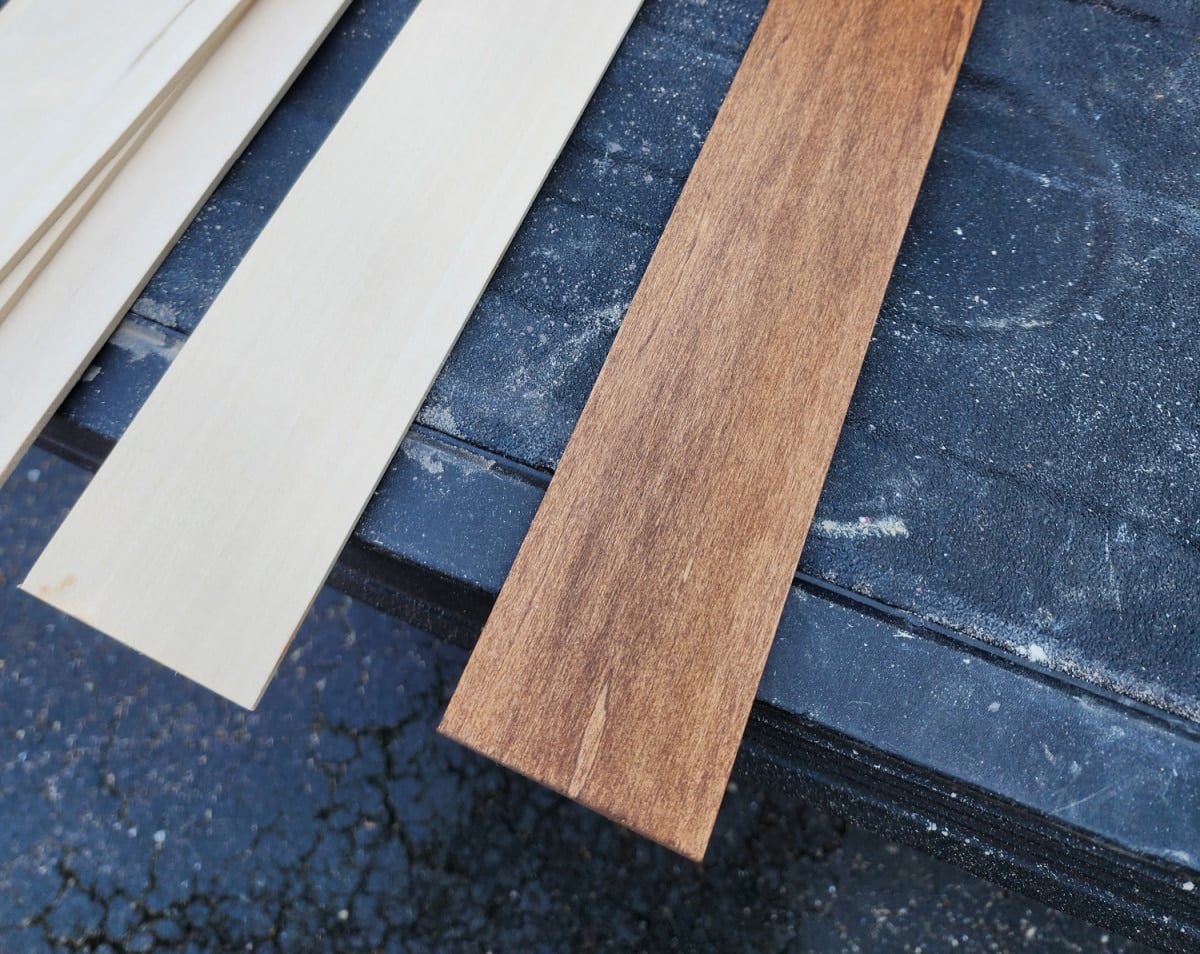
The planks are definitely the winner!
Sometimes you have to see the wrong choice before you know the other one is right.
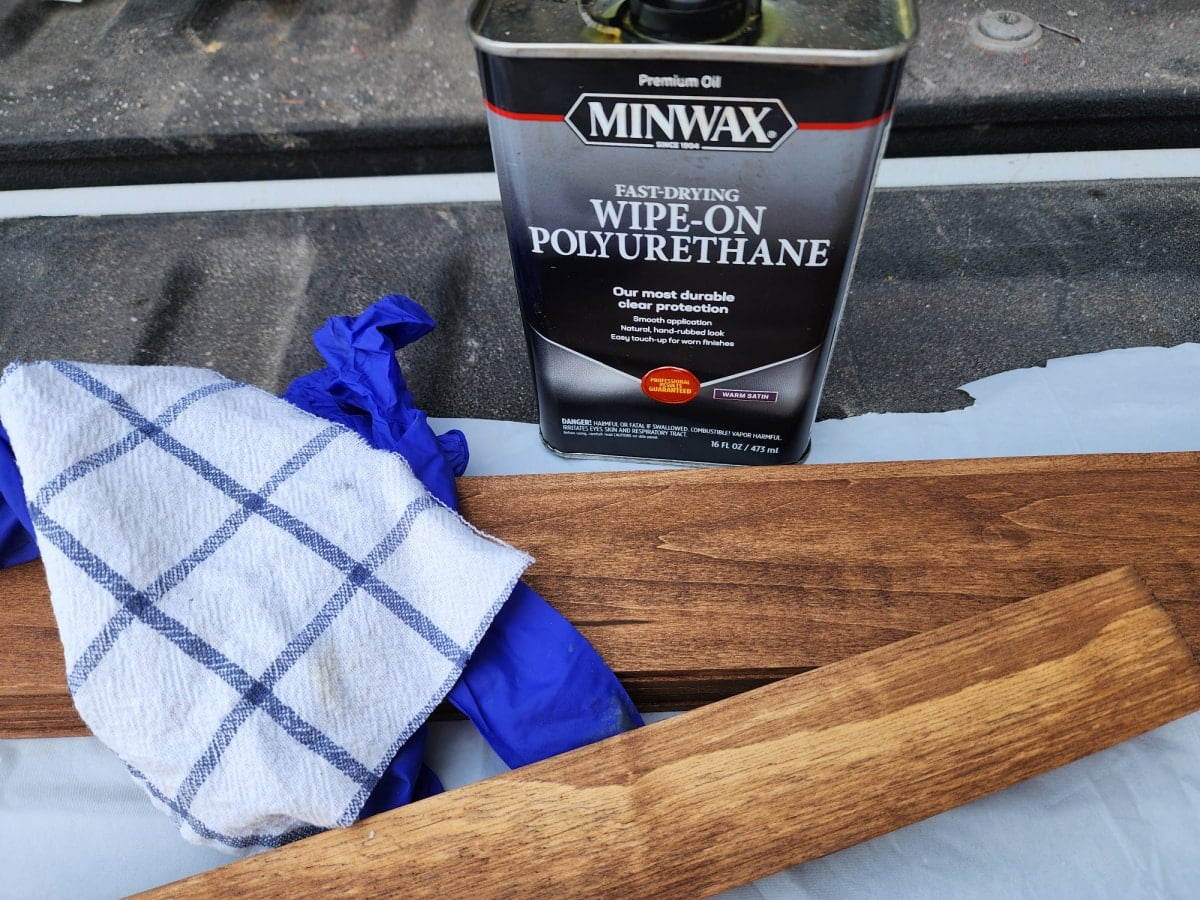
After the stain was dry on the wood slats, I applied Minwax Wipe-on Polyurethane using gloves and a soft cloth.
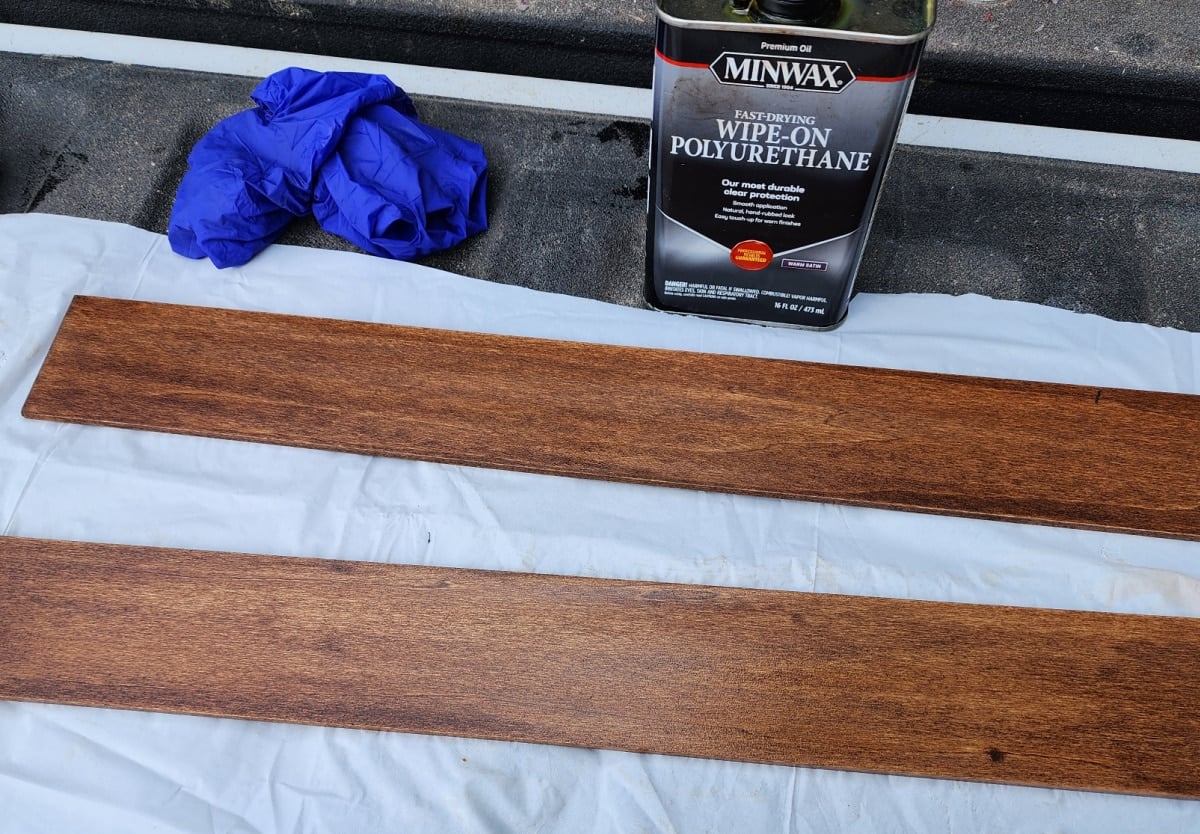
The sheen is satin; if you want more shine, you could use a semi-gloss polyurethane. Wipe-on poly goes on easily; using a cloth means no cleanup with mineral spirits.
For a more durable seal, you could use polycrylic.
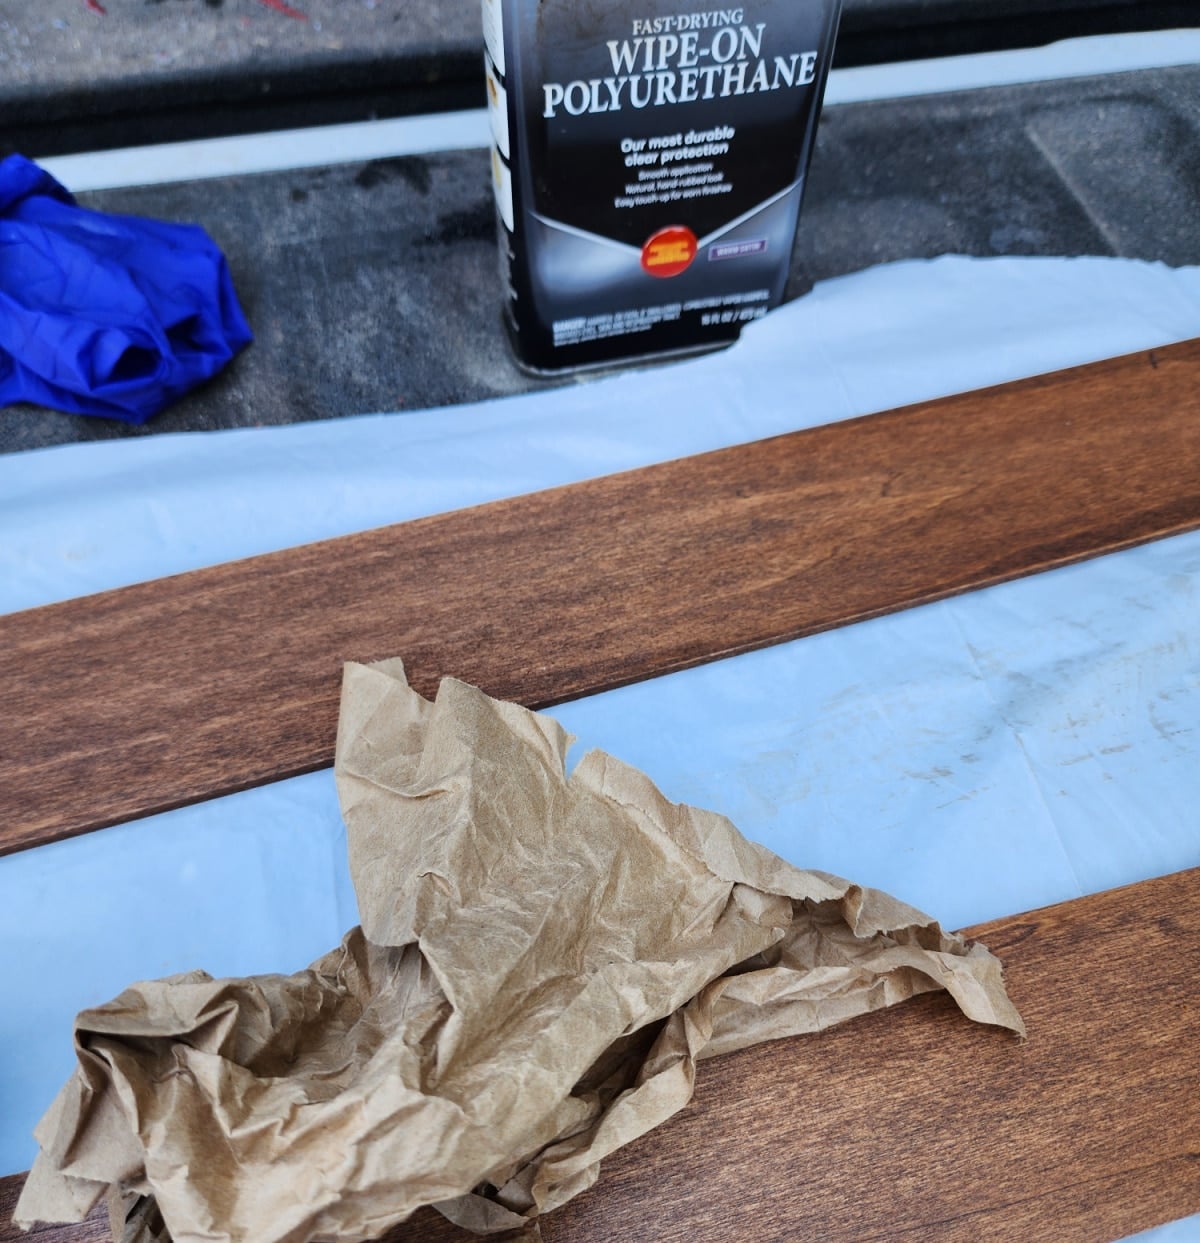
After the first coat of wipe-on poly, I used brown craft paper to “sand” the surface smooth before adding the second coat.
Painting the Thrifted Side Table
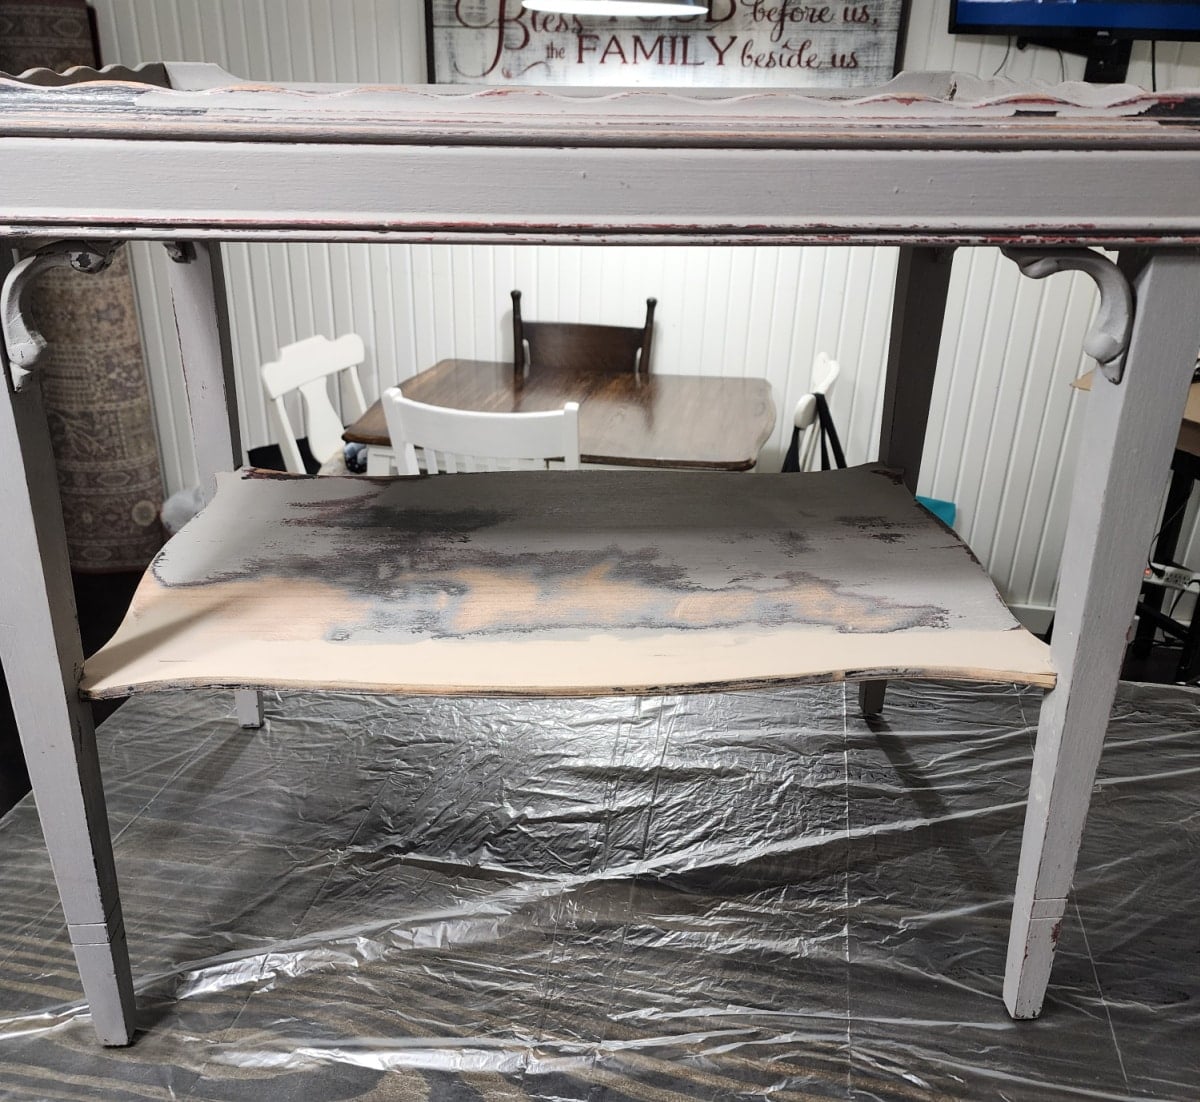
Due to the weather, I had to bring the table inside to paint it. Sorry about the image quality.
While talking to a friend about this table, she suggested that I paint it a dark green. So, I bought a sample jar of Trailing Vine at The Home Depot. I haven’t used wall paint on furniture in several years. I decided to do a base coat with All-in-One HTP Cathedral. Why? Because it was a dark color, and I thought it would help the sample jar go further.
But before I paint, I need to prep the surface and remove any residual sanding dust.
Preparing the Table for Paint
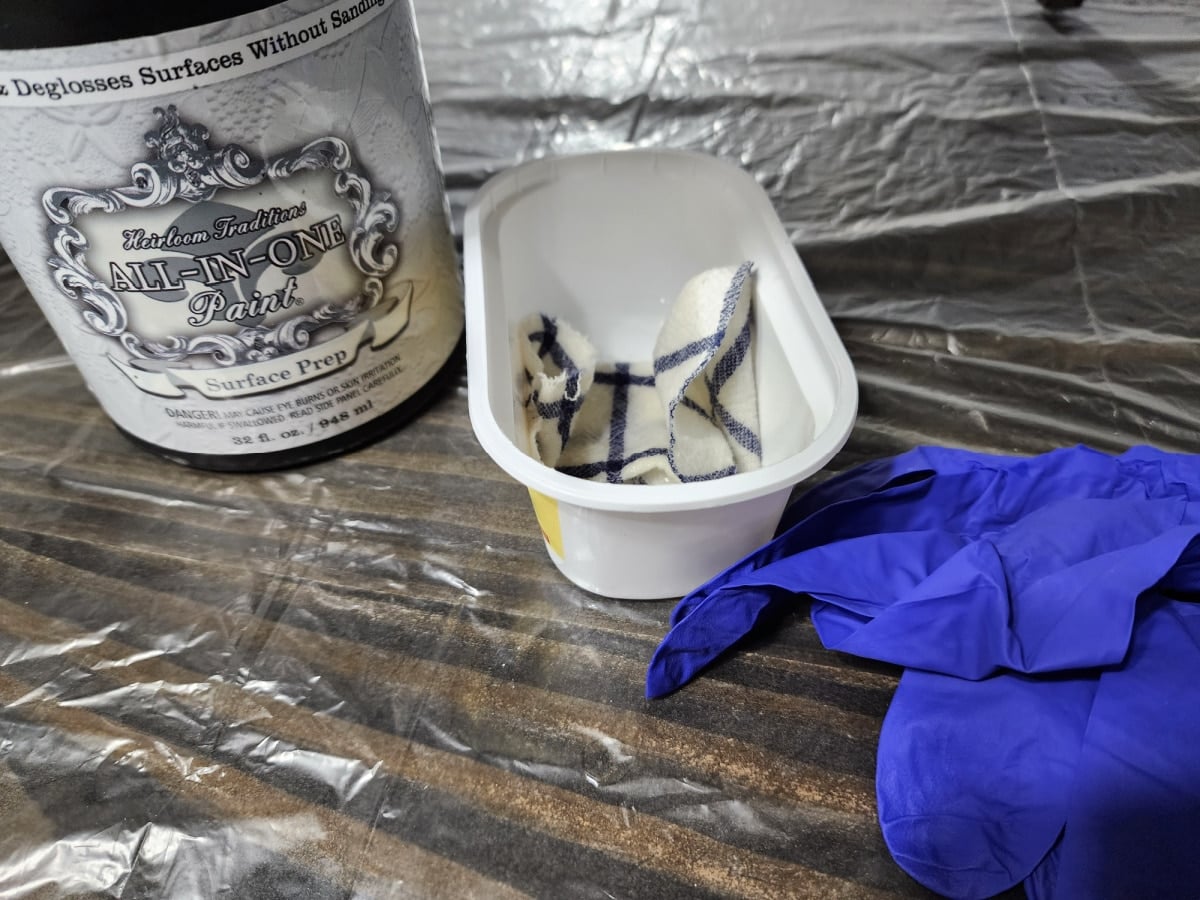
I didn’t have any of HTP’s surface prep wipes, so I poured a small amount into a plastic tub and applied the solution with a small cloth.
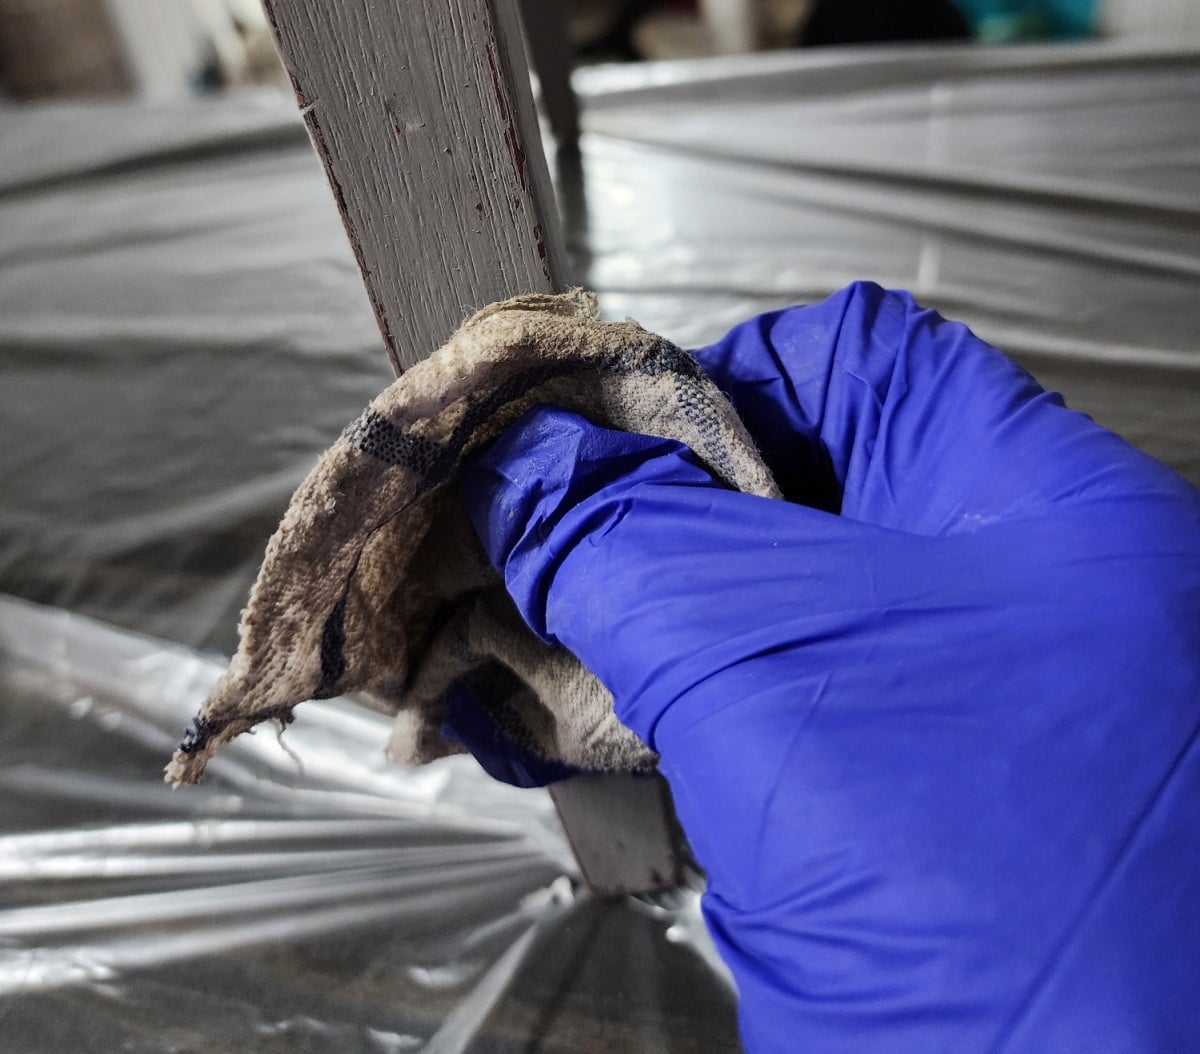
The cloth was damp as I wiped the table; however, it was drier when I wiped the Dixie Belle Mud-patched area.
Painting a Base Coat
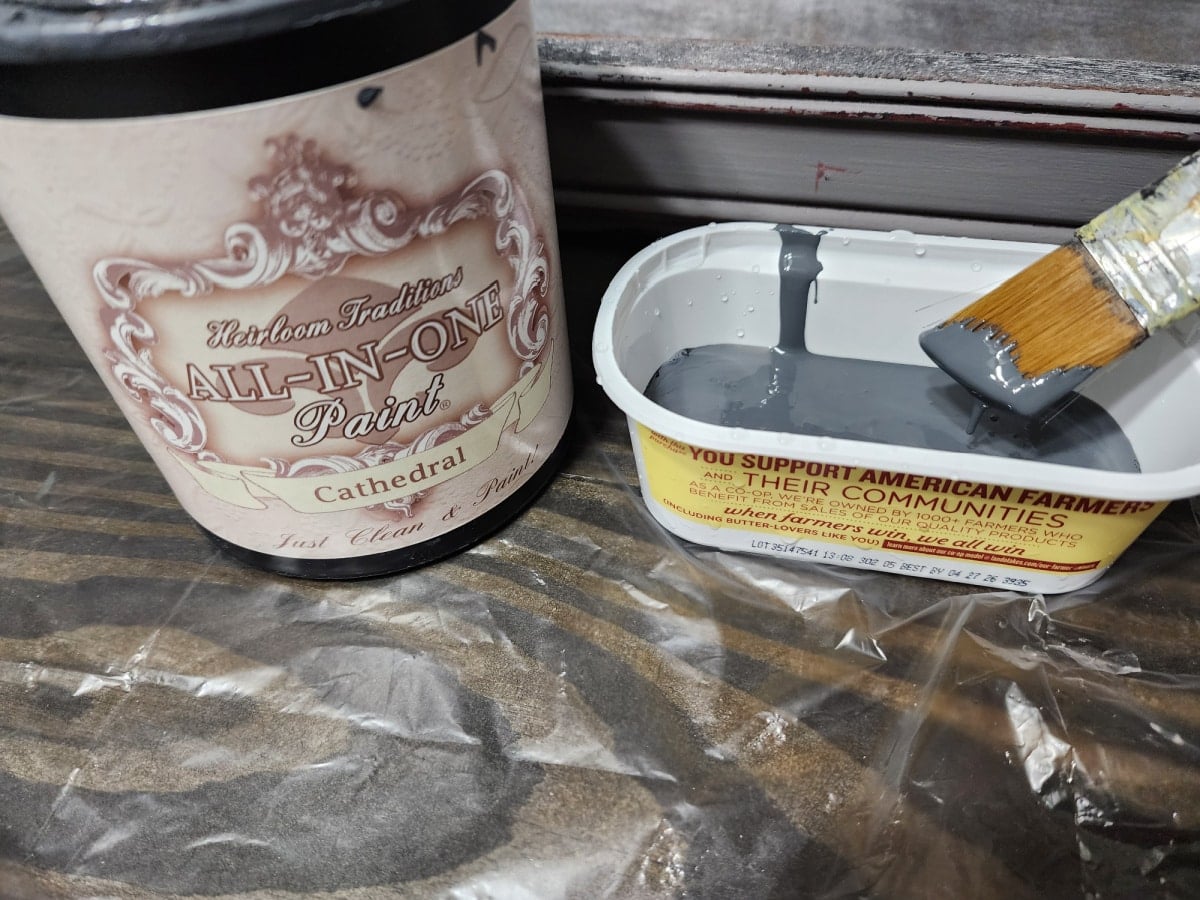
If you’re a regular, you know this is my all-time favorite brush. They don’t make them anymore, so I’m always careful about cleaning it right away.
I usually start with a small foam paint roller. But this time I chose to trim all the small areas first. Because I was using this paint as a base coat, I diluted it ever so slightly.
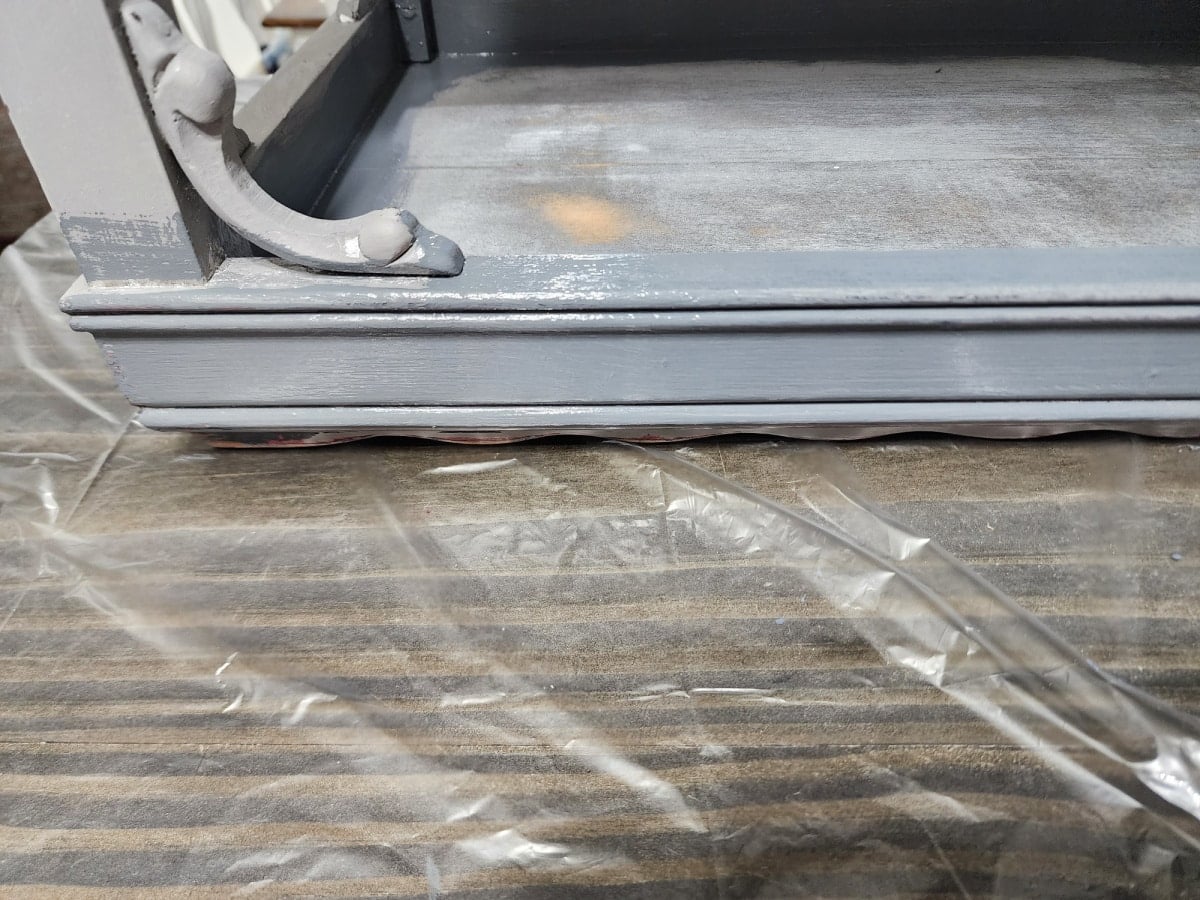
The paint went on smoothly with the soft angled brush when I used the diluted paint. I like to do two light coats, touching up with a third coat if needed.
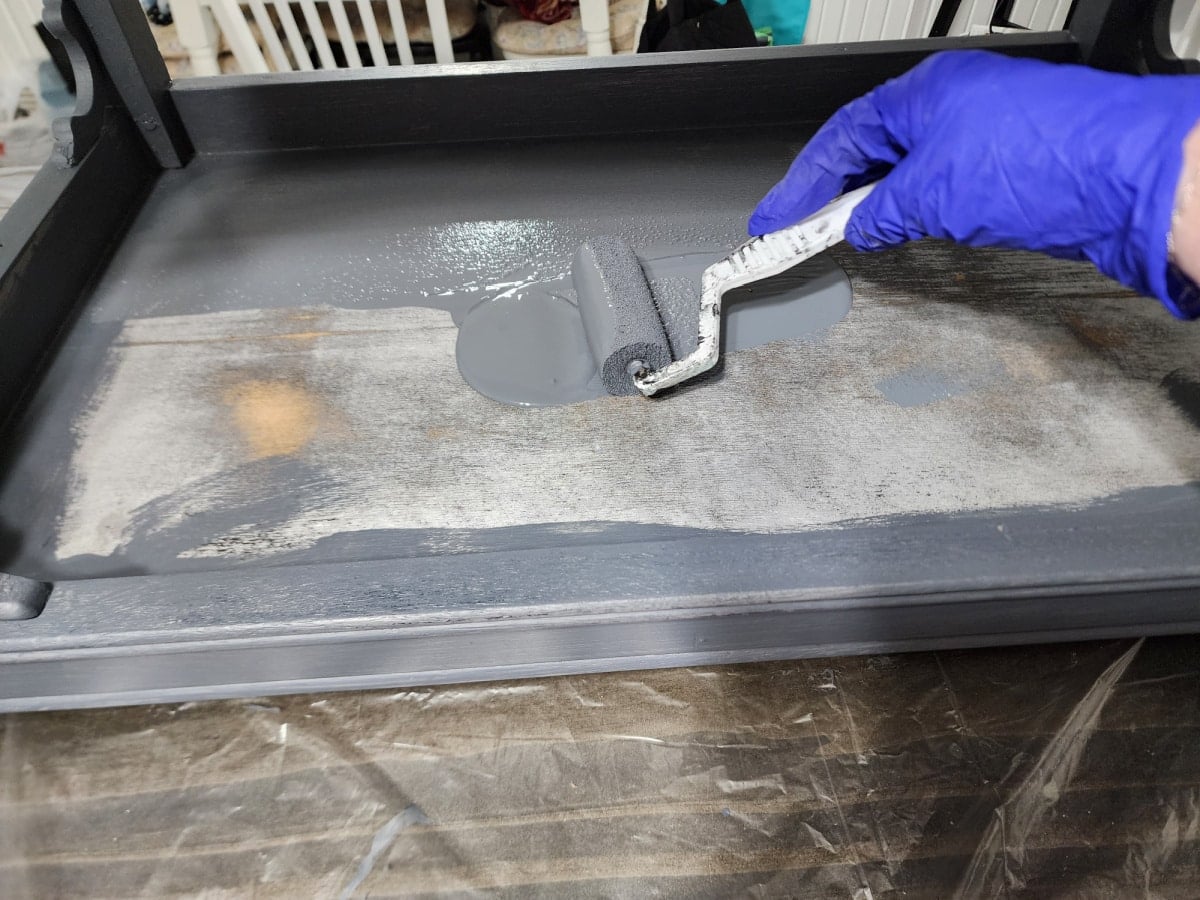
After trimming, I poured a small puddle of paint onto the underside of the tabletop and spread it with the small foam roller. This is the portion of the table that appeared to be spray-painted silver. If you’re flipping furniture, please don’t neglect to paint the underside of tables.
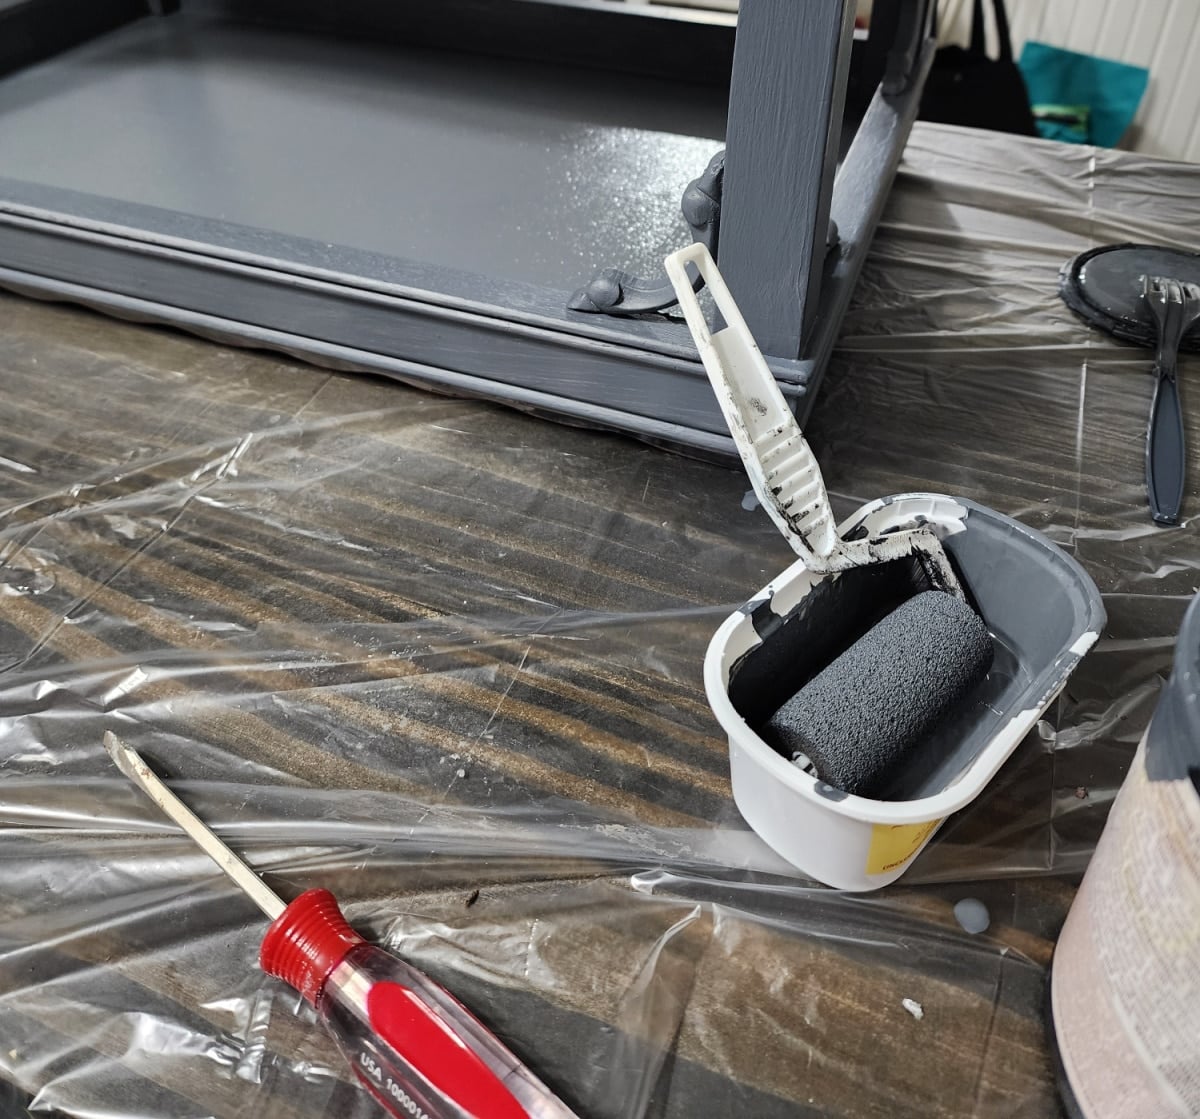
I love how the small foam roller fits perfectly into the plastic tub. However, when the tub contains a lot of paint, I prefer rolling off onto a styrofoam plate.
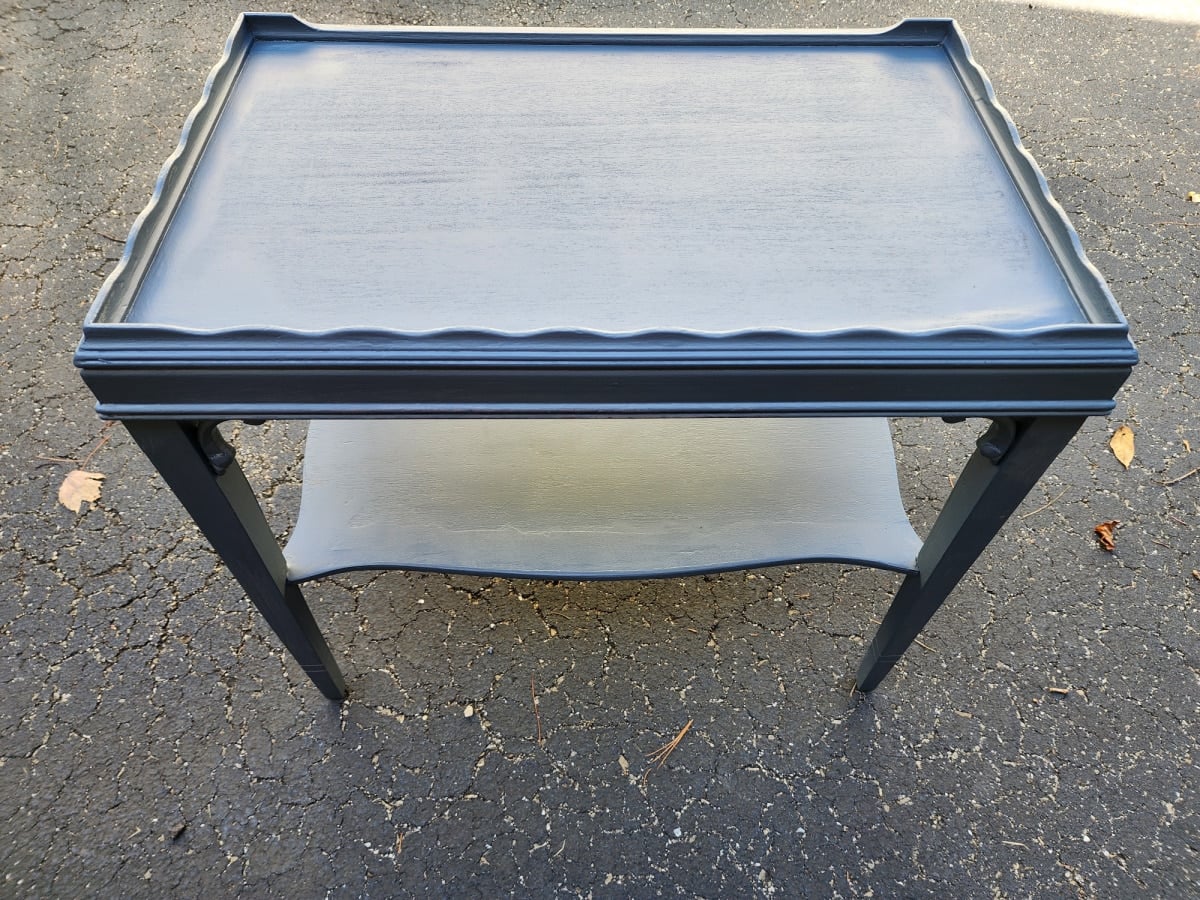
After the first coat, I could see a difference between the original wood and the areas repaired with Dixie Belle Mud. That’s one reason I prefer several light coats instead of trying to get complete coverage with one heavy coat.
When the Base Coat Becomes the Final Color
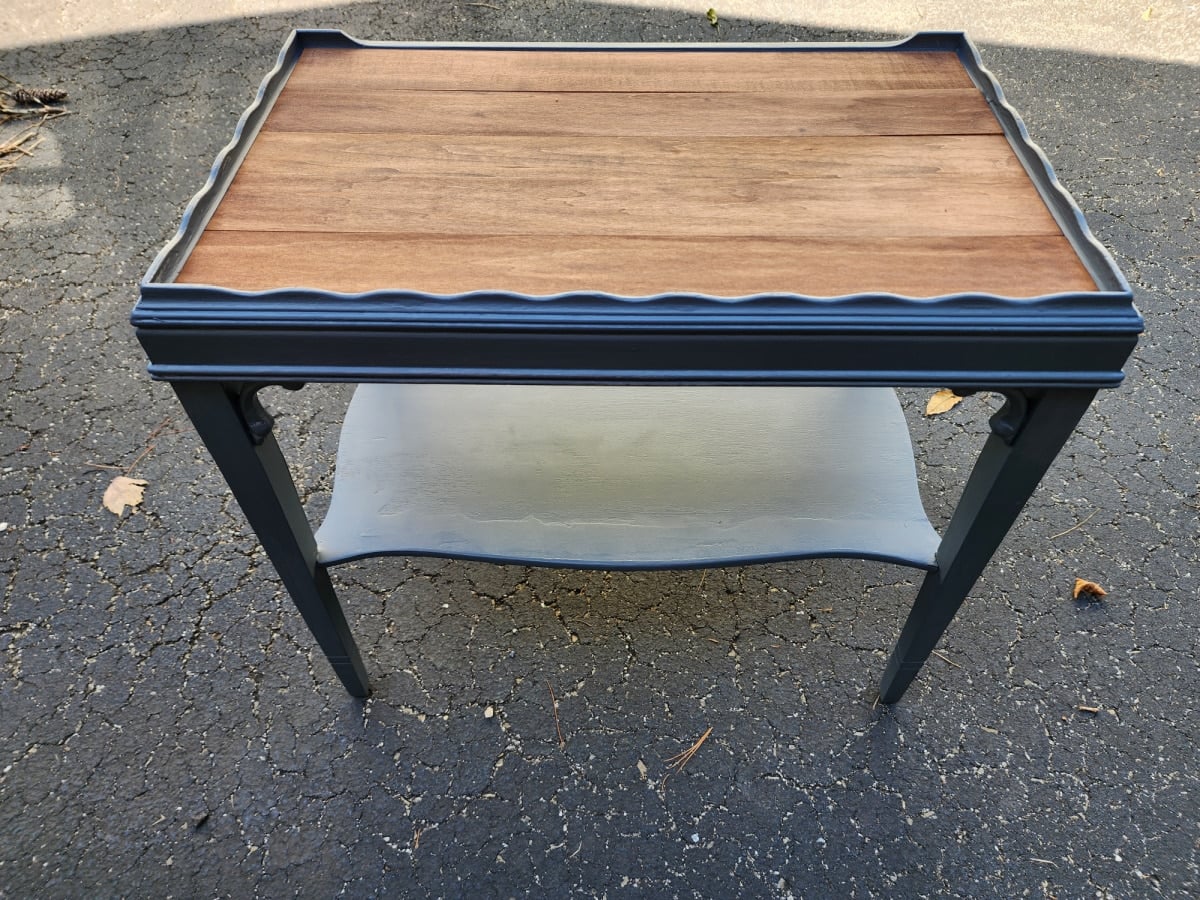
I was anxious to see how the wood planks look with the Cathedral paint color. Would you like to see my other projects painted with Cathedral?
Cathedral was only supposed to be the base coat. But once I saw it next to those Special Walnut wood slats, I started having second thoughts about that green paint.
Adding a Second Coat
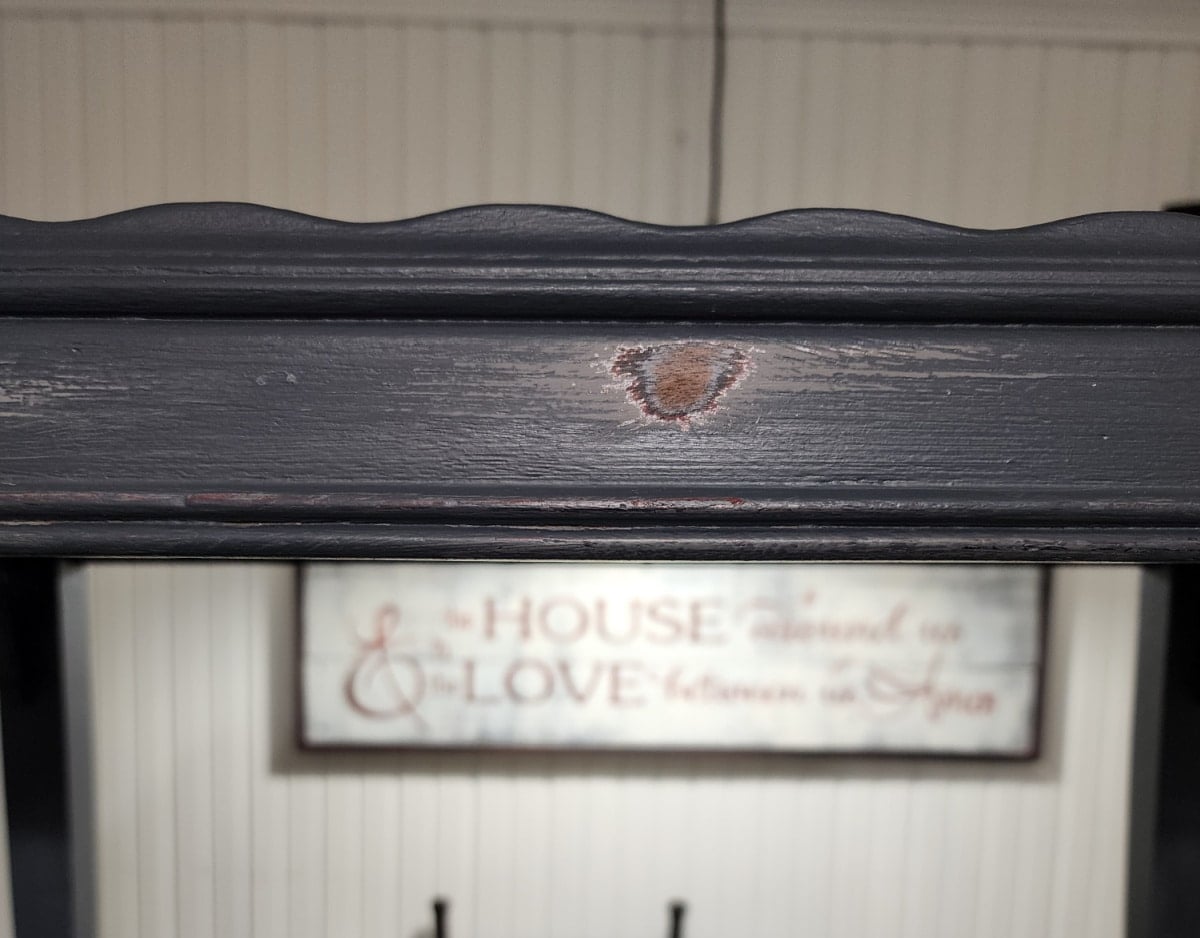
As I got ready to apply the second coat, I noticed a couple of bubbles in the paint. I sanded them smooth before adding more paint.
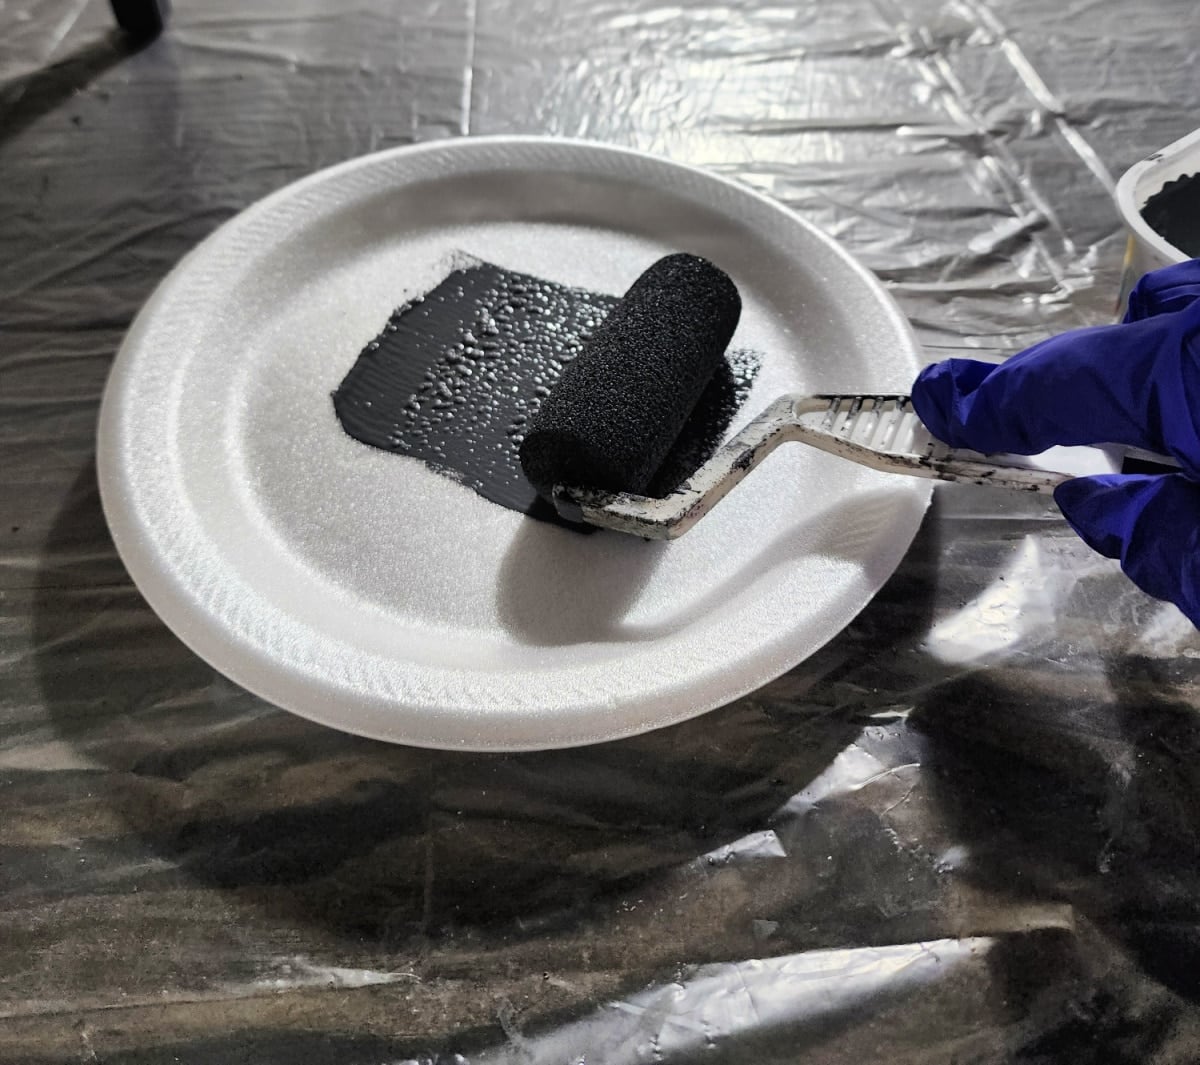
After dipping the roller into the plastic tub, I used the styrofoam plate to roll off the excess paint.
The Finished Thrifted Side Table Makeover
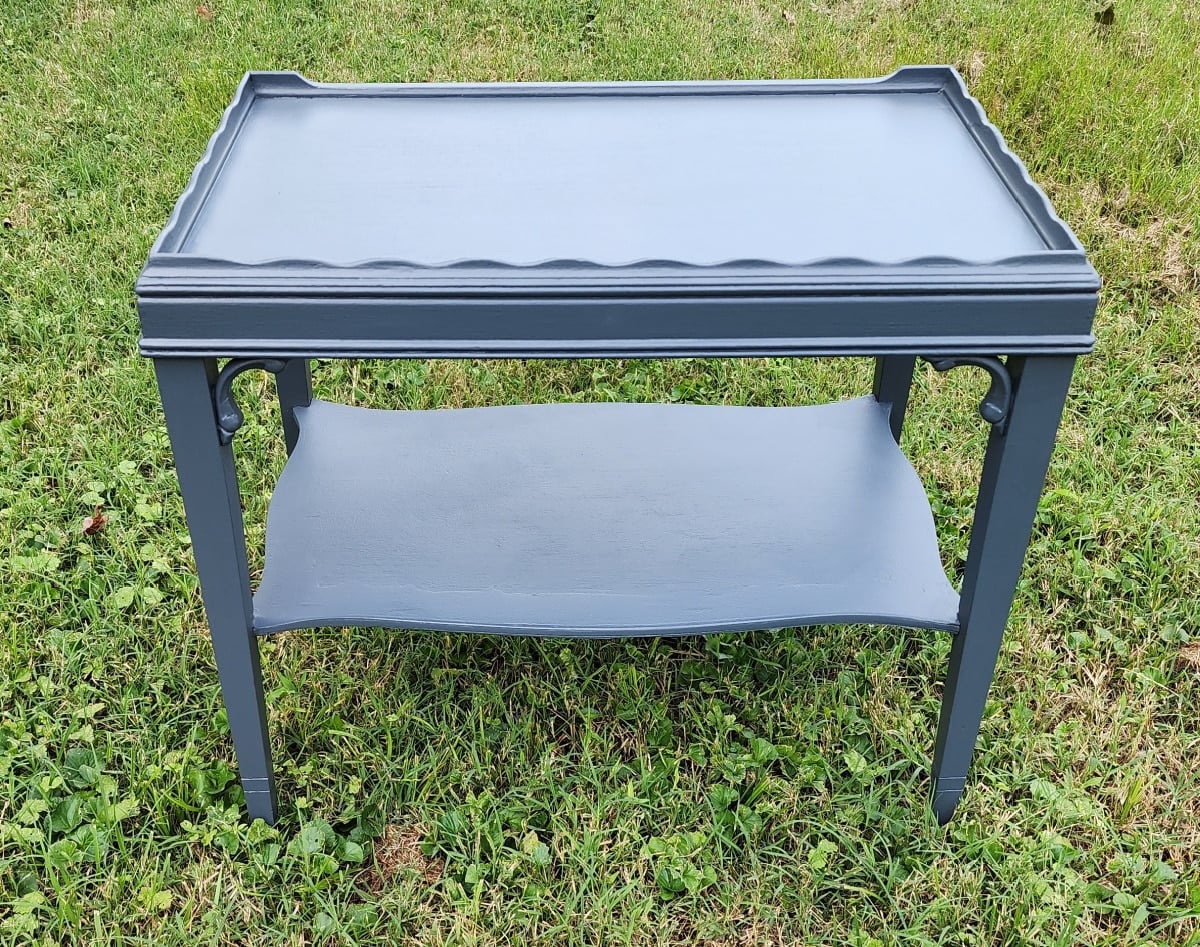
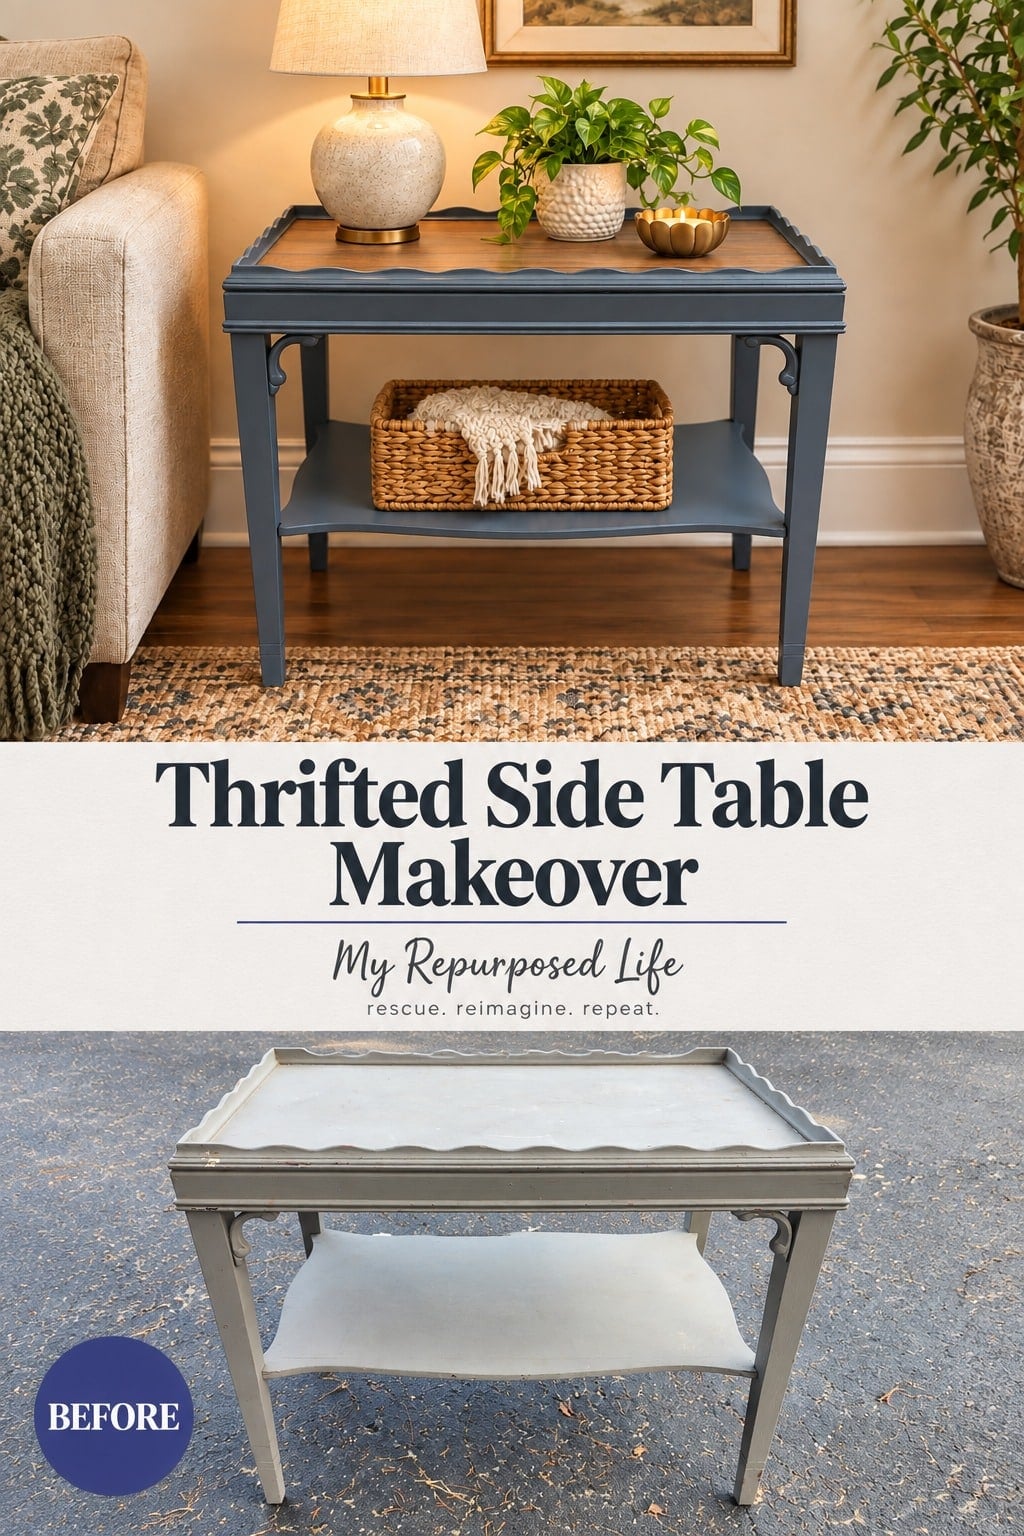
I wish I had been brave enough to paint it dark green as I planned. But I do love how it turned out, and I’m very surprised the tabletop looks as good as it does.
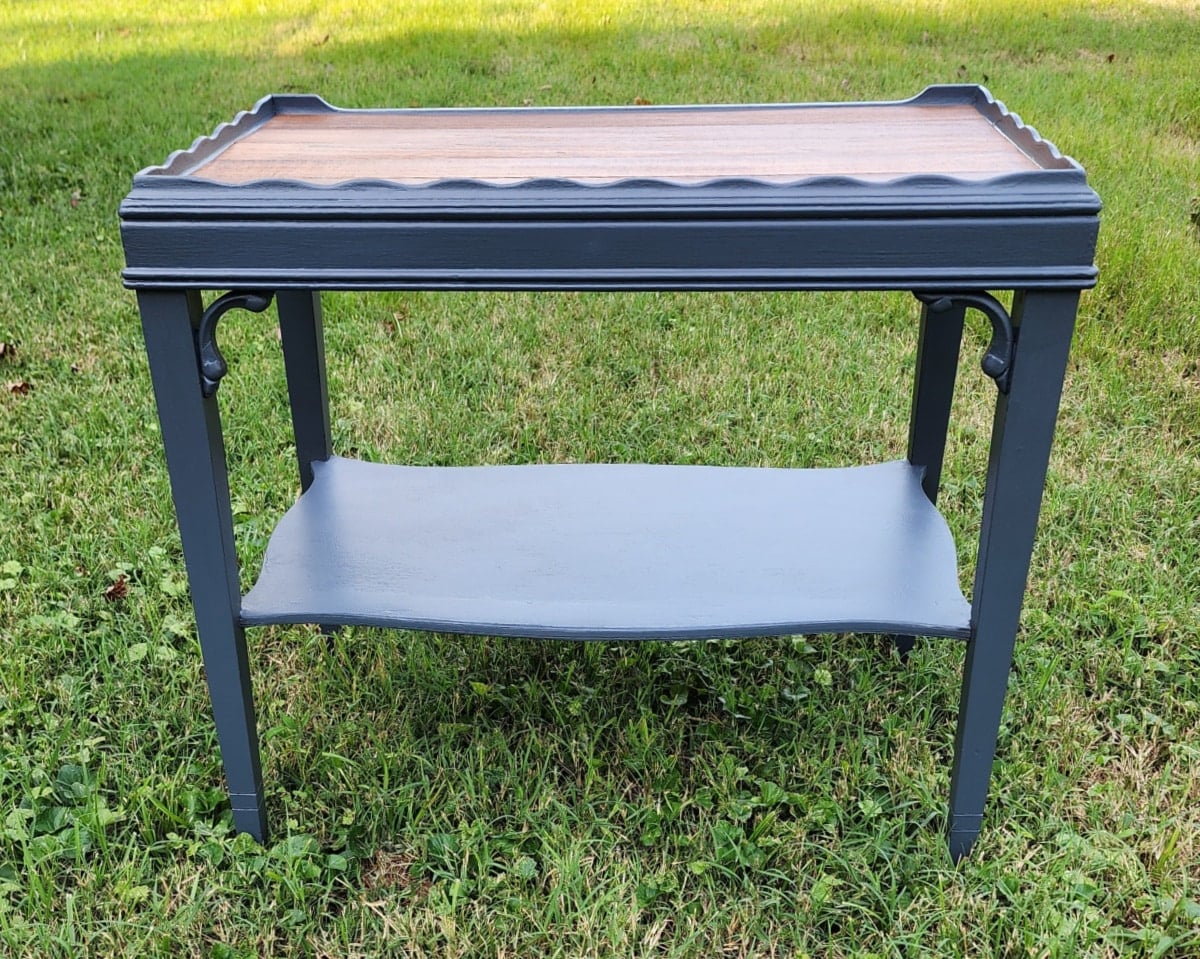
The special walnut wood planks fit very snugly inside the scalloped tabletop. I will remove them while storing the table so it can fully cure. The new owner can decide whether to permanently secure the wood planks.
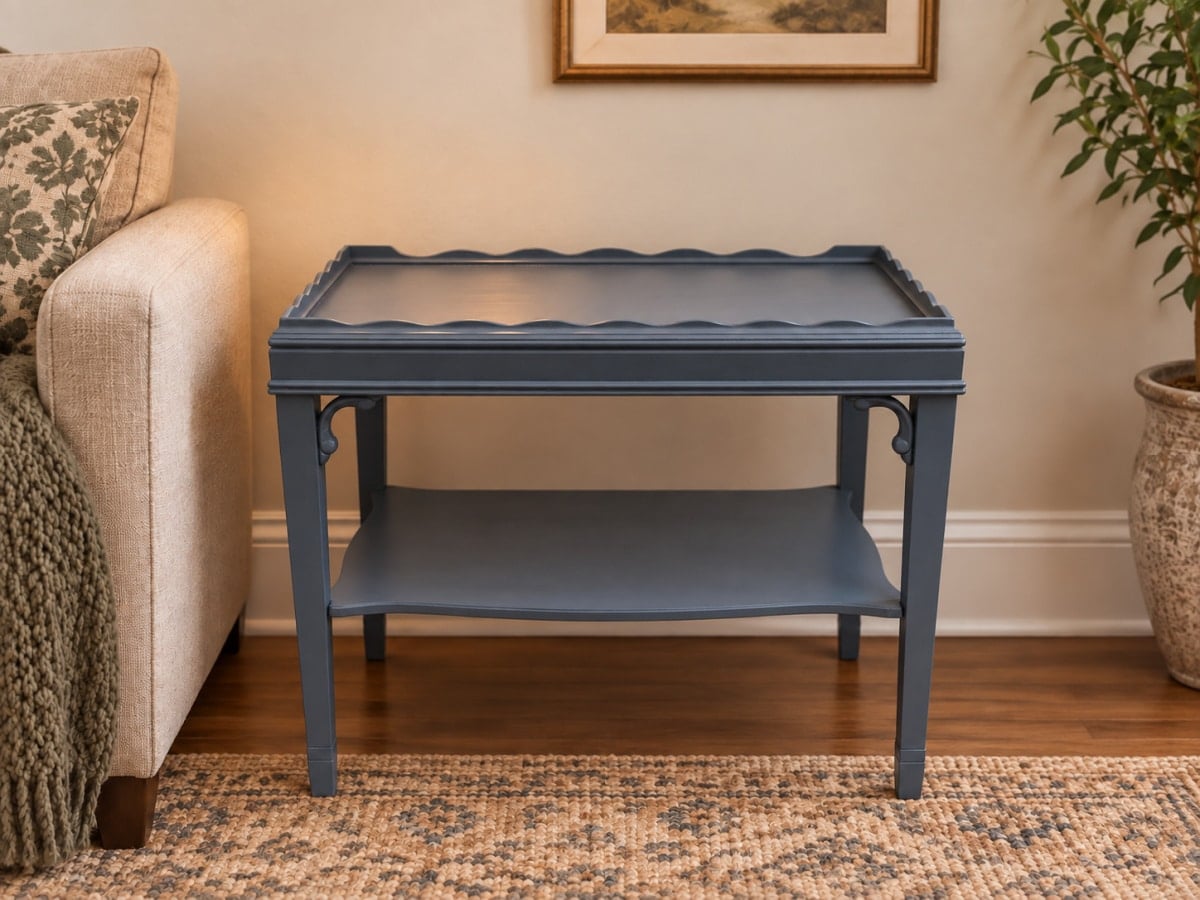
For such a small, inexpensive table, I sure spent a lot of time on this makeover!
Styling Suggestions for a Thrift Store Side Table Makeover
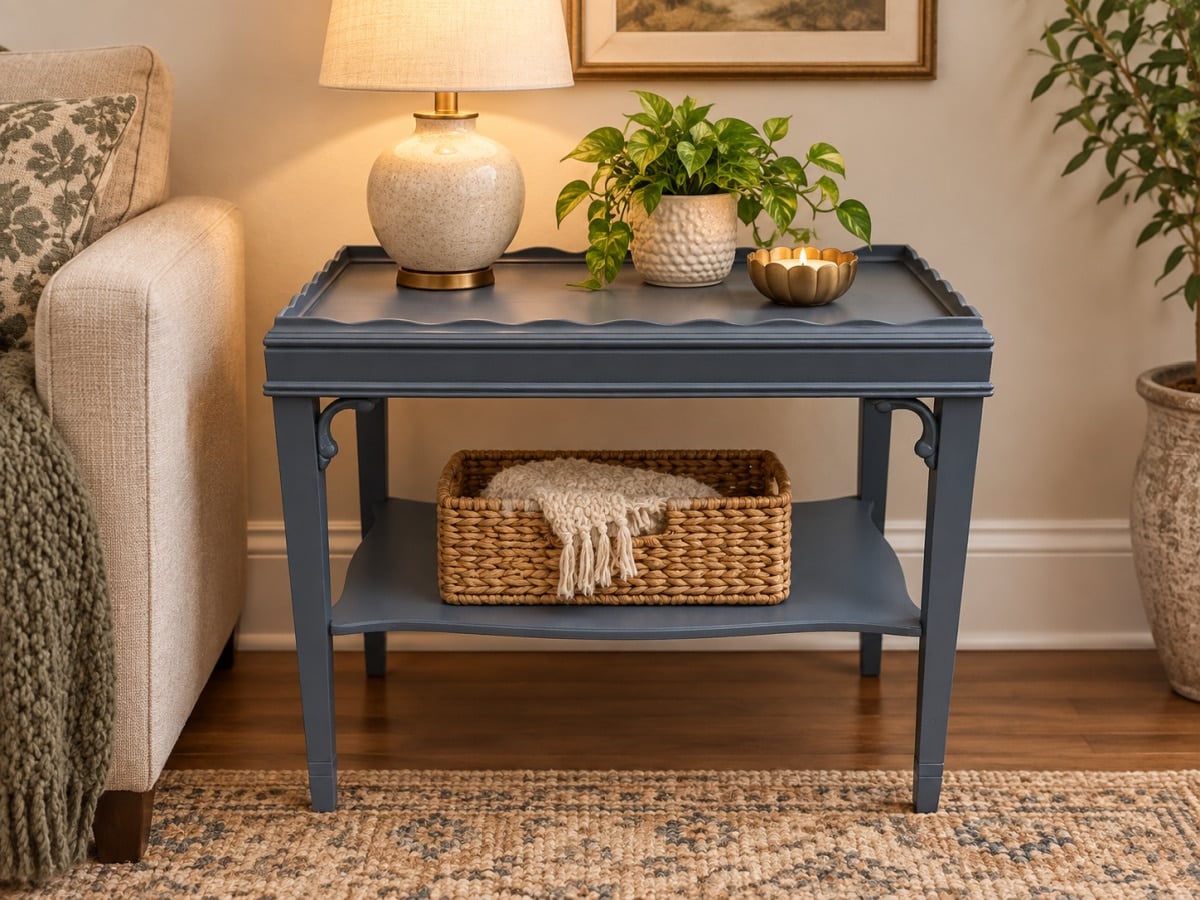
I think the dark gray on this thrifted side table may be more appealing than the dark green would have been.
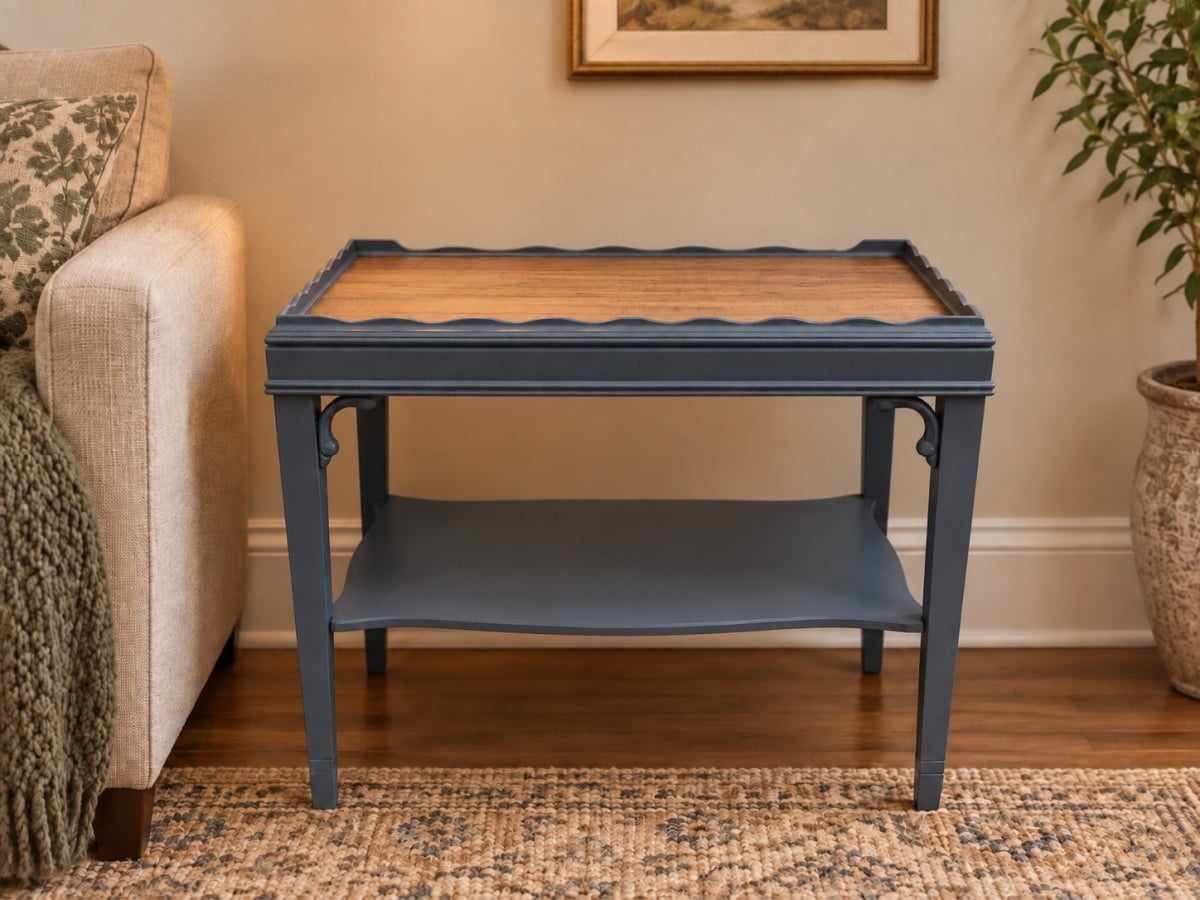
The warm tones of the wood planks are a fun change, and I’m glad I followed through with them instead of the plywood top I purchased specifically for this table makeover.
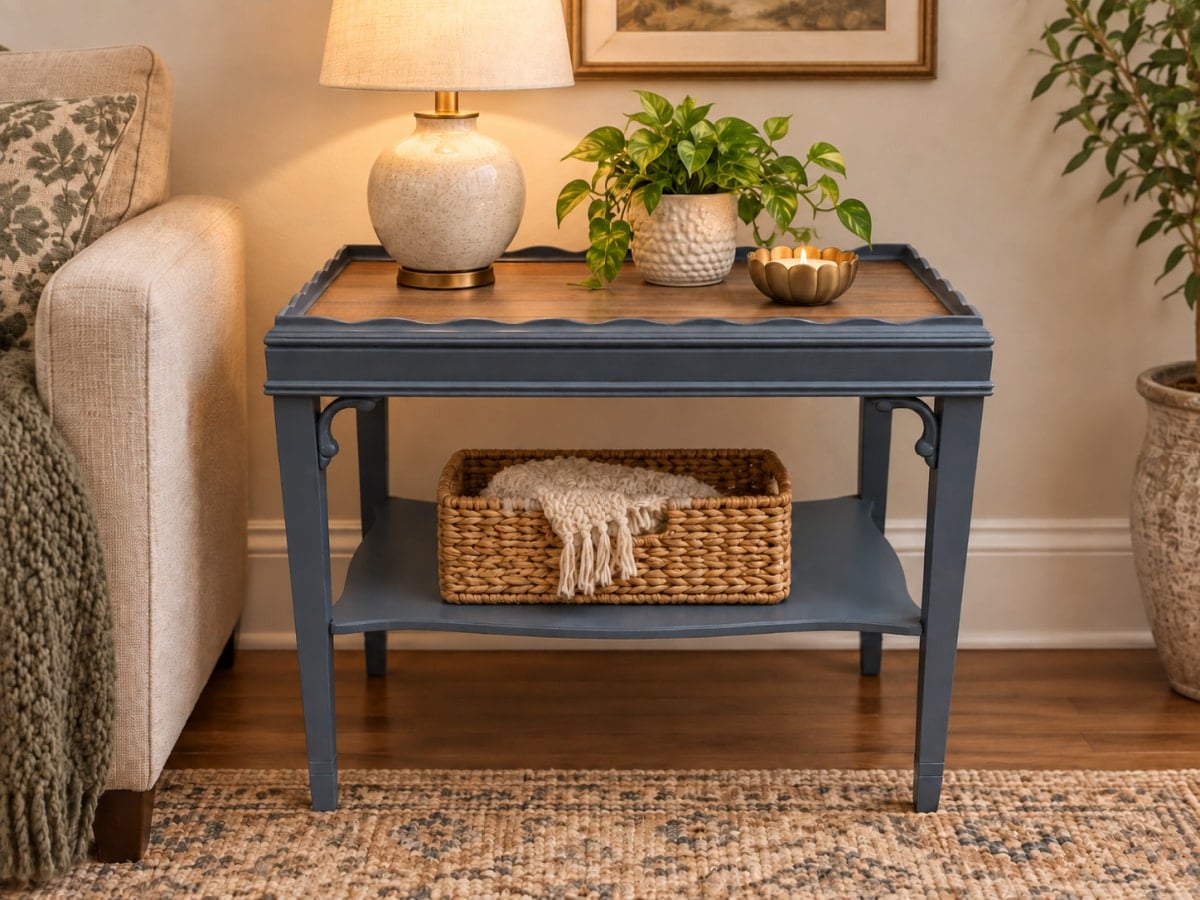
I hope it has many more happy years ahead.
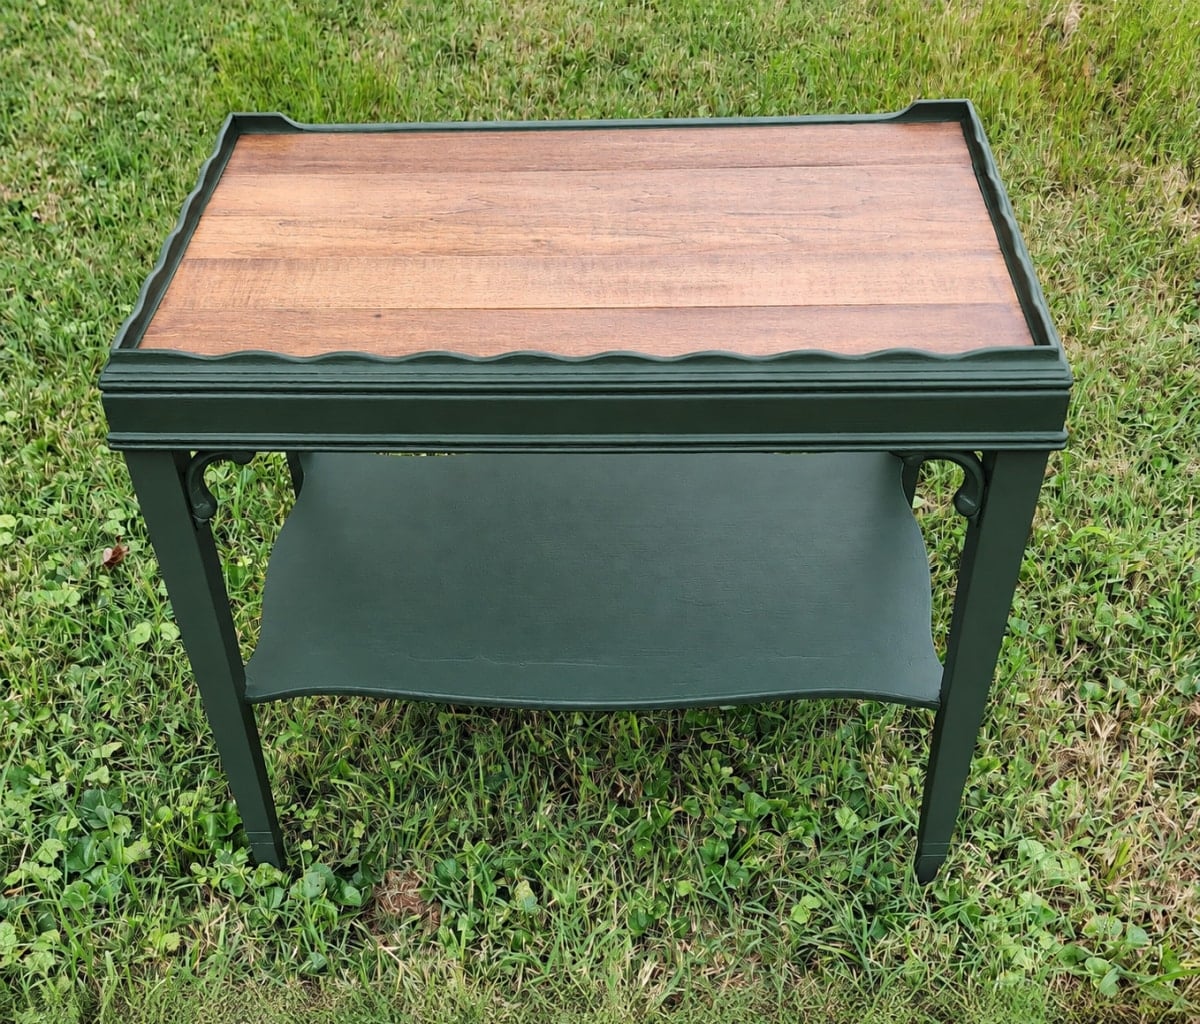
I bought the green paint with every intention of using it. But keeping it real, once I saw Cathedral next to those stained wood slats, I wasn’t so sure anymore. What do you think? Did I make the right call, or should I have finally painted my first dark green piece of furniture?
This little $3 table certainly gave me a few surprises along the way, but I’m glad I didn’t settle for that first plywood top. The wood slats give it so much more character, and I really like the warmth of the Special Walnut next to the dark paint. Sometimes Plan B really does turn out better, even when it was secretly Plan A all along.
Now, let’s take a look at these fabulous projects from the rest of the FFU team! These ladies are so talented, and I learn something from them all the time.
Real furniture. Real makeovers. Real second chances.
Today’s project is part of the Furniture Fixer Upper Tour. The collage below shows the starting point for each makeover. Scroll down to see how every piece was reimagined.
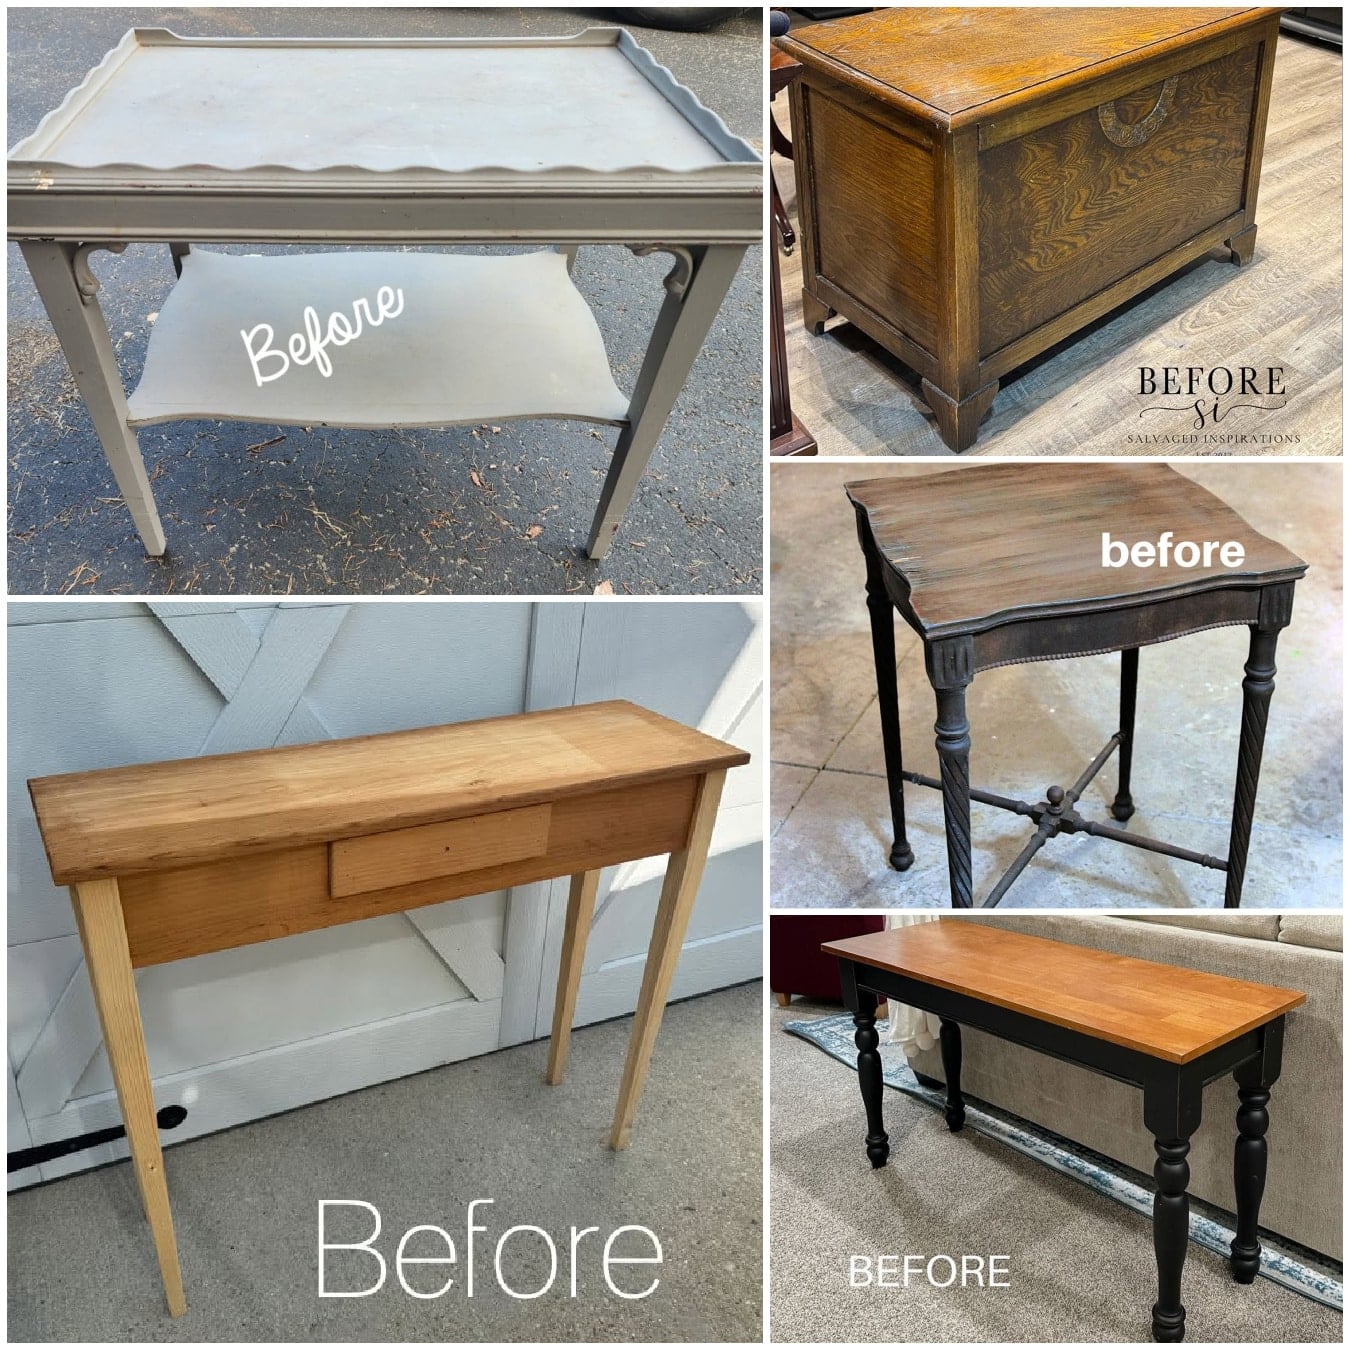
- Thrift Store Side Table Makeover (you are here, thank you)
- Easy Paint Wash Hack on a Chest
- Four Different Ways to Makeover a Console Table
- Match Your Decor Using a Chalk Paint Finish
- How to Deal with Orange Wood Finish
I know you won’t be disappointed with any of these fabulous Furniture Fixer Upper Projects.
Furniture Fixer Upper Tour Projects
If you love seeing old furniture get a second chance, be sure to visit more Furniture Fixer Upper Tour makeovers. Each project starts with good bones and ends with a fresh new story.
See more Furniture Fixer Upper makeovers here
You will find everything from small side tables to large statement pieces, all transformed by talented DIY bloggers who believe in saving furniture rather than replacing it.
Lots of work for sure ! But was definitely worth it. The wood plans are a wonderful addition.
The scalloping looks sweet. Great color.
Pinning this – for the results – and for your detailed How to !!
You’re so sweet! Thank you for pinning! I need all the help I can get with Pinterest. Things are changing with all the social media options, and not for the good of creators. They sure don’t make it easy for us to share our ideas.
I appreciate you!
gail
I’m so glad you went with the wood slats instead of the plywood! The contrast with that dark paint is gorgeous. And those scalloped edges are such a pretty detail!
Thank you for appreciating my hard work, Natalie. 🙂 I’m glad I had two options for the tabletop.
gail
That was a lot of work and the table turned out beautifully! Love the wood. Kathy (pinned)
Thanks for stopping by and pinning Kathy!
gail
This $3 table turned out beautiful. I love the color, although I thought it was a blue gray as that’s how it’s coming across on my pc. I agree that the gray is probably better than the dark green, but you’ll have to try it on another makeover. The curves of the trim makes this table! Great job!
Thank you so much, Janet. I agree; the table looks a little bluish. But it is a deep gray.
I showed the green paint swatch to a friend, and she said “that’s an ugly color”. Thanks for taking the time to leave a comment! It’s greatly appreciated.
gail
This seemingly simple makeover sure tested your patience lol! It turned out fantastic! It’s great in both colors! XOXO
Thank you Christy. I’m happy I went with the dark gray, it may be a keeper. 🙂
gail
$3 might as well be free 😆 and you can see all the love you put into this one Gail! I think those stained planks with the Cathedral was a great choice – beautiful! Pinned XOXO
Thank you, Denise for stopping by, leaving a comment AND pinning! It means a lot to me.
I’m happy you could feel the love I put into this project.
gail