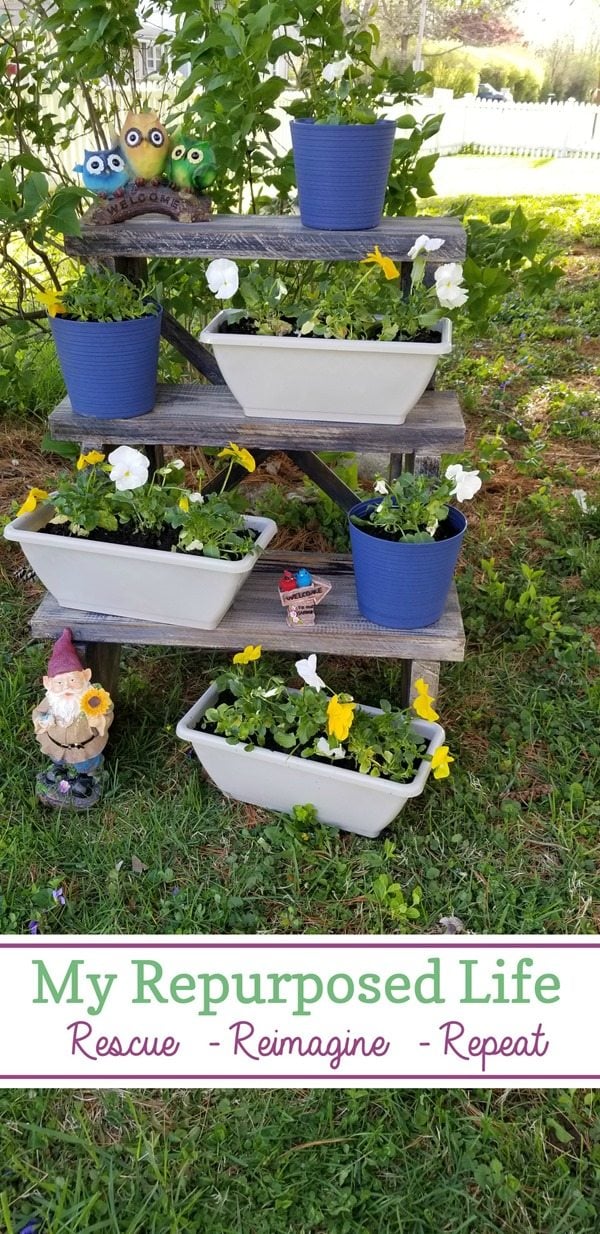
I had a reclaimed stair stringer and I knew that it would be perfect for this tiered plant stand. I had the vision of exactly what I wanted it to look like in the end, and it really ended up just as I planned!
Reclaimed Stair Stringer Makes a Great Tiered Plant Stand
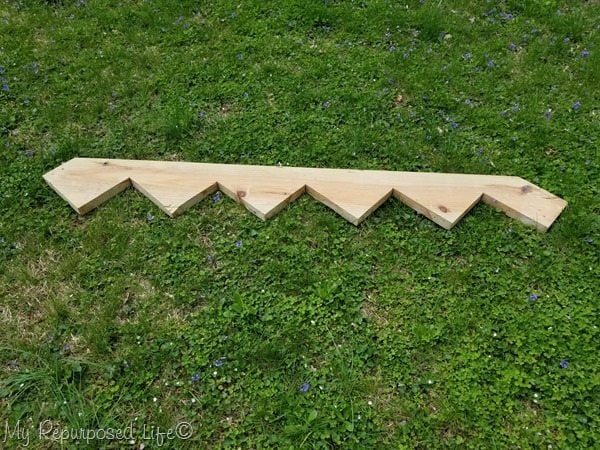
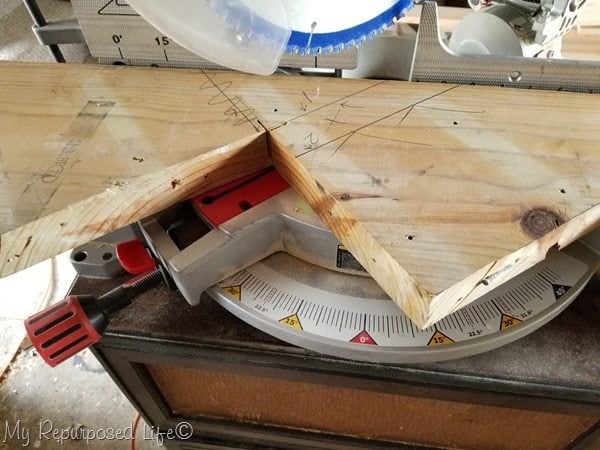
This is the reclaimed stair stringer I got from my neighbor Rodney. He helped me figure out how to mark the first cut line.
I made that cut on the compound miter saw. CAUTION: when using reclaimed wood materials always make sure old nails, screws etc have been removed.
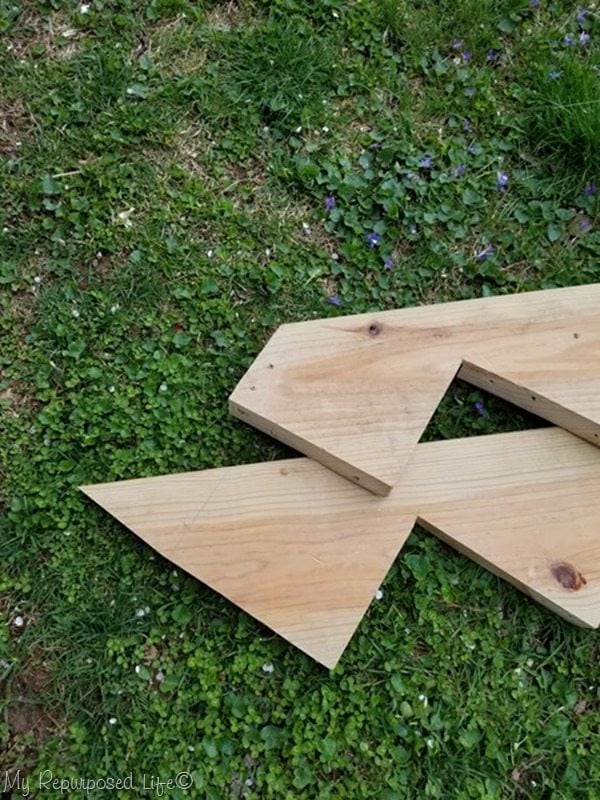
After cutting the stair stringer in half, I placed the two pieces together to trace lines that would make each of the pieces mirror each other. Look closely to see the faint line drawn on the larger piece of stair stringer.
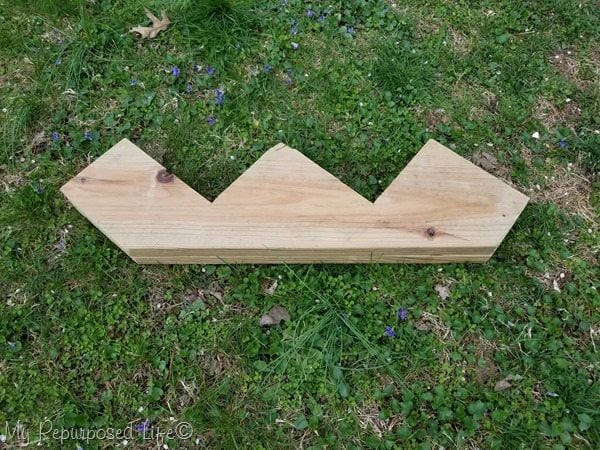
Start with two matching stringers
Now I have a matching pair of reclaimed stair stringers to make my tiered plant stand.
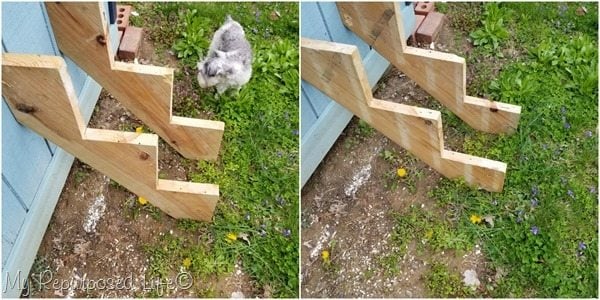
Because of the way the original stair stringers were cut, there were two options available for assembly. The image on the left shows that the tiered planter shelf would be tall, and the image on the right shows that the plant shelf would be not quite as tall but protrude out further. I went with option 1 on the left.
Materials to turn reclaimed stair stringers into a tiered plant stand
- Drill
- Nail Gun
- Brad Nails
- Wood Screws
- Scrap 2x8 lumber
- Scrap planks or 1x4’s
- Lattice or scrap rip cuts
- Paint
- Stain
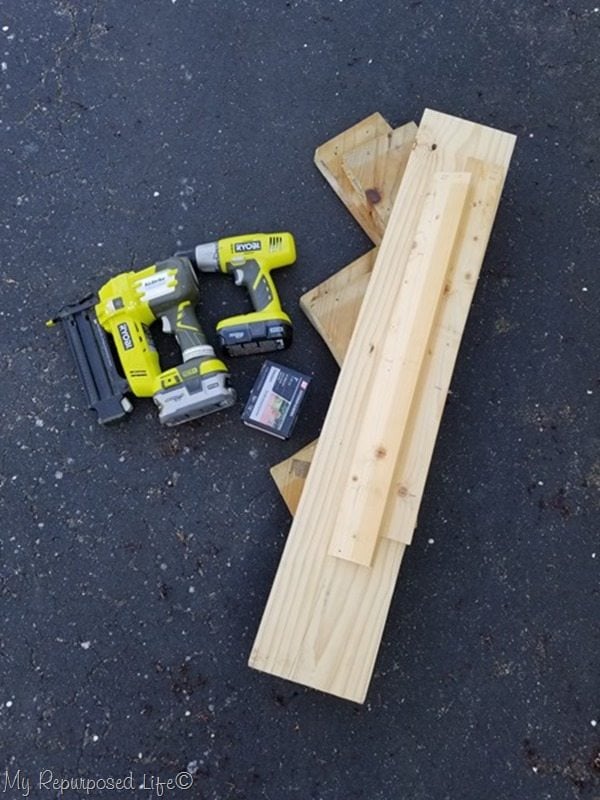
I gathered all my supplies and got right to work.
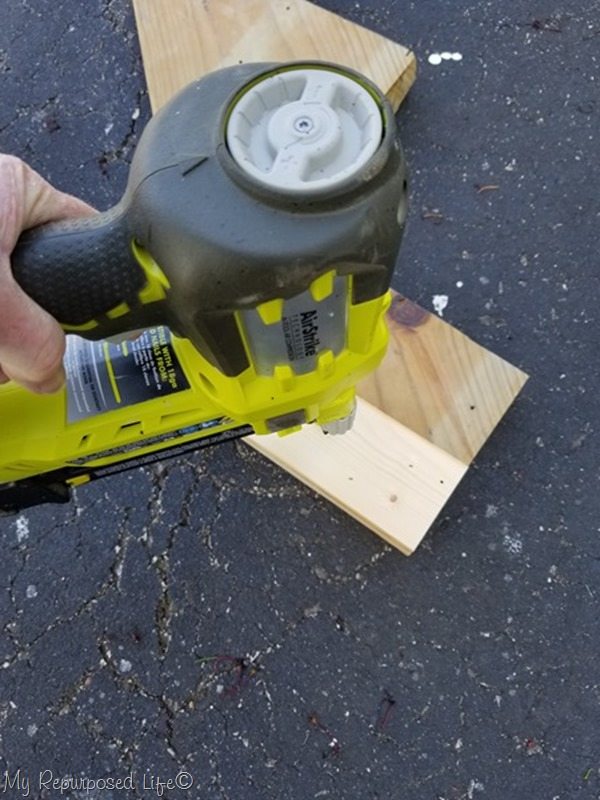
The stair stringer was rested against the fence in order to measure the height so I could cut the back legs. Reclaimed planks were perfect for the back legs.
TIP: Using a nail gun to pop a few brads in place will easily help hold your boards together so you can secure wood screws. Brad nails are not strong enough to support this tiered plant stand.
Add back legs to stringer plant stand
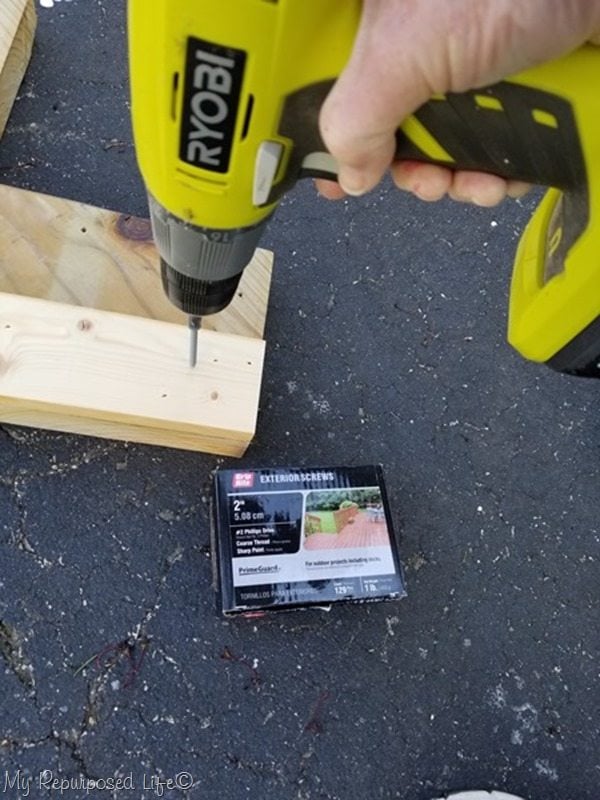
To secure the back leg of the plant stand to the stair stringer I used exterior 2” screws.
TIP: Be sure to flip second stair stringer over in order to get both back legs on the inside.
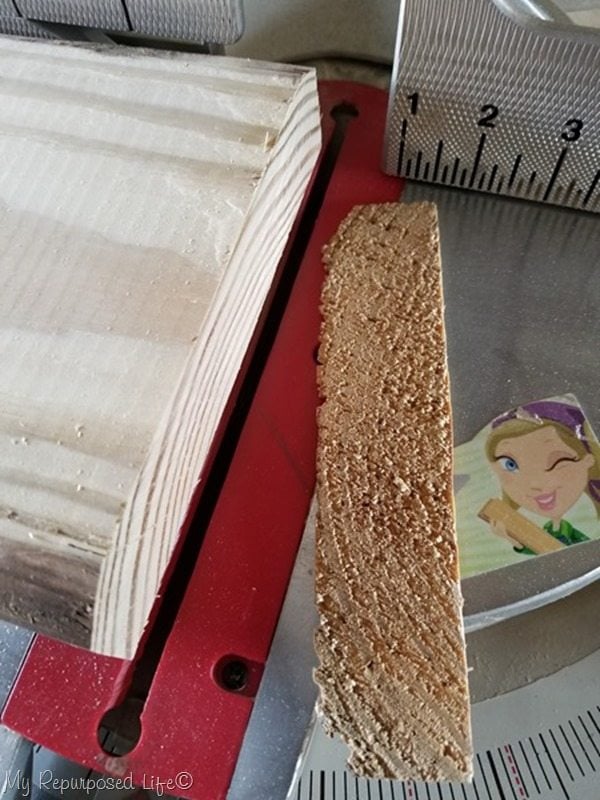
To make the stair treads on the tiered plant stand I used left over 2x8’s from my new kitchen island top. I found the longest one, cut it in half and used that as the length for all three treads.
Tip: Always slice off the rough end of your lumber to make a clean cut that will accept paint and or stain better.
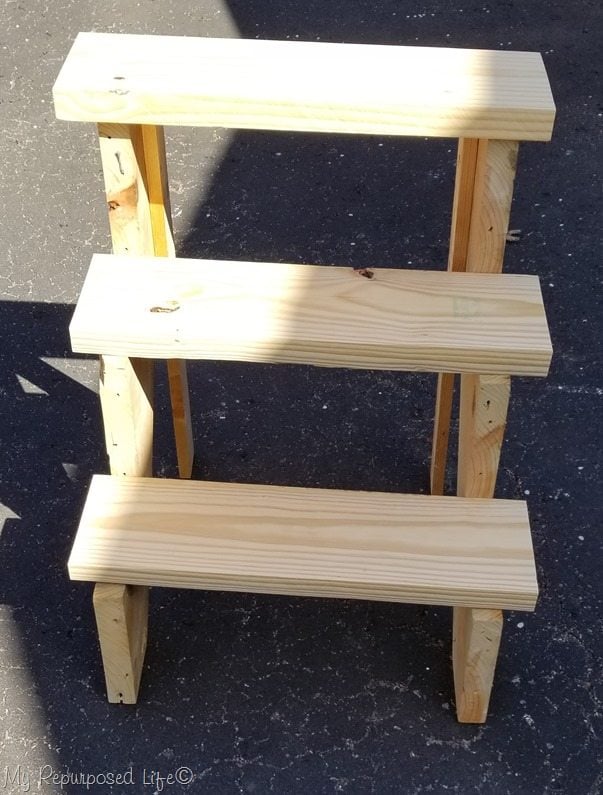
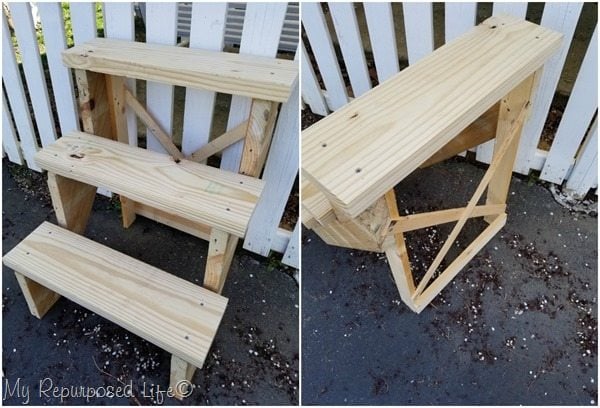
I put the three boards onto the stair stringers to get an idea of how it was going to look.
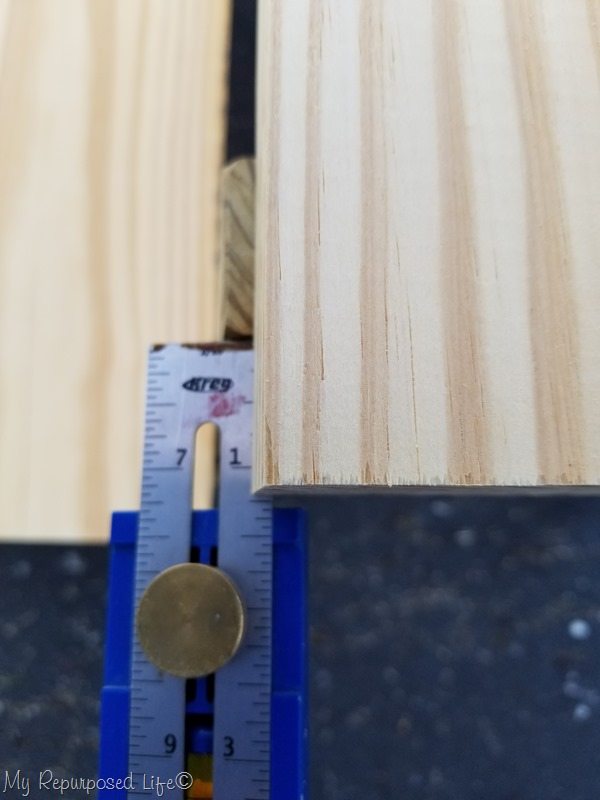
The handy Kreg Multi-mark tool was useful to get the same amount of overhang on each side of the tread.
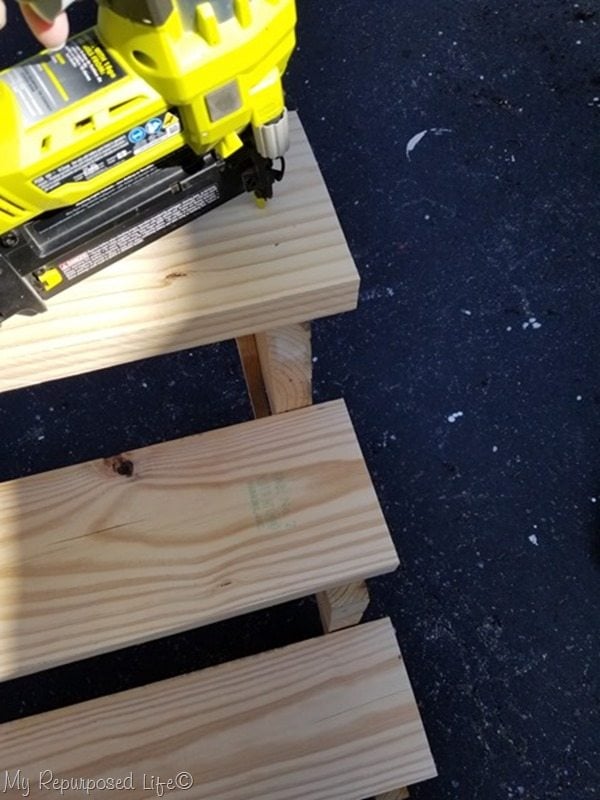
Again, I used the brad nailer to tack the boards in place in order to hold them as I secured them with the wood screws.
Attach treads to reclaimed stringers
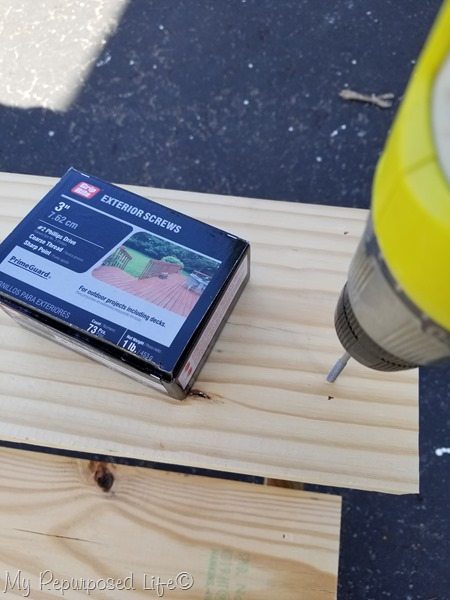
Three inch wood screws were used to hold the stair treads onto the stringers to make this tiered plant shelf.
Attach back brace
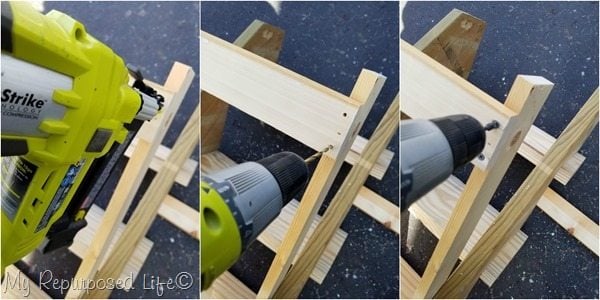
To make the plant stand more stable I added a back brace across the bottom. I used a piece left over from cutting the back legs. I tacked it in place with my nail gun, drilled a pilot hole, then secured with a 1 ⅝” wood screw.
Tip: Drilling the pilot hole is a must when working so near the end of a board to keep it from splitting.
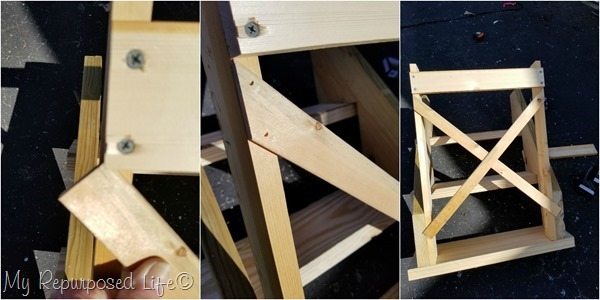
To add more umph to the back of the tiered plant stand, I used thin rip cut scraps to make a faux crisscross brace.
yay! The reclaimed stair stringer tiered plant stand is completed and ready to paint!
How to get an aged paint look on new lumber
.I was wanting a very distinct look for my tiered planter—I wanted it to look old and worn as though it had been around for years and years! To achieve this aged paint look, I chose two shades of blue paint and a white. My favorite way to apply paint with a dry brush look is with a cheap chip brush. They really are my go-to on most of my projects. They are easy to clean and waste less paint than a full, thick bristled brush.
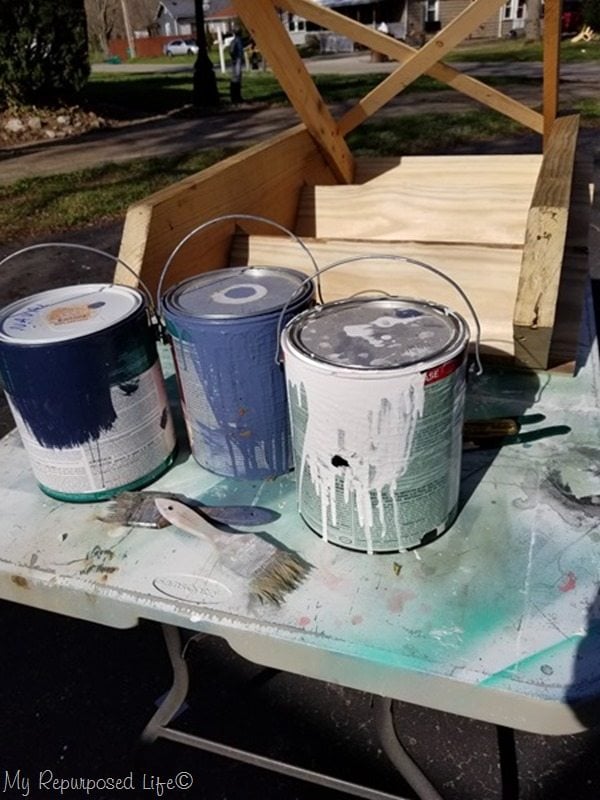
Tip: I like to begin painting my projects upside down.
Dry brush first (lightest) color
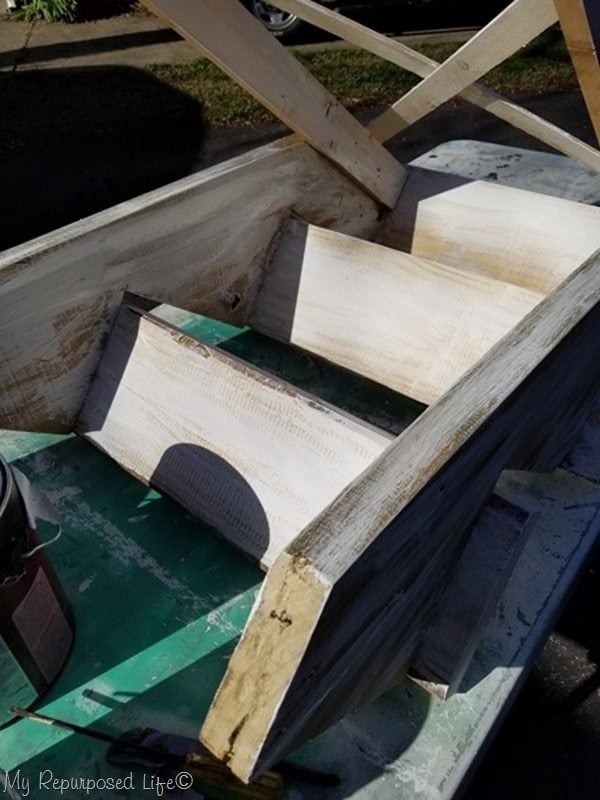
I began with the white paint and didn’t attempt to get full coverage.
Add at least two additional paint colors
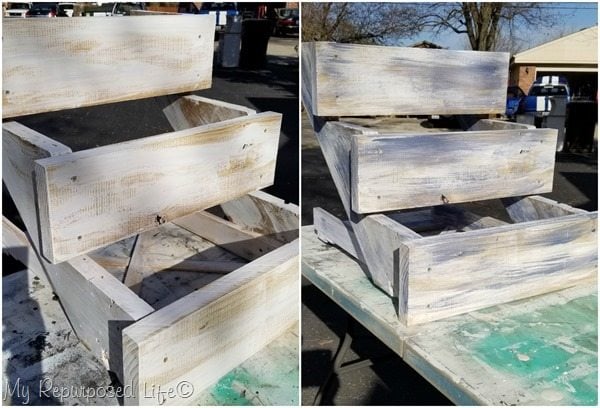
This is with the first two colors on the tiered step stool. Apparently I didn’t take a picture from this angle after the darkest paint—Naval.
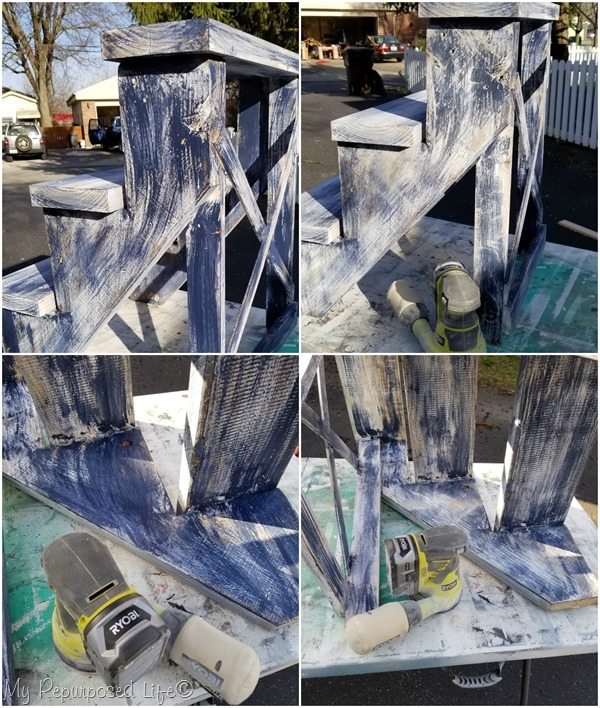
Sand paint off
The images on the left are after all layers of paint, before sanding. The images on the right are after sanding with my orbital sander using 150 grit sandpaper.
Add stain as a topcoat to complete aged lumber look
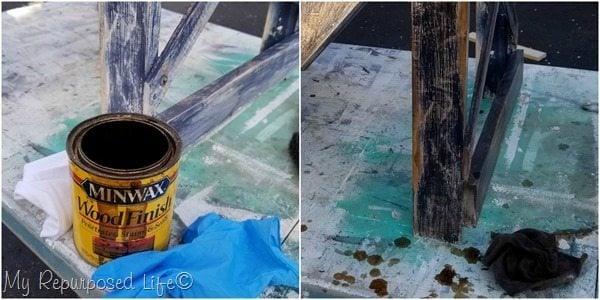
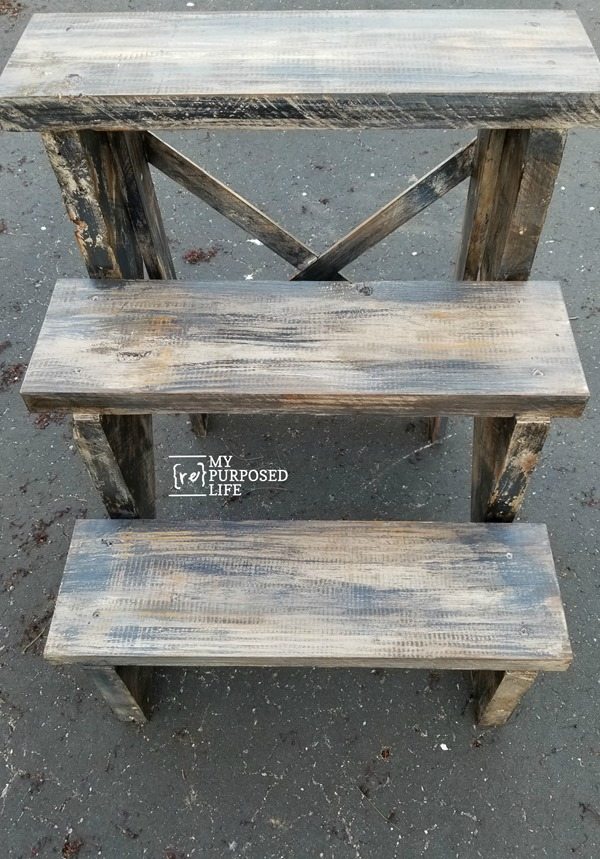
Time to add the magic potion, and no—it’s not my favorite smoked glaze! It’s Minwax Provincial stain applied with a soft cloth and latex gloves. Can you see the difference? Before on the left, after on the right!
As I worked all the way around the tiered plant stand with the stain, I was unable to take any pictures due to having my gloves covered with stain.
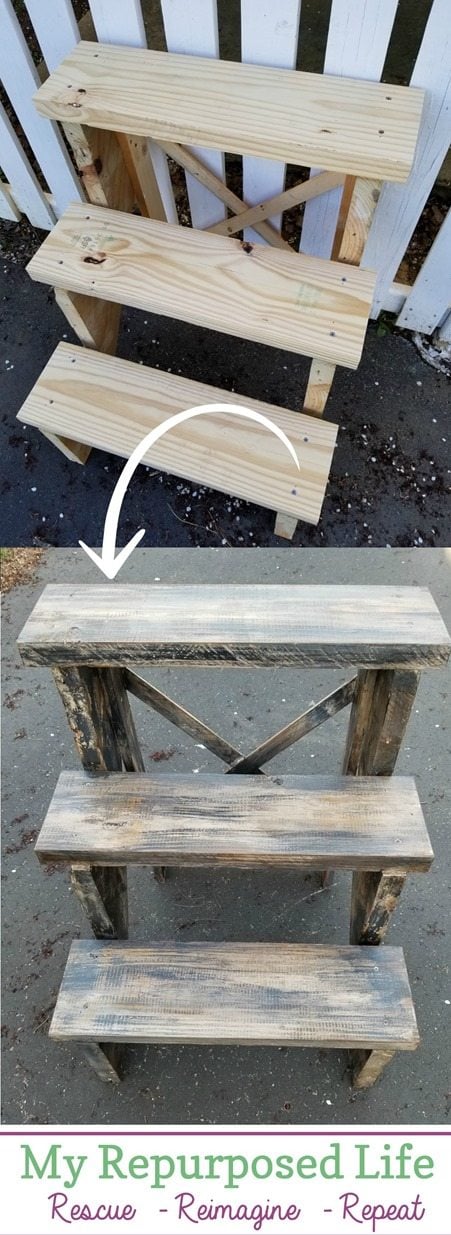
Isn’t it hard to believe it’s the same project before and after paint and stain?!
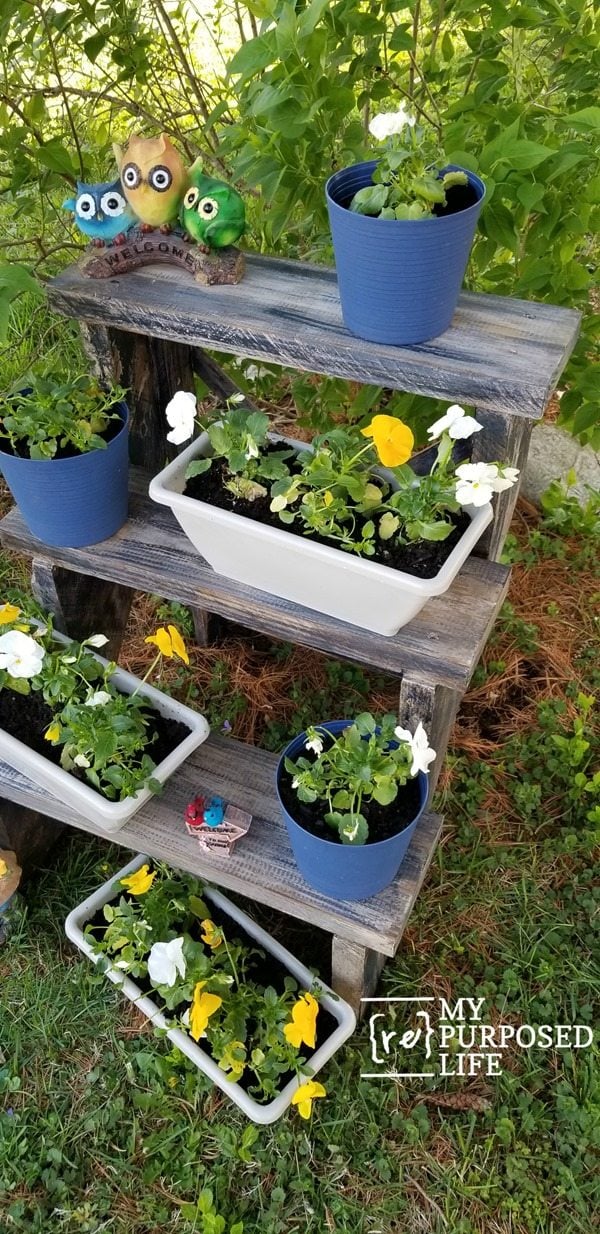
I planted pansies using planters from the Dollar Tree.
The small yard décor items are from Dollar General. I’ll be taking this to Vendors’ Village to sell at my booth.
See more plant stands on My Repurposed Life here.
Watch my video of How To Glaze Painted Furniture
This project is for this month's Power Tool Challenge Project. Hop over to this collection to see all the wonderful Spring Themed Wood Projects. (please note: many of these projects won't be live until 11 am EST. Please check back then)
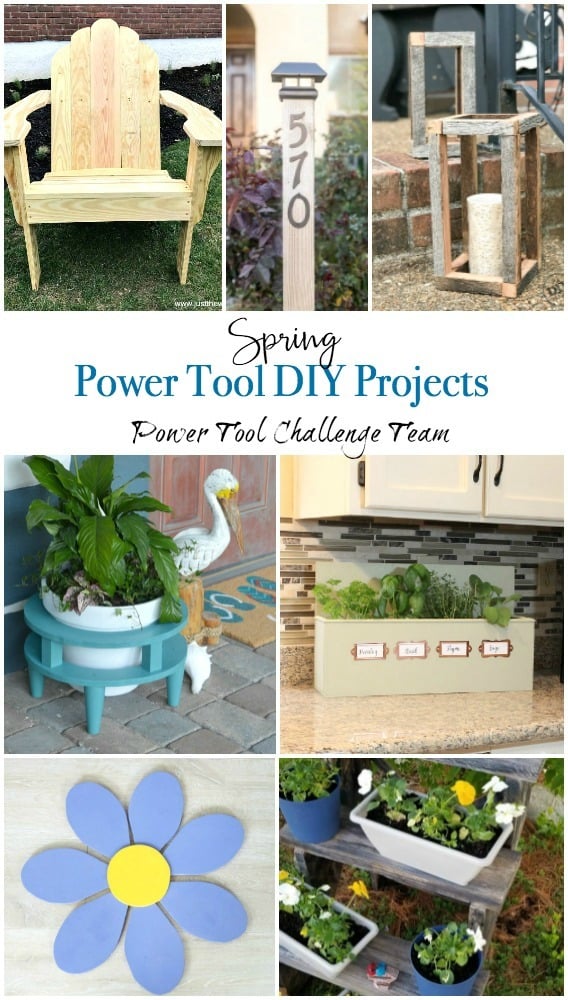
You won't want to miss all the other fun Spring Wood Project Ideas.
Wendi@H2OBungalow
What a super recycle project! Love the idea of using stair parts to make a plant stand. You alway come up with the best ideas! Pinned.. of course!
Paula
You come up with the best projects! I think this one will sell very quickly!
Maryann
Perfect Spring idea & I love the finish you used!