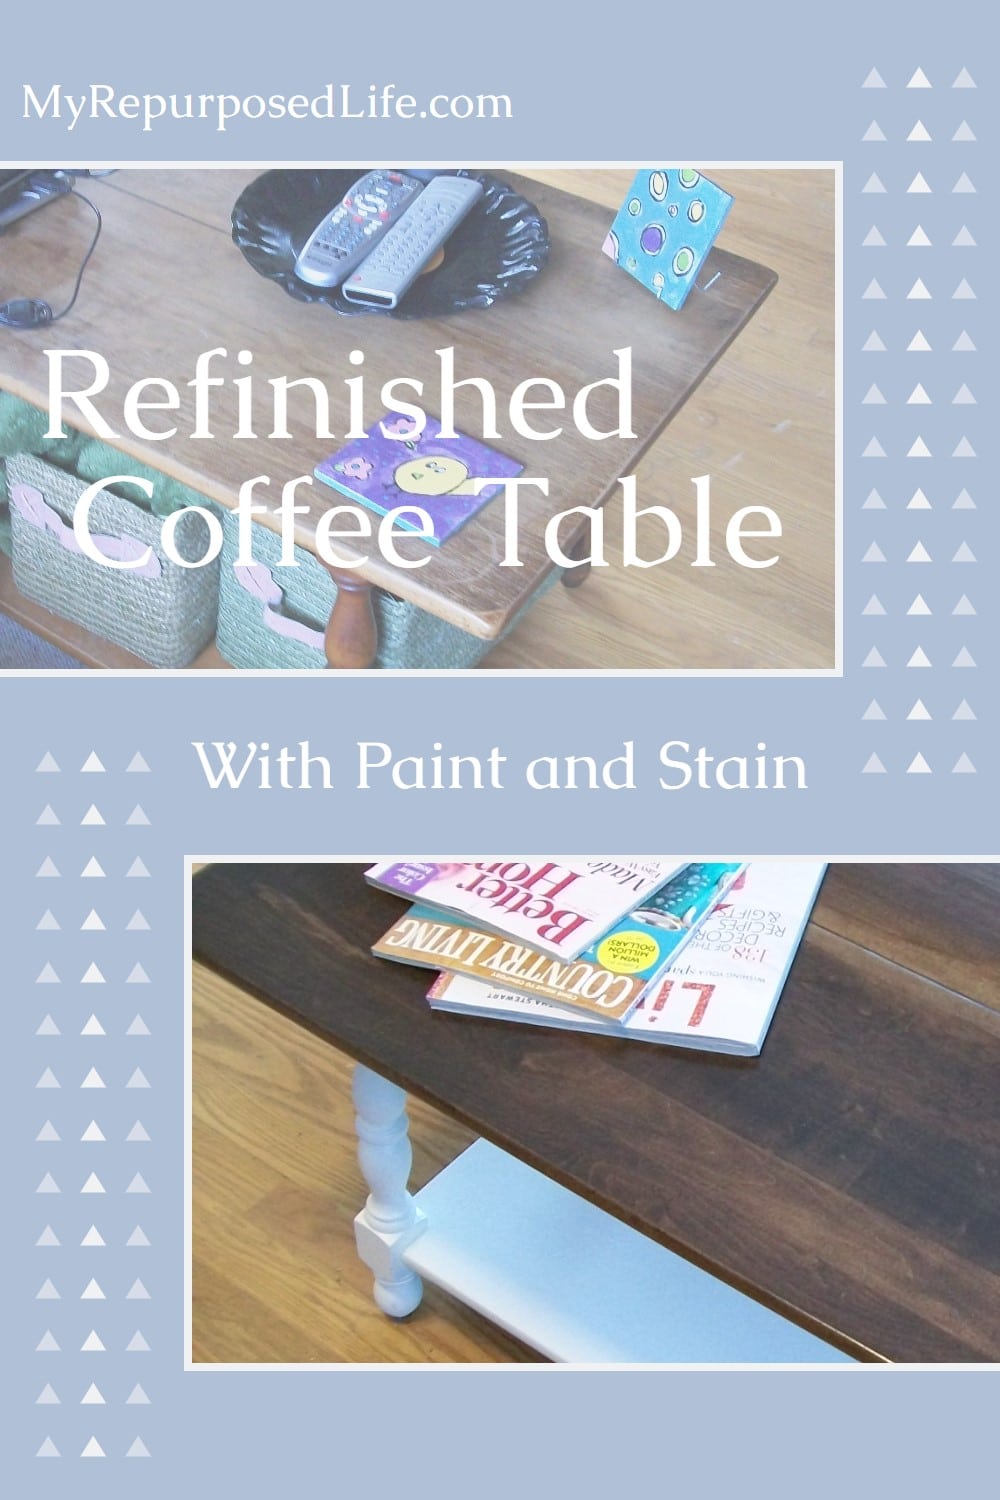
How to Refinish a Coffee Table.
As an Amazon Associate, I earn from qualifying purchases.
If you found a thrifted coffee table with good bones but a tired look, you can make it look amazing again. This project isn’t hard, but a few smart steps make the difference between a so-so finish and a lasting one. I’ll walk you through what I actually do, what I learned from past mistakes, and how you can get professional-looking results on your first try.
This project is from 2010, but it still resides in my living room all of these years later. As you read the article, the bolded text will show how I would do things differently now.
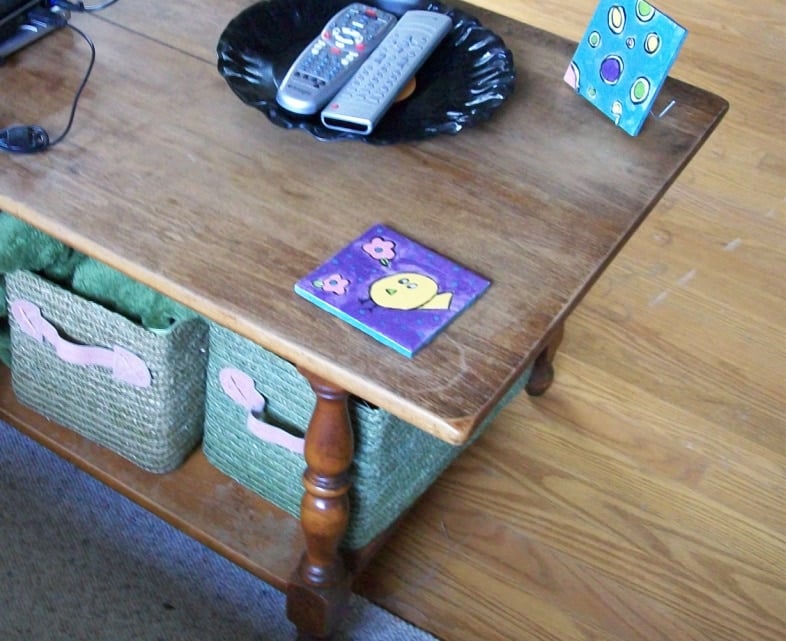
This is my coffee table “before”. I bought it at a mall thrift store. Which is different than a thrift store. It’s one of those places with “booths” featuring many vendors. I paid $20.00 for it. Which is definitely over my $5.00 limit. However, when I’m buying something for my own personal use, I don’t always stick to my $5.00 limit. It is a very functional table, but with the new changes in my living room, I wanted to change the color.
How to Refinish a Coffee Table
Your first step will be to inspect your project piece to make sure its structure is sound. This is the time to make any repairs before you start to refinish a coffee table.

Rescuing old furniture is not for the faint of heart! I kept waiting for warm weather so I could take it out and sand it. As you can see by the snow in the picture, it wasn’t all that warm on the day I finally decided to brave the cold.
Visit the My Repurposed Life Amazon Store to shop my favorite items.
Refinishing isn’t just sanding and staining. It’s about prep, patience, and choosing the right products so your finish lasts through everyday use (cups, snacks, pets, kids). Taking time to clean, sand, and seal gives you a beautiful surface you’ll actually enjoy every day.

I sanded the top really well, because I was going to stain it. The rest of the table I just gave a quick scuff-sanding before painting.
Don’t forget to clean your project well before proceeding. There are great deglossing products on the market that will help take the shine off the portion of the coffee table you intend to paint. This was before I started using HTP Surface Prep, a one-step cleaner and deglosser.
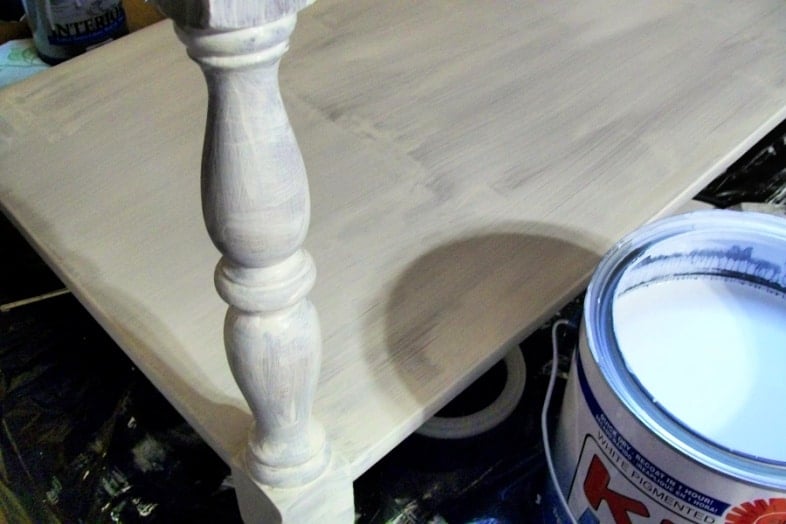
I started with a coat of Kilz primer. (painting it on the kitchen table). If I were to do this again, I would most likely follow the steps outlined in my article Thrift Store Coffee Table Using All-in-One Paint. If you want to save money and make your own DIY chalky paint primer, find those painting details in my article Queen Anne Coffee Table. All that to say, you really don’t need to go to the extra expense of buying Kilz primer to paint and refinish a coffee table.
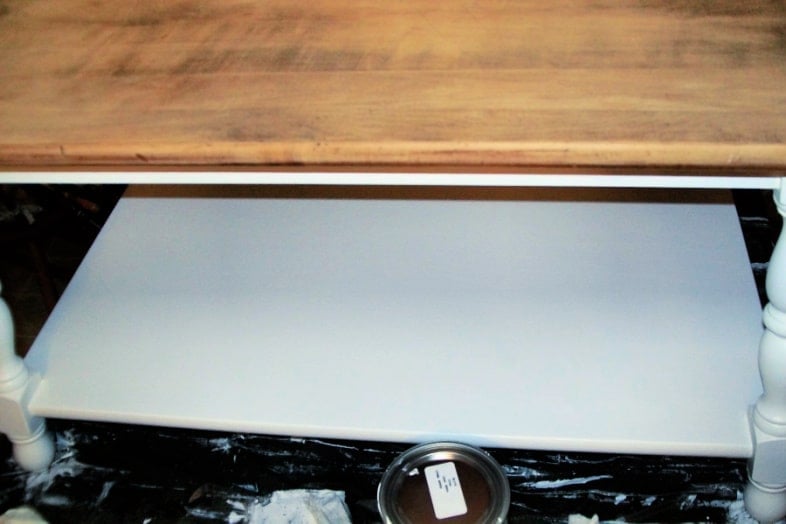
I painted 2 coats of Kilz before I started painting it with this quart of Glidden paint.
Using Latex Wall Paint on Furniture

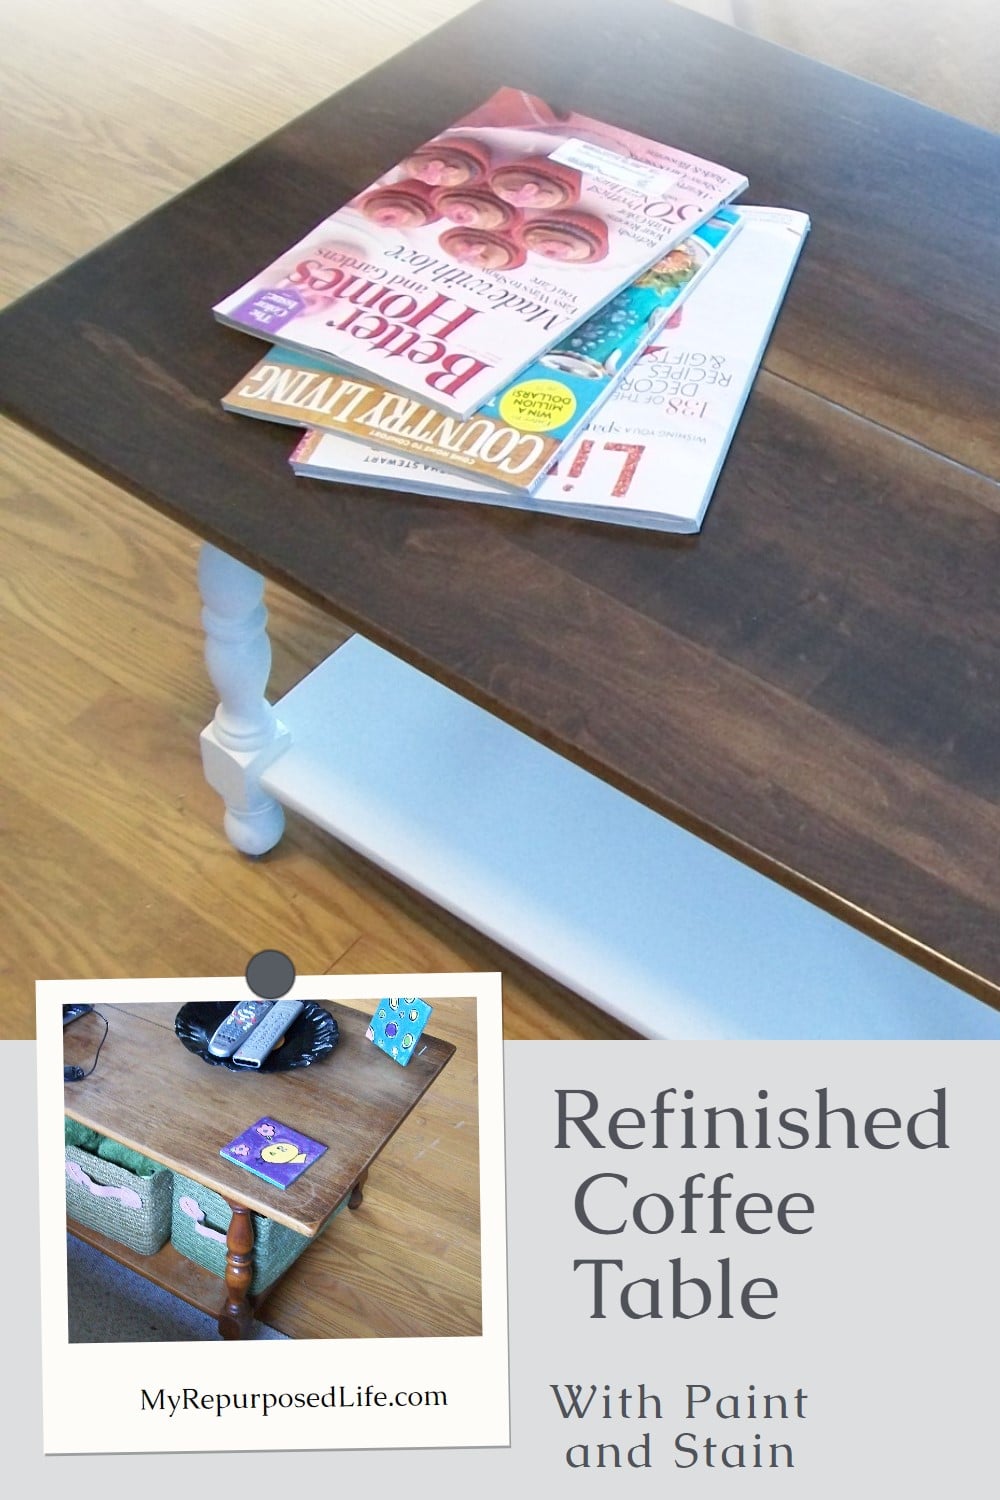
The color is Crisp Linen White. Although it’s not a “true” white, it’s going to pair nicely with the dark-stained tabletop.
Stainable Wood Putty
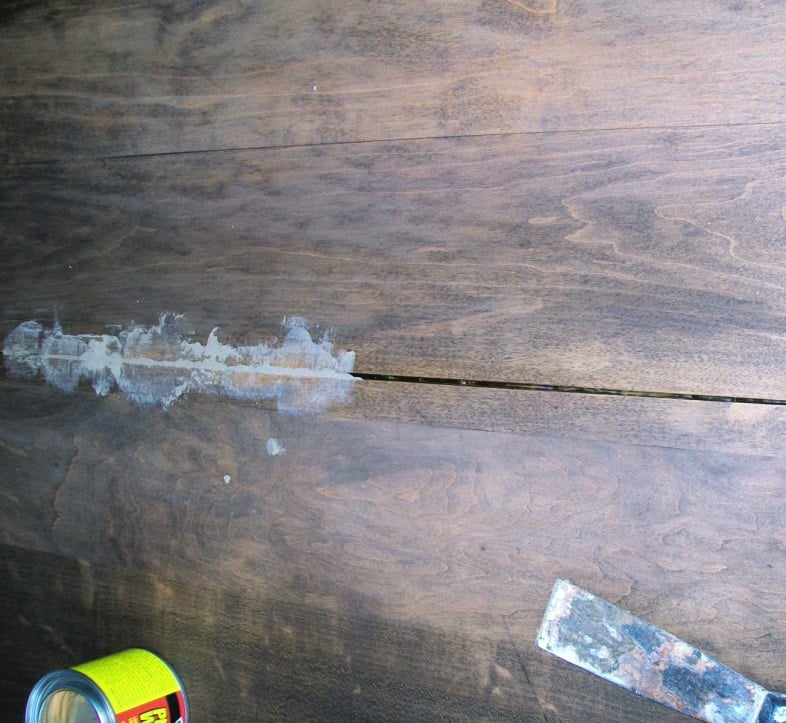
The next step to refinish a coffee table is to make sure it’s ready to stain. Because I use my coffee table for a footstool, the boards were separating slightly. I glued and clamped them, but I wasn’t able to draw them in enough.
What I’ve learned over the years: I would use my Kreg Jig to drill pocket holes on the underside to draw the two pieces together. If any crack were left showing, I would use Bondo to repair it.
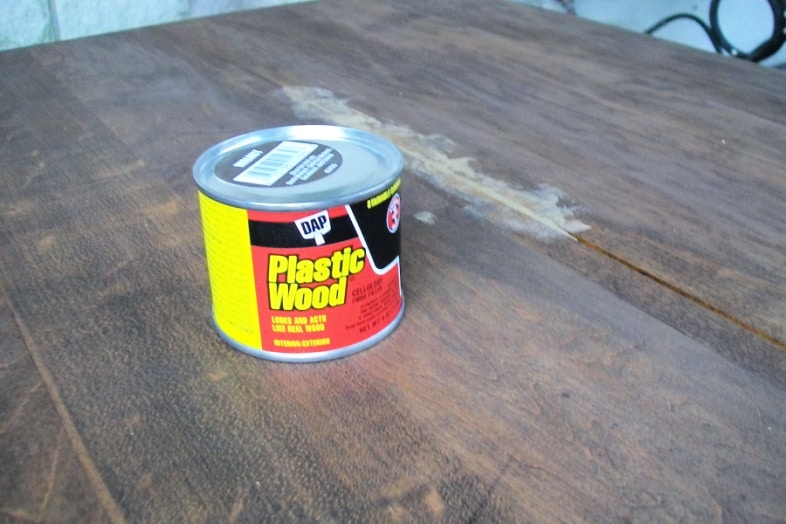
Have you used this product before? I picked up this special putty (Dap Plastic Wood). I usually use wood filler, but it is not stainable. This putty is already colored. Walnut was the color I chose because that’s the stain color I used. Because I had never used this product before, I was surprised to find out that you stain the piece before using the filler.

I puttied the table, not realizing that I should have been a little neater. This stuff was very hard to sand. When I sanded it off, it lightened the stain color. I applied more stain, but it wouldn’t take very well. To be honest, this is why I prefer to paint furniture rather than stain it when doing a furniture makeover.
Seal Refinished Coffee Table with Polycrylic

Here is the table now, in my “almost new” living room. You can see that the center is lighter (where I sanded too much).

But it works perfectly for me! I love the look of the white and the walnut together!
I sealed the top with polycrylic. It was too cold to seal it outside, and the polycrylic, even though it has an odor, is not as offensive as polyurethane.

I applied about 5-6 coats of the polycrylic.
I wouldn’t change this step all these years later. The Polycrylic has protected the table beautifully. Honestly, it may be time for a new coat of paint on the base.
This table will never be neat. If I were to take a picture right now, you would see: my camera, my camera cord, camera tripod, some coupons, a tape measure, cordless phone, a sheet, (I was sanding earlier, and didn’t want my computer to suck in the dust, so I used the sheet to cover the computer) a drill bit, a couple of bills, and some magazines. And of course, my laptop is usually sitting on the corner where I sit.
gail
What a great find and you really did a wonderful job changing it up. Love it!
I really like it! I love the combination of walnut with white. It’s really a neat piece!
Nancy
Ya, I love it! And love that it’s now *lived on* (O:
Gail! It looks brand spankin new! It’s totally gorgeous! Thanks for sharing all of your expertise!! I love it!
Your table looks very nice, despite the light area. You always do such creative things with your thrifty finds.
I’ve been thinking about doing something similar to the oak dresser I repurposed into a bathroom vanity in my Master Bath. But, I’m thinking making the body of it a beachy turquoise and leaving the top stained in the dark oak. My bathroom NEEDS more color.
What a beautiful color you have given the top. Love that deep color and the combo with the white.
Gorgeous table! I love the stained top with the white legs and bottom…I need to try that sometime!
What color stain did you use?
That came out beautiful. I love the two tone combo. Great Job.
Great look, should fit right in with your NEW living room look.
I never would have thought to put the walnut and the white together – but I love it!!! So crisp and sharp, its gorgeous! Thanks for the inspiration 🙂
I tried to use that putty on the boofay I did and had the same problem. Thankfully it’s in the back so it isn’t really seen.The table turned out lovely!