Twin Headboard Bench with Storage Drawer
As an Amazon Associate, I earn from qualifying purchases.

I have never really made a twin headboard bench with storage. Last year I made a twin headboard bench with a lower shelf that allowed the use of baskets.


Thrift Store Drawer Section for Headboard Bench

I had wanted to make a bench using a kitchen cabinet, but that didn’t work out. While I was looking through my stash of cabinet doors, I came across this drawer thing. I have had it for a couple of years now. It was a steal at only $5. It is very heavy. I always thought I would use it as a table, never thinking about using it for a bench!
Visit the My Repurposed Life Amazon Store to shop my favorite items.
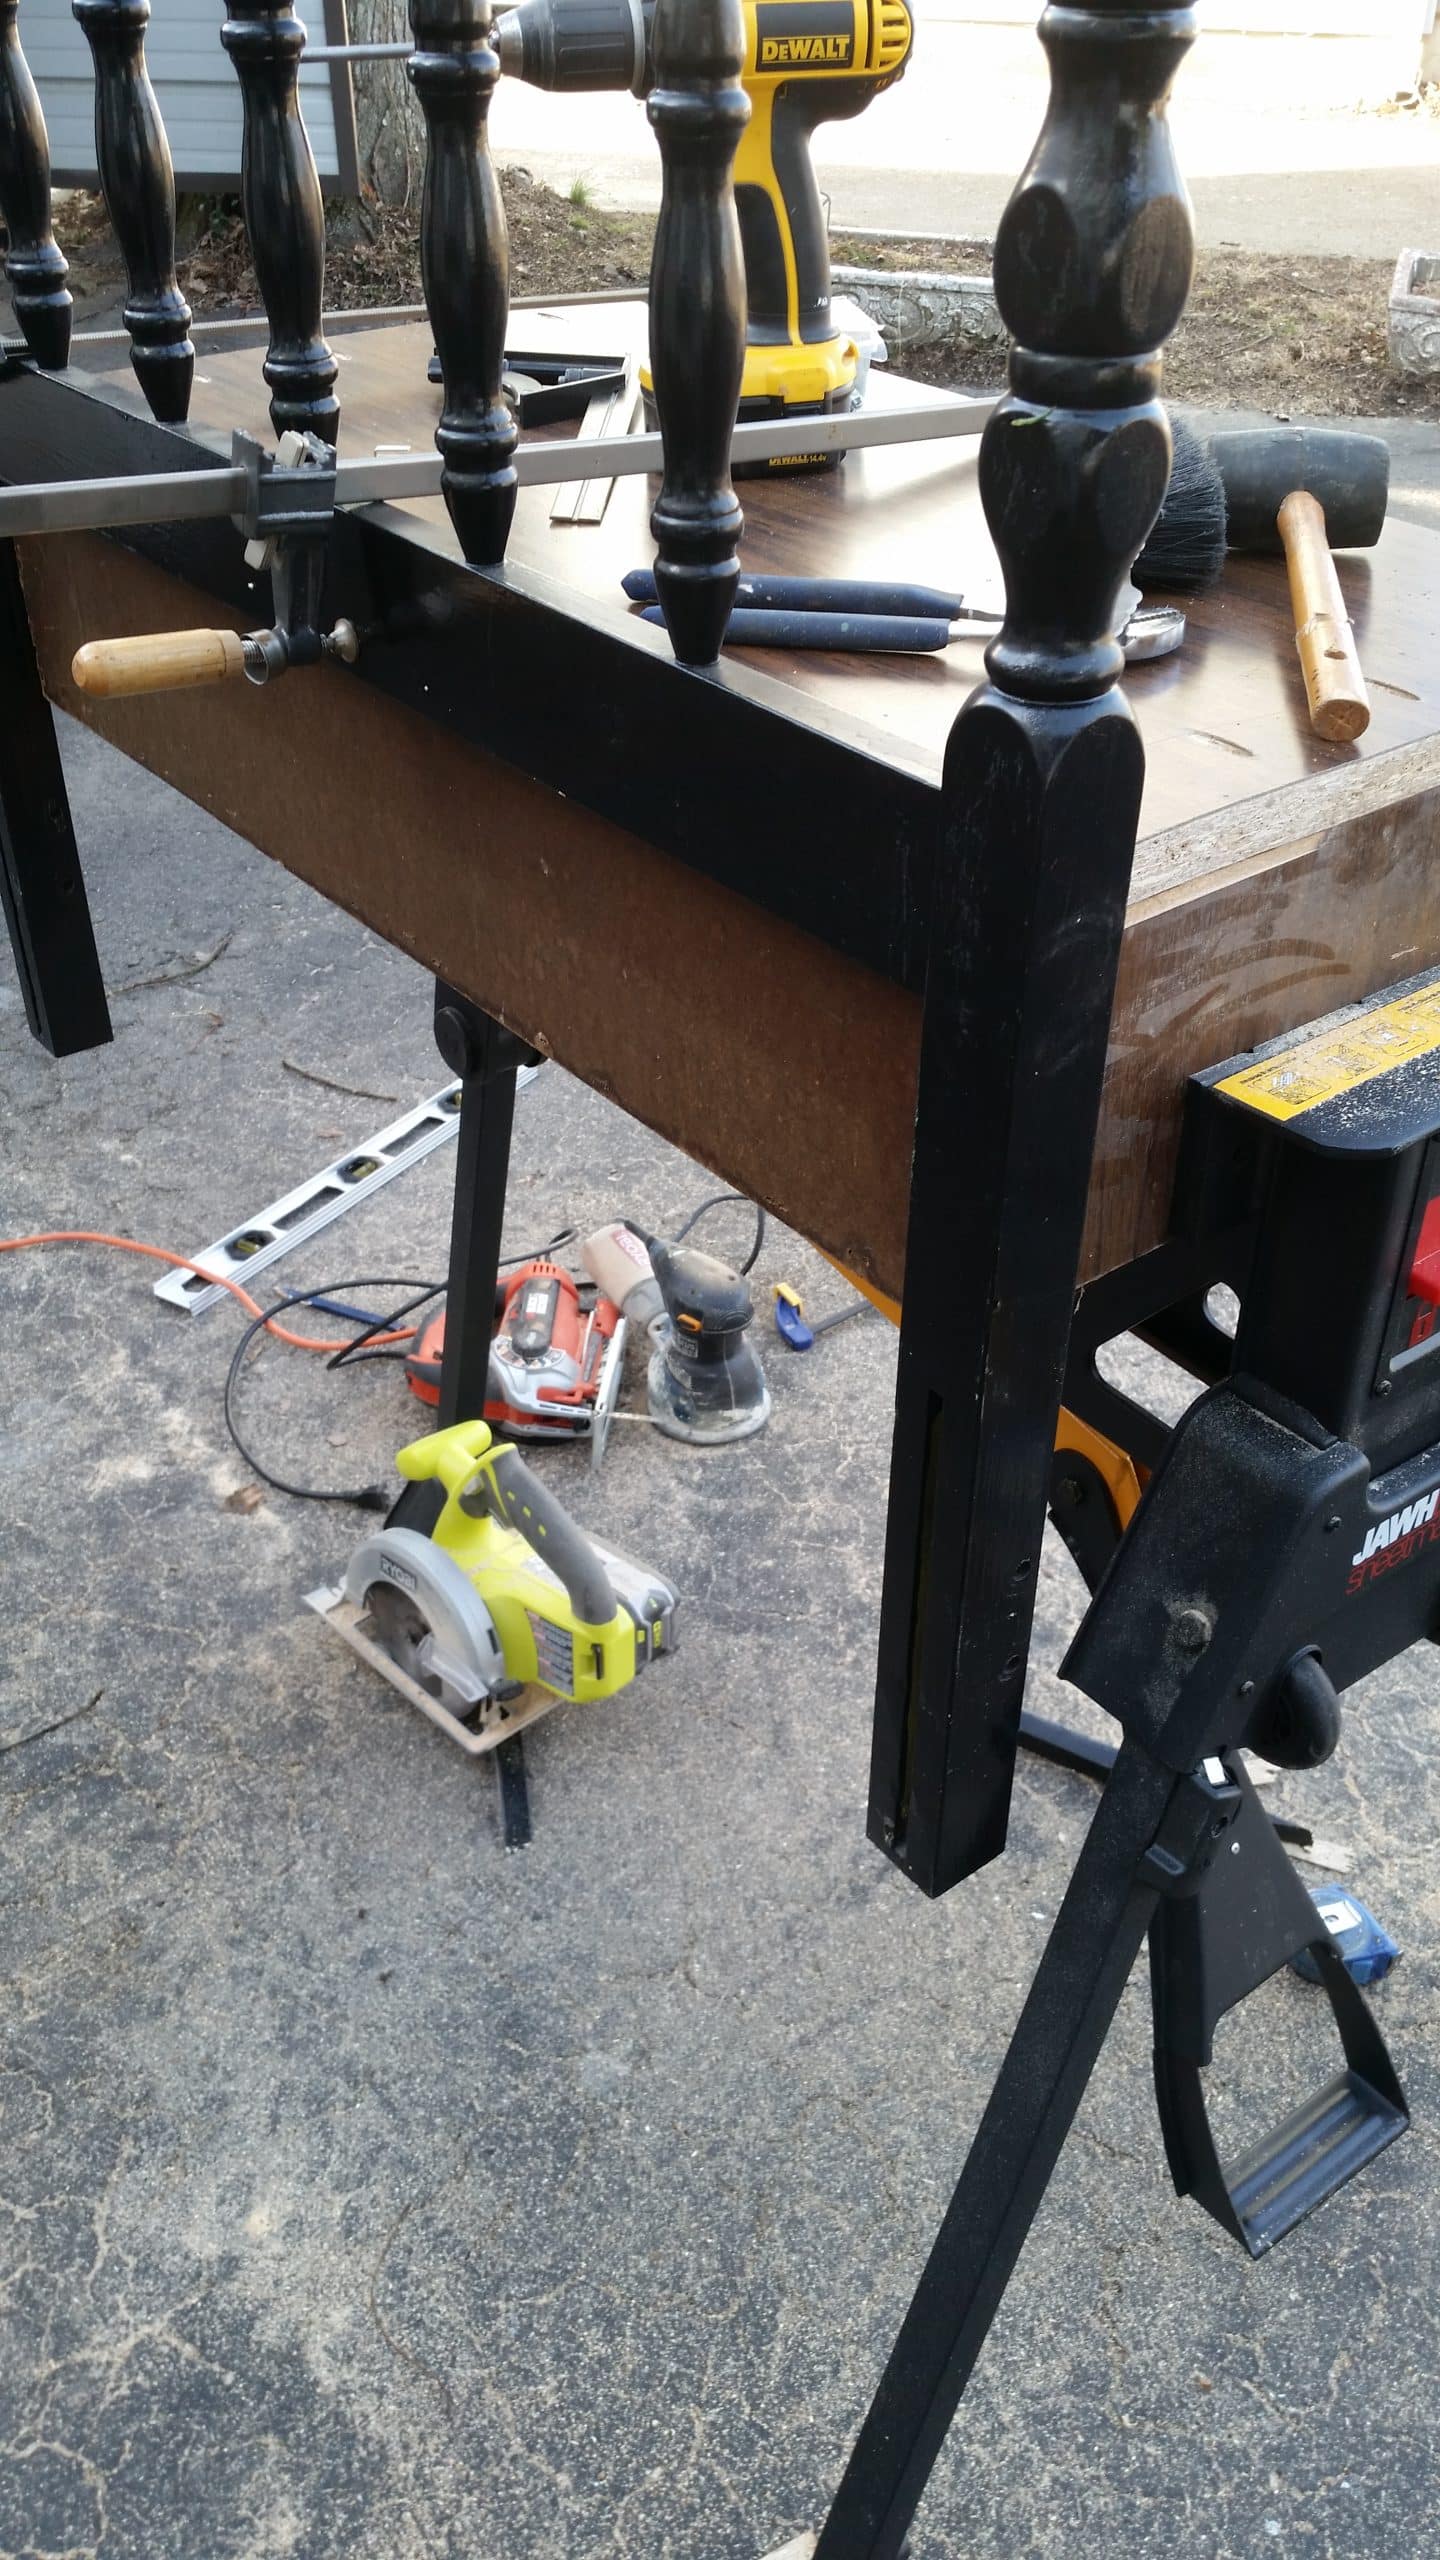
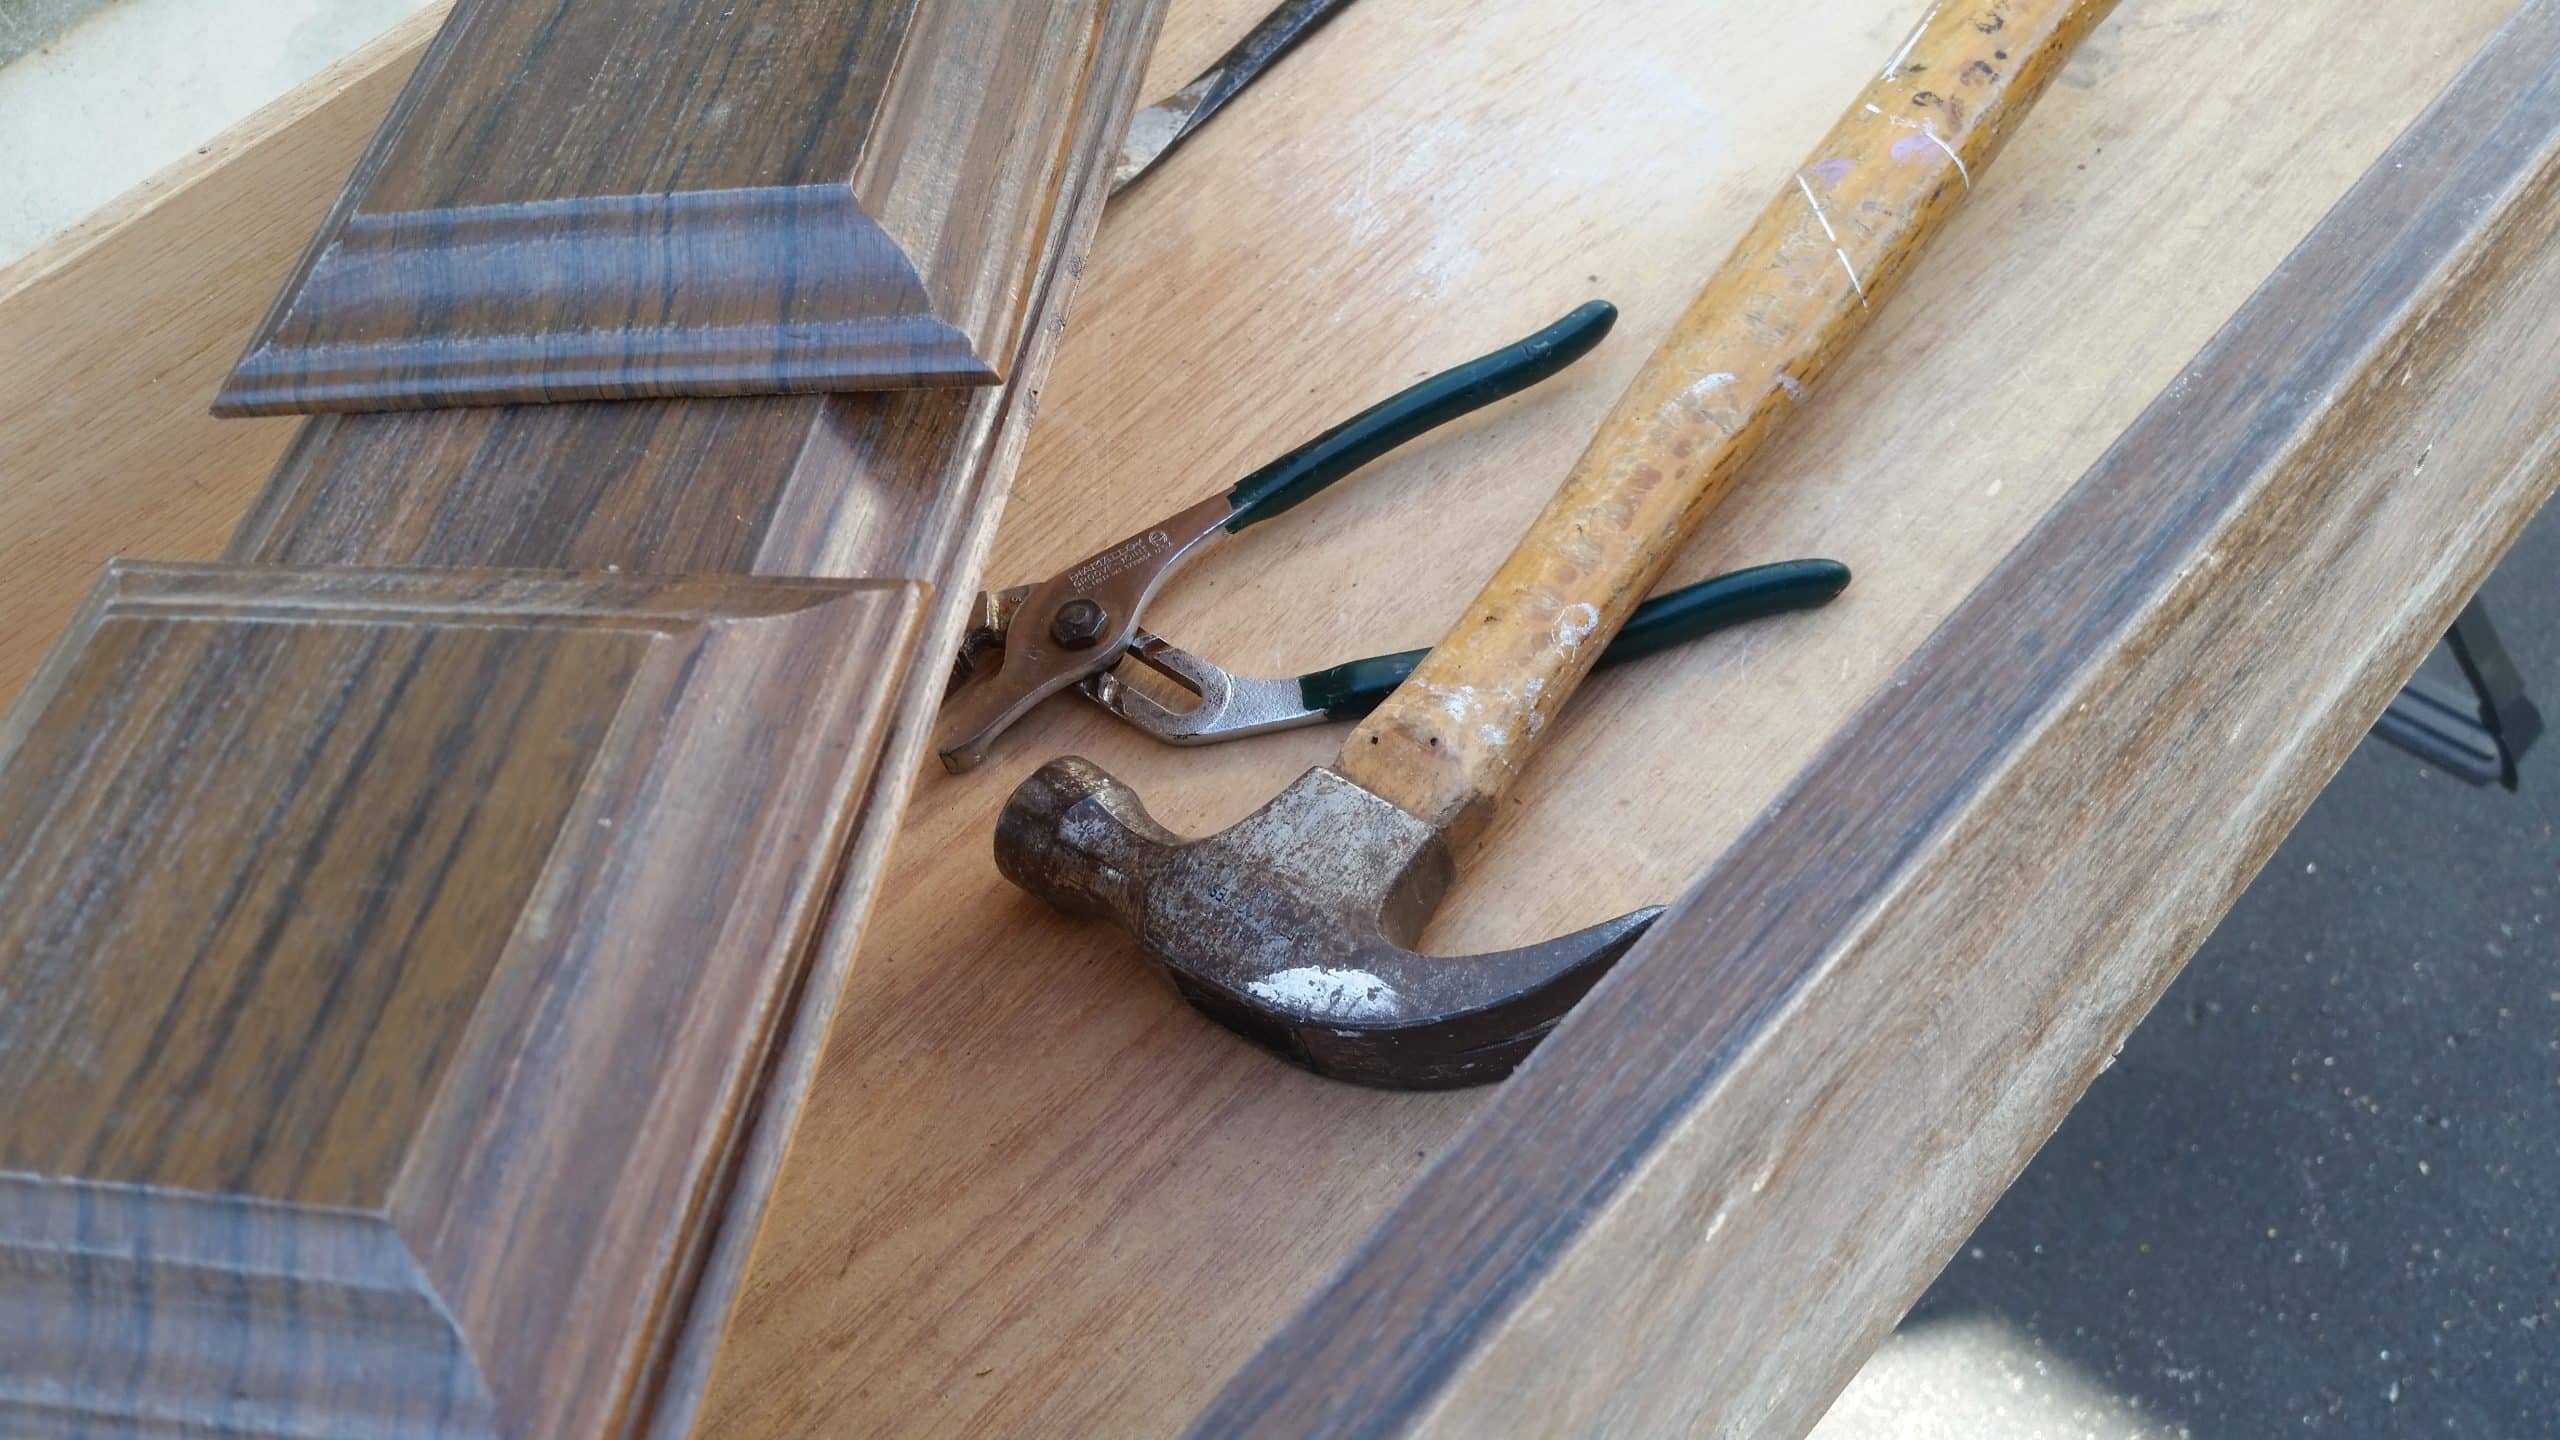
Cut Twin Headboard with a Circular Saw
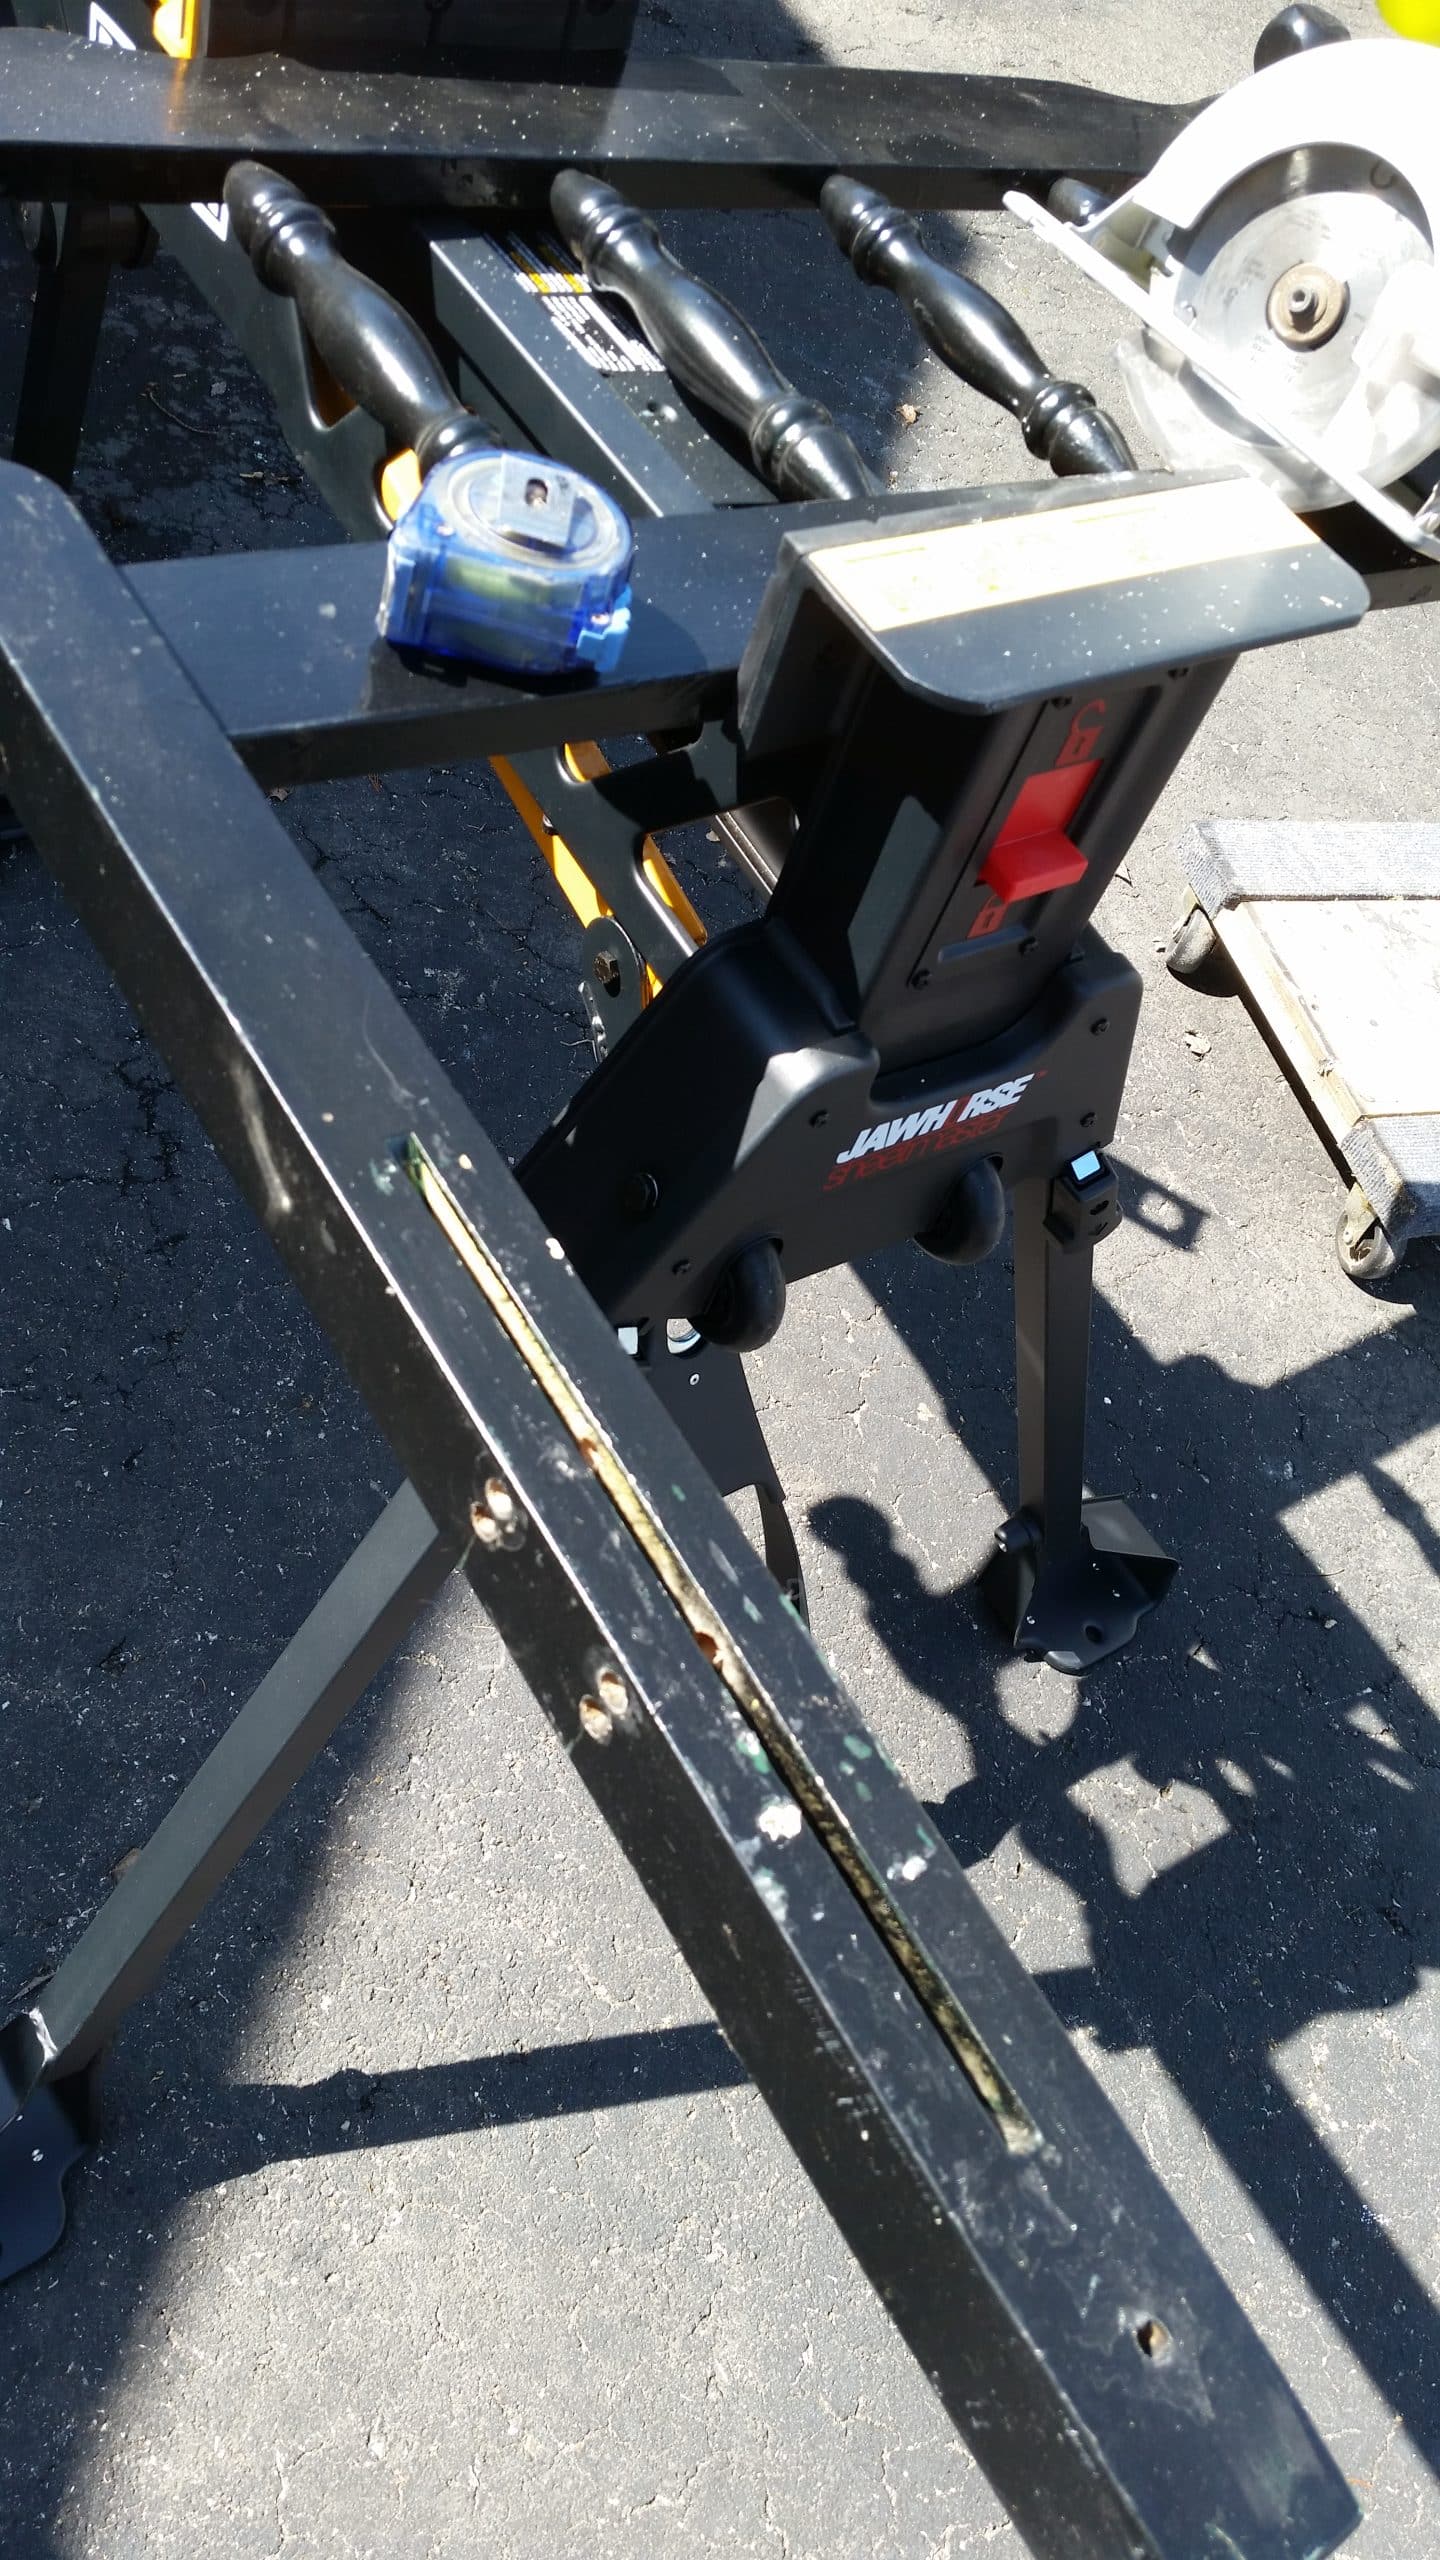
I recently bought myself a birthday present. It’s a Rockwell JawHorse . Have you heard of it? If so, why didn’t you tell me about it? It will support a piece of 4×8’ of drywall or plywood. It clamps and locks in place, virtually becoming my second pair of hands. You will see it throughout this twin headboard bench tutorial post.
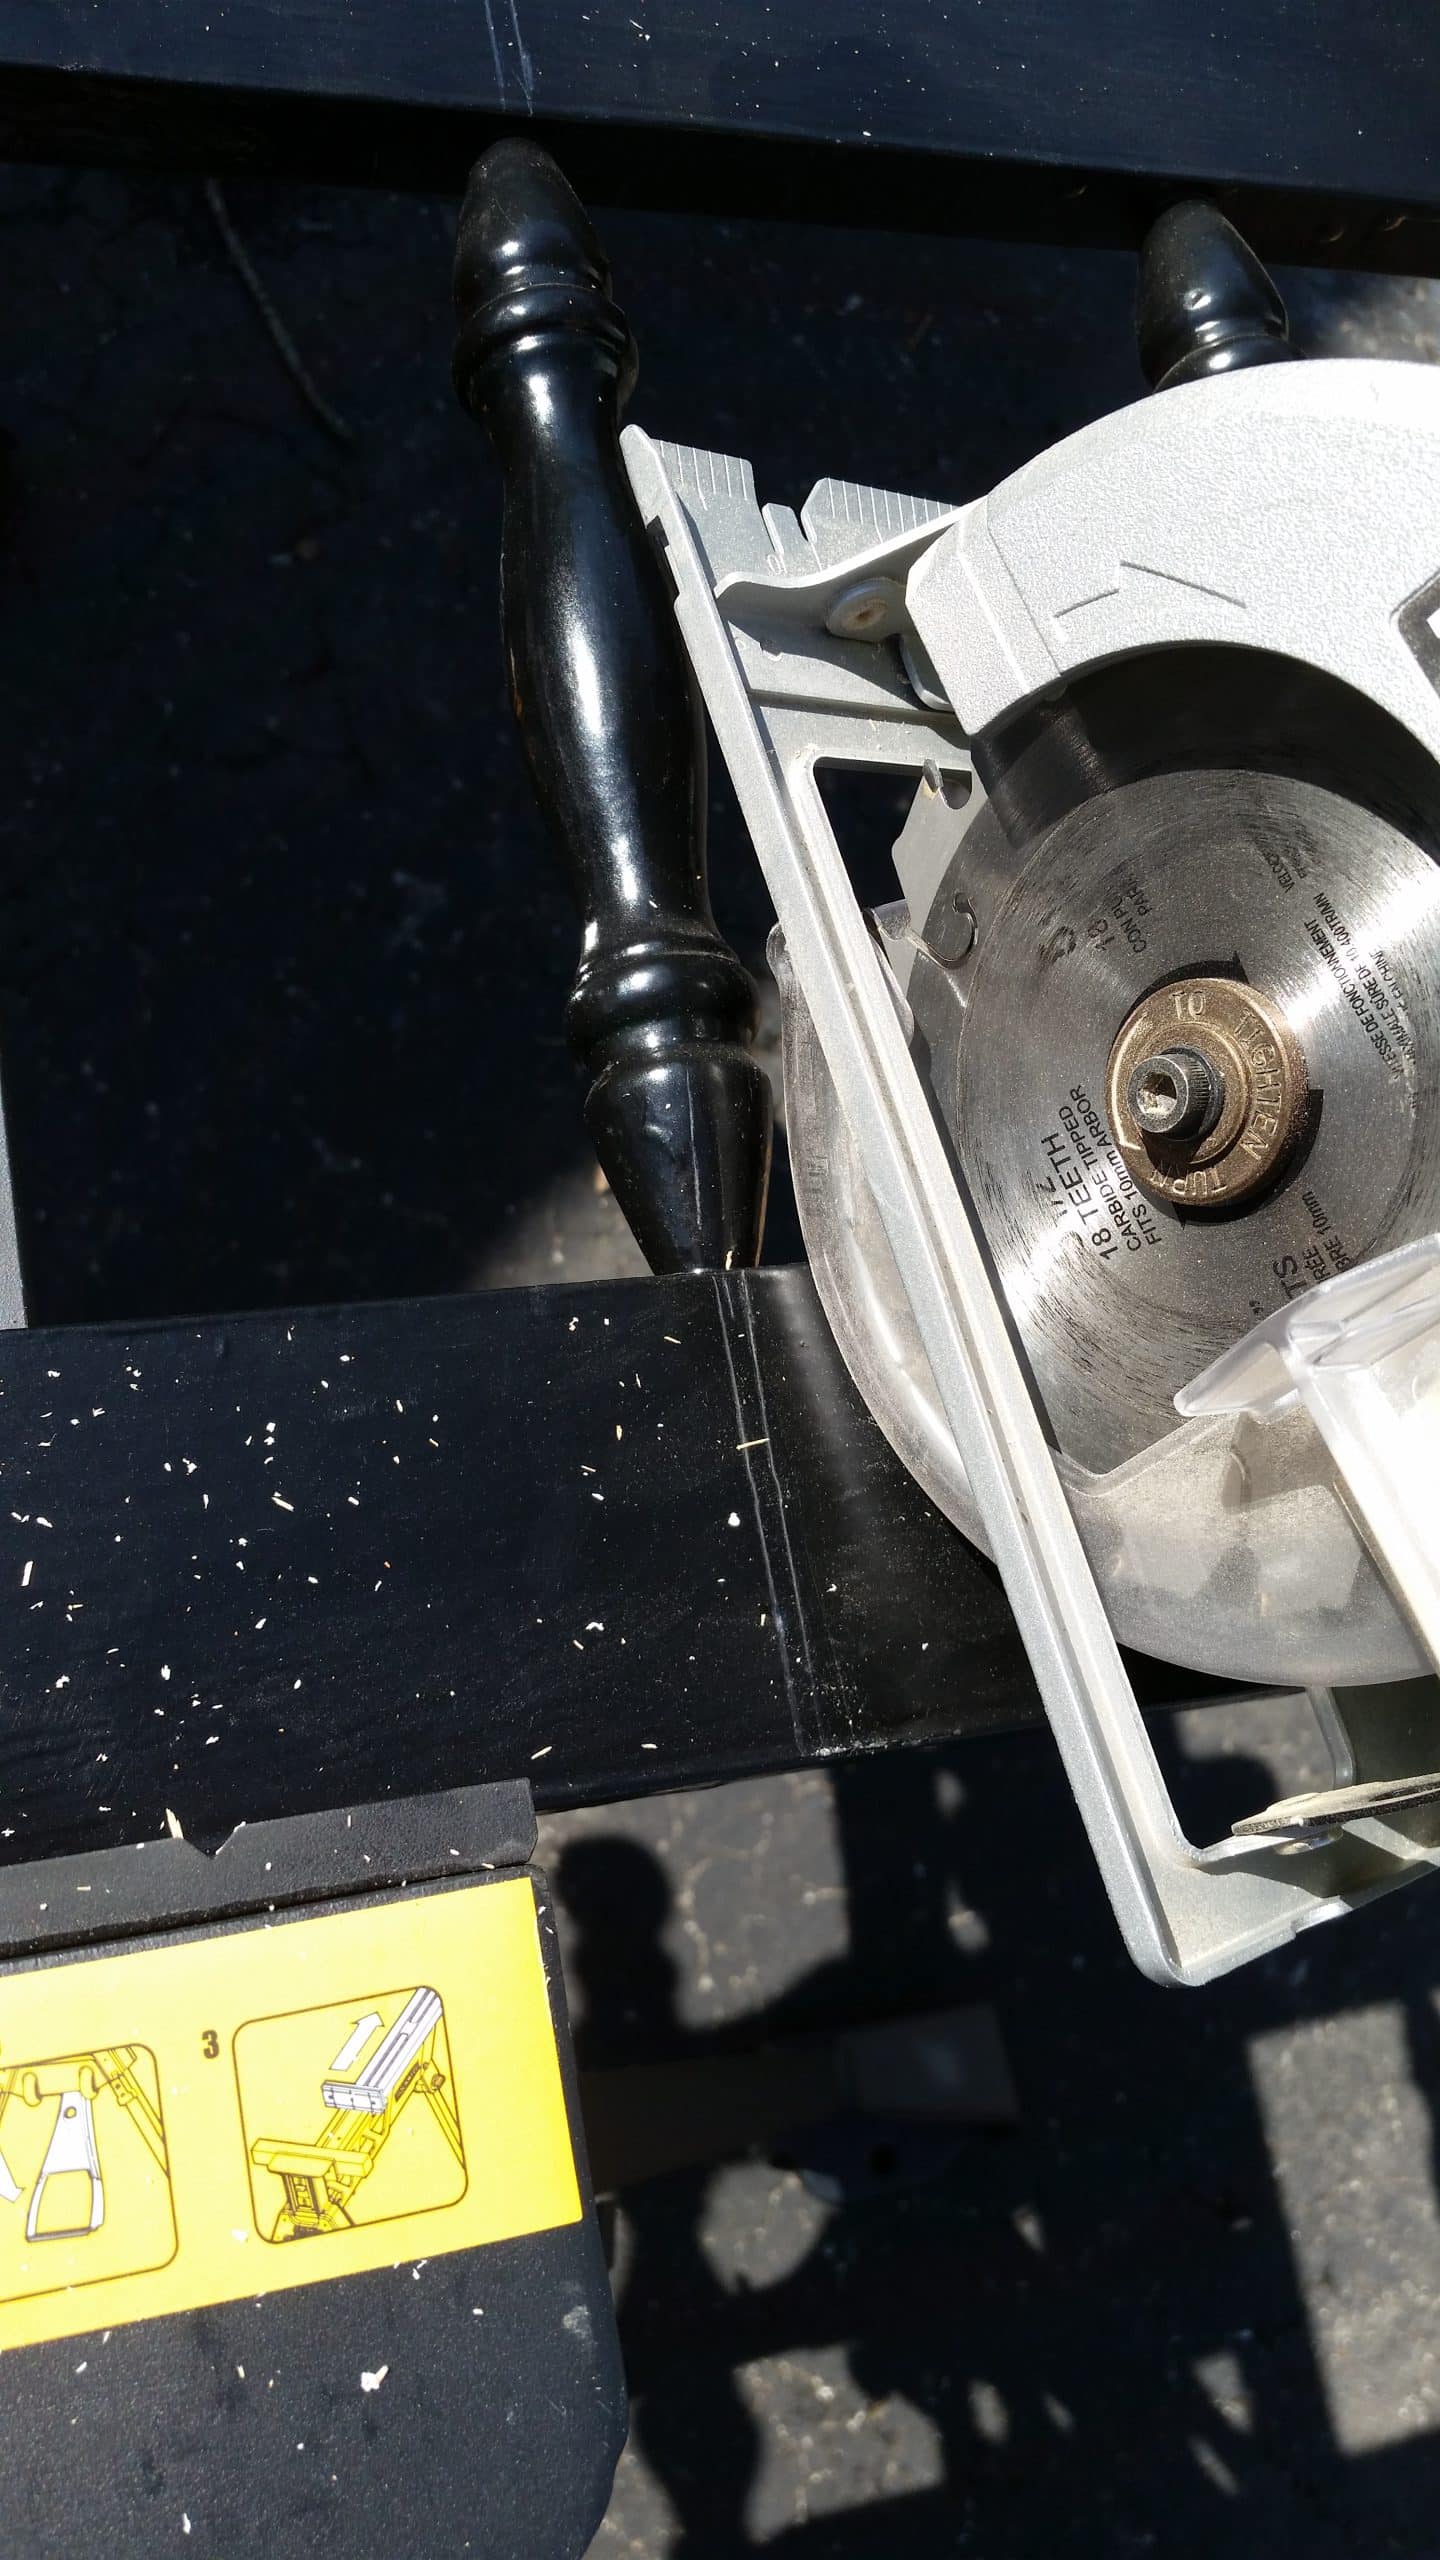
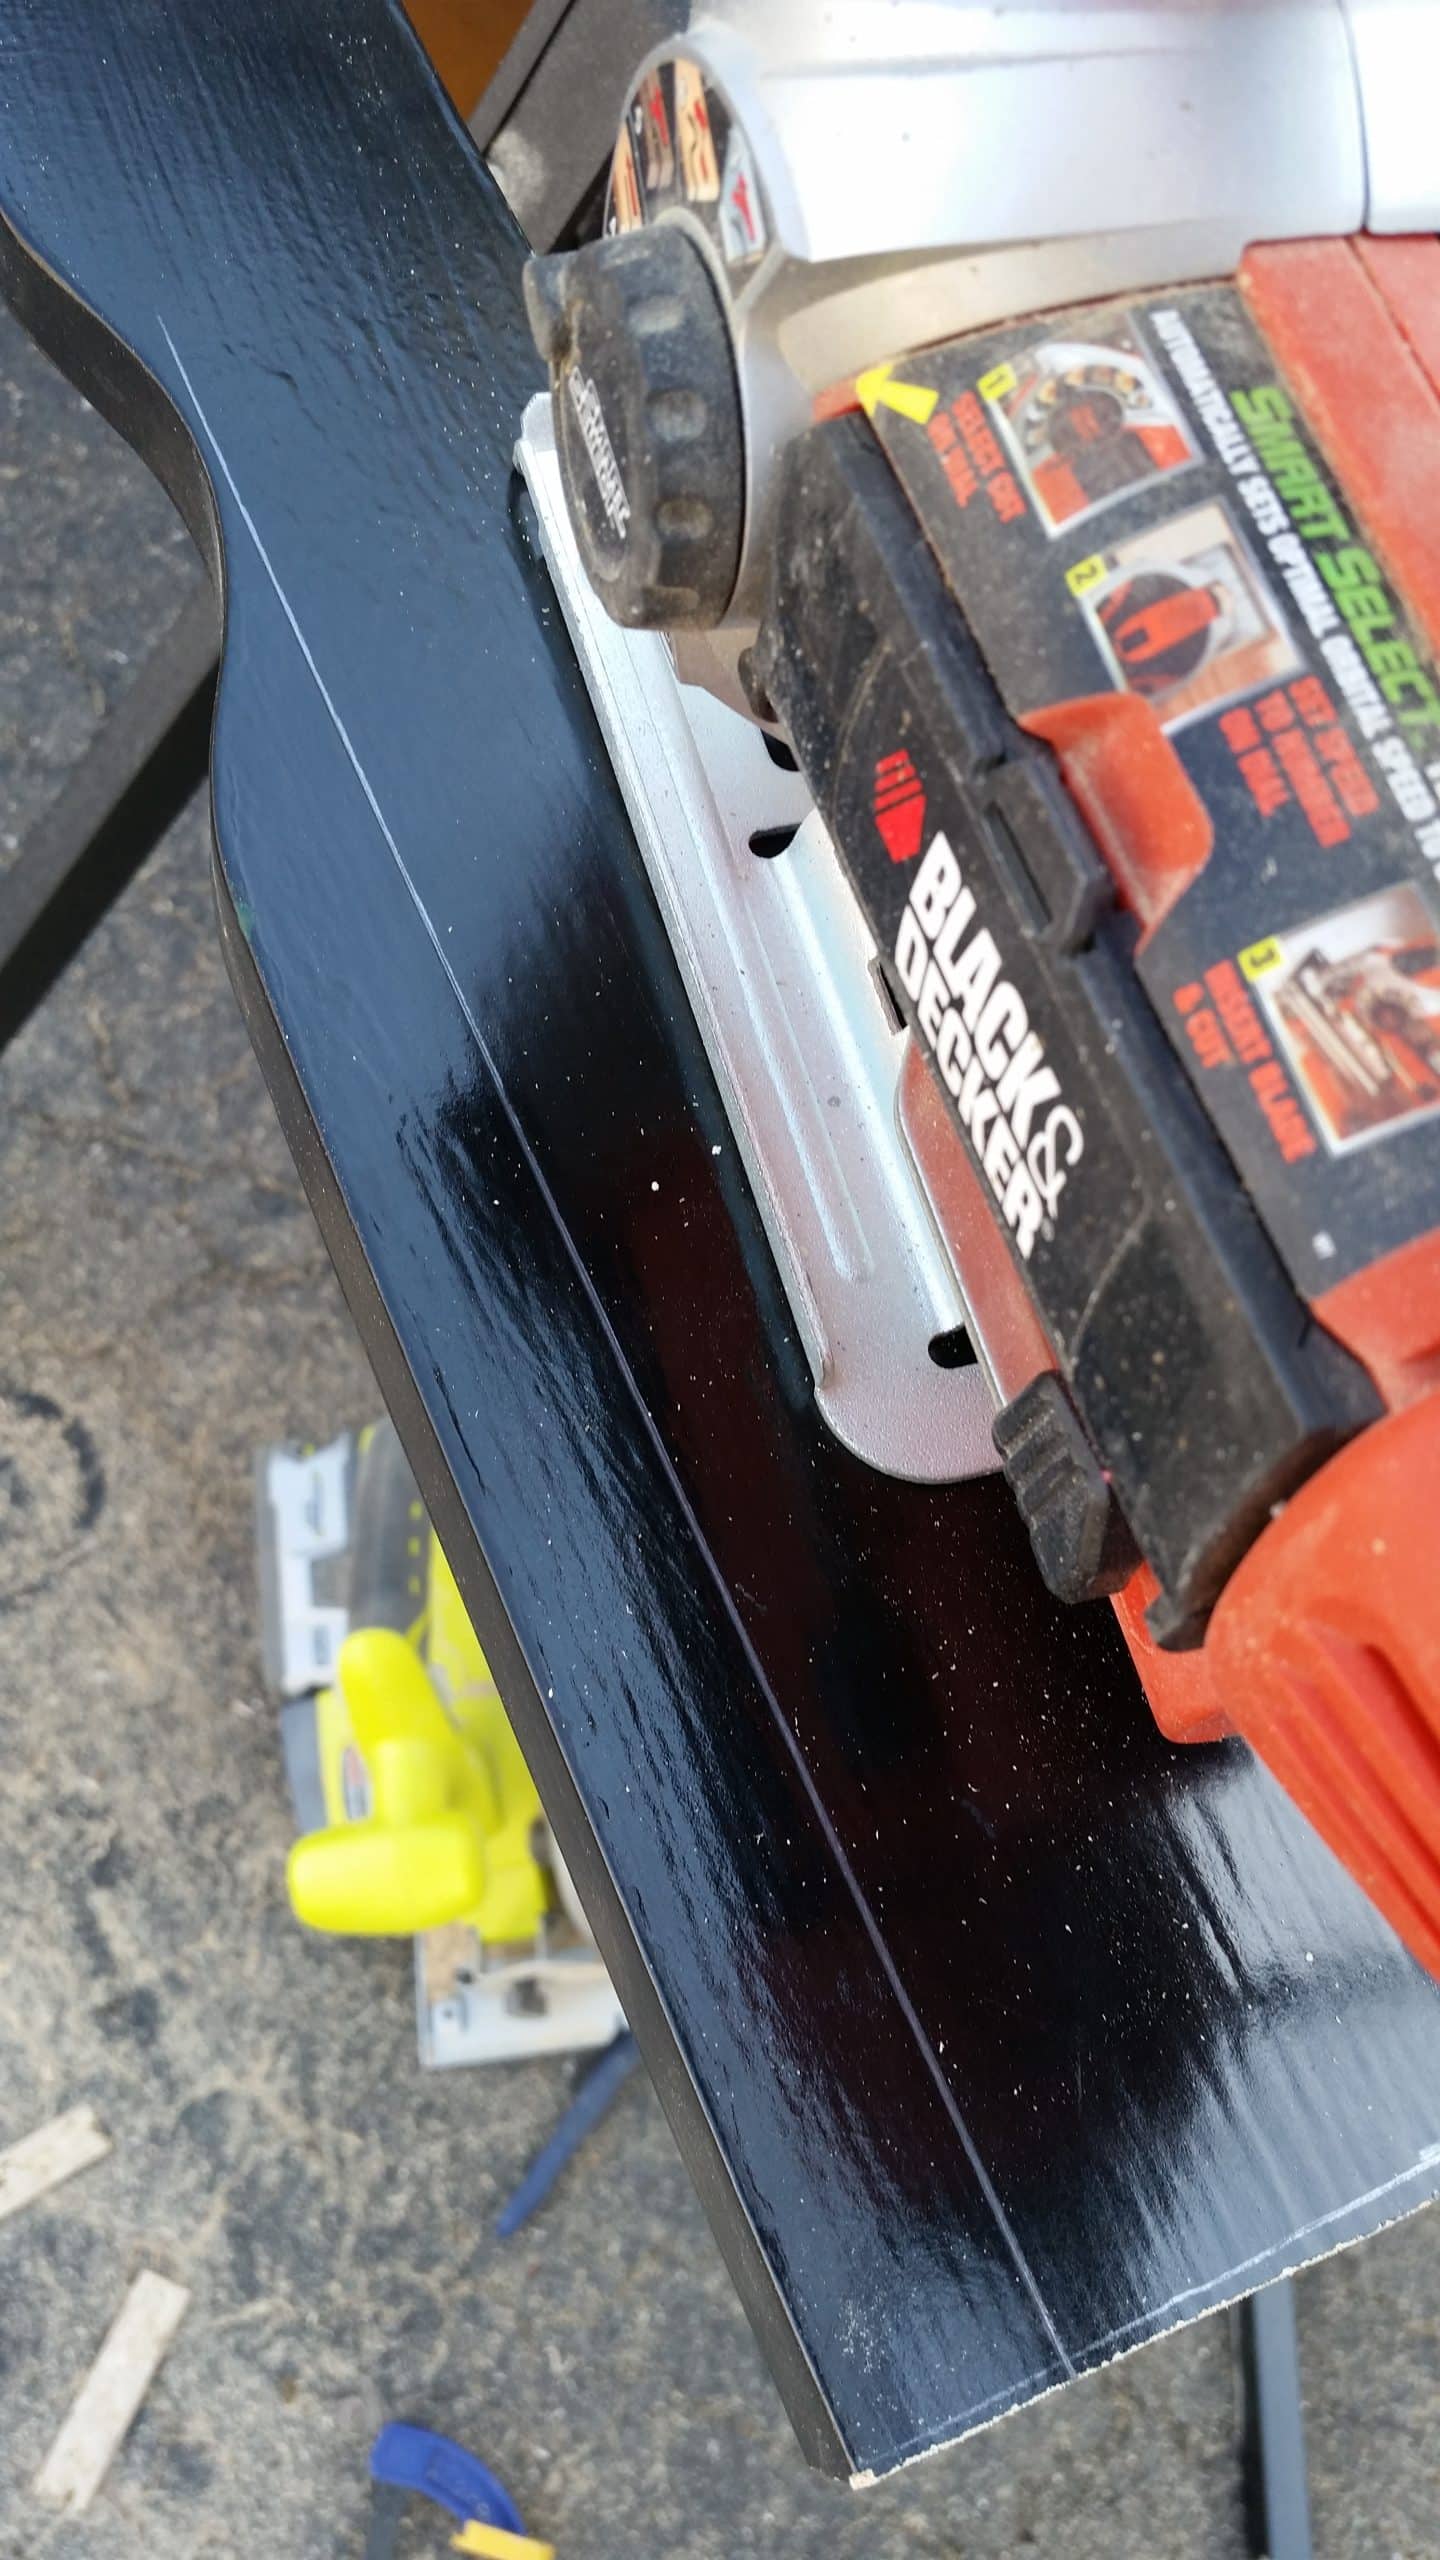
I used my Ryobi circular saw to cut the twin bed foot board in half, as always, these two halves will become the armrests of the new bench.
This $5 drawer piece was too deep for the 1/2 of each foot board I cut, so I needed to lessen the depth of the drawer (seat) by about 1”. I used my circular saw to cut the top, bottom, and both sides. I cut this depth off of the BACK of the drawer piece. In this picture, the drawer piece is upside down. I also had to cut that lip off of both sides in order to allow the sides to be flush.
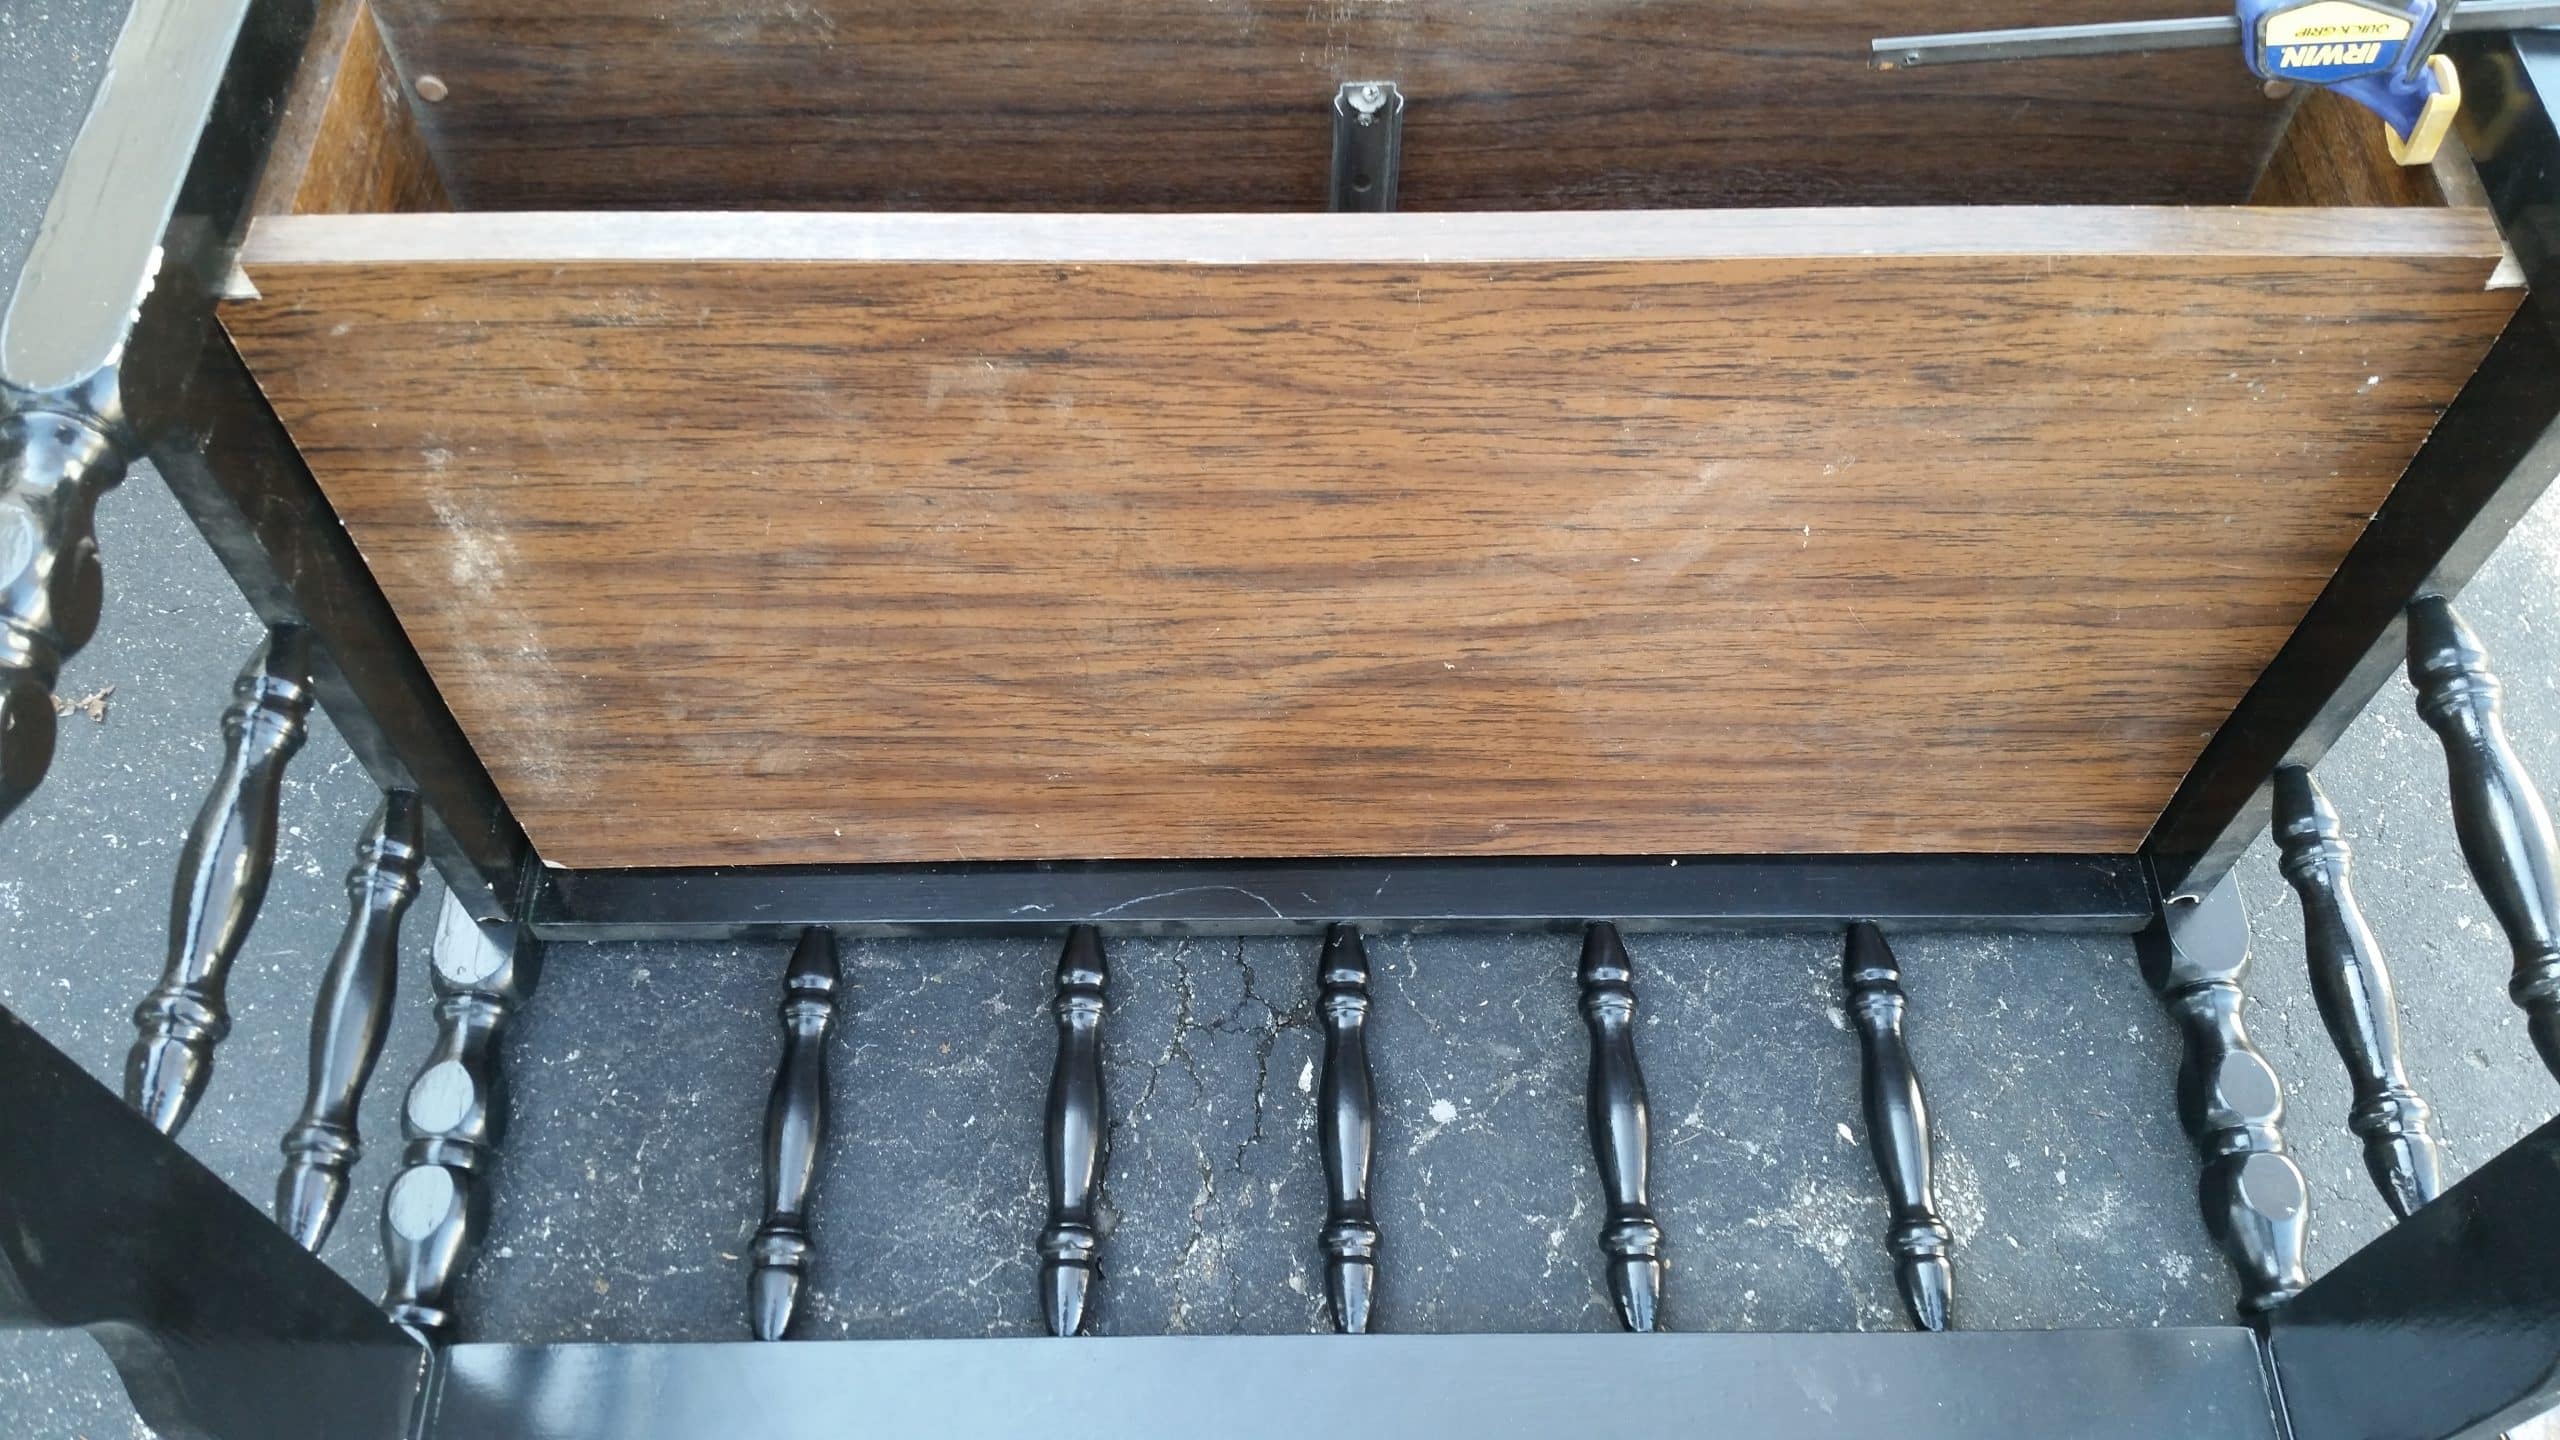
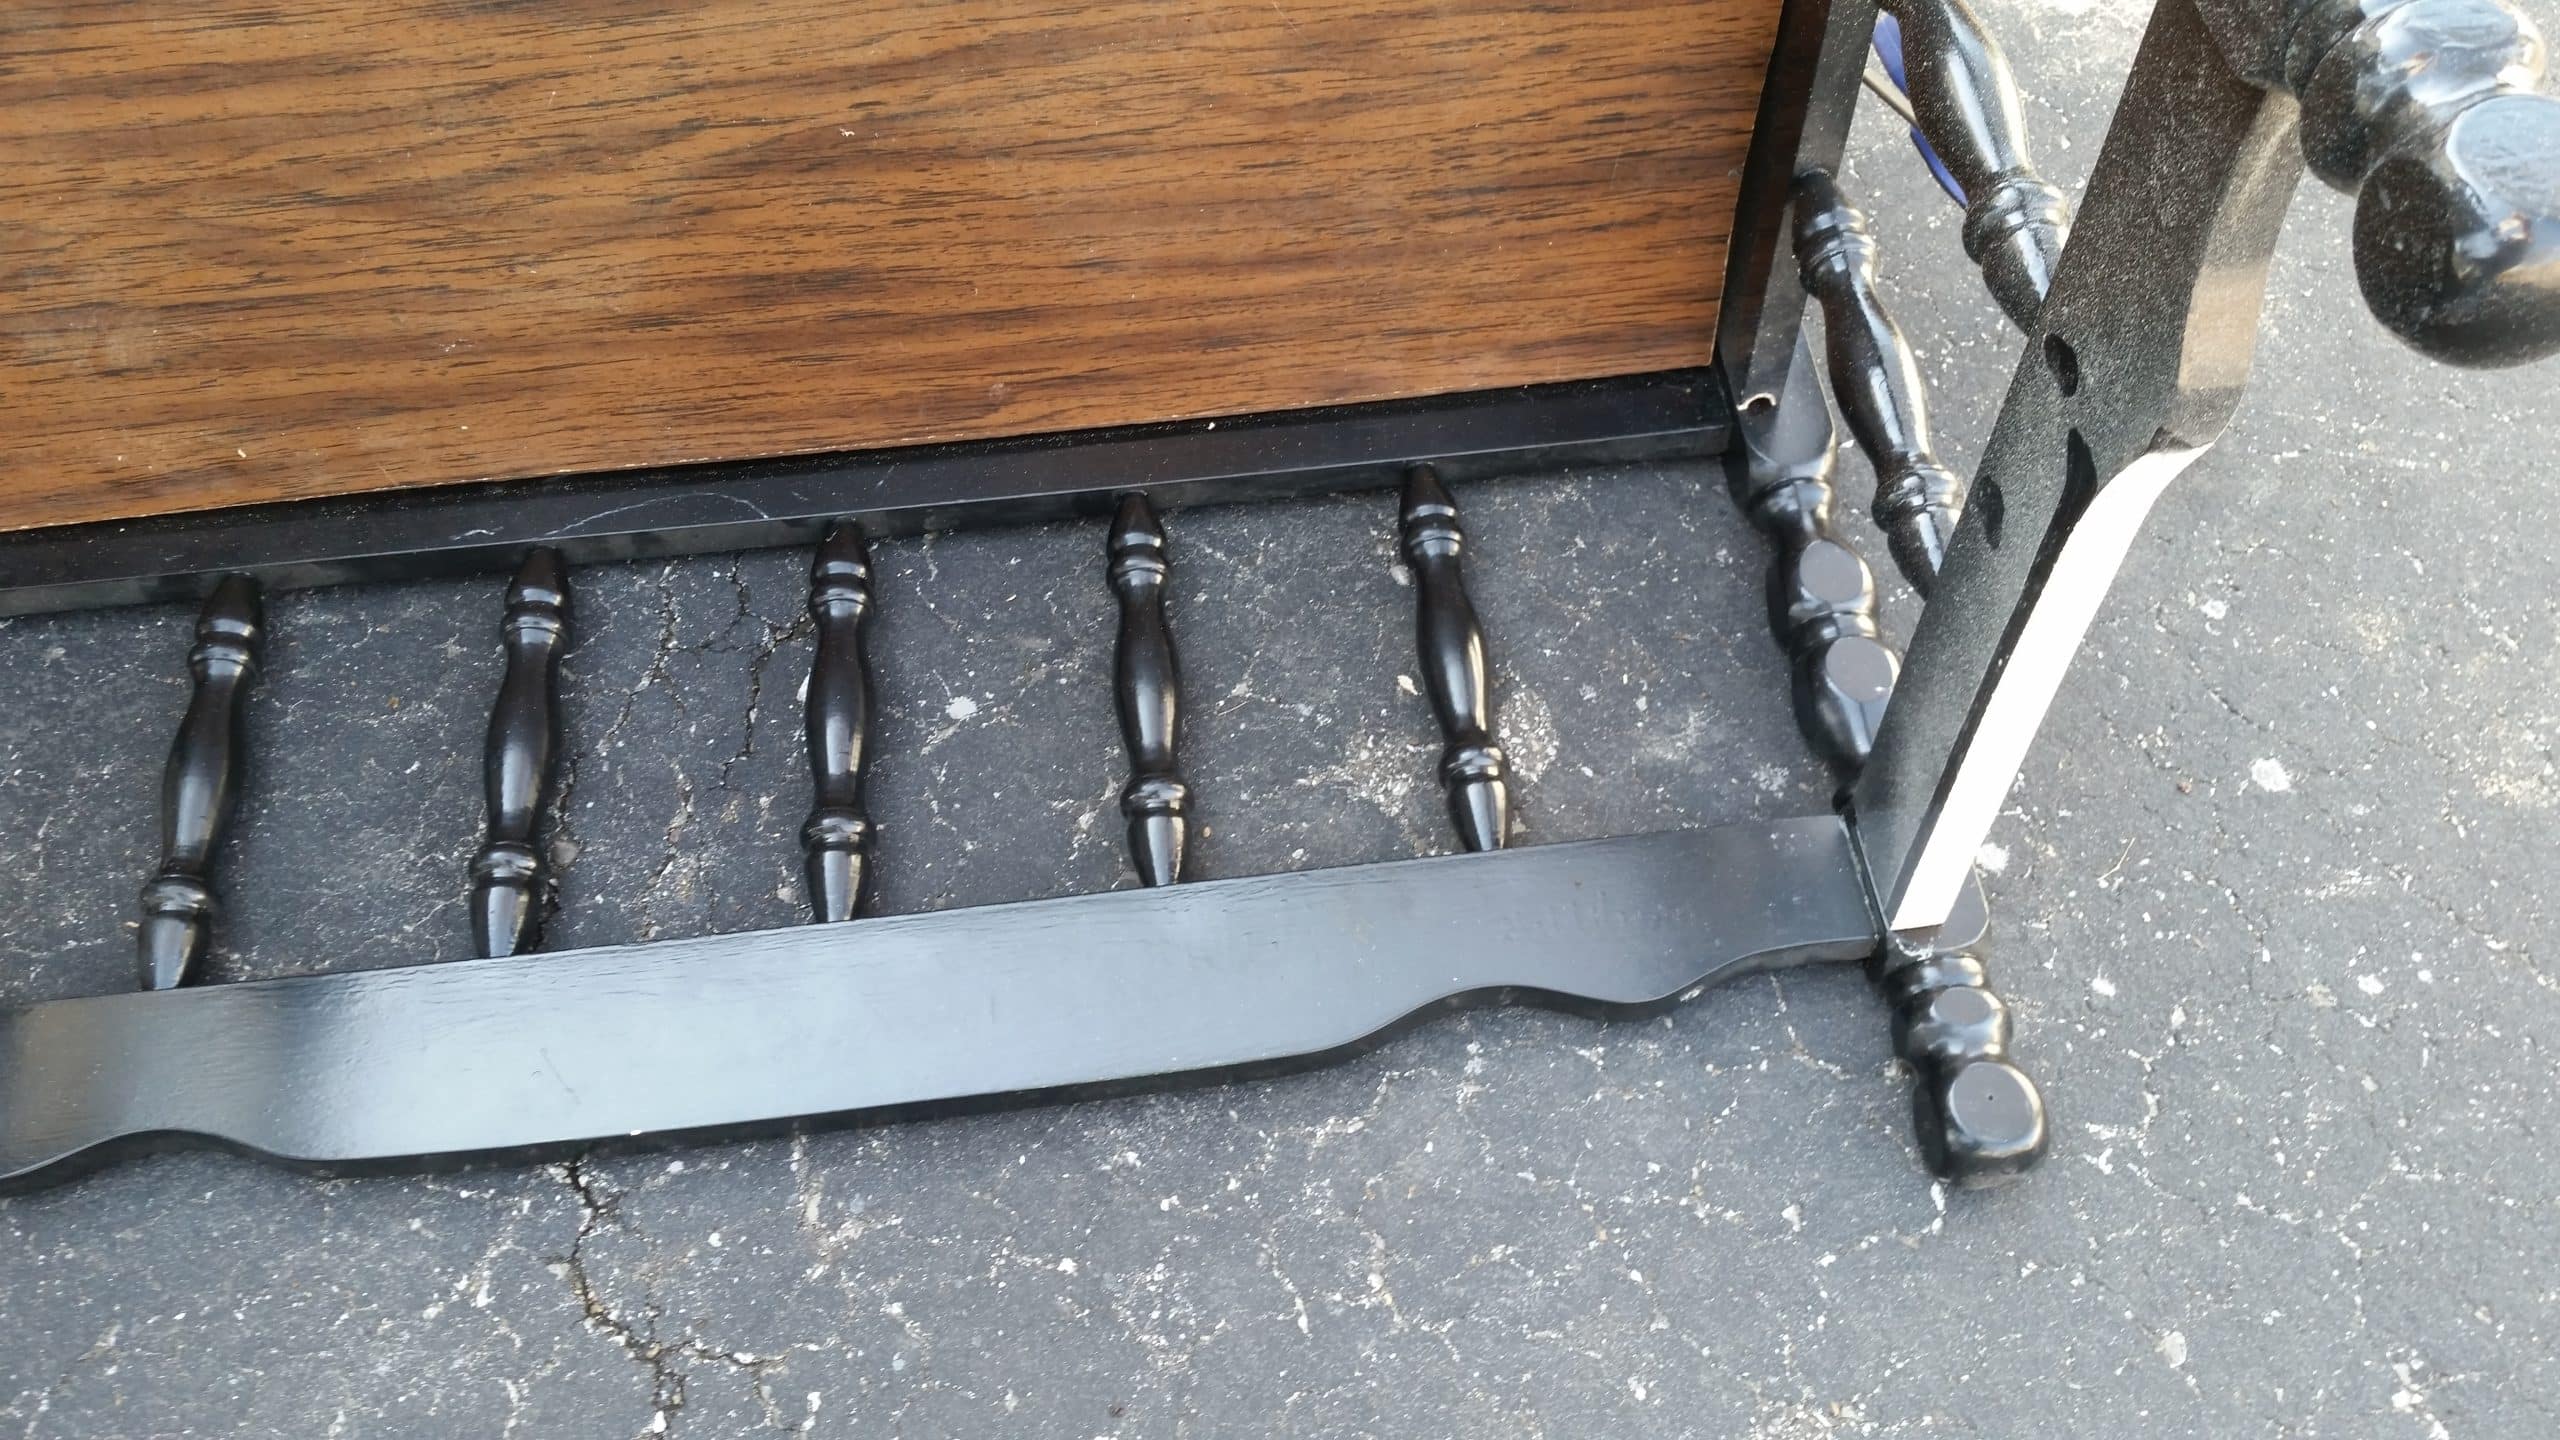
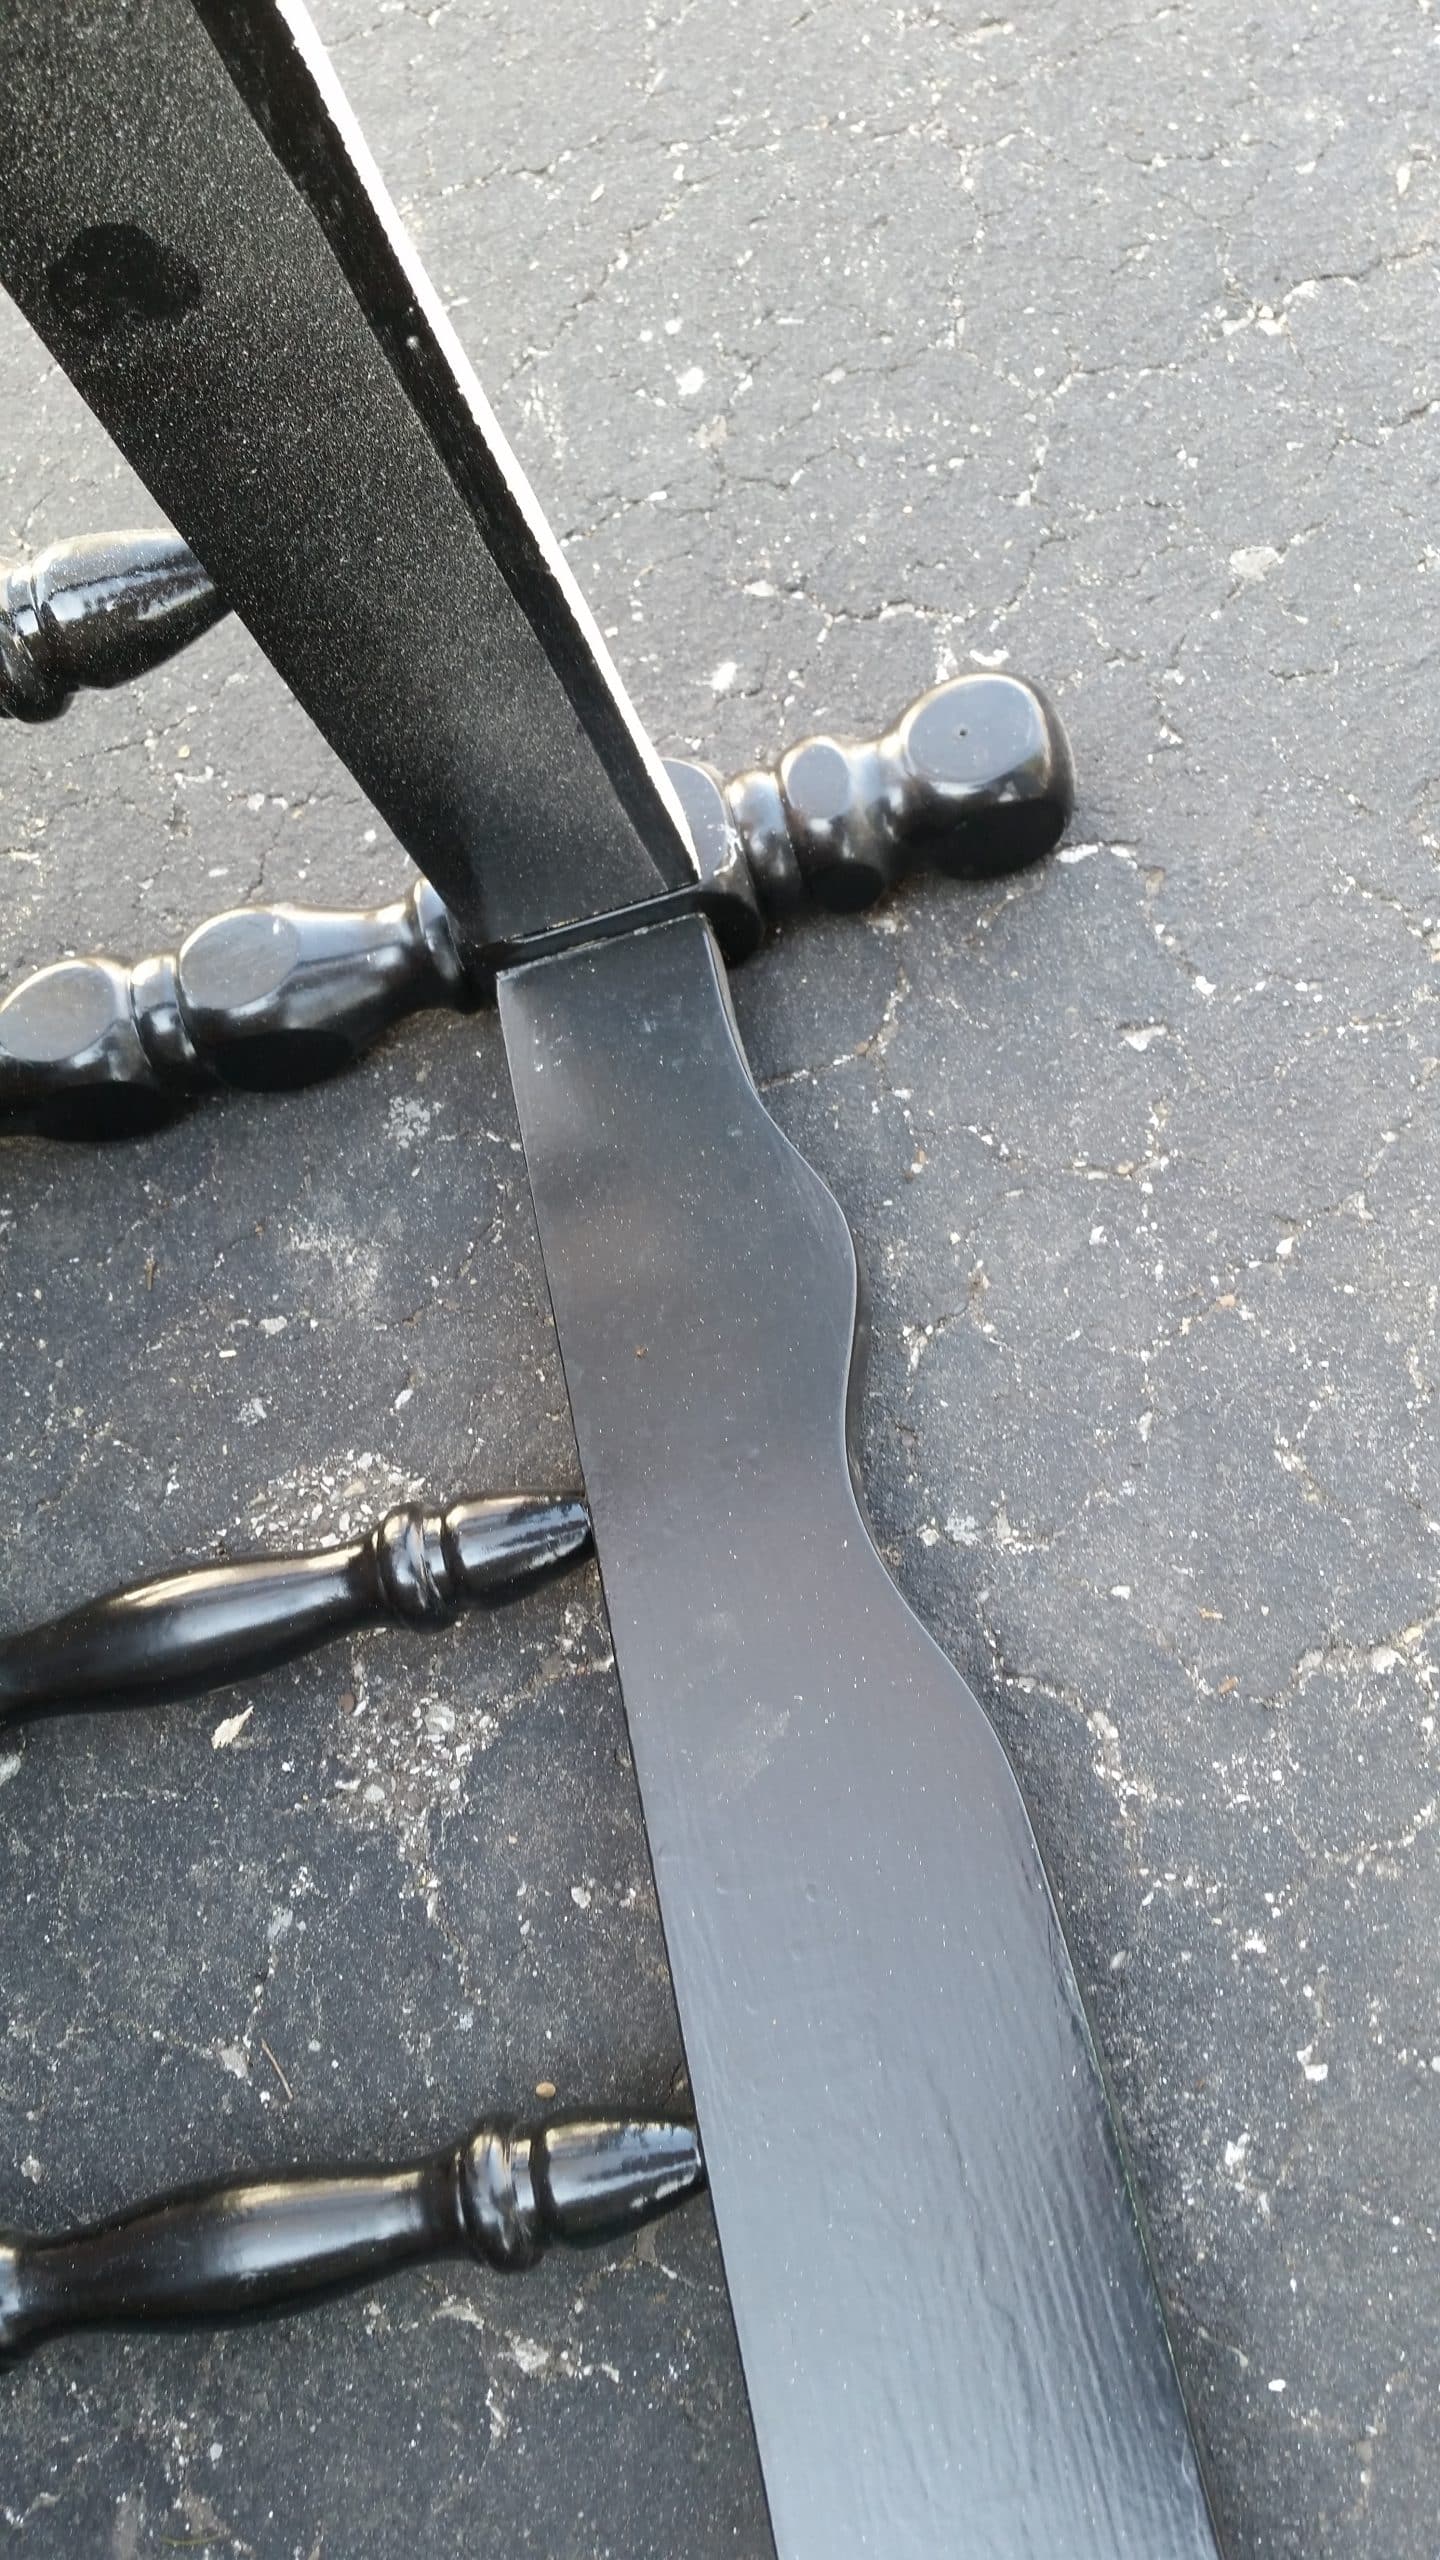
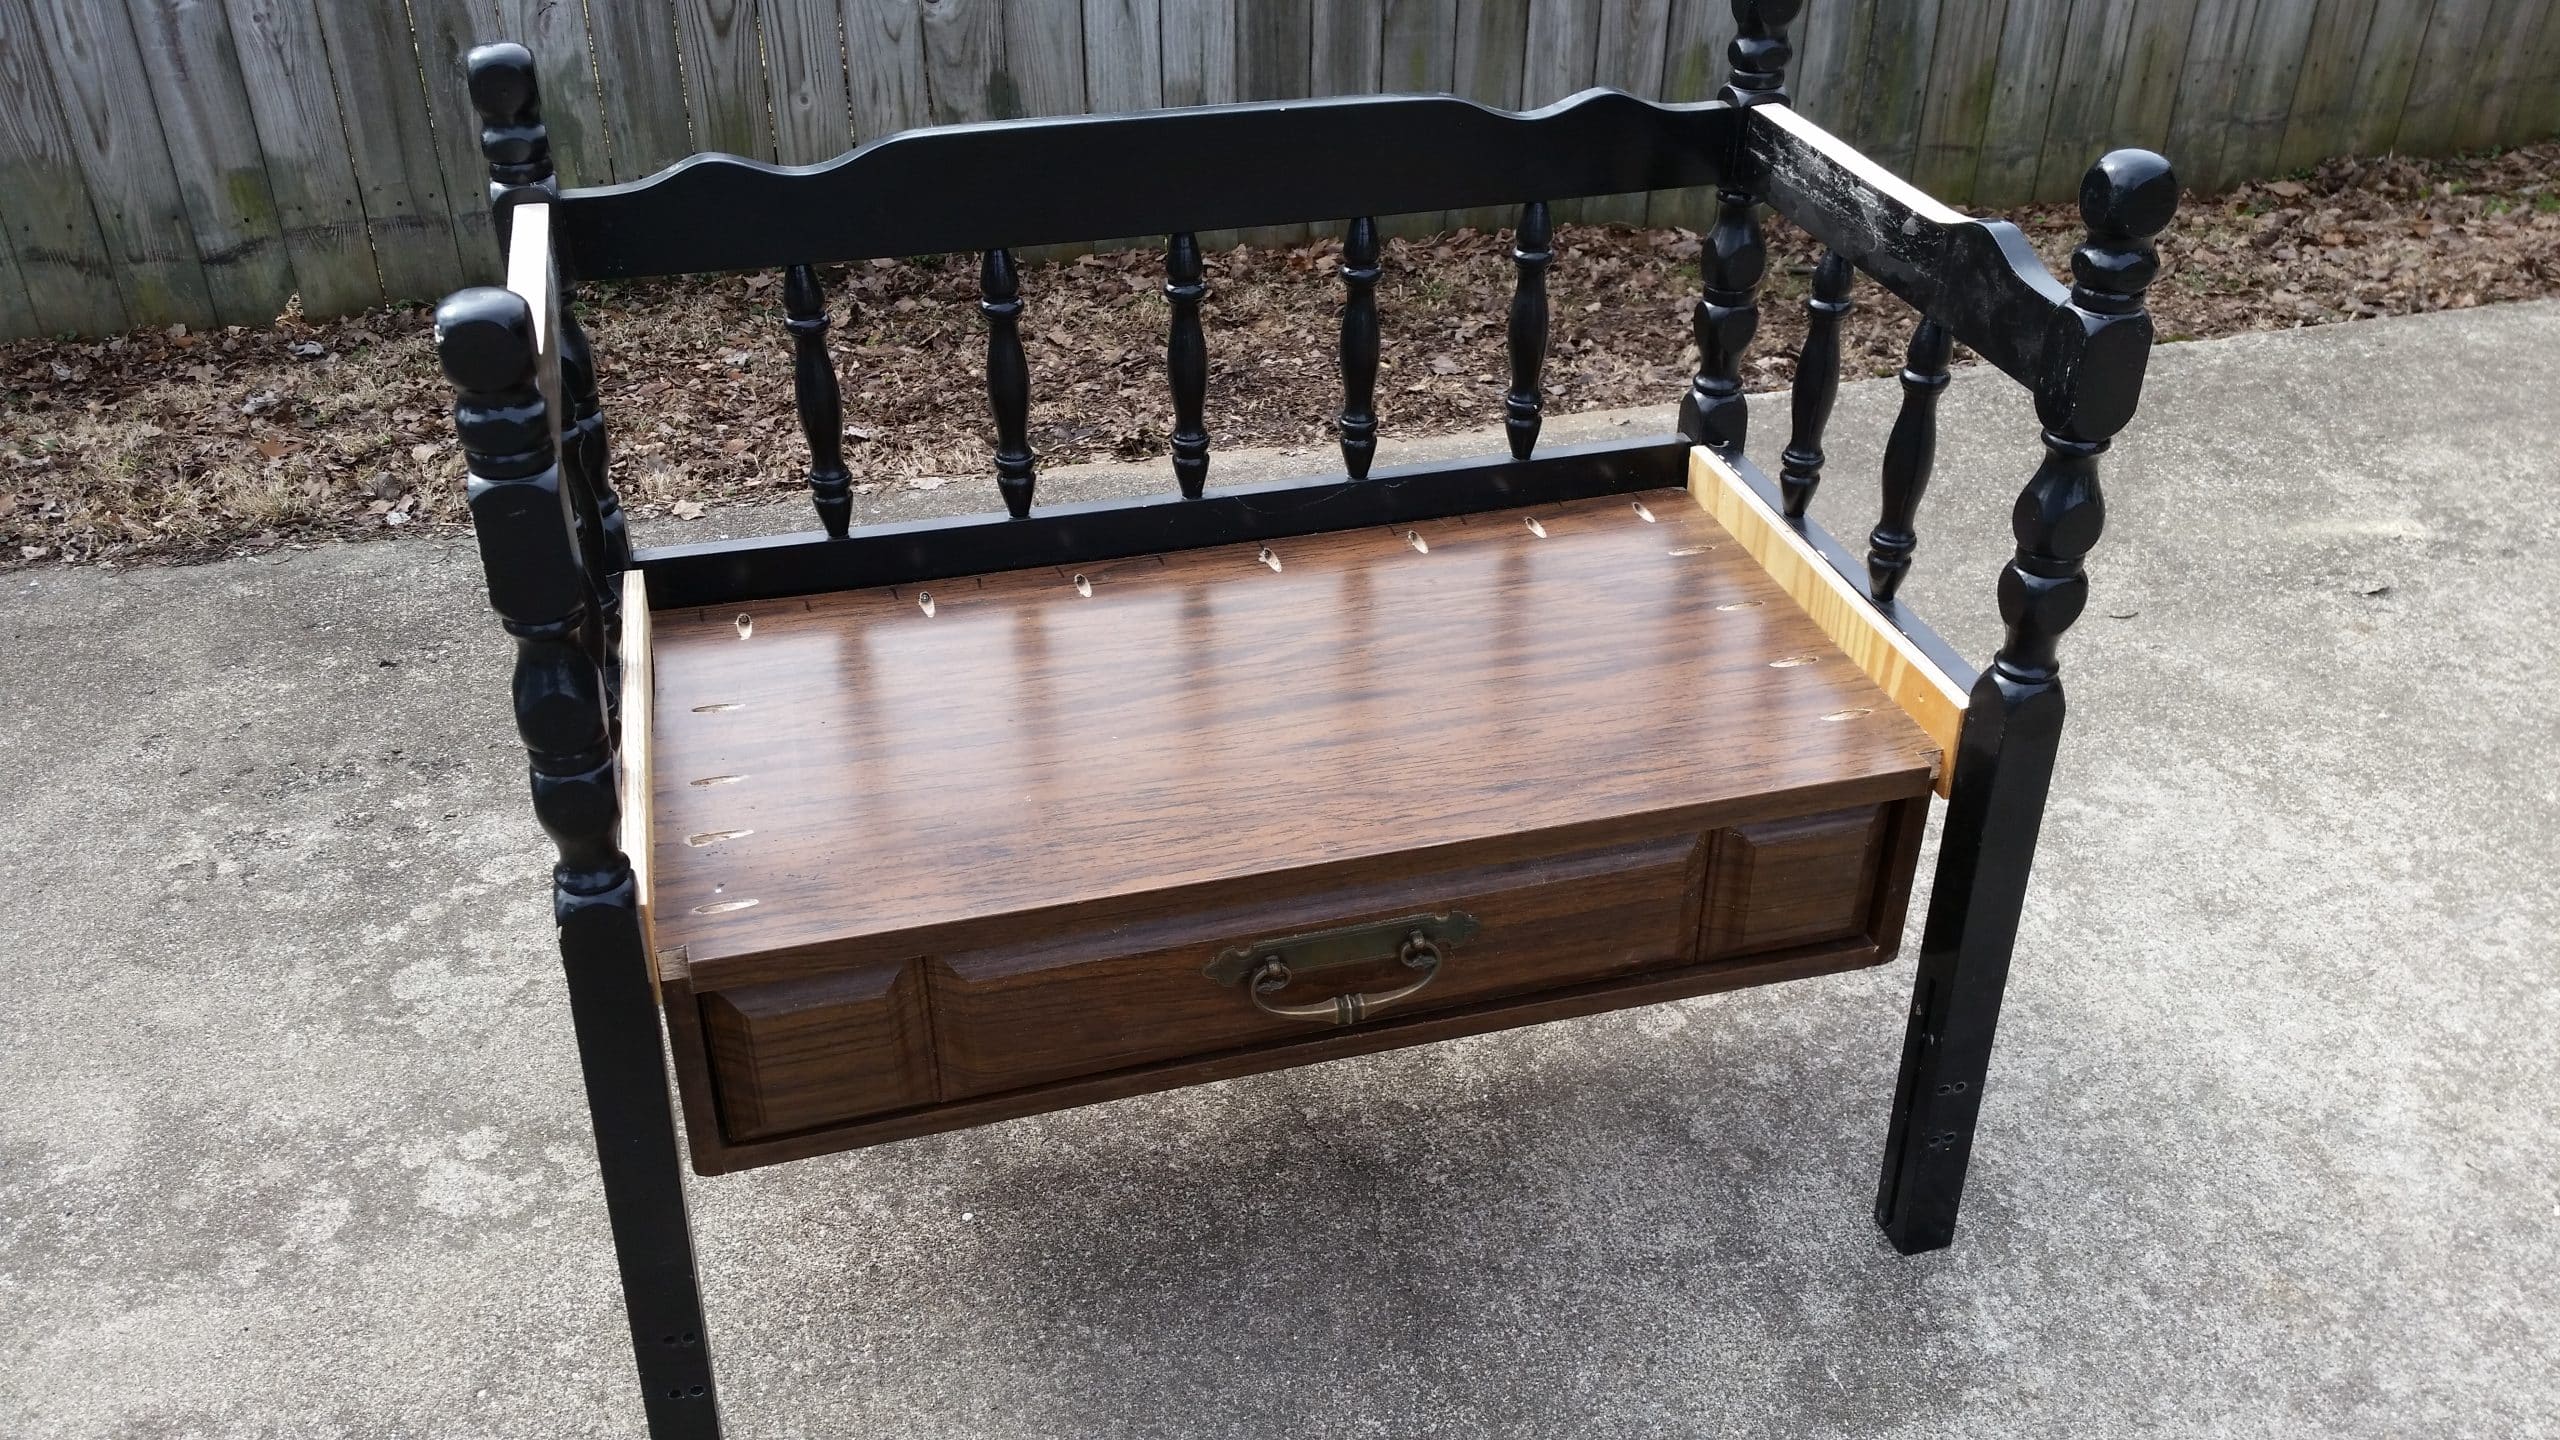
This is the dry fit to make sure everything is going to line up on the twin headboard bench. Note: I notched the front lip too much. oops!
Why You Should do a Dry Fit When Making a Twin Headboard Bench
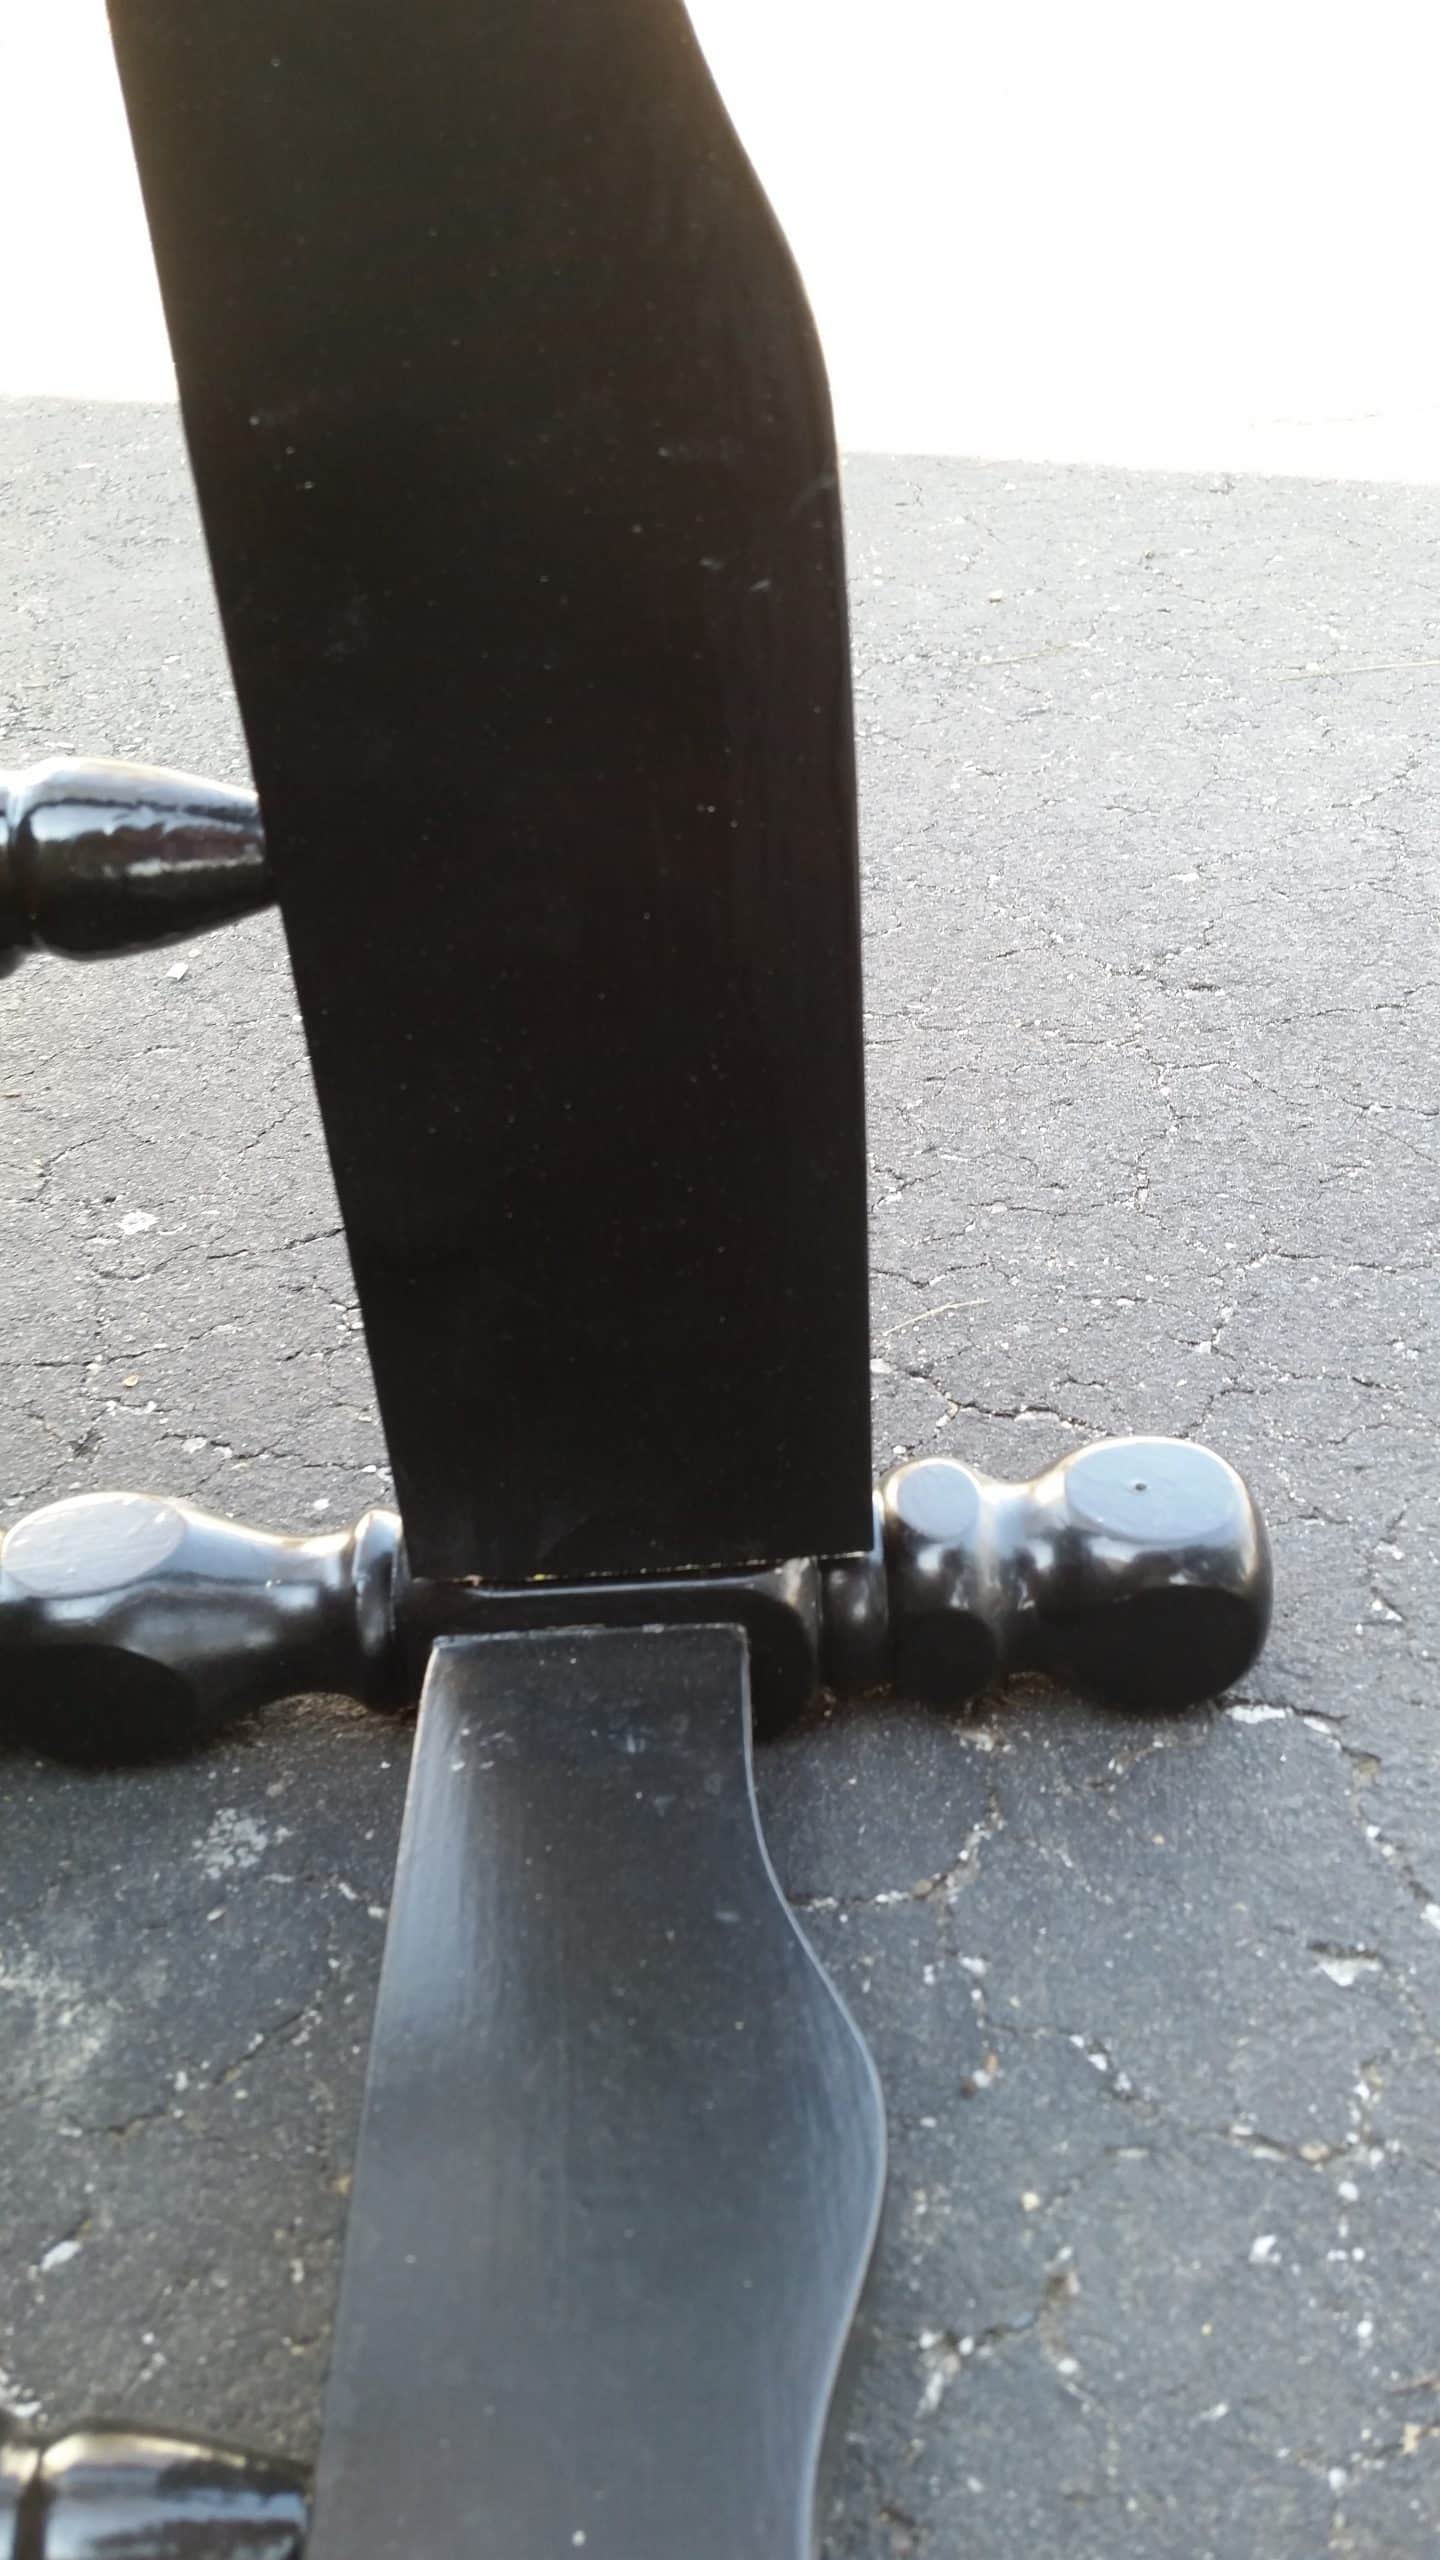
During the dry fit I notice that because the foot board was cut in half, the midway point of the foot board is wider than the left and right side of the headboard.
I used the jigsaw to cut off the excess wood on the 1/2 of foot board-now the armrest.
It no longer extends up onto the post of the twin headboard.
Another view.
Pocket Hole Assembly for Attaching Drawer Section
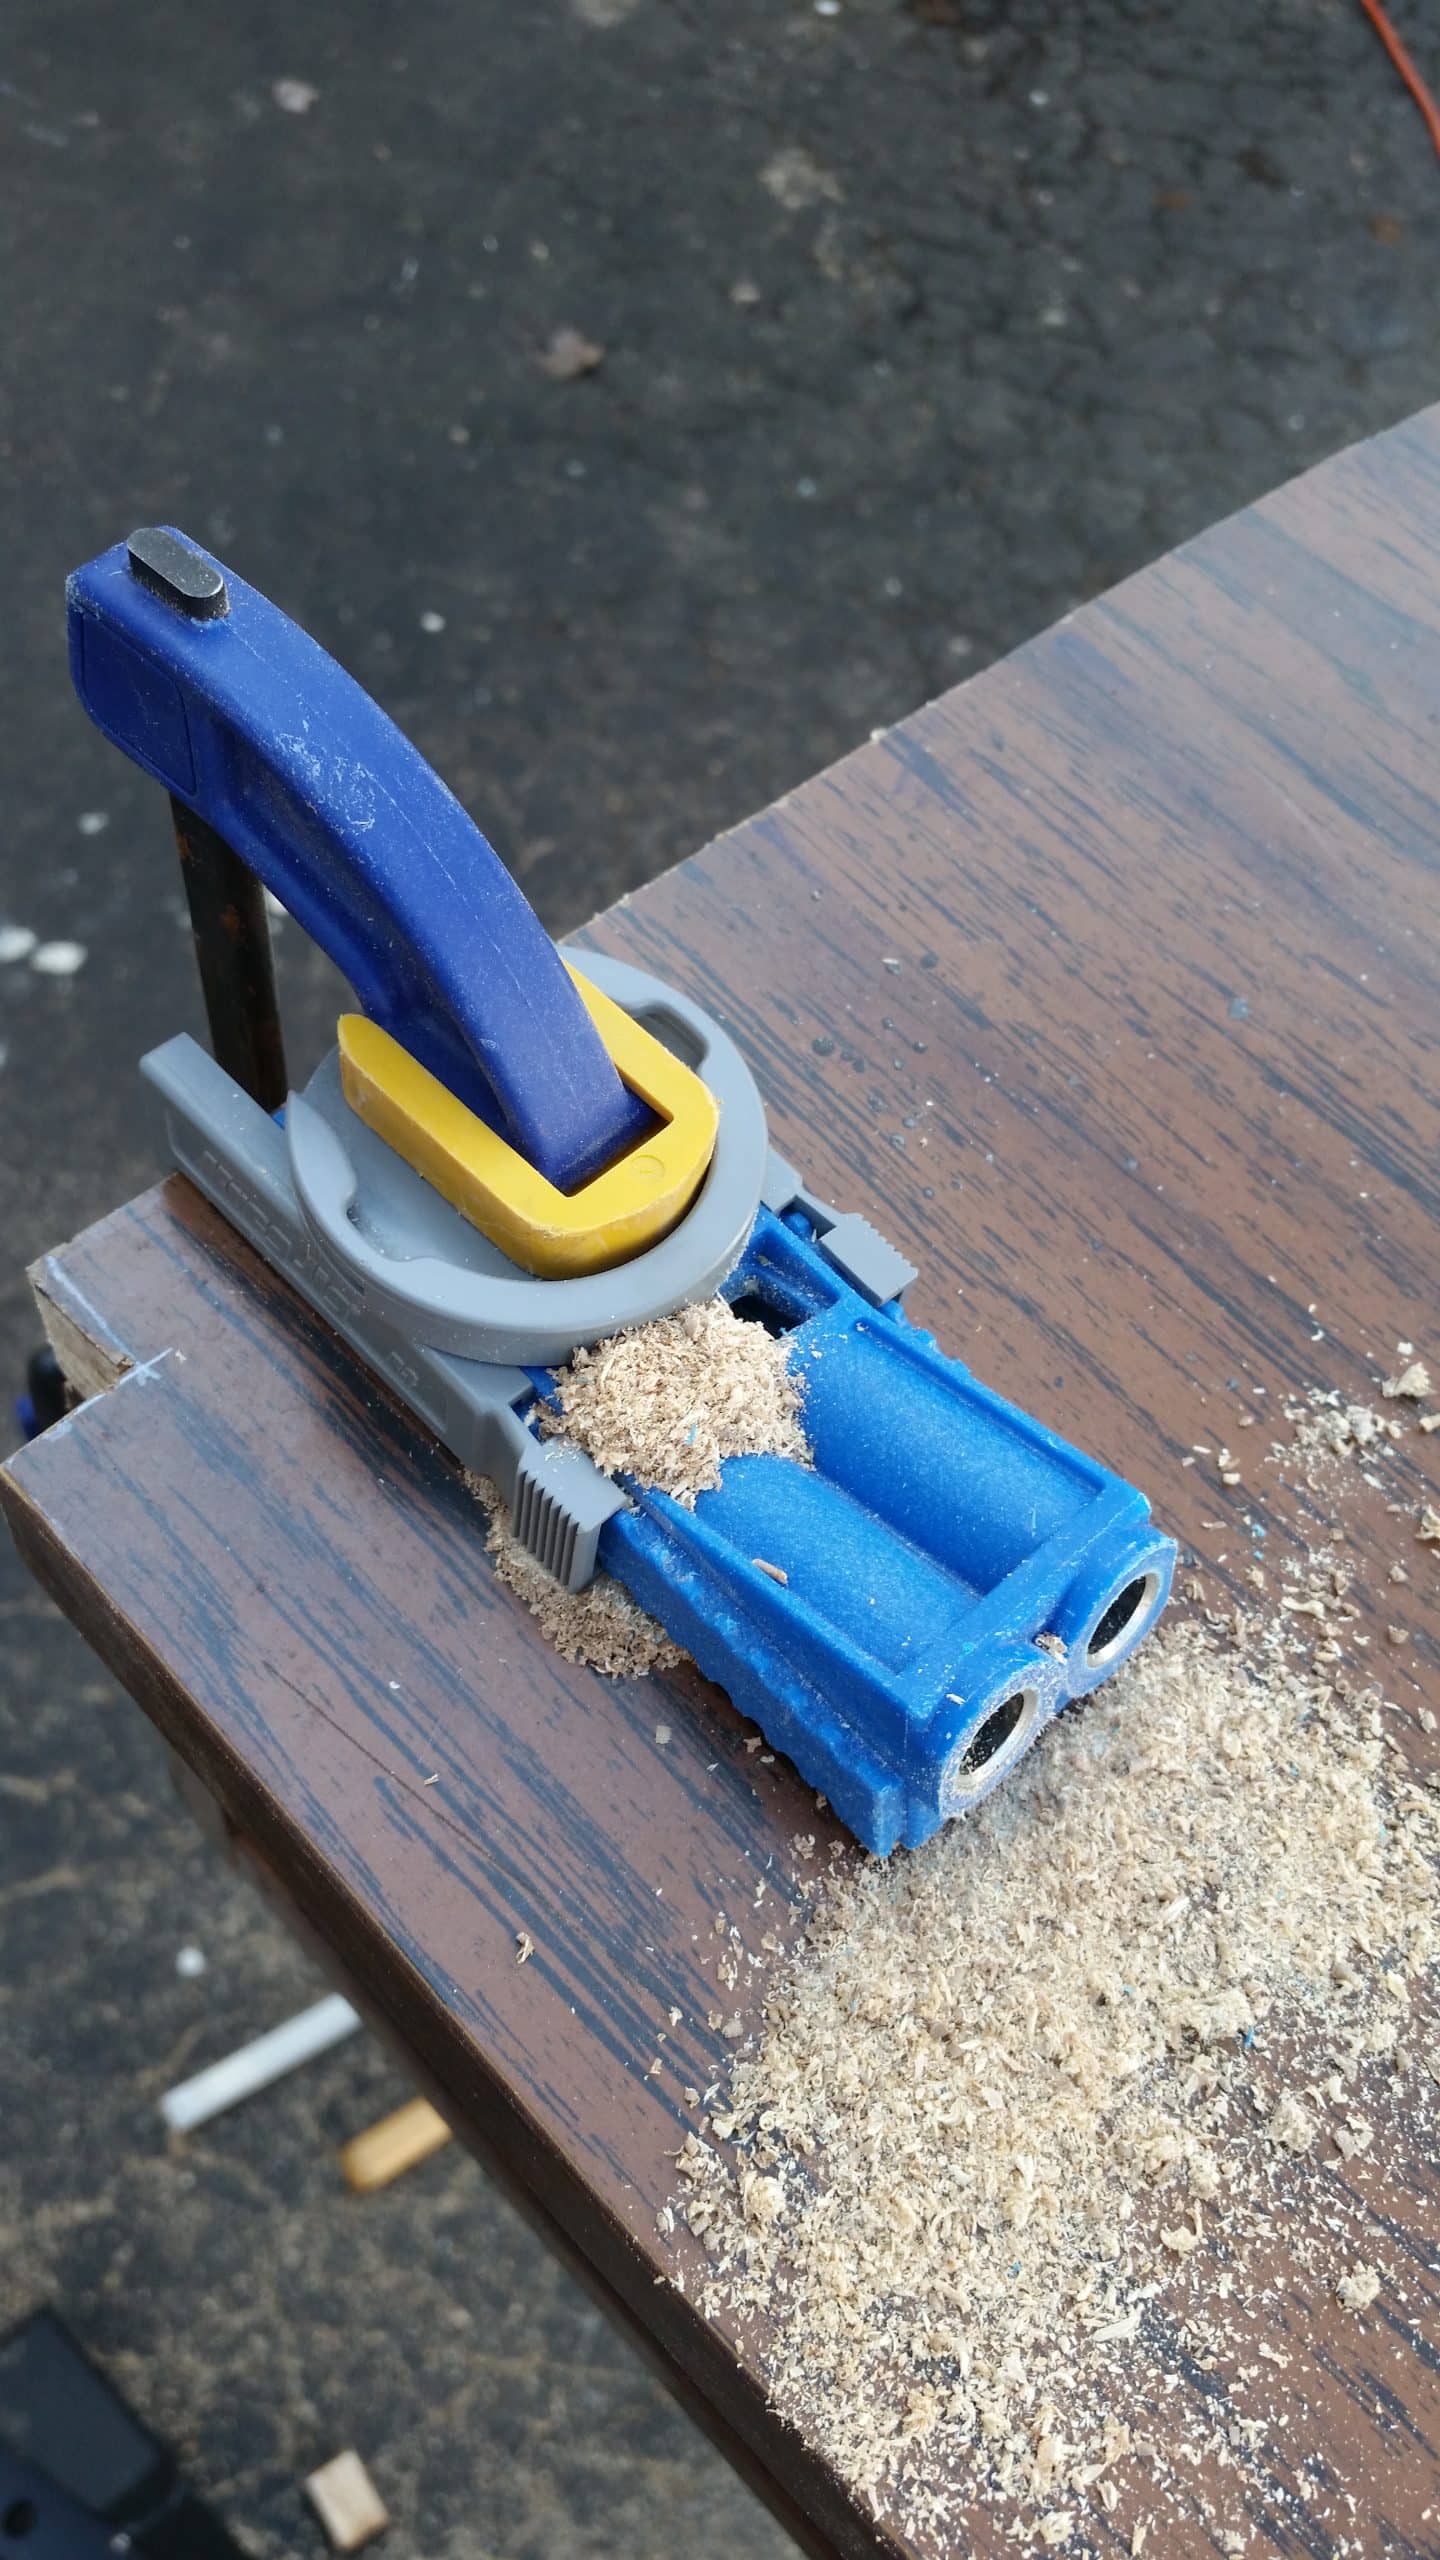
I got busy using my Kreg Jig to make pocket holes all the way around the top of the bench seat.
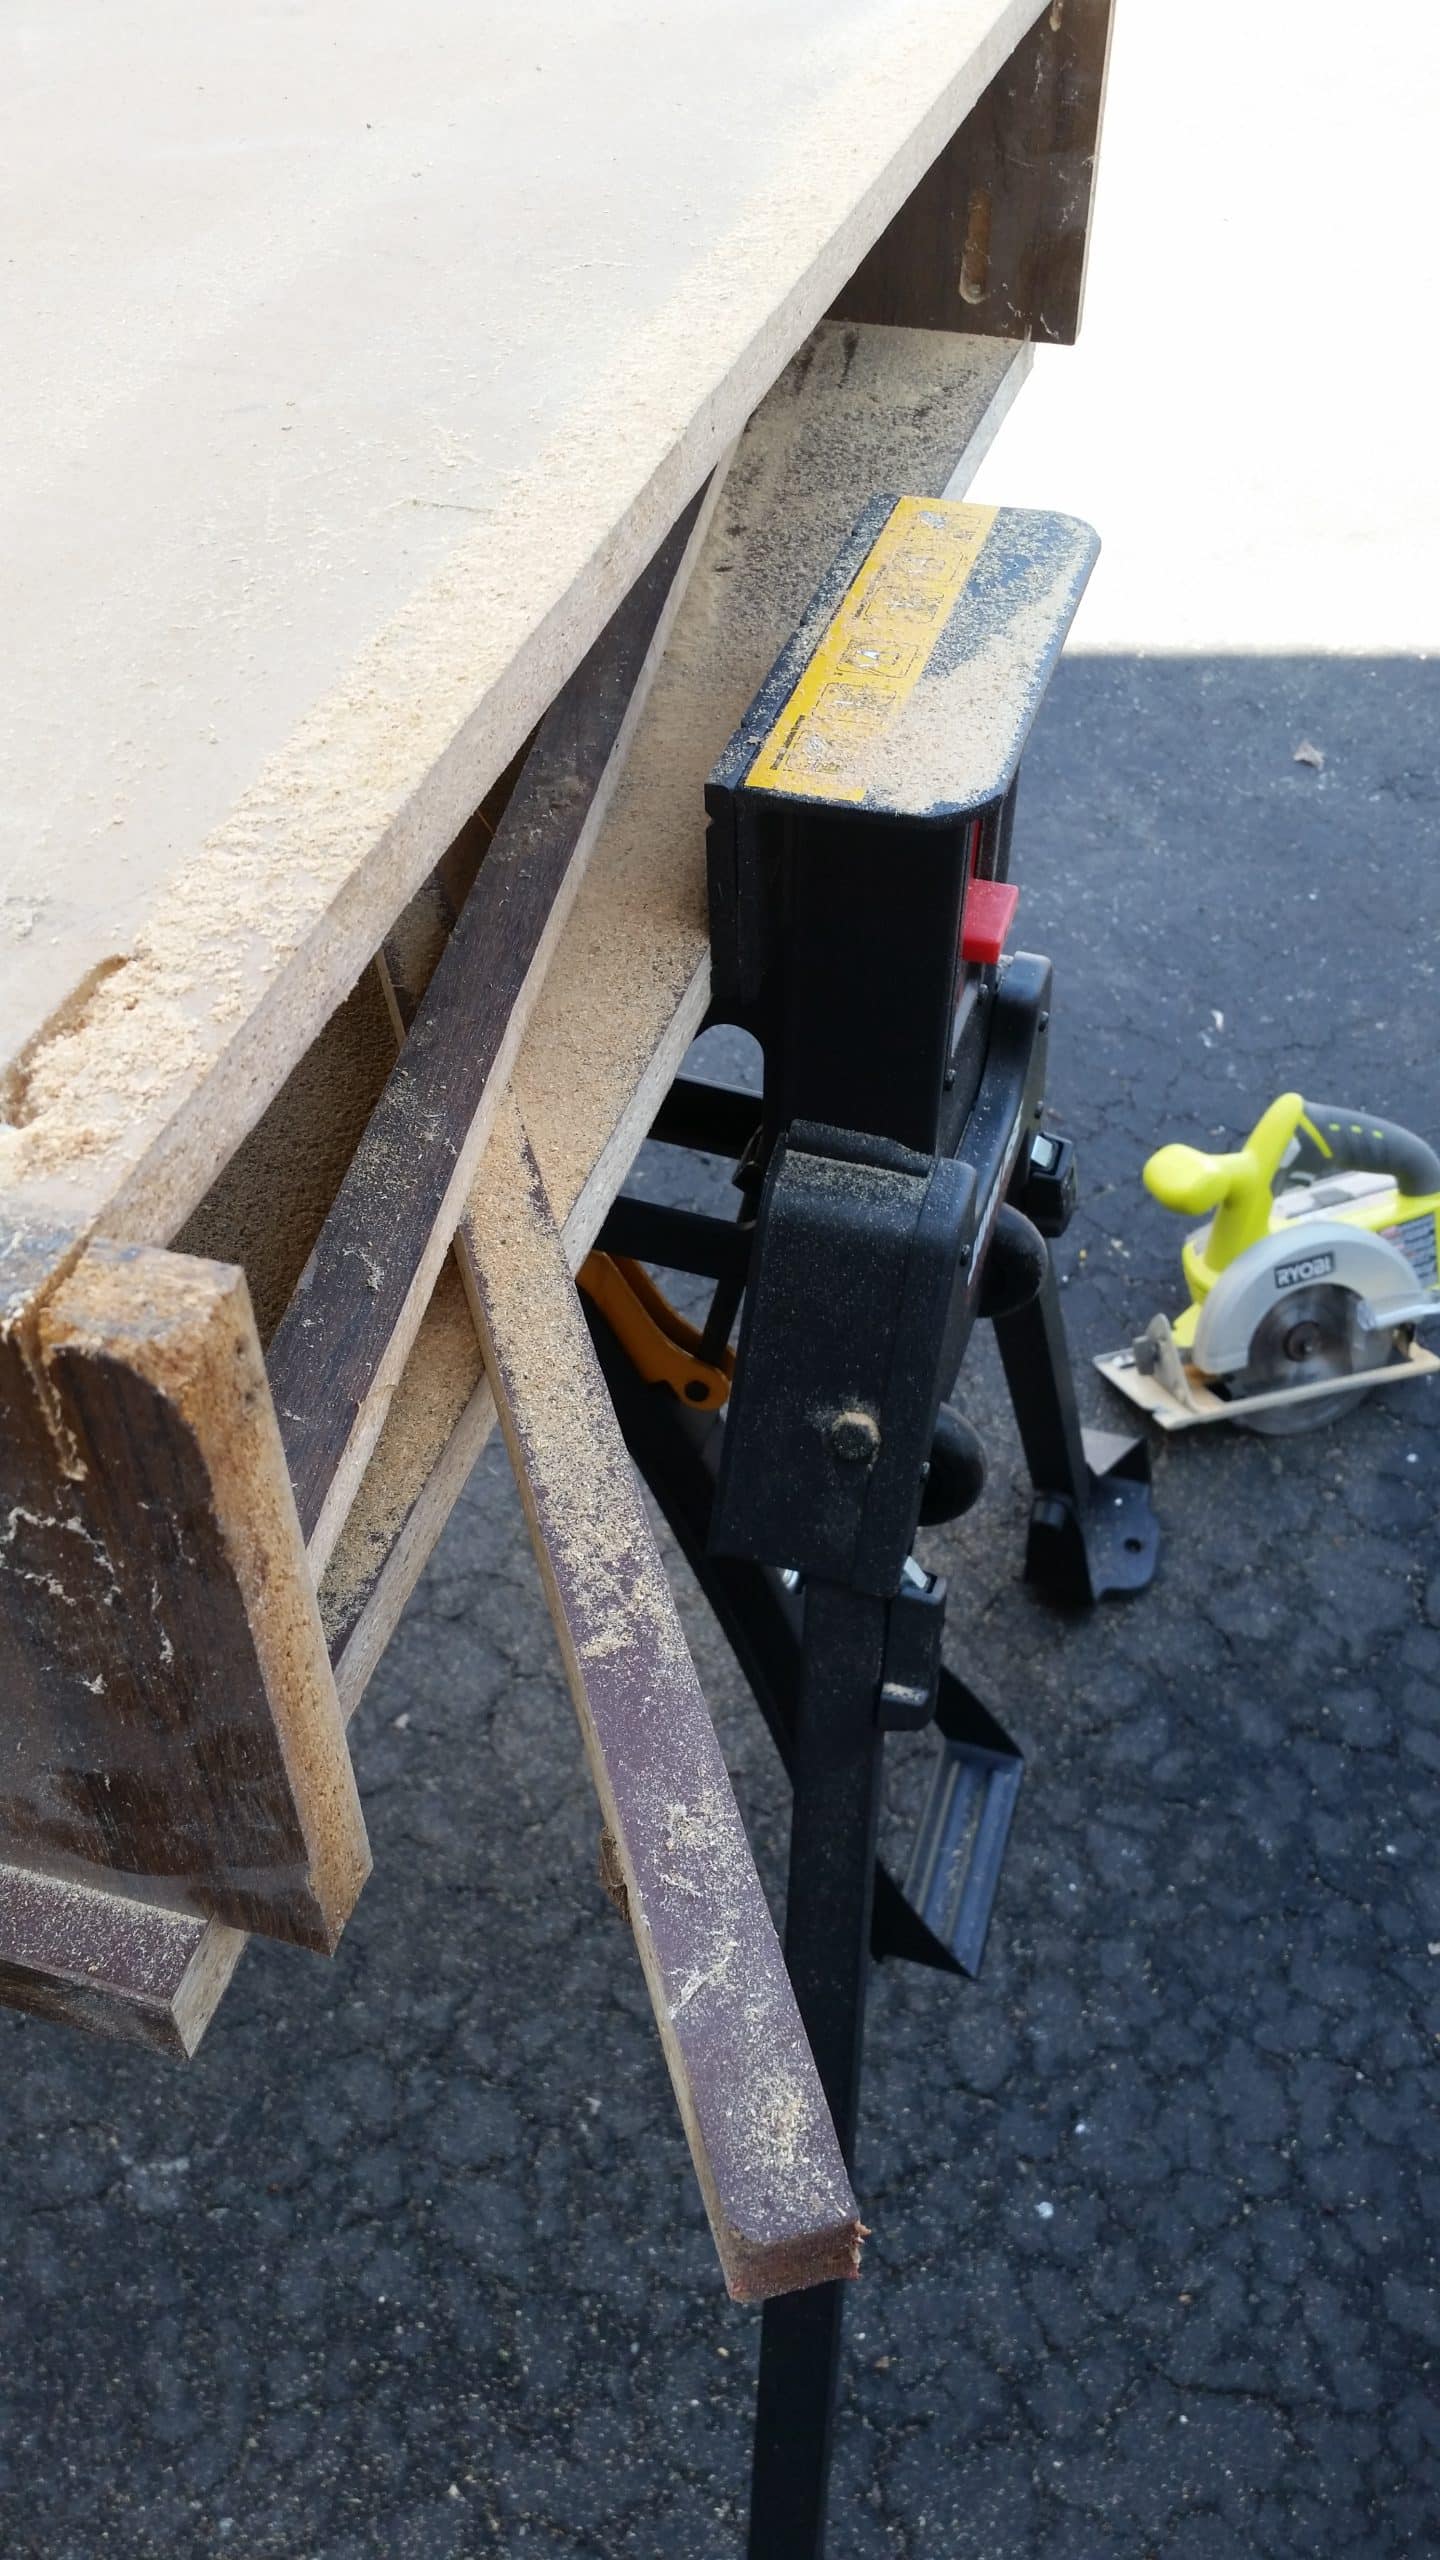
The Jawhorse is large enough to clamp the drawer piece (bench seat) while I get busy attaching the twin headboard (bench back).

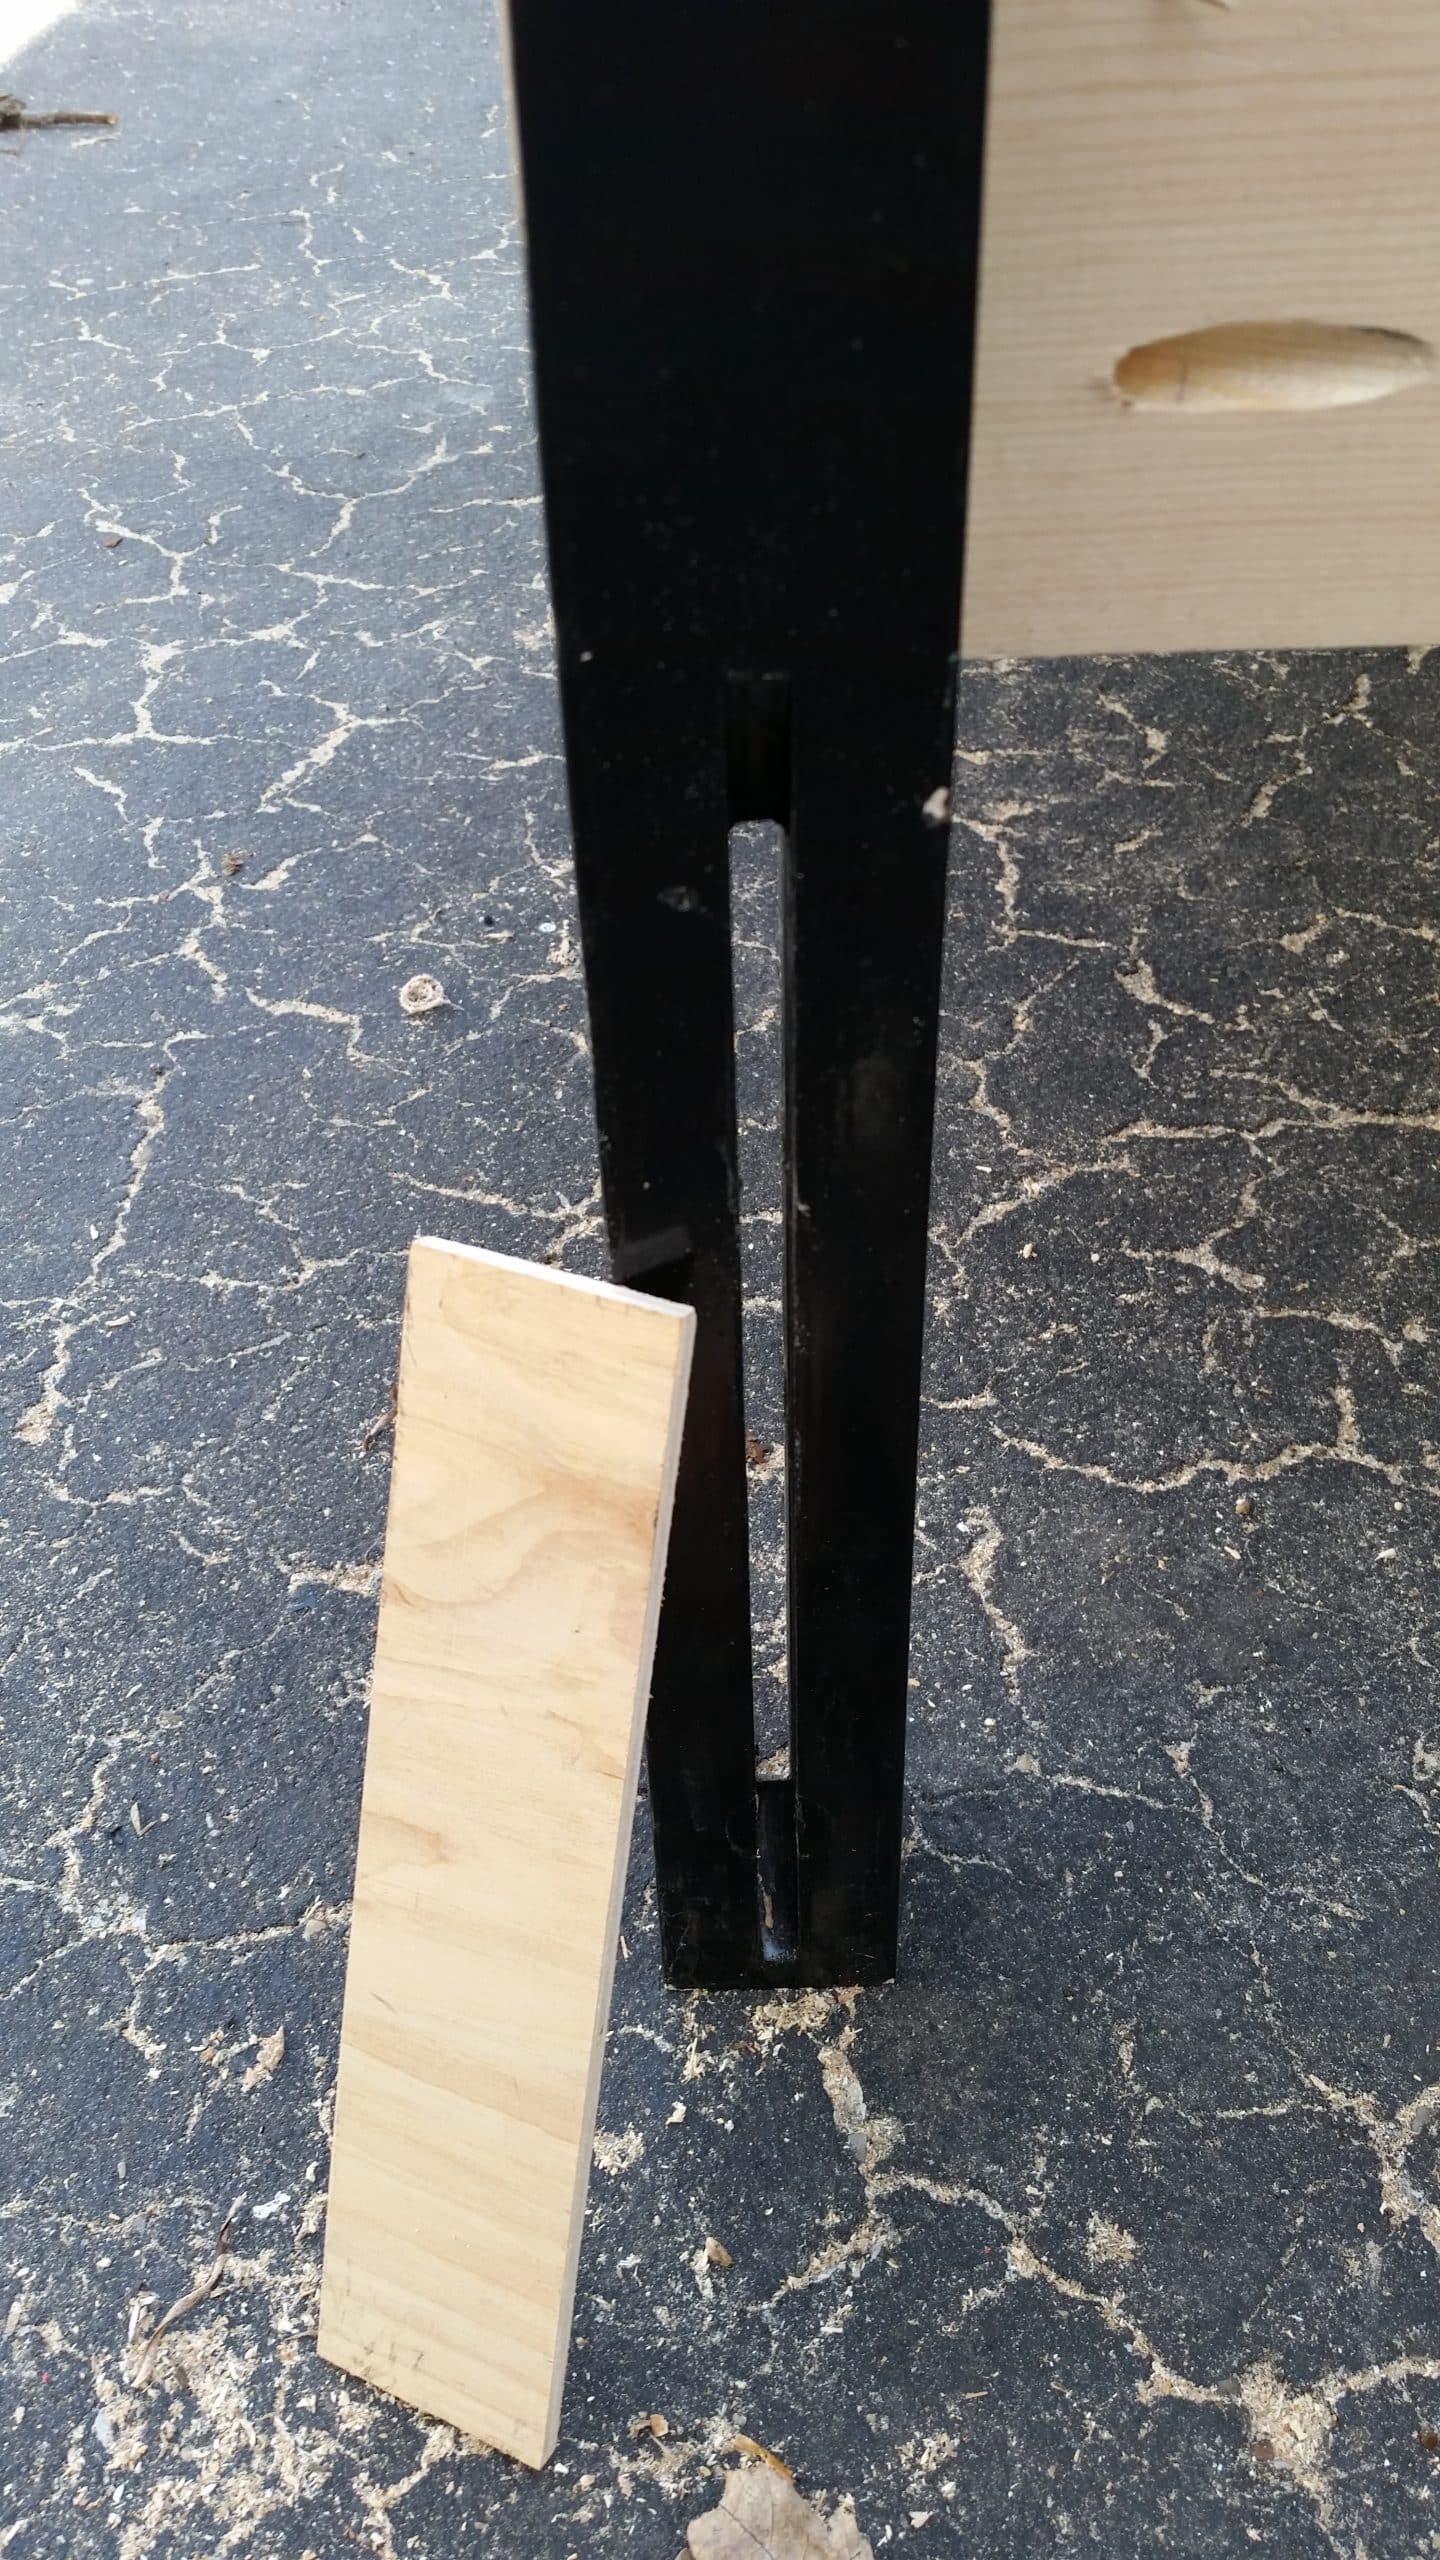
As I was preparing to attach the arm rests, I noticed that there was a small gap, and cut a scrap board to fill it. I glued and screwed the scrap in place before securing the pocket hole screws. This is a common problem when making headboard benches.
Making adjustments to ill fitting legs
Day one ended, with this much done. There is an issue with the drawer unit not meeting the legs. I’ll fix that!
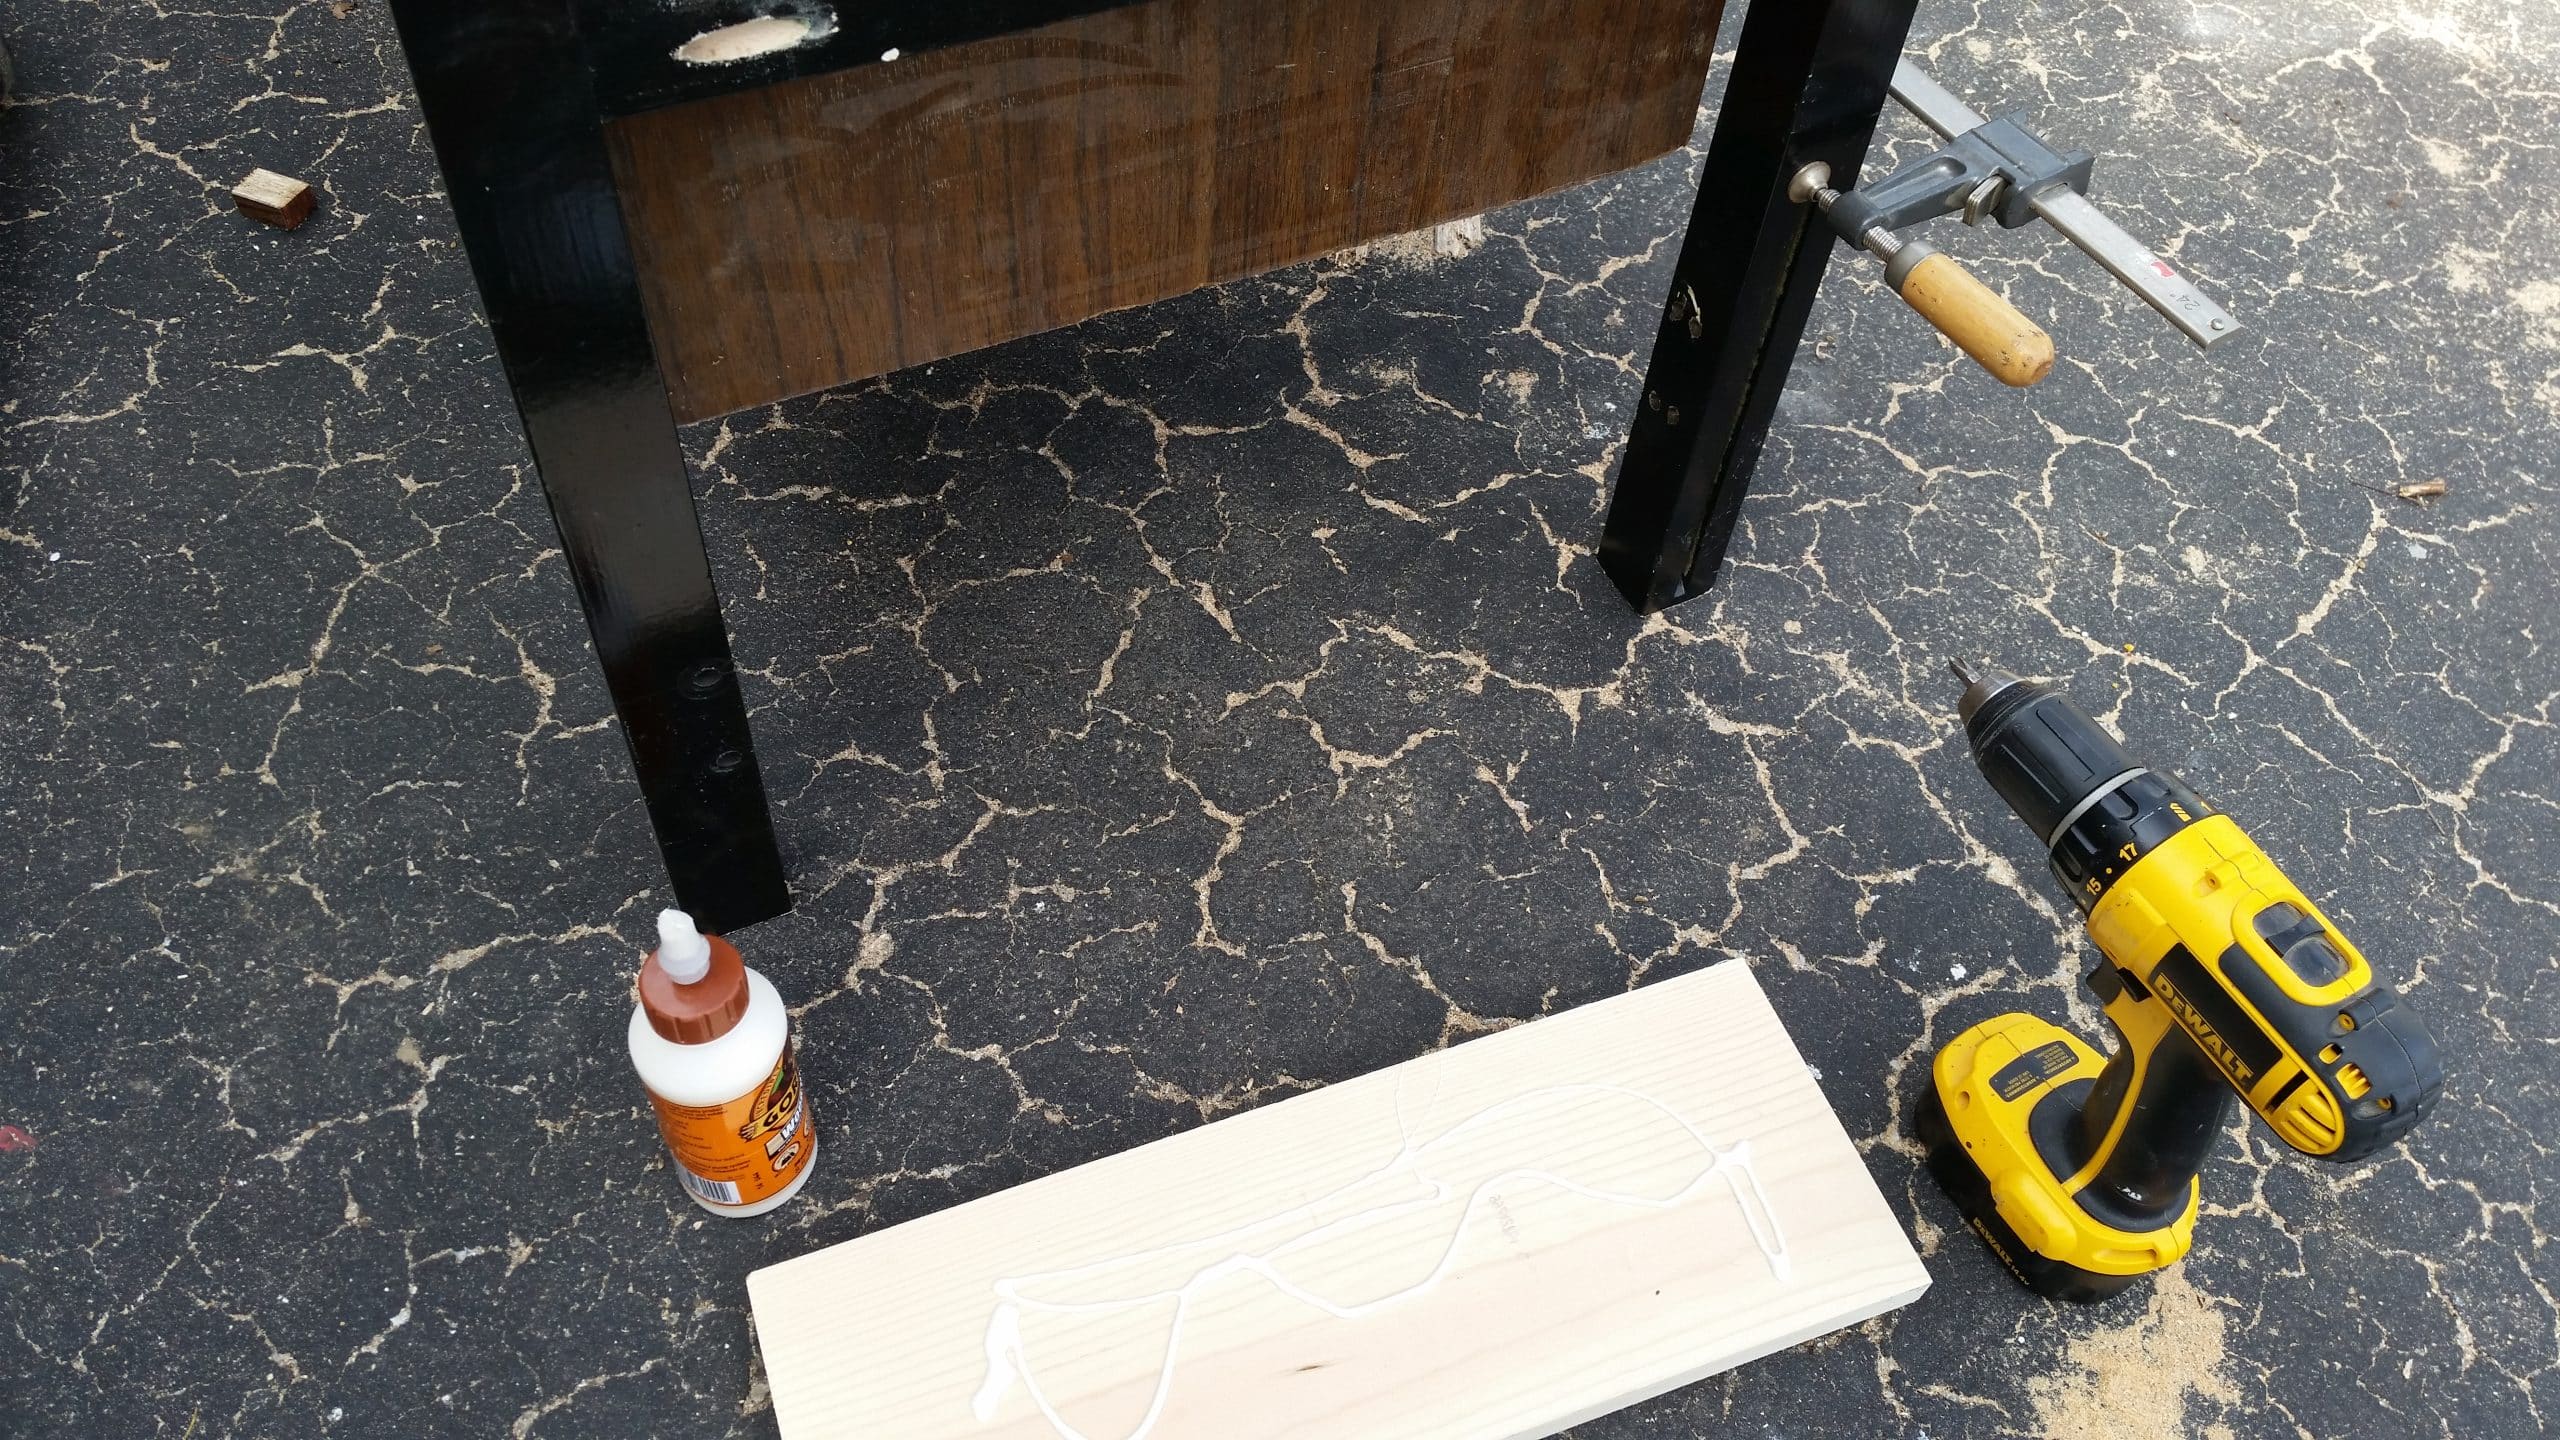
Day 2–I ripped some 1x’s down to size and attached them with Gorilla wood glue and screws.
Easy patching for bed slats
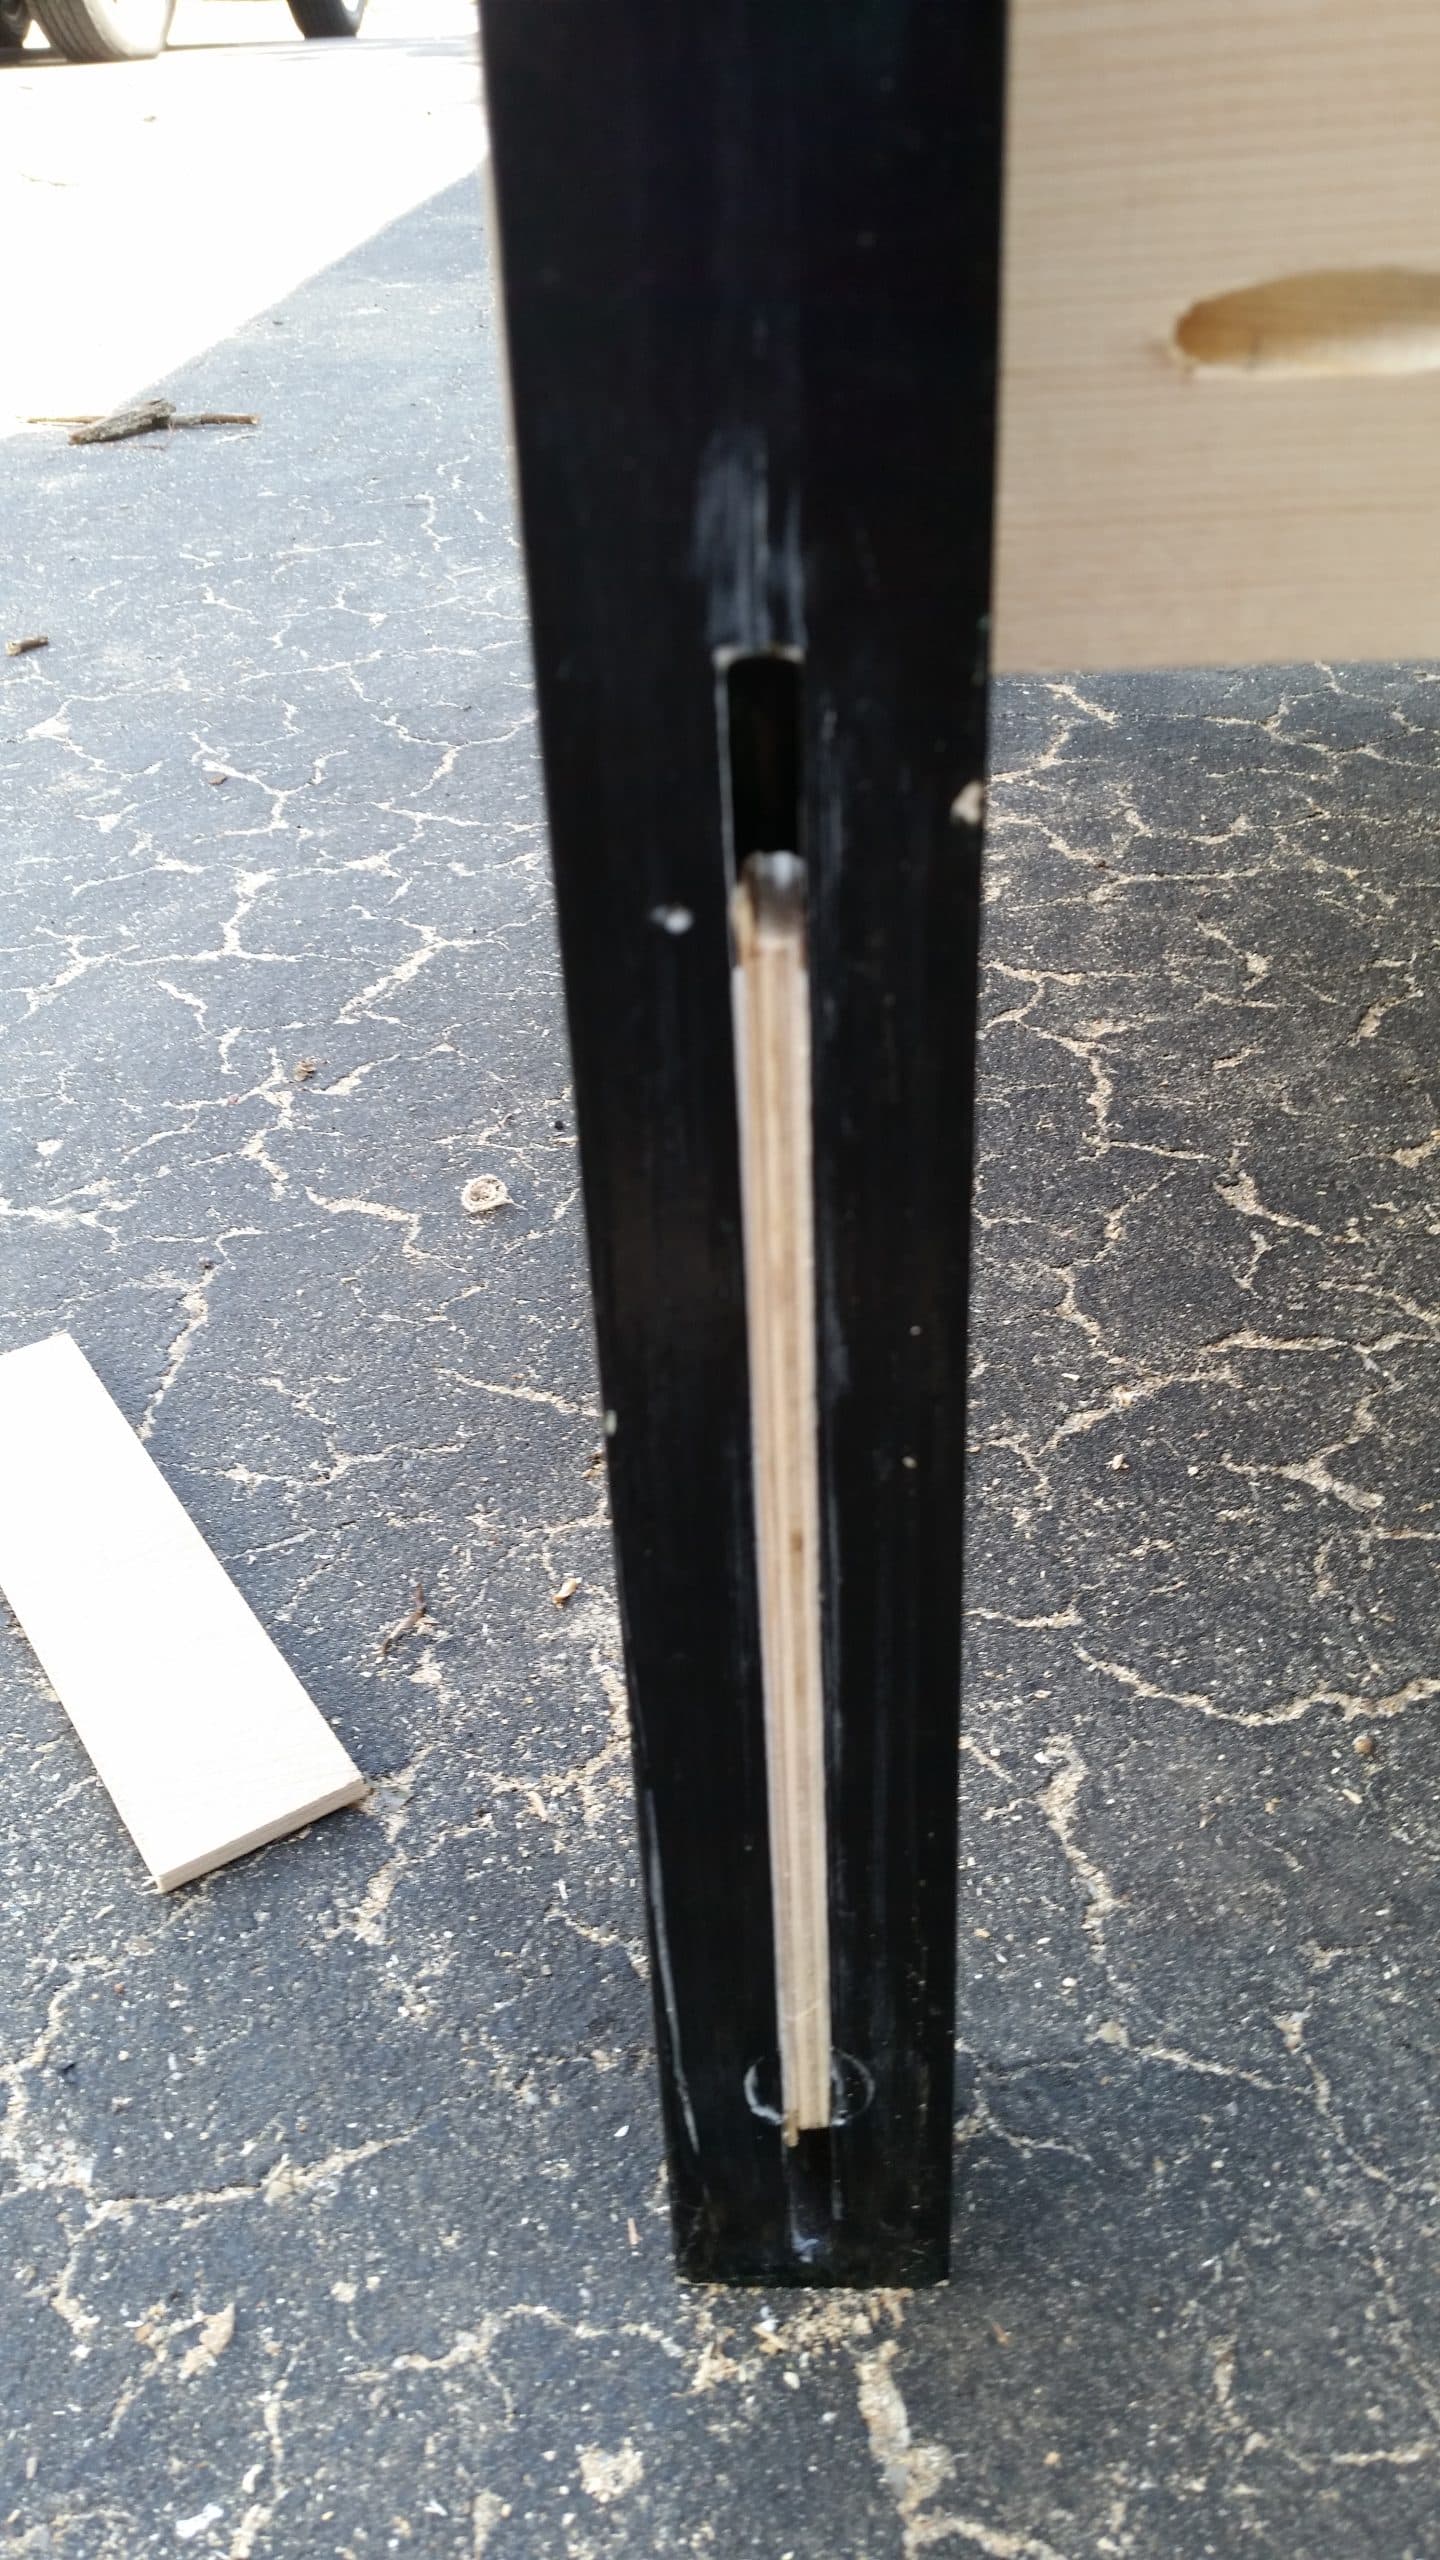
Here you can see that I drilled pocket holes on the fill in boards to attach them to the front legs for support. I also wanted to show you the large gaps on EVERY leg of this bed. Instead of filling the gaps, I used some scrap plywood stuffed in the gaps, secured with wood glue and staples.
There was a slanted piece at the top and bottom of each gap that I was unable to fill with scrap wood, so I used spackling for that.
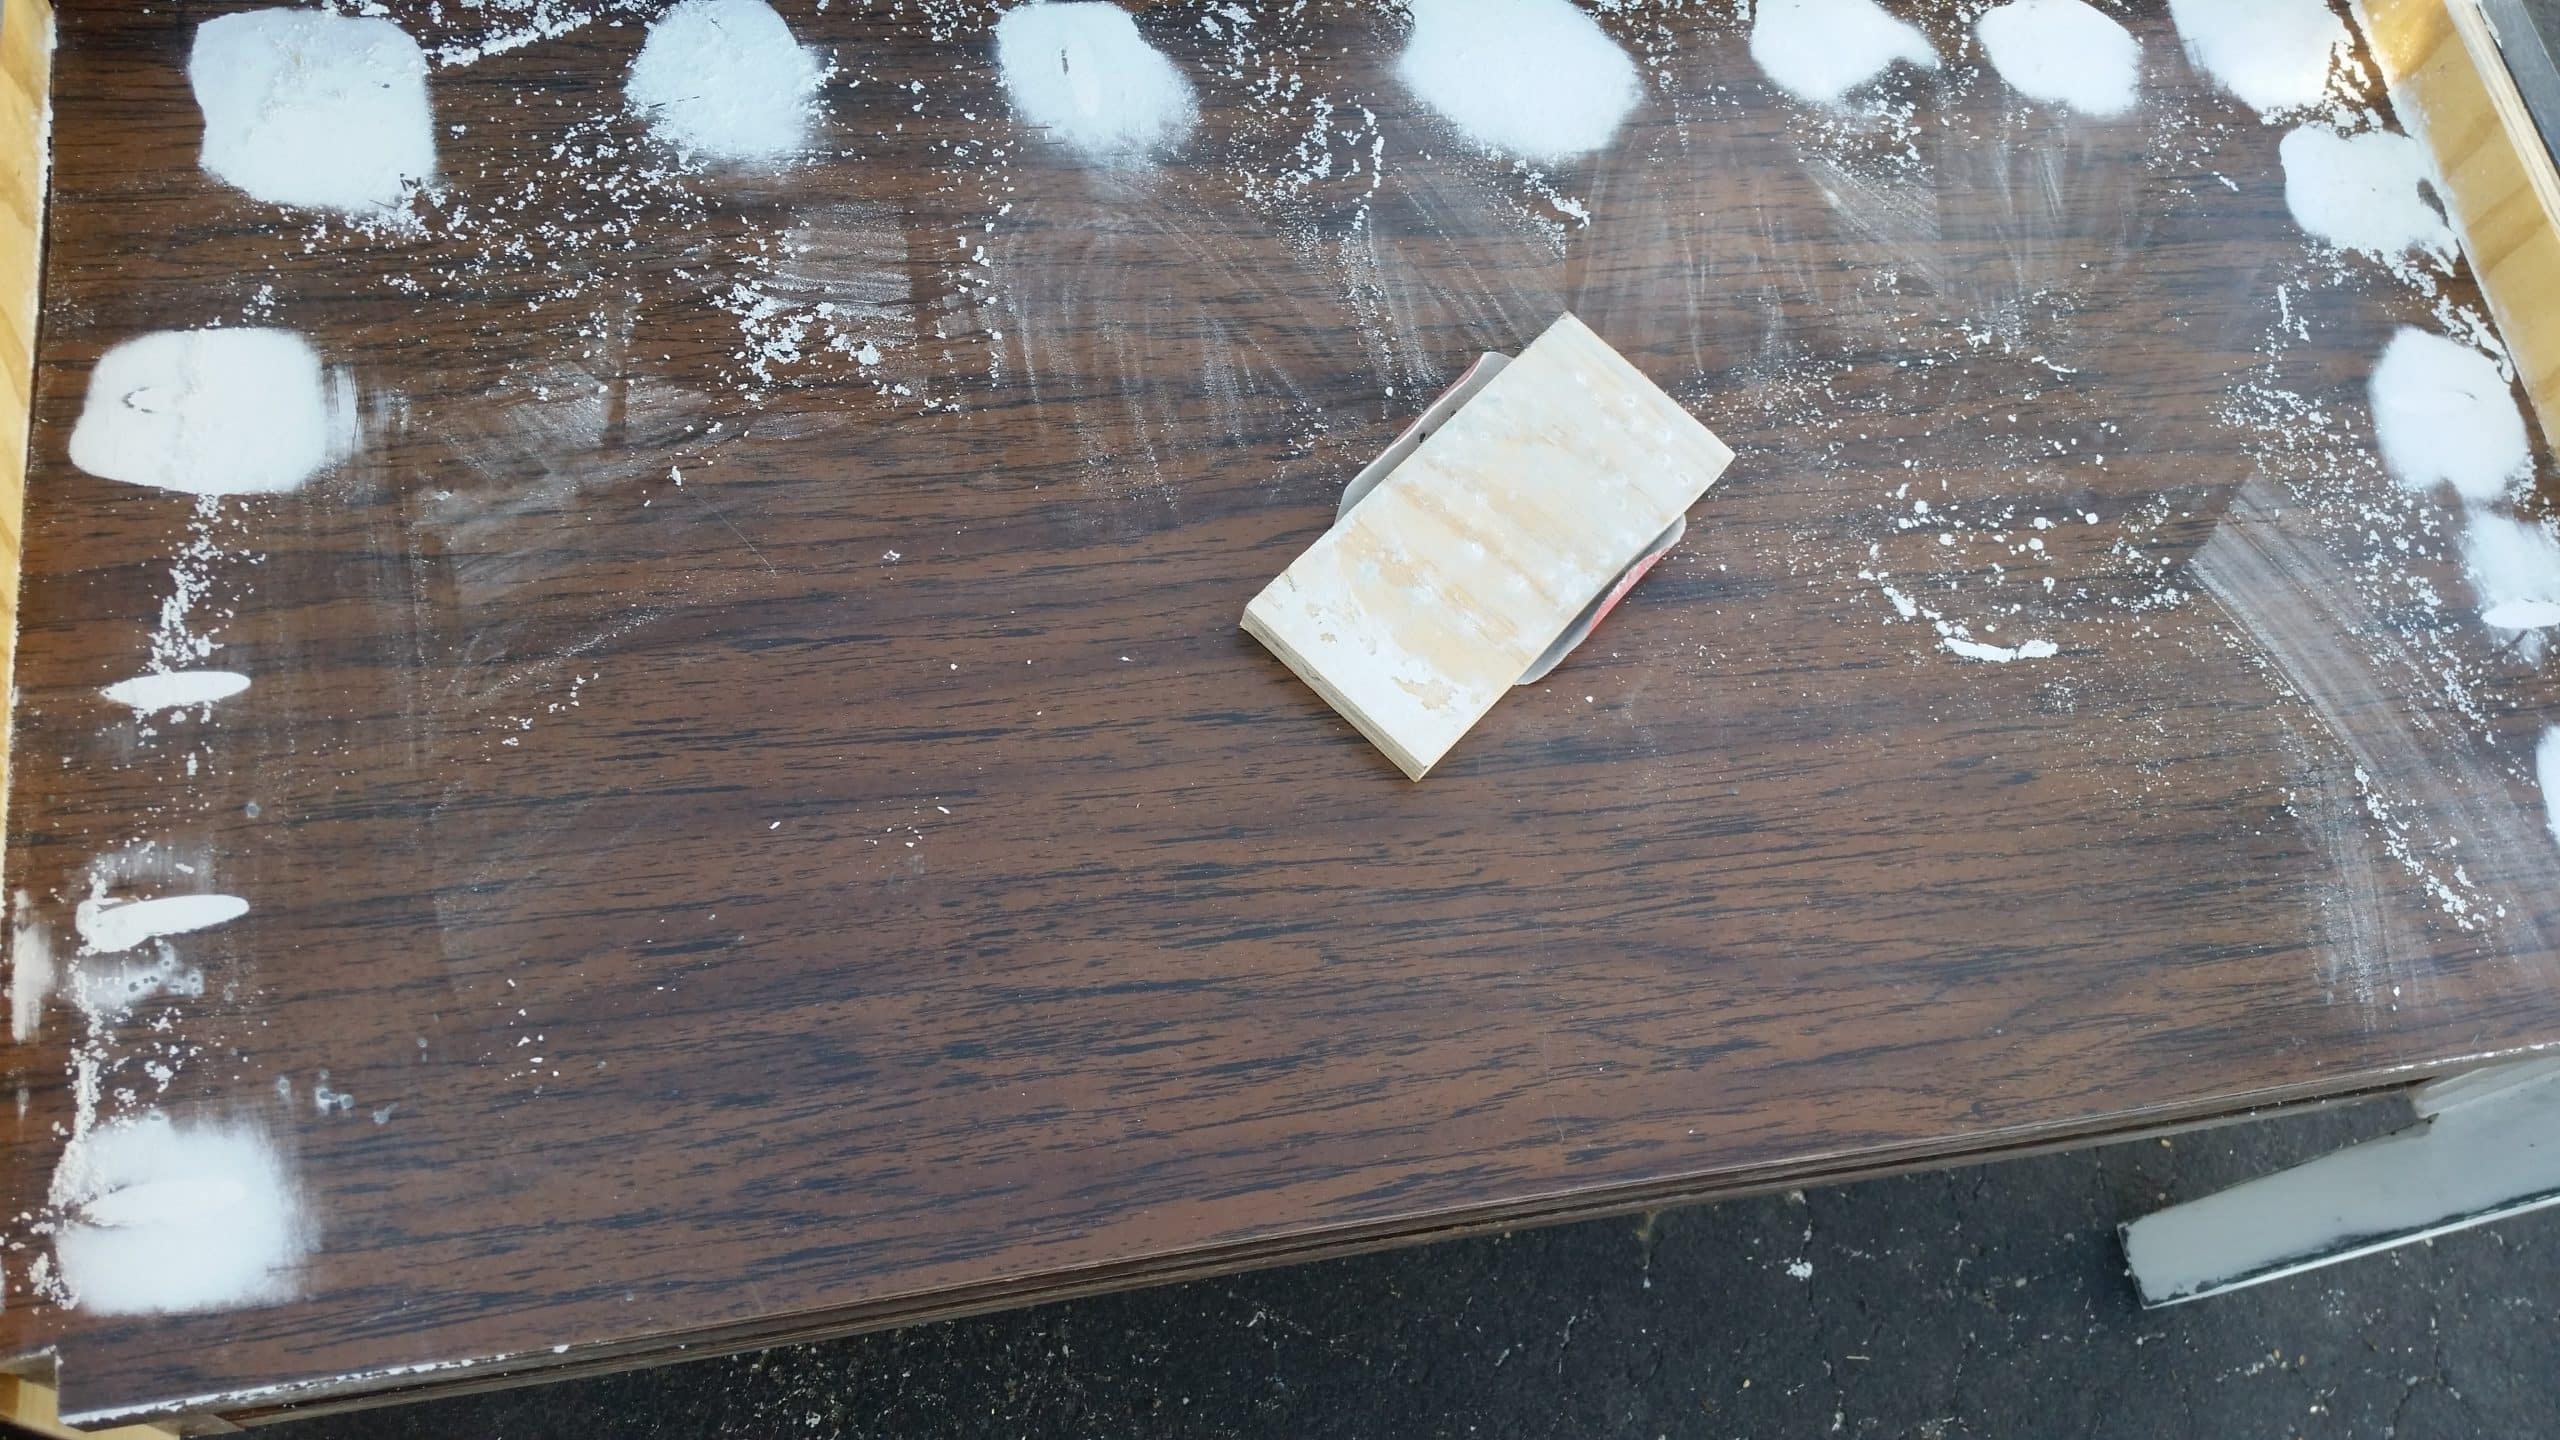
I filled all the pocket holes and random holes on the twin bed frame with spackling.
TIP: using a piece of sandpaper on a small scrap of wood helps you to get s smooth sanded surface.
Prepare to paint twin headboard bench
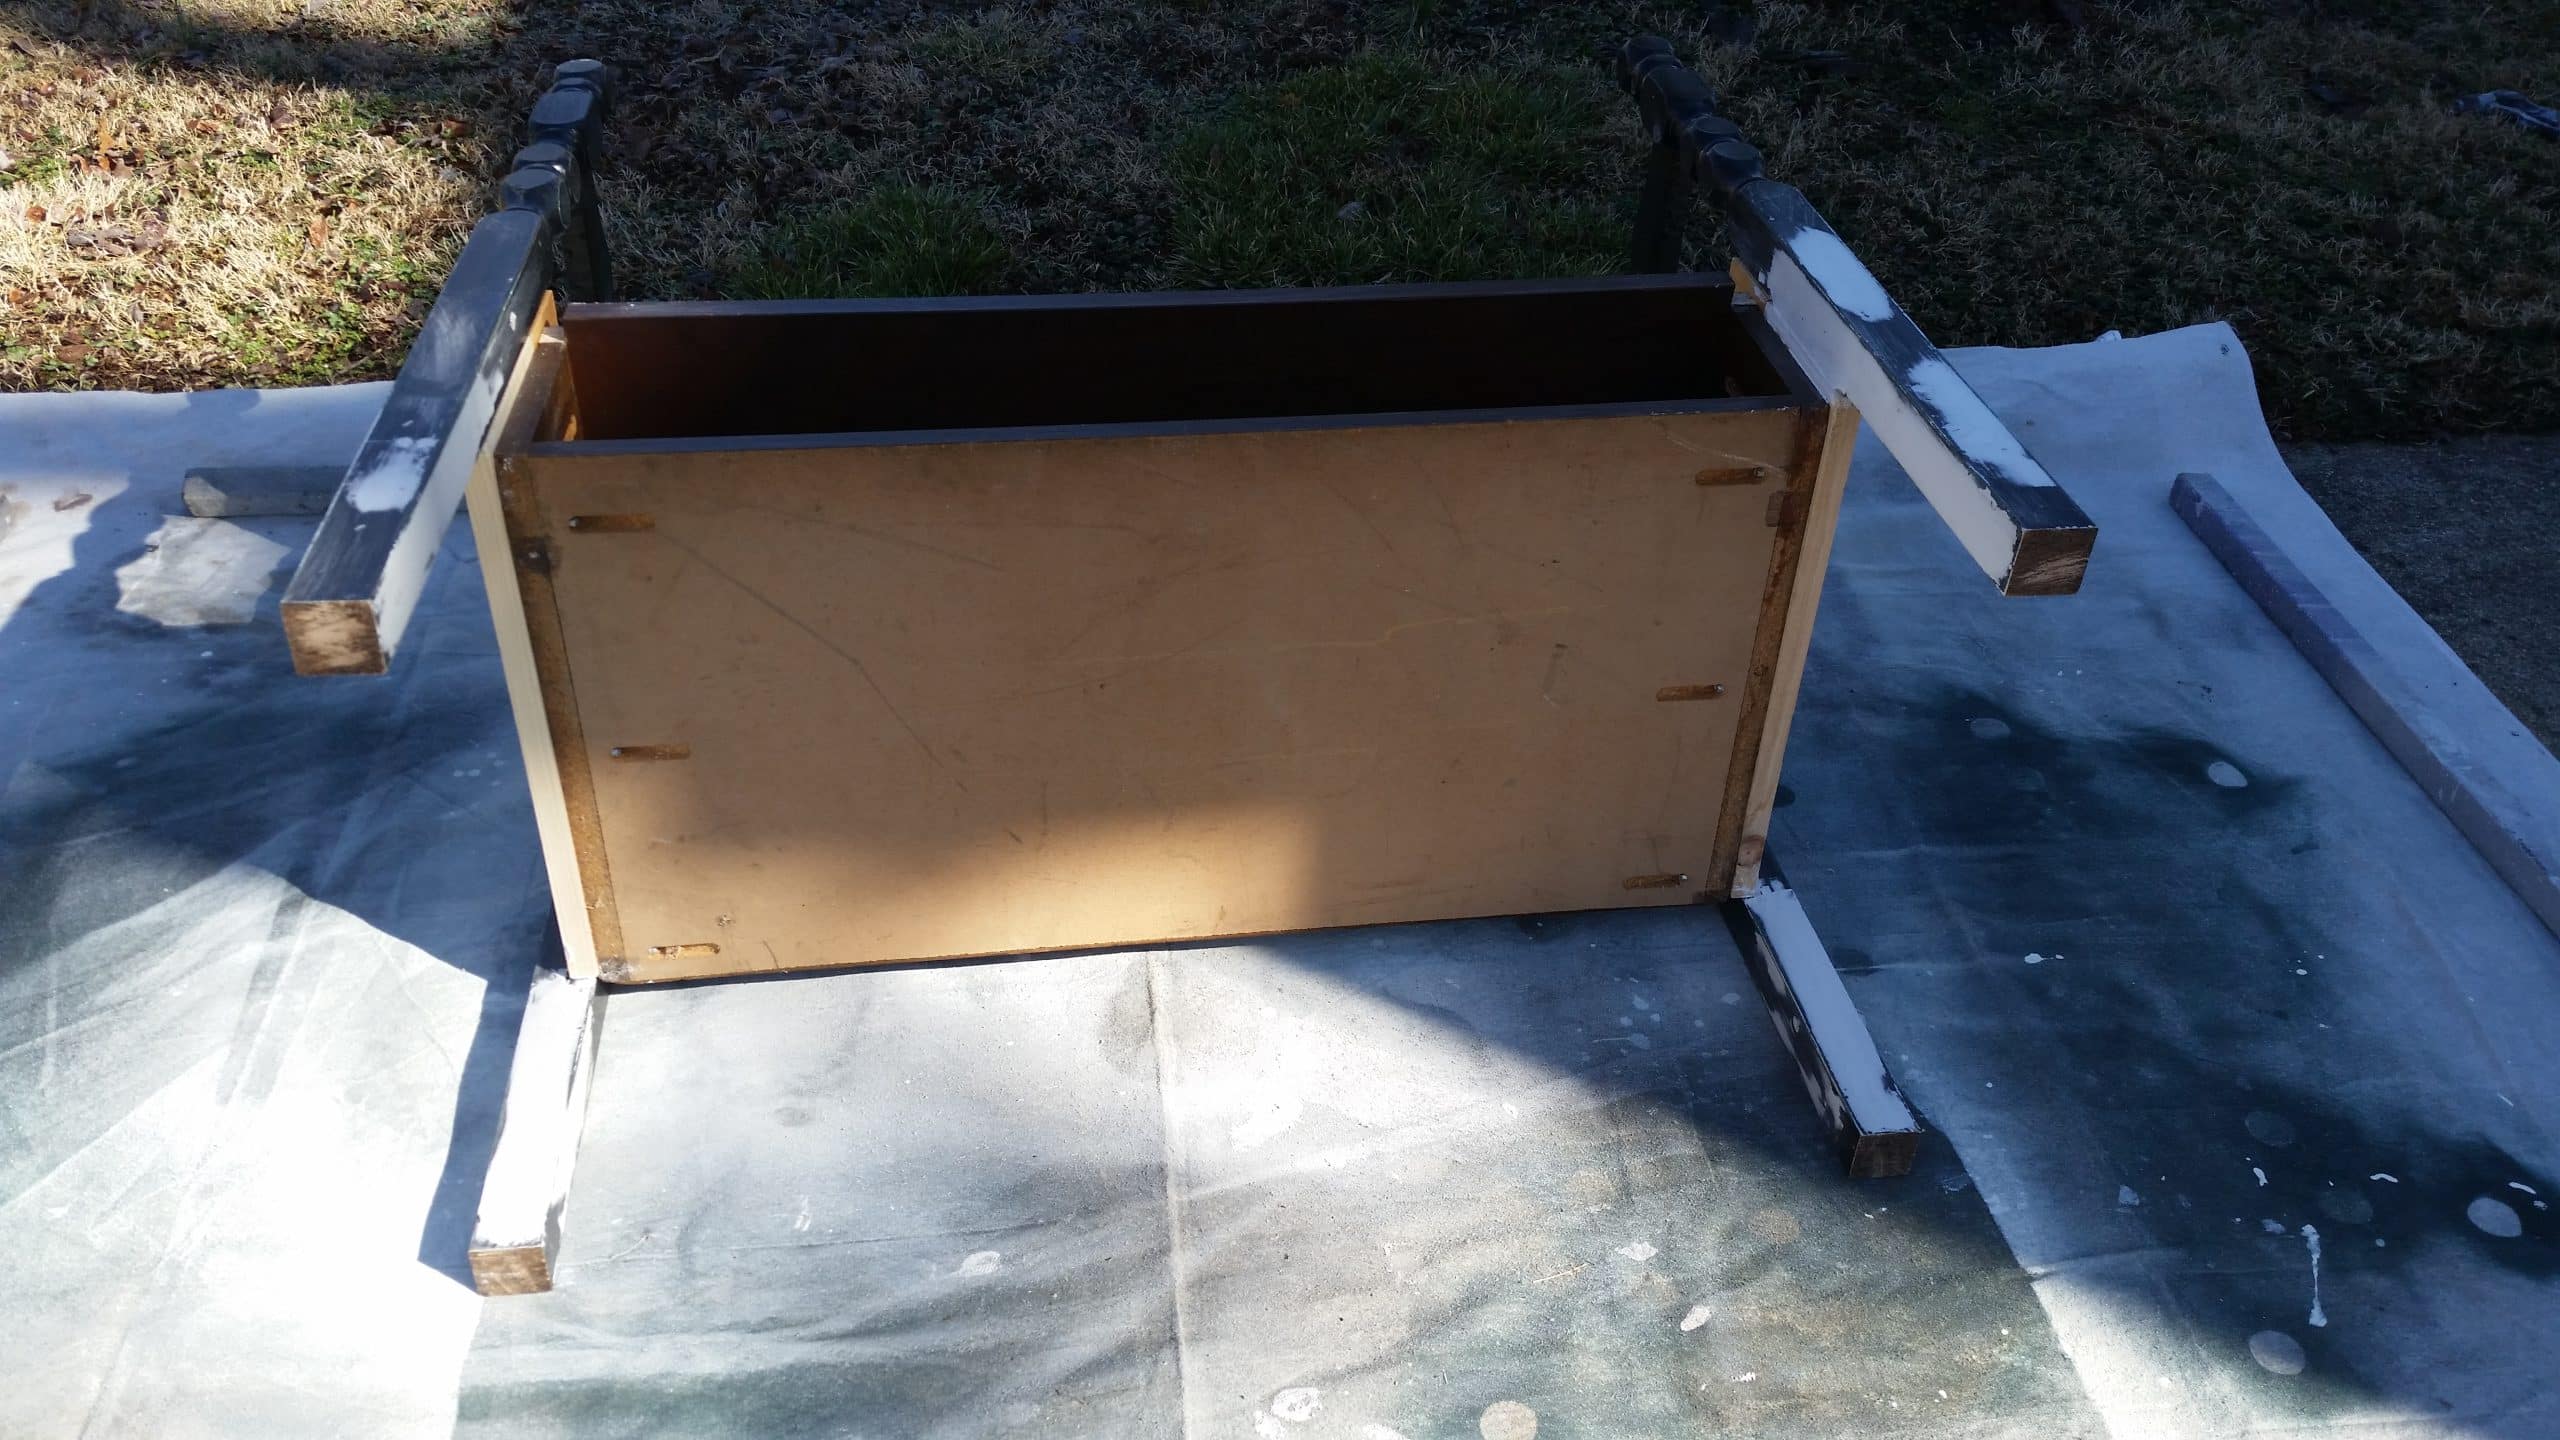
And… it’s ready for paint. I start with the underneath side.
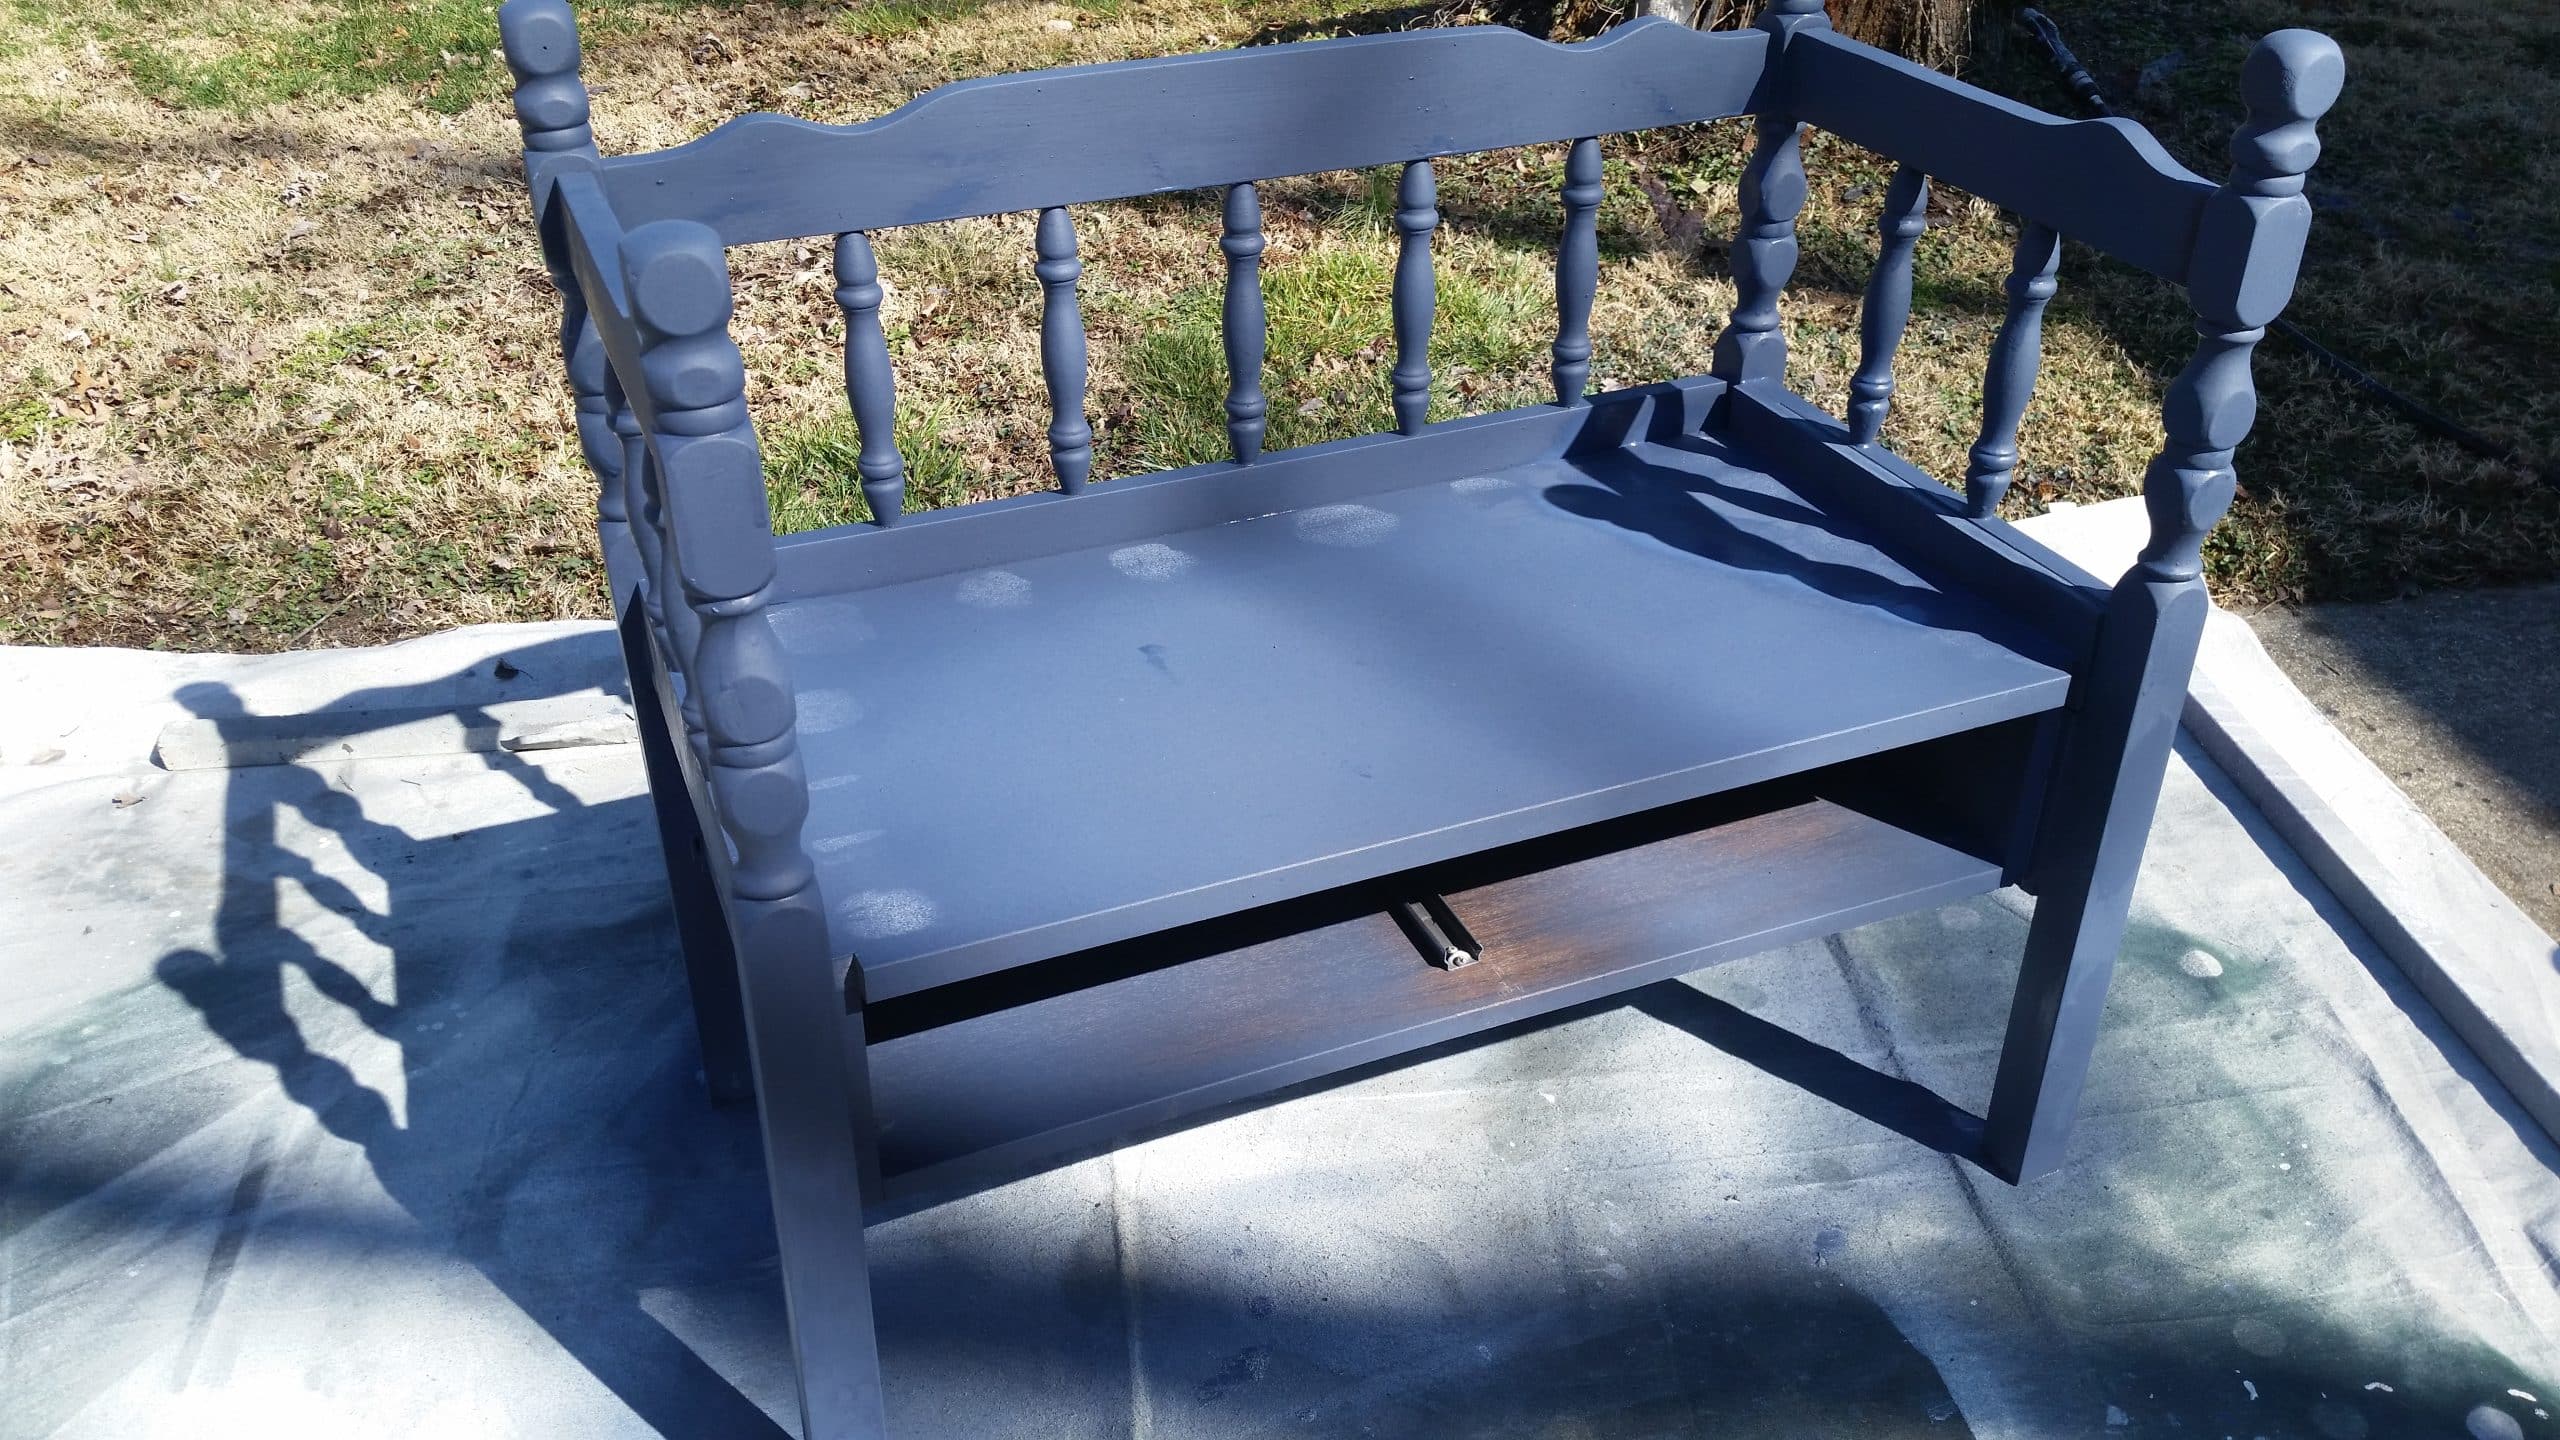
I used my HomeRight Finish Max to do a coat of DIY chalky paint primer in Naval (Sherwin Williams, color in Behr Paint)
Related Content: Navy Blue Furniture Projects
After a couple of light coats of the chalky paint primer , I did a couple of light coats of the paint in semi-gloss with the Finish Max.
Did you notice in the picture above that the drawer was missing? That’s because it was getting a little makeover of it’s own. While getting ready to paint it, I noticed that the front routed pieces were actually stapled onto the front of the drawer. I was happy to see that, because I didn’t think the style of the drawer front matched the headboard very well. I was able to pry the three pieces off, giving a sleek look to the drawer front.
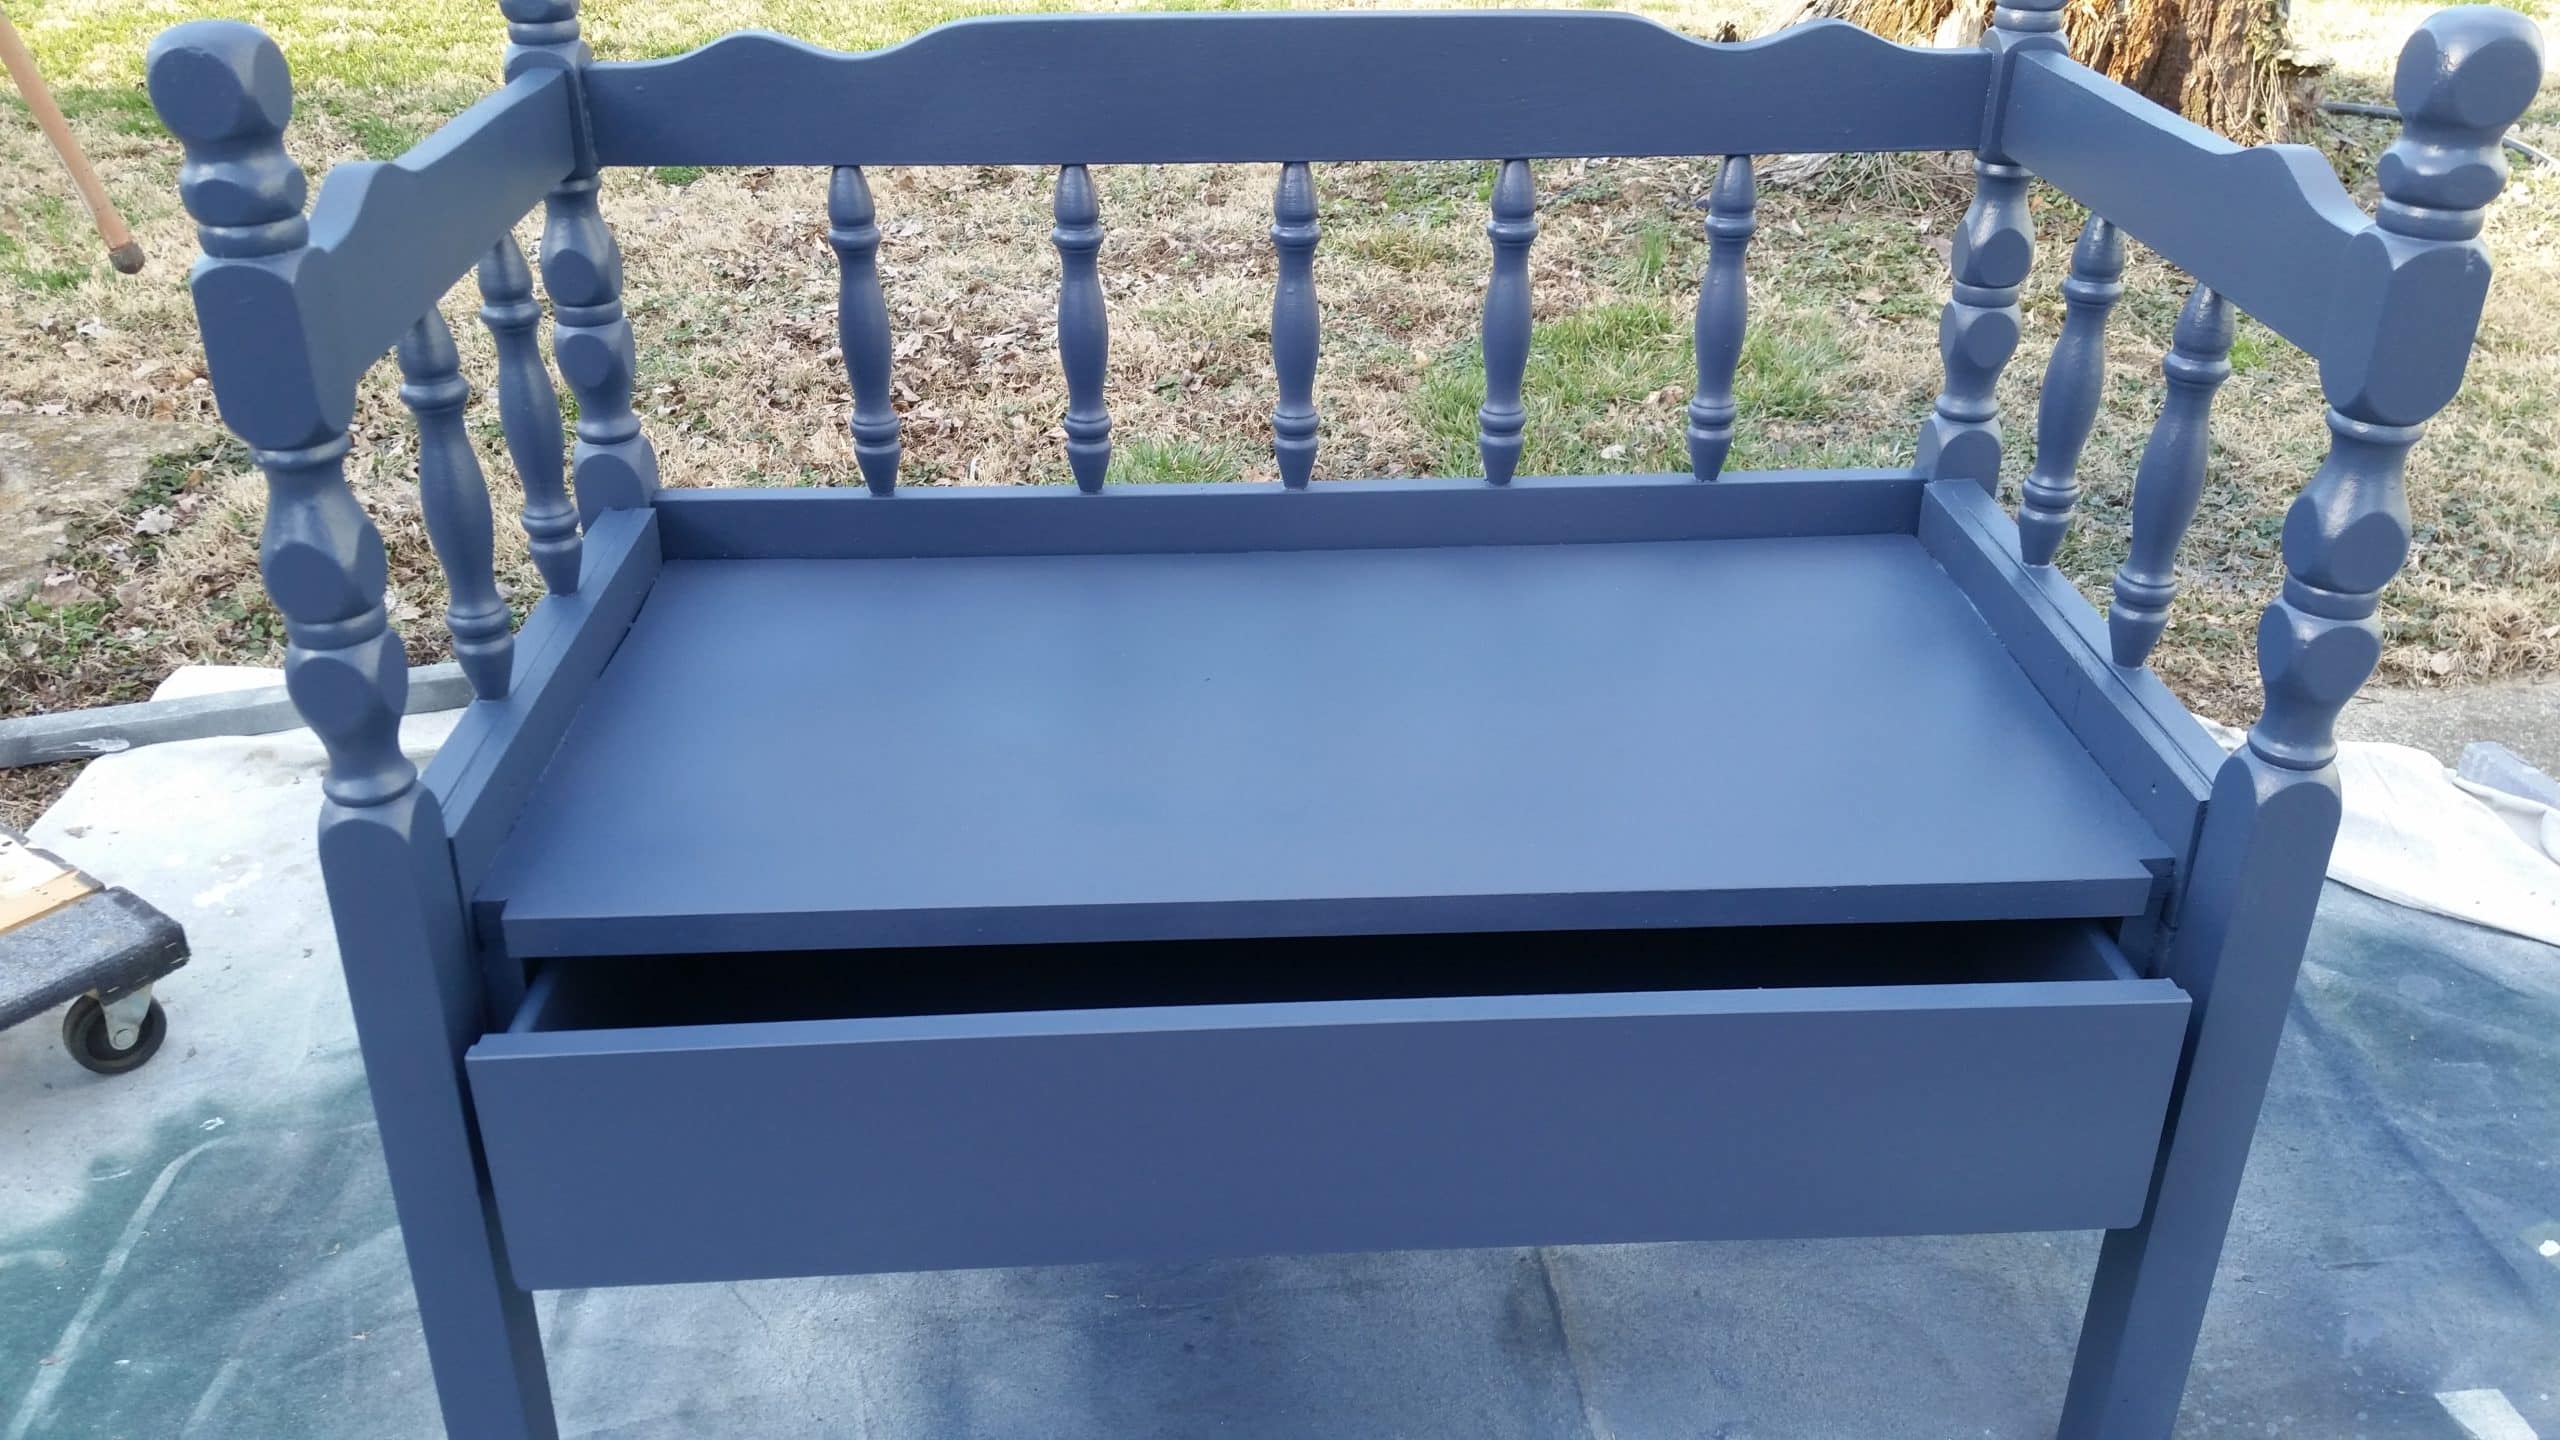
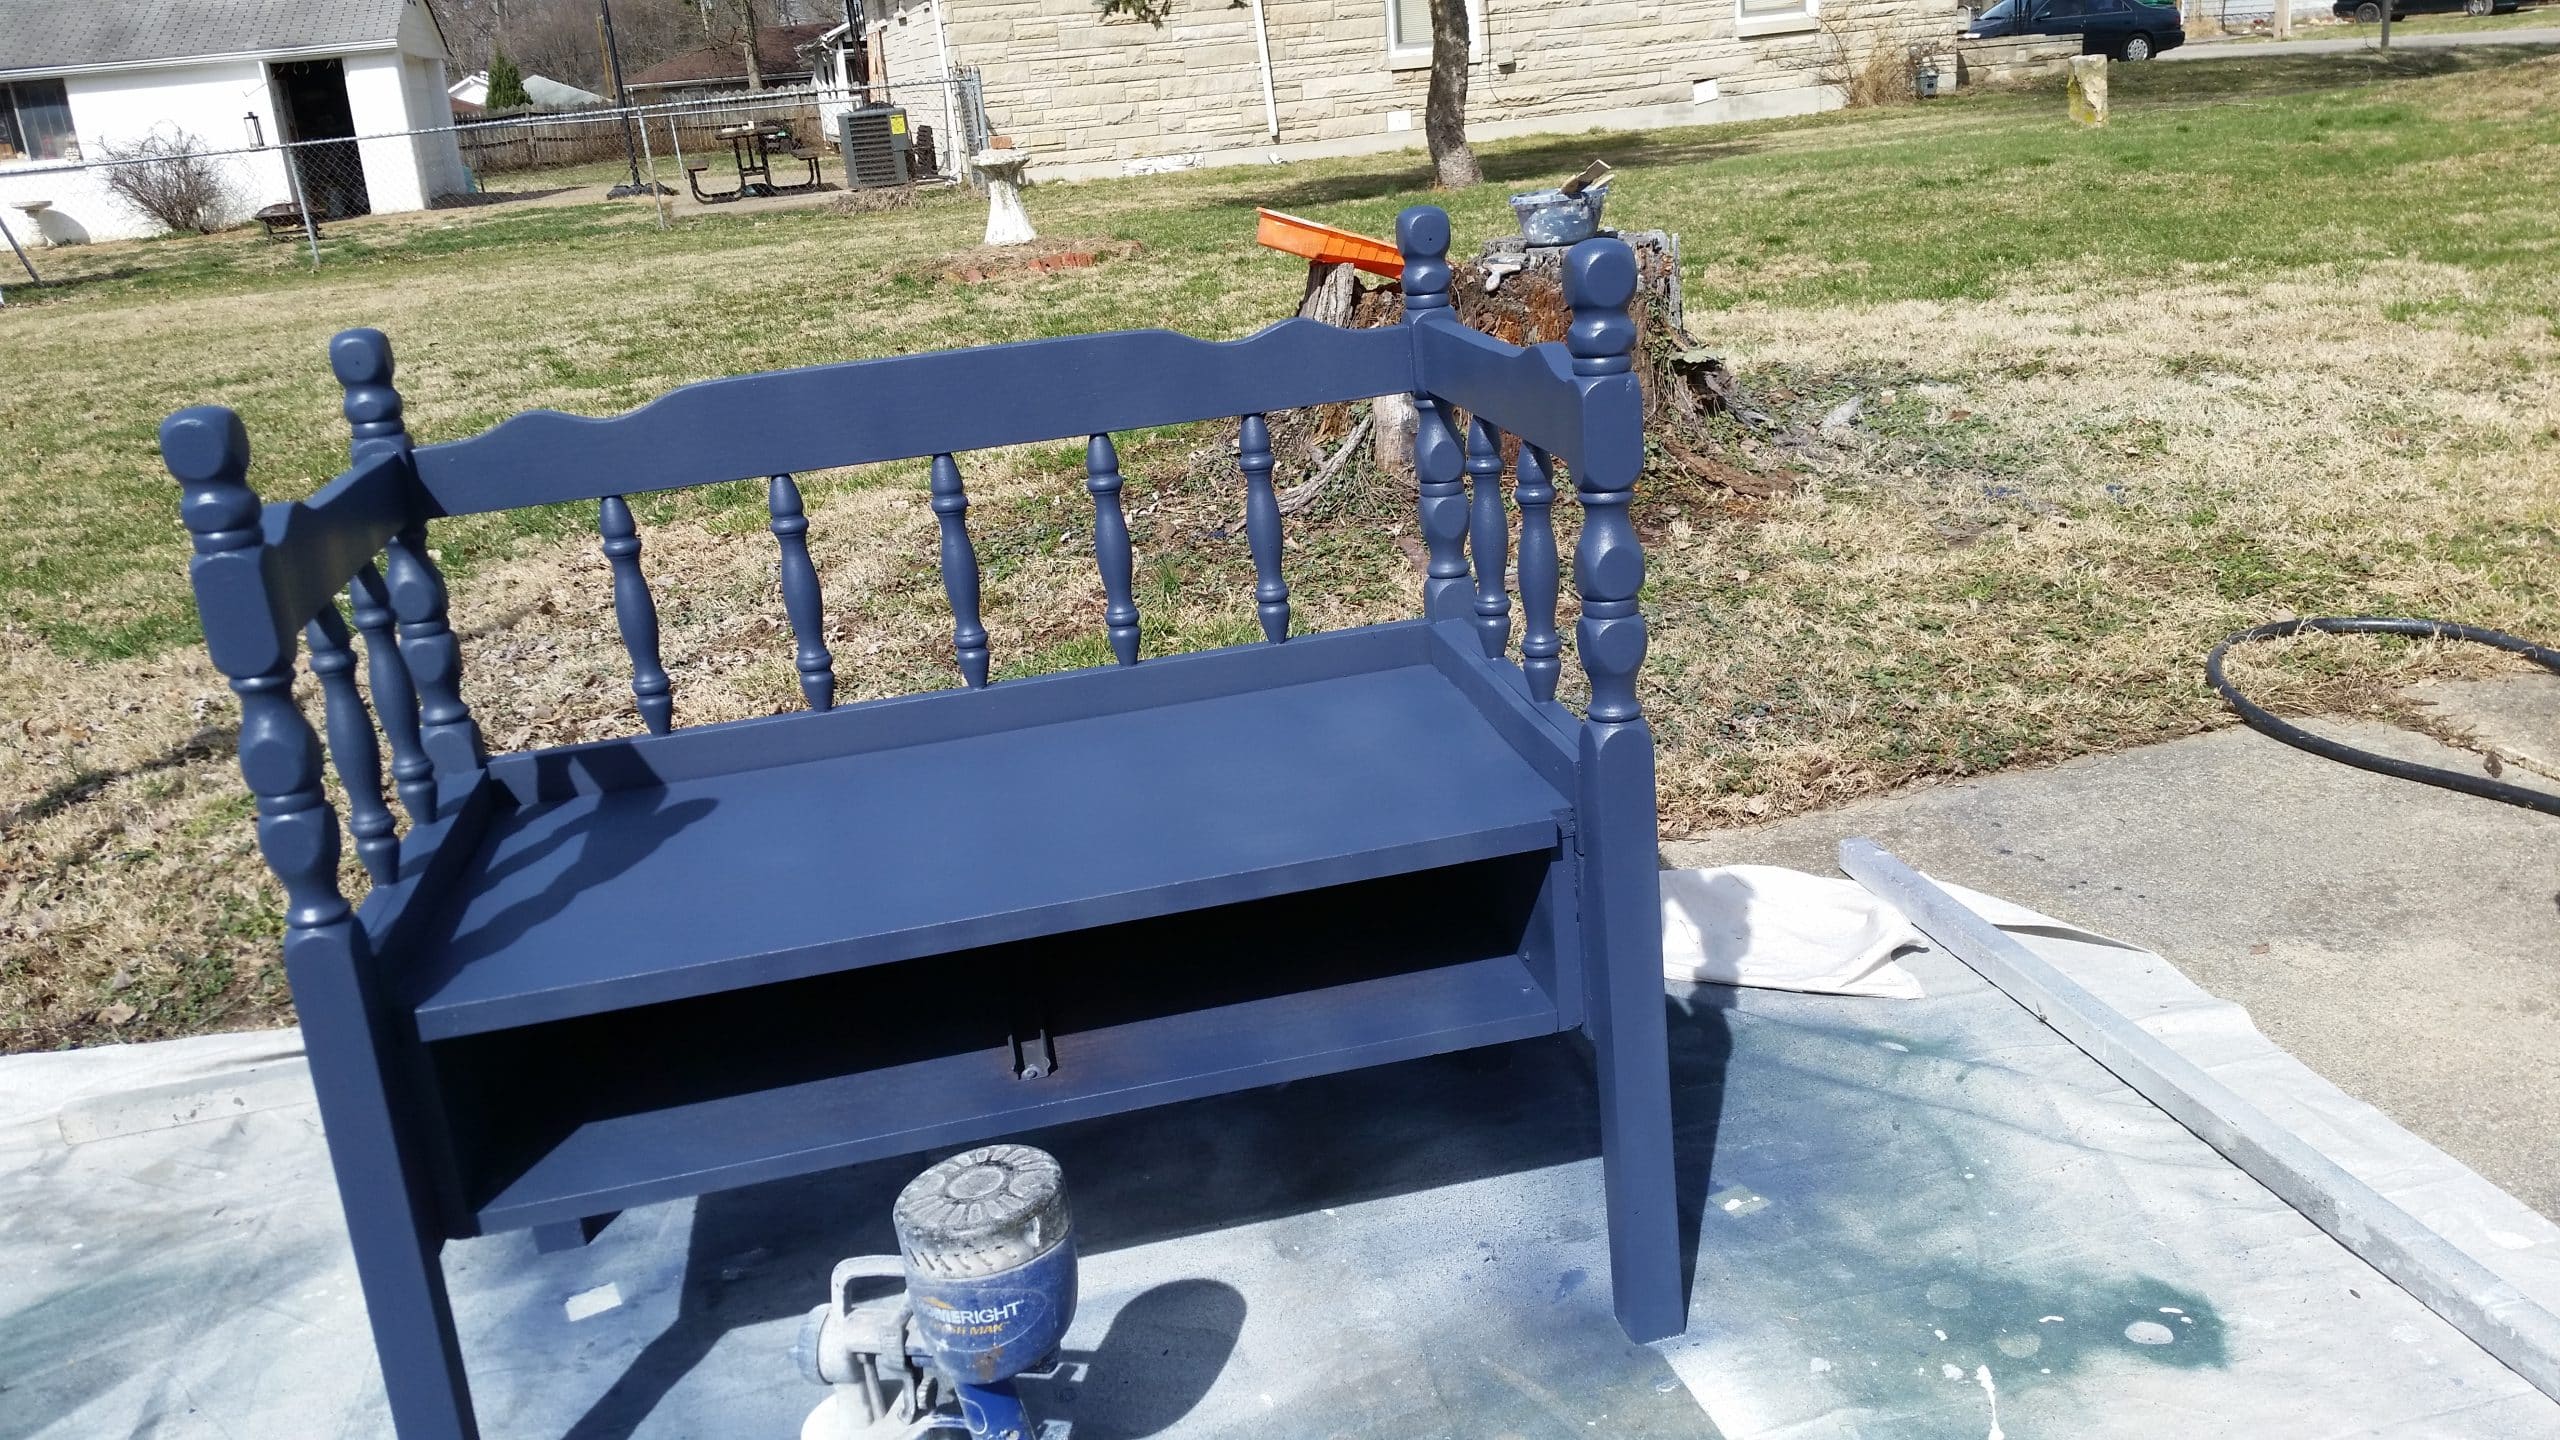
voila! It’s almost done.
Frugal option for foam when upholstering headboard benches
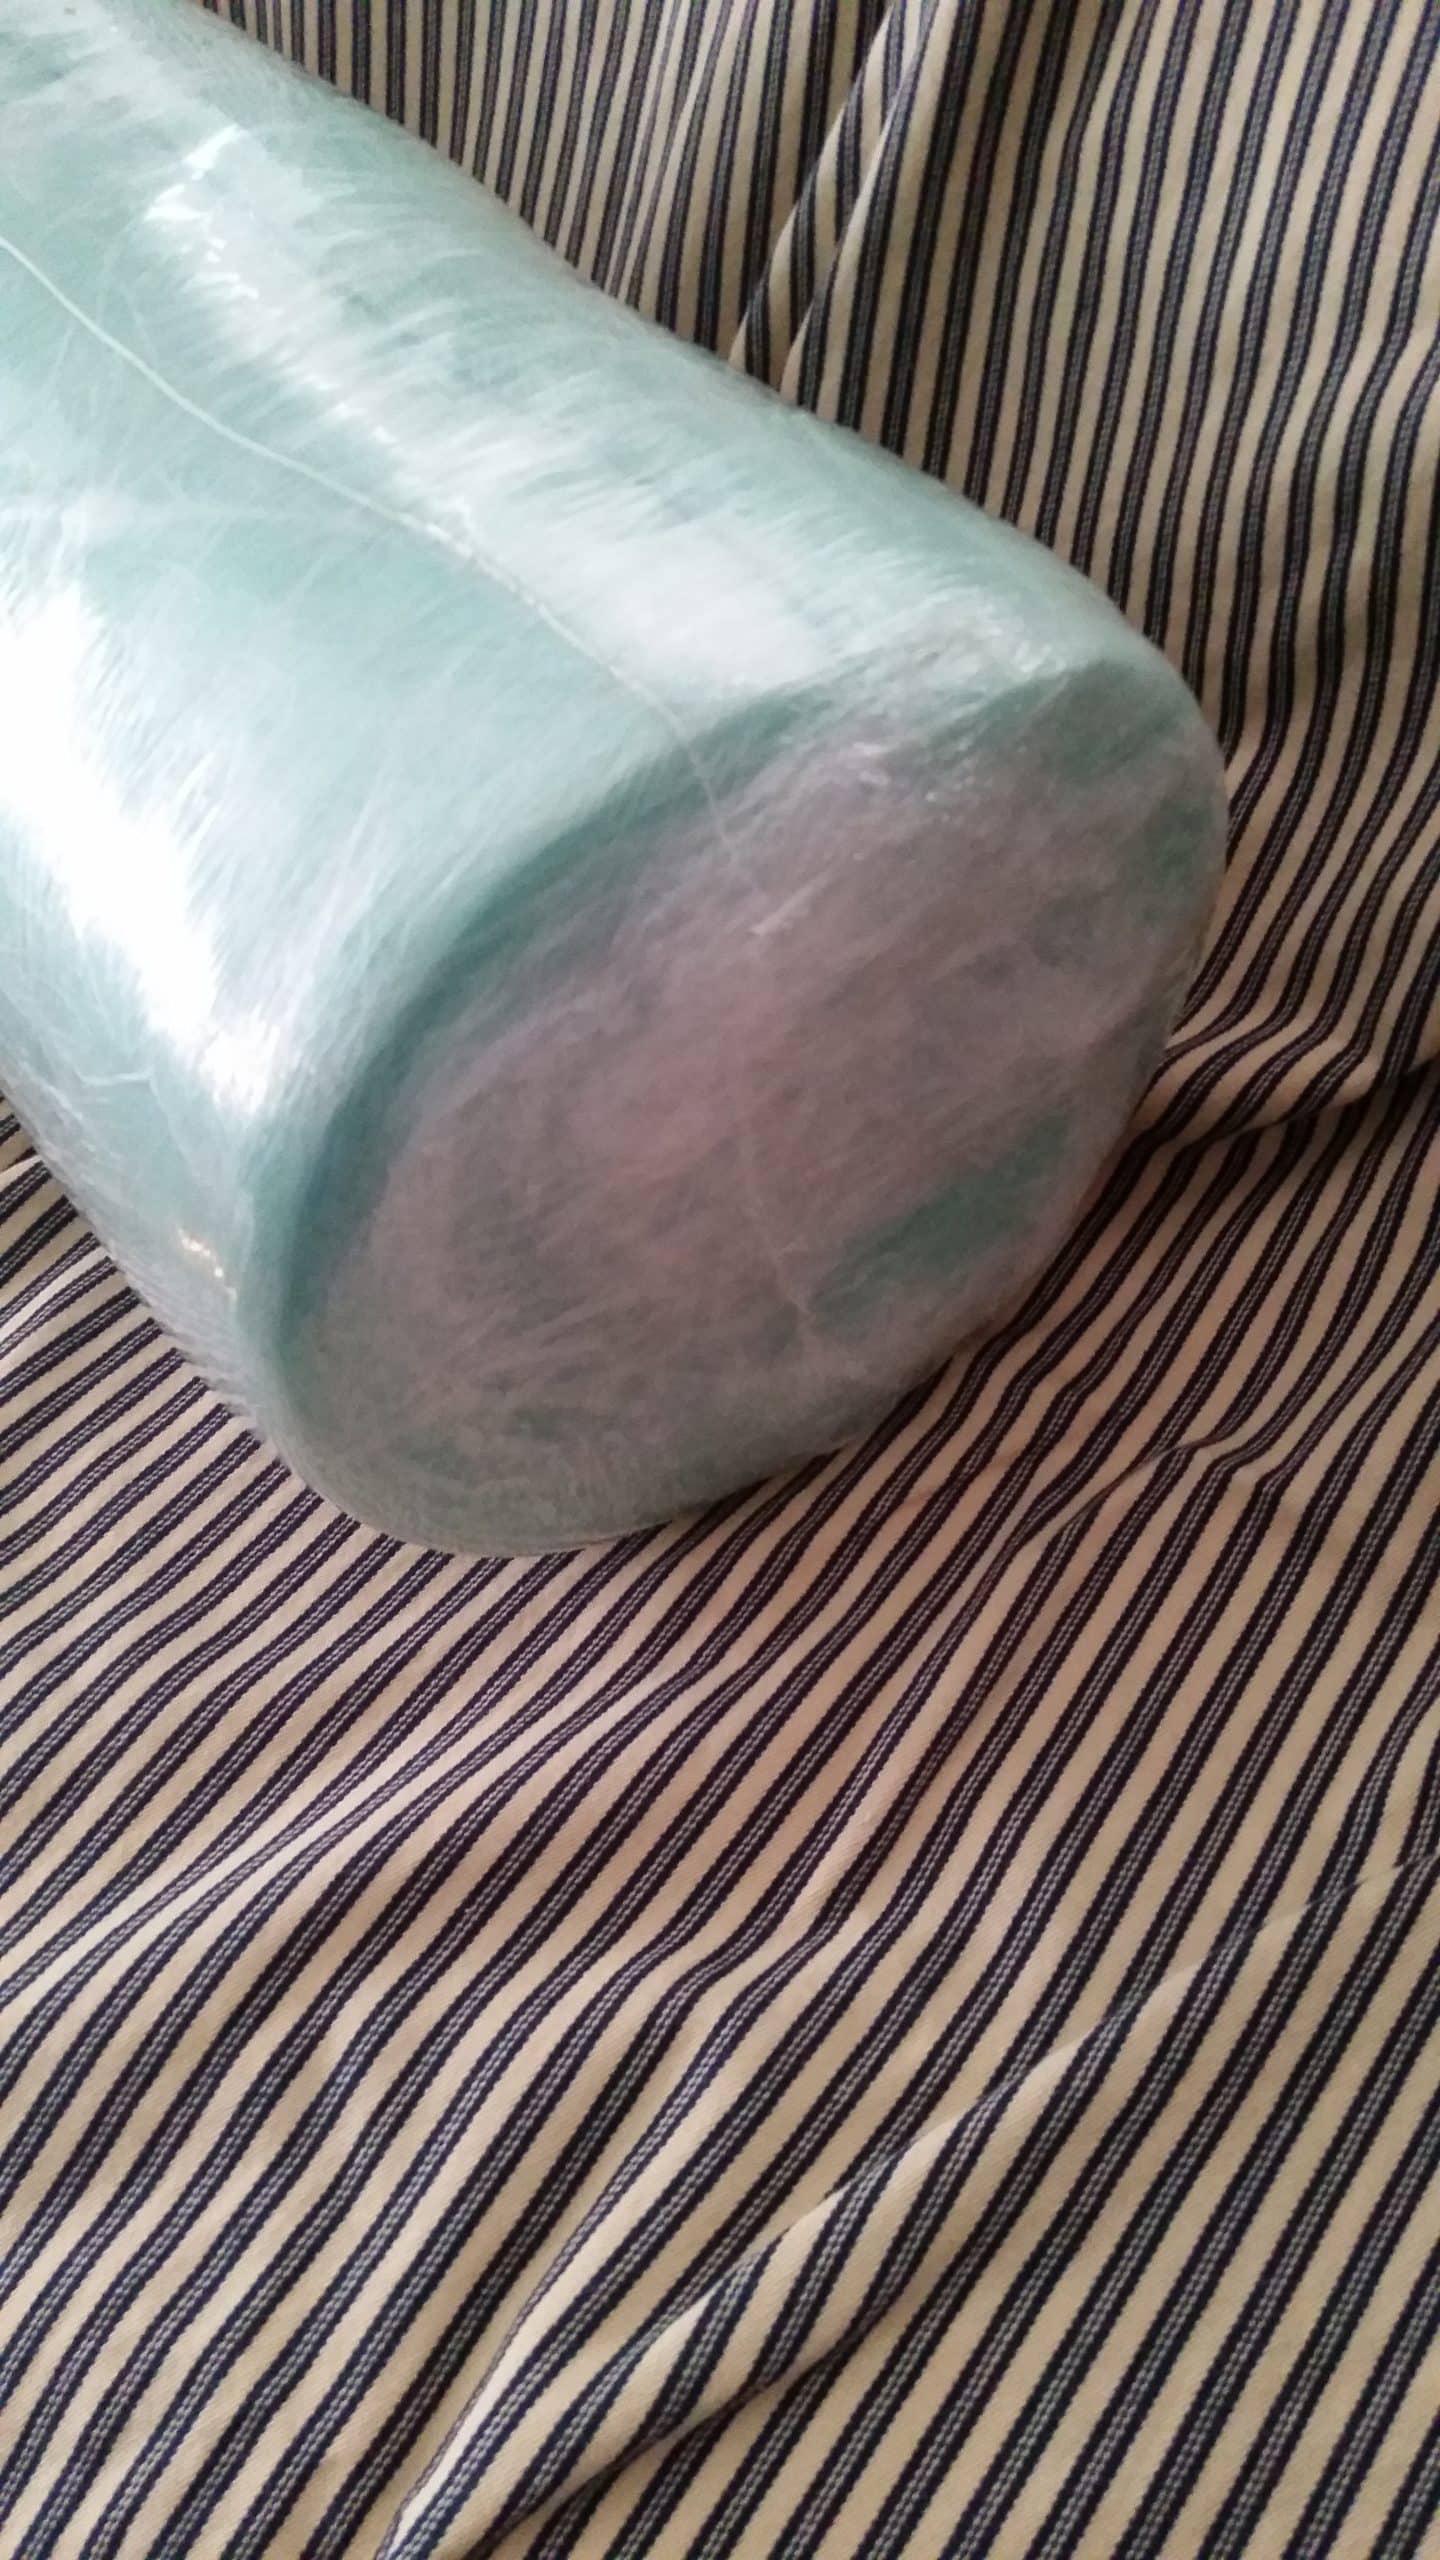
Yesterday, I told you that this bench was a little different. The drawer is one of the differences, and a ooshy cushion is the other difference. Did you know you can buy foam at The Home Depot considerably cheaper than you can at the craft store?
How to cut foam without an electric knife
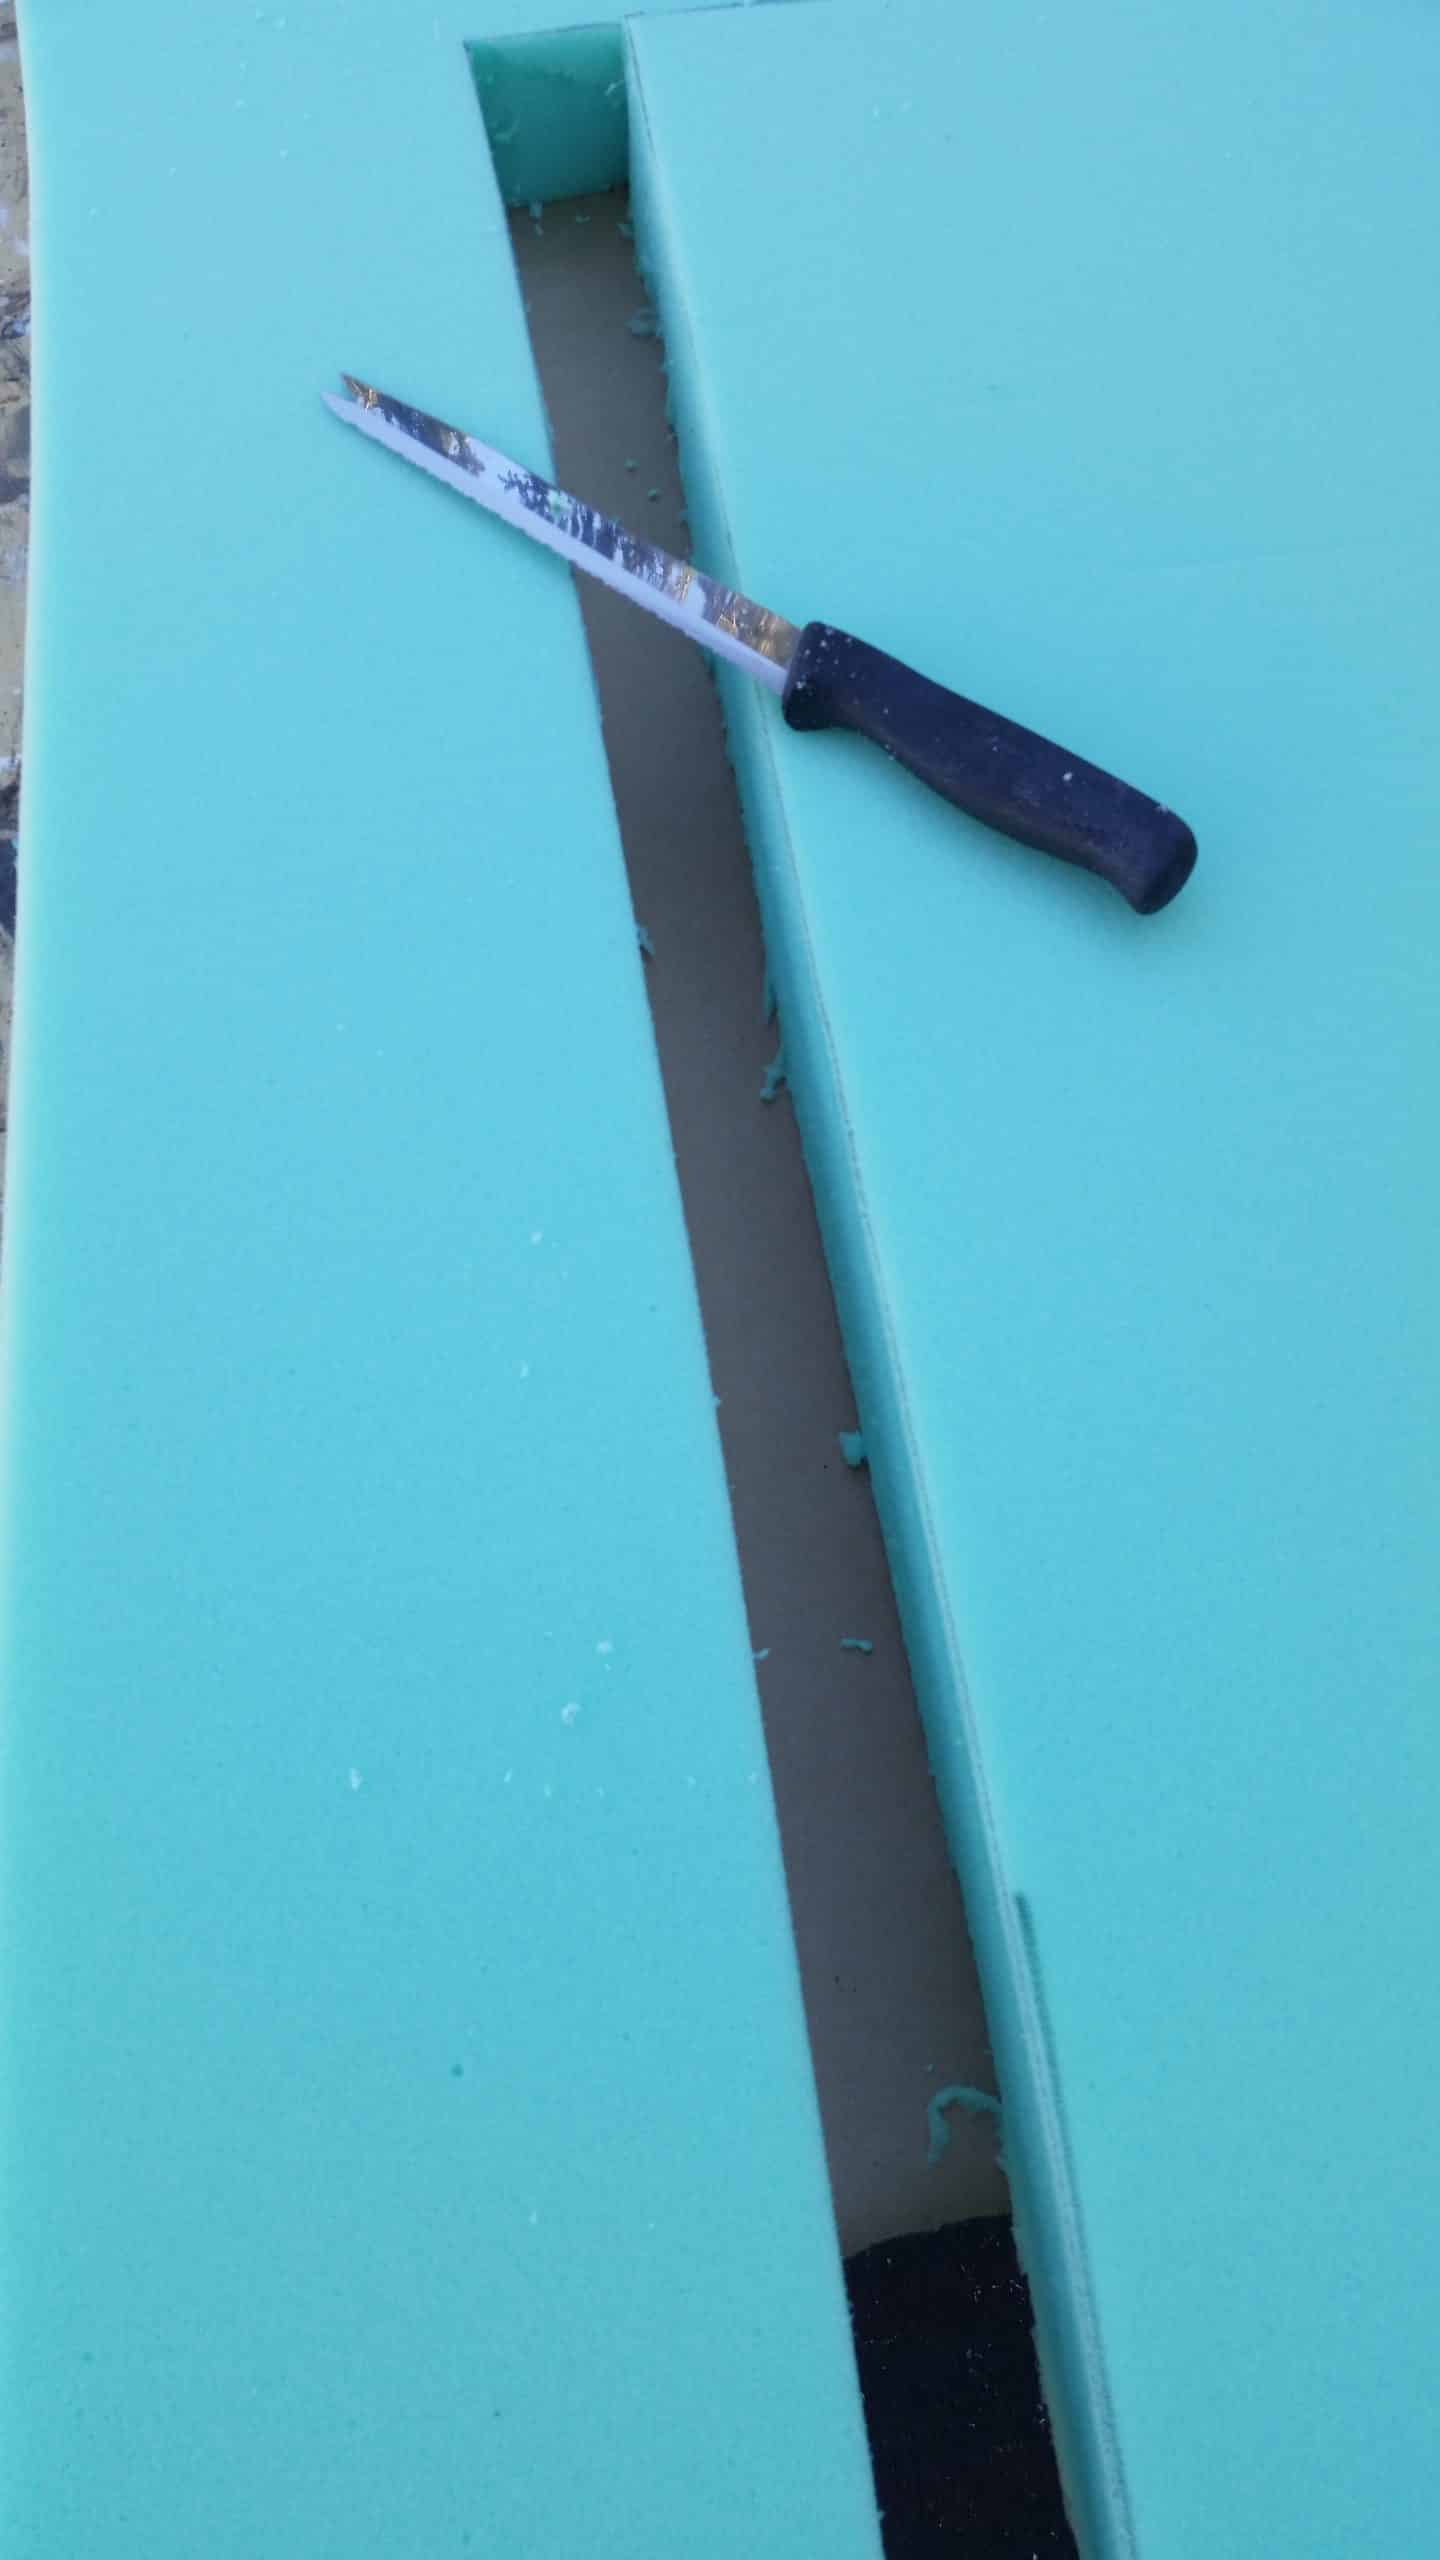
I measured and marked the foam for the cushion, using a large serrated knife to cut the foam by dragging it along the line as opposed to sawing in an up and down motion.
Easy No-Sew Upholstery
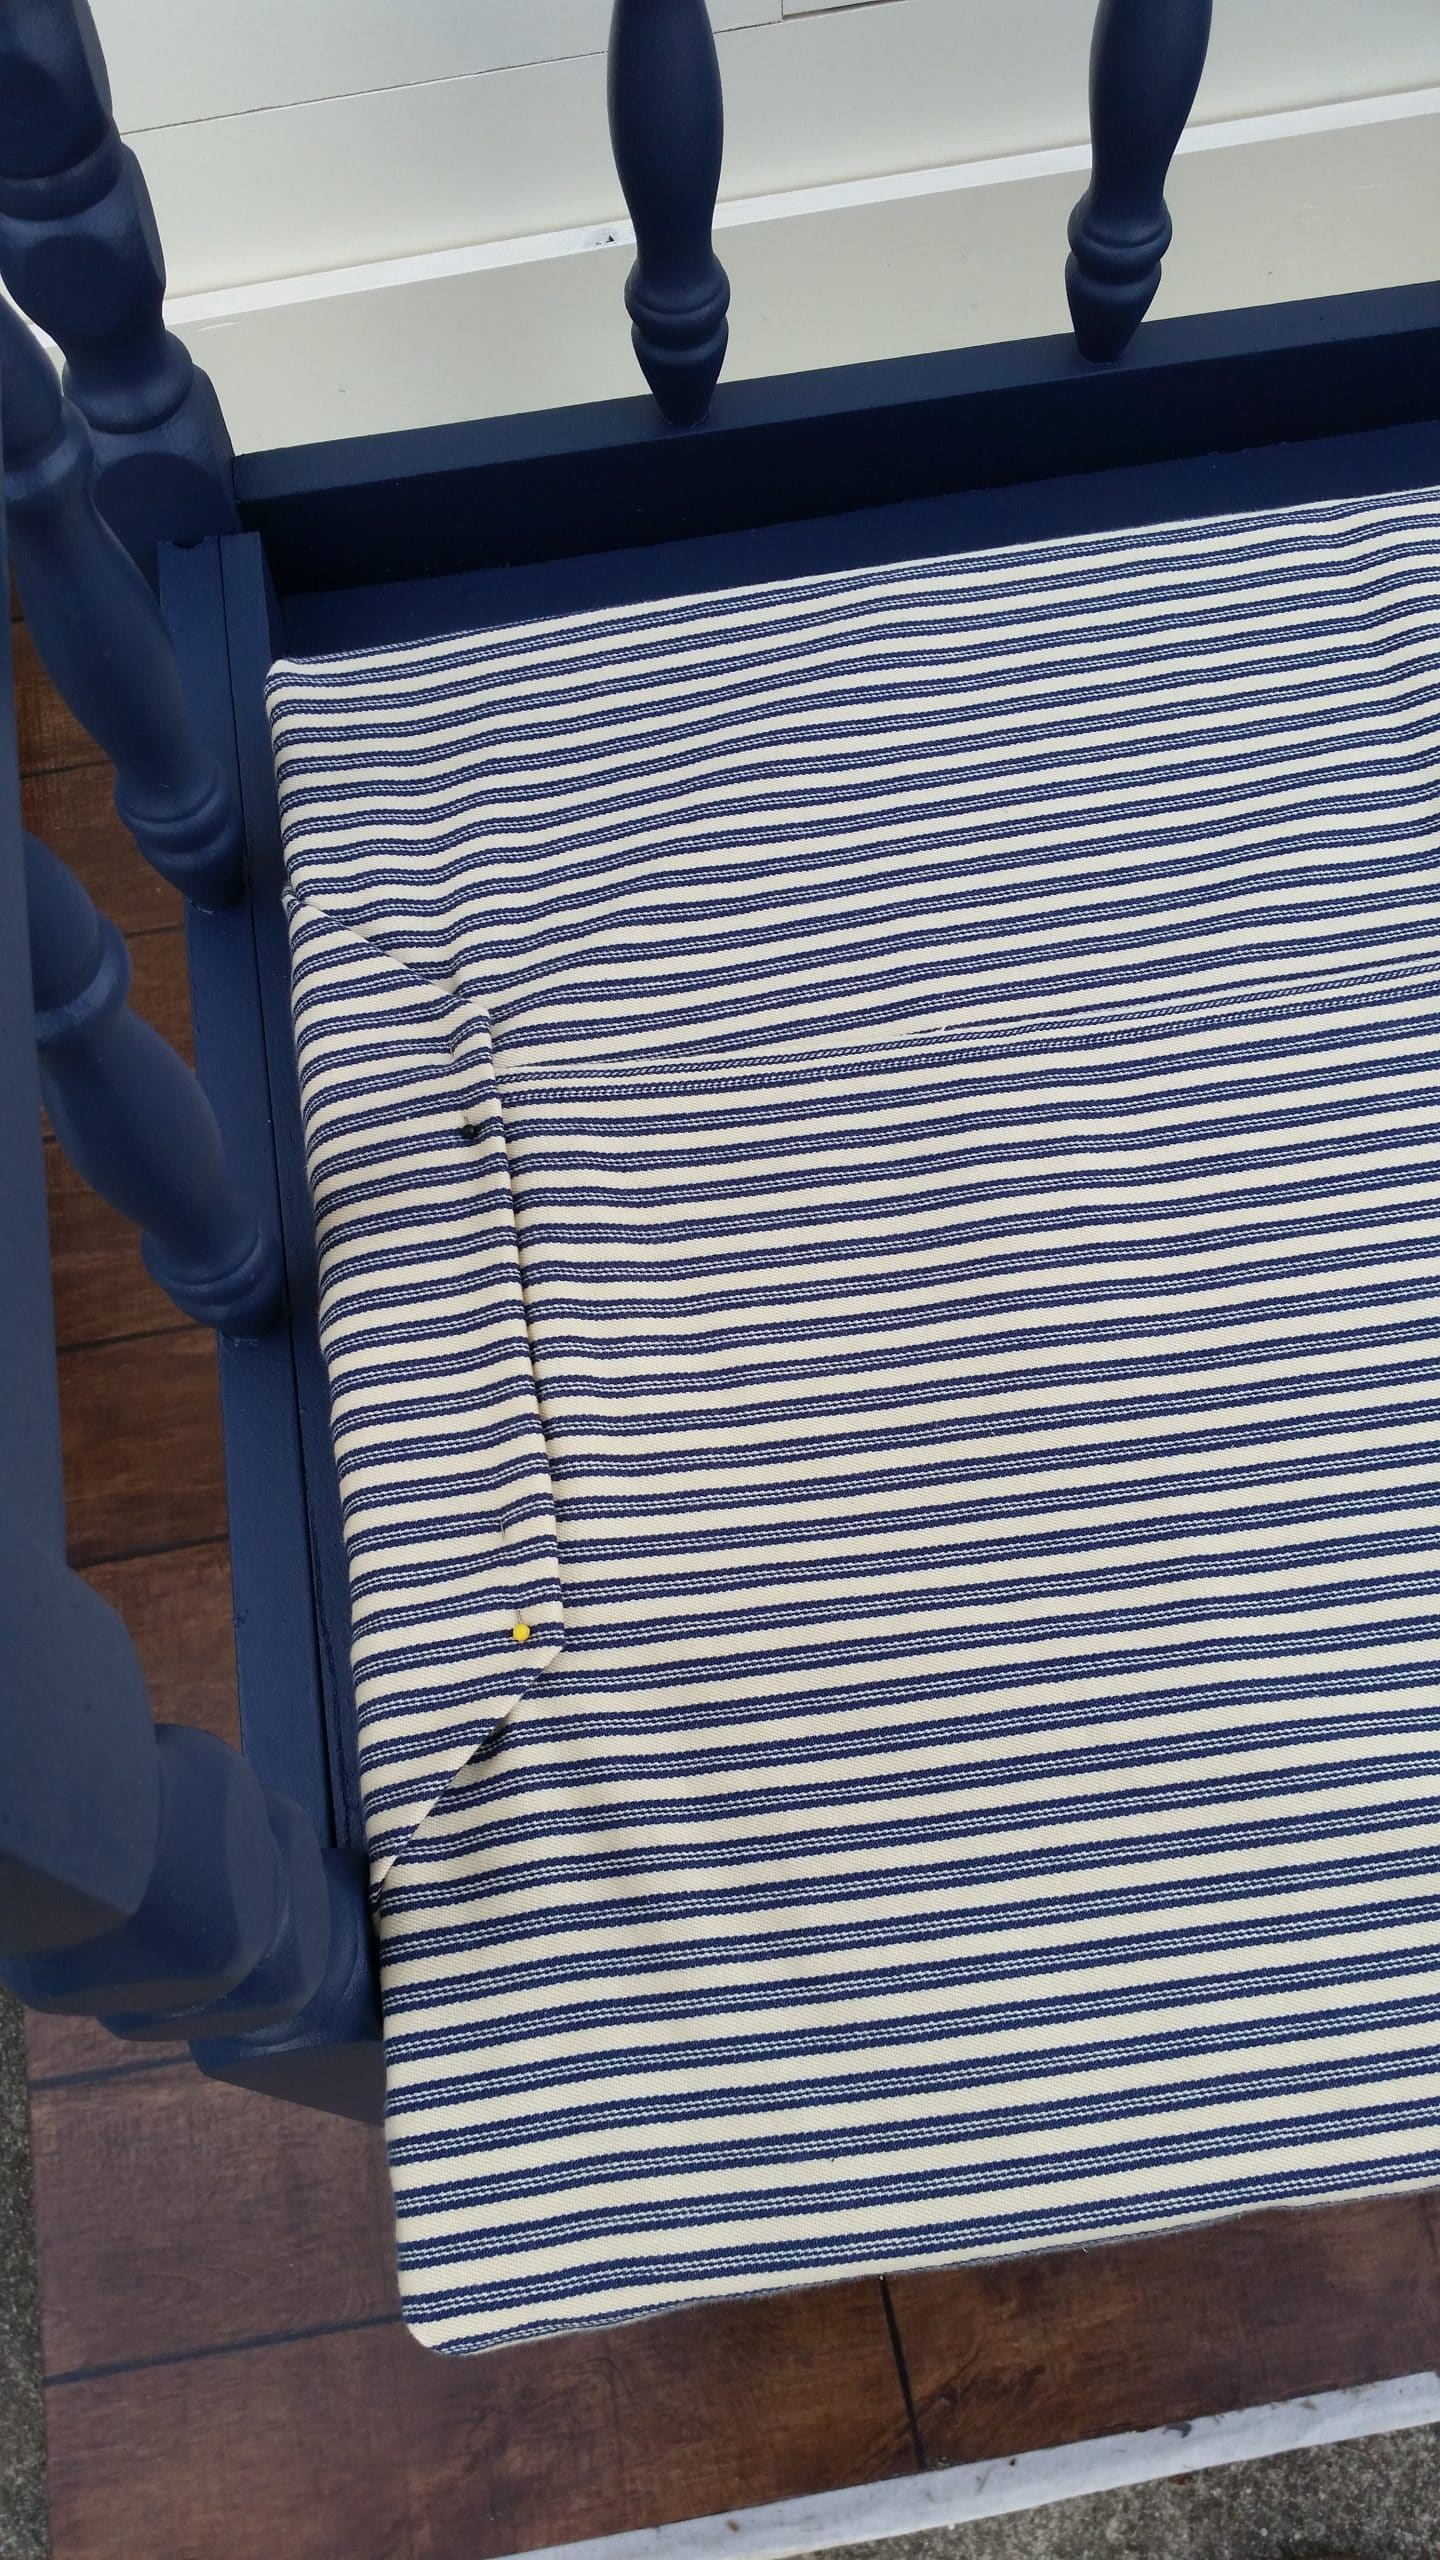
As a temporary fix, I only have some straight pins in the fabric to hold it. I plan to do this easy no-sew cushion as seen on In My Own Style using large safety pins. that will allow the new owner to easily wash the fabric and replace it. (hahaha did you notice the edge of the faux floor? I didn’t until I saw this picture. oops!)
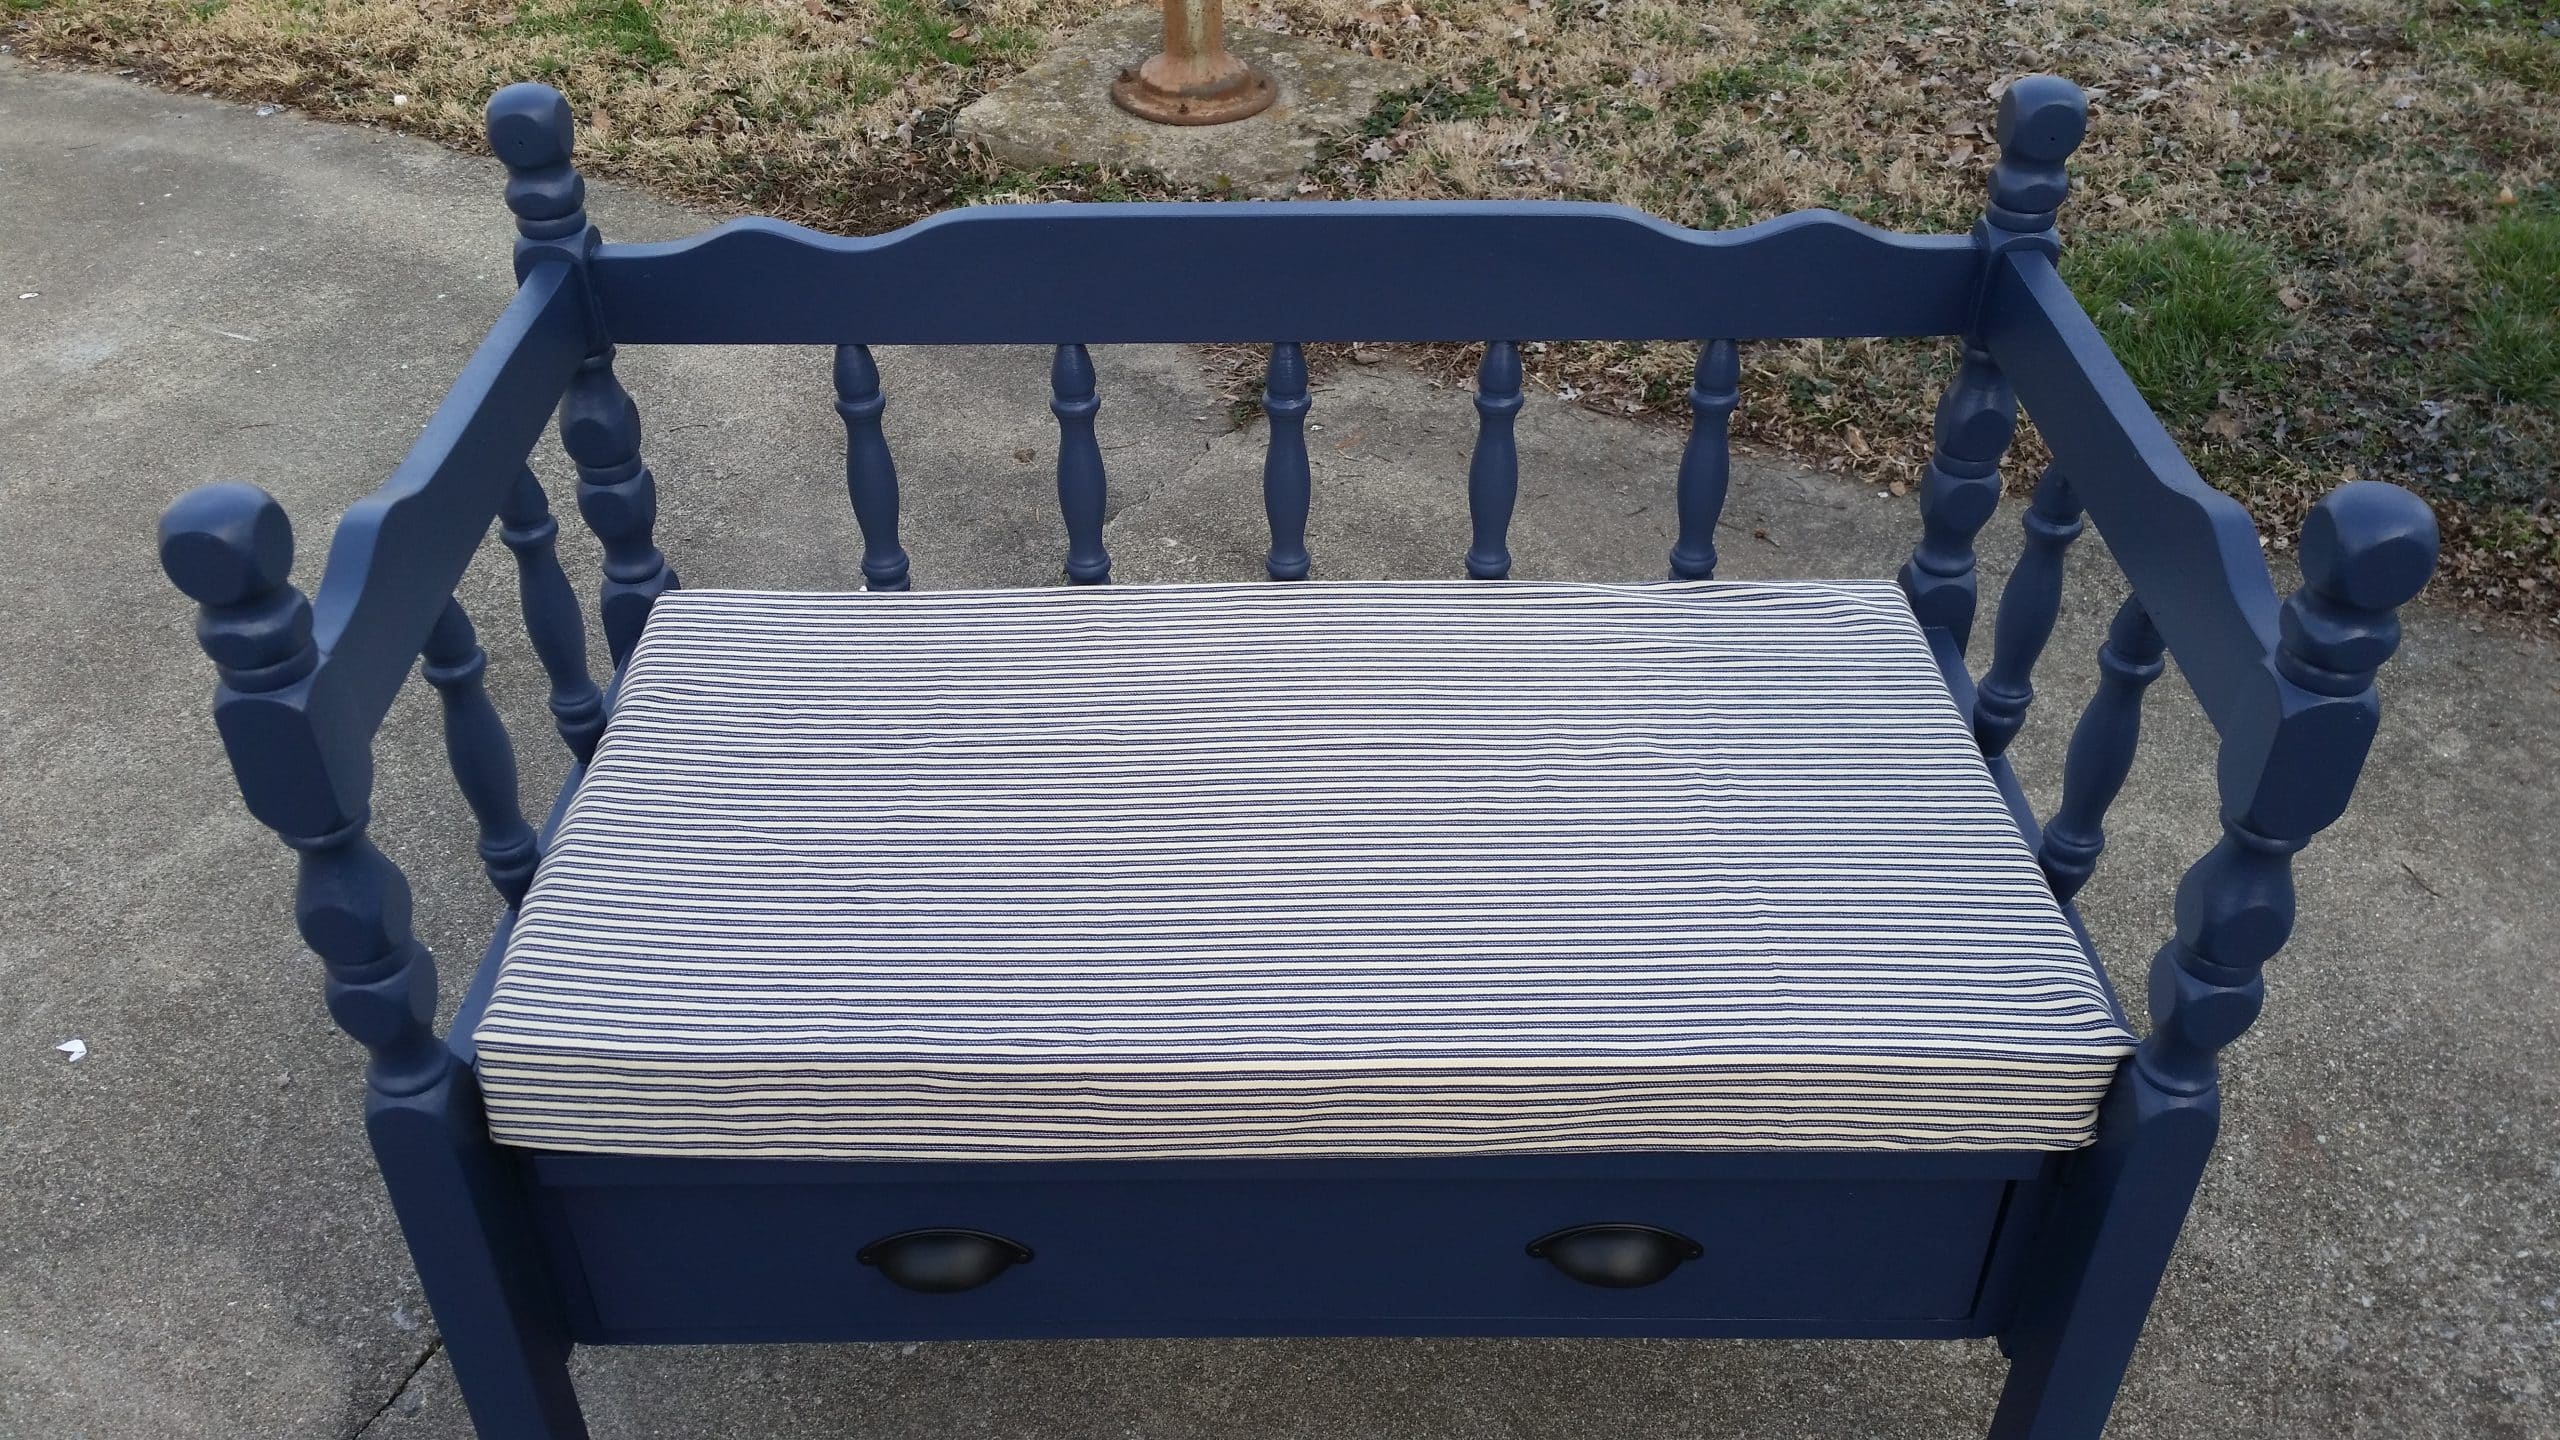
Day 3—after the paint set up overnight, I added two bin pull handles from D. Lawless Hardware.
Then I got busy taking some pictures!
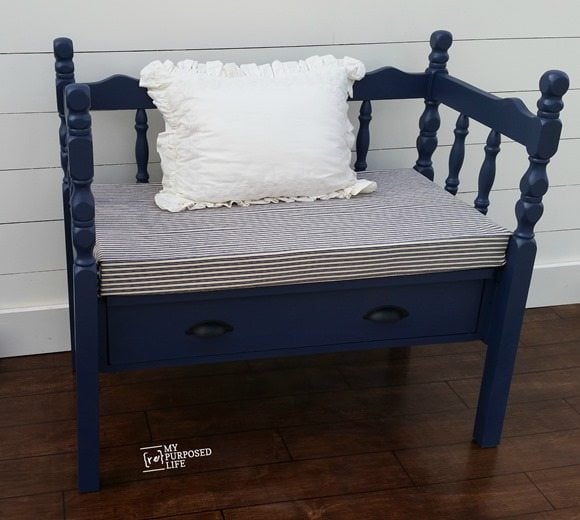
I’m so glad I made this bench! Isn’t it so sweet?
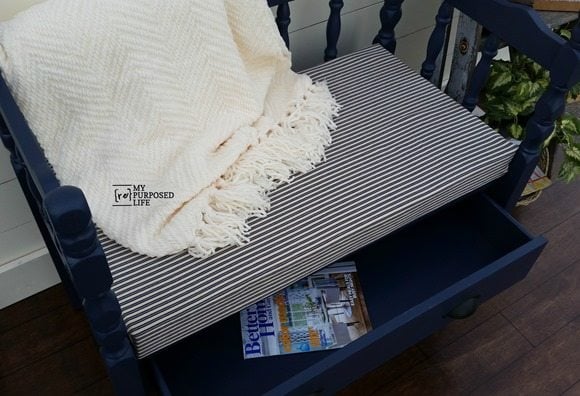
This drawer unit was perfect for a headboard bench.
The bed was free, the drawer unit was $5, so really I just had to pay for the foam and the fabric, which I happened to already have on hand.


What do you think about my newest headboard bench?
gail
See my favorite Mission Style Headboard Bench with Storage-The Complete Tutorial
See more headboard benches here
Related Content: 20 DIY Storage Bench Ideas
Love it. Your very talented
Thank you Michael.
I appreciate your comment. This was a very fun build.
gail
I just received a HomeMax sprayer as a gift. So excited! Reading everything I can to try to get the process in my head before starting. While reading this blog, I have a question about the paint. Did you use the semi-gloss finish paint also as your chalky base paint? Or did you use a flat finish for the chalky base? Getting ready to start with 4 chairs and not sure if I need to get 2 different finishes of the same color. Thanks for your great blog and inspiration!
Carol,
Yes, I use the same paint with and without the Plaster of Paris on almost every piece I paint. That paint 99% of the time is Behr semi-gloss. That’s the beauty and ease of my technique. Just buy one paint and some Plaster of Paris and you’re all set. Be sure to pick up a fabric mesh strainer (reusable over and over again) to strain your paint.
have fun!
gail
OMG! I love, love, LOVE this bench. Would be absolutely perfect in my bedroom. But I’m afraid Glendale is a little far for me to travel. ;-(
Thanks for sharing!
thanks so much Sandi for your comment. I hope that little blue bench finds a nice home very soon. I’ve had it on craigslist for a while with no takers….
Send me the CraigList link please? I might splurge as my early birthday present if the shipping isn’t exhorbitant 🙂
I’ve tried quite a few ways to cut foam and eventually found that an electric knife works best for me. They are really cheap at thrift stores. Love this bench!
I have heard that a lot, but I don’t want to store an electric knife for using it once a year. 🙂
This knife (that I use in my kitchen) worked soooo well. It’s a great option for those of us who don’t do regular upholstery projects.
Thanks for your comment and sharing that those who need a knife can pick it up in a thrift store!
gail
I bought an electric bread knife at a garage sale for $1…paid for itself the first time I had to cut foam…AMAZING! I store mine in the garage with my other tools! It is one of my “DIY Tips!”
AWESOME as usual. The drawer will be very handy.
Amazing makeover! Love it!
Amazing! You are so clever!
Hi Gail, you are so clever!! I really love this. It’s useful and beautiful
Well done!!
Seriously?! This is stinkin’ awesome!!! I love watching your process of how you build and fix things and make it work, you are a true master! That little drawer was just waiting for the day when you realized it’s true potential and you did it perfectly!! I LOVE it Gail! First off, I didn’t know about the foam at Home Depot either, logging that one away, and that Rockwell JawHorse? I need one! You deserved a great b-day present like that, I am sure you will use it tons! Second, your staging looks so good, with the frame and ladder, and the bench is just sweet, I love the fabric too! Pinned of course.
Another beautiful bench. You create things and are able to “adjust” to any shortage or problem. I still have 4 sets of head and footboards in my garage and wonder when I will ever get the courage to build a bench. I don’t have the jigs and a few other tools. I’m loving all your work!