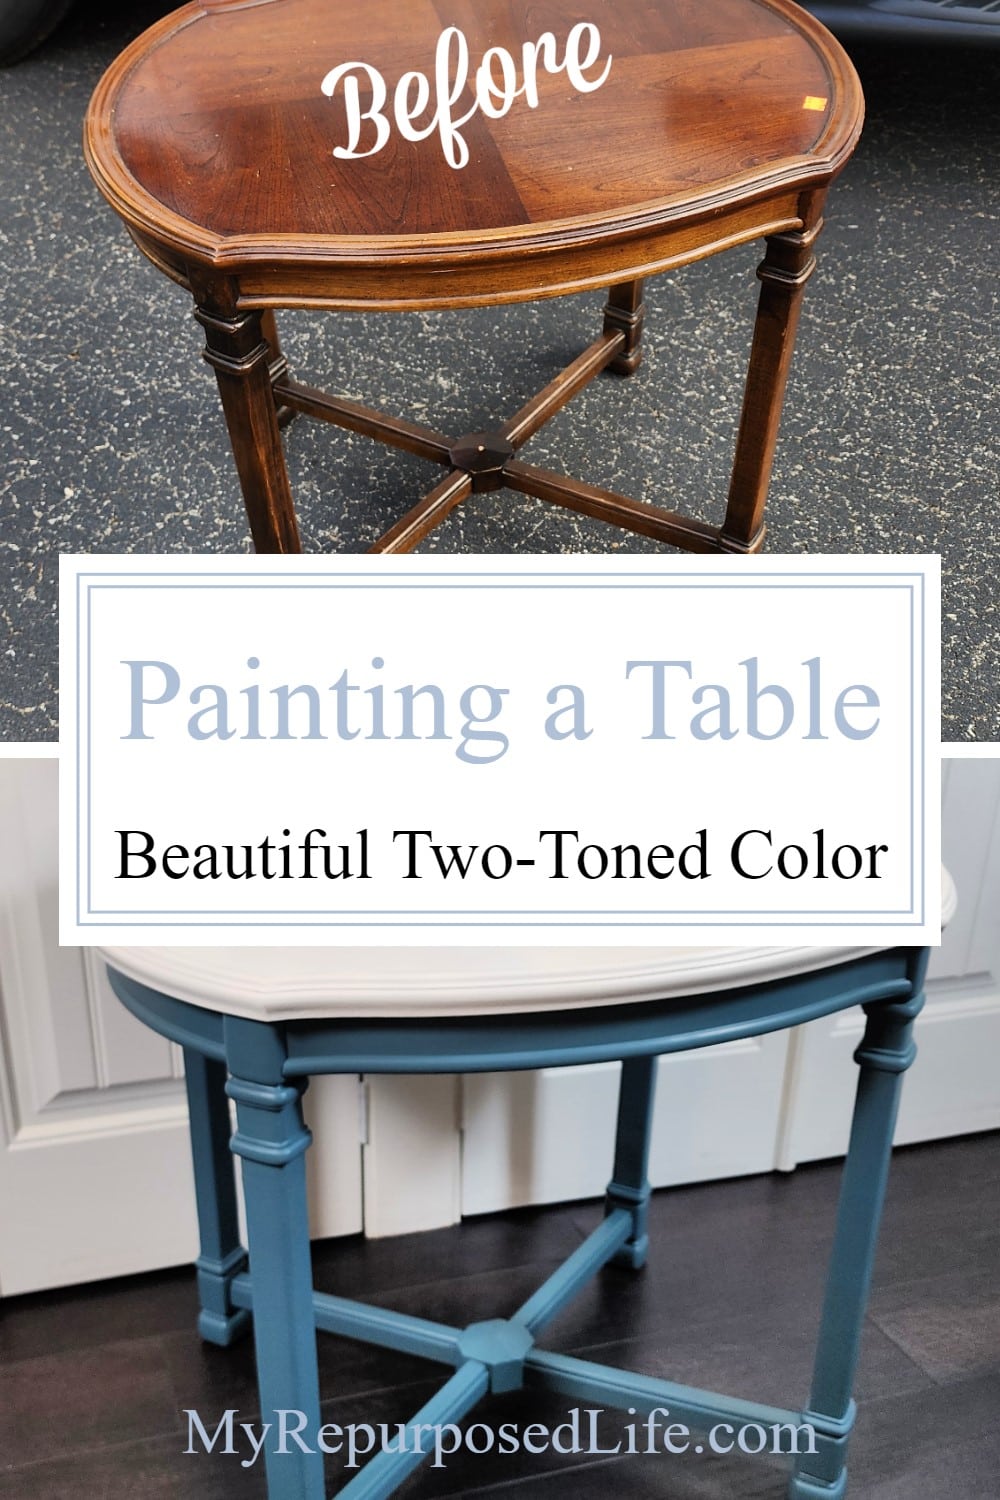
Two Toned Side Table
As an Amazon Associate, I earn from qualifying purchases.
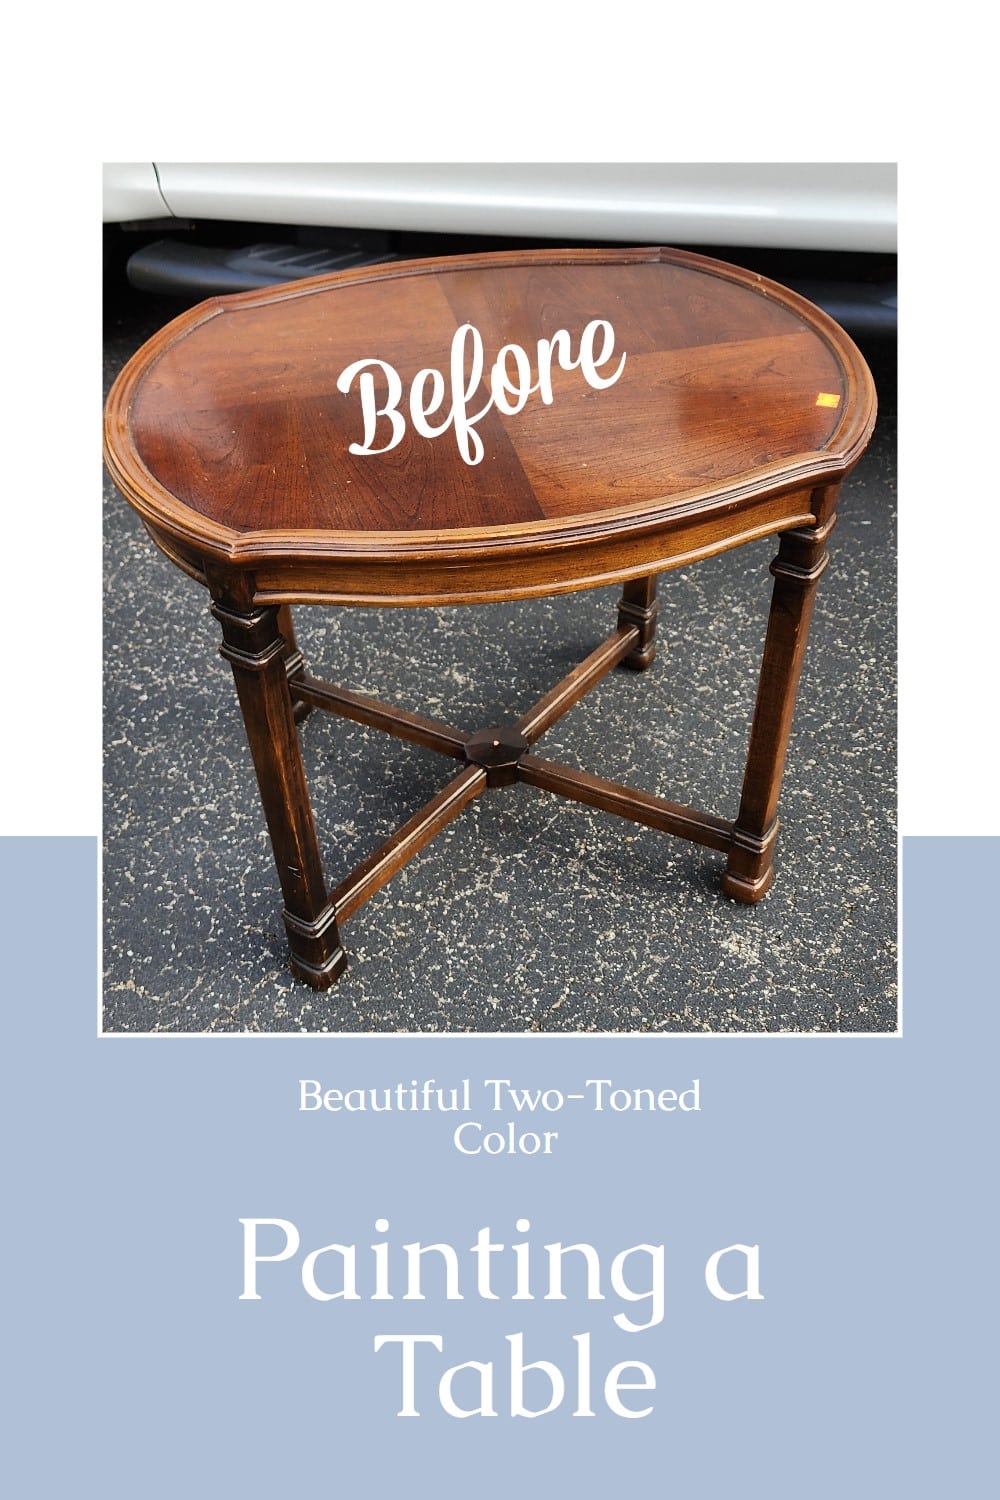
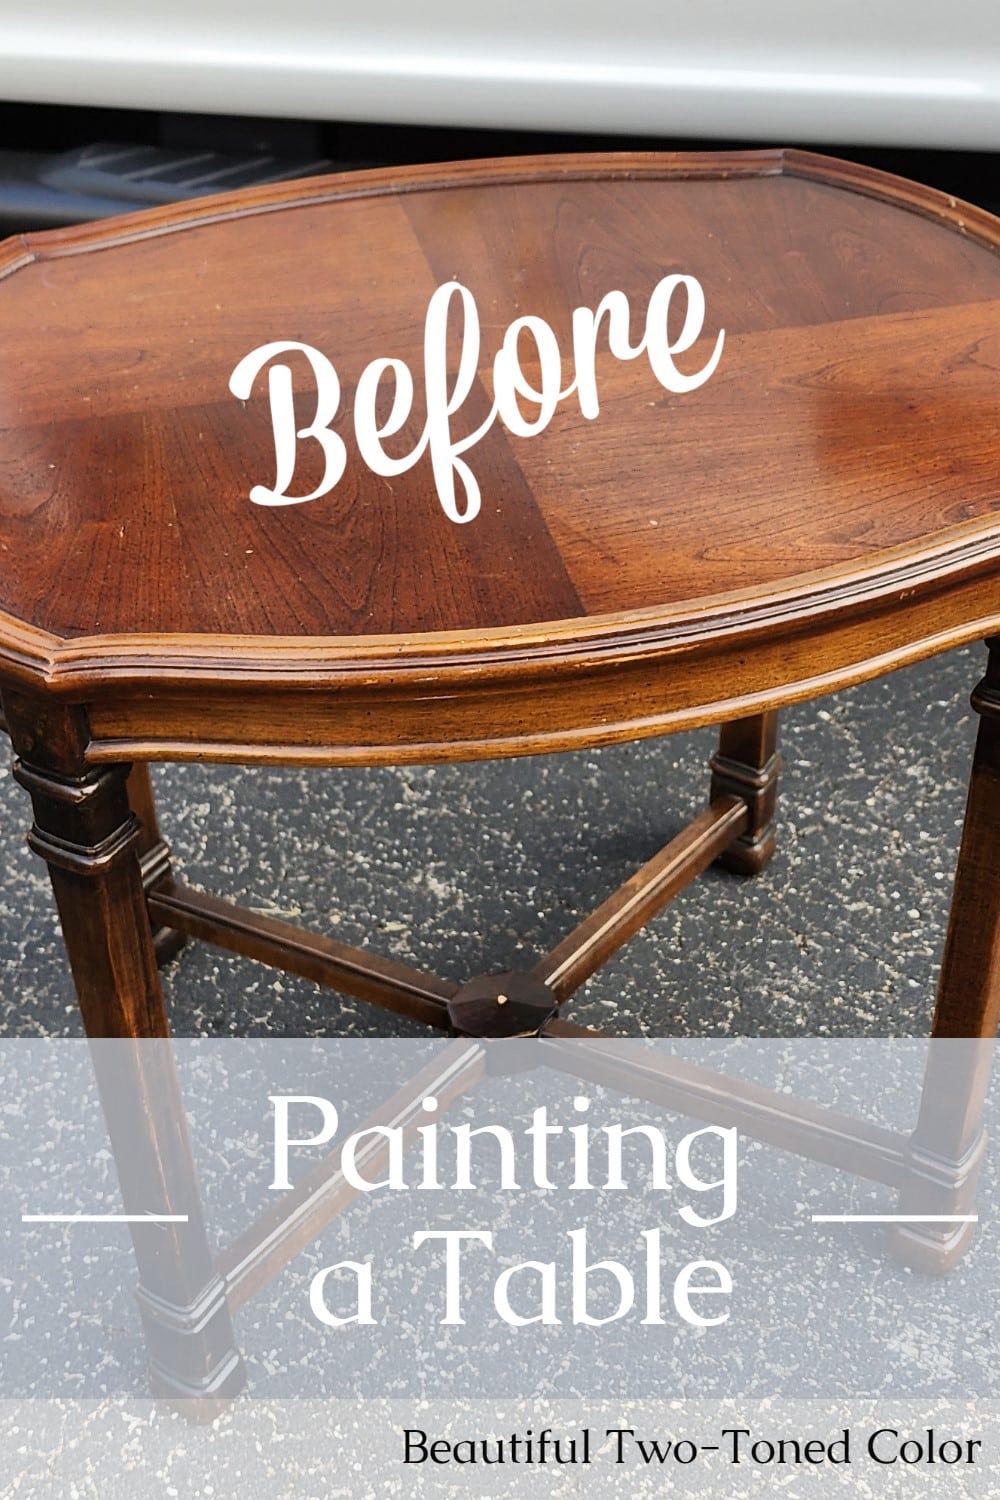
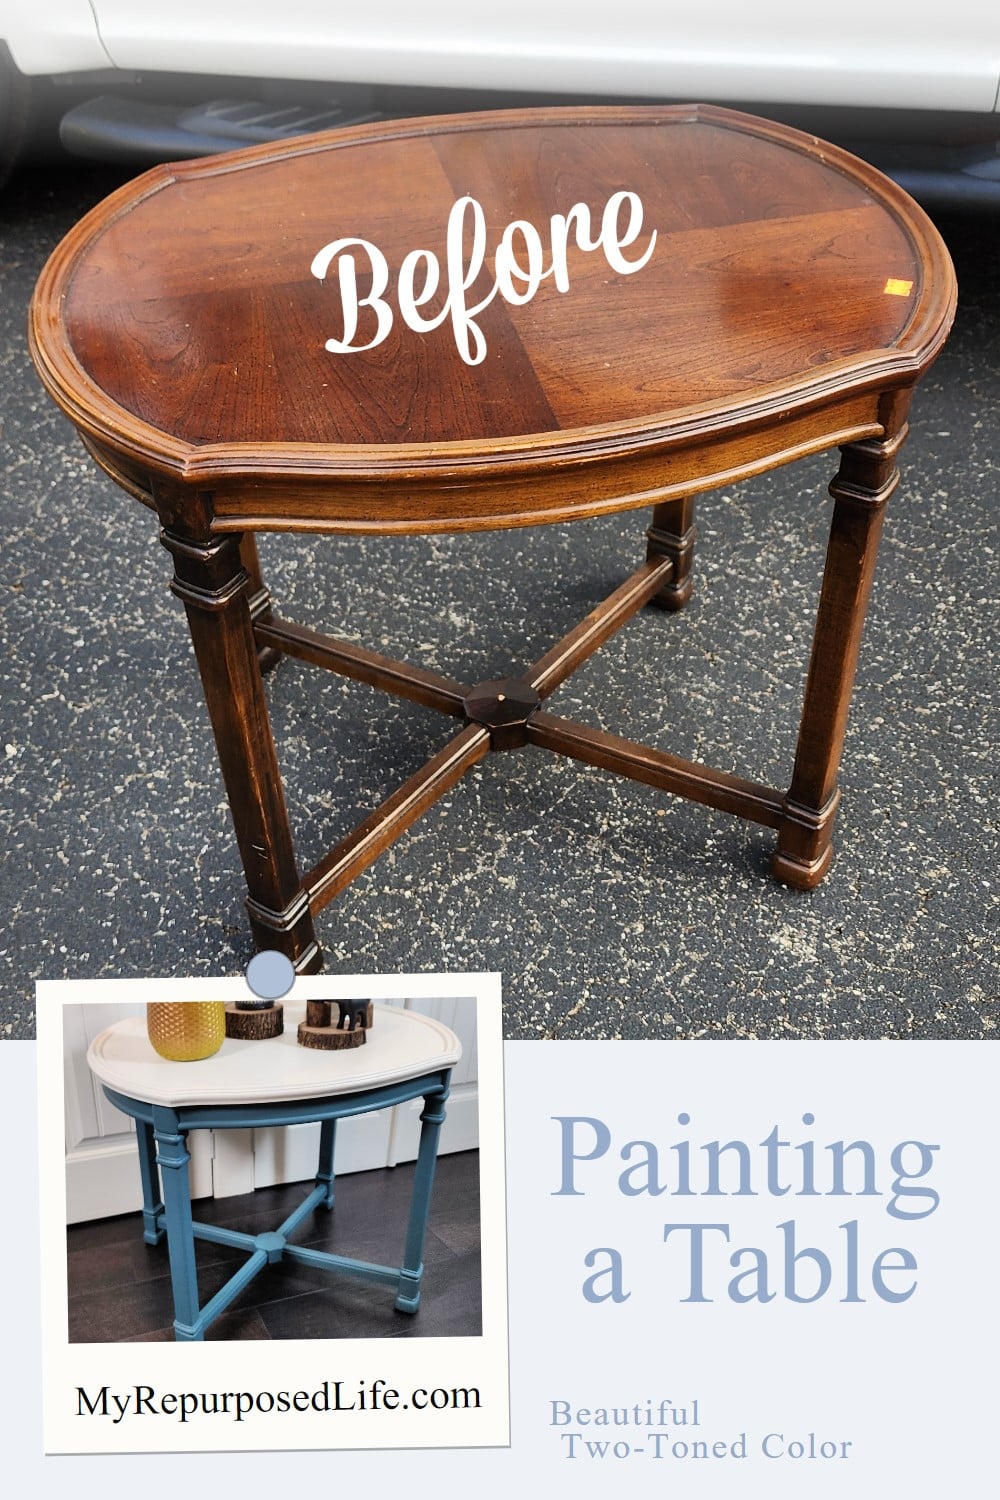
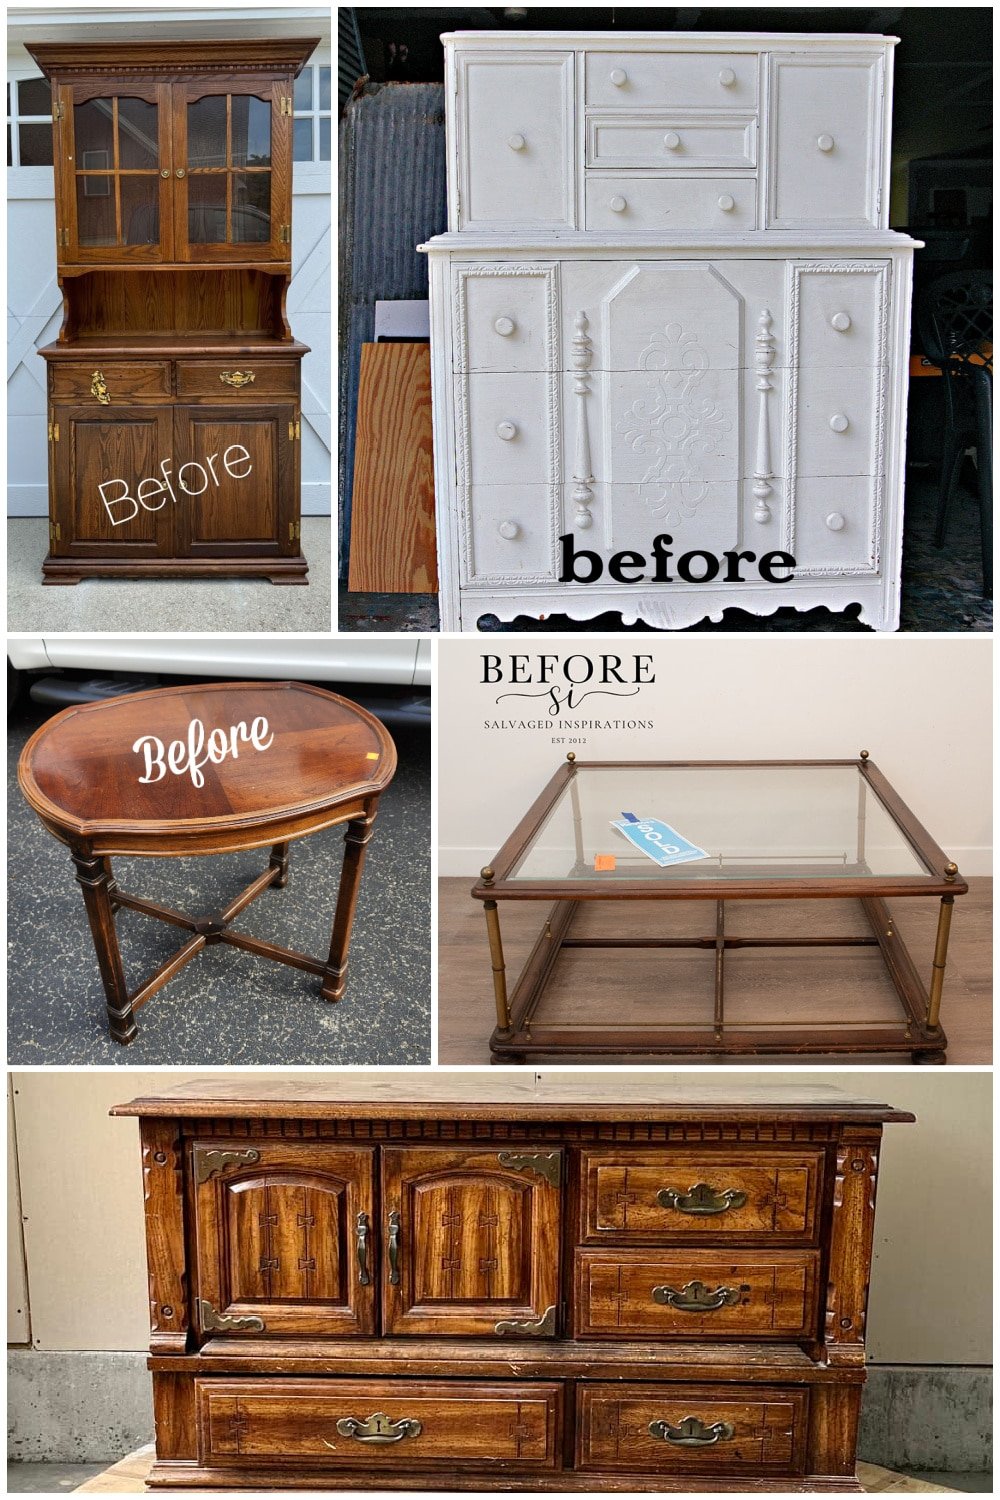
When I purchased this table from a Habitat for Humanity Restore in Brighton, Michigan, I had no idea it would be painted with a two toned effect. Rarely do I know exactly what I’m going to do with a new project. I usually wait for it to speak to me.

This side table was definitely over my limit at $20, but it was in excellent shape and unlike any two toned side table I’ve done before.
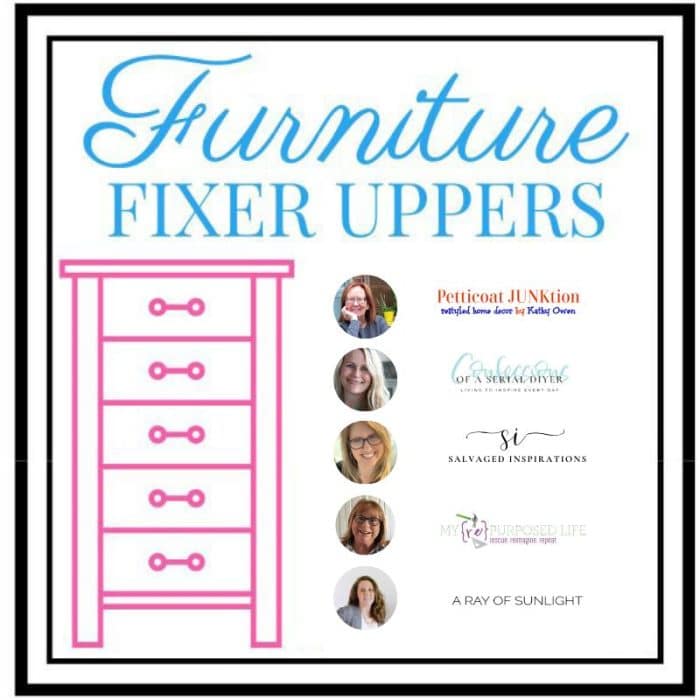
It’s Furniture Fixer Upper Tour Day! Be sure to visit my friends’ projects at the bottom of this post.
Cleaning and Prepping Furniture for Painting

Even though the table looked clean and ready for paint, it was a little shiny, and I felt it needed to be deglossed. I opted for HTP Surface Prep, which is brushed on and wiped off.
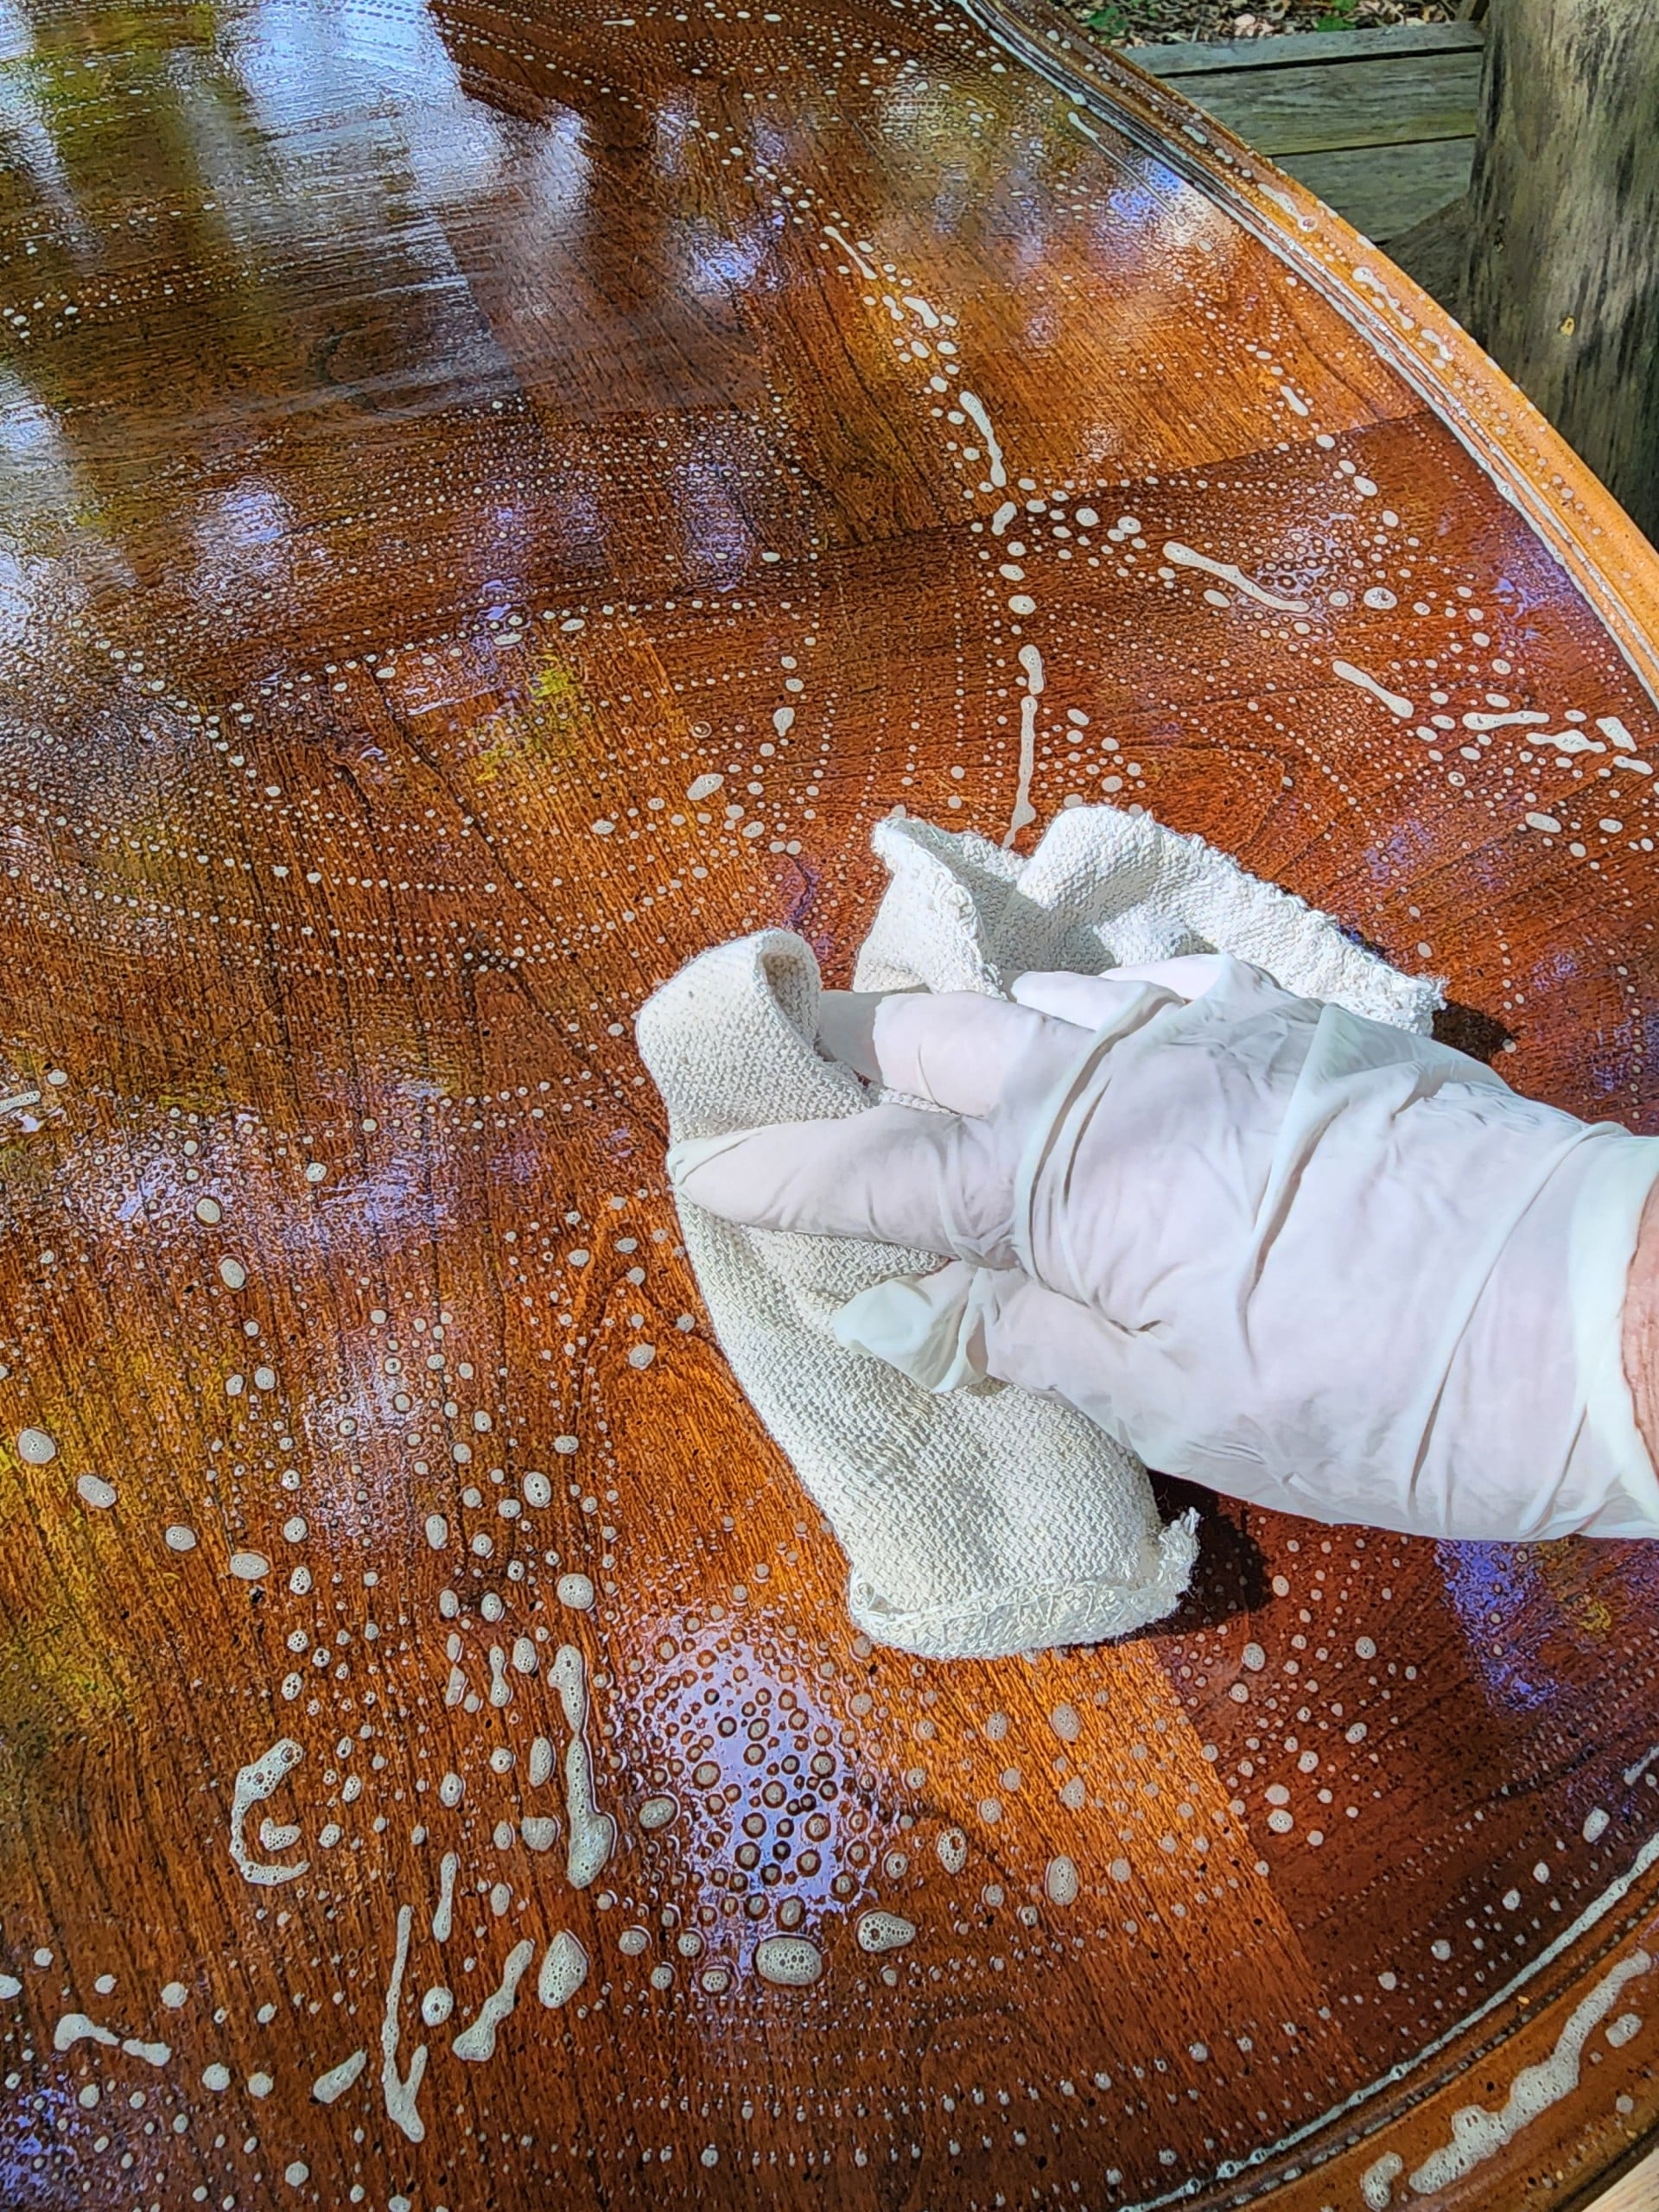
If you use a different kind of paint, you may want to use a kitchen scrubby to help dull the shine. I am using All-In-One Paint, so brushing on the liquid and wiping it off firmly with a rag was sufficient.

I continued this technique on the rest of the table.
Paint Colors for Two Toned Side Table
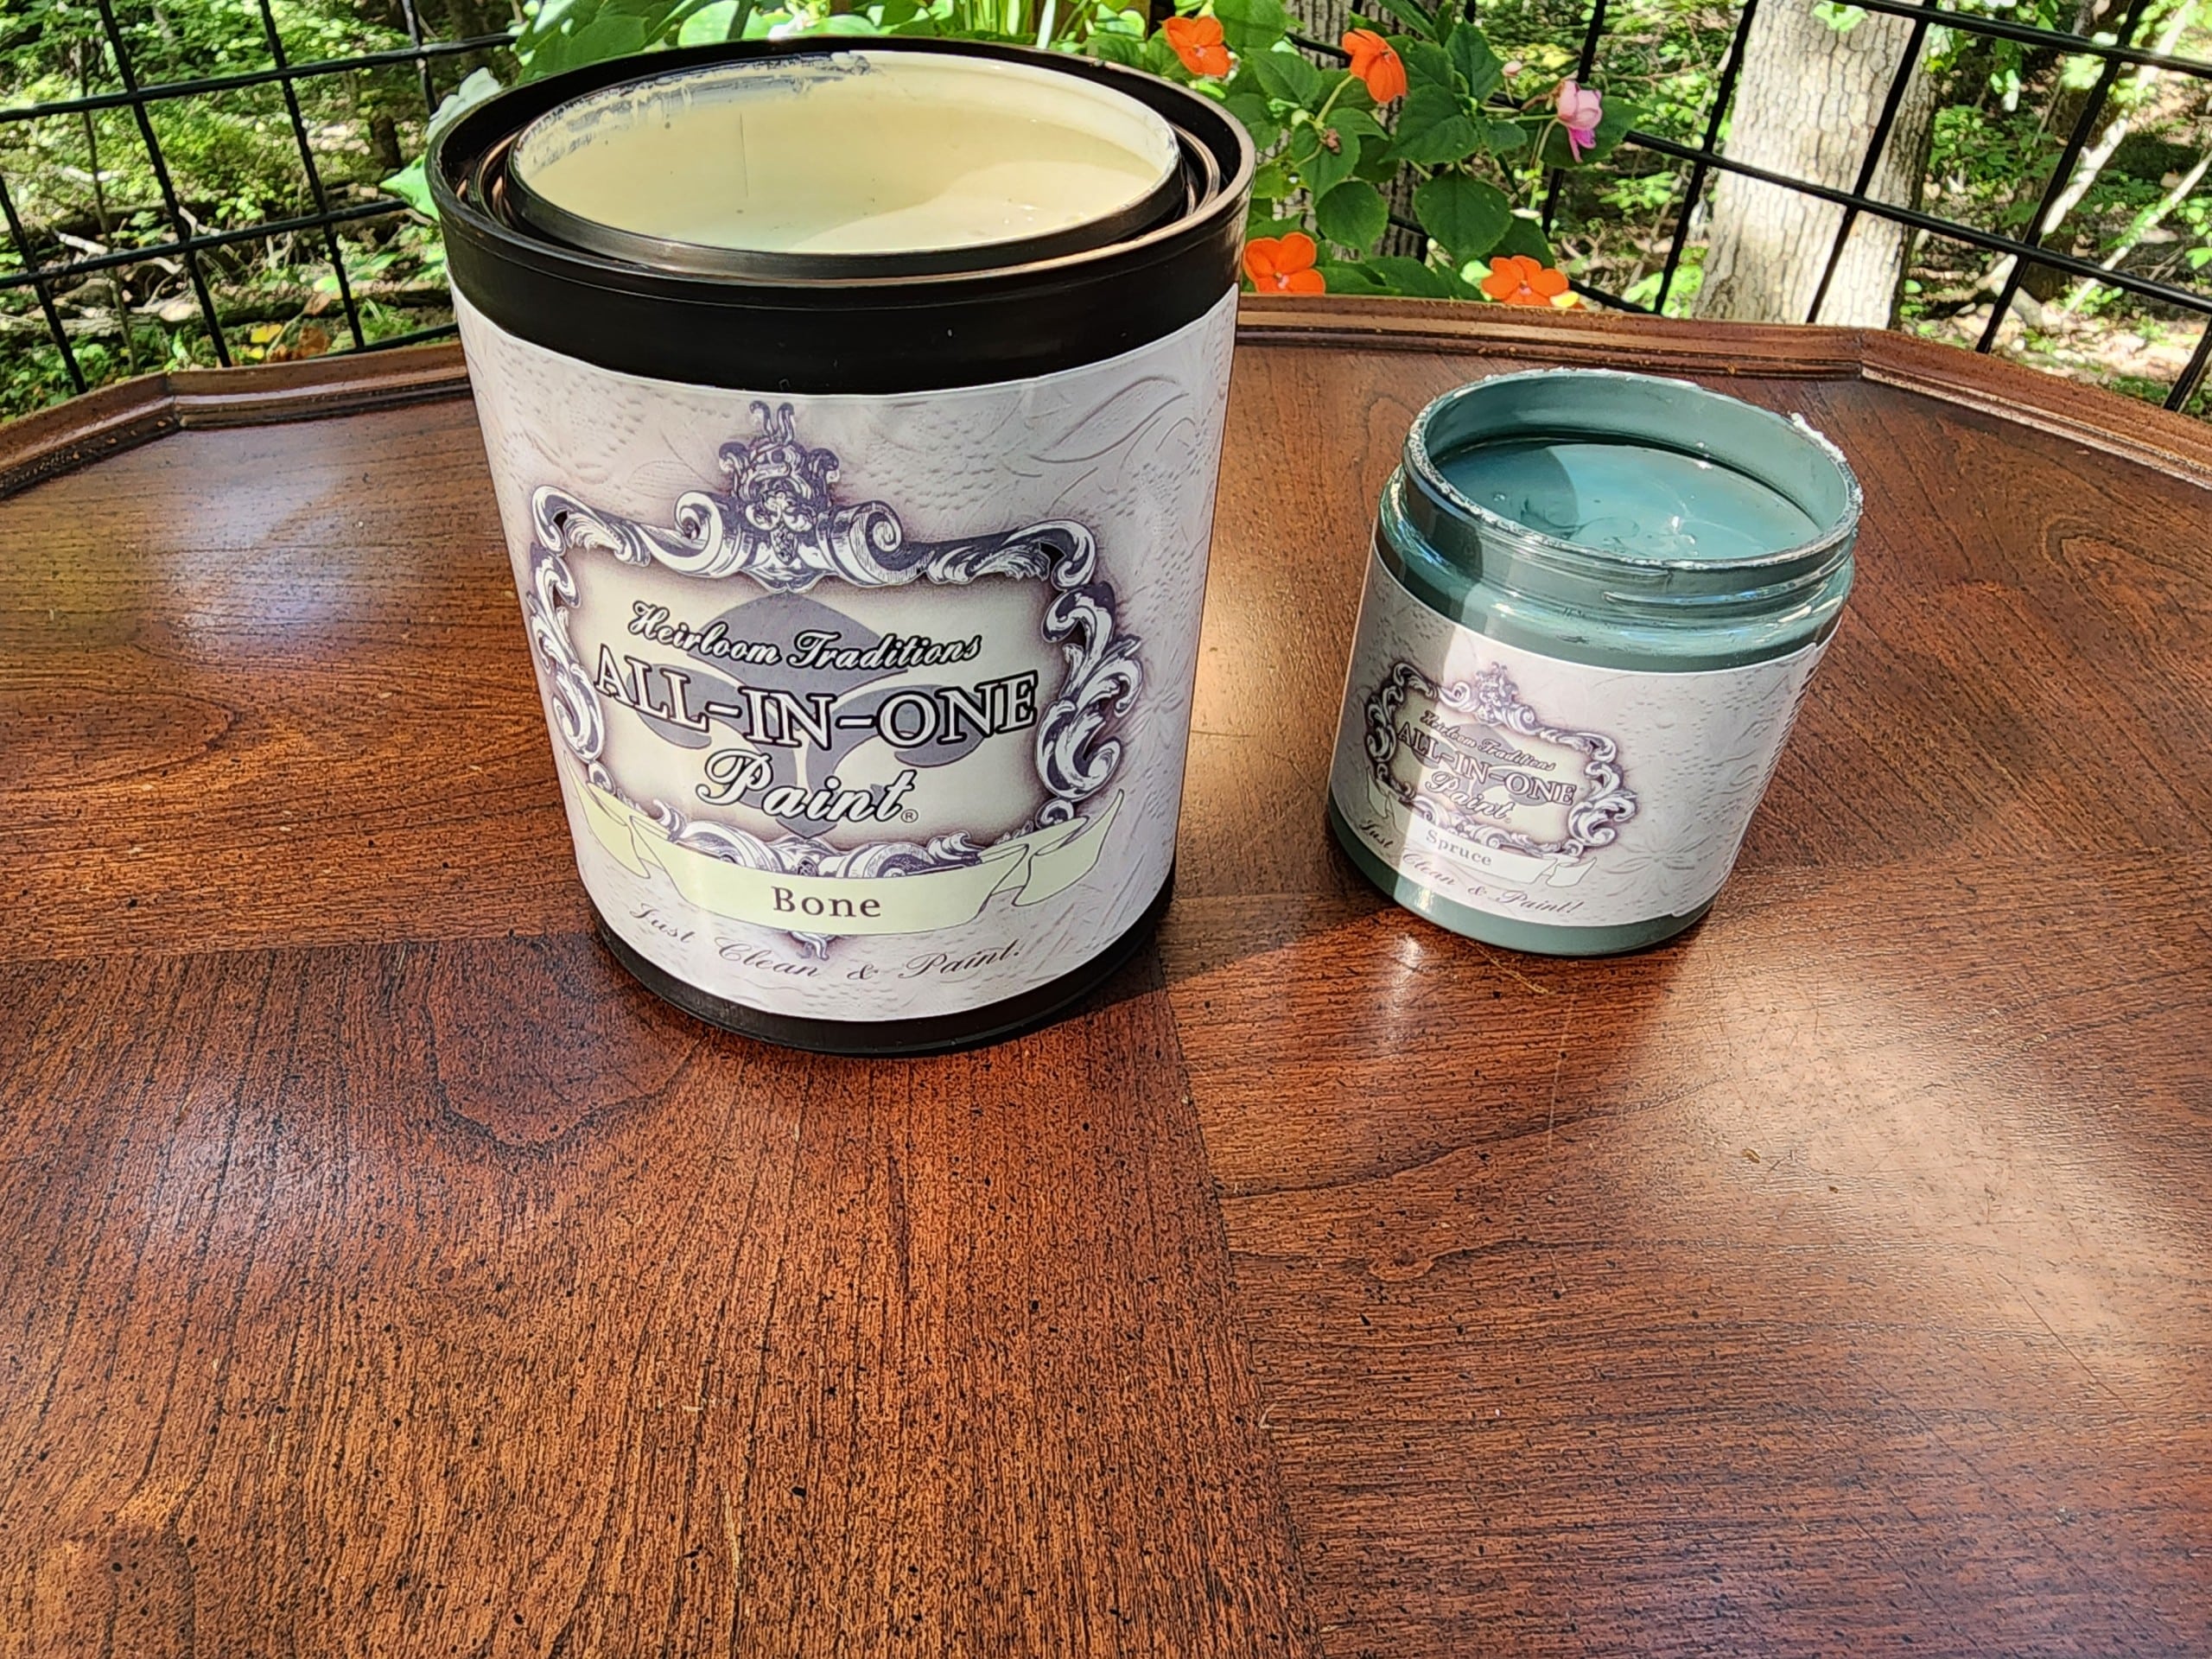
I usually keep neutral-colored quarts on hand. I’ve been using Bone at The Hideaway to renovate the old camper. Recently, I ordered ten samples of All-In-One paint when they were on sale. The new color is Spruce. Sample jars like this are perfect for smaller furniture projects like this two toned side table.
Remember to Start With an Ugly First Coat

Your first coat must be very light; in fact, you should be able to see some of the wood through the paint. This coat will allow the second coat to adhere to the wooden furniture.
Paint the Underside of the Table

If you’re keeping the two toned table for yourself, this step is up to you. Because I’m a furniture flipper, I prefer to paint the underside of my furniture so that when someone picks it up to load it in their vehicle, it doesn’t look naked.
Painting Two Toned Furniture the Easy Way
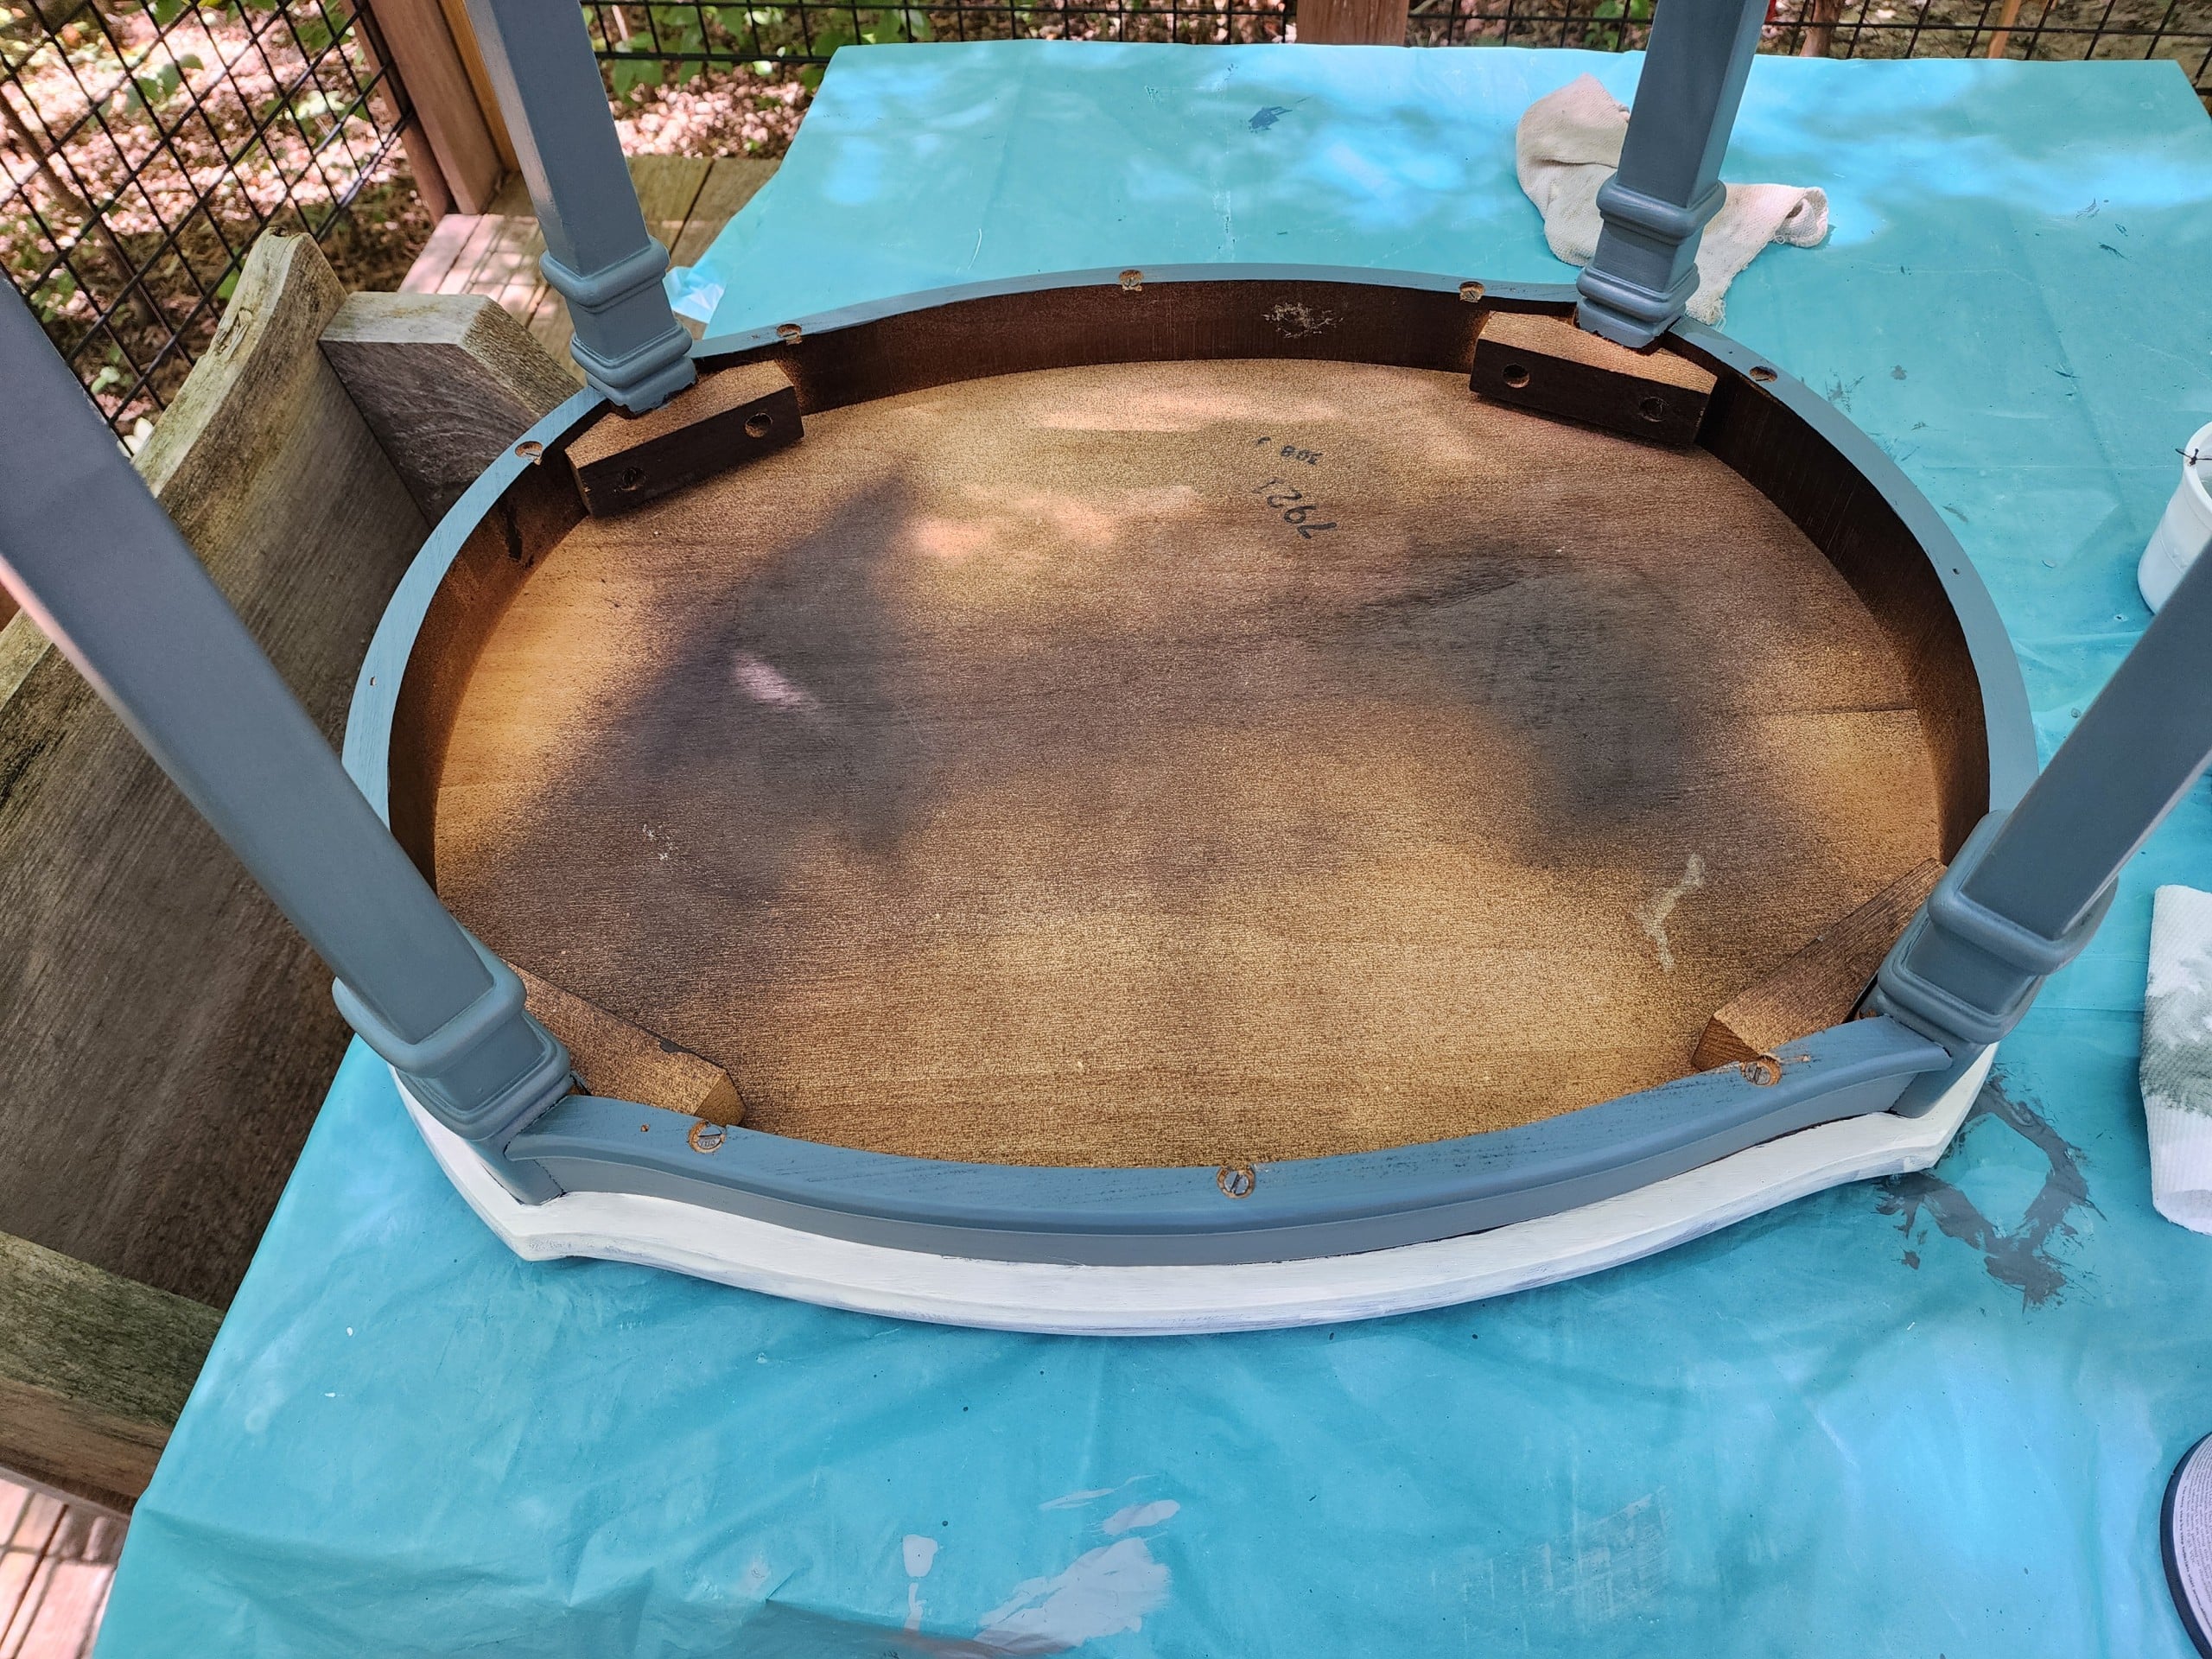
While the table was upside down, I carefully started painting the underside of the tabletop with the Bone paint.
Folks, there’s an easy way to do this and a hard way. Why was I not taking easy street?
In the photo above, you can see that I did an excellent job of creating the two toned effect on this side table. However, I realized that it only takes a few extra steps to take “easy street.”
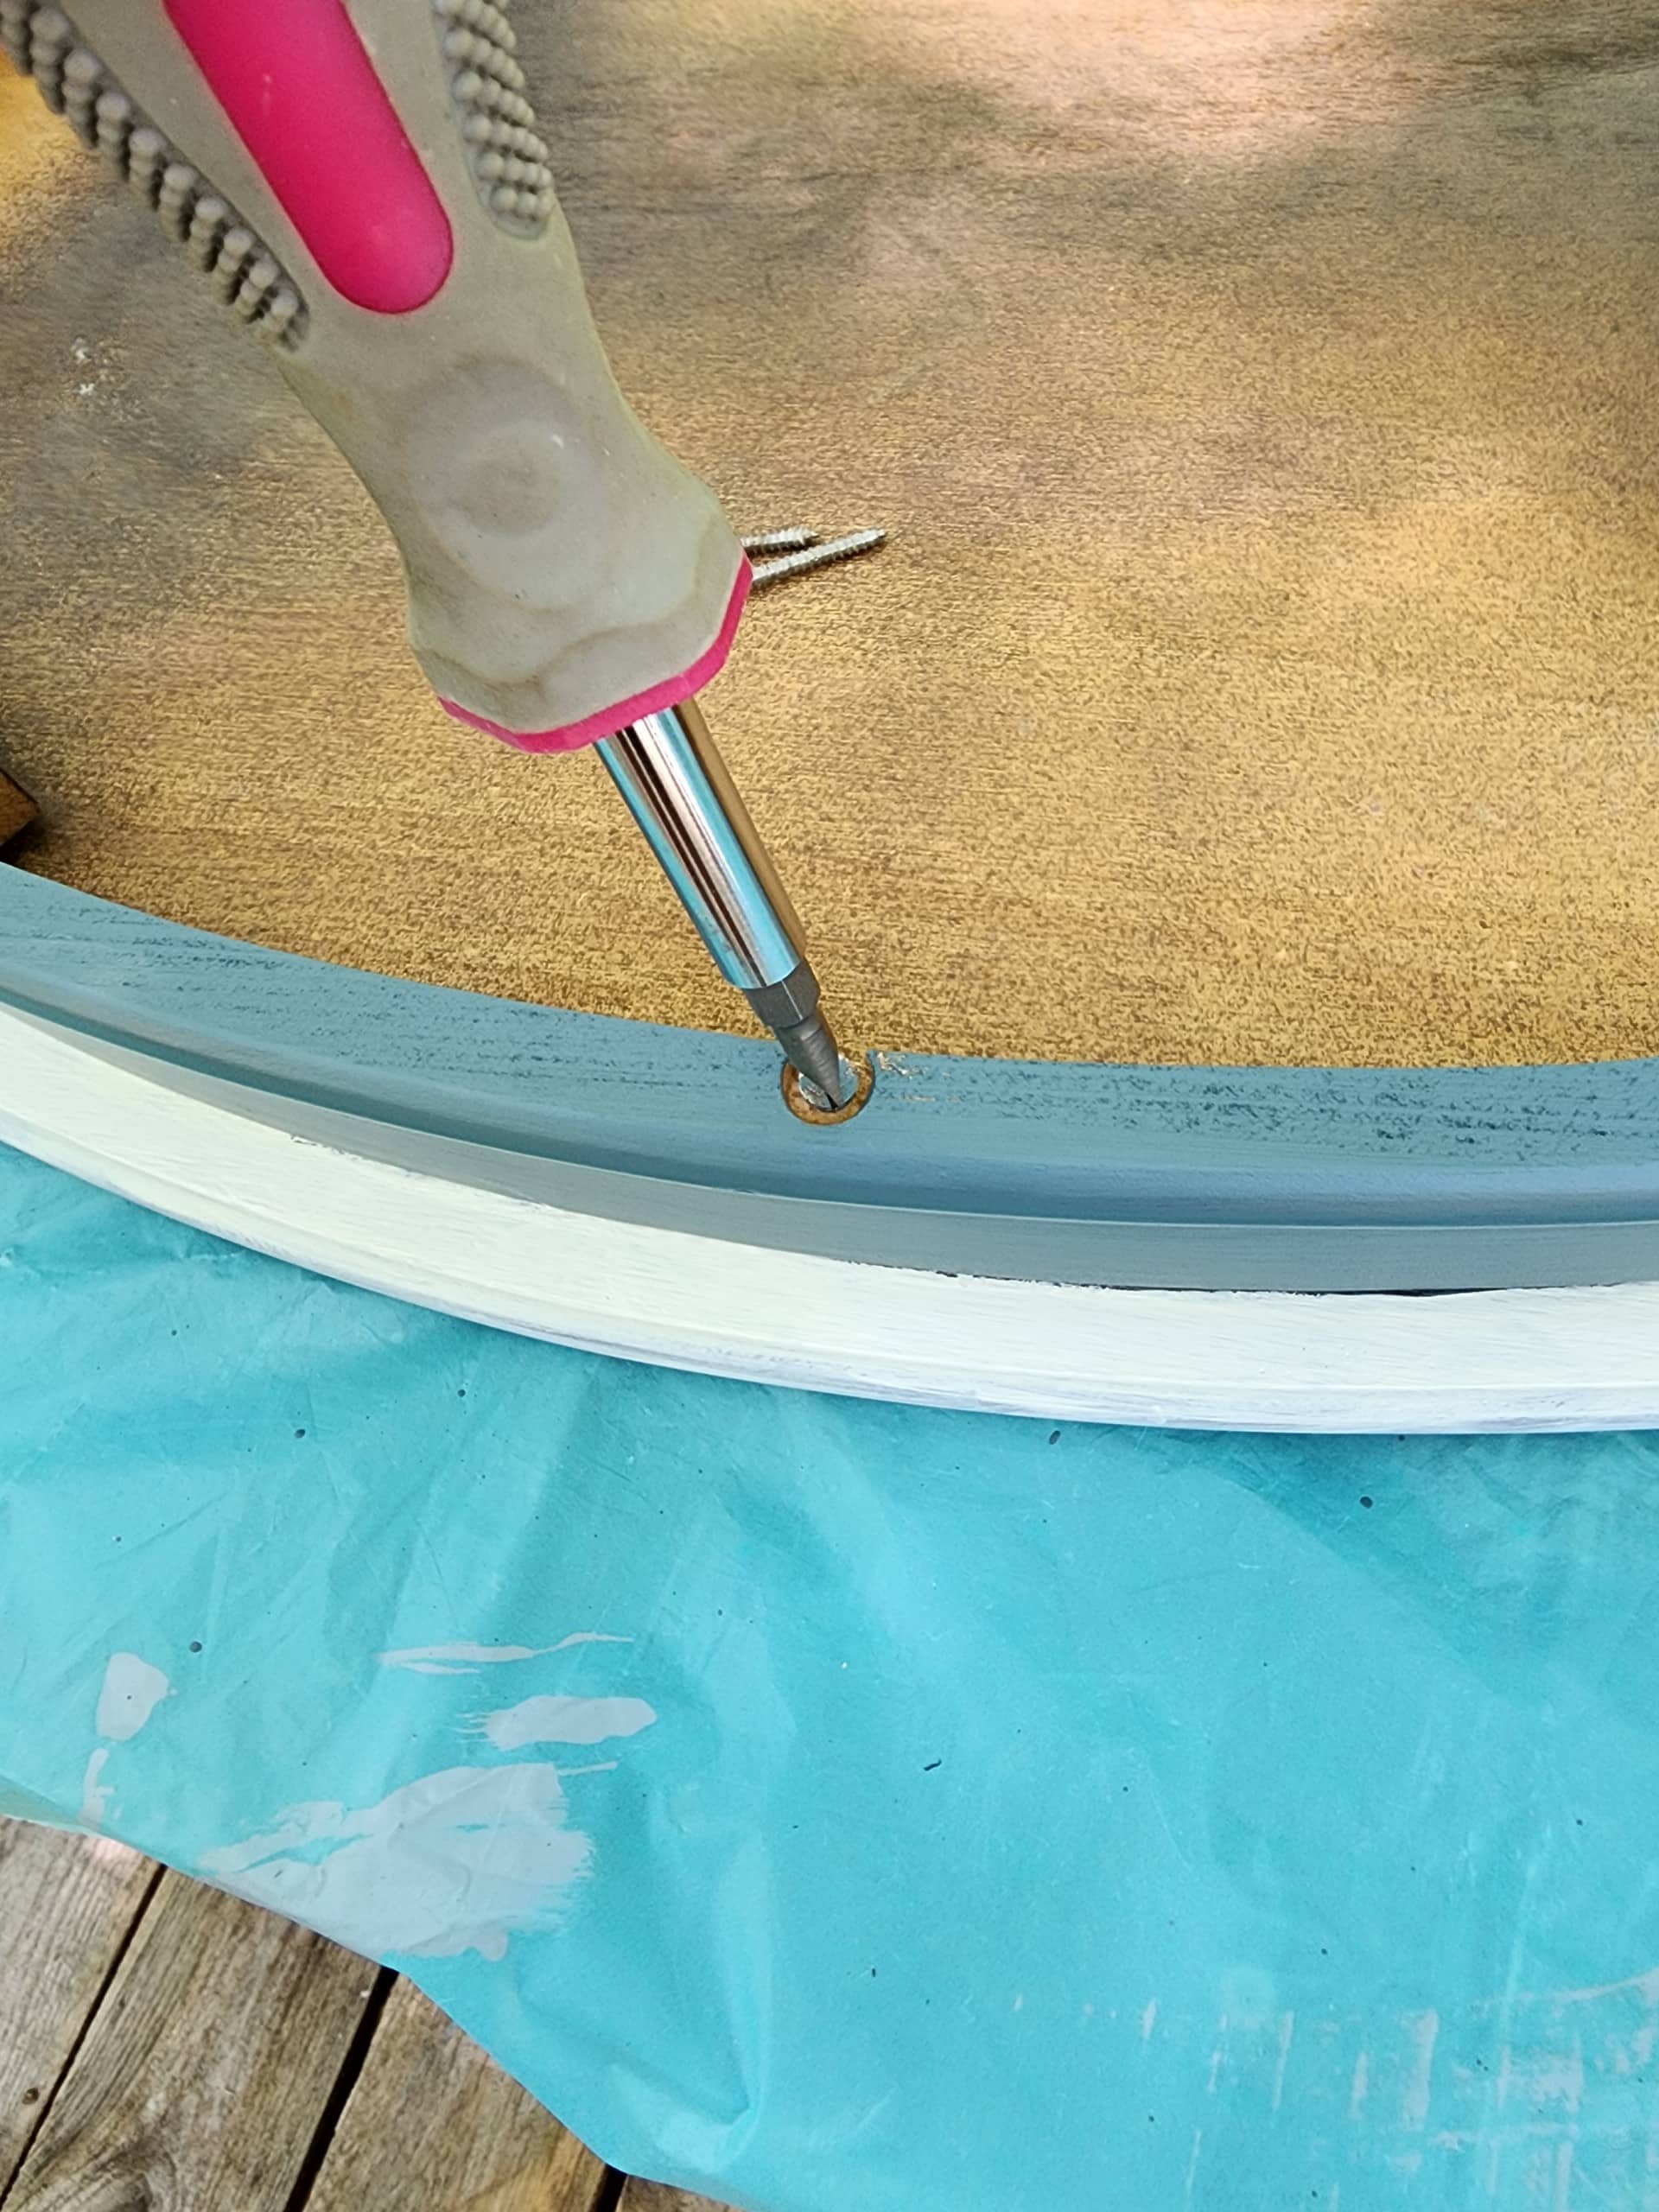
I removed all the screws to separate the table base from the top.
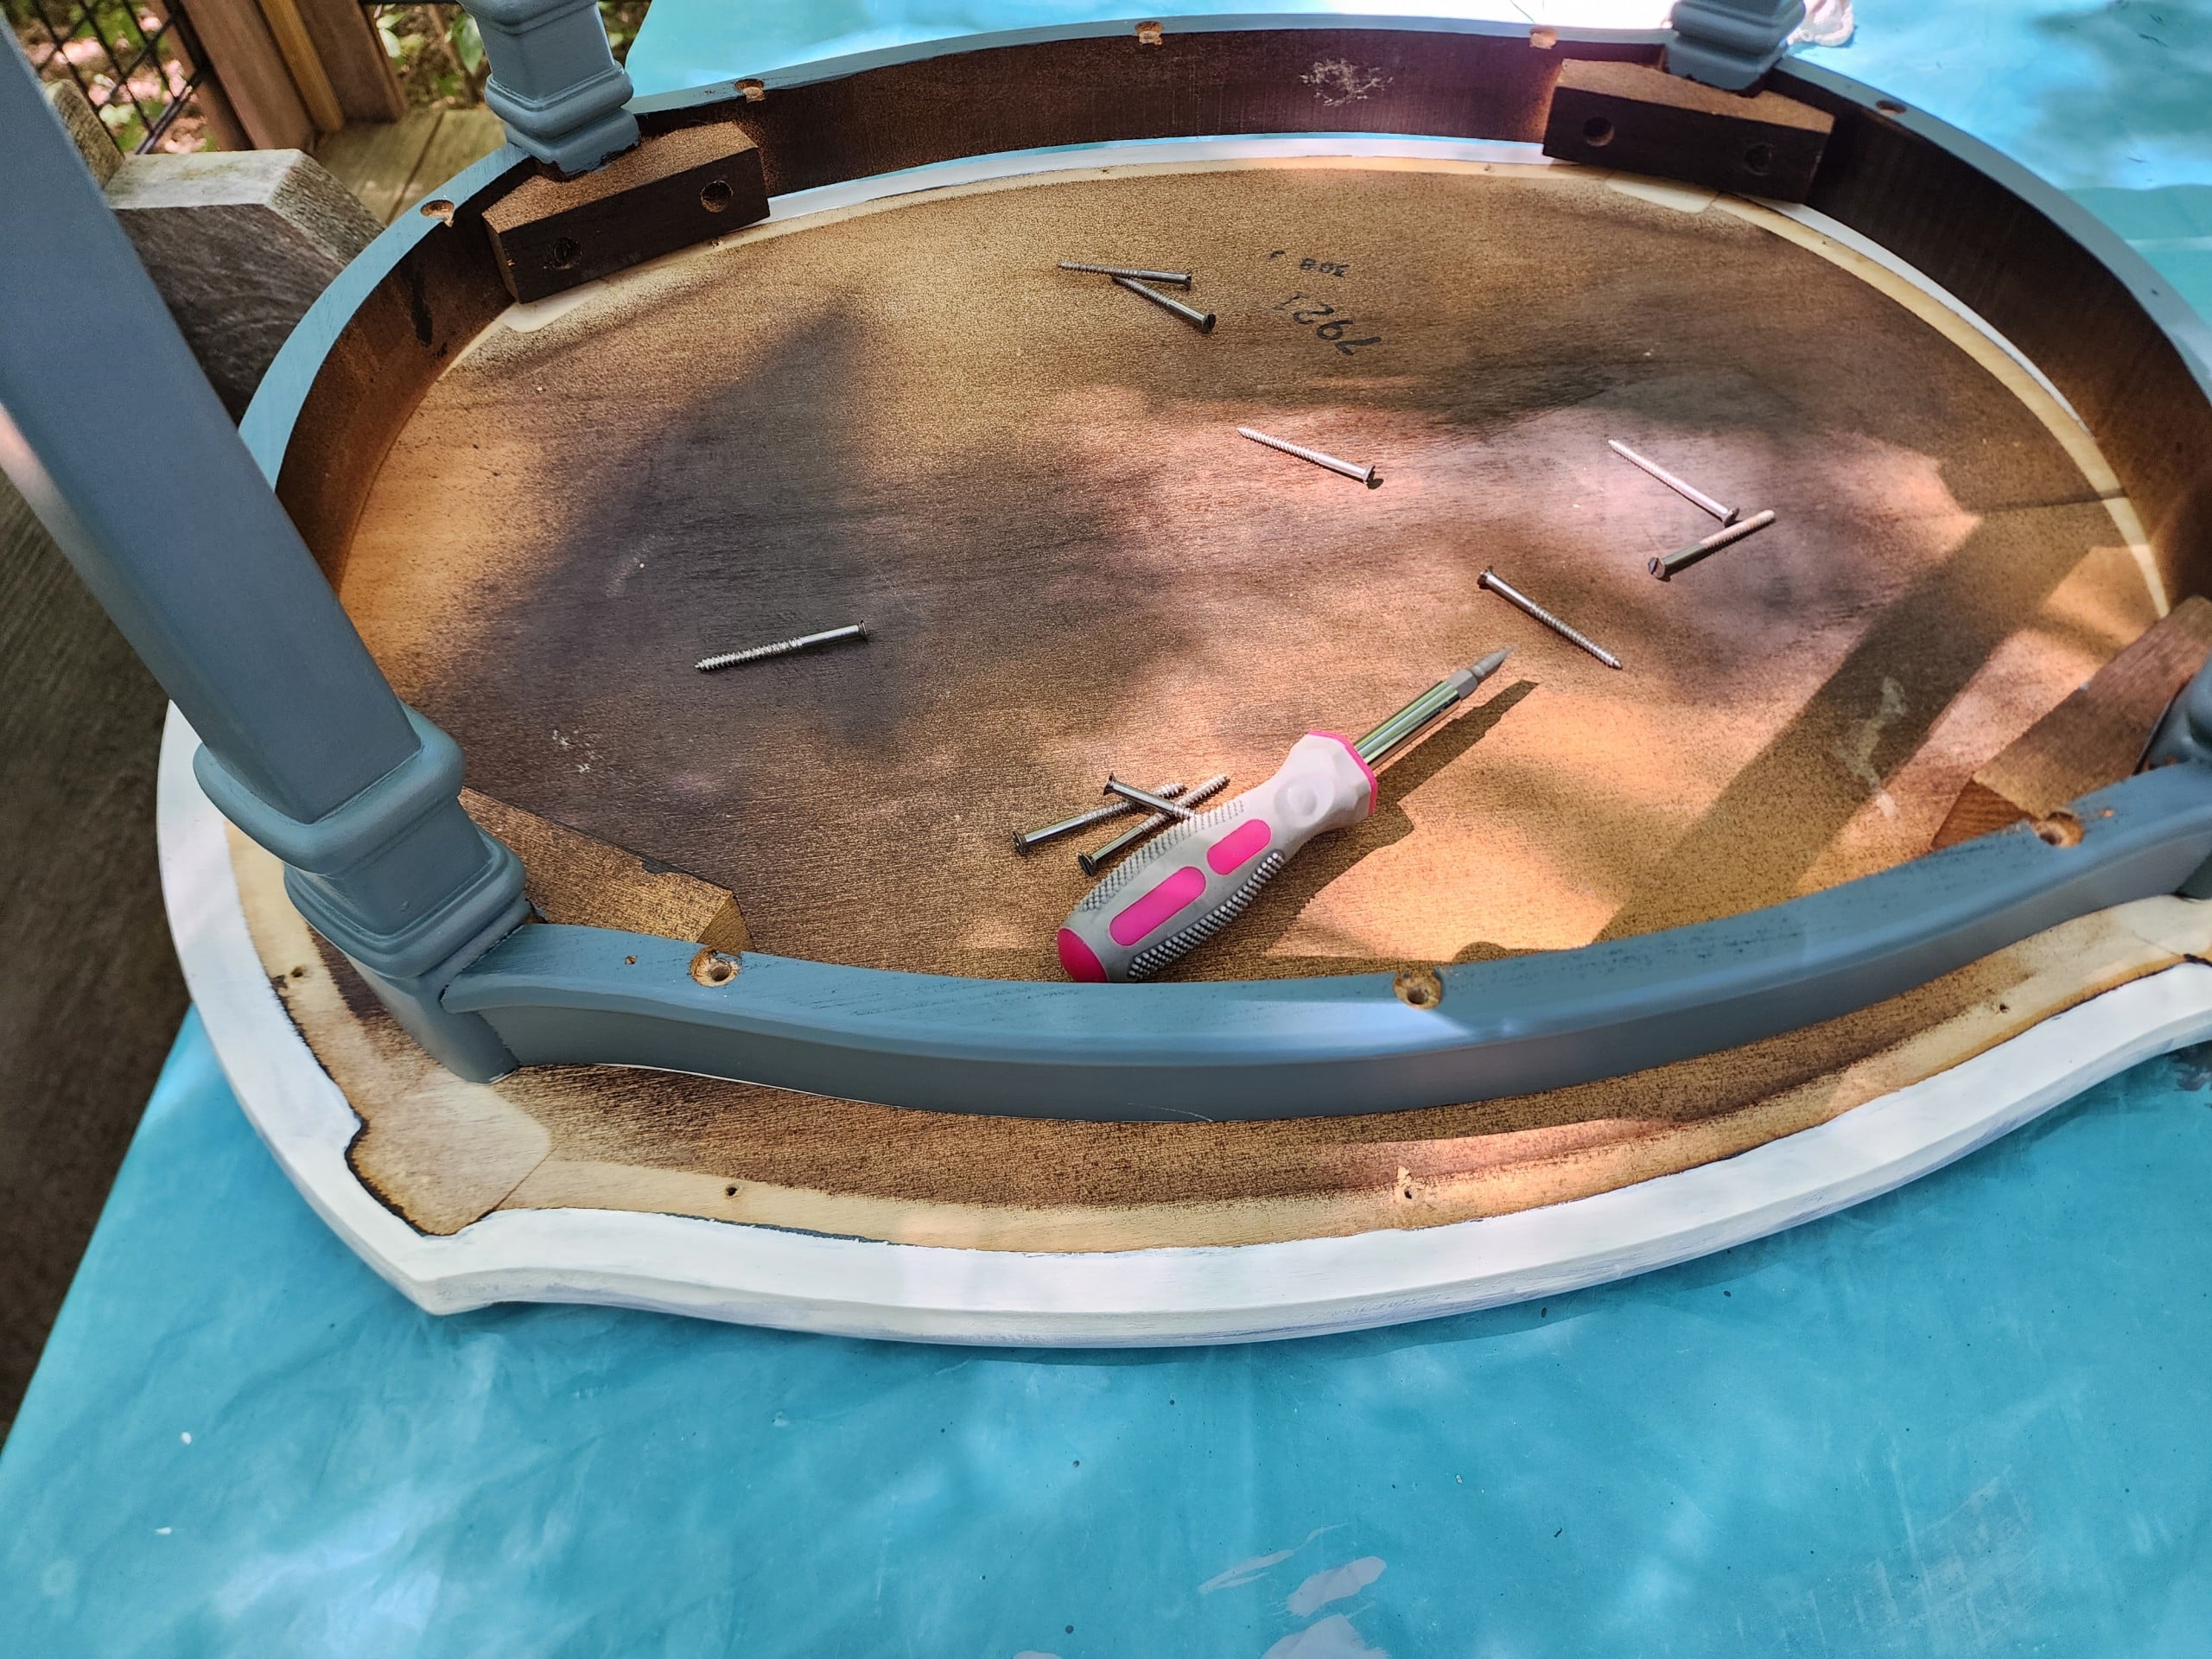
The hardest part about removing the screws is keeping up with them.

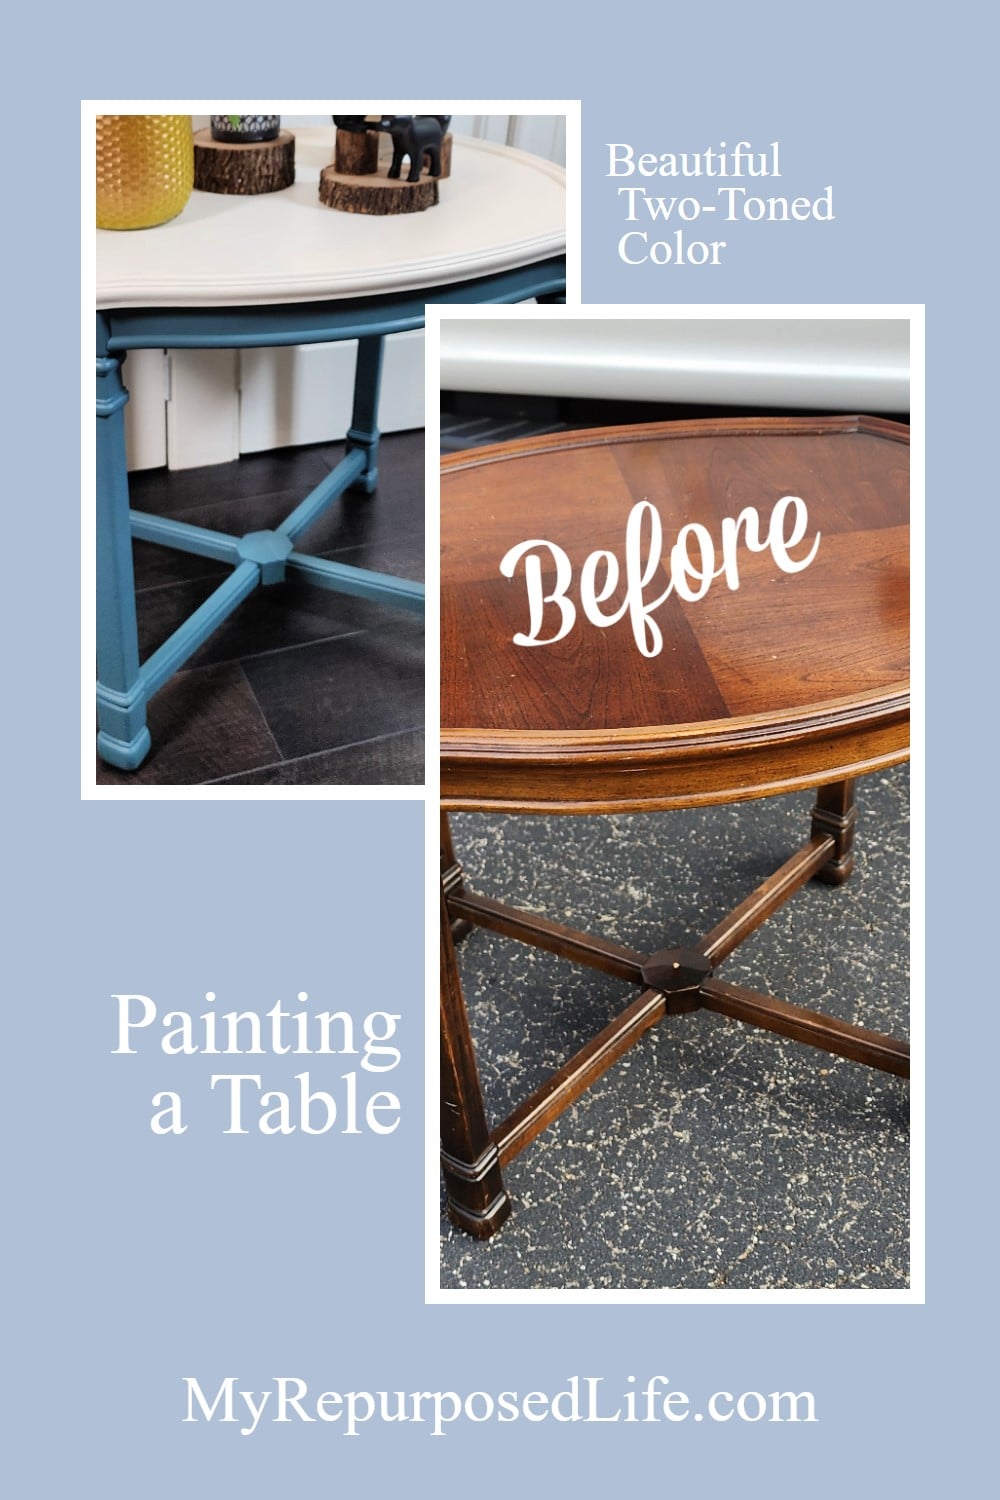
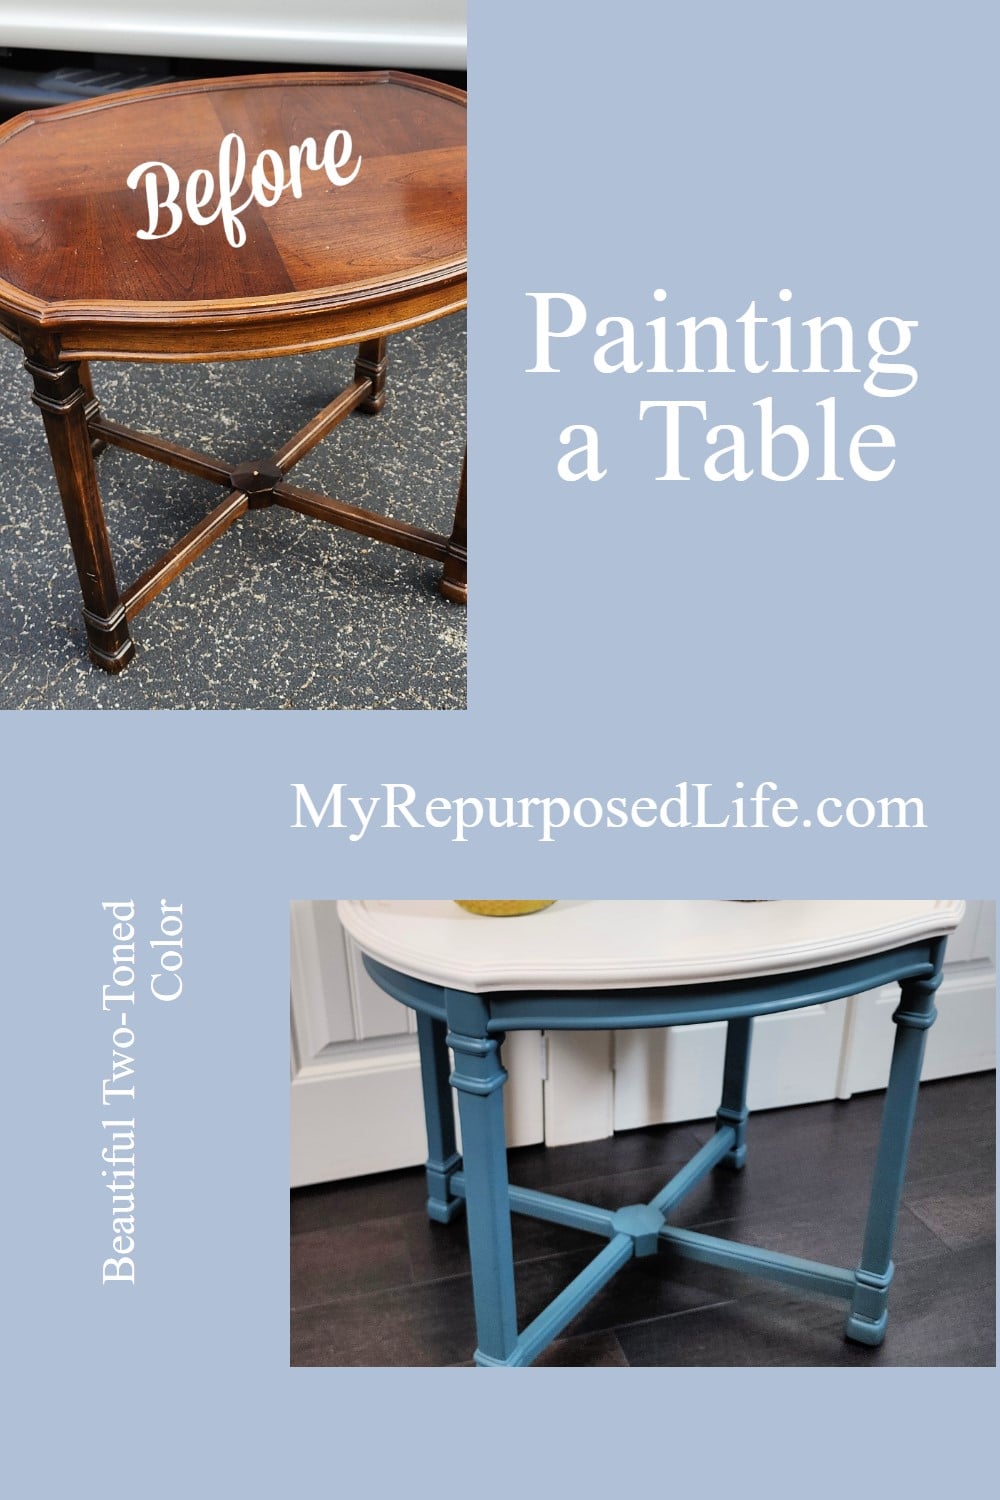
With the table base removed, minimal white paint is evident. Do you love the Spruce color as much as I do? Do you see more blue tones or green?

Resting the tabletop atop spare paint cans, I paint it with a small foam roller.
Use Fine Sandpaper to Smooth Paint
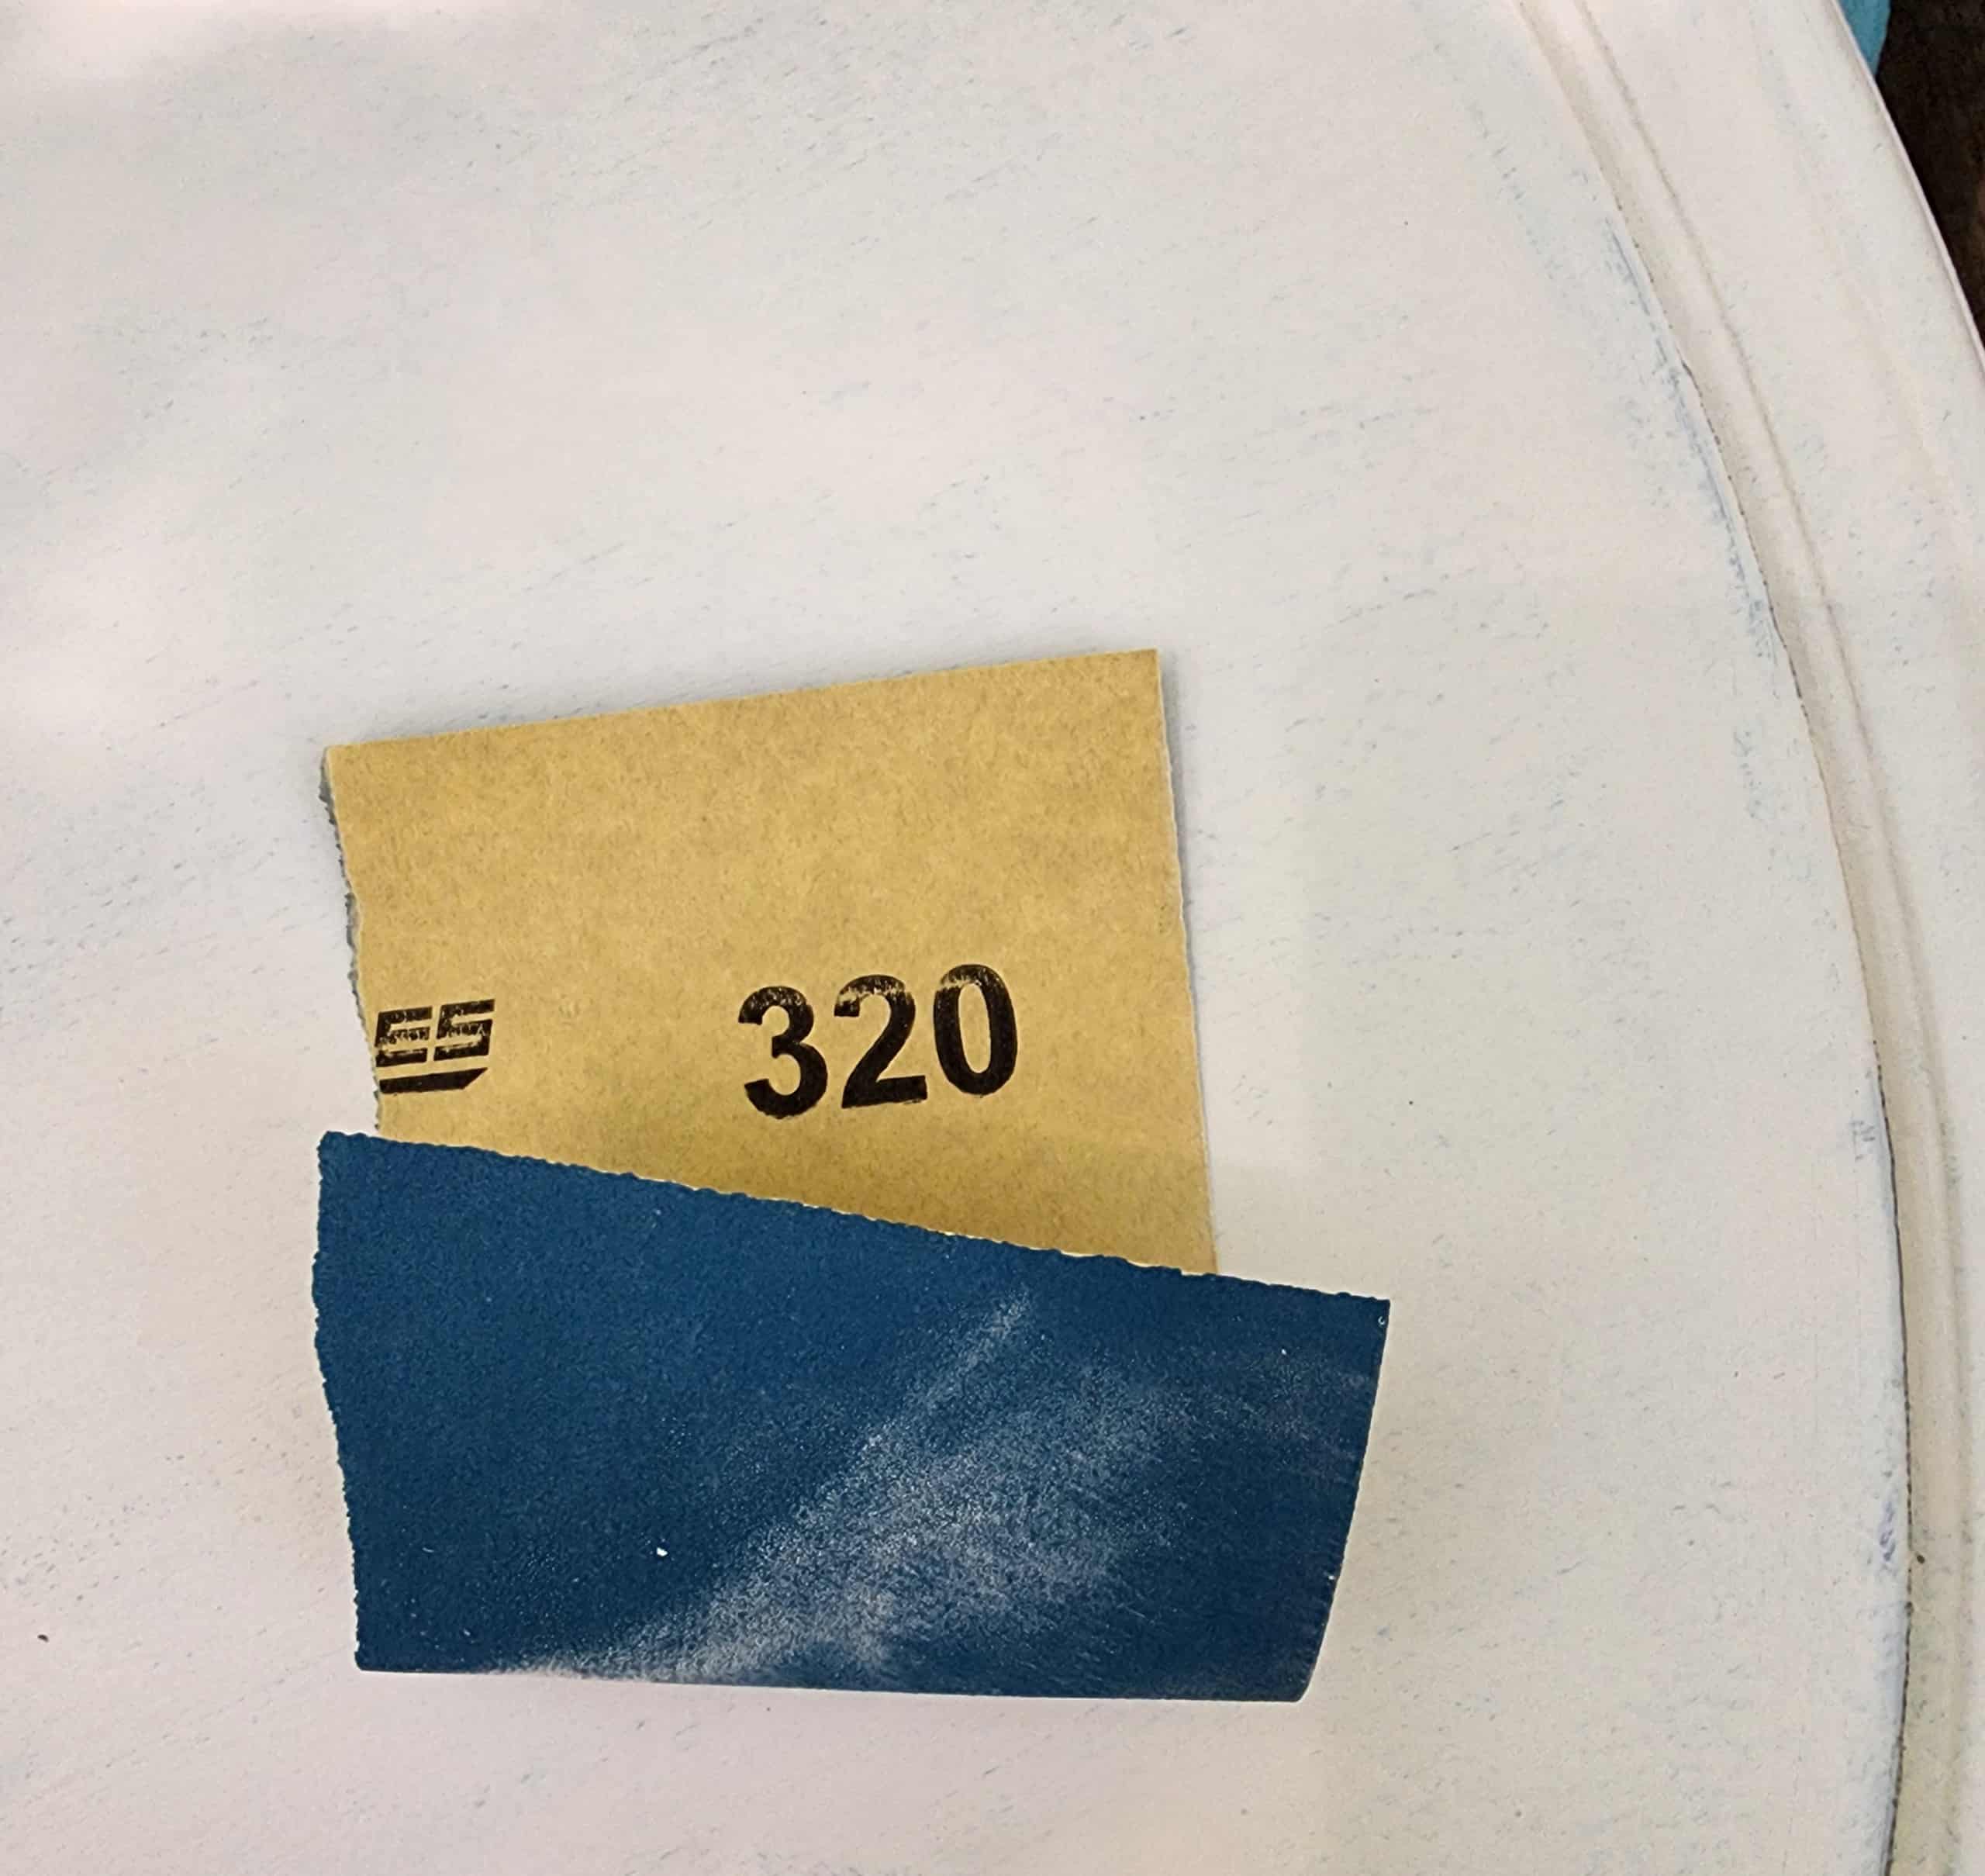
The paint appeared a little “rough,” so I used fine-grade (320) sandpaper between top coats. I’m very particular about tabletops. I want them to be smooth.

A paint brush was used to make a smooth transition between the tabletop and the trim.
Two Toned Side Table

The new table traveled back to Louisville unassembled. Luckily, I didn’t lose any screws along the way.
Pin this project for later.
Underside of Two Toned Table

Why would you use painter’s tape when removing the tabletop from the base is so easy? The underside of the tabletop only got one coat of paint, which I liked because it resembled a whitewash.

The two toned Spruce and white table is so much prettier in real life.

The photos do not capture the depth of this pretty color. I’m so happy I separated the tabletop and the base to get a clean, crisp line. I highly recommend that you investigate your options when you want to get a beautiful two toned look on your furniture pieces.
As promised, here are more beautiful furniture projects to inspire you:
- Hutch Makeover With Silk Mineral Paint
- Chest of Drawers Makeover with Lilac Latex Paint
- Two-toned Side Table Makeover (you are here, thank you)
- How to Polish Brass Fast
- Vintage Buffet Makeover
Furniture Fixer Upper Tour Projects
If you love seeing old furniture get a second chance, be sure to visit more Furniture Fixer Upper Tour makeovers. Each project starts with good bones and ends with a fresh new story.
See more Furniture Fixer Upper makeovers here
You will find everything from small side tables to large statement pieces, all transformed by talented DIY bloggers who believe in saving furniture rather than replacing it.
This turned out great! I’m amazed at how different it looks now!
Thank you so much Natalie. I love working on easy projects at The Hideaway! It’s so peaceful and calming. Not like work at all. 🙂
gail
It wouldn’t occur to me to remove the top, Gail. So much easier! I thought the table was beautiful to begin with and the paint adds charm.
Honestly Marcie, I’m not sure I’ve ever removed the top before. But then again, maybe I haven’t done a two-toned table in years!
gail
I love the new look. Two toned is my favorite!
I agree Kathy. I love mixing it up!
gail
Thanks for the tip on separating/unscrewing the top. I’ve done it on some pieces and have kicked myself a few times when I haven’t…lol. It makes this so much easier. The table is gorgeous Gail! I love the two-tone and your sweet styling is the icing on the cake! PINNED XOXO
You’re too kind Denise! I struggle so much with staging. I don’t have a bare area in my very small house, so I have to work with what I have. 🙂
Thanks for your sweet comment!
gail
It’s really pretty.
Thank you Lizzy!!!
gail
That color is beautiful! It looks more blue on my screen, but just lovely! And that was a great price for the condition! XOXO
Happy you like my simple table makeover Christy! I’ve been too busy lately to do larger projects. Hoping someday soon to tackle some antiques I have in storage!
gail
I love your work! I keep track of screws, etc when taking apart furniture with a mechanics’ bowl. It’s a small chrome bowl that is magnetized and you just drop the screws in, and they stay in place. I buy them at Harbor Freight for a few dollars and they come in different sizes. I’m sure the big box stores carry them too. (I also use them in my craft room for metal dies and pins.) Afterwards, I store the screws in a used prescription bottle. I keep extras in the shop.
Great point Diana! I have a couple of those magnetic bowls filled with random screws. My problem is that the time between taking something apart and putting it back together could be weeks! The struggle is real my friend!
gail