Updated Portable Bar
As an Amazon Associate, I earn from qualifying purchases.
I recently revisited this portable bar made from an antique radio cabinet. I knew when I finished stopped working on it, that there needed to be some changes.
Sometimes it does take me a while to get back to update a project, especially when the weather turns really hot. I’m not physically able to be out in the heat these days, so I really have to keep an eye on the temperature and work around the heat waves.
Today I’m going to share with you some updates that I am loving!
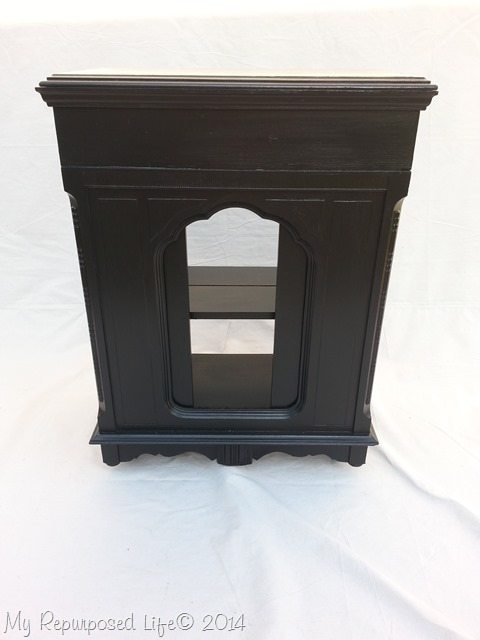
To see how the project got to this point, please check out this post. Repurposed Antique Radio Cabinet.
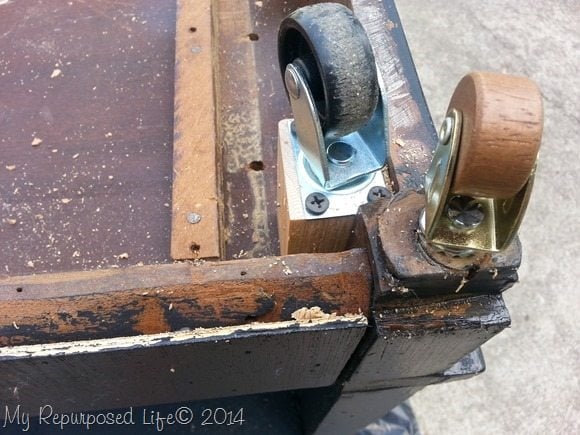 The first thing I did when I brought it back out of storage was change out the wheels. I was never happy with the wheels and how I had to install them. When I saw Anne add casters to a desk, I knew they would be perfect for this bar. We got them from D. Lawless Hardware.
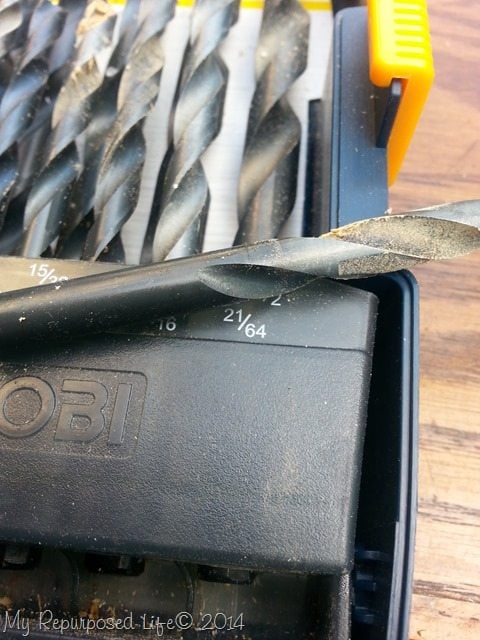 This is the drill bit I used. Installation is so easy. Drill the hole, insert the “sleeve”, then pop in the caster wheel. I think it took me longer to remove the old wheels than it did to install the new wheels. Thank you D. Lawless Hardware for selling great hardware at affordable prices.
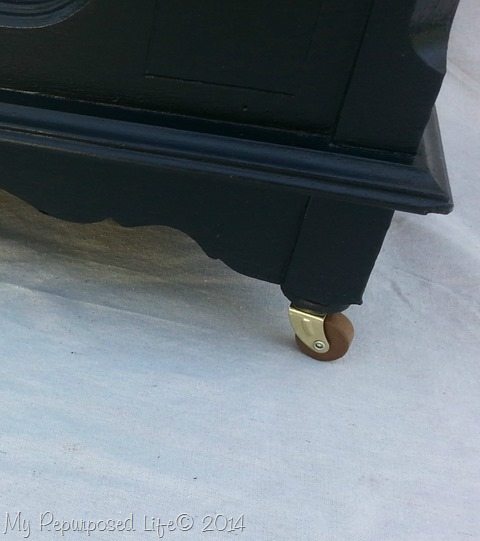 Doesn’t it look fabulous?
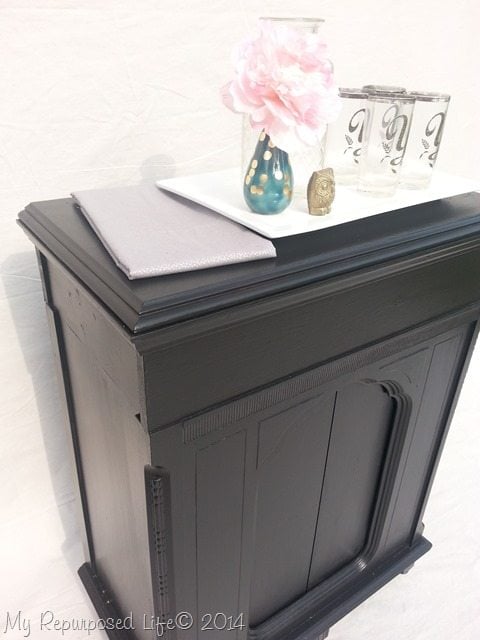 Next up was removing the doors. It seemed like a great idea. NOT! You know how they say “they don’t make things like they use to”? It is so true!
It took over an hour just to get these doors out. Midway through I was wondering why I ever started.
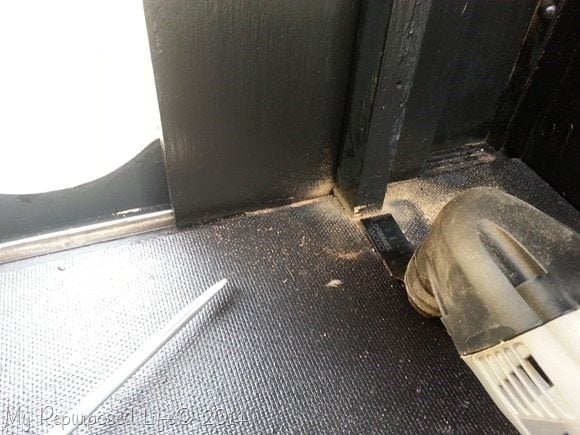 There were only two braces standing in my way, so I thought. I got out my Dremel Multi-Max to do a flush cut on the wooden braces. They popped right out. I thought it would be a simple task to just simply remove the 2 doors. Not the case. See that metal track the door slides on? There was one on the top and the bottom. (this is actually the top of the cabinet, as it is still upside down from installing the wheels.
Sometimes when I get busy and frustrated with a project, I forget to pick up the camera. It really was the furthest thing from my mind at this point. I proceeded to try to pry up the metal track, which meant the door would no longer slide left or right. I continued to pry, bang, hammer until I finally got one door loose on the top side.
At least then I knew how to get the other door free from the top side. I flipped the cabinet over and worked on removing the remaining track.
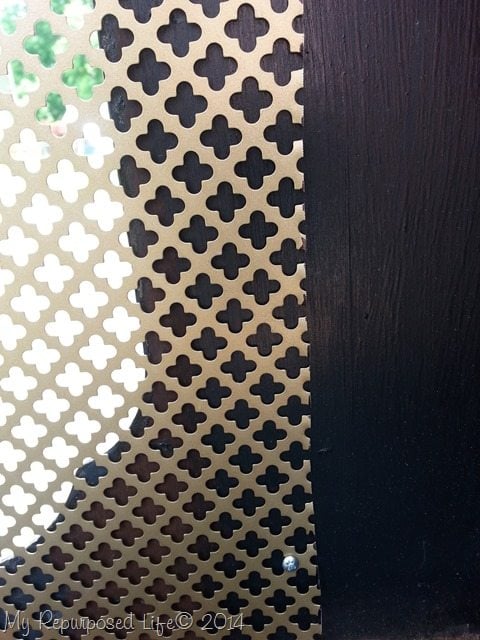 Yep, I was so frustrated, I never even took a picture of the doors removed. I went right on to the next step—installing this decorative metal sheeting I had left over after doing the other project Vintage Armoire Doors Cabinet. It was already the perfect size, and I simply secured it in place with some small screws.
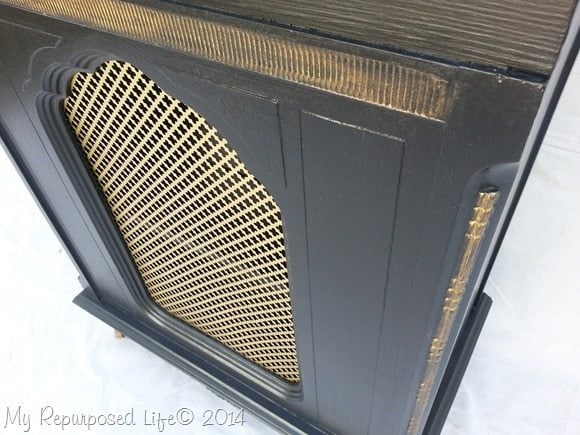 I used some gold craft paint to bring out some of the details of the cabinet. Hey—this cabinet has those same little triangles as the armoire doors—I just noticed that looking at these pictures.
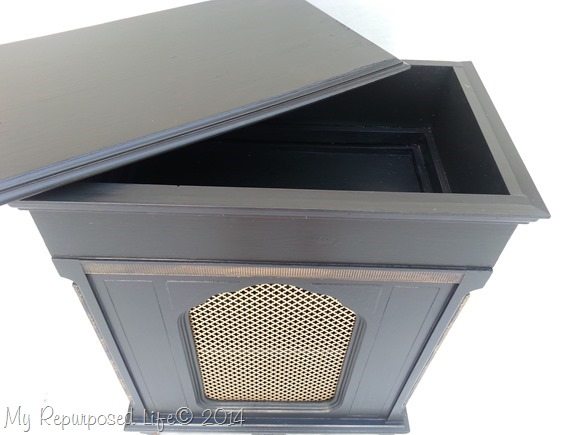
The cabinet has this great storage area under the lid.
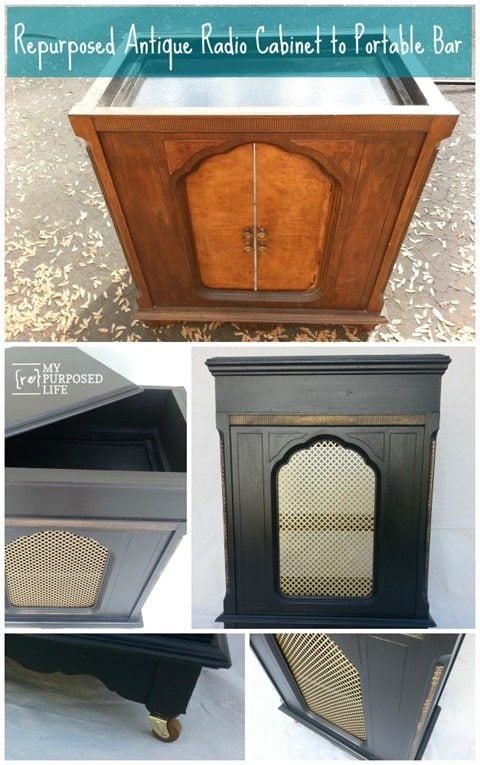
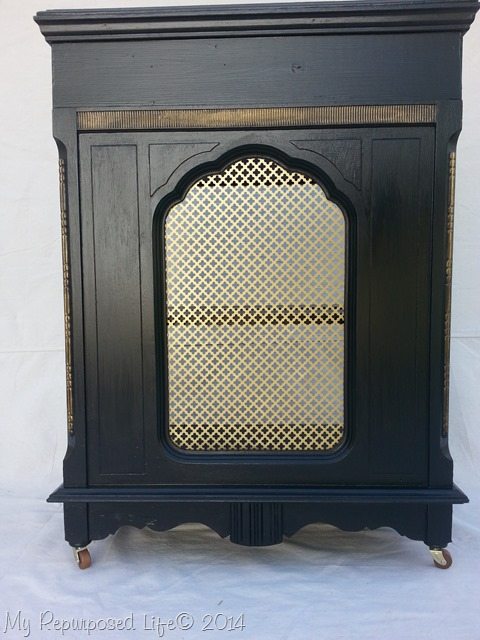 The cabinet wheels around so much easier now that it’s on these great vintage style casters. To access the inside shelves, you have to simply just wheel it out. So FUN!
Noticing the bottom middle portion…. should I have added a little gold detail there?
gail
Related content: Build Your Own Portable Pallet Bar


I love this. Would be great as a coffee station
Everyone needs a great coffee station, right?
gail
I really like the new look. The emphasis on the detailing really helps it. Before you couldn’t even see that ridge detail. Now I’m inspired to try something with an old radio cabinet I have from my parents.
Yes, I would put the gold detail on the bottom. I would also hinge the top to make the storage more effective. Looks great!!! I love it.
Gail.. love the trans-transformation. Where did you find the metal grate.. Great job.
Kris
I got it on clearance at Lowes a couple of years ago. I got a good deal, so I bought several sheets of it.
gail
I love how you remade this! Love the gold!
I really like the updates to this radio cabinet turned multi purpose bar. What I like even better is the fact that you posted the first time that you weren’t thrilled with this project initially. I recently felt the same about a project that went awry from my vision of it. SO nice to know that even professionals don’t always feel they’ve hit one out of the park. Thanks for your honesty and making me feel a little less inadequate!
Kathy,
I blog reality. Many times I’m not happy with a piece in one way or another. I think a lot of it is because I’m usually not transforming it for my own purpose. When I work on stuff for the masses, I need to try to make it “workable” for many homes, and that holds me back sometimes, not knowing exactly how it will fit with a new family. If I were doing custom design, I think it would be a lot easier.
Ohh, I’m not a professional, I just play one on the internet. 🙂 So, for sure, don’t beat yourself up. Those of us who do a lot of this stuff still struggle daily “getting it right”.
gail
Oh my goodness, Gail! I LOVE this project! I am very, very into gold accents right now and this hits all the right notes! Pinning!
I *LOVE* the addition of the gold trim and casters. I do think that you should add the gold detailing to those little stripes at the bottom. Great job!
oh how cute. that turned out nicely, Gail.
Thank you for the shout-out you sweet thing!!! I love this piece, too. Great job Gail!
xoxox
love it! the casters are beautiful!
Love how this project turned out! The casters and the metal sheeting were the perfect touch.
This looks awesome Gail! My favorite part was learning how to install the casters, I have been wondering about that but just haven’t taken the time to look it up! I love the gold details you added even if it was a pain to get the doors out, it was so worth it!
I like the way this works now! With the storage underneath! Great job with the new wheels too they look much better out front where you can see them, too. The screen insert is a nice touch I had a look at the older post and didn’t realize or maybe forgot you added a box to the top making it taller. Could an ice bucket fit there for cold drinks?
I really do like this piece. I’m keeping an eye out for one with a tilt of front for a garbage can cabinet myself.
Love it….amazing job.
Such a great piece. Sometime I wish I had a shop to sell stuff like this so I could work on projects like this too. Very cool.
Oh pretty, I love the wheels and the gold mesh is totally awesome! Sometimes the most frustrating projects end up turning out to be the best!
Love the transformation! But I agree with ya…add a lil gold accent on the bottom trim. Adorable!
Looks great Gail!
IMO the wheels you had on it at first were nicer, hiding inside the unit making it look like its floating. Maybe if the wheels were black it wouldn’t look as bad, they stand out in a bad way I think. And yes you need to add the gold detail to the bottom would really set it off. Good luck in what you decide to do 🙂
love the new wheels! great little piece- now pour me a drink!
I love this transformation, Gail! Love the screen insert–I like to use screen when I can. I need to go back and have a furniture “do-over” with stuff that hasn’t sold….my plan for August.