Upholstering caned chairs
As an Amazon Associate, I earn from qualifying purchases.
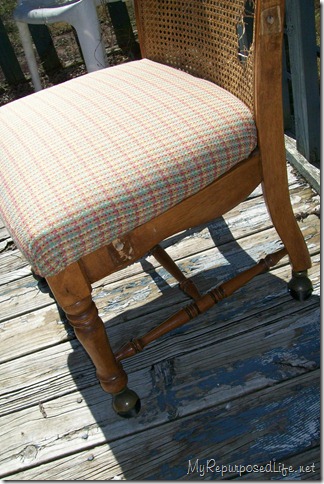
Remember the chair I showed you yesterday? One of Jamie’s recent finds at the Goodwill outlet for $5.00. When I asked Jamie “what is the Goodwill outlet” she replied “it’s where Goodwill things go to die”.
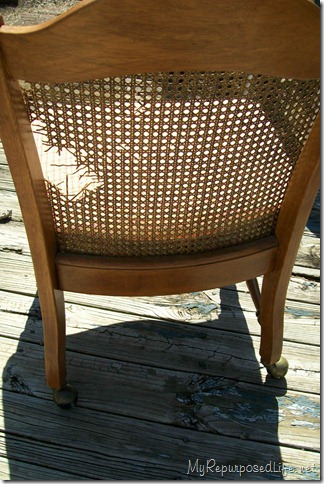
We don’t have an outlet here in Louisville. In fact the store closest to me is the smallest Goodwill I have ever seen. Imagine the size of a convenience store gas station. In this picture you can see that it had arms at one time.
I had thought about making some kind of shrug or cover for the back. I haven’t upholstered many chairs, so I just sort of started on it and kind of “winged” it.
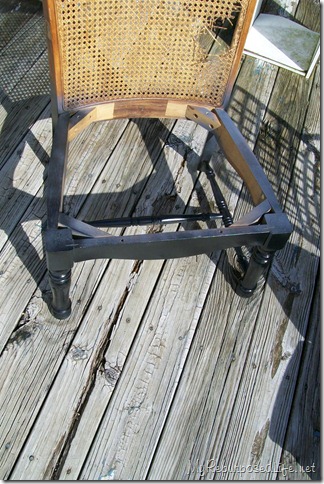
After lightly sanding it, I used some spray paint to primer it.
Upholstering Caned Chairs
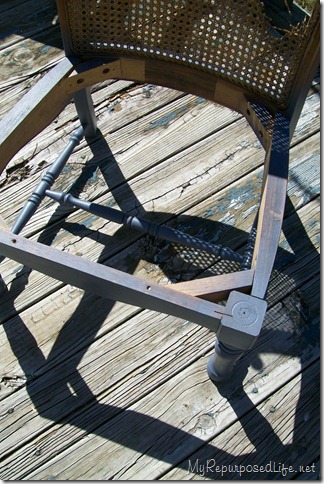
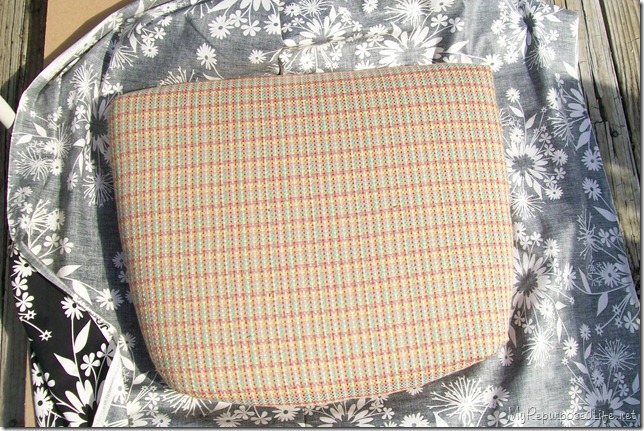
While the paint was drying I worked on recovering the seat.
Painted it black.
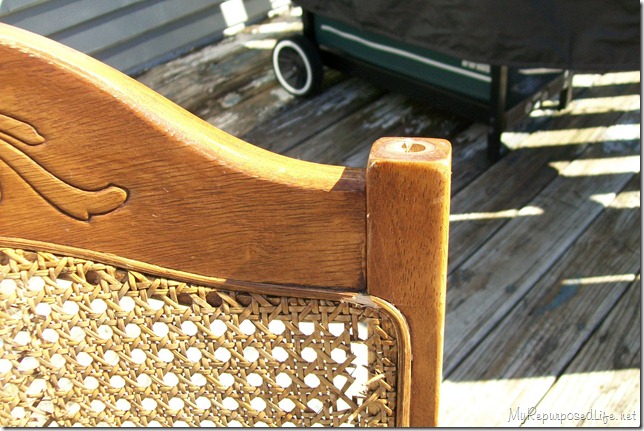
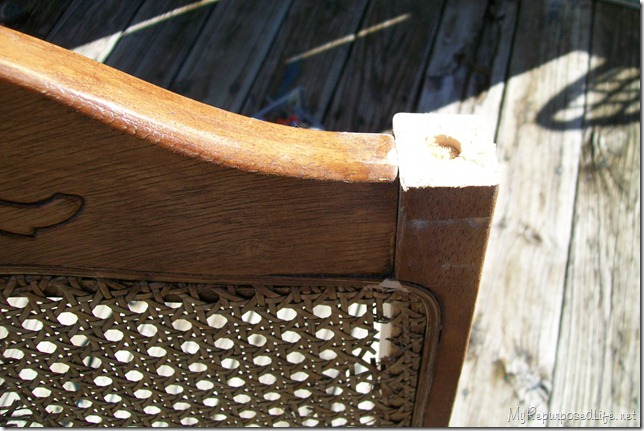
I decided it would be best to remove the finials and take a little “off the top”.
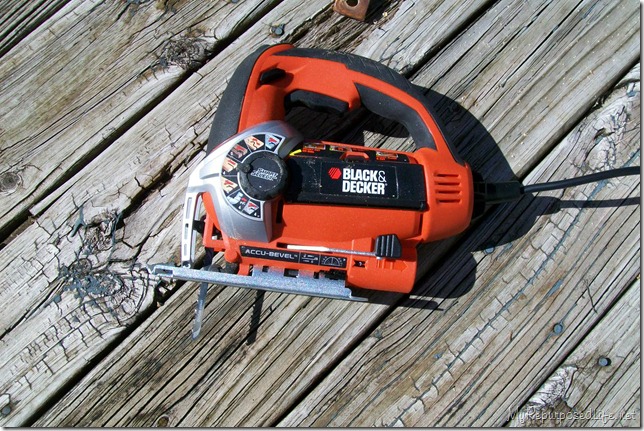
I fell in love with the jigsaw from Black & Decker. Jamie’s dad bought me one for my birthday. However our Home Depot didn’t have the exact one. Mine doesn’t have the line finder on it.
However, I really loved how easy it was to operate to remove that little piece of this chair.
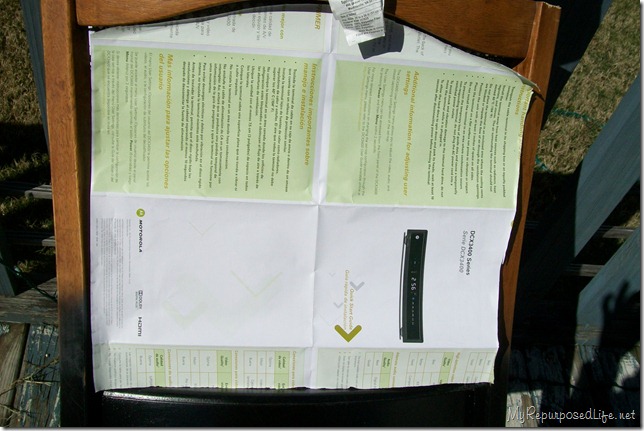
At my house, I have lots of random stuff. At Jamie’s I had to be resourceful! She recently got a new cable box, and this paper is the “quick start” guide. I used it to make a paper pattern of the back.
Jamie recently started selling Pampered Chef. They have awesome boxes! Because some of their products are so heavy, their boxes are extremely durable. Jamie had many boxes set aside to recycle, so I had a lot to choose from.
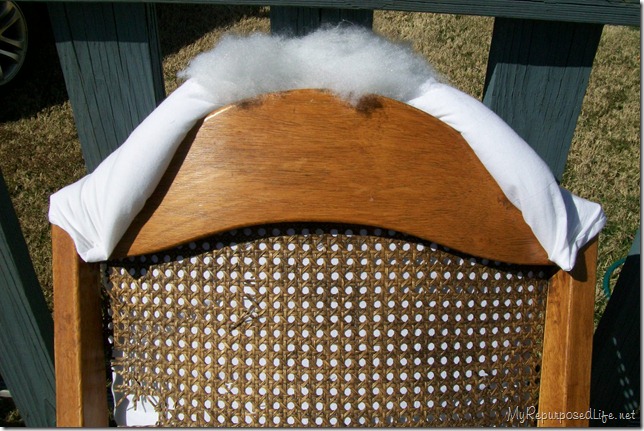
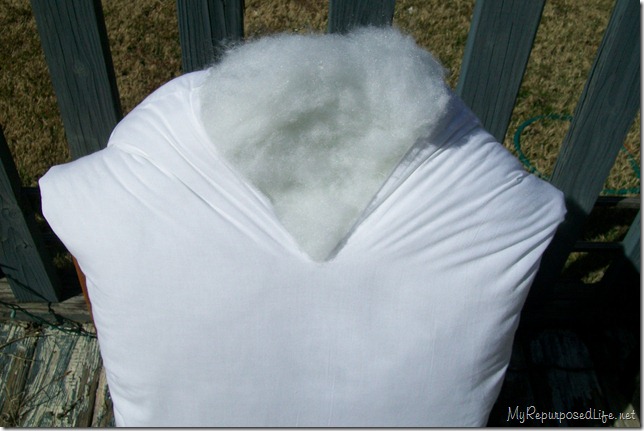
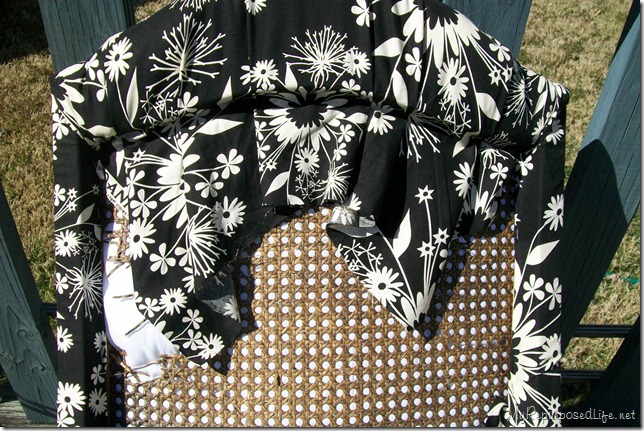
Jamie had purchased some batting for this project, but while I was staying in the guest room, I noticed several bed pillows strewn around. I stapled the pillow to the chair.
I gave it a new “neckline” in order to spread the “fluff” all the way to the top edges of the chair back.
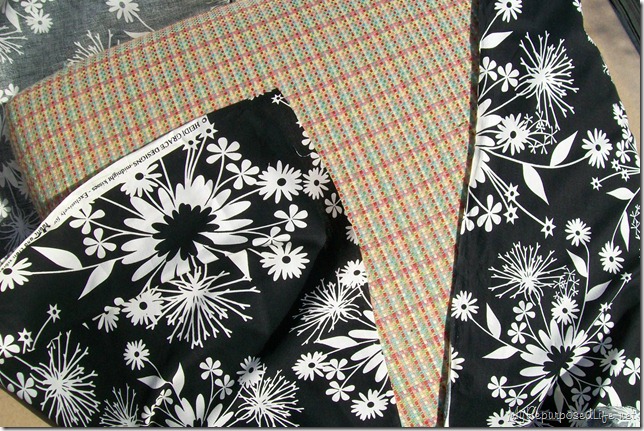
I used my staple gun to attach the fabric.
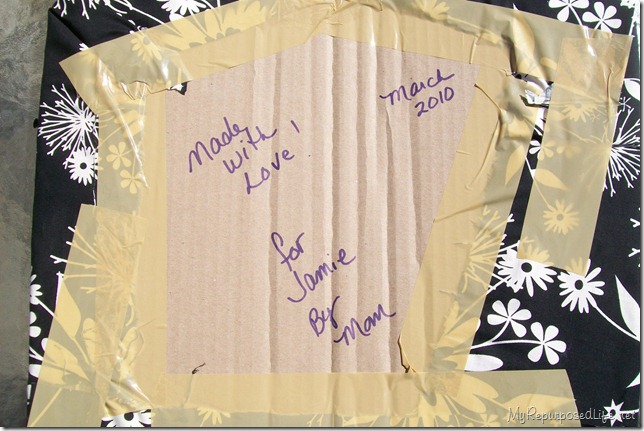
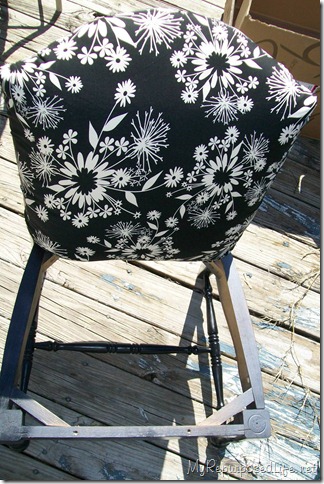
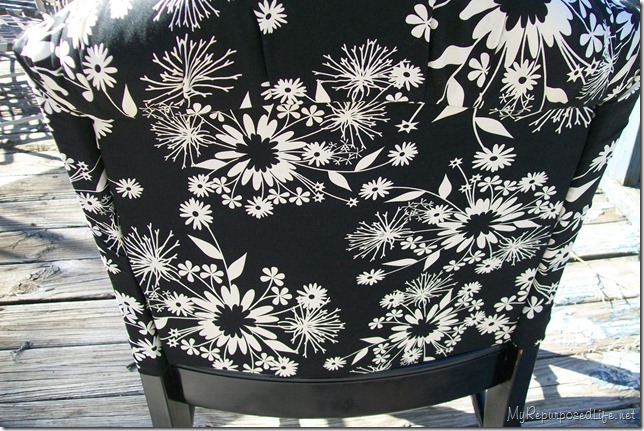
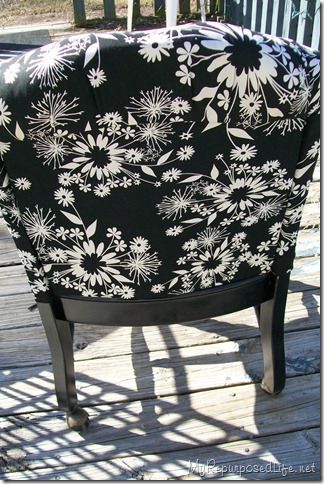
I covered the cardboard with the fabric. I used my Elmer’s Spay Adhesive to attach the front of the cardboard. On the back I used some E6000 and tape. As you can see, I left my mark for anyone else who may tackle this in the future. The seat of this chair had already been covered twice before.
Looking pretty good eh? Especially for someone who has no real clue what she’s doing!
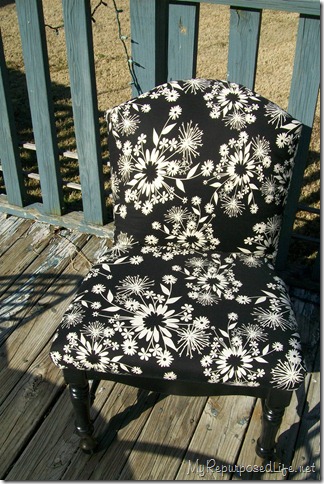
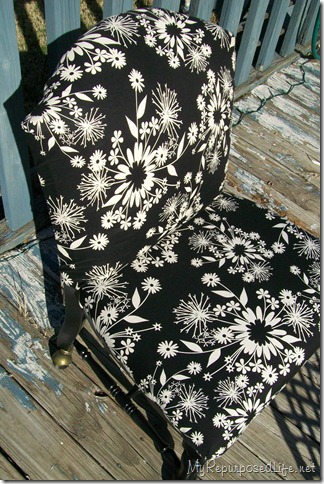
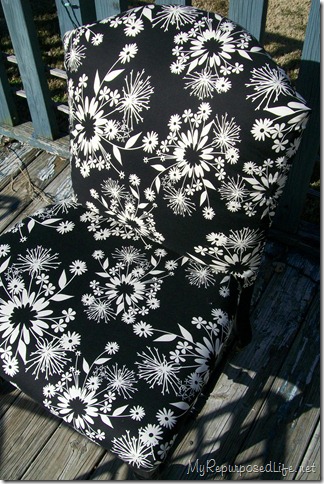
Voila!
Ain’t she pretty?
I used Gorilla glue to glue the cardboard in.
It’s going to look great in Jamie’s office/sewing room!
gail
get more chair ideas here:
[categorythumbnaillist 102]



Thanks for sharing, that was awesome!! Great post!!! I am your newest follower!
Bonnie
http://creatingahouseofgrace.blogspot.com
WOW that is all I can say. WOW.
tammy
pretty good? NO!! It’s AMAZING!!
WOW!!!!! It looks brand new!
I want to recover my kitchen chairs, but upholstering is something that scares the heck outta me!
Great job! I have one over on my blog we re-did.
Following you over from The Shabby Chic Cottage. I am a follower!
Please stop by!
http://extremepersonalmeasures.blogspot.com/
Wow guys were really able to see the potential in this guy! It looks great!
Chelsea
What an amazing transformation!
Love this chair…great fabric, and great idea to recover the back the way you did – very clever!
That looks amazing. Great job!
Wow, what an amazing transformation! And I love how you left your “mark” so that if anyone decides to recover it in the future they’ll have a little peek into the chair’s history!
Kat 🙂
OM goodness Gail–what a great job you did and a great tutorial–I am remembering this. And how sweet to write a love note inside.
Great idea to cover the back! We see these types of chairs madeover all over blogland, but I love how you did it!
I love chairs and this is wonderfull!!!