
Vintage Desk | Missing Drawers
As an Amazon Associate, I earn from qualifying purchases.
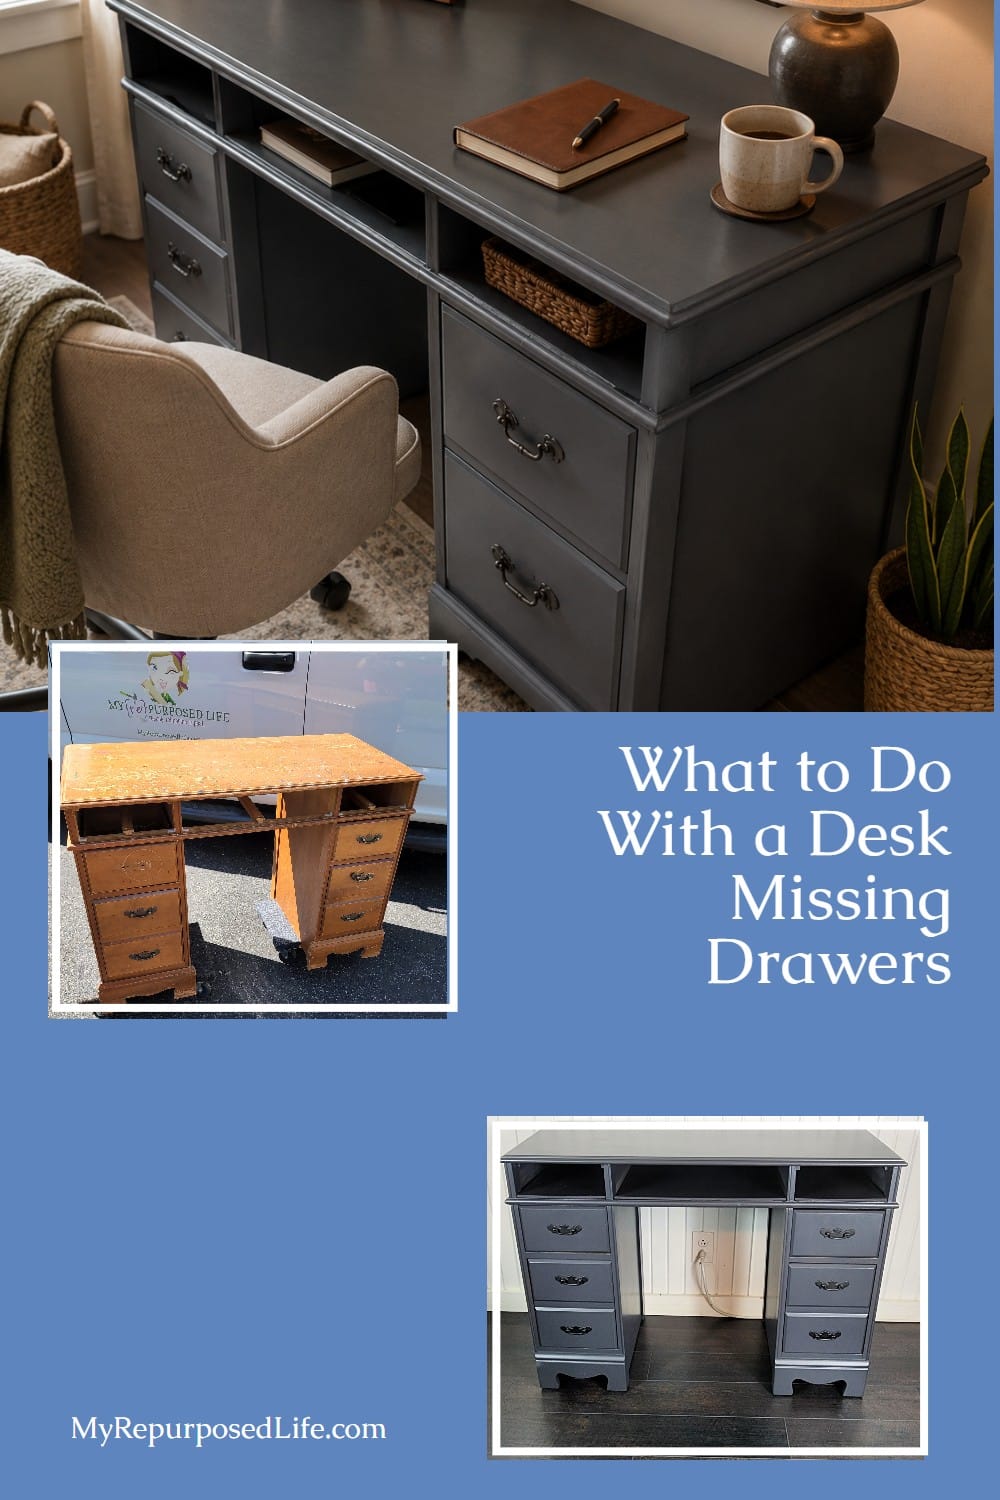
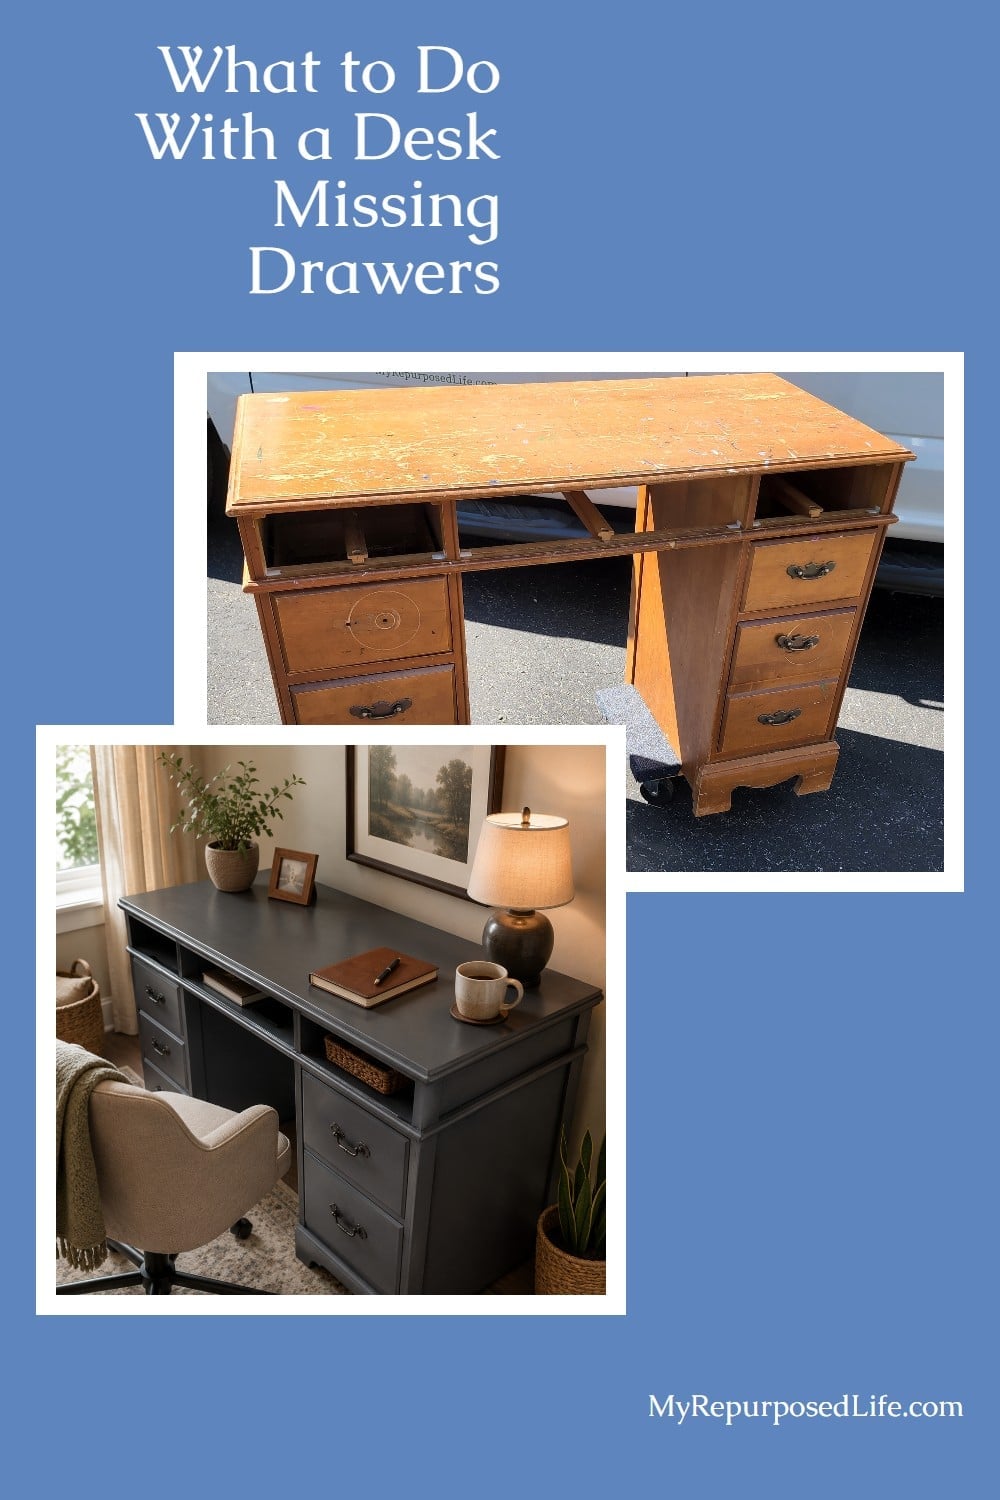
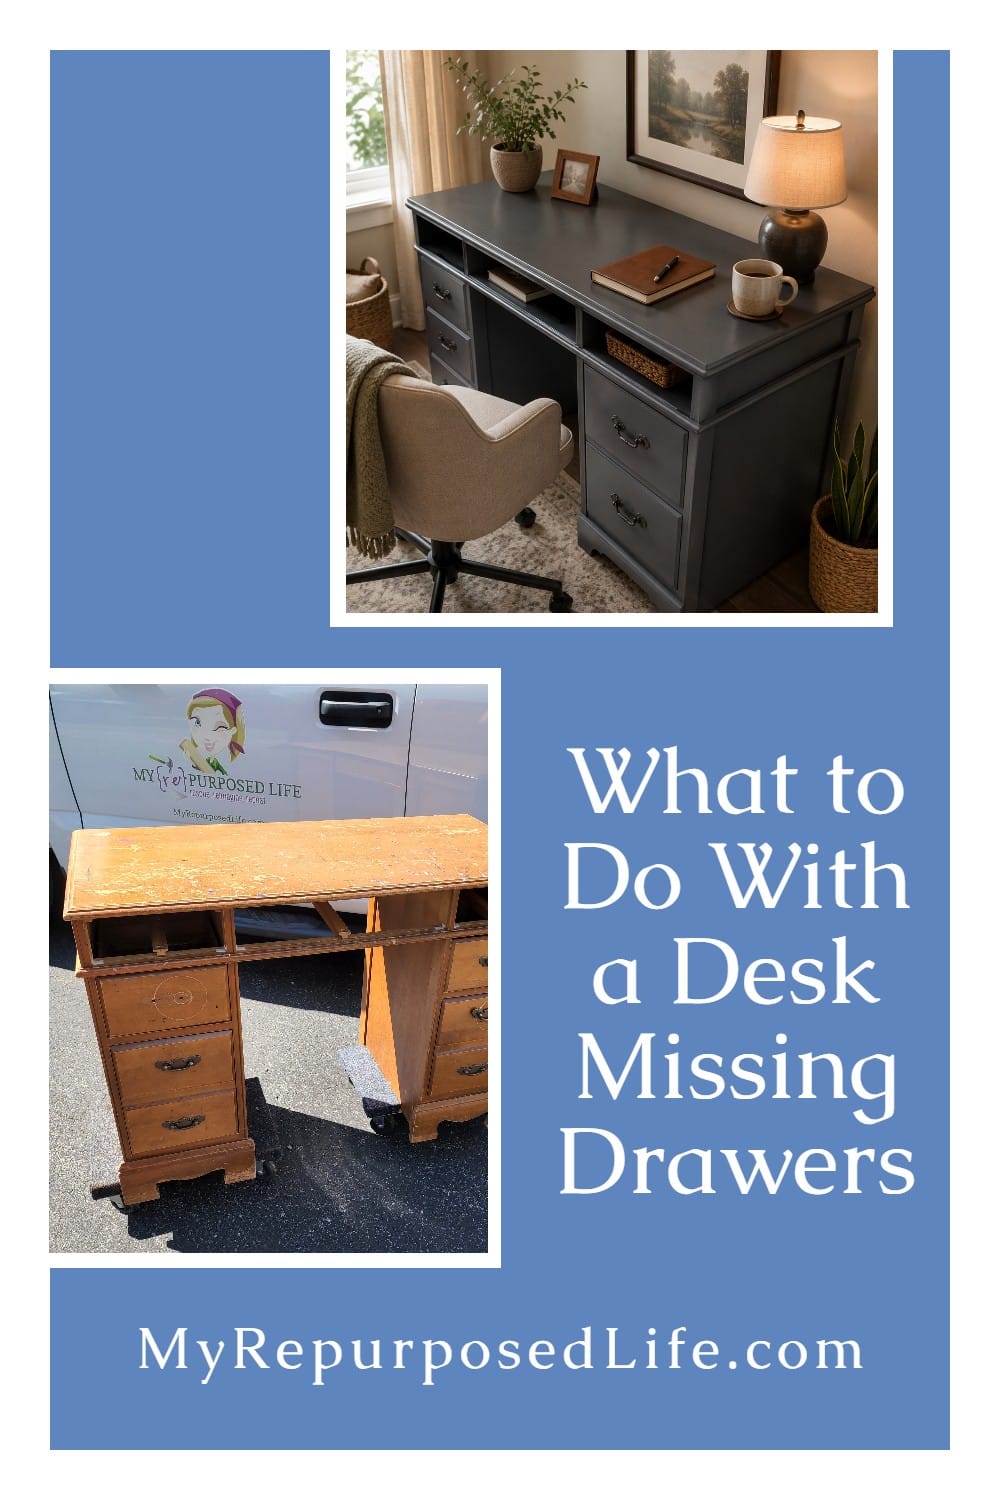
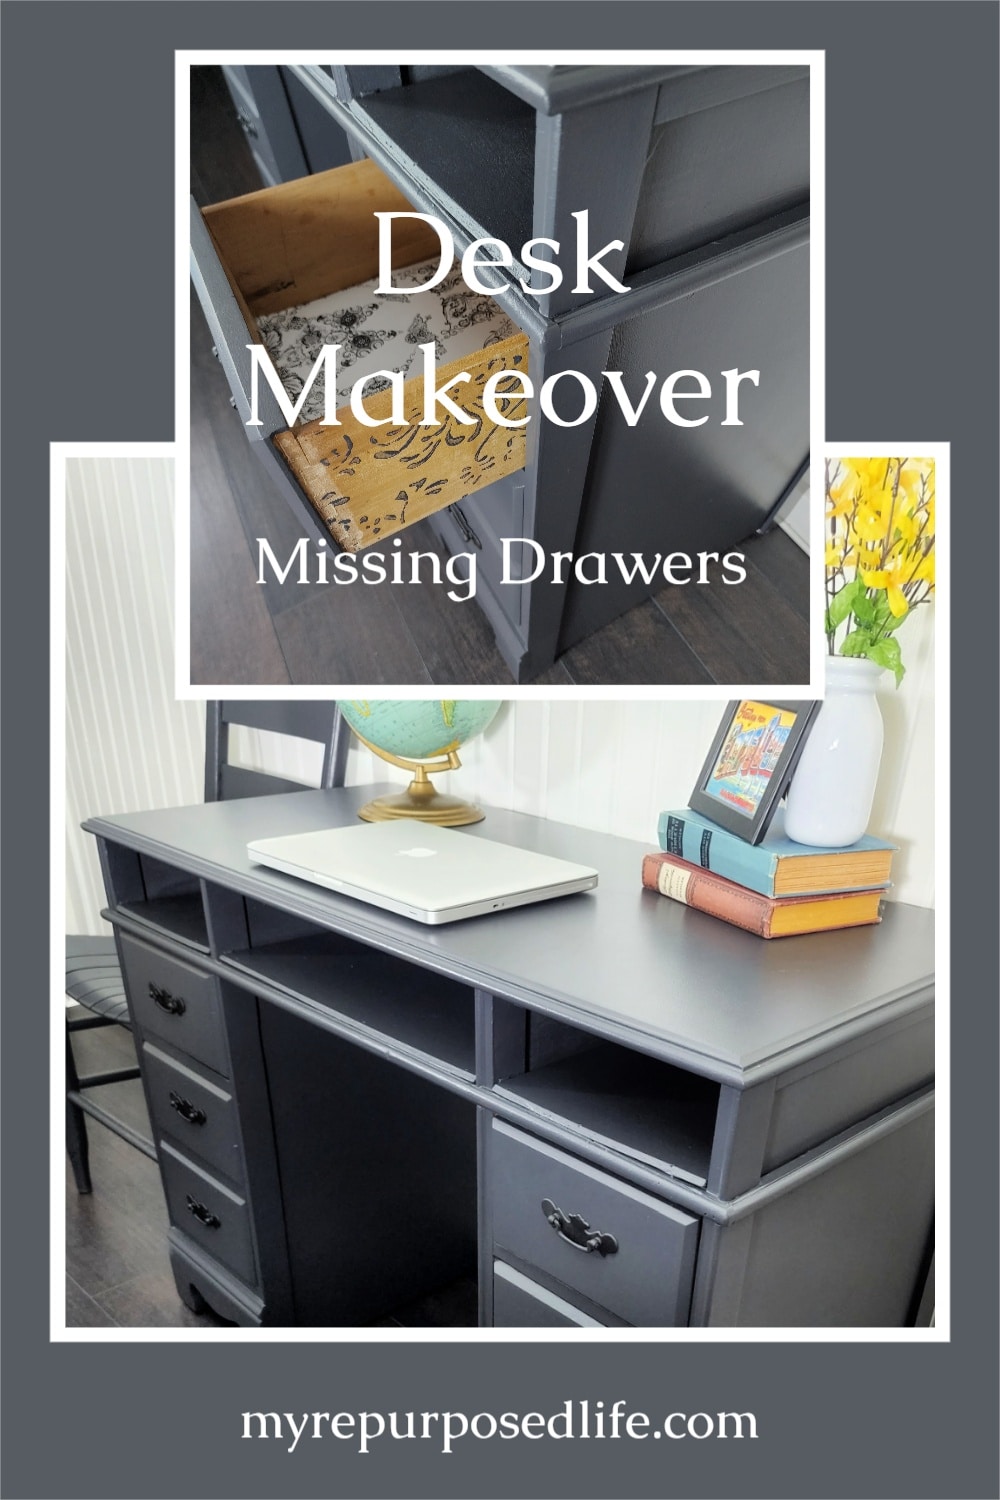
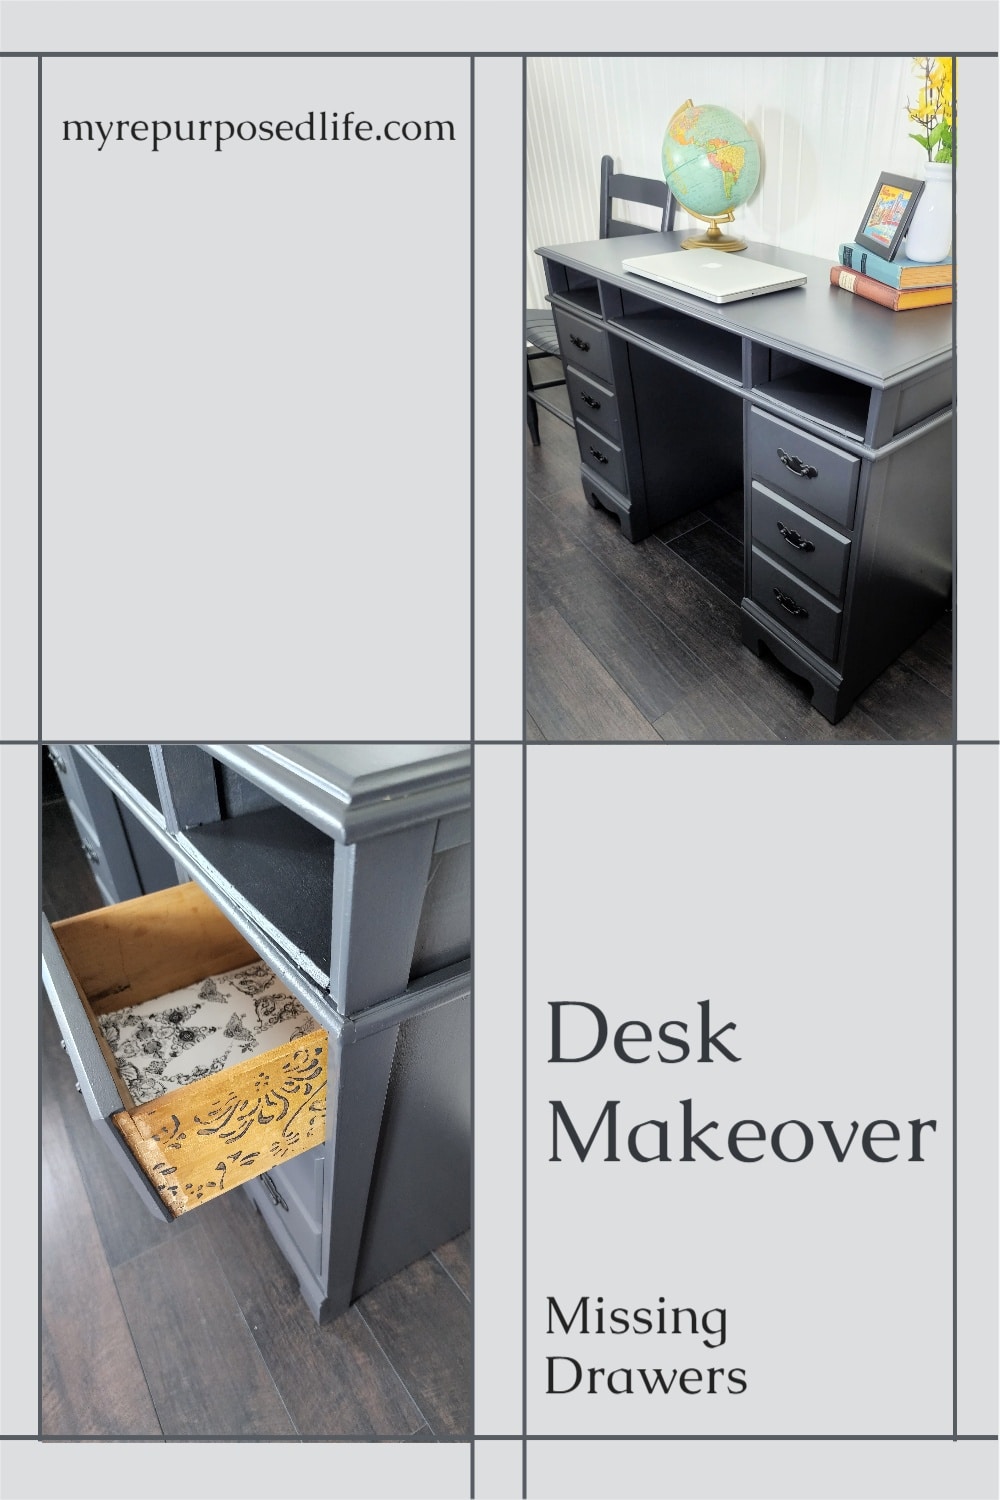
Most people would probably pass up a vintage desk with three missing drawers, but the shape of this one was too cute to give up on. Instead of trying to build replacement drawers, I used scrap plywood to turn the empty openings into useful cubbies. A few repairs, charcoal paint, and a fun detail on the remaining drawer sides gave this roadside desk a fresh start.
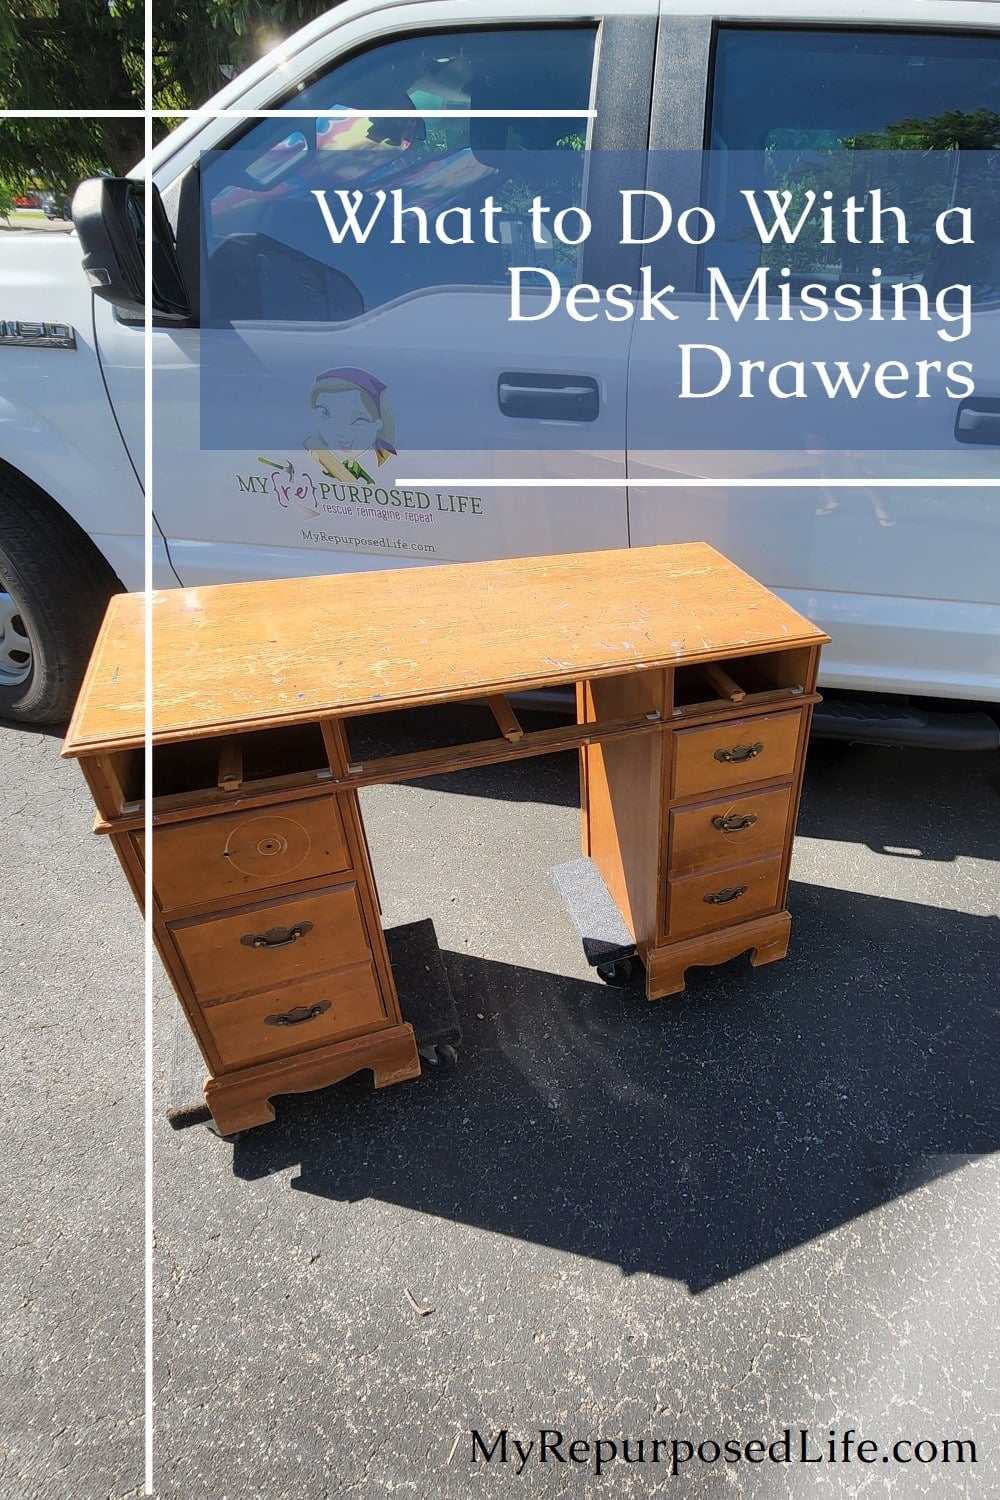
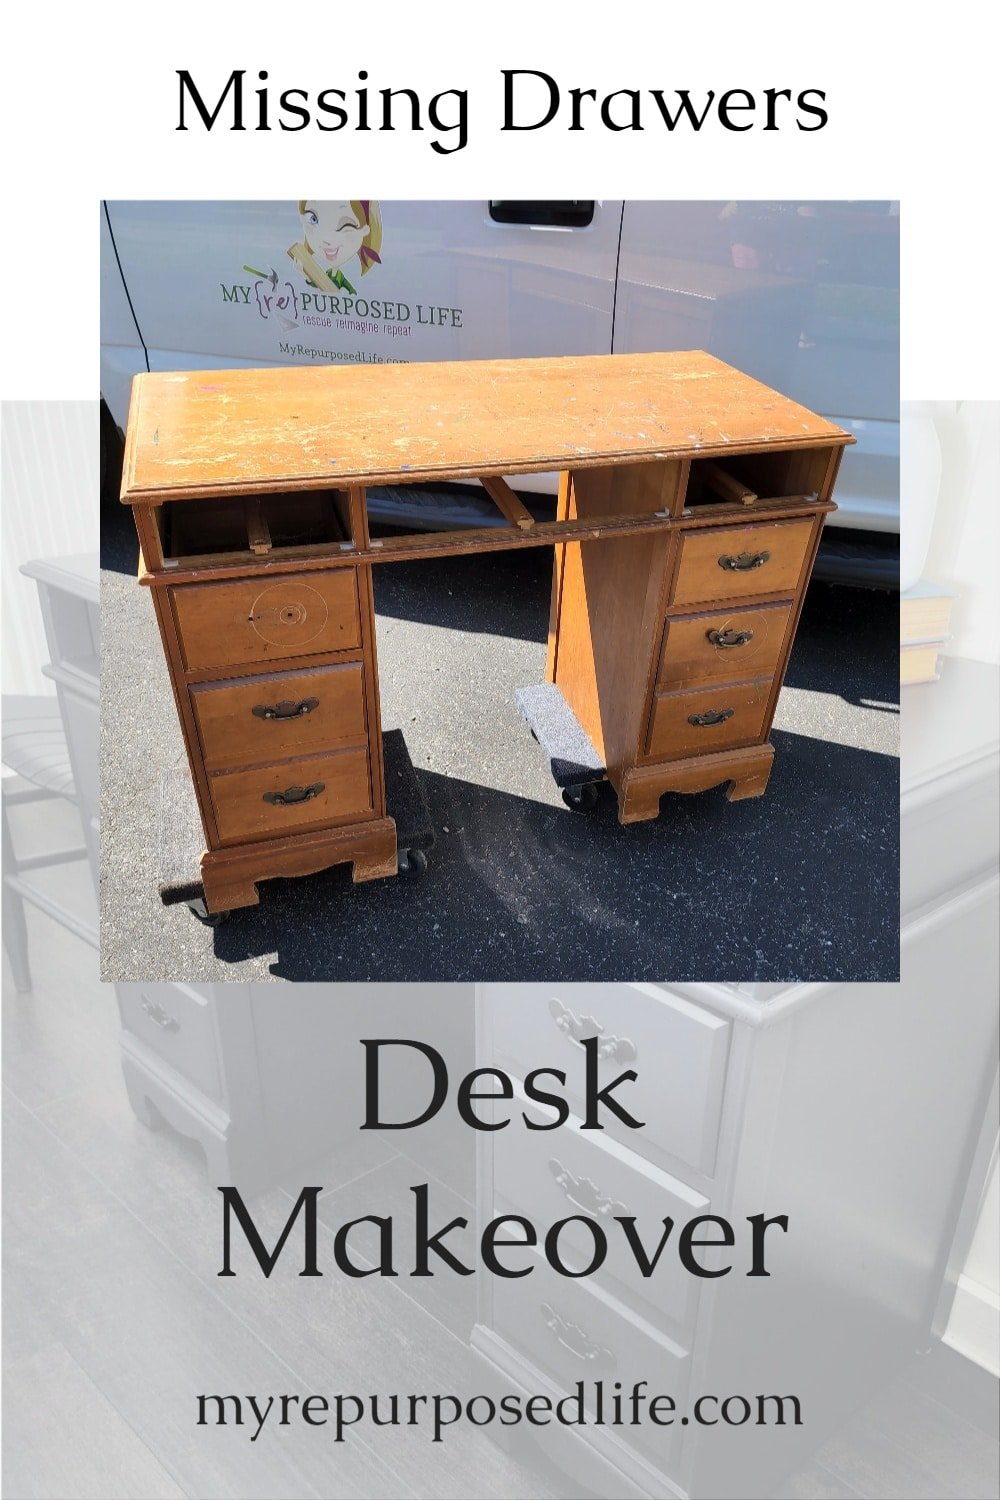
A local reader had some bedroom furniture she needed to get rid of. When I arrived, this sad little desk was on the road just waiting for some TLC.
Vintage Desk Before the Makeover
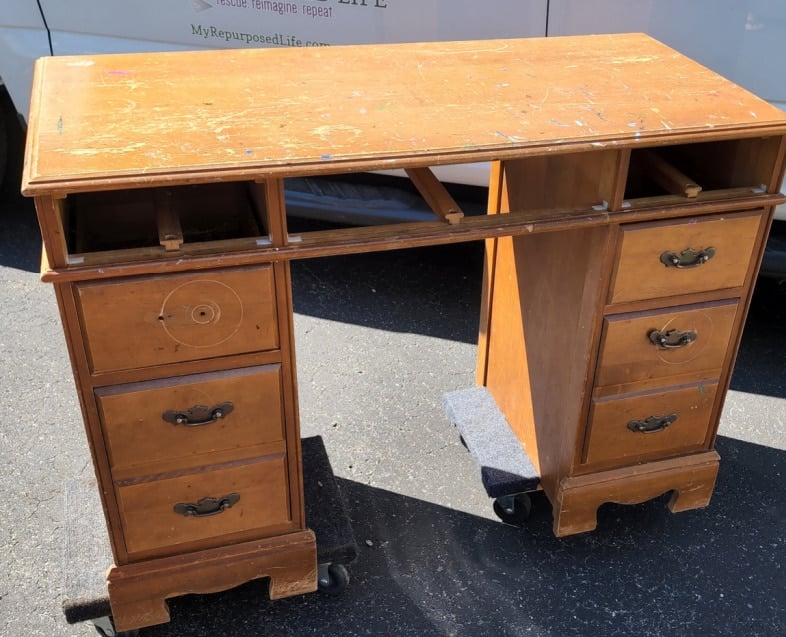
I have worked on dressers and chest of drawers with missing drawers. But I don’t remember ever working on a desk with missing drawers. What would you have done with it? I considered taking it apart and making two small nightstands. Or, I could stack it as I did with my Repurposed Desk into a Chest. However, it really is a cute desk, so it shall remain in its original state.
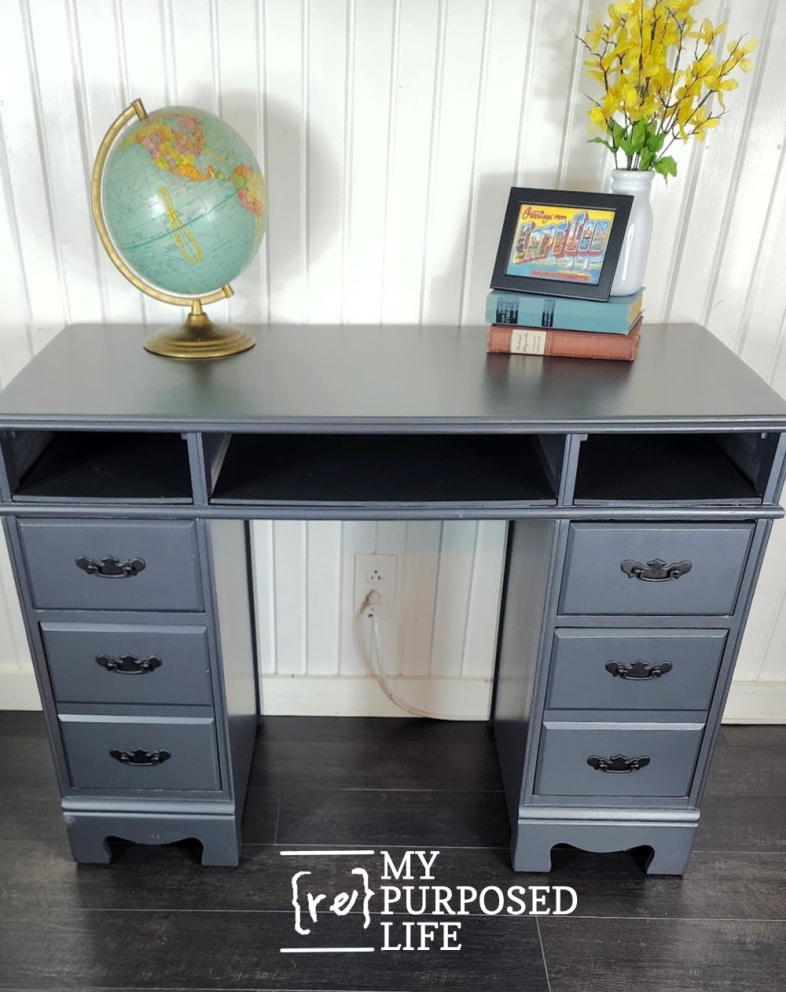
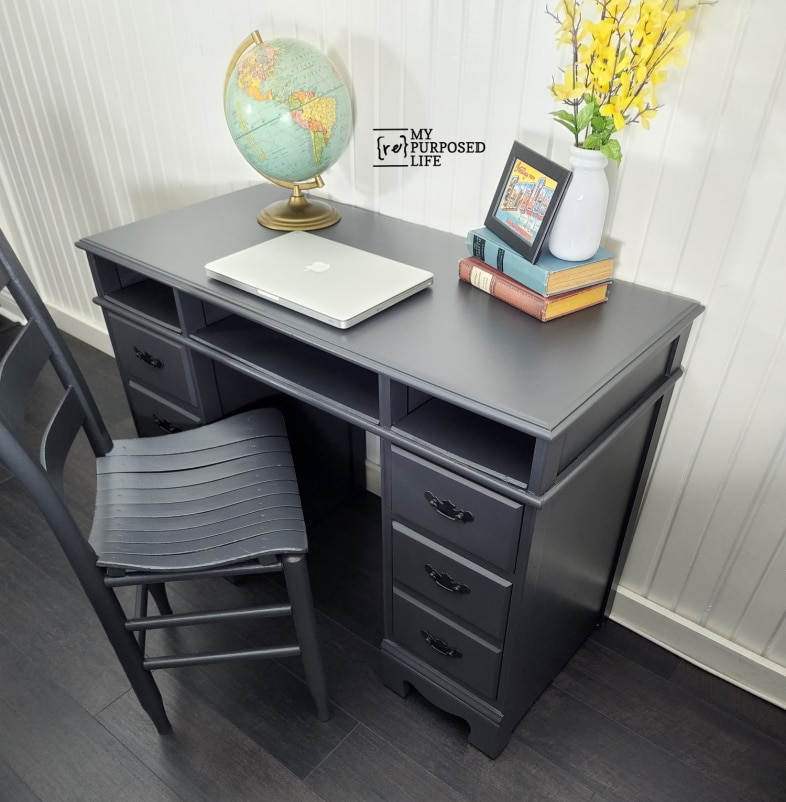
Didn’t it turn out beautifully? Who knew a vintage desk with missing drawers could be so useful?
The Furniture Fixer Upper Tour is a monthly furniture makeover series featuring a small team of furniture-painting friends. Each month, we all start with a tired or thrifted piece and share how we clean it up, repair it, and give it a fresh new finish. After you check out this project, be sure to visit the links at the bottom of the post to see what the rest of the Furniture Fixer Upper team did with their finds.
For this vintage desk makeover, I:
- Removed the slides from the missing drawers
- Cut scrap plywood to fit the empty openings
- Repaired a damaged slide on one remaining drawer
- Sanded and prepared the desk for paint
- Painted the desk and matching chair
- Added a decorative pattern to the drawer sides
- Refreshed the original hardware with spray paint
How to Replace Missing Desk Drawers With Shelves
Materials
- Vintage desk with missing drawers
- Thin plywood or scrap wood
- Furniture cleaner or deglosser
- Furniture paint
- Black spray paint
- Parchment paper
- Brown craft paper
- Small baskets or trays, optional
Tools
- Tape measure
- Table saw or circular saw
- Jigsaw
- Orbital sander
- Nail gun
- Foam paint roller
- Paintbrushes and detail brushes
- Decorative paint roller, optional
- Paint sprayer for the chair, optional
Remove the Old Drawer Slides
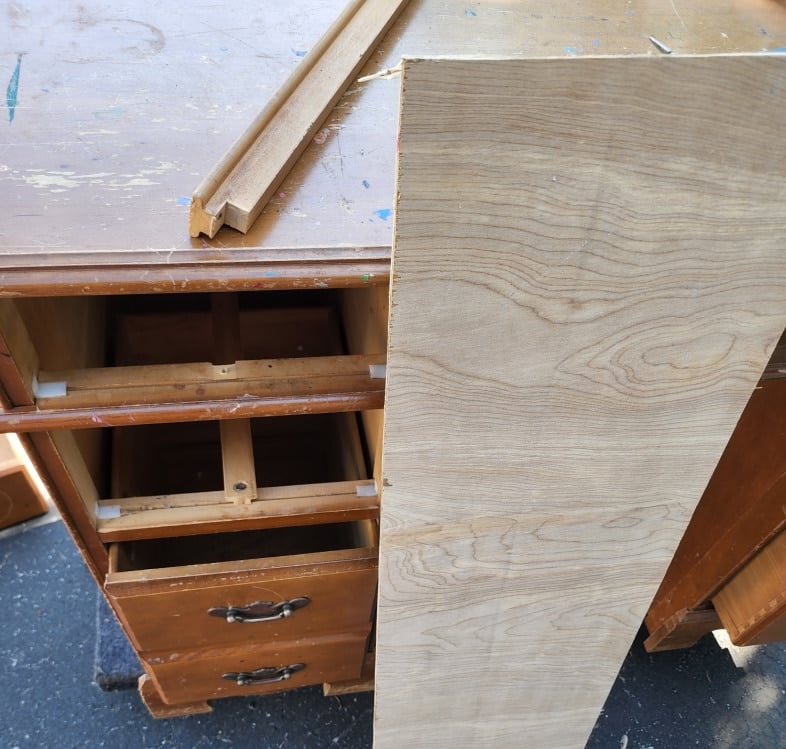
The first order of business was to remove the drawer slides of the three missing drawers. I was lucky enough to find a scrap piece of thin plywood to make the two smaller shelves. Those pieces would be simple rectangles, easy to cut on the tablesaw.
Measure and Cut the Shelf Inserts | Notch the Center Shelf
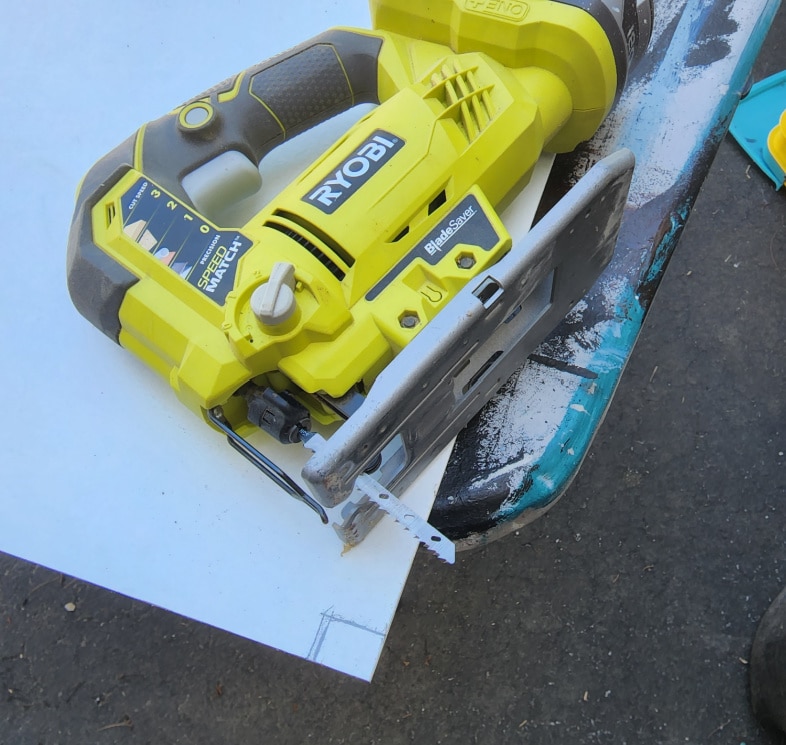
For the middle missing drawer, the shelf needed to be notched. After cutting it to size, I held it in place and drew the area that needed to be notched. This was an easy job for my Ryobi jigsaw.
Secure the New Shelves
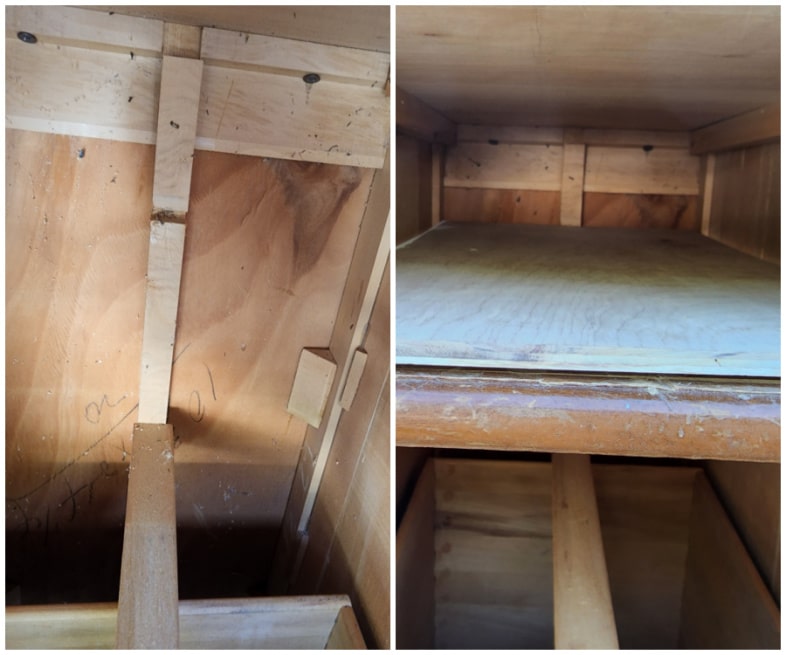
To add a shelf where the missing drawer had been, I cut it to size, then slid it in place where the drawer slide had been. Do you see the notch in the back of the desk?
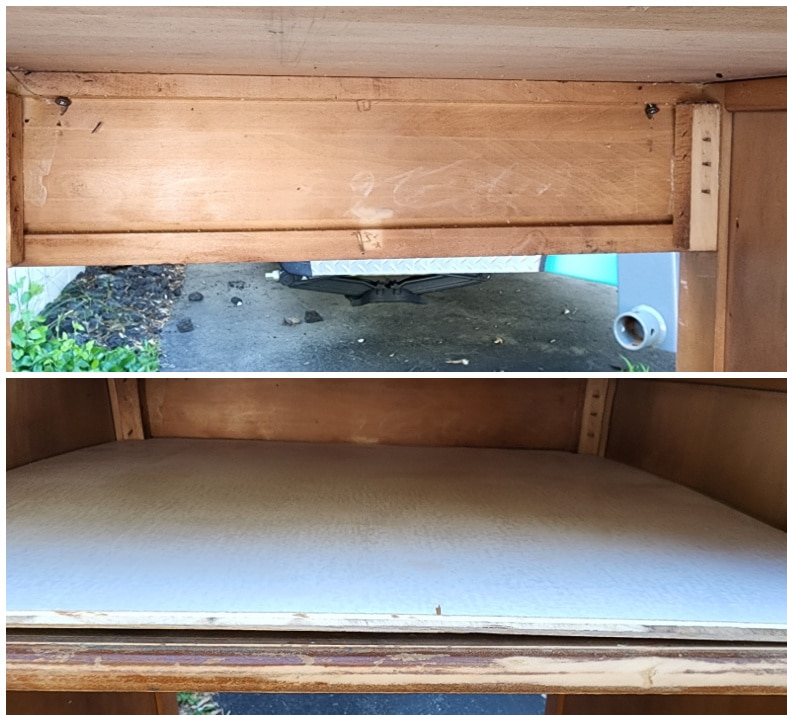
The center drawer was a little different. It had a slot across the back. With that notch, it fit perfectly into that slot. None of the shelves will hold bricks or anything extremely heavy, but they are very sturdy.
You may notice I did a 45° angle. I felt like that gave it a cleaner edge on the front.
Repair the Remaining Desk Drawers
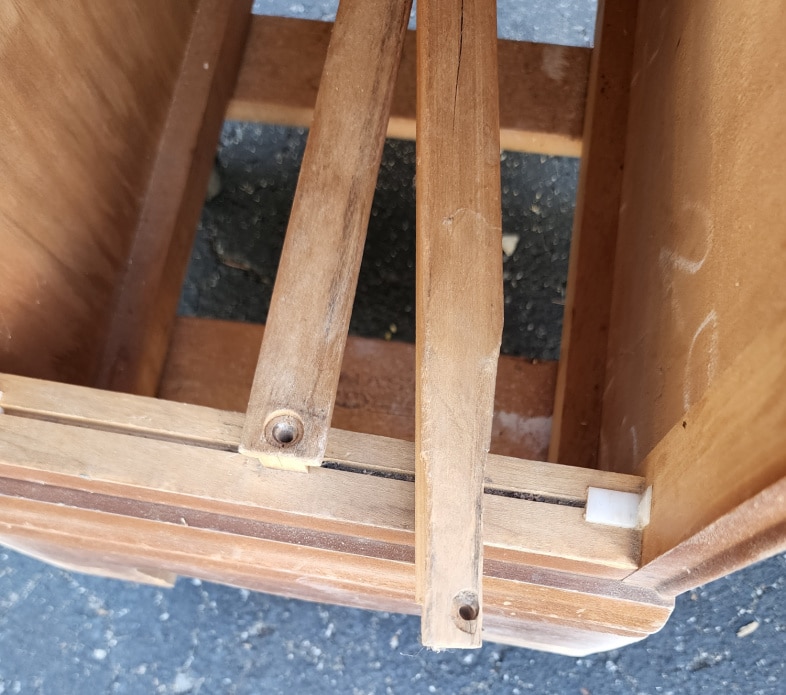
On the bottom left drawer, the slide was chewed up. I used one of the top slides that I removed to replace the bad one. This will allow the drawer to slide much more easily.
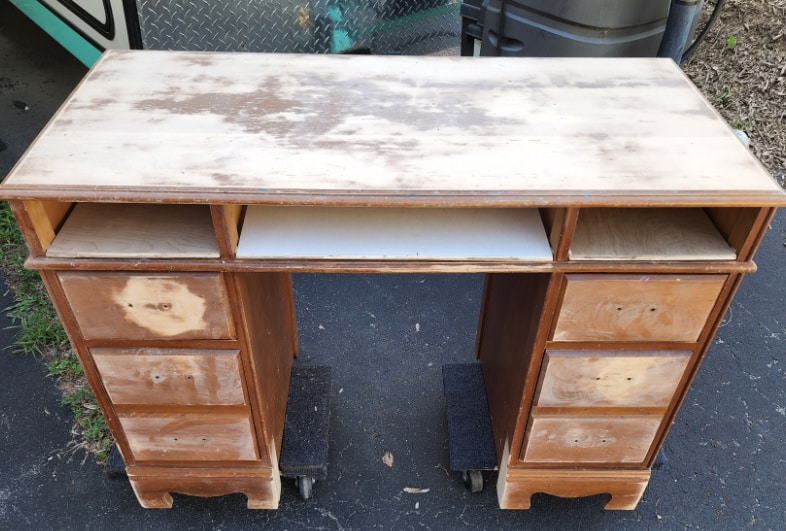
The top of the desk was pretty banged up, and it also showed some paint spatters. Using the orbital sander, I made it look a lot better. Did you notice the bottom (front) of the desk?
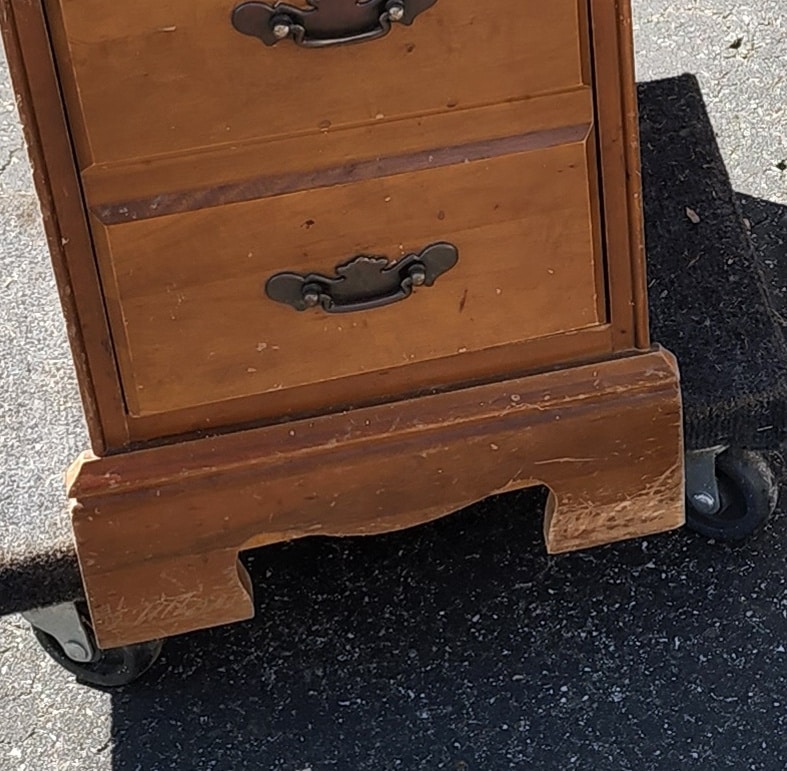
I used the jigsaw to remove the left and right edges that extend beyond the bottom of the desk. Why? The kneehole of the desk is relatively small, and I struggled to find a chair that would slide under the desk.
Prepare the Vintage Desk for Paint
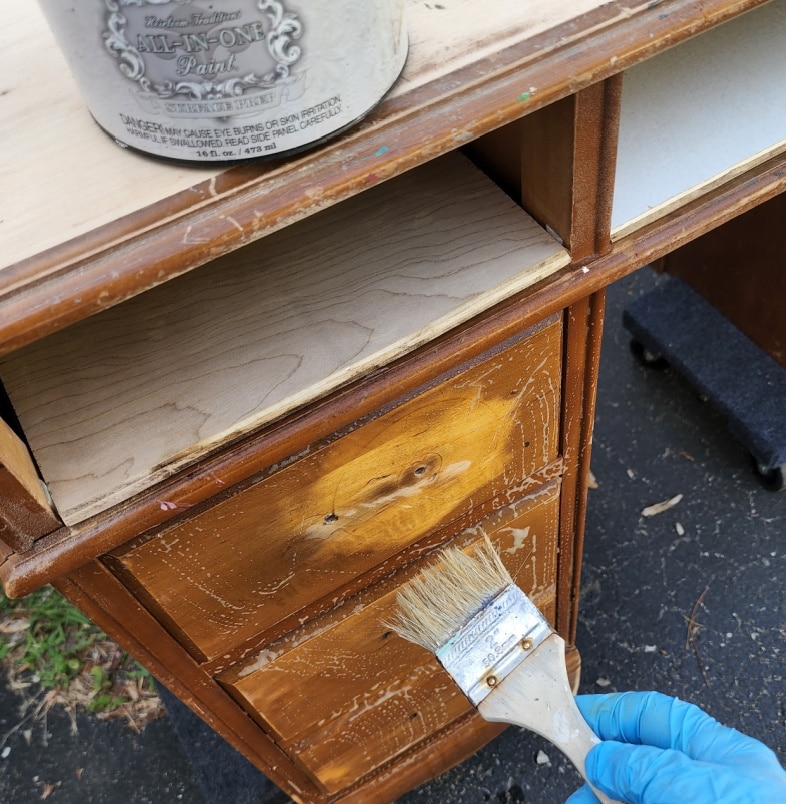
With all the modifications finished, it was time to prep the vintage desk for paint. I used HTP Deglosser to clean and remove the shine so the project could be painted.
Paint the Desk and Chair
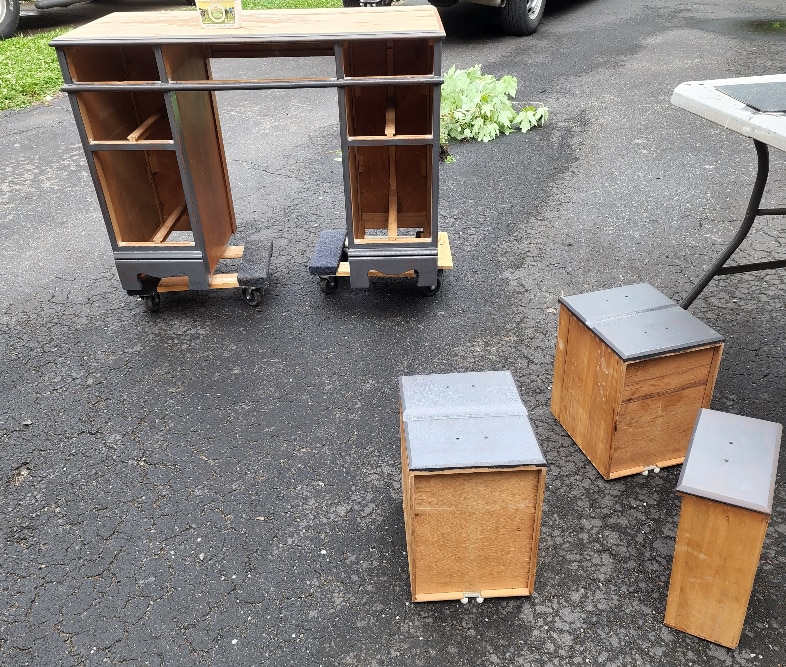
Have you noticed how I’ve been moving the desk around? Two small dollies enable me to move this around all by myself. If you look closely, you will see a butter tub on top of the desk. I used that instead of a tray . . .
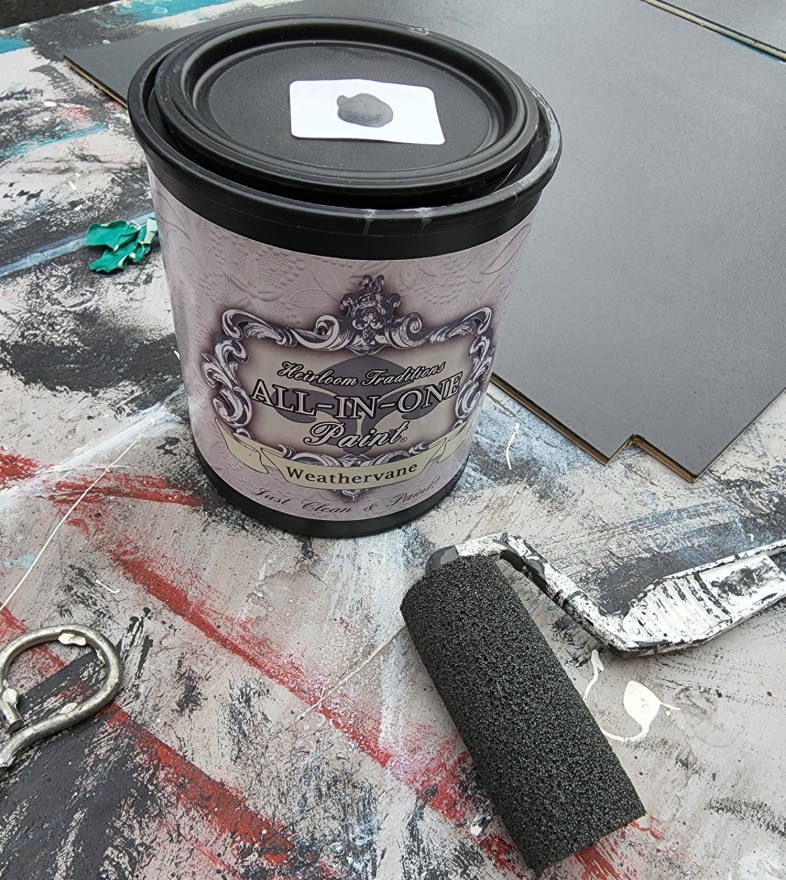
. . . with this small foam roller. The color I used is All In One Paint Weathervane. I thought it would be pretty, but it turned out far better than I expected. They describe it as charcoal, so not a true black.
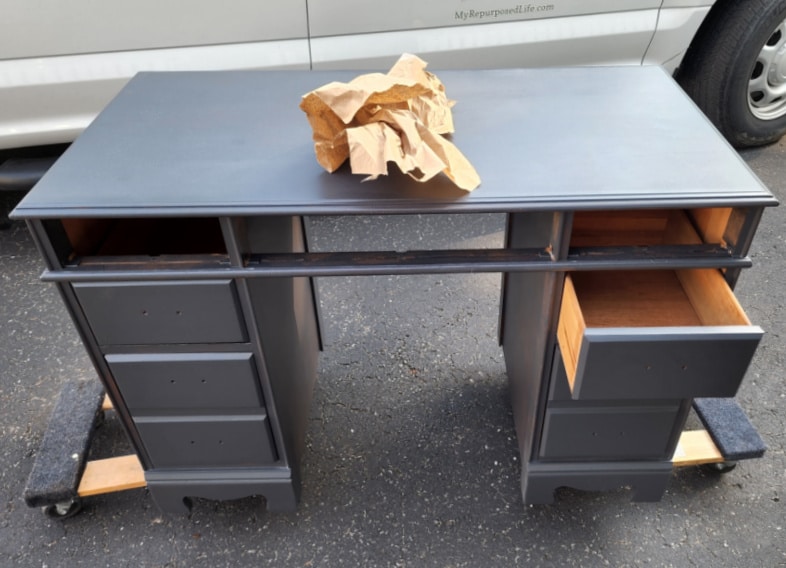
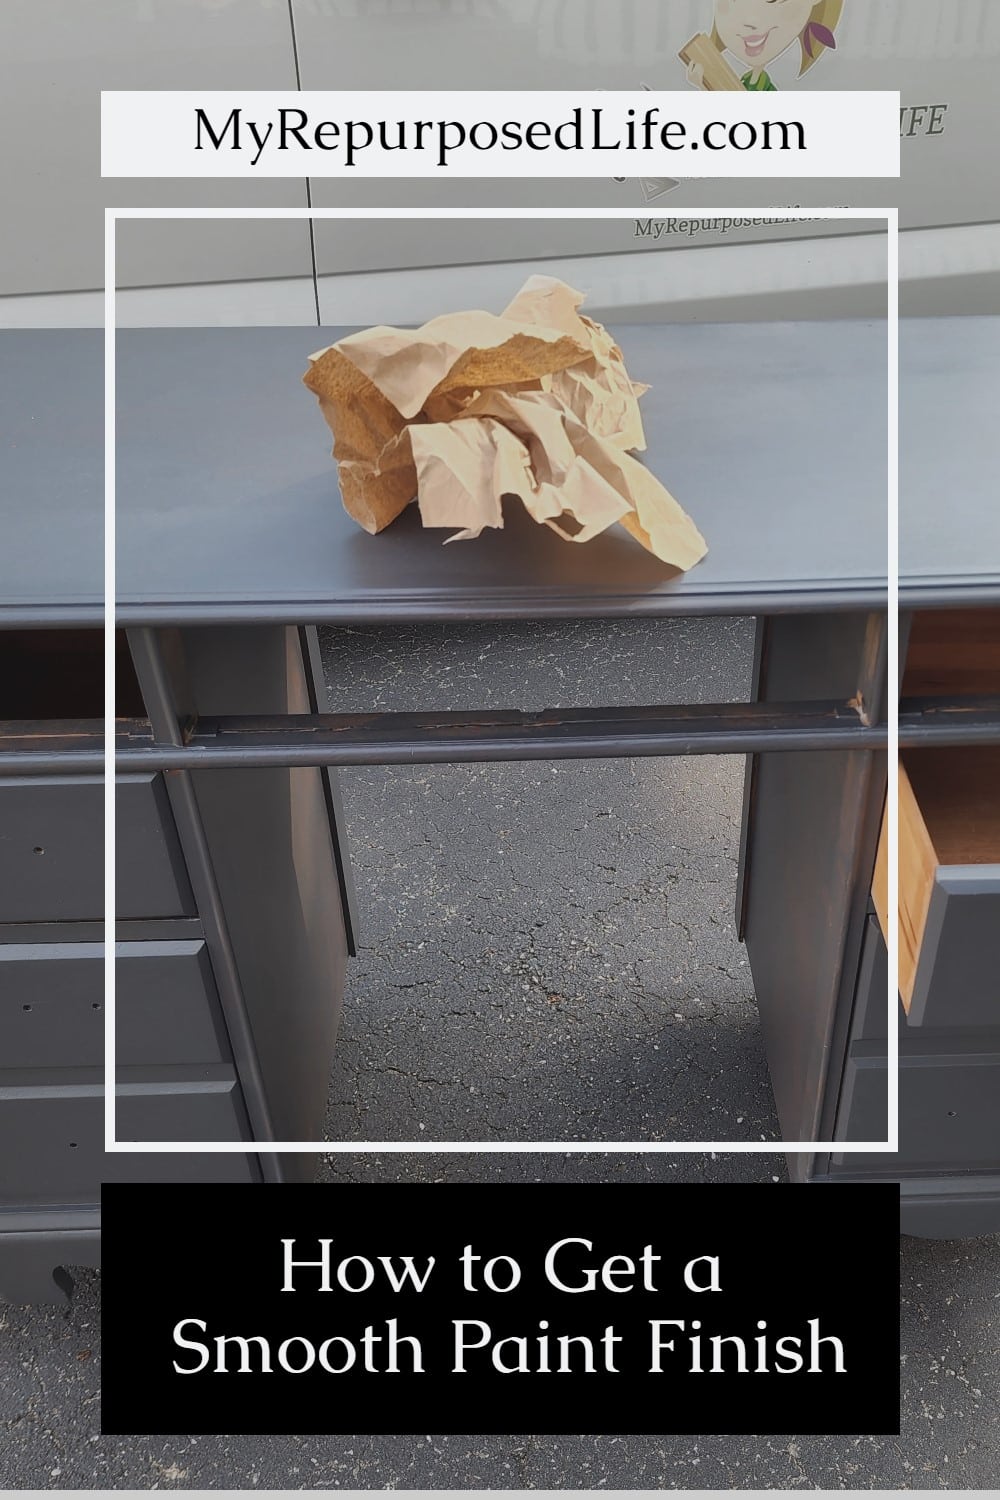
After two light coats of paint, I “sanded” the top lightly with some brown craft paper. It helps to get a smooth final coat. You will notice the missing drawer shelves aren’t in place yet. I painted both sides of them before securing them in the desk.
Tools for Perfect Painting
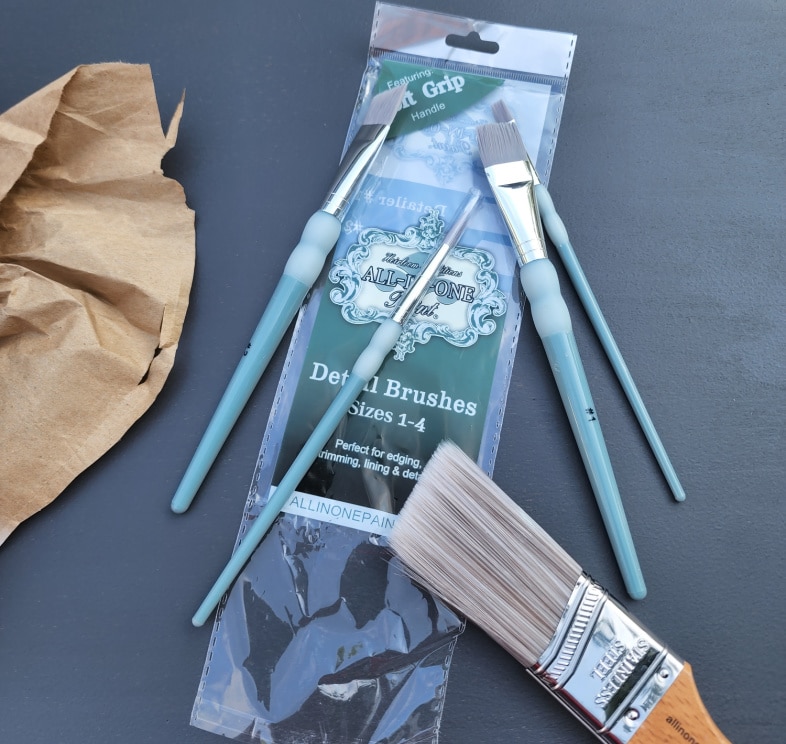
In addition to the foam roller, these are the tools I used to get into the nooks and crannies the roller wouldn’t reach.
Not shown: I laid the desk down on a table to paint the areas where the missing drawers were. For that, I used the small (oh so soft) brush. I used the detail brushes in tiny spaces.
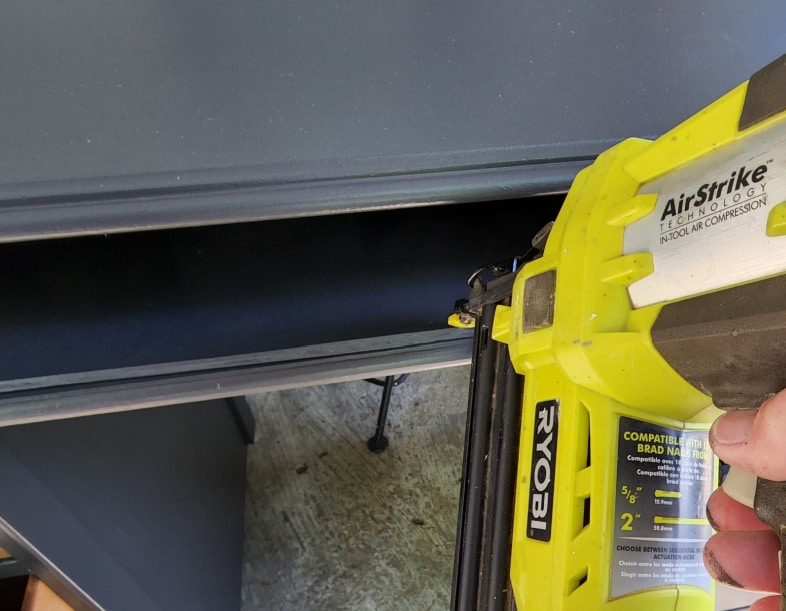
After painting that area (missing drawers), I used my nail gun to secure the new shelves.
Practical Tips for Replacing Missing Drawers
Measure every drawer opening separately. Older furniture is not always perfectly square, and openings that look identical may be slightly different.
Save any drawer slides or wood supports you remove. I was able to reuse one of the slides to repair a damaged drawer that remained in the desk.
Make a cardboard template before cutting plywood that needs to fit around a notch, groove, or support.
Paint both sides and the front edge of each shelf before installing it. This is much easier than trying to paint inside a small cubby later.
Consider cutting the front edge of the shelf at a slight angle. I used a 45-degree cut to give mine a cleaner, more finished appearance.
Small baskets or trays can be added to the open cubbies if more contained storage is needed.
Add Detail to the Drawer Sides | Decorative Paint Roller
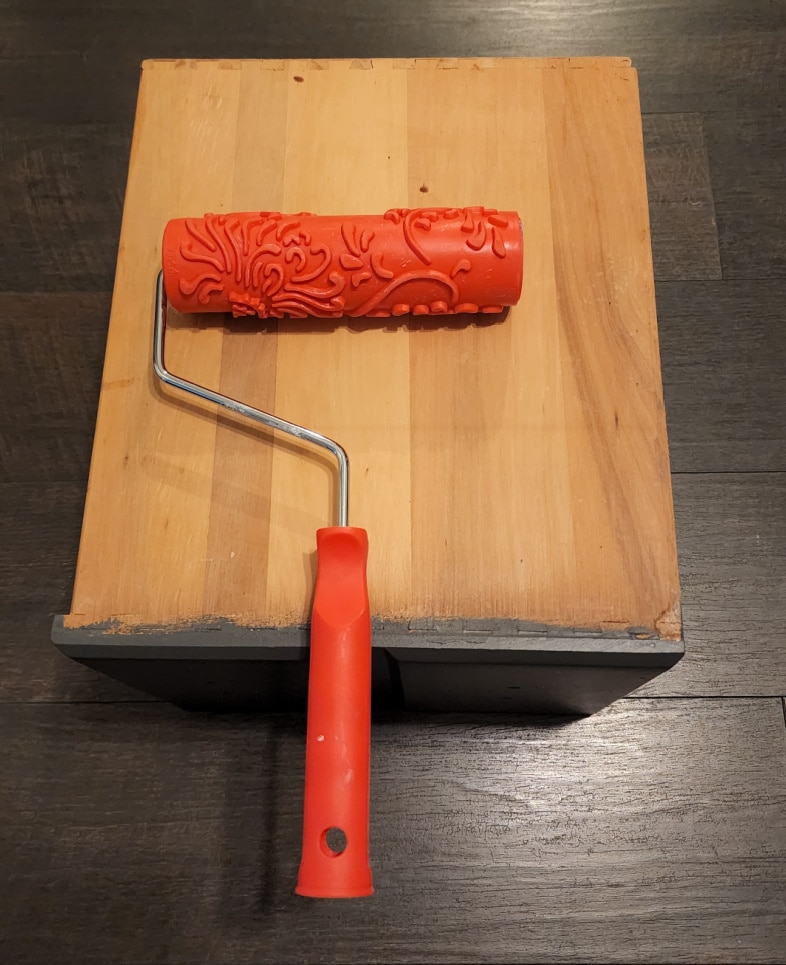
So, something I’ve never done before–embellish the side of the drawers. I’ve seen stenciled drawers and decoupage drawer sides. But I reached for this awesome Chrysanthemum Roller. I used it once before on a drawer front jewelry holder. I wanted to do a pop of hidden color, but I’ll be selling this vintage desk at my booth. So, for that reason, I stayed neutral.
Apply Paint to Parchment Paper
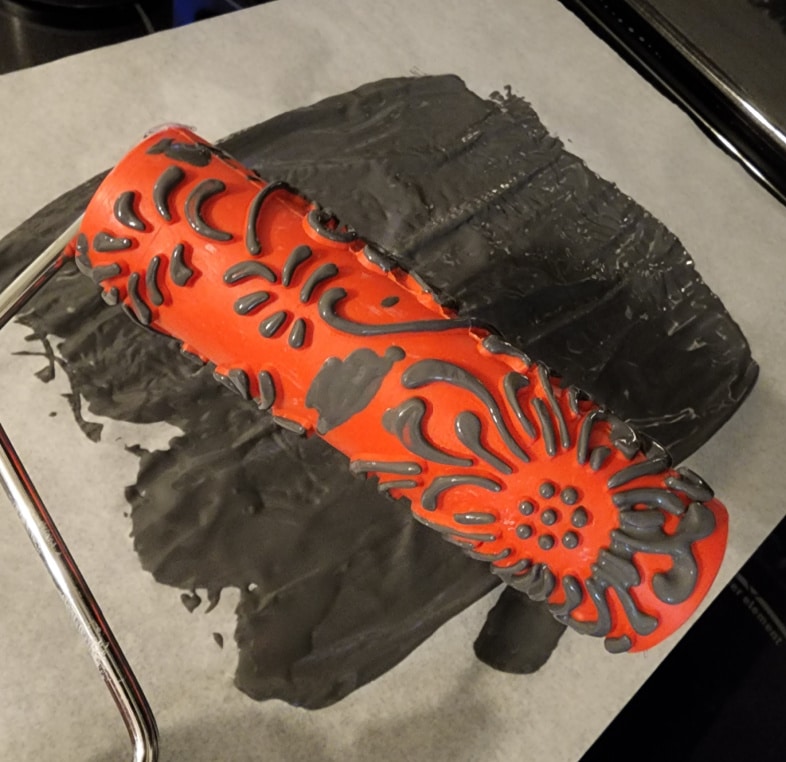
Because I wasn’t using a lot of paint, I spread some of the Weathervane onto a piece of parchment paper. You will want to spread it pretty thin, so only the raised places of the decorative roller take on paint. The parchment paper worked perfectly.
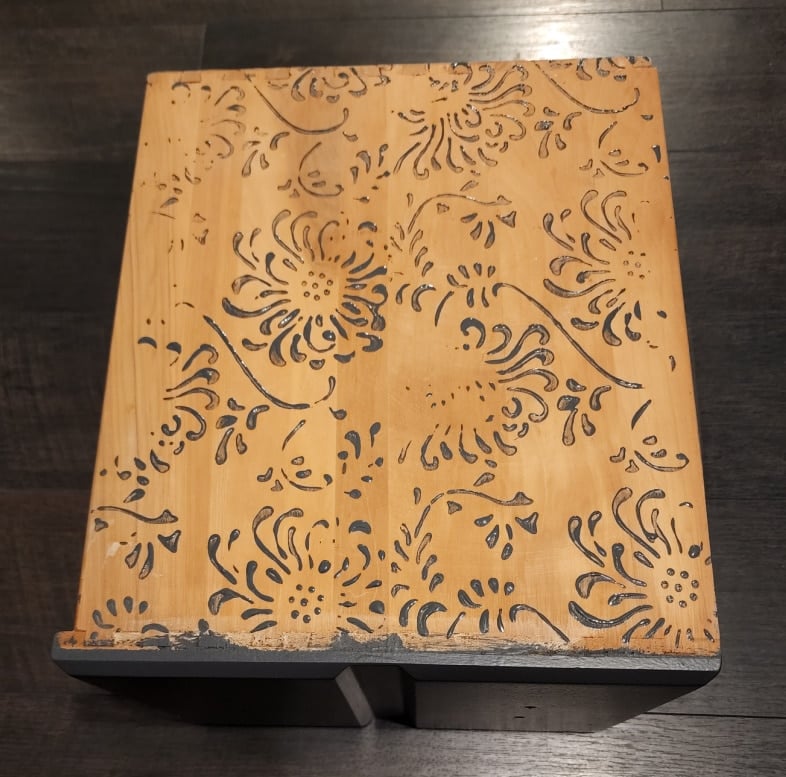
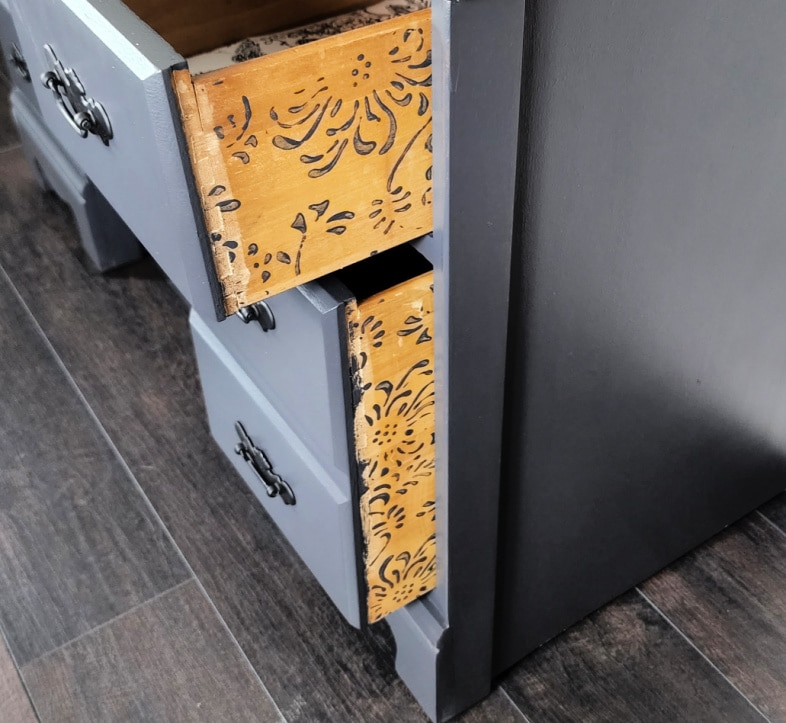
Some people call these peek-a-boo drawers. Can you believe, out of all the projects I’ve done, I have never embellished drawer sides EVER? On the double drawers, I had to roll the area twice. NOTE: You will need to reload your roller each time you use it.
Spray Paint Vintage Desk Hardware
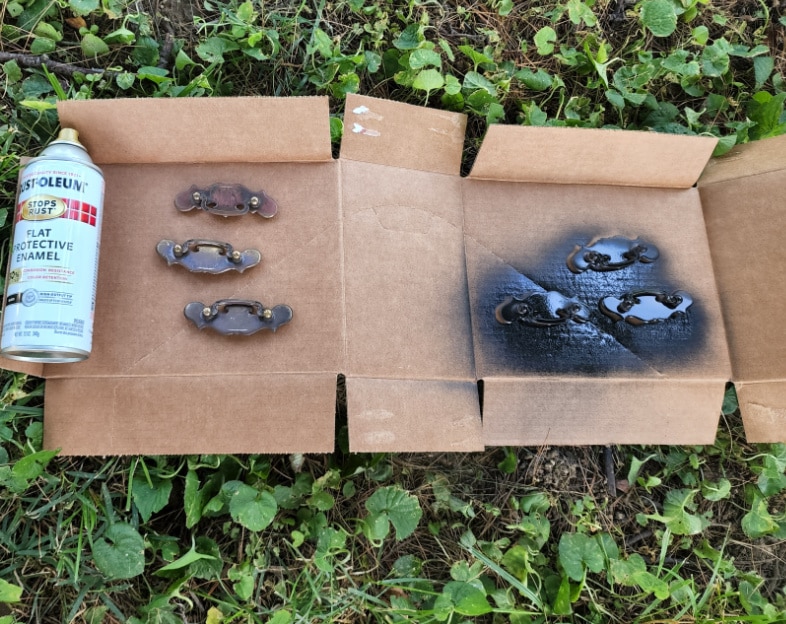
After cleaning the hardware well with Krud Kutter and allowing it to dry in the sun, I used a flat black spray paint. There were three missing drawers. I feel very fortunate that all the hardware was there for the remaining drawers.
Pretty Upcycled Vintage Desk With Missing Drawers
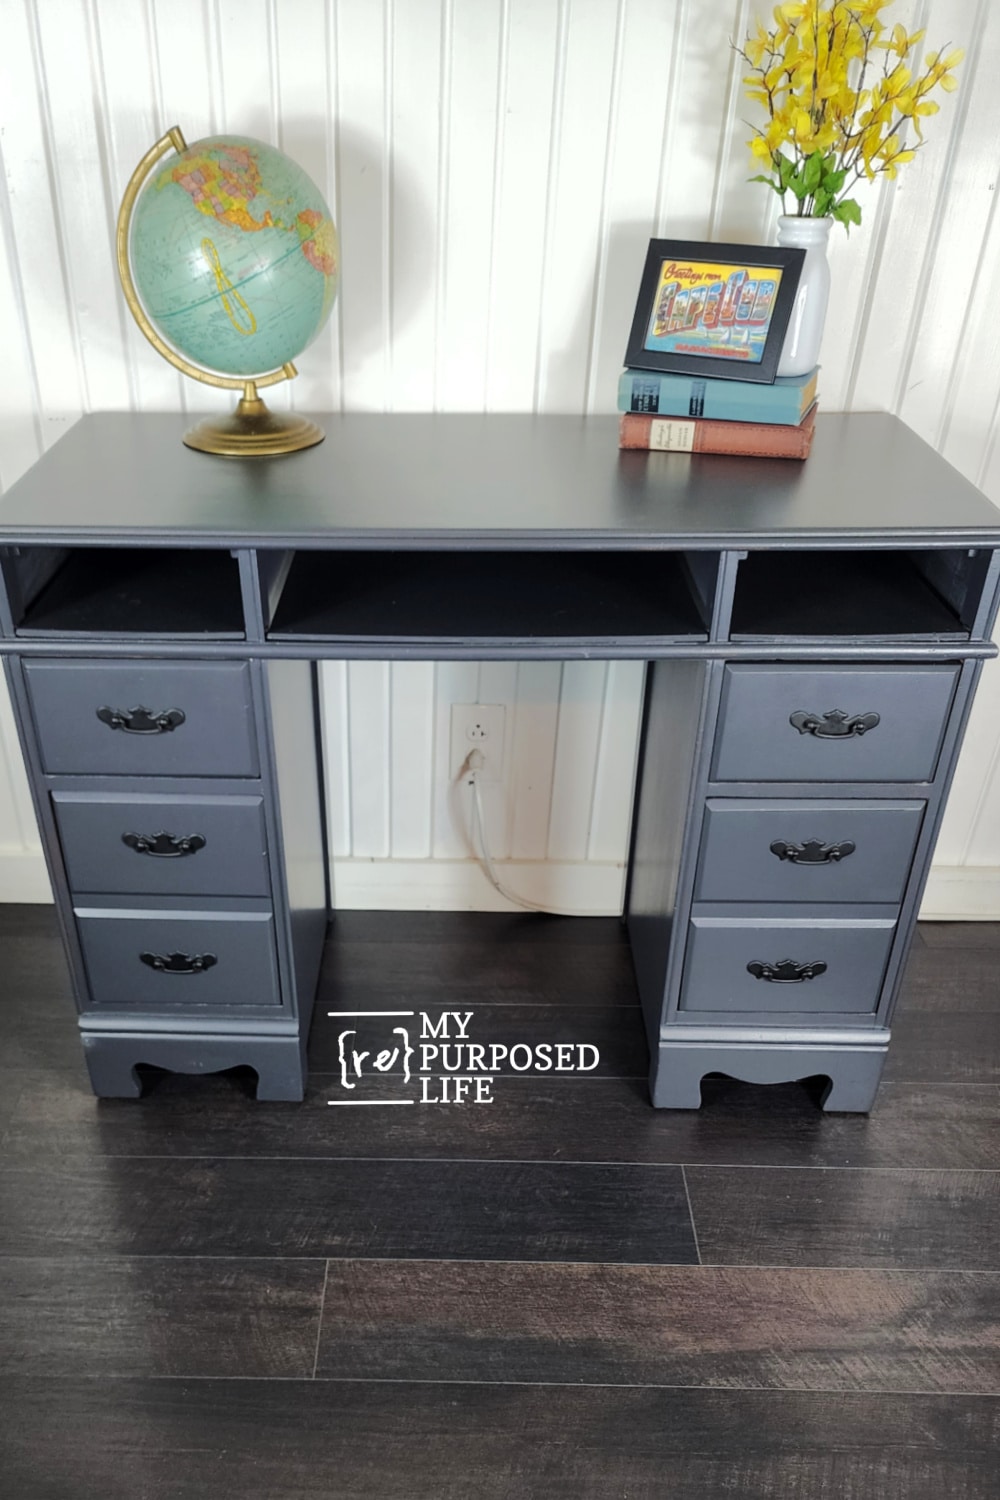
I love the color (Weathervane) so much that I just ordered another quart!
This vintage desk makeover is a good reminder that missing pieces do not always have to be replaced exactly as they were. Turning the empty drawer spaces into open cubbies was easier than building three new drawers, and it gave the desk even more possibilities.
I can picture it being used as a small home office desk, homework station, entryway command center, or kitchen bill-paying spot. What would you have done with the empty spaces? Would you add shelves, build replacement drawers, or take the desk apart and use the pieces for something completely different?
So, the small vintage desk with missing drawers needed a chair . . . .
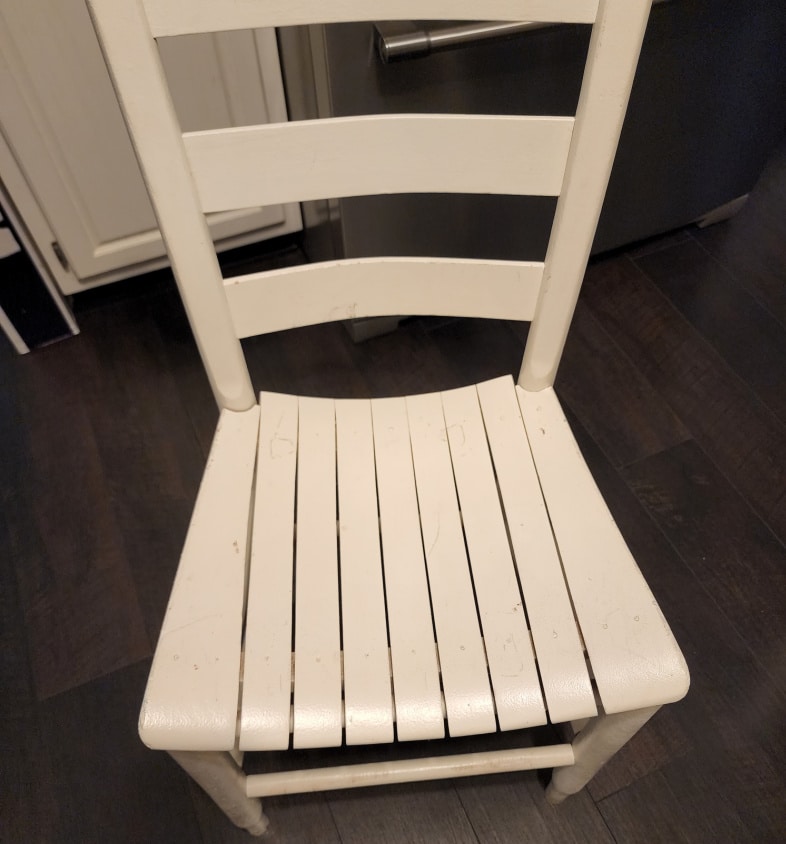
. . . I took one from MY kitchen. In preparation for this project, I had bought two thrift store chairs, but wasn’t thrilled with their “fit”.
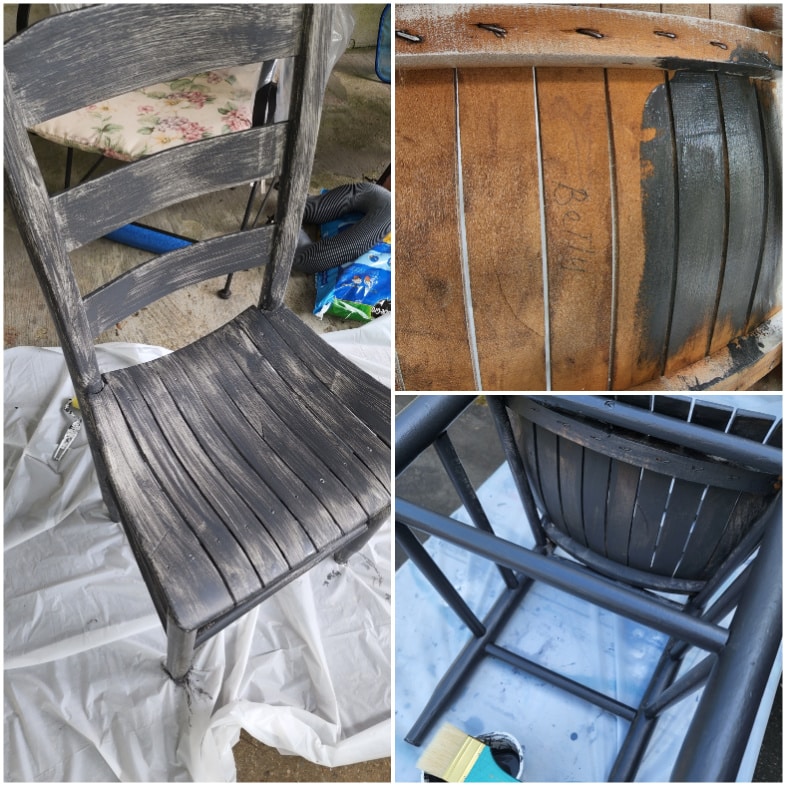
Apparently, at one time, this chair belonged to Betty! I used a paint sprayer to paint this chair white several years ago. You know I’m always telling you to paint the underside of projects. Well, I guess when it’s MY project, I don’t follow my own advice. The raw wood was easier to paint than painting over the white paint.
All in all, I painted both the vintage desk and the chair about 2.5 coats each. The ugly first coat is just to get some paint on. The second coat is for coverage; the 1/2 final coat is a touchup coat, covering any places that might be too thin. I used nearly an entire quart for this project, which will need to increase the price when I re-home it.
A Small Vintage Desk With Cubbies Where Drawers Were Missing
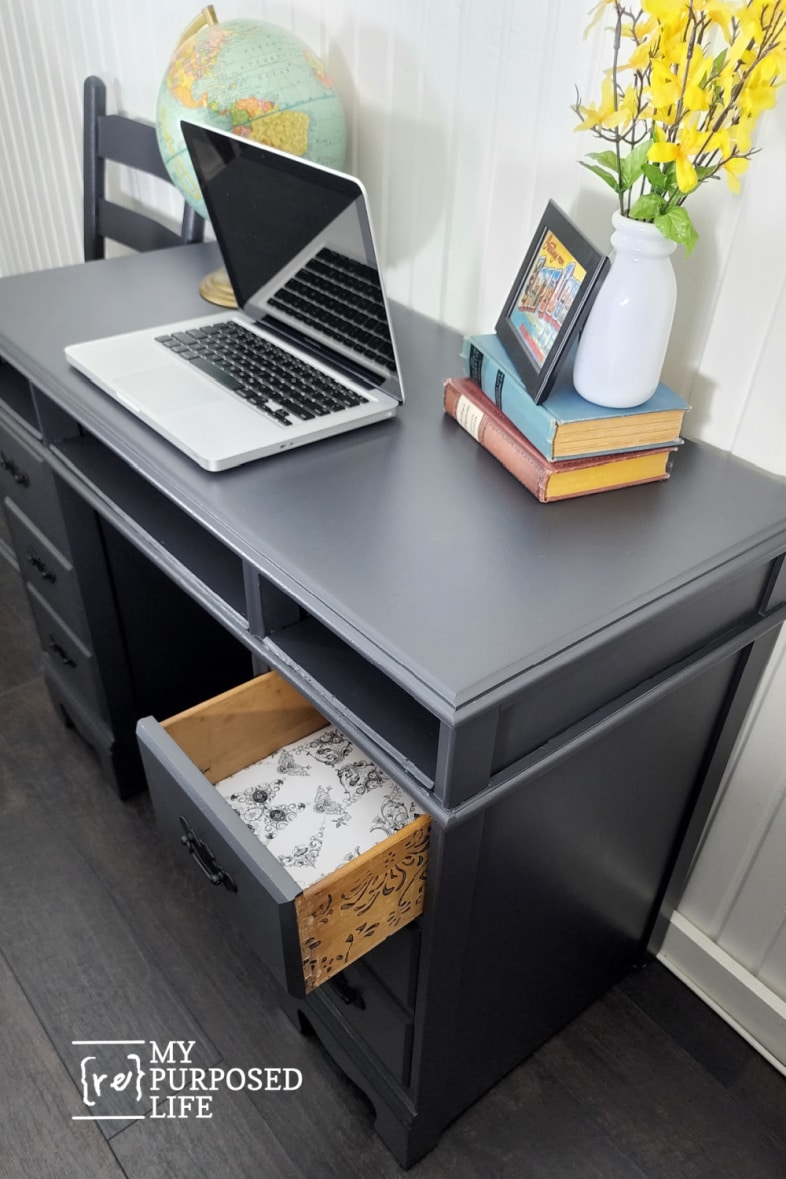
Do you LOVE the color as much as I do? Those three cubbies can be used in so many ways, especially if someone were to use this in their kitchen as a bill-paying station or a homework station for the kids.
Sharing with Donna @Funky Junk Interiors
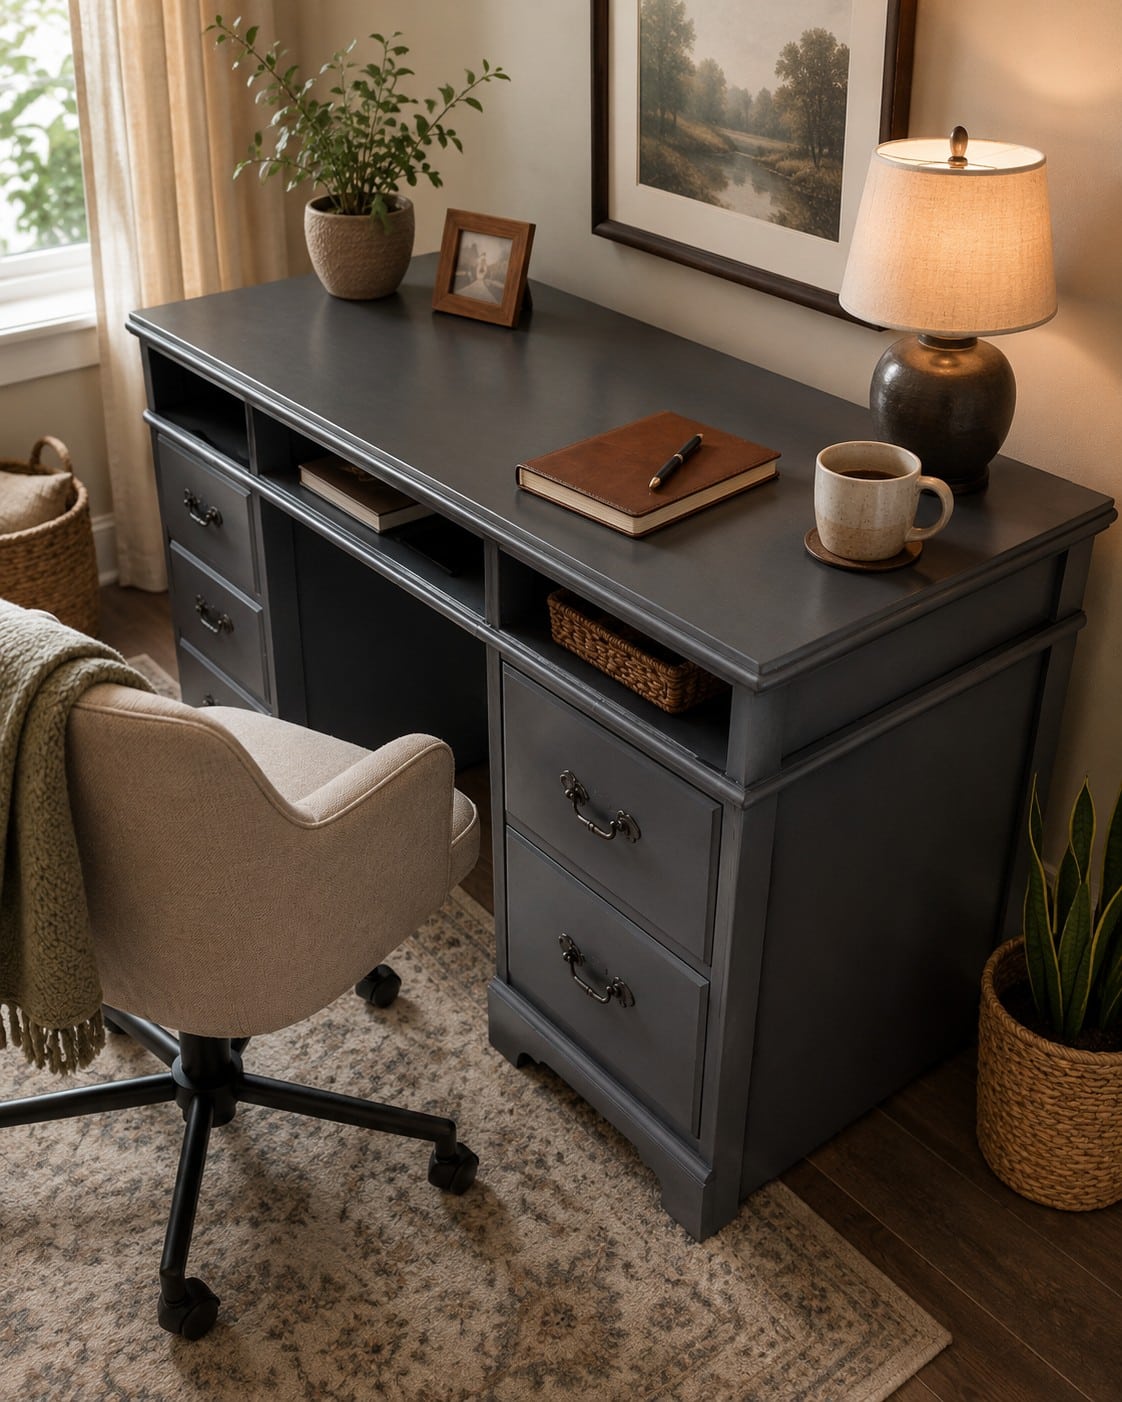
Styling Suggestion for a Desk With Missing Drawers
What started as a desk with missing drawers turned into a unique, functional piece with loads of character. It’s always rewarding to see past the flaws and find new purpose in something others might overlook. Whether you have a similar piece waiting for a makeover or you’re just feeling inspired, I hope this transformation encourages you to think creatively the next time you spot a less-than-perfect find.
Real furniture. Real makeovers. Real second chances.
Today’s project is part of the Furniture Fixer Upper Tour. The collage below shows the starting point for each makeover. Scroll down to see how every piece was reimagined.
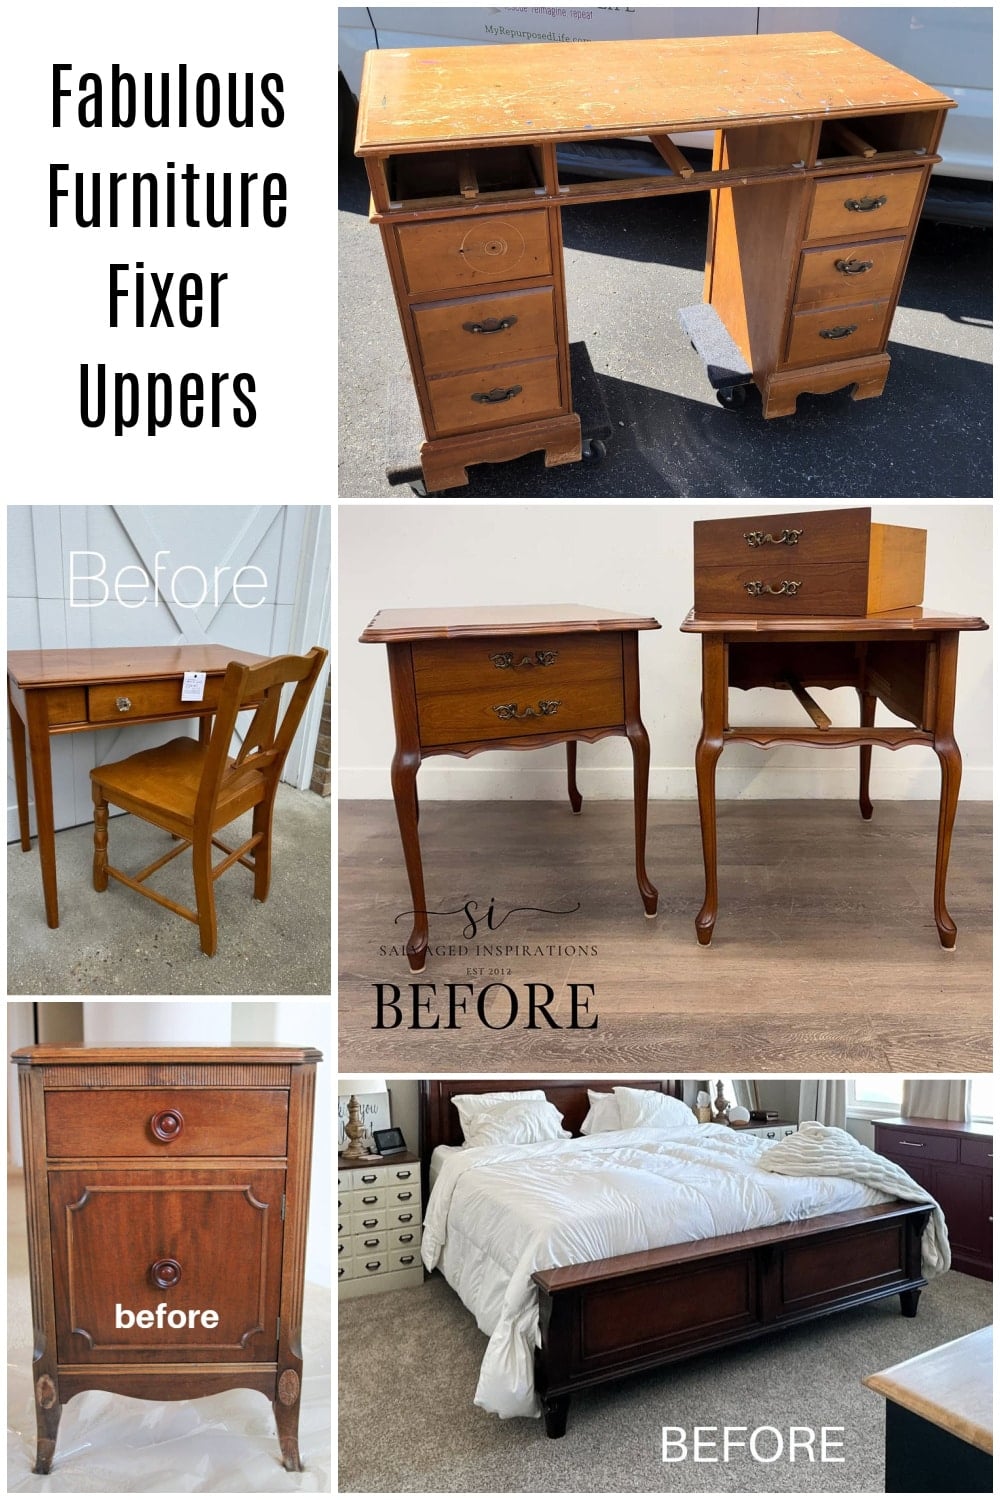
- Fixing a Desk With Missing Drawers (You are here, thank you)
- Painted Dressing Table and Chair
- French Provincial Furniture Flip With Basic Tools
- Going Coastal | A Cabinet Makeover
- How to Darken a Warm Bed Frame Without Stripping It
Furniture Fixer Upper Tour Projects
If you love seeing old furniture get a second chance, be sure to visit more Furniture Fixer Upper Tour makeovers. Each project starts with good bones and ends with a fresh new story.
See more Furniture Fixer Upper makeovers here
You will find everything from small side tables to large statement pieces, all transformed by talented DIY bloggers who believe in saving furniture rather than replacing it.
Well – It’s a Very cute set now. Pretty color.
I actually like the missing top drawers. Nice to use for regular use things without cluttering the desktop. As always – great tutorial – especially with your carpentry skills. 🙂
Awwww, thanks P! Your comments always make me smile!
gail
Such a transformation. I love the deep rich color and the shelves. We have made shelves like that for missing drawers, too. A nice area for baskets, notebooks, etc. Pinned, Kathy
Hey Kathy! Thanks for stopping by and pinning my desk!
gail
this turned out real pretty. I think baskets in the empty places would look fabulous.
Thank you Jackie, I really have no idea how the new owner will use it. But it still has a lot of years left in it.
gail
That’s awesome. The color is so unique — very pretty!
Thanks Lizzy! I always struggle with colors. 🙂
gail
I’ve come across a ton of furniture with missing drawers – this is such a FABULOUS idea Gail. Pinned XOXO
Denise,
I love a good challenge, and rarely pass up FREE furniture.
gail
I loved reading this again and hope my childhood desk found a great home. It turned out so beautifully.
Thanks for stopping by Sharon! I hope you’re doing well! Your desk was fun to transform!
gail
Love it
I love how this desk came out! The stencils on the side of the draws are so sweet. It came out amazing!
Meagan
I appreciate you stopping by to check out the desk. It sold really quickly in my booth. So, now it’s gone to a new home to live happily every after.
gail
Gail, This is absolutely stunning!! I love everything about it! Thanks for sharing all of you repurposing ideas. It gives me a lot of inspiration!
Carol,
Thanks so much for your kind comment on the desk with missing drawers. I’m in love with that color. It’s “almost” black. 🙂
gail
Hi Gail! I too love the desk and that paint colour. However, I’m not a fan of the side decoration. Maybe if the sides of the drawers had been painted a lighter grey instead of being kept natural wood? The decorative pattern is quite nice, but it seems difficult to come up with an even colour with this tool. I suspect re-rolling could look messy if not positioned exactly on the same spot?
Gail, it is beautiful. I love the color too. The only thing I would have changed, but only because I hate to type on a laptop, is the center opening. I think I would have made that one a sliding shelf so I could use my external keyboard. For a piece to sell though, I think it is perfect.
Myrepurposed Life was the impetus that started me on a journey to paint some of my own tired wooden furniture. Thank you, you are an inspiration. Now that I am no longer the caretaker for my beautiful Sister, Betty, I am anxious to “repurpose” my own life.
Ione,
First, let me say I’m sorry for your loss. Your sweet comment caught me off guard and made me tear up. Your words were so sweet and kind, just the “atta girl” I needed today. YOU are why I do what I do. I LOVE to encourage other women to do this. It’s so rewarding, and we’re keeping stuff out of the landfill. It’s definitely a WIN/WIN!
What you may not know is how my blog name came to be… lots of unexpected life changes, and I too needed a re PURPOSE for my next chapter. Enjoy writing the rest of YOUR book with your new chapters!
hugs!
gail
I love the color Gail! Thank you for sharing your projects with us!!!
Mona,
Isn’t it scrumptious? I will definitely be using it again, and have already ordered another quart!
thanks for stopping by and taking the time to leave a comment.
gail