
Vintage End Table Makeover
As an Amazon Associate, I earn from qualifying purchases.
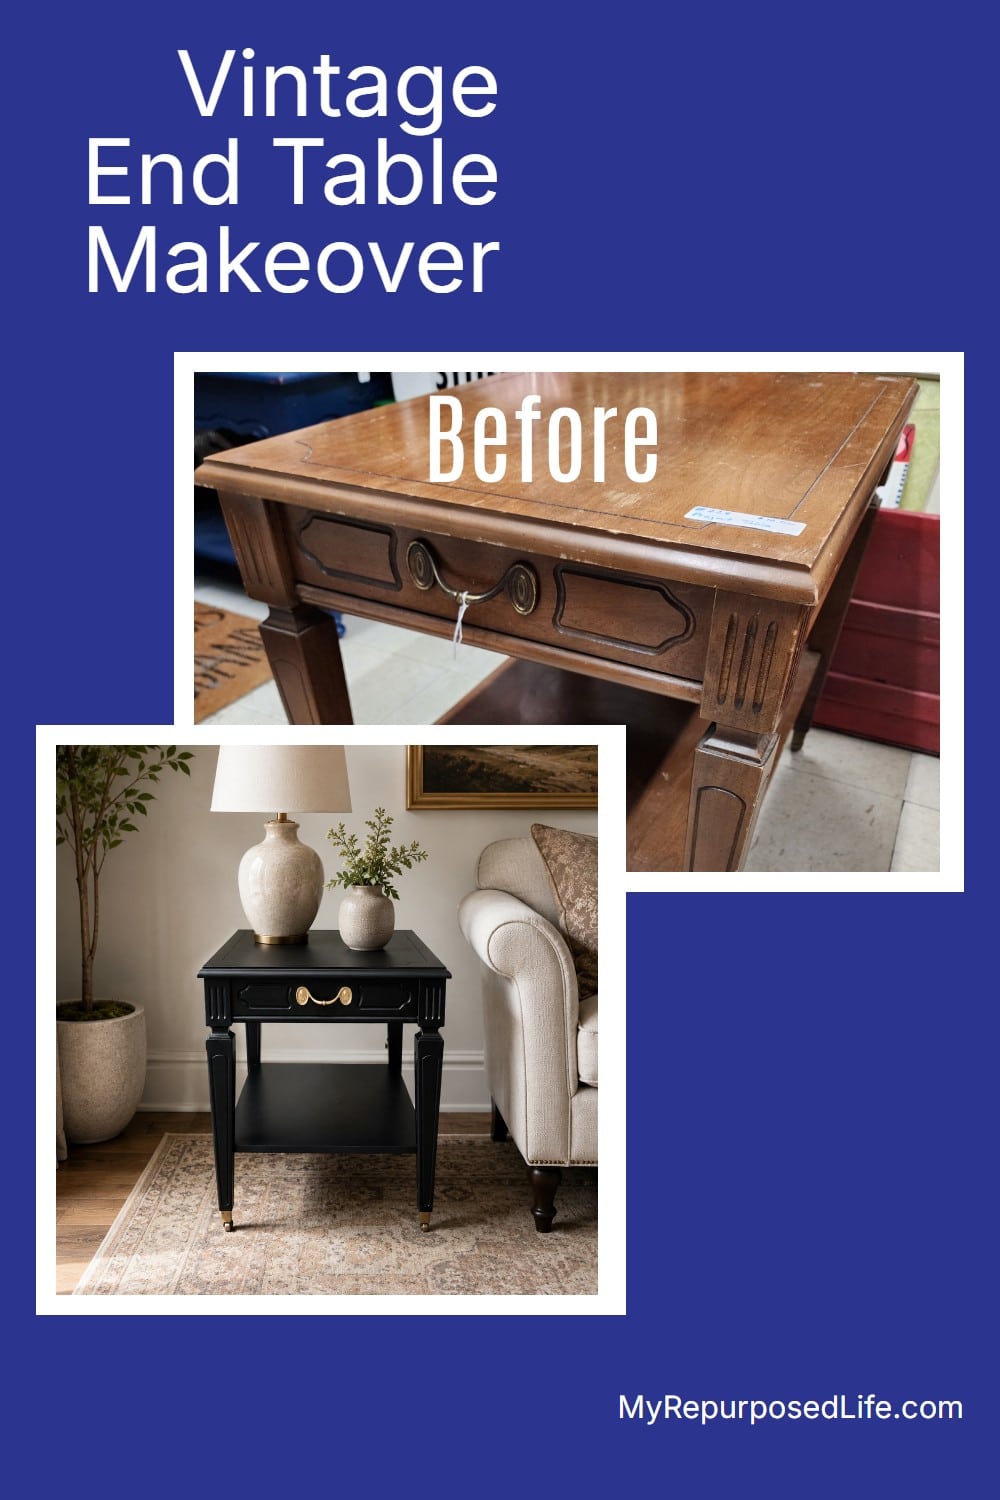
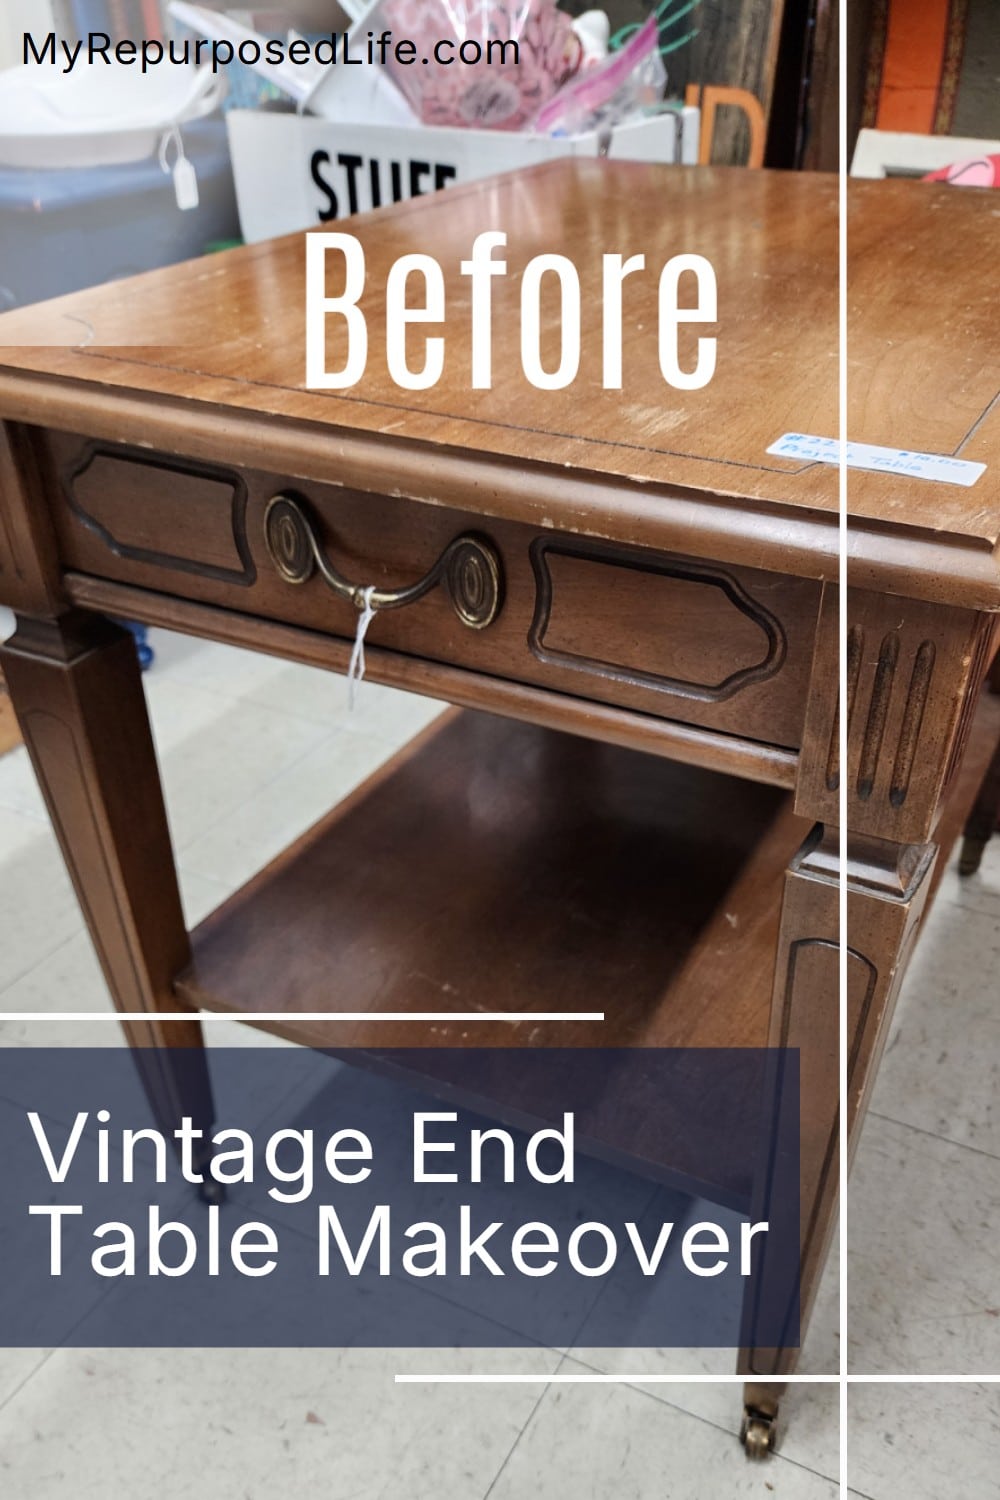
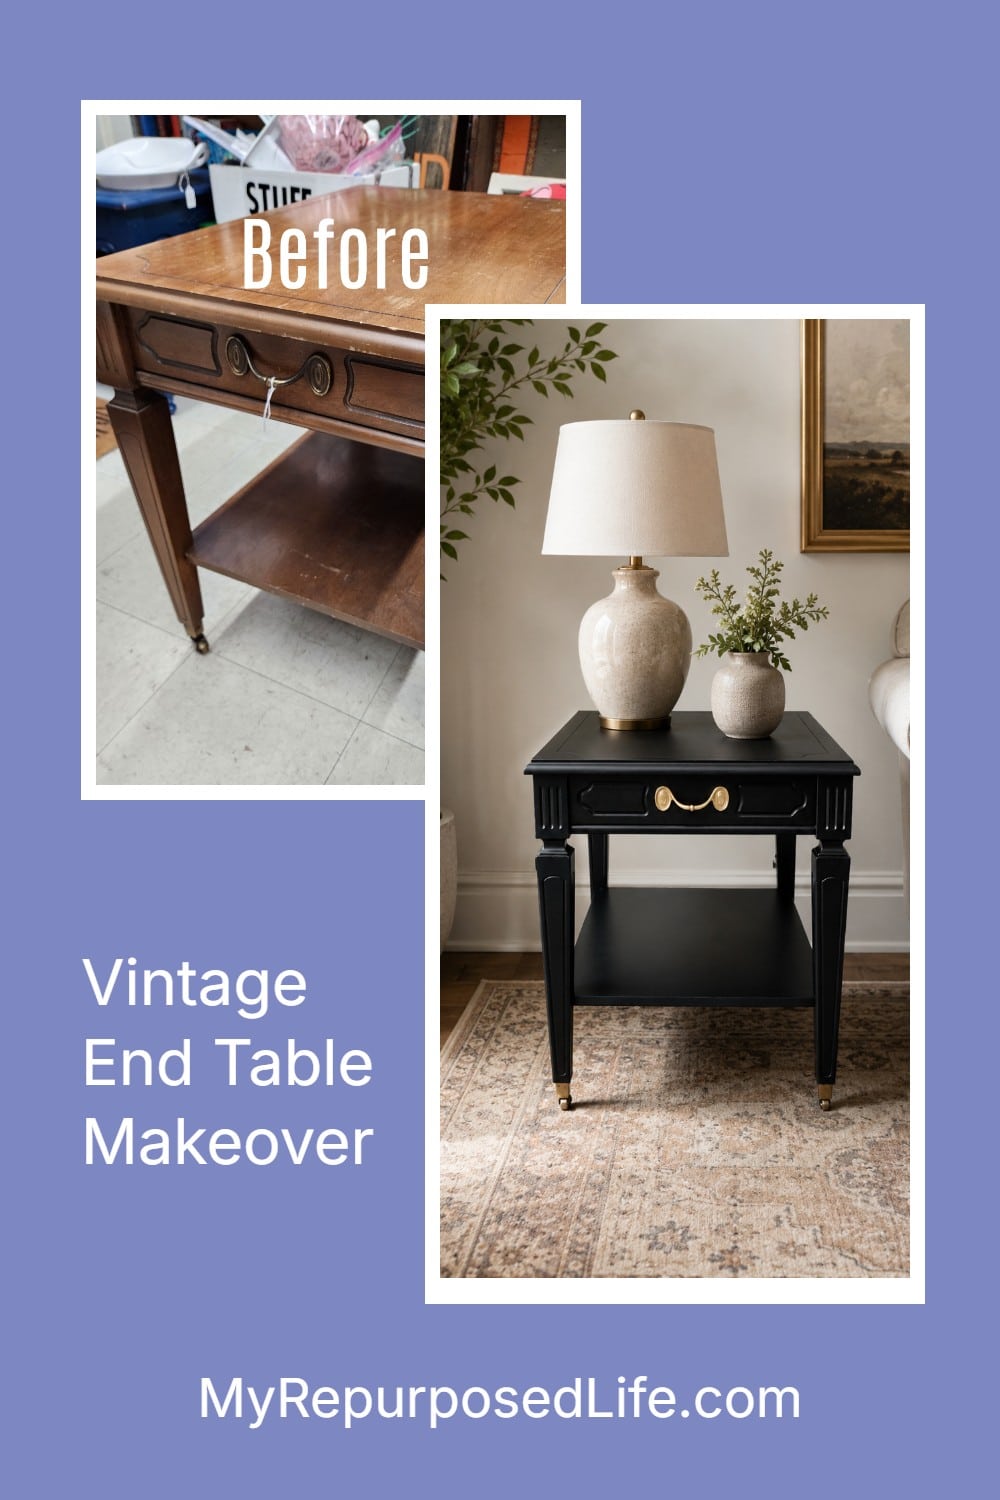
When my friend spotted this $10 vintage end table, she knew it was exactly the kind of project I love. It had good bones, pretty legs, a useful drawer, and the cutest little brass casters. The finish was tired, but the shape was worth saving, and this makeover turned out to be a quick one with just enough hardware debate to keep things interesting.
Ten Dollar Vintage End Table
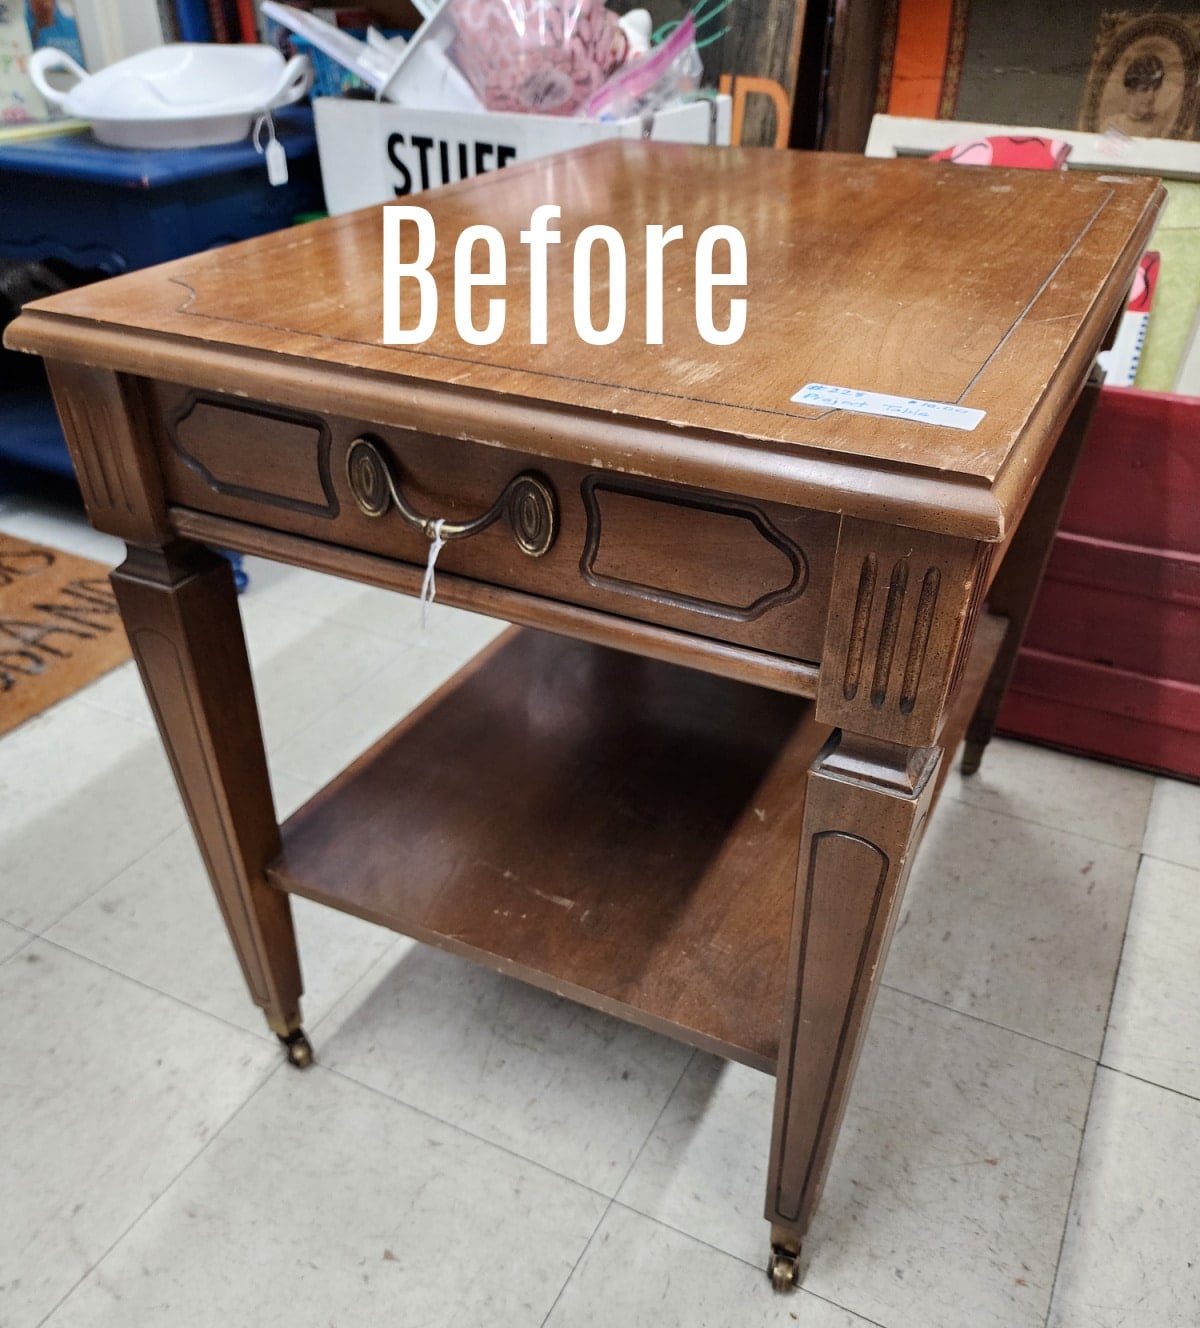
So, I rushed right out to pick up this beauty because I knew it was perfect for a quick and easy project for this month’s Furniture Fixer Upper contribution.
The Furniture Fixer Upper Tour is a monthly furniture makeover series featuring a small team of furniture-painting friends. Each month, we all start with a tired or thrifted piece and share how we clean it up, repair it, and give it a fresh new finish. After you check out this project, be sure to visit the links at the bottom of the post to see what the rest of the Furniture Fixer Upper team did with their finds.
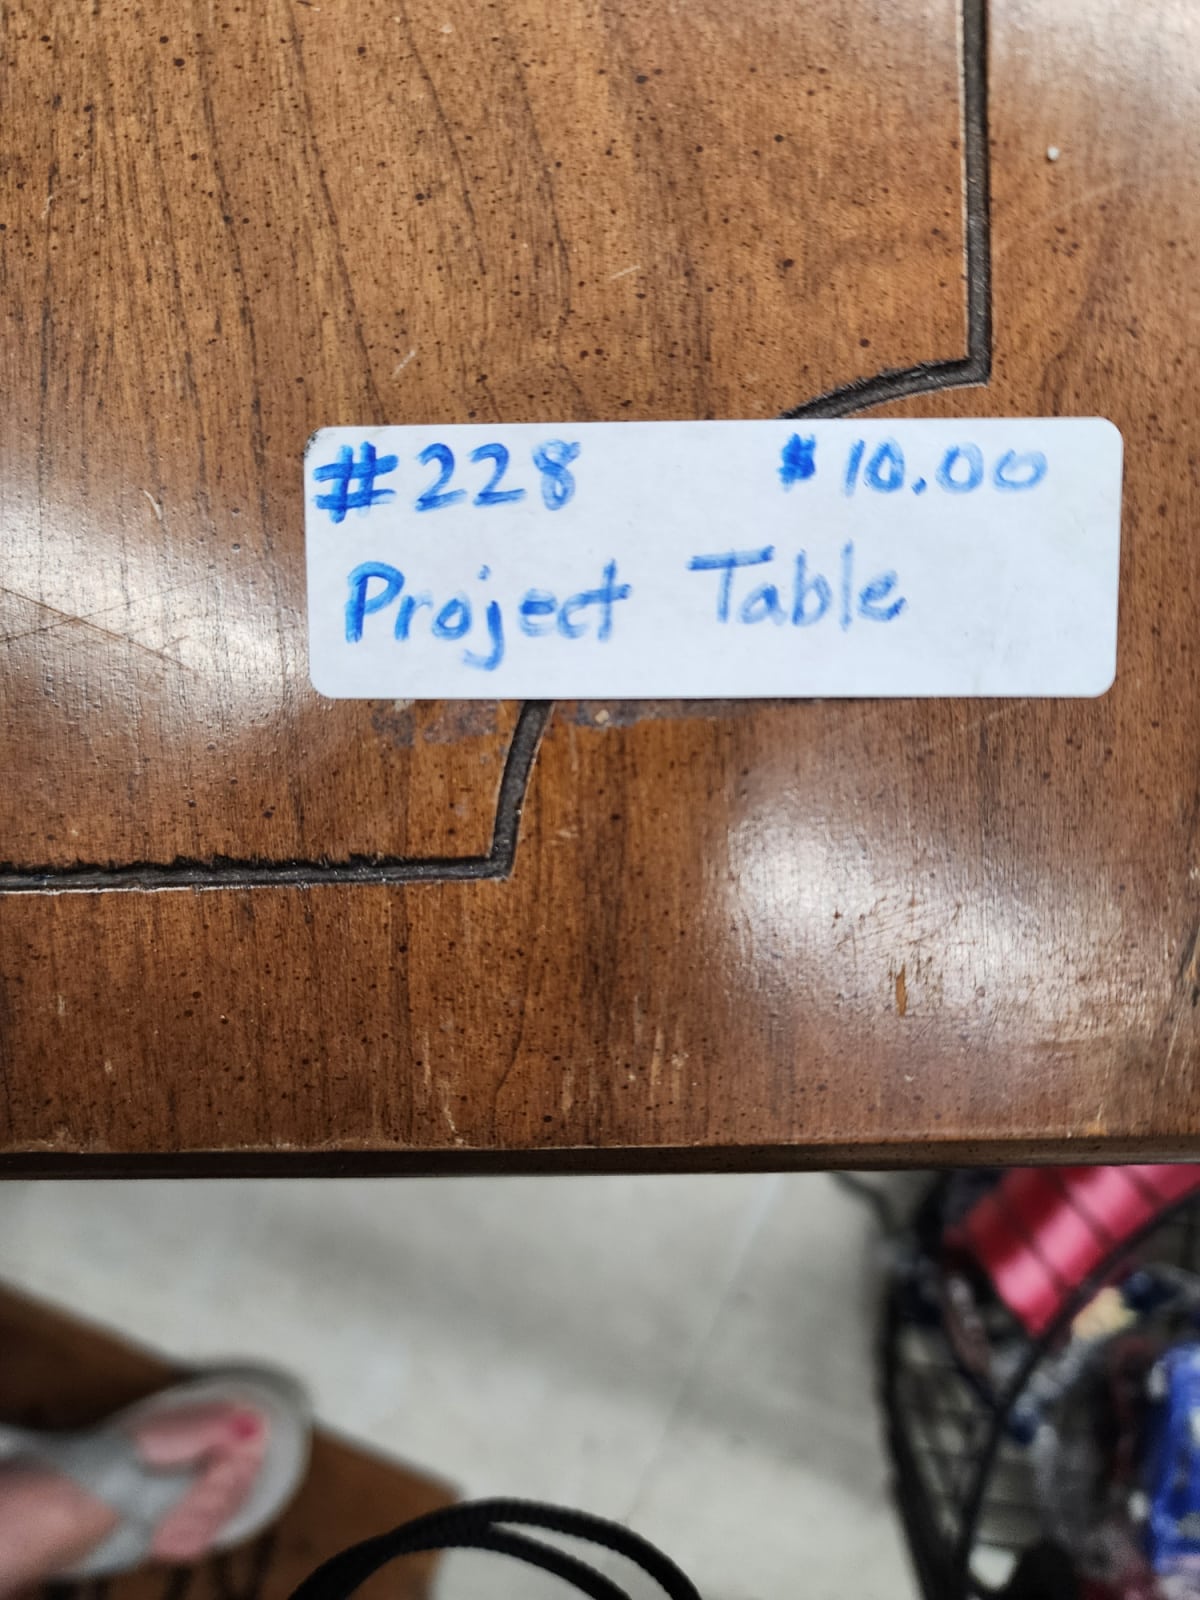
She also knows that I love a great deal, and I felt $10 was a great price on this piece of furniture.
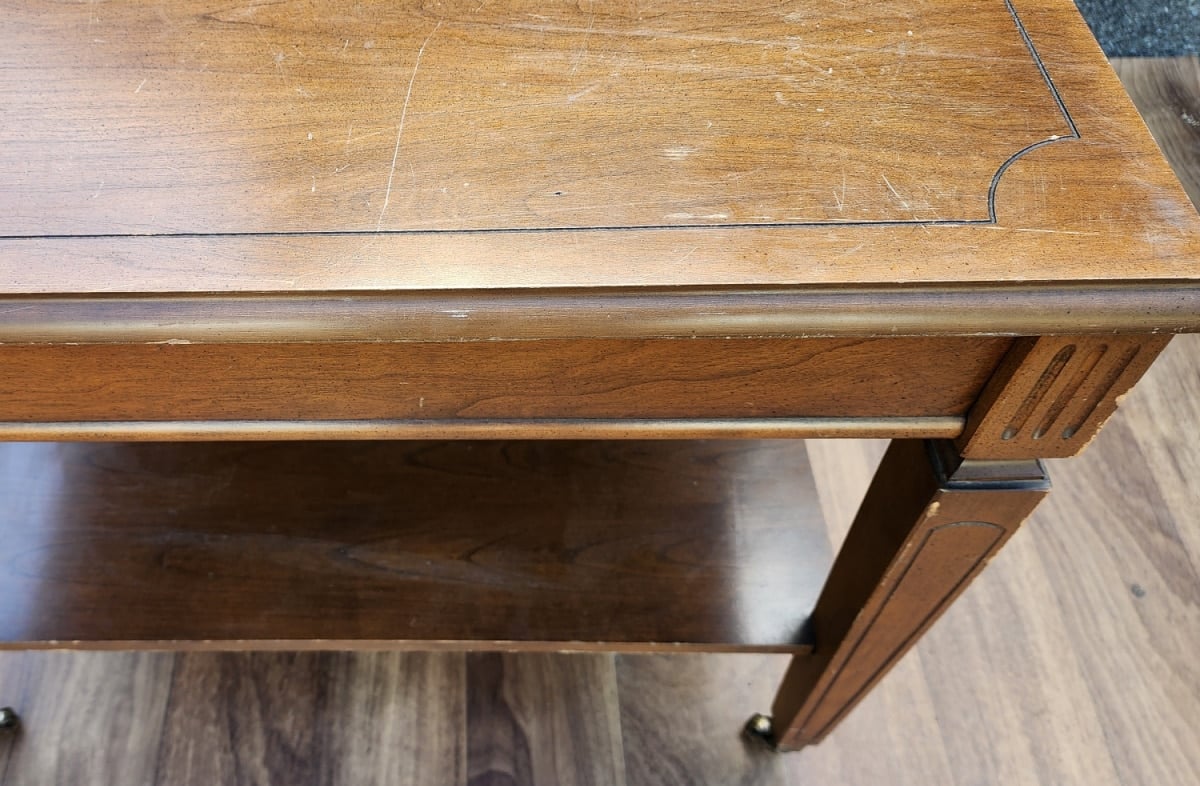
The mid-century vintage table needed some love, but I fell for the legs and casters. When I said quick and easy, I meant just that. I was getting ready for a two-week camping trip at the lake, and I had just about two afternoons to work on this vintage end table makeover.
Inspect, Clean, and Prep Wooden Furniture for Painting
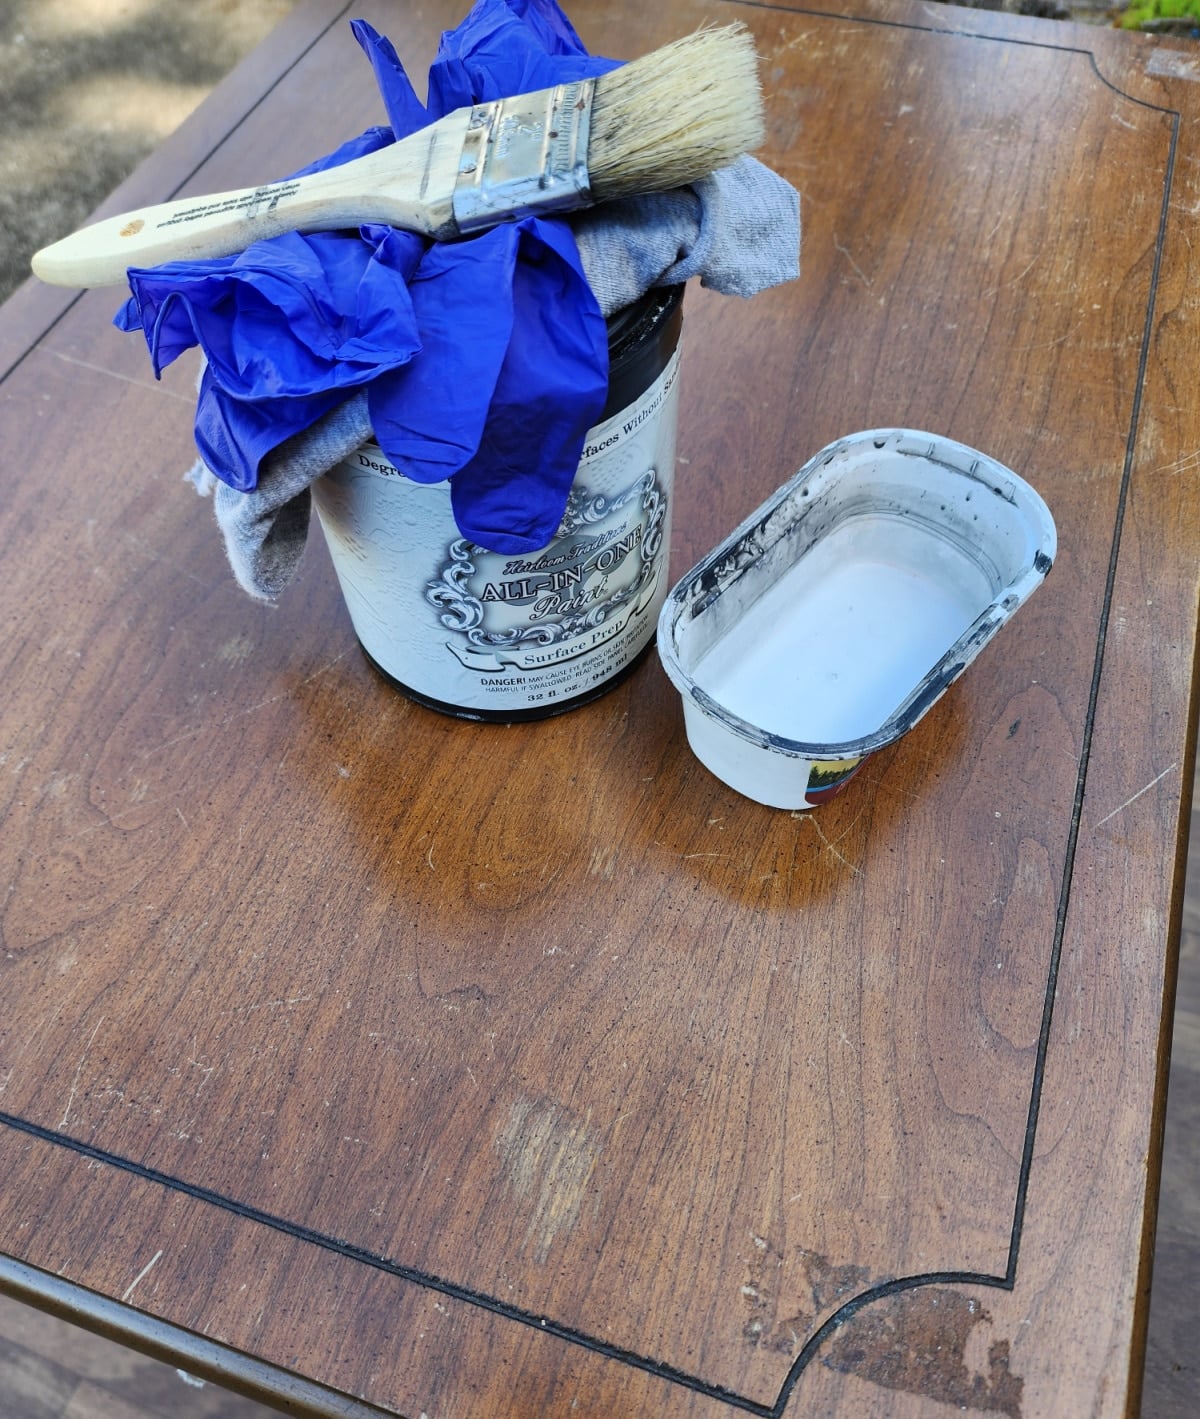
On day one, the first thing to do was to examine the table for any issues and clean it up. Apparently, the table had been bought and sold a couple of times, so there was sticky residue on two corners that needed to be removed.
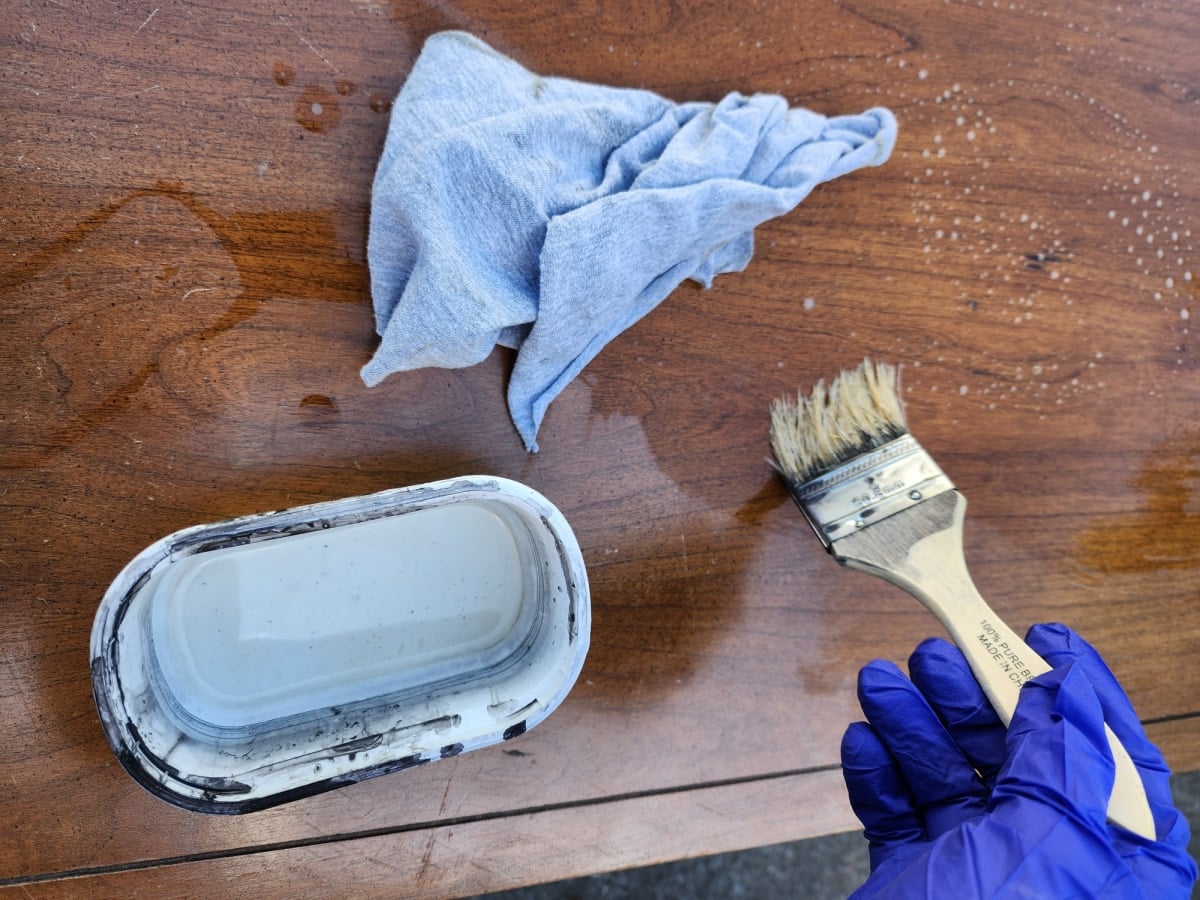
When I use HTP’s Surface Prep, I prefer to pour it into a small container rather than dip my brush into the can. Some furniture pieces can be very grimy, and the can of Surface Prep will hold all the grime and dirt.
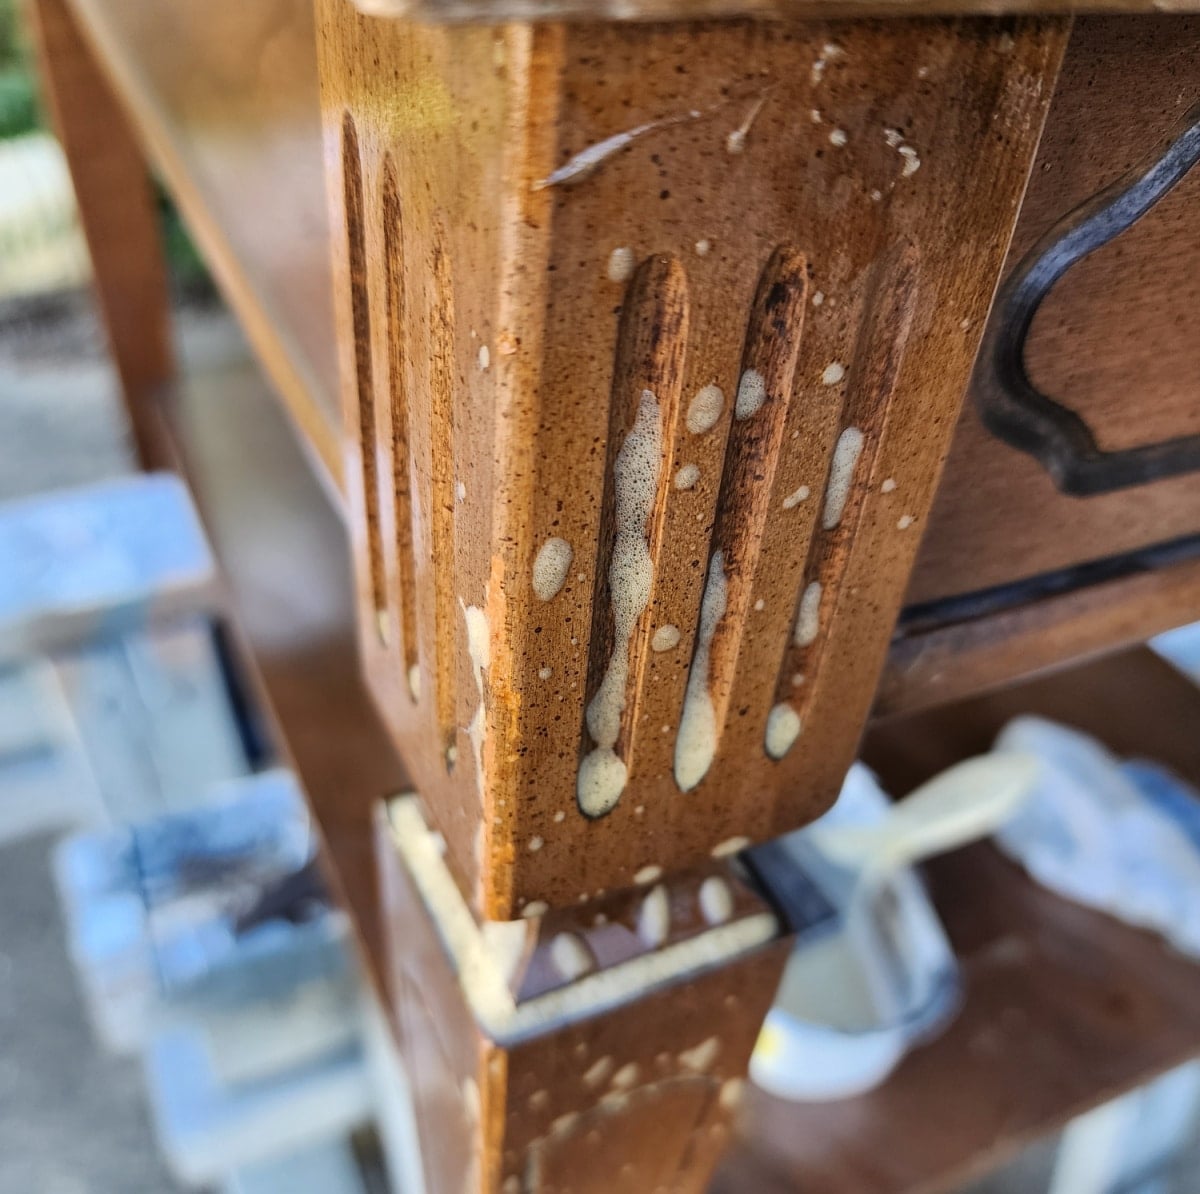
Brushing the surface prep onto the vintage table, letting it set for a moment, then wiping it off is about as easy as it gets. This process cleans and deglosses furniture in one easy step.
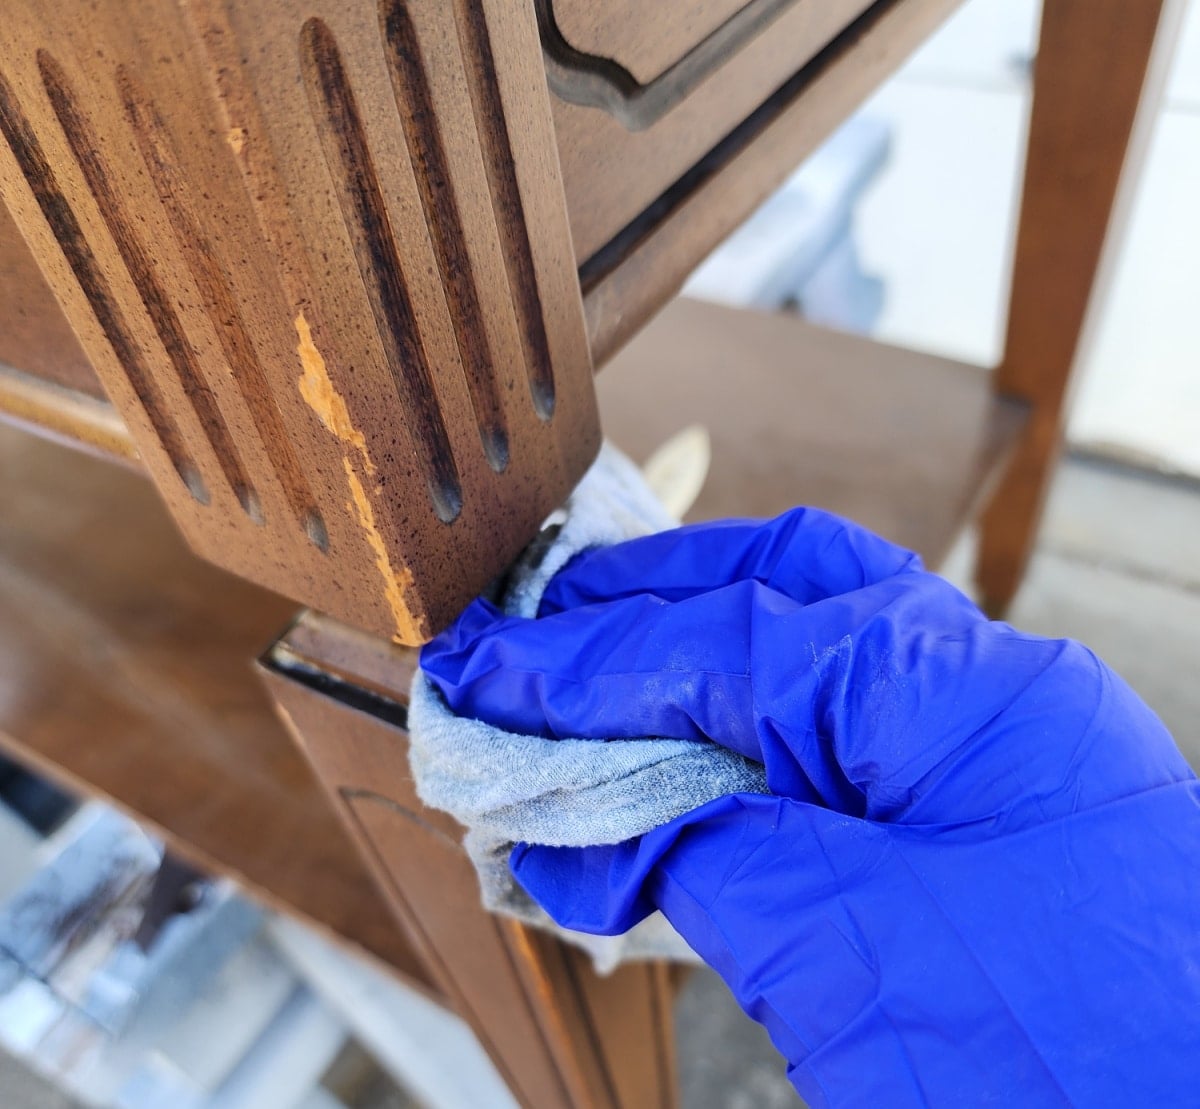
It also helps reveal any issues with the thrift store furniture.
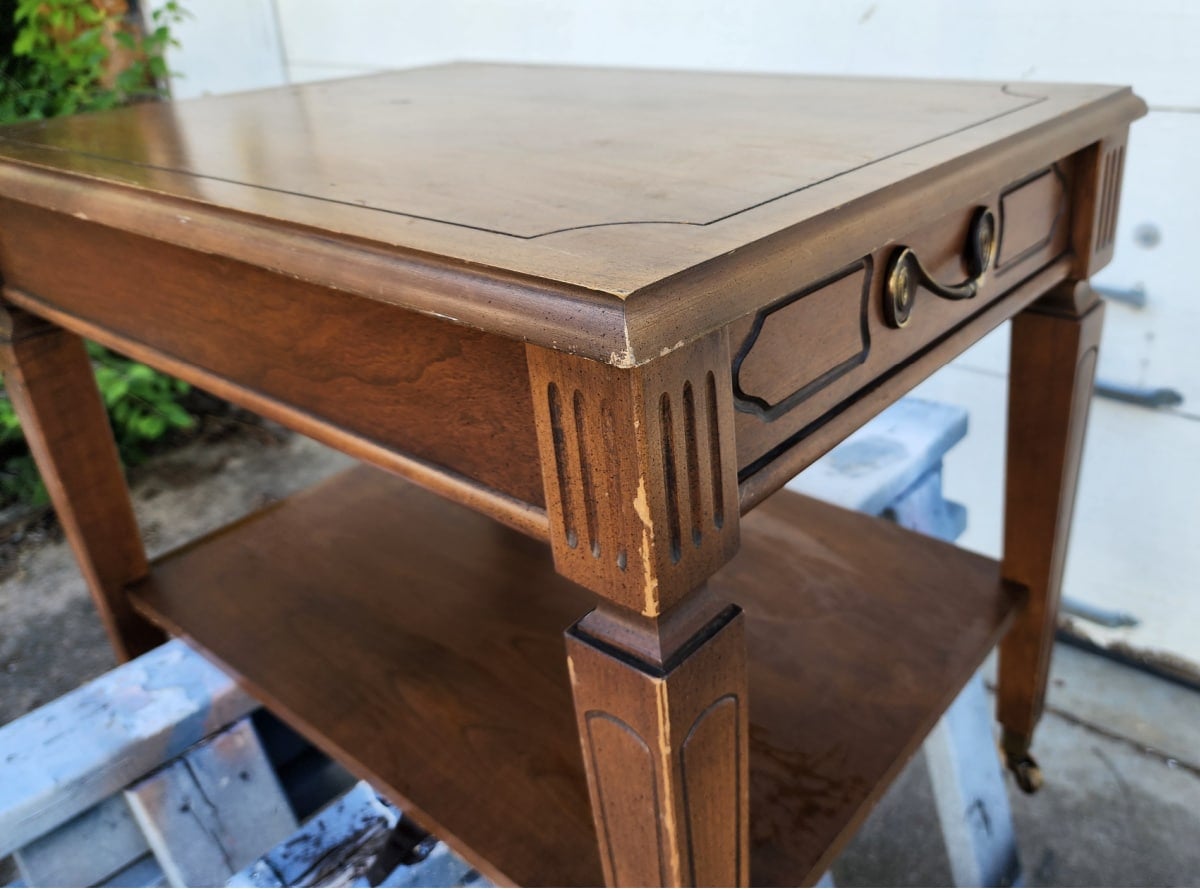
To make it easy on my back, I raised the vintage end table onto my easy DIY sawhorses.
Remove Hardware, Add Painter’s Tape
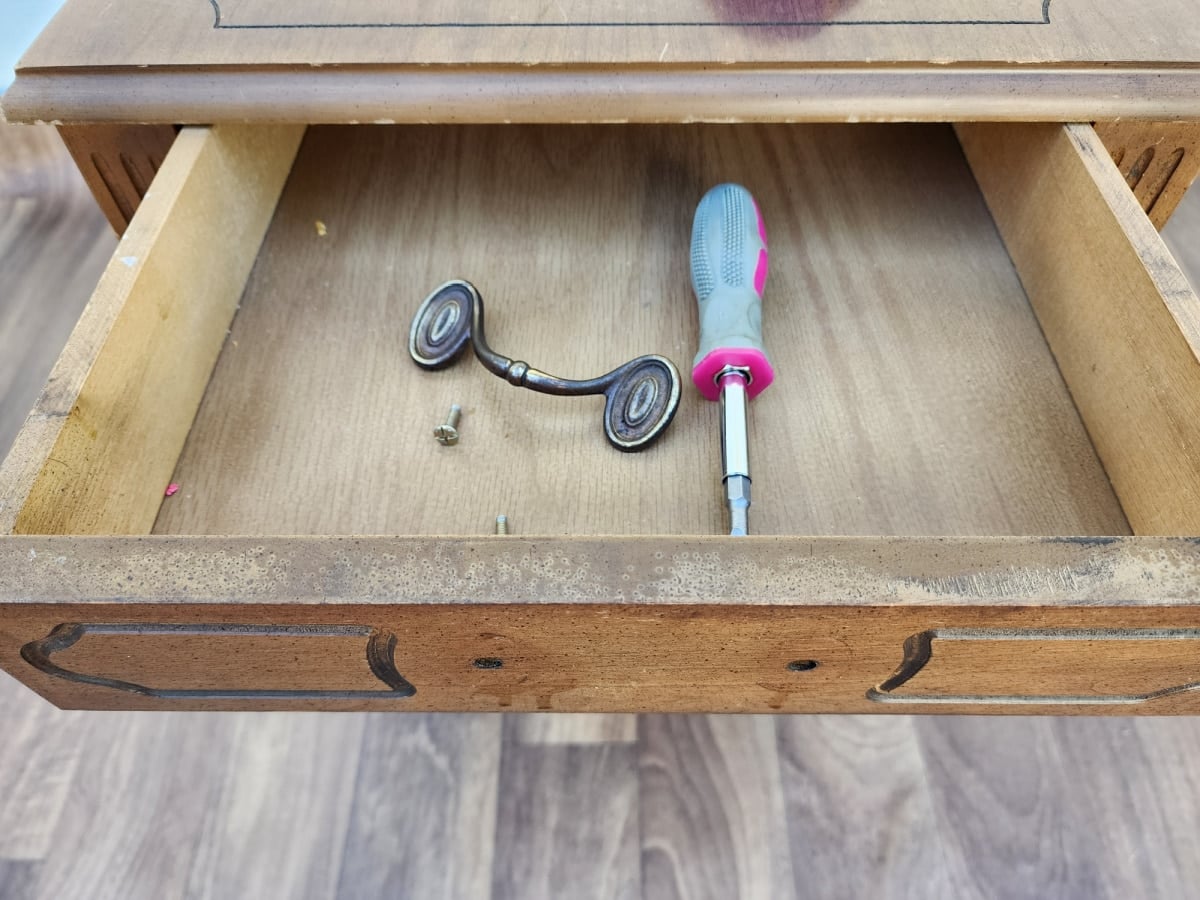
I removed the drawer handle, but decided to leave the casters alone. These were the toughest screws I’ve ever had to remove. I guess the handle was secured at the factory.
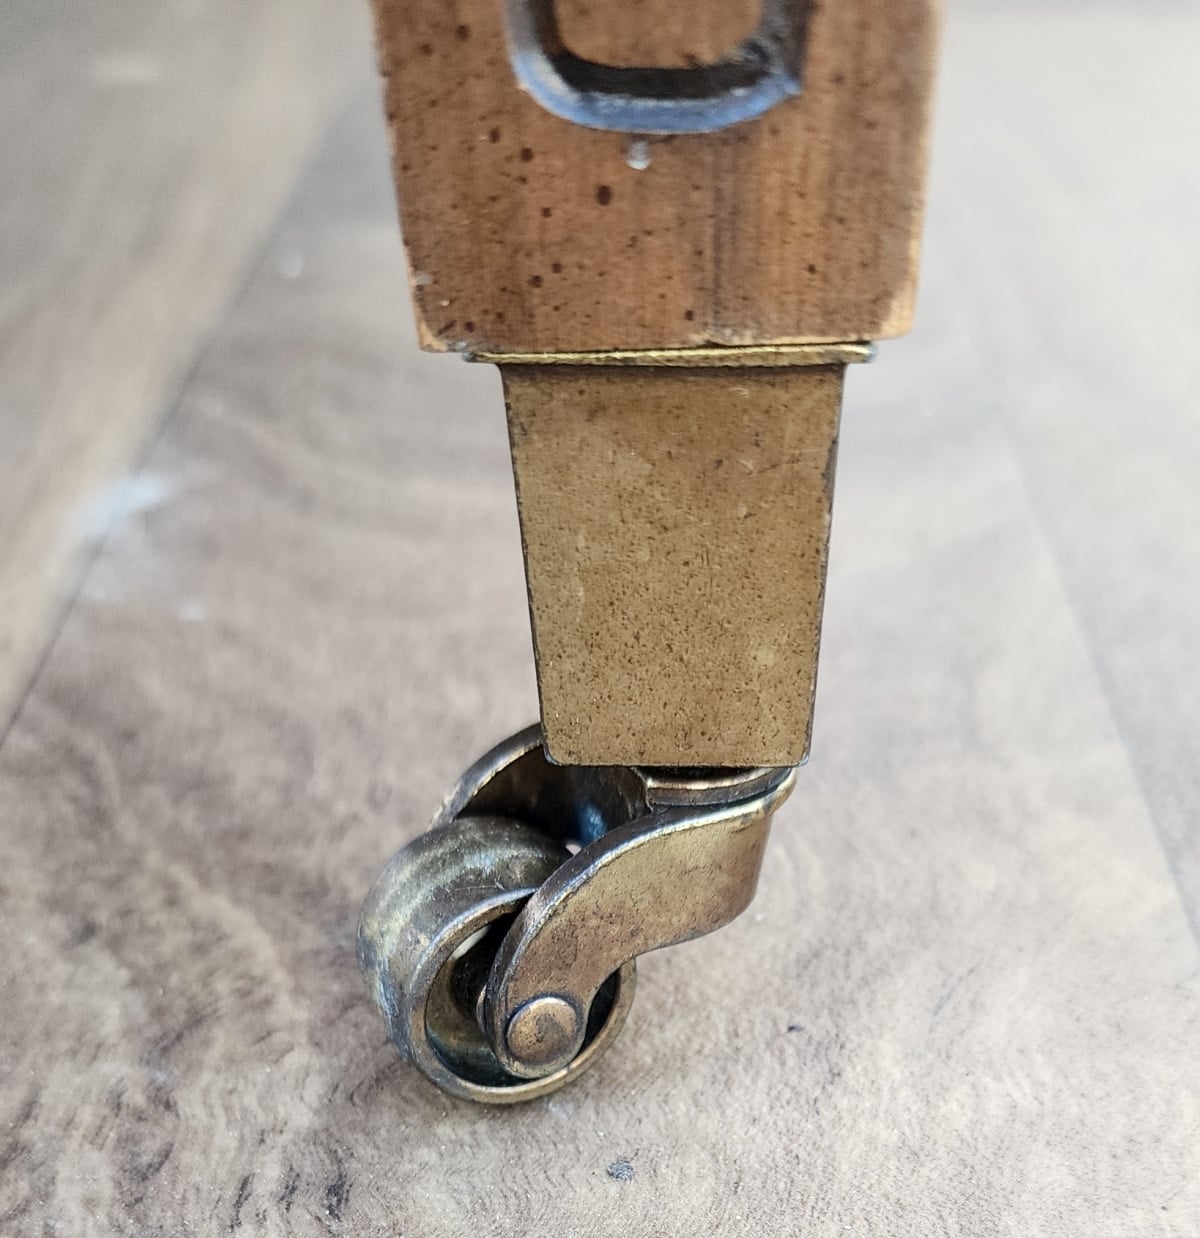
This image shows a close-up view of the brass caster wheels.
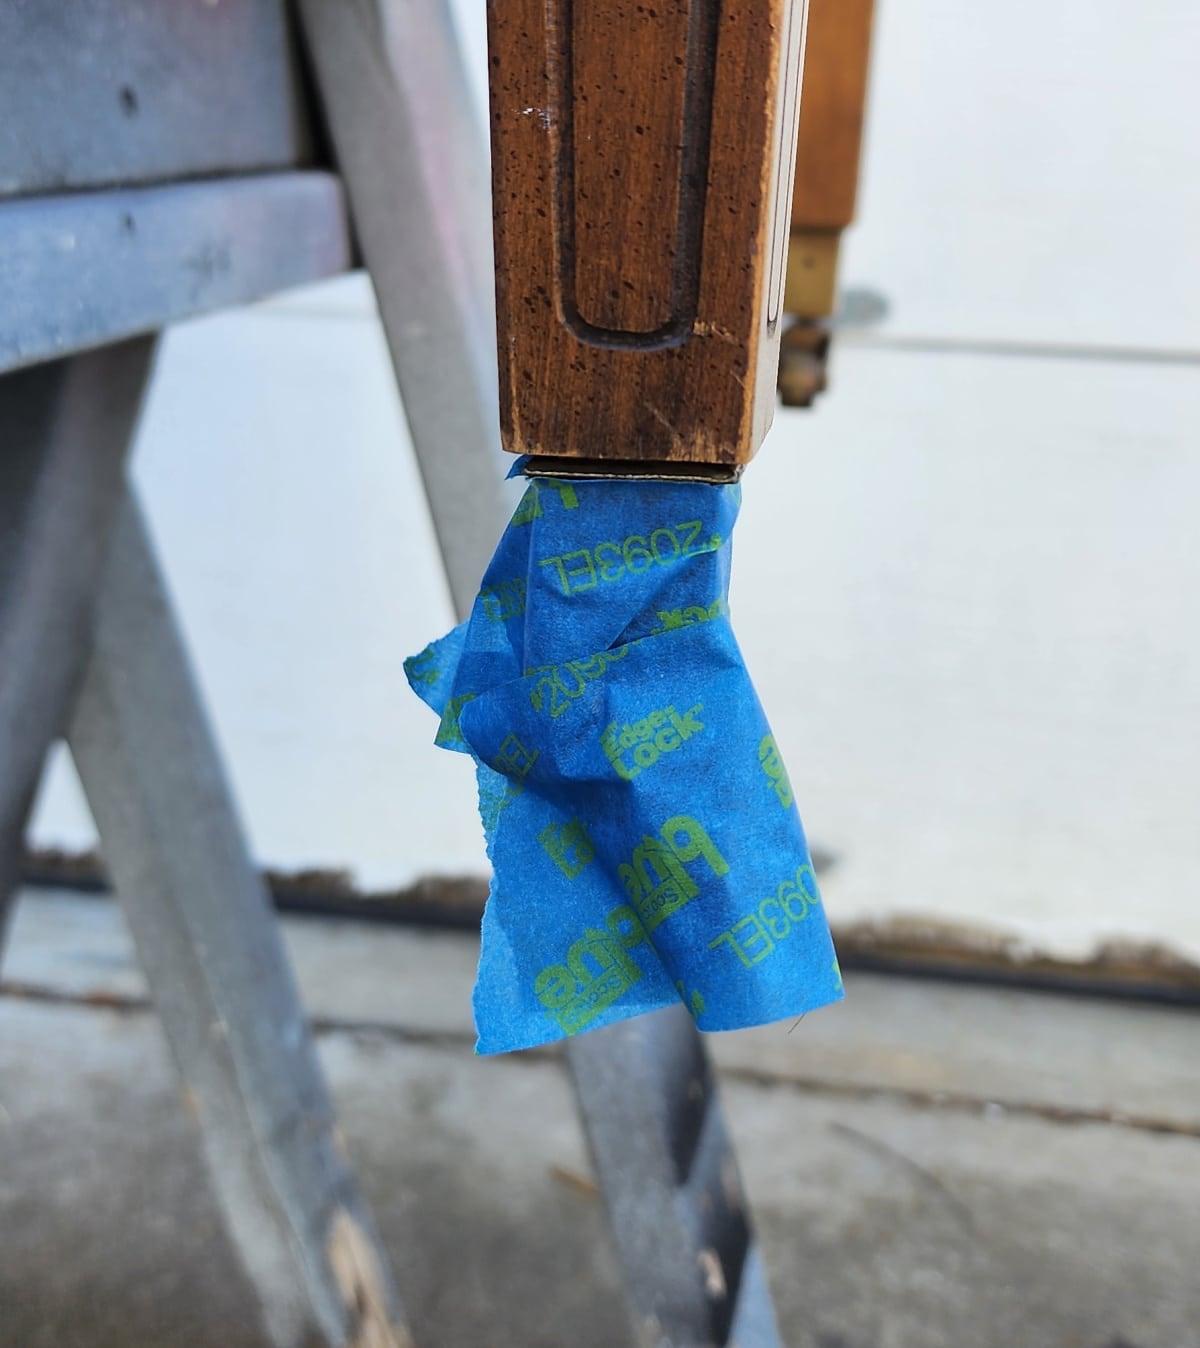
Before painting, I used quite a bit of painter’s tape to protect the casters.
Easy Painting Tips for a Vintage End Table Makeover
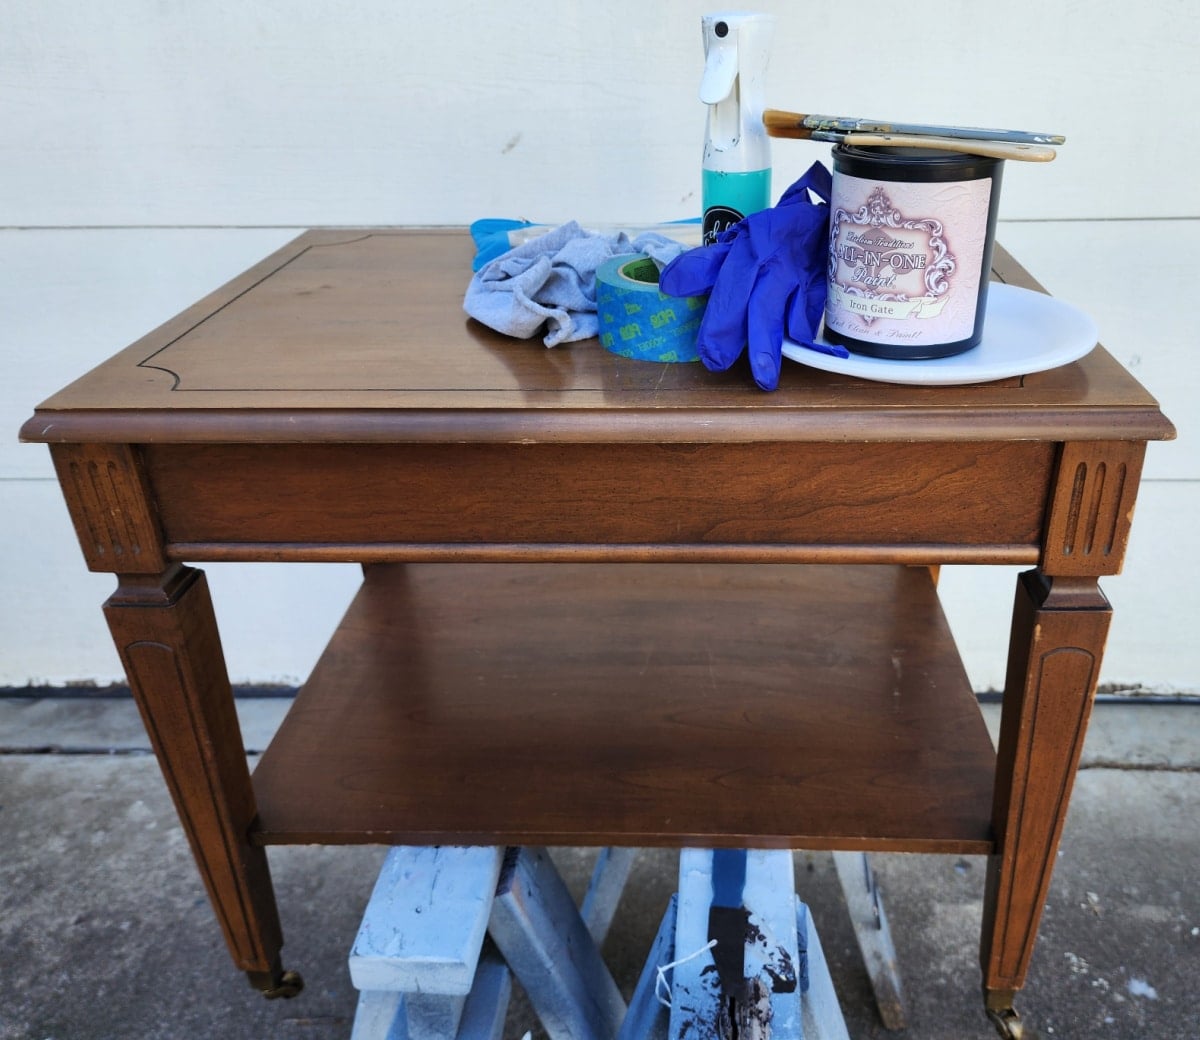
I chose All-in-One’s Iron Gate for the table. The materials list is simple and straightforward.
- All-in-One Surface Prep
- Gloves
- Soft Rag
- Small Container
- All-in-One Iron Gate
- Painter’s Tape
- Small Foam Roller
- Small Artist Brushes
- Styrofoam Plate
- Continuous Spray Bottle
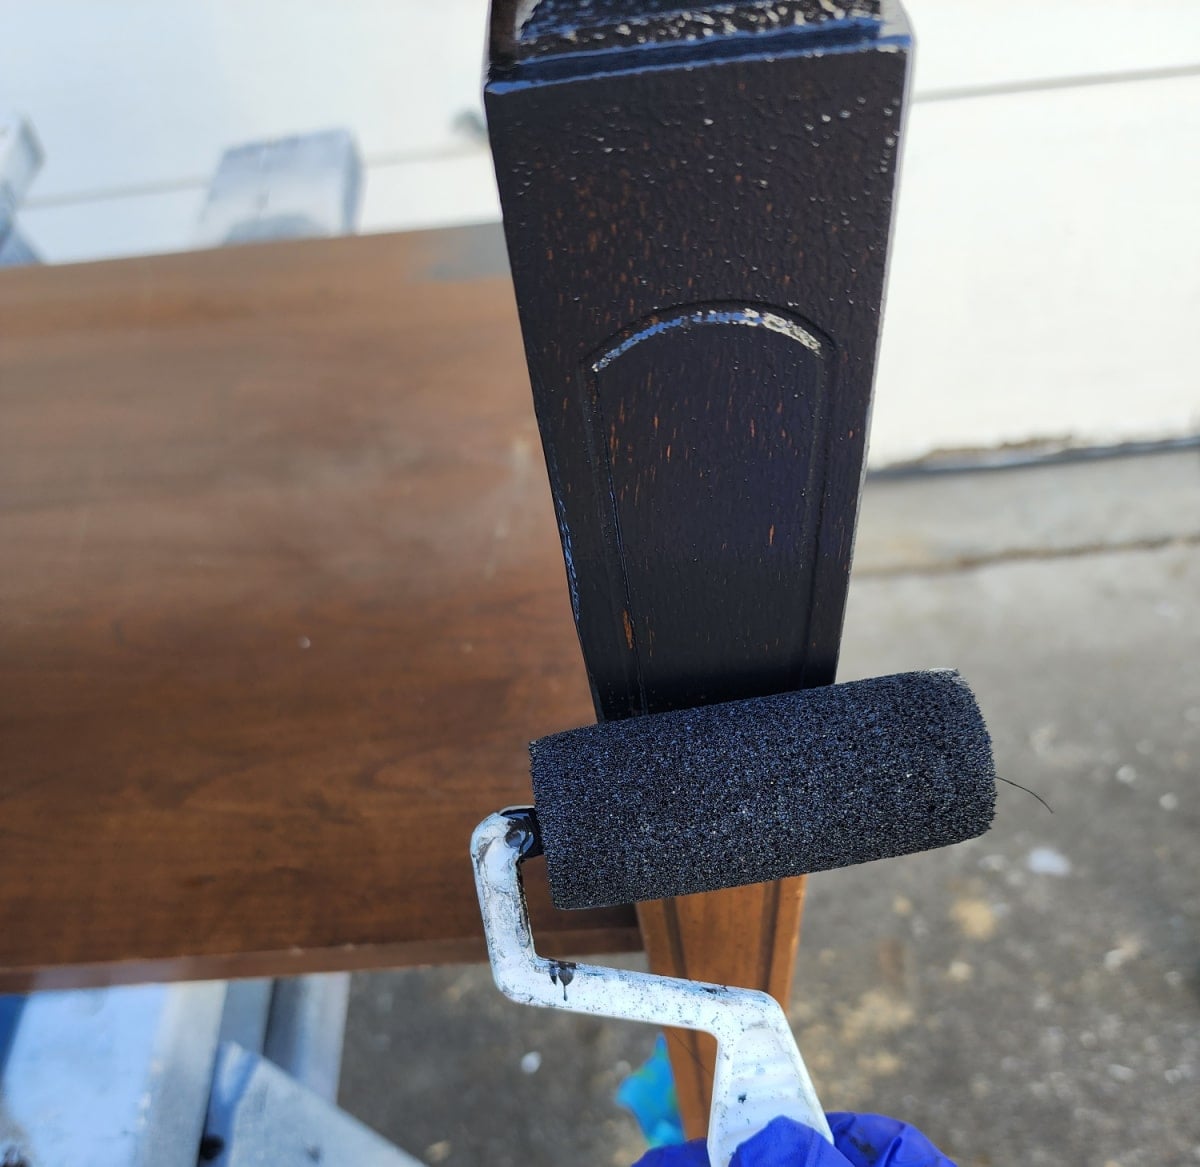
To begin, I started with the small foam roller, which nearly covered the entire end table.
I used the spray bottle to dampen the roller before I began, and to spray a little water onto the paint after I poured it onto the styrofoam plate. The weather wasn’t ideal for painting outdoors, and I wanted a really smooth paint finish.
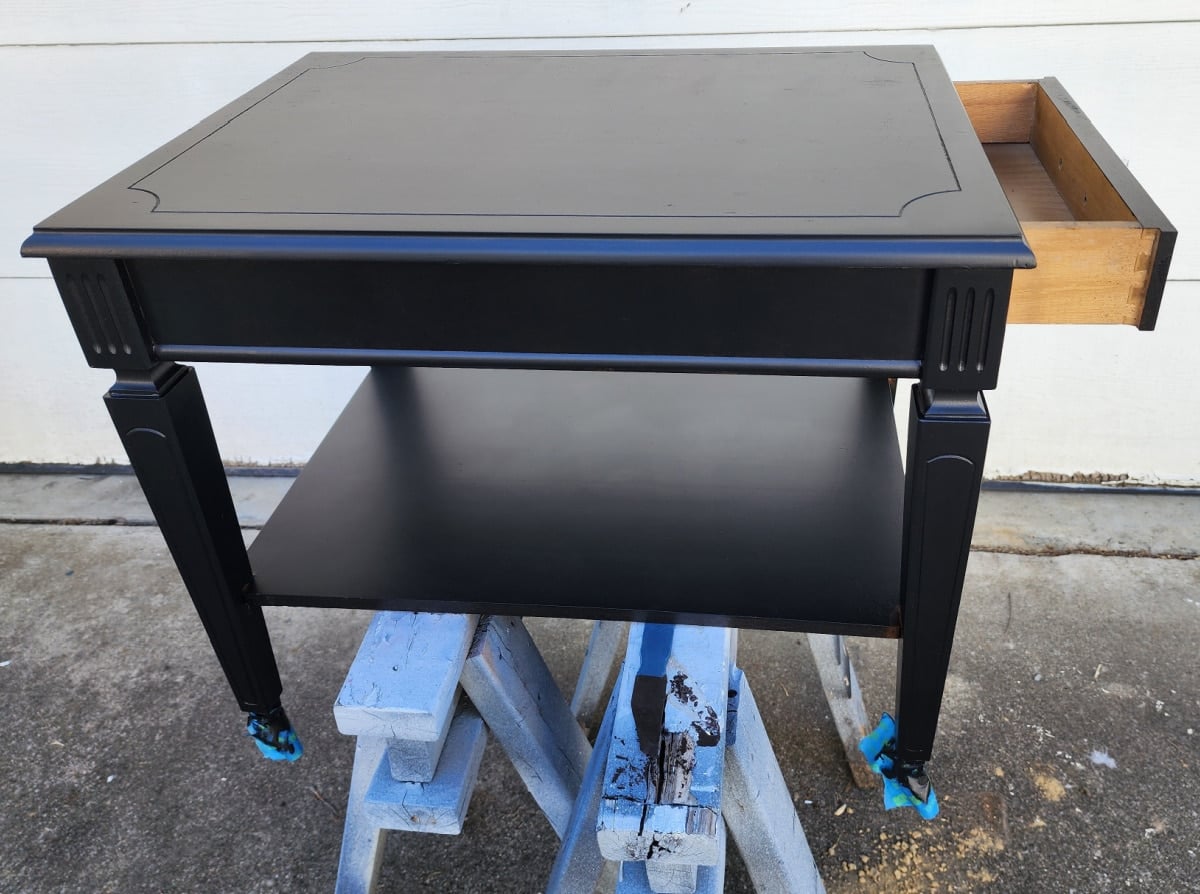
I didn’t even remove the drawer.
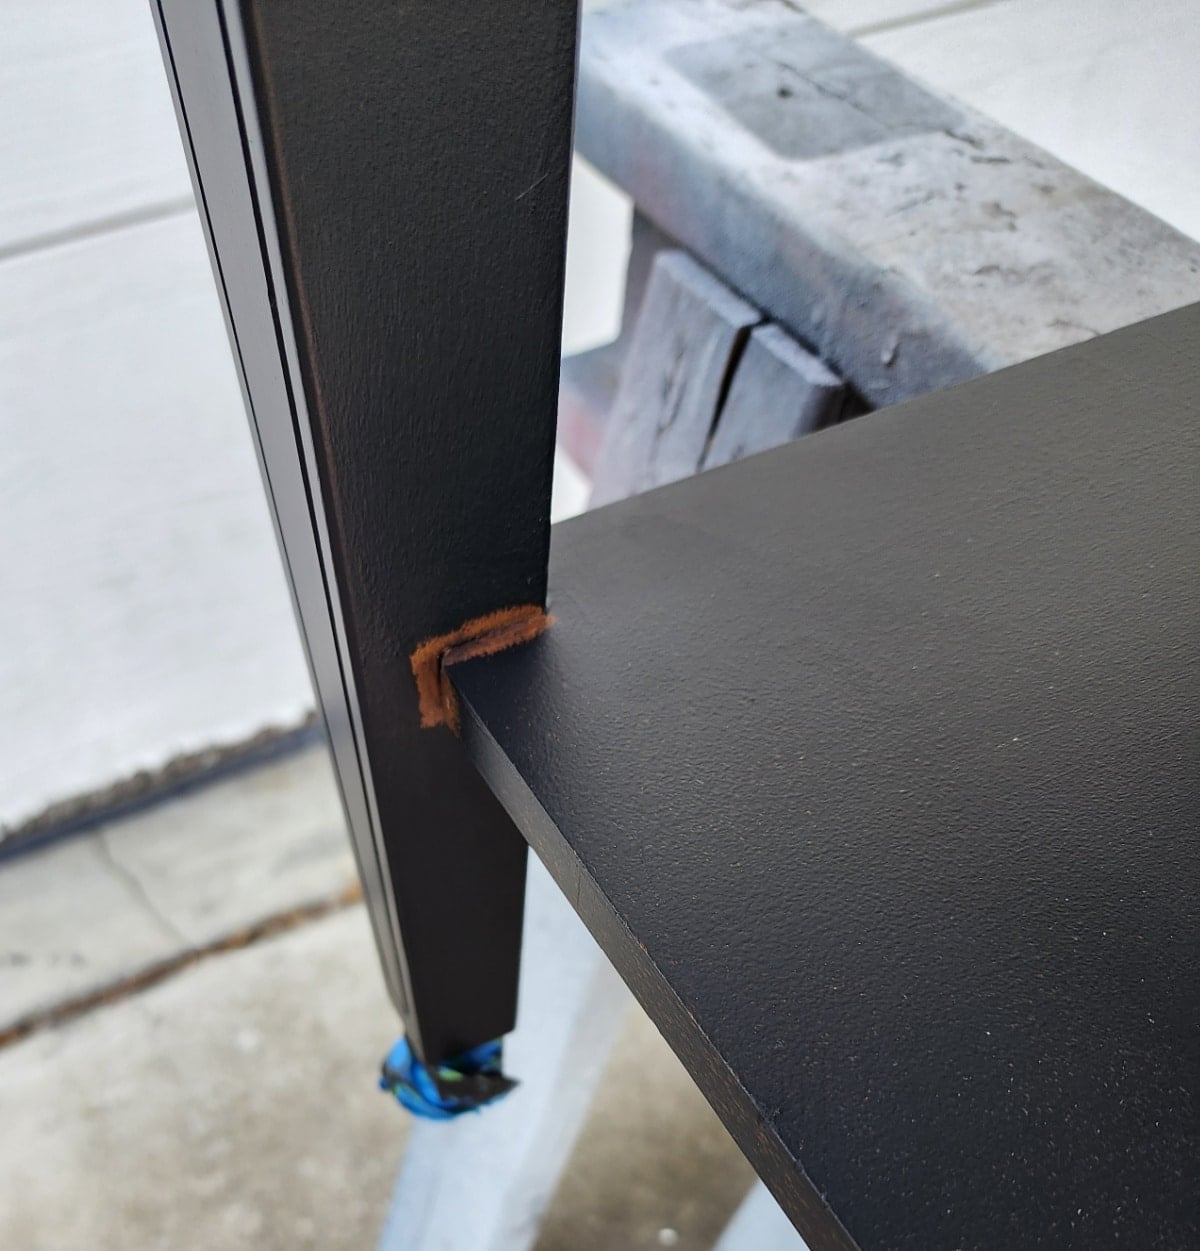
You can see the small touch-ups left from using the roller.
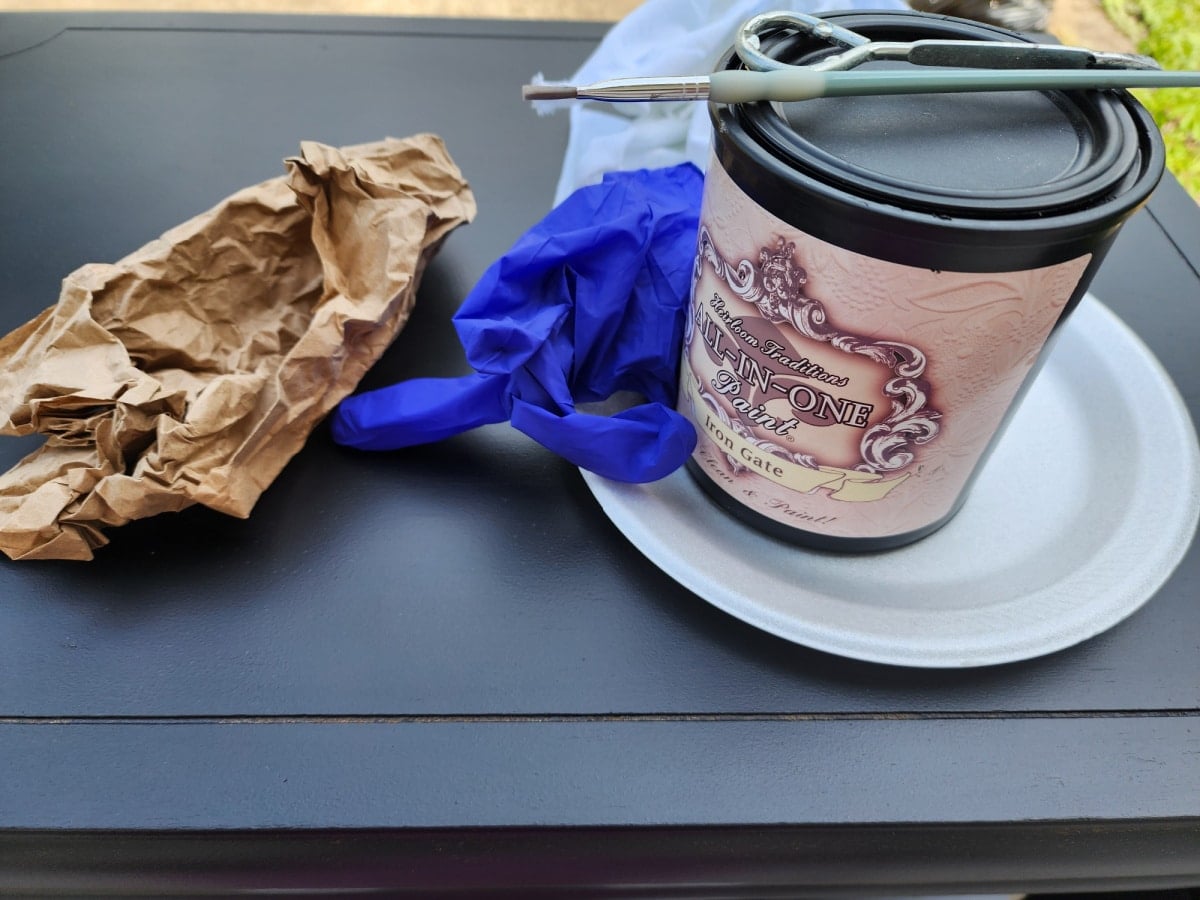
On the second day, I did touch-ups in the morning and more painting in the afternoon.
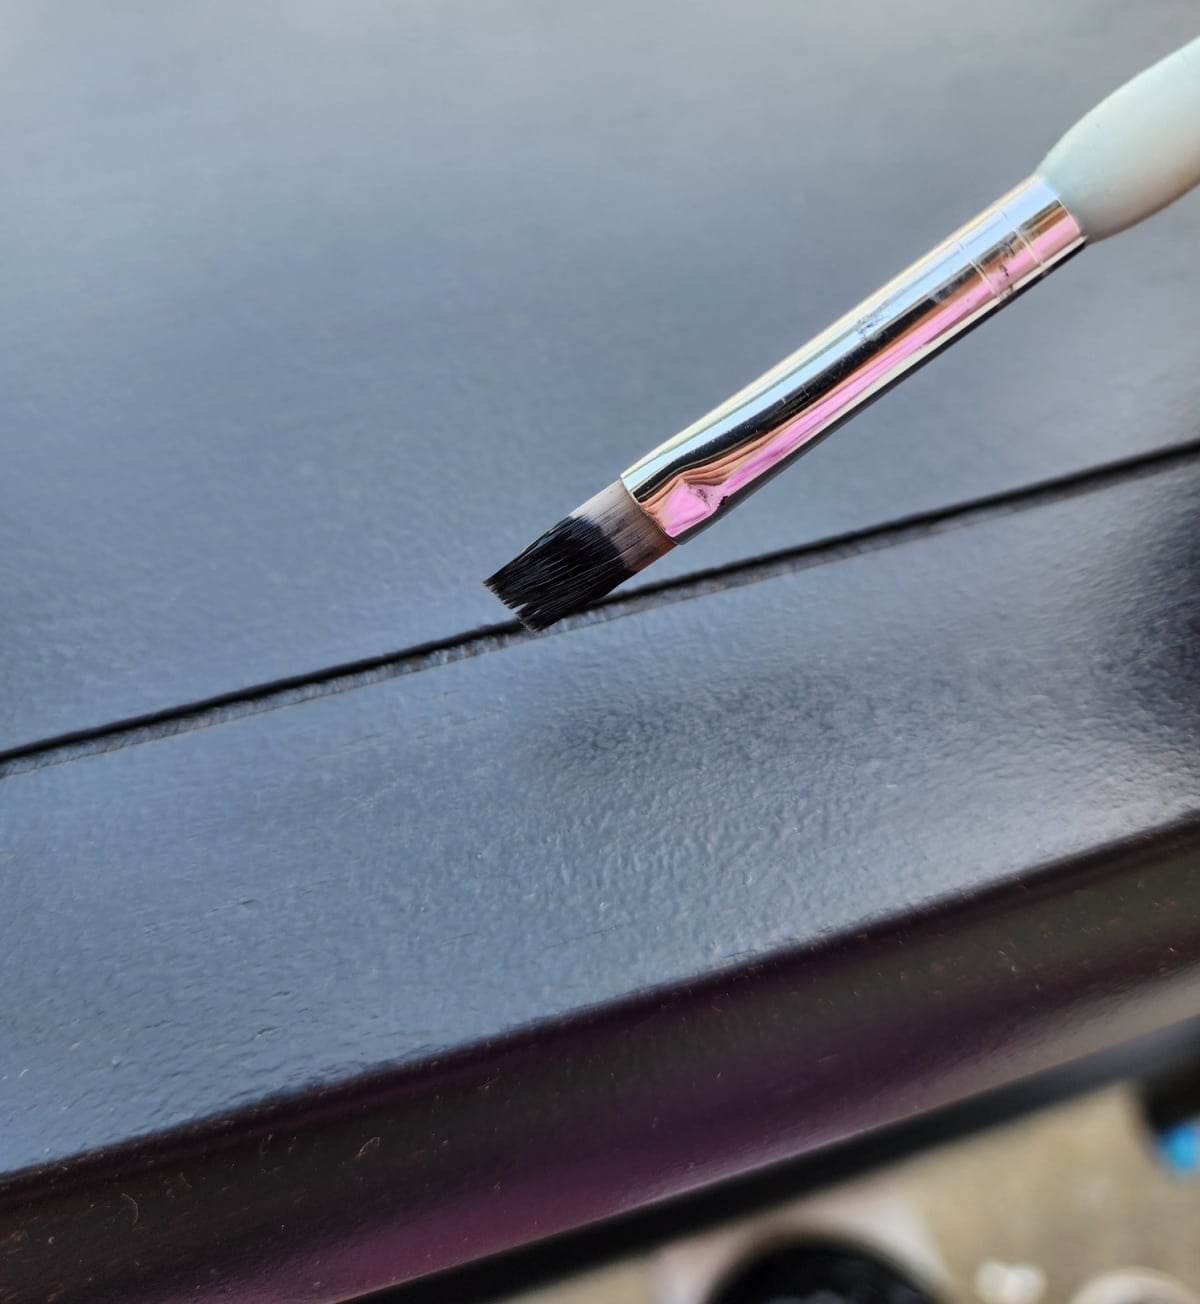
The smallest brush helped paint in the details. A slightly larger, squared-off brush was used to touch up areas the roller couldn’t reach.
Is Brasso a Good Option for the Original Hardware?
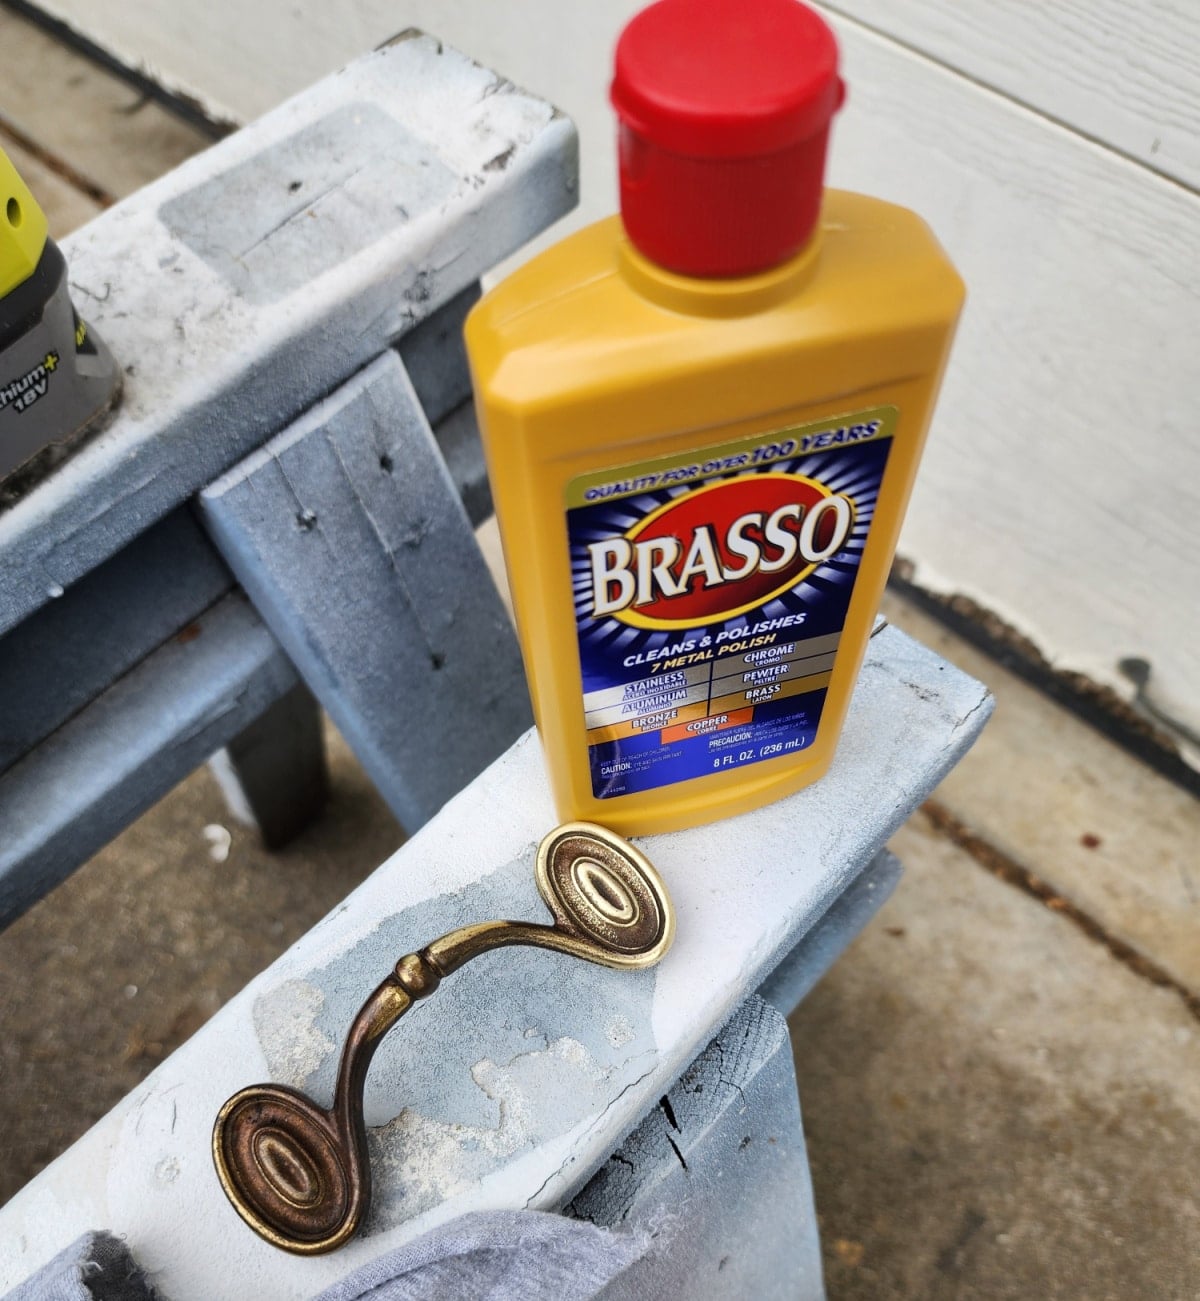
I haven’t used Brasso for years, so I purchased some on Amazon because I was so busy getting ready for my vacation. In this photo, the handle portion nearest the Brasso container has been sanded with a sanding sponge. That was taking too long, so I ordered the Brasso to complete the job.
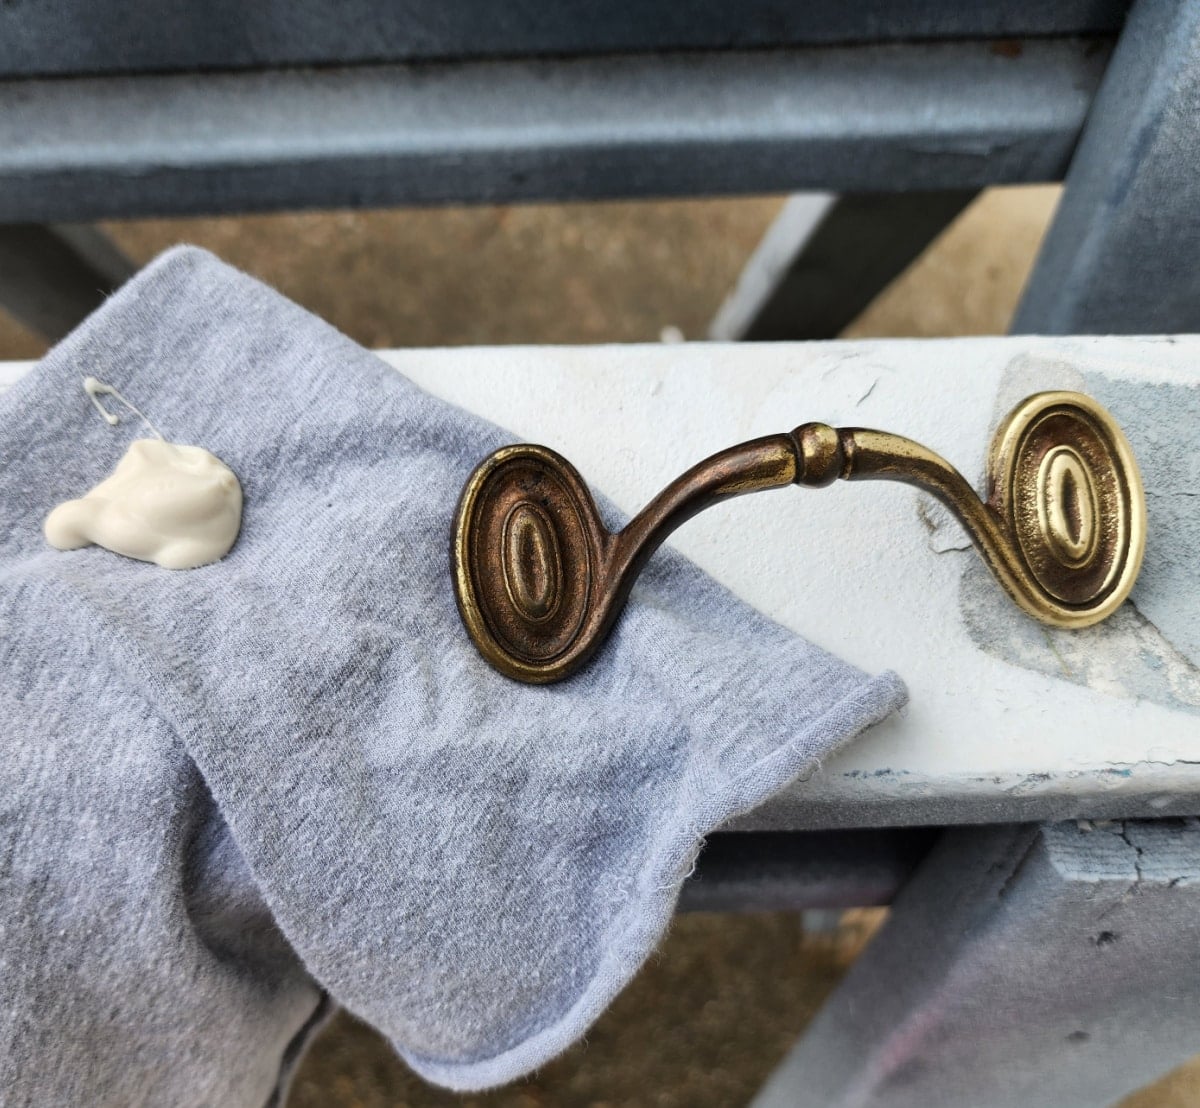
The directions say to rub a good amount on a soft cloth. I wore gloves for this process.
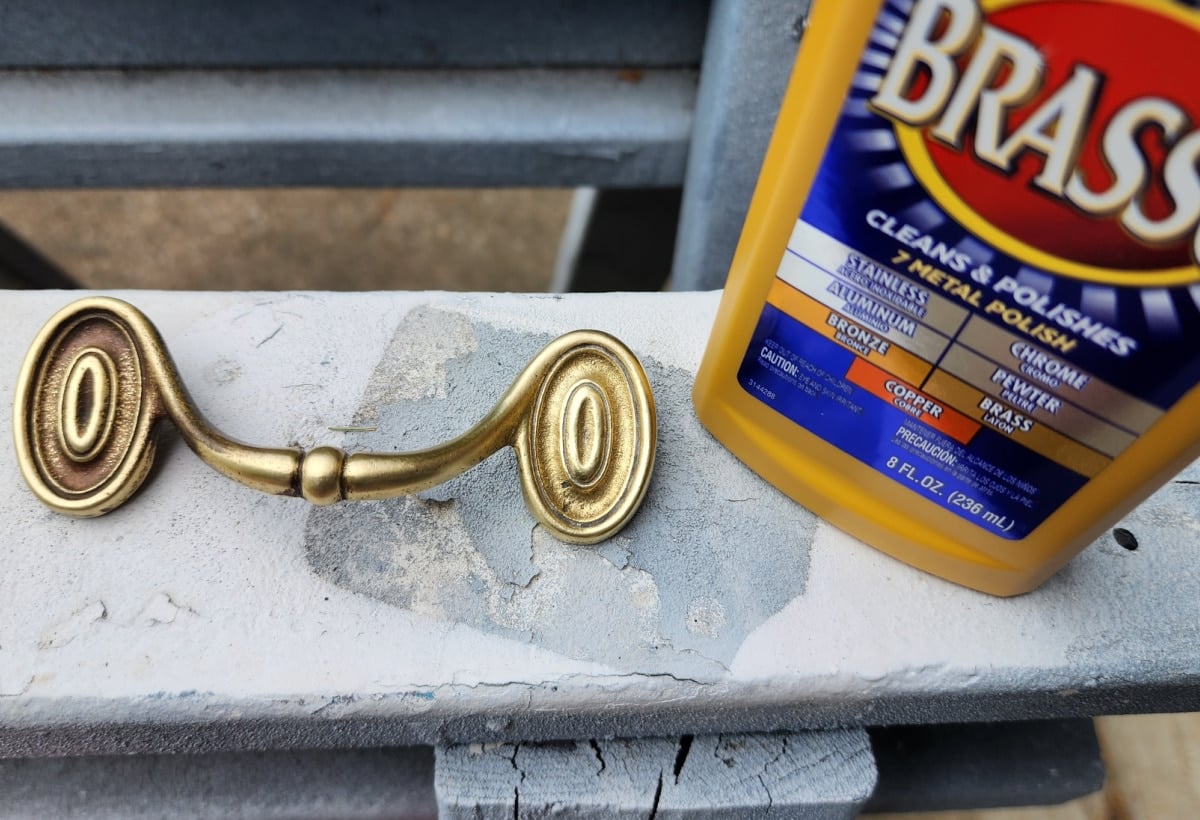
This is a side-by-side comparison with the Brasso-cleaned portion on the right. Honestly, I wasn’t loving how the handle was looking.
I considered doing the casters, but decided against it. In my opinion, the left side of the handle looks perfectly aged. What do you think?
Newly Painted Black Vintage End Table
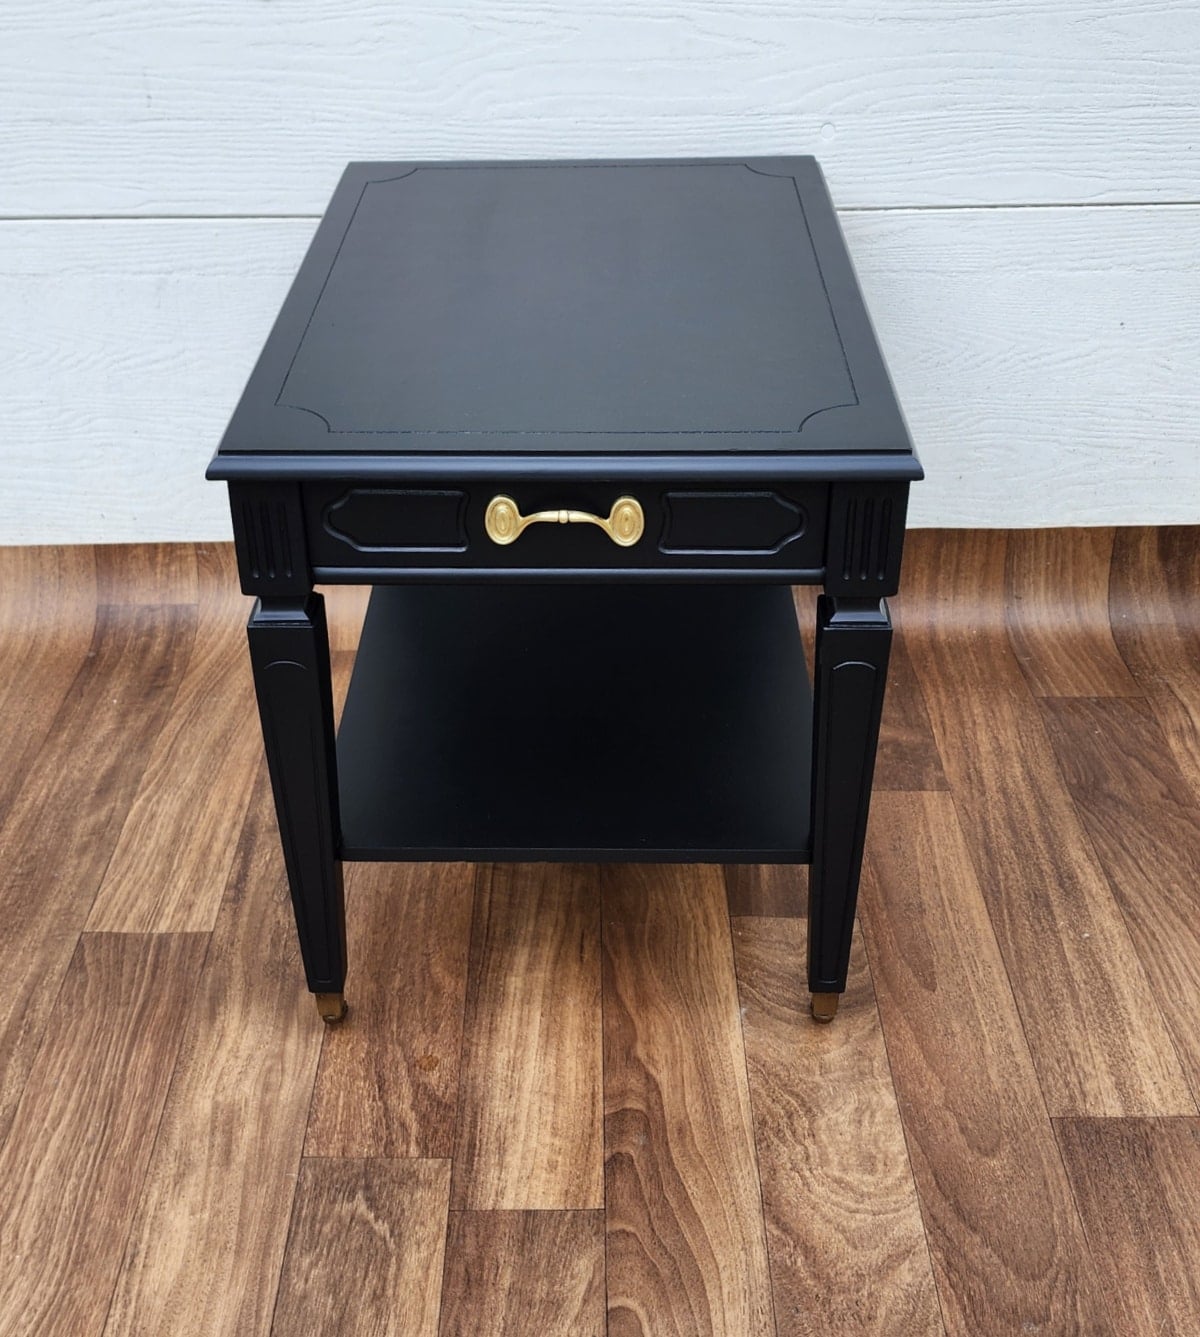
The original handle was placed with a “smile”. I wanted to see how the handle looked the other way (upside-down).
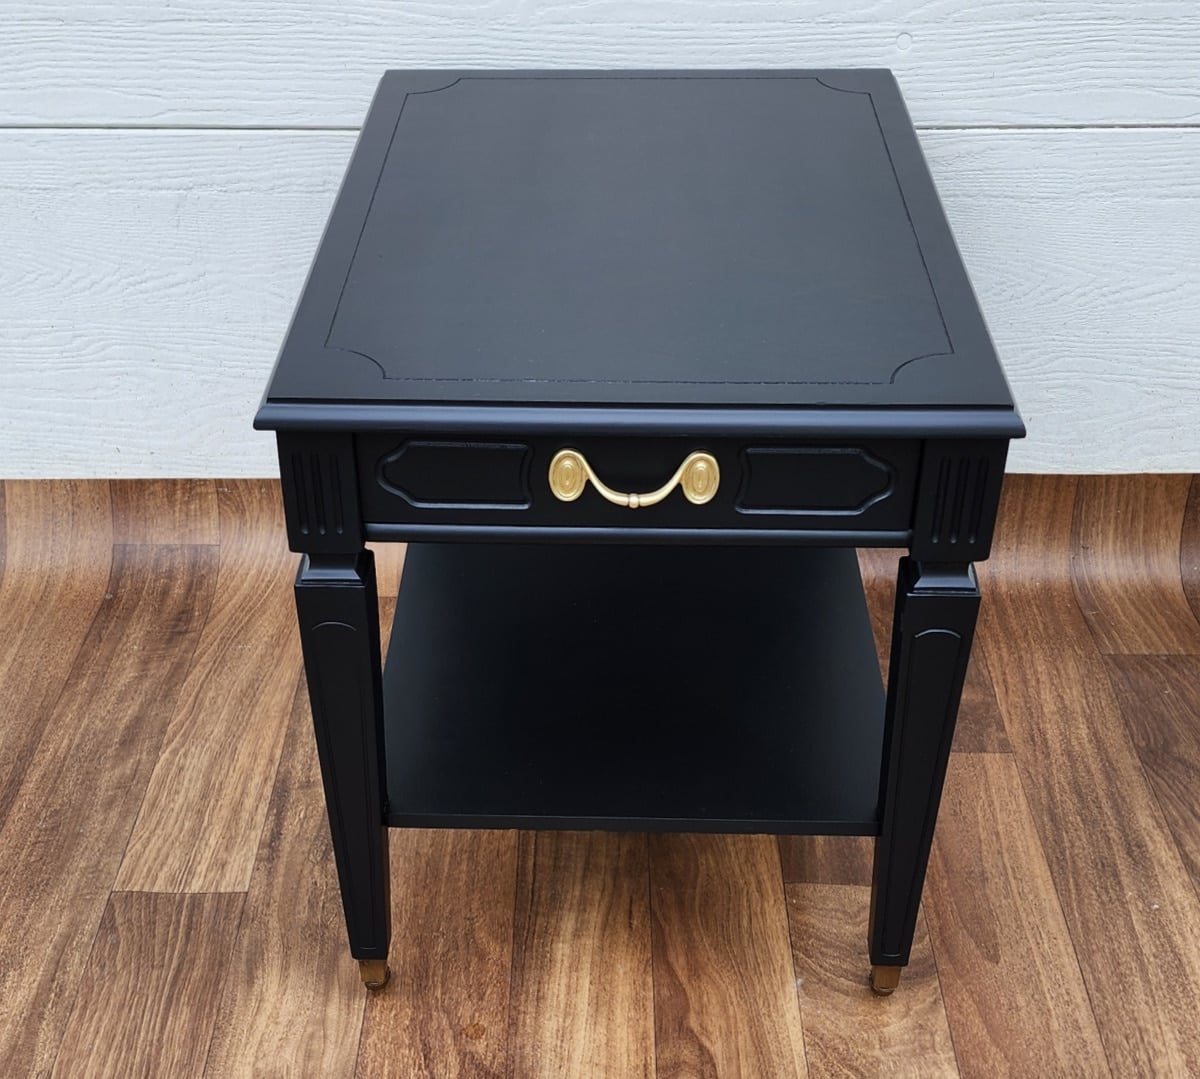
In the end, I reversed the handle.
Styling Suggestion for a Classic Black Vintage End Table
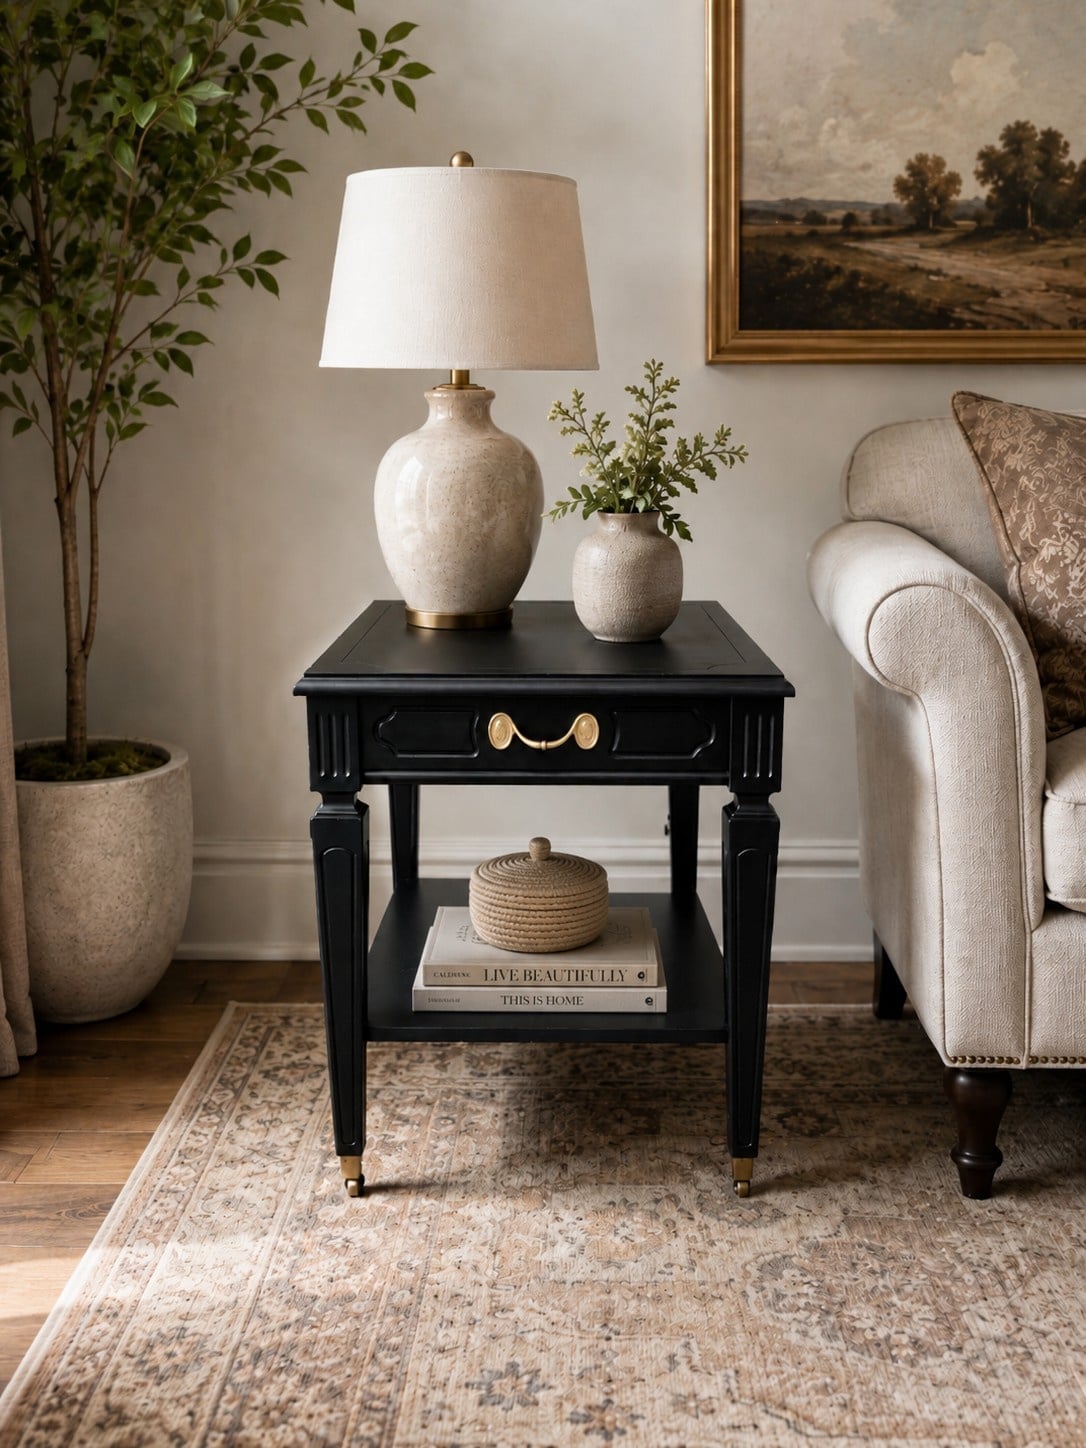
I love a quick furniture makeover that doesn’t turn into a month-long project. This little vintage end table still has its classic shape, pretty casters, and original drawer pull, but the black paint gives it a much cleaner look. I may still line the drawer or add a small detail later, but for now, I’m calling this thrift store table makeover finished. Be sure to let me know what you think about the hardware. Would you keep the handle aged, polish it bright, or swap it out completely?
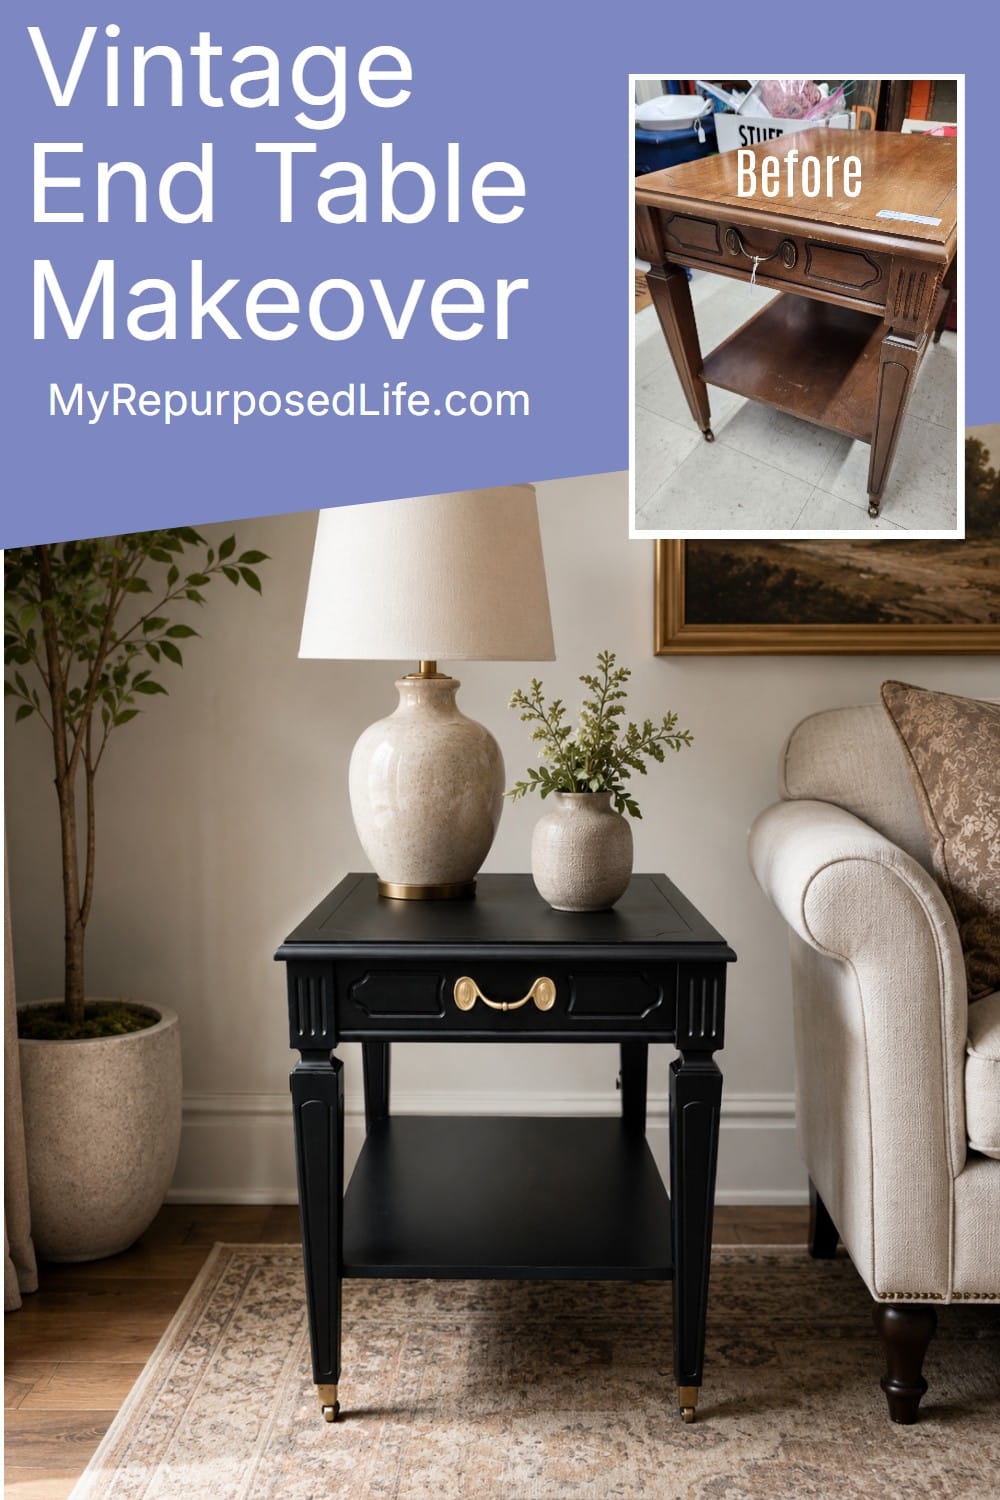
For now, I’m calling it done. When things calm down, I may add a few extra touches, such as lining the drawer and perhaps adding a slight embellishment to the drawer sides.
I’m anxious to hear what you think about the drawer handle. I always struggle with hardware color choices. In addition, what do you think about the casters?
Please leave a comment below with your thoughts before you dash off to see my friends’ projects.
Real furniture. Real makeovers. Real second chances.
Today’s project is part of the Furniture Fixer Upper Tour. The collage below shows the starting point for each makeover. Scroll down to see how every piece was reimagined.
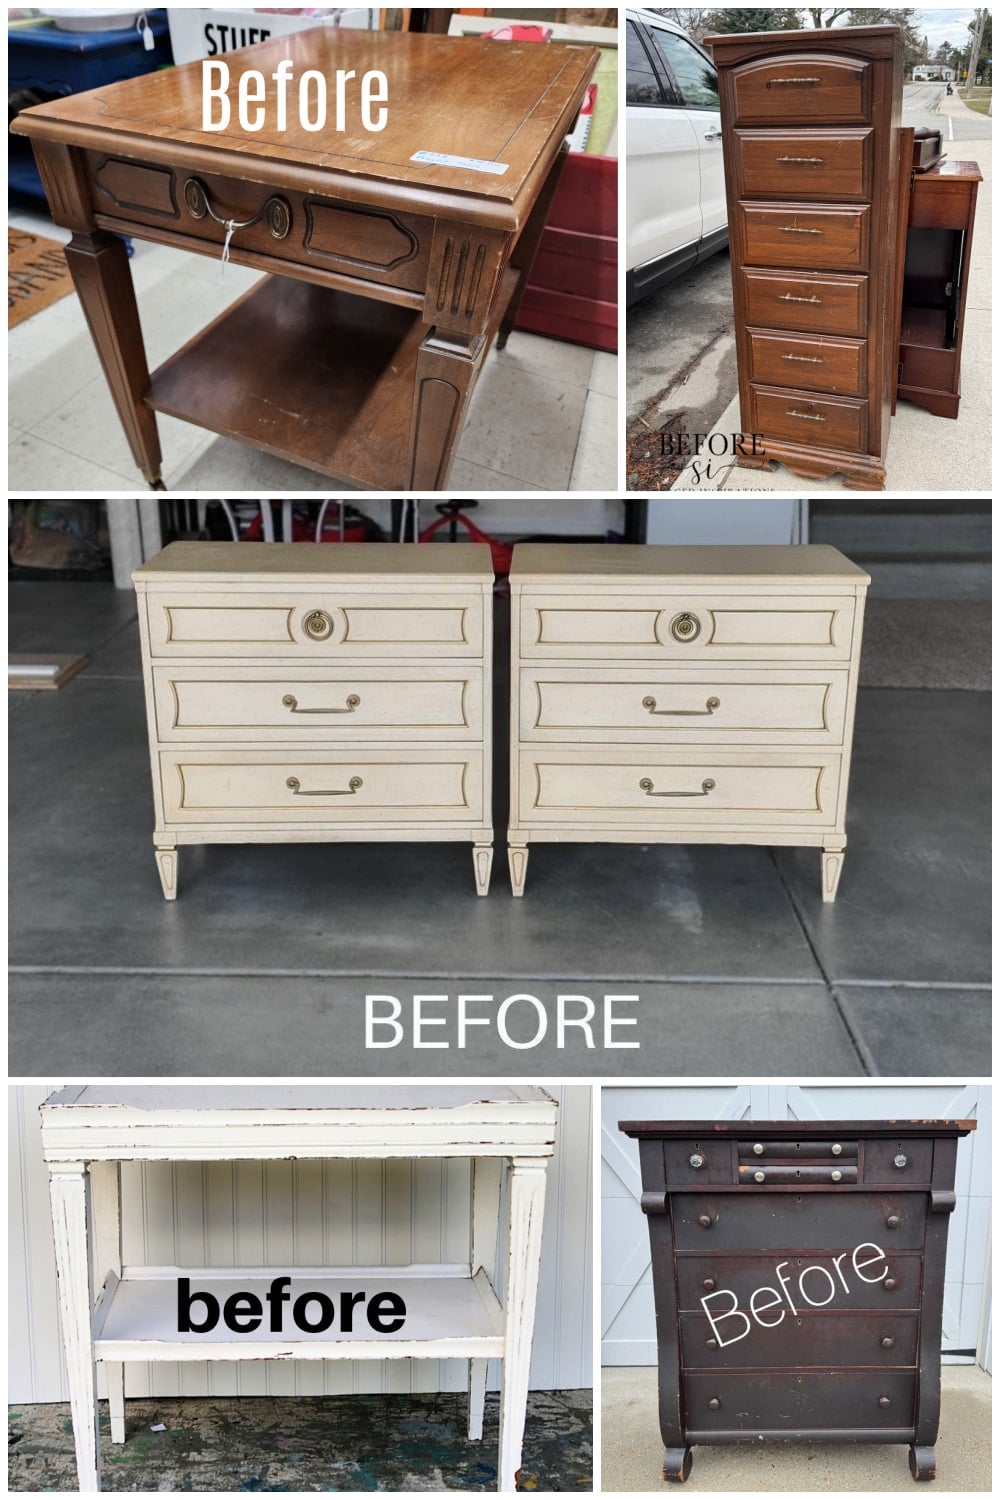
- Vintage End Table Makeover (You are here, thank you.)
- 1980’s Lingerie Chest Makeover
- The Fastest Way to Make Old Furniture Look Expensive
- How to Distress Layered Paint with no Mess
- Apothecary Empire Dresser
Furniture Fixer Upper Tour Projects
If you love seeing old furniture get a second chance, be sure to visit more Furniture Fixer Upper Tour makeovers. Each project starts with good bones and ends with a fresh new story.
See more Furniture Fixer Upper makeovers here
You will find everything from small side tables to large statement pieces, all transformed by talented DIY bloggers who believe in saving furniture rather than replacing it.
I love this little table, Gail. Beautiful job! And I love the shine of the handle. It looks clean and fresh.
Thank you Anita!
gail
I love the color and Brasso is a miracle worker! Great makeover! Kathy
Thanks for stopping by Kathy. The brasso sure was easier than the sanding sponge.
You made this table look brand new while keeping its character!
Thanks so much Natalie.
gail
Gorgeous Gail, and I like the hardware exactly as you did it! The reverse install makes it easier to open and close (imo), and the Brasso cleaned it up beautifully. Classic! Pinned XOXO
Thank you so much Denise for visiting and pinning my project!
gail
I think the cleaned pull looks good either way; the very polished side would develop its own patine over time whereas the half polished would get grimier over time. Great project!
You make a great point Mary, thanks for your opinion on the hardware. I appreciate you taking the time to visit and chime in!
gail
I agree with your preference for the aged look. It seems too shiny and modern now.
Thanks for sharing your thoughts Ronna! I appreciate it more than you know.
gail
Fantastic save, Gail! It’s amazing what paint alone can do! XOXO
Yes! And I guess you can’t go wrong with black.
I appreciate your time visiting and commenting!
gail
It’s gorgeous! Love the color!!
Thank you so much Elly! I love a good (inexpensive) makeover!
gail