Vintage Headboard Makeover
As an Amazon Associate, I earn from qualifying purchases.
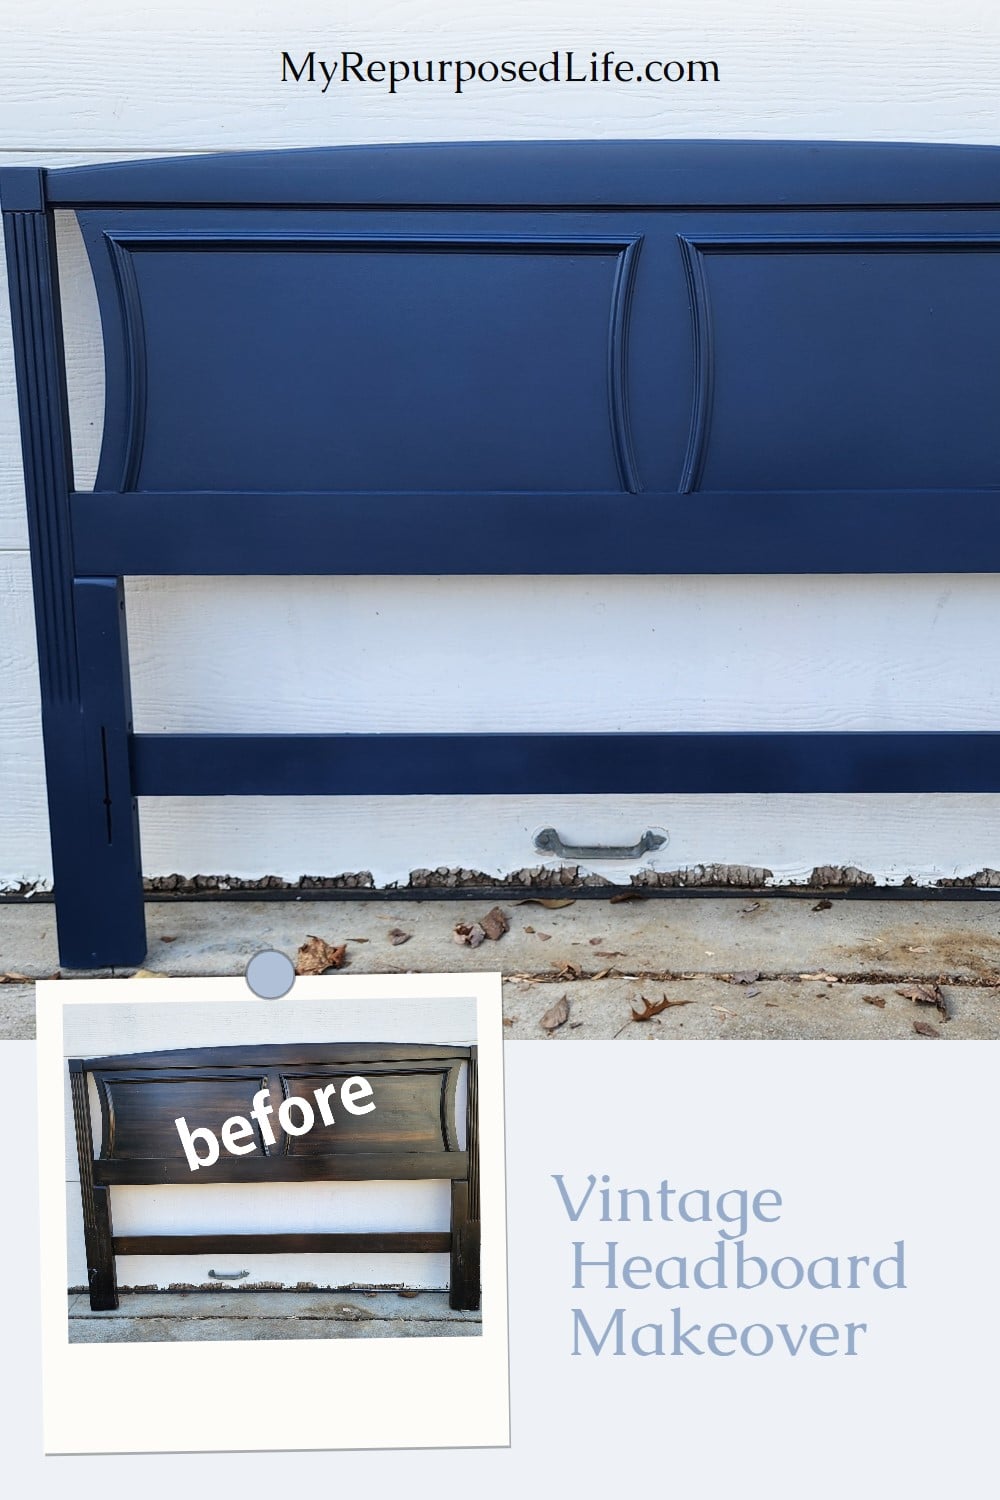
This month’s Thrift Store Project is a vintage headboard makeover. I often sell my projects, but I needed this headboard for myself.
My cousin Terry and I recently bought a vacation property in the country. I had purchased a queen-sized mattress. I knew I wanted to use this headboard that had belonged to my daughter. When I dragged it out of storage, I realized it was for a full-sized bed. I put it back in the garage and pondered what I would do for a headboard. I have queen headboards in storage, but they are all too tall and bulky.
Then it hit me: I didn’t have to have a queen-sized mattress. It’s just me and Lulu, and I only get about 18″ of room in the bed anyway! So, I returned the queen mattress and bought a full-sized one.
Headboard Makeover
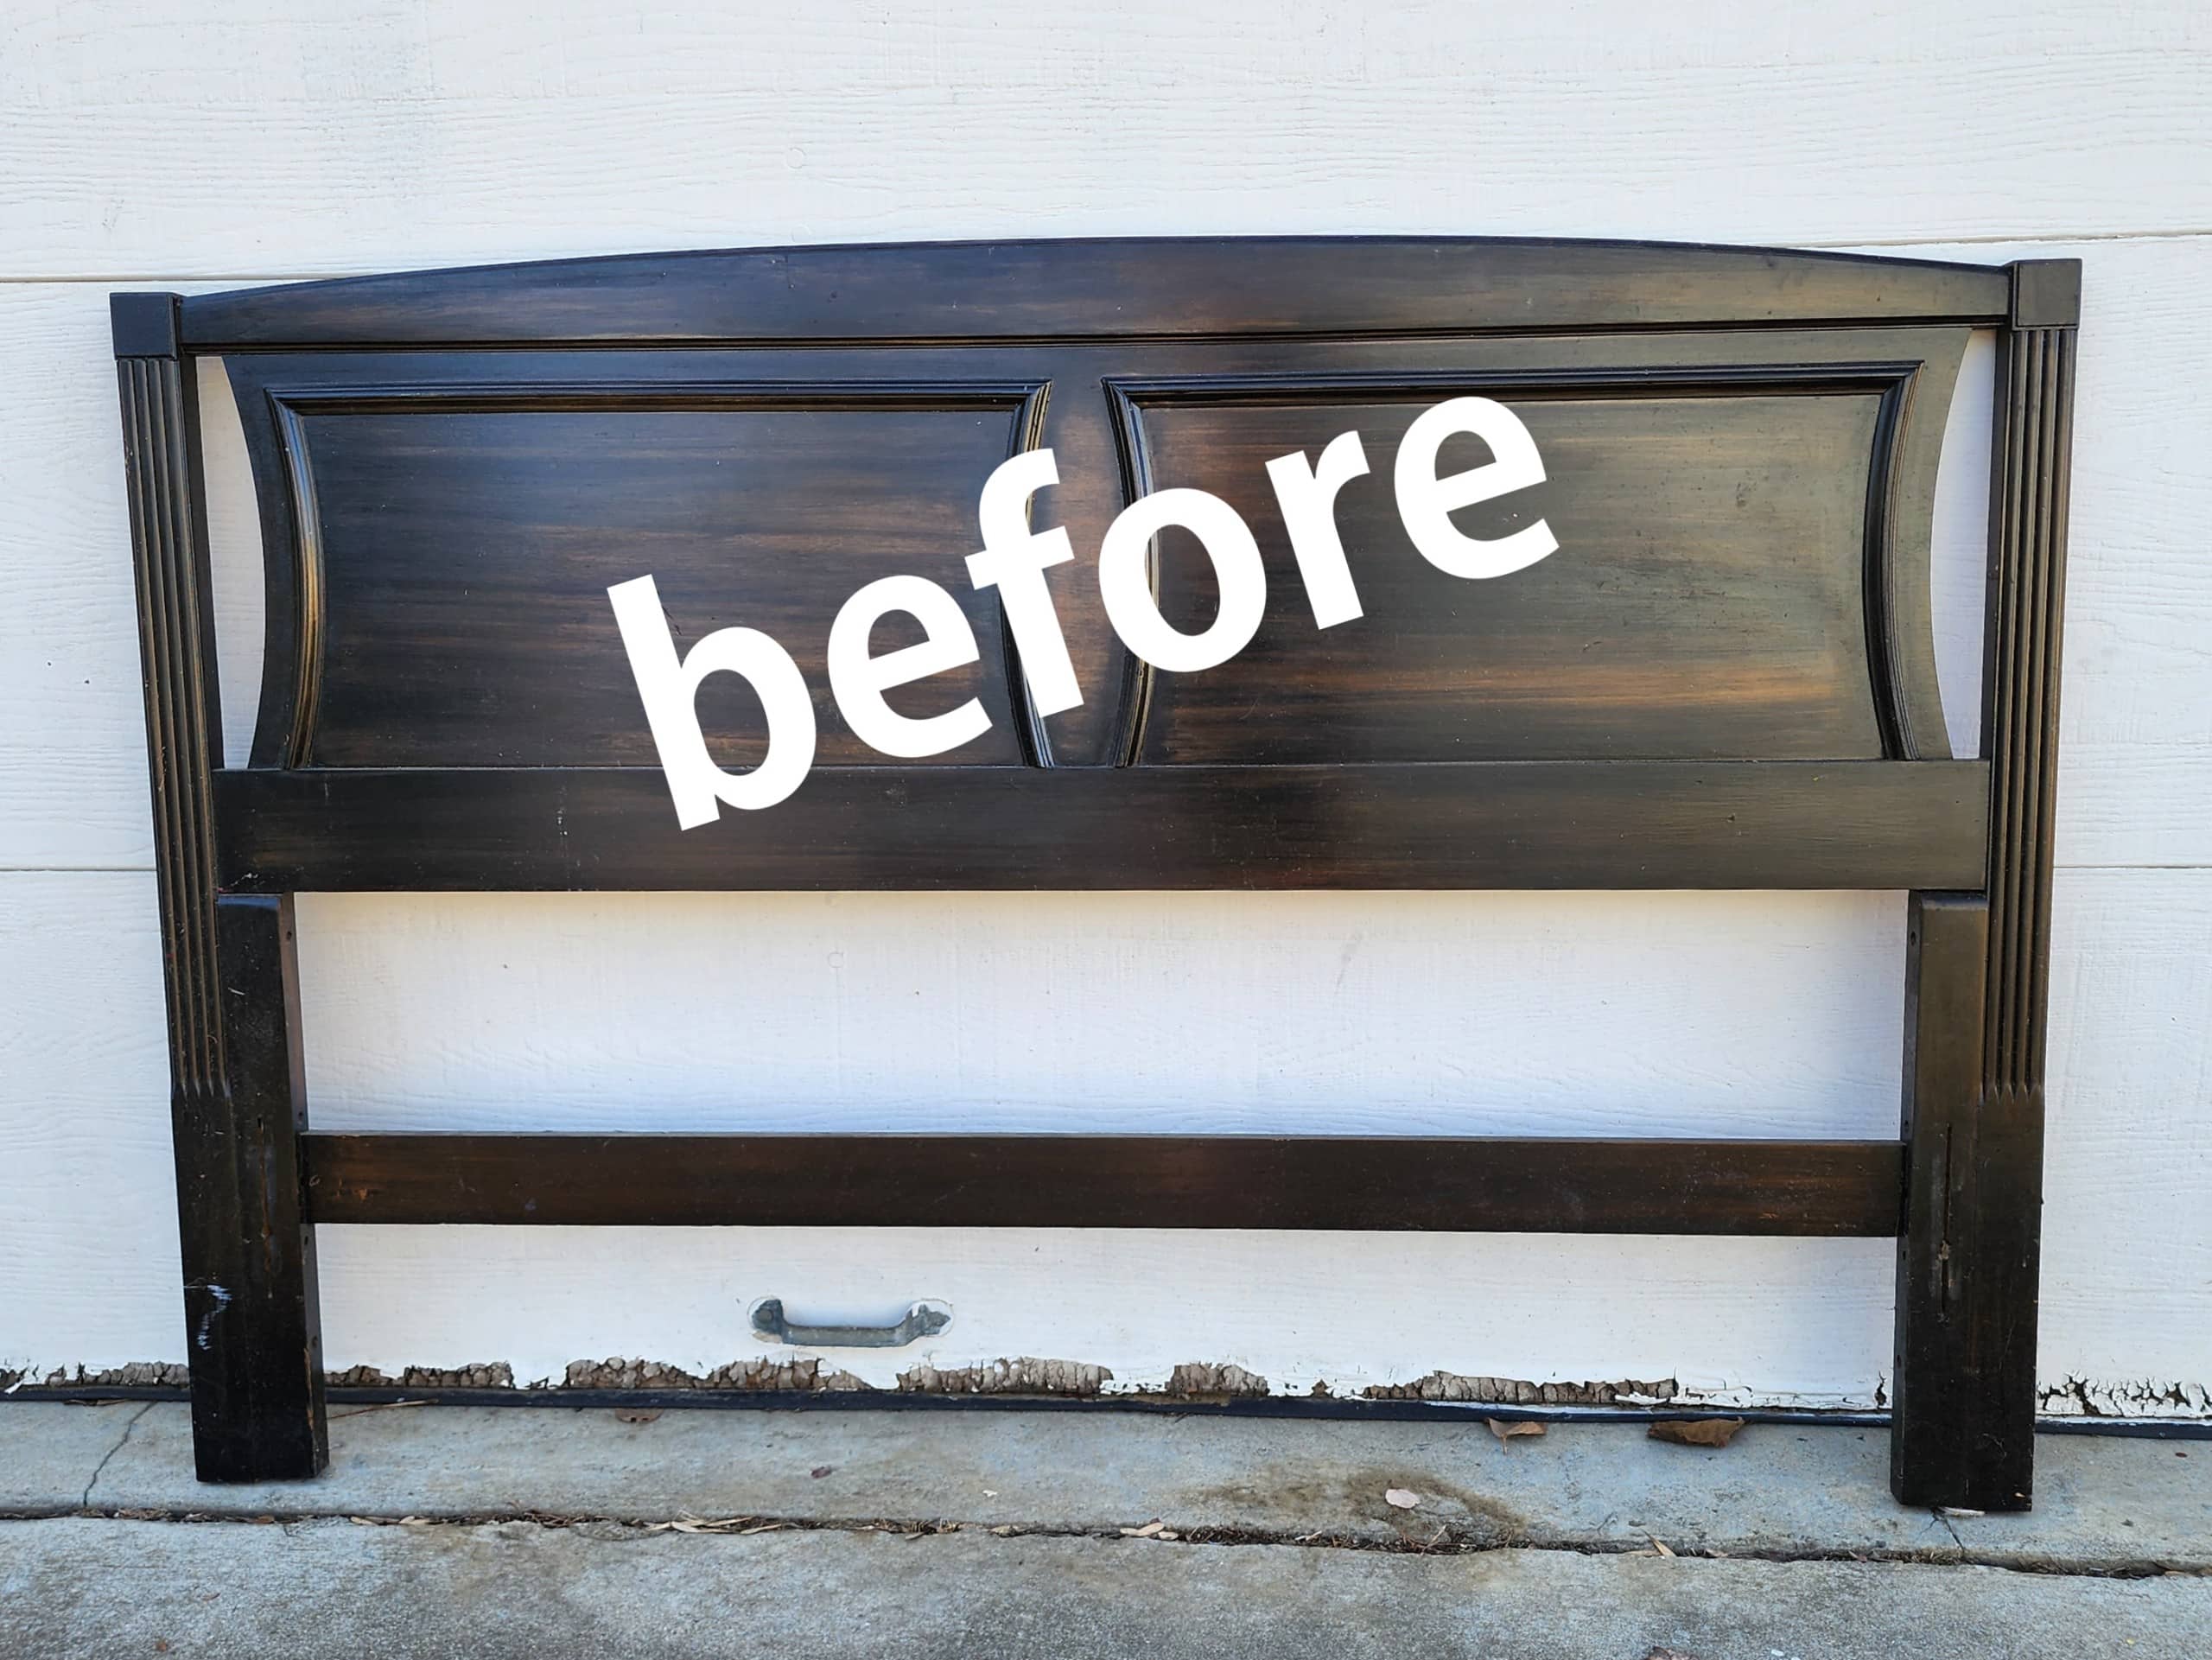
So, this is how the headboard looked before I started it. The image doesn’t show the reality of how bad it looked.

This is our Thrift Store Day. Be sure to check out all the projects below.
Vintage Bed Set
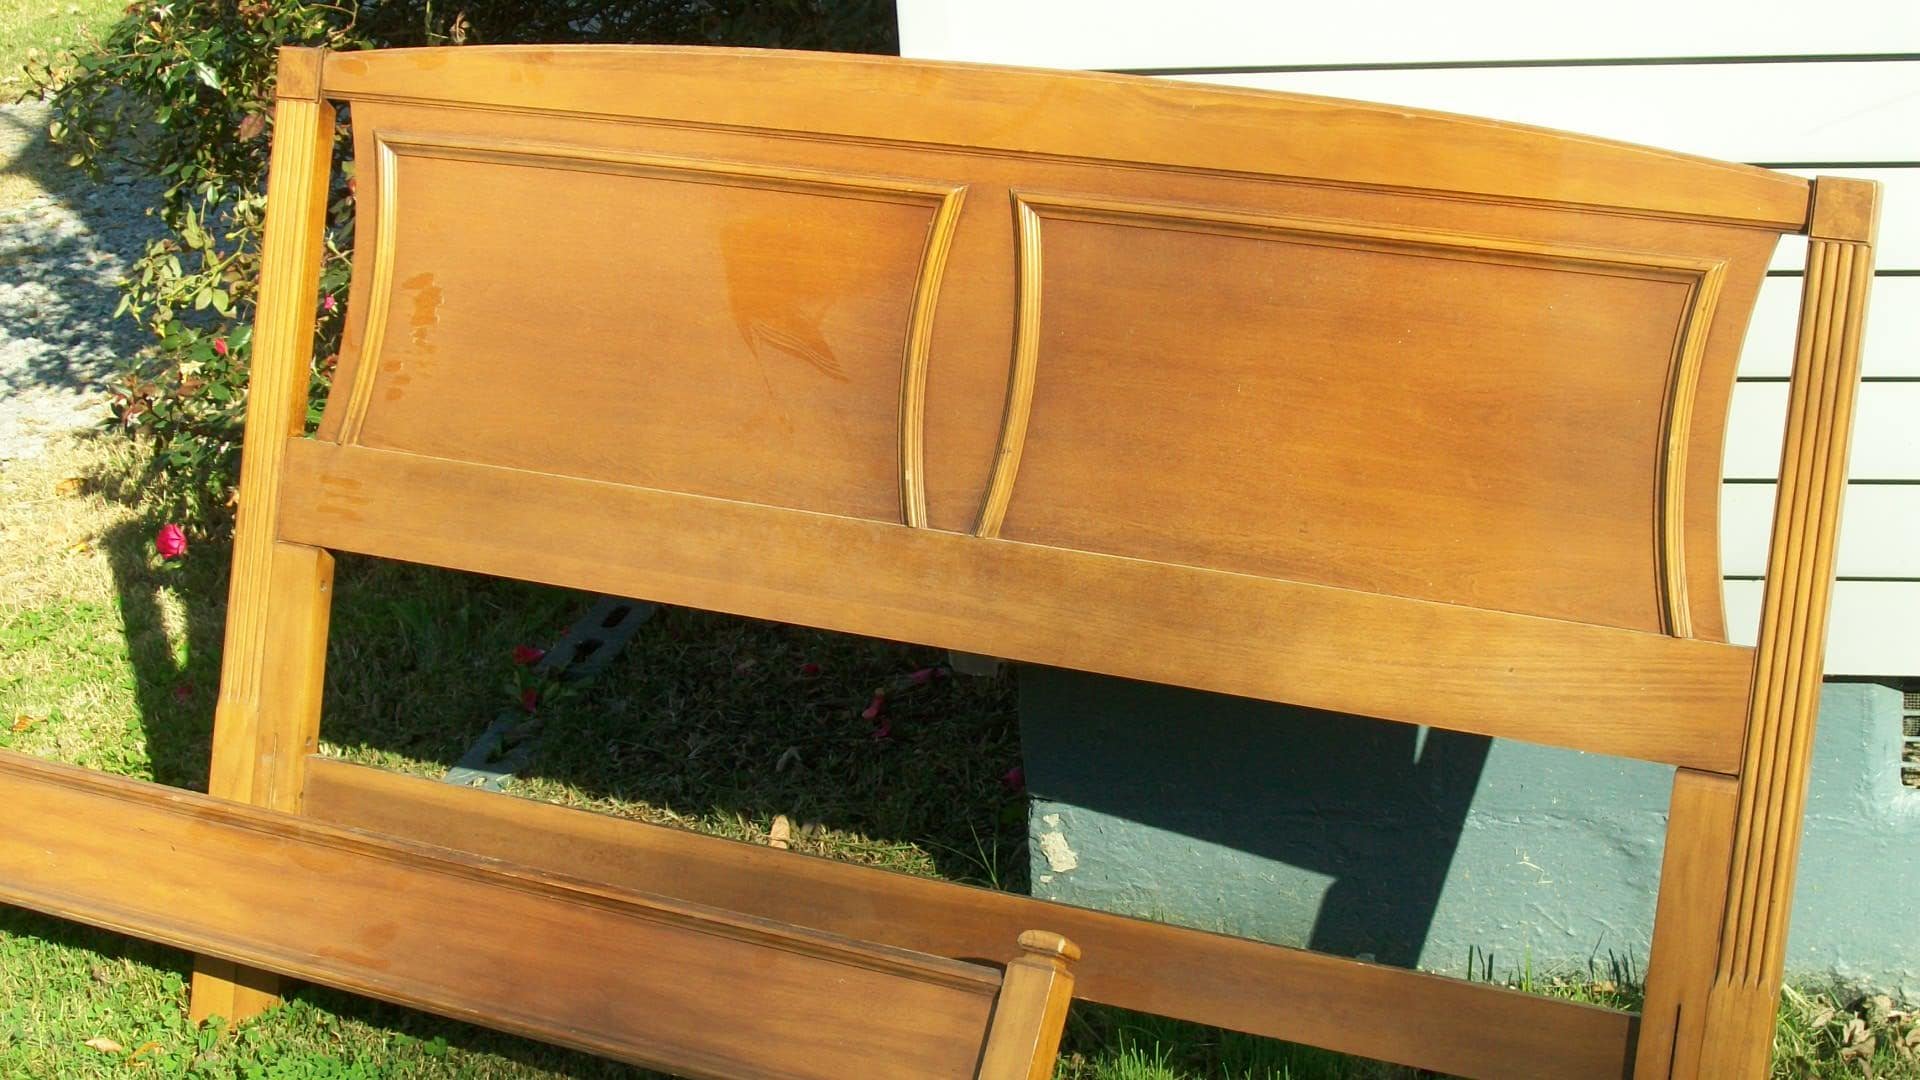
But this is how the furniture looked when my daughter Jamie purchased it in January 2010. Because Jamie wasn’t thrilled with the original finish, we stripped it and applied a dark stain for the first vintage headboard makeover.
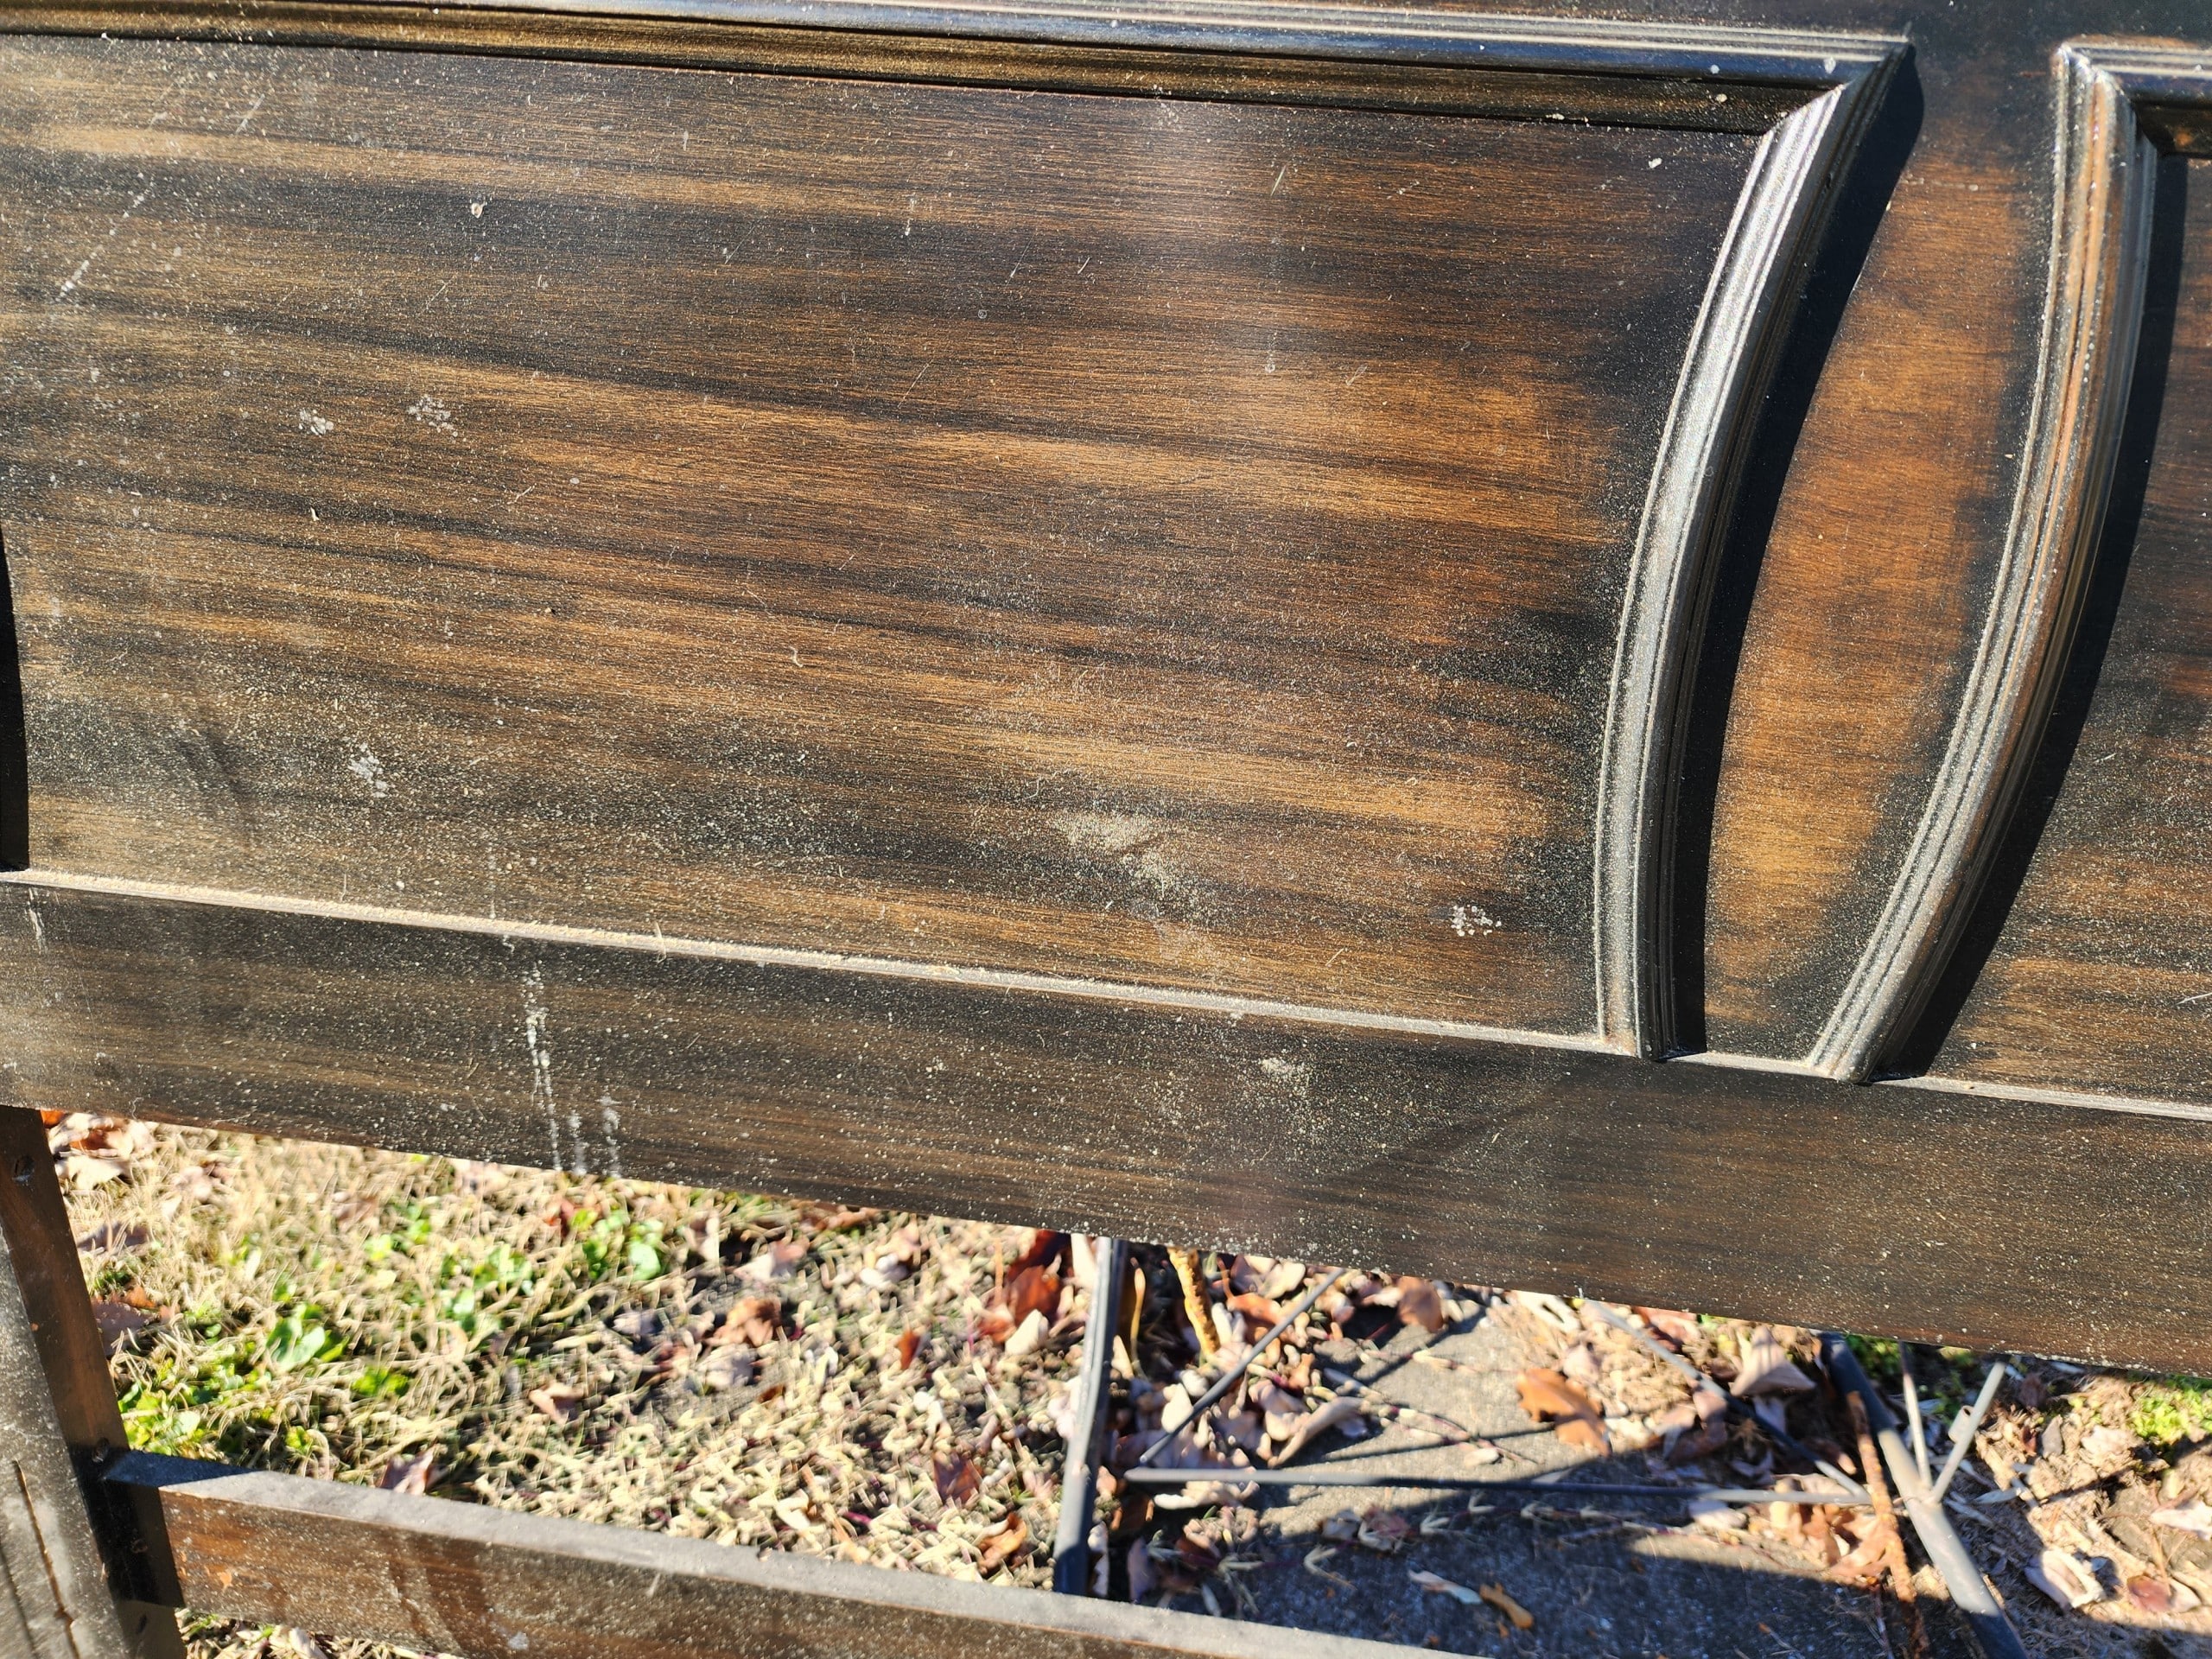
This photo better represents how the headboard really looked when I got it out of the garage.
Surface Prep Cleaning Wipes
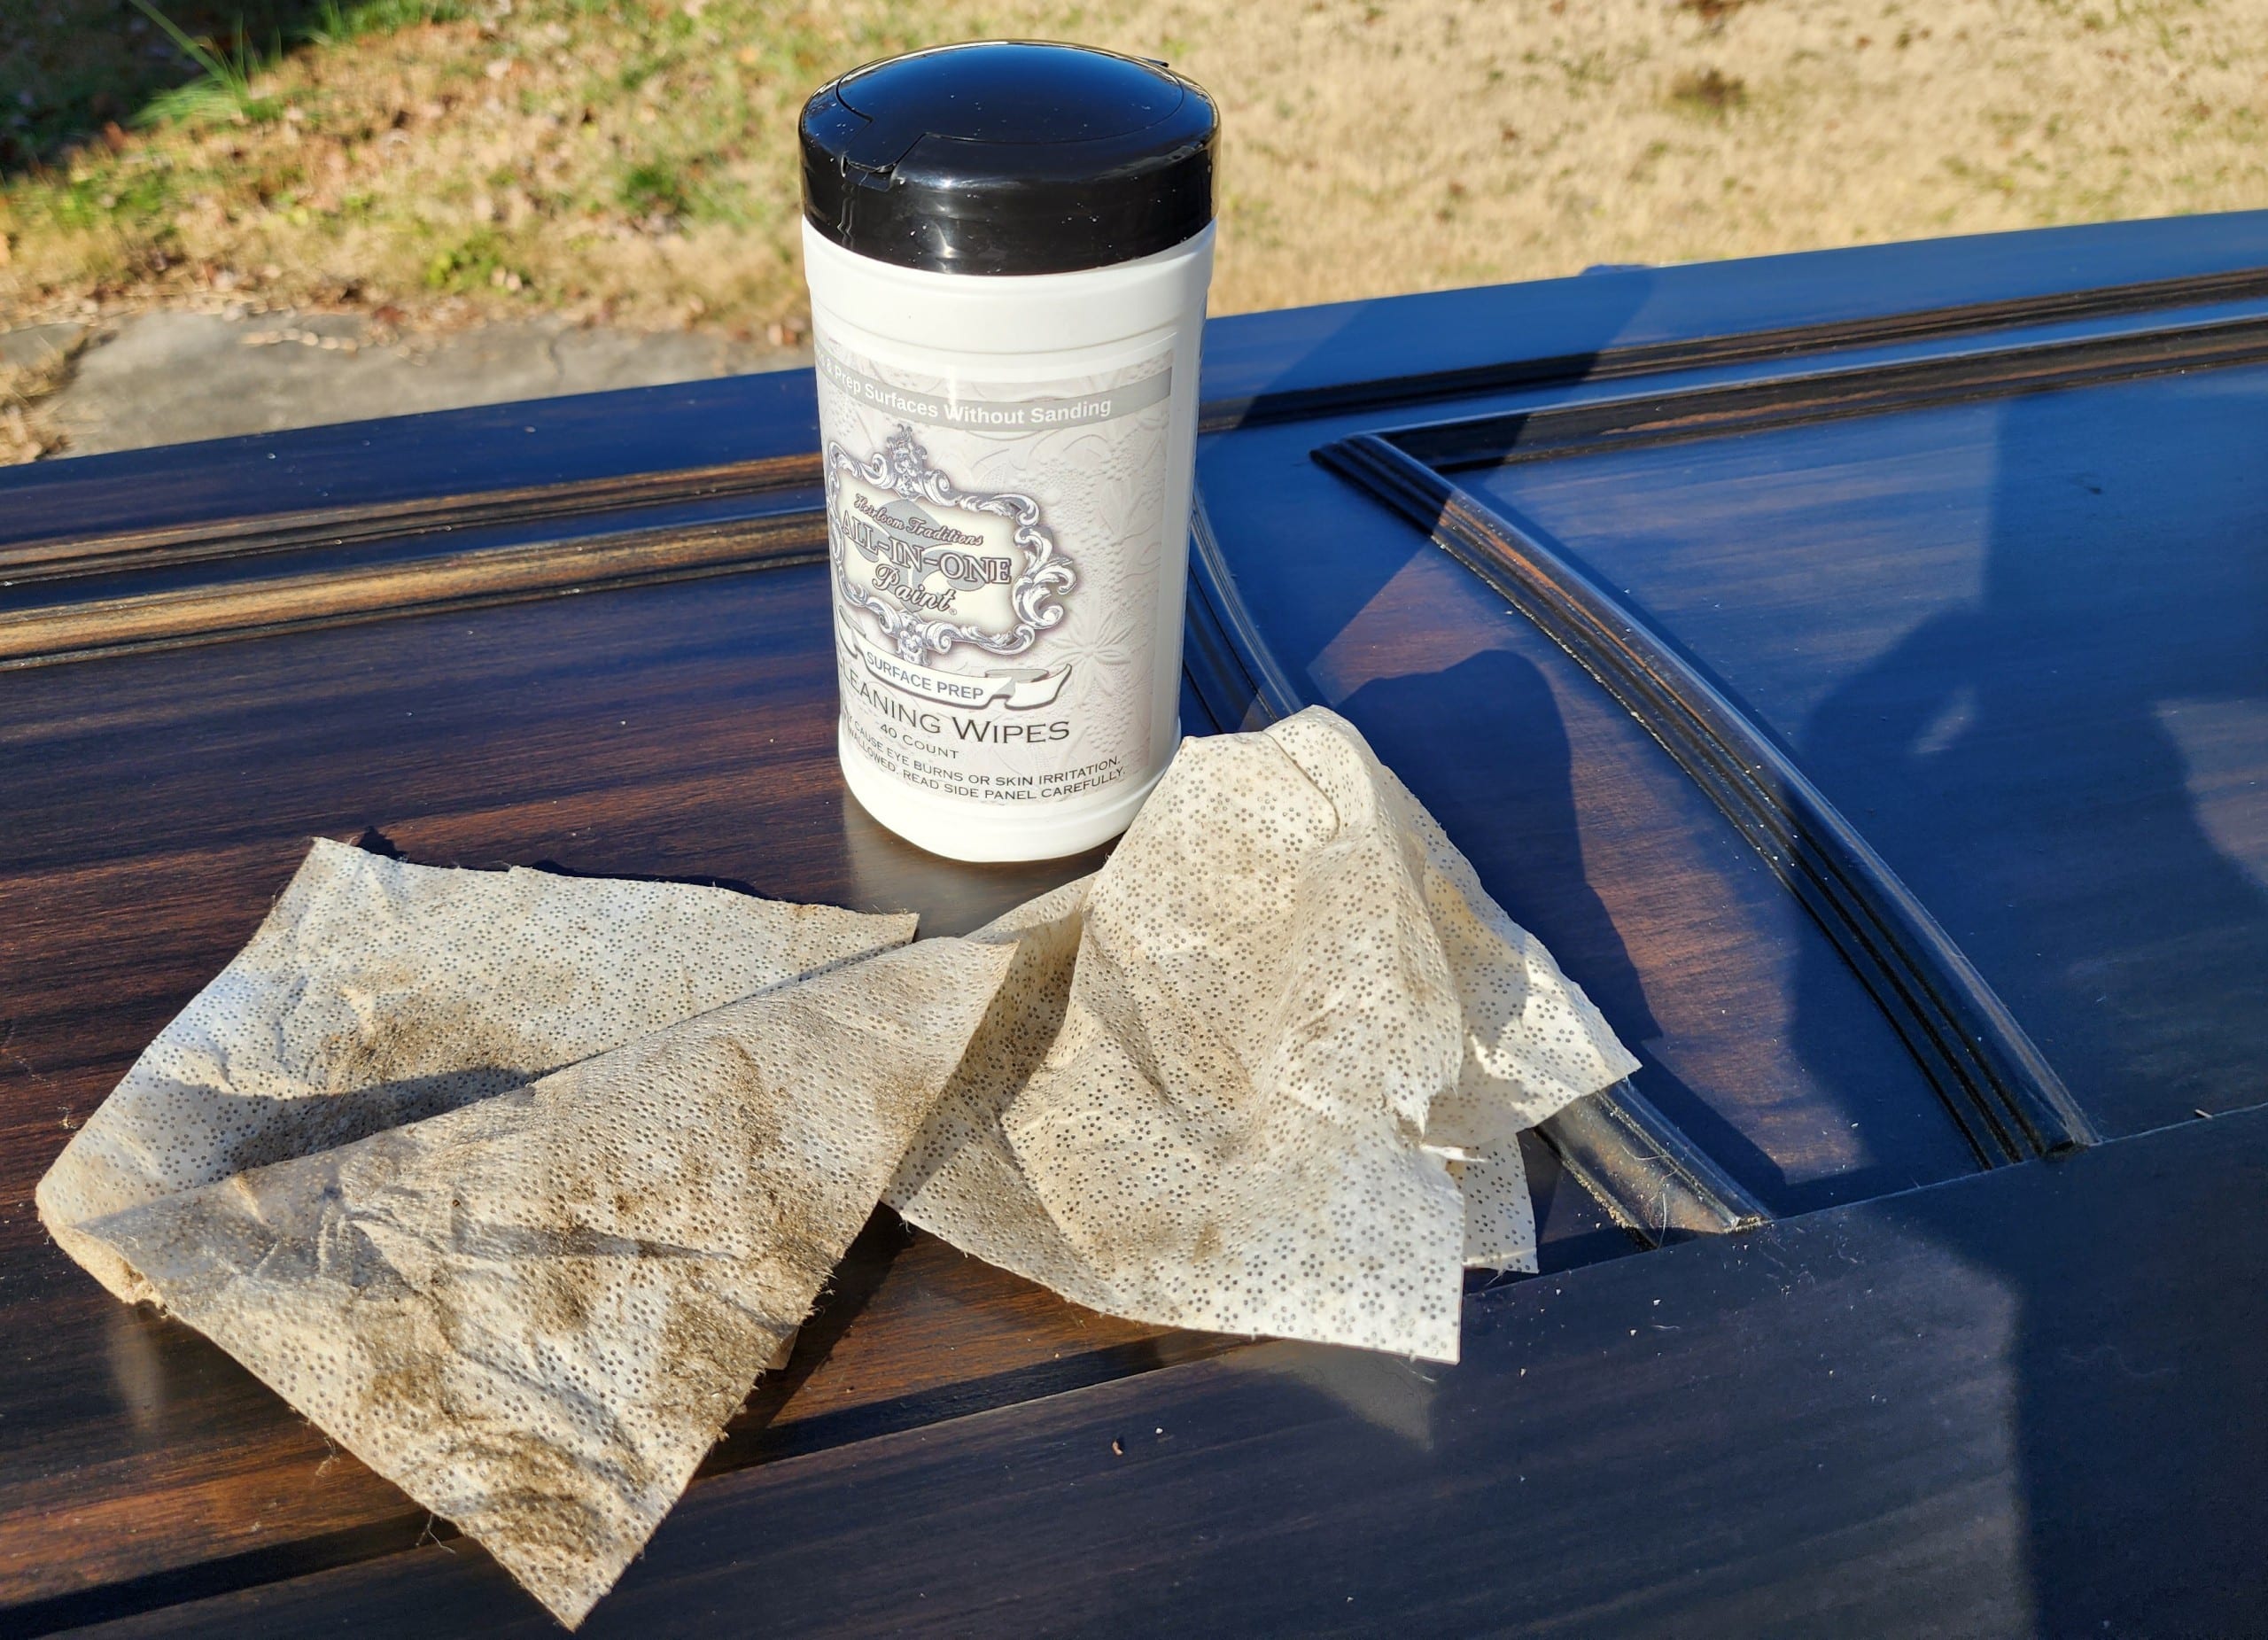
In my article “Prepping Furniture,” I share how I love using Heirloom Traditions Surface Prep. Paula Blankenbaker has developed a new product to degloss and clean furniture. Surface Prep Cleaning Wipes are so incredibly easy to use. They quickly cleaned and prepped the wood for painting.
Painting a Headboard
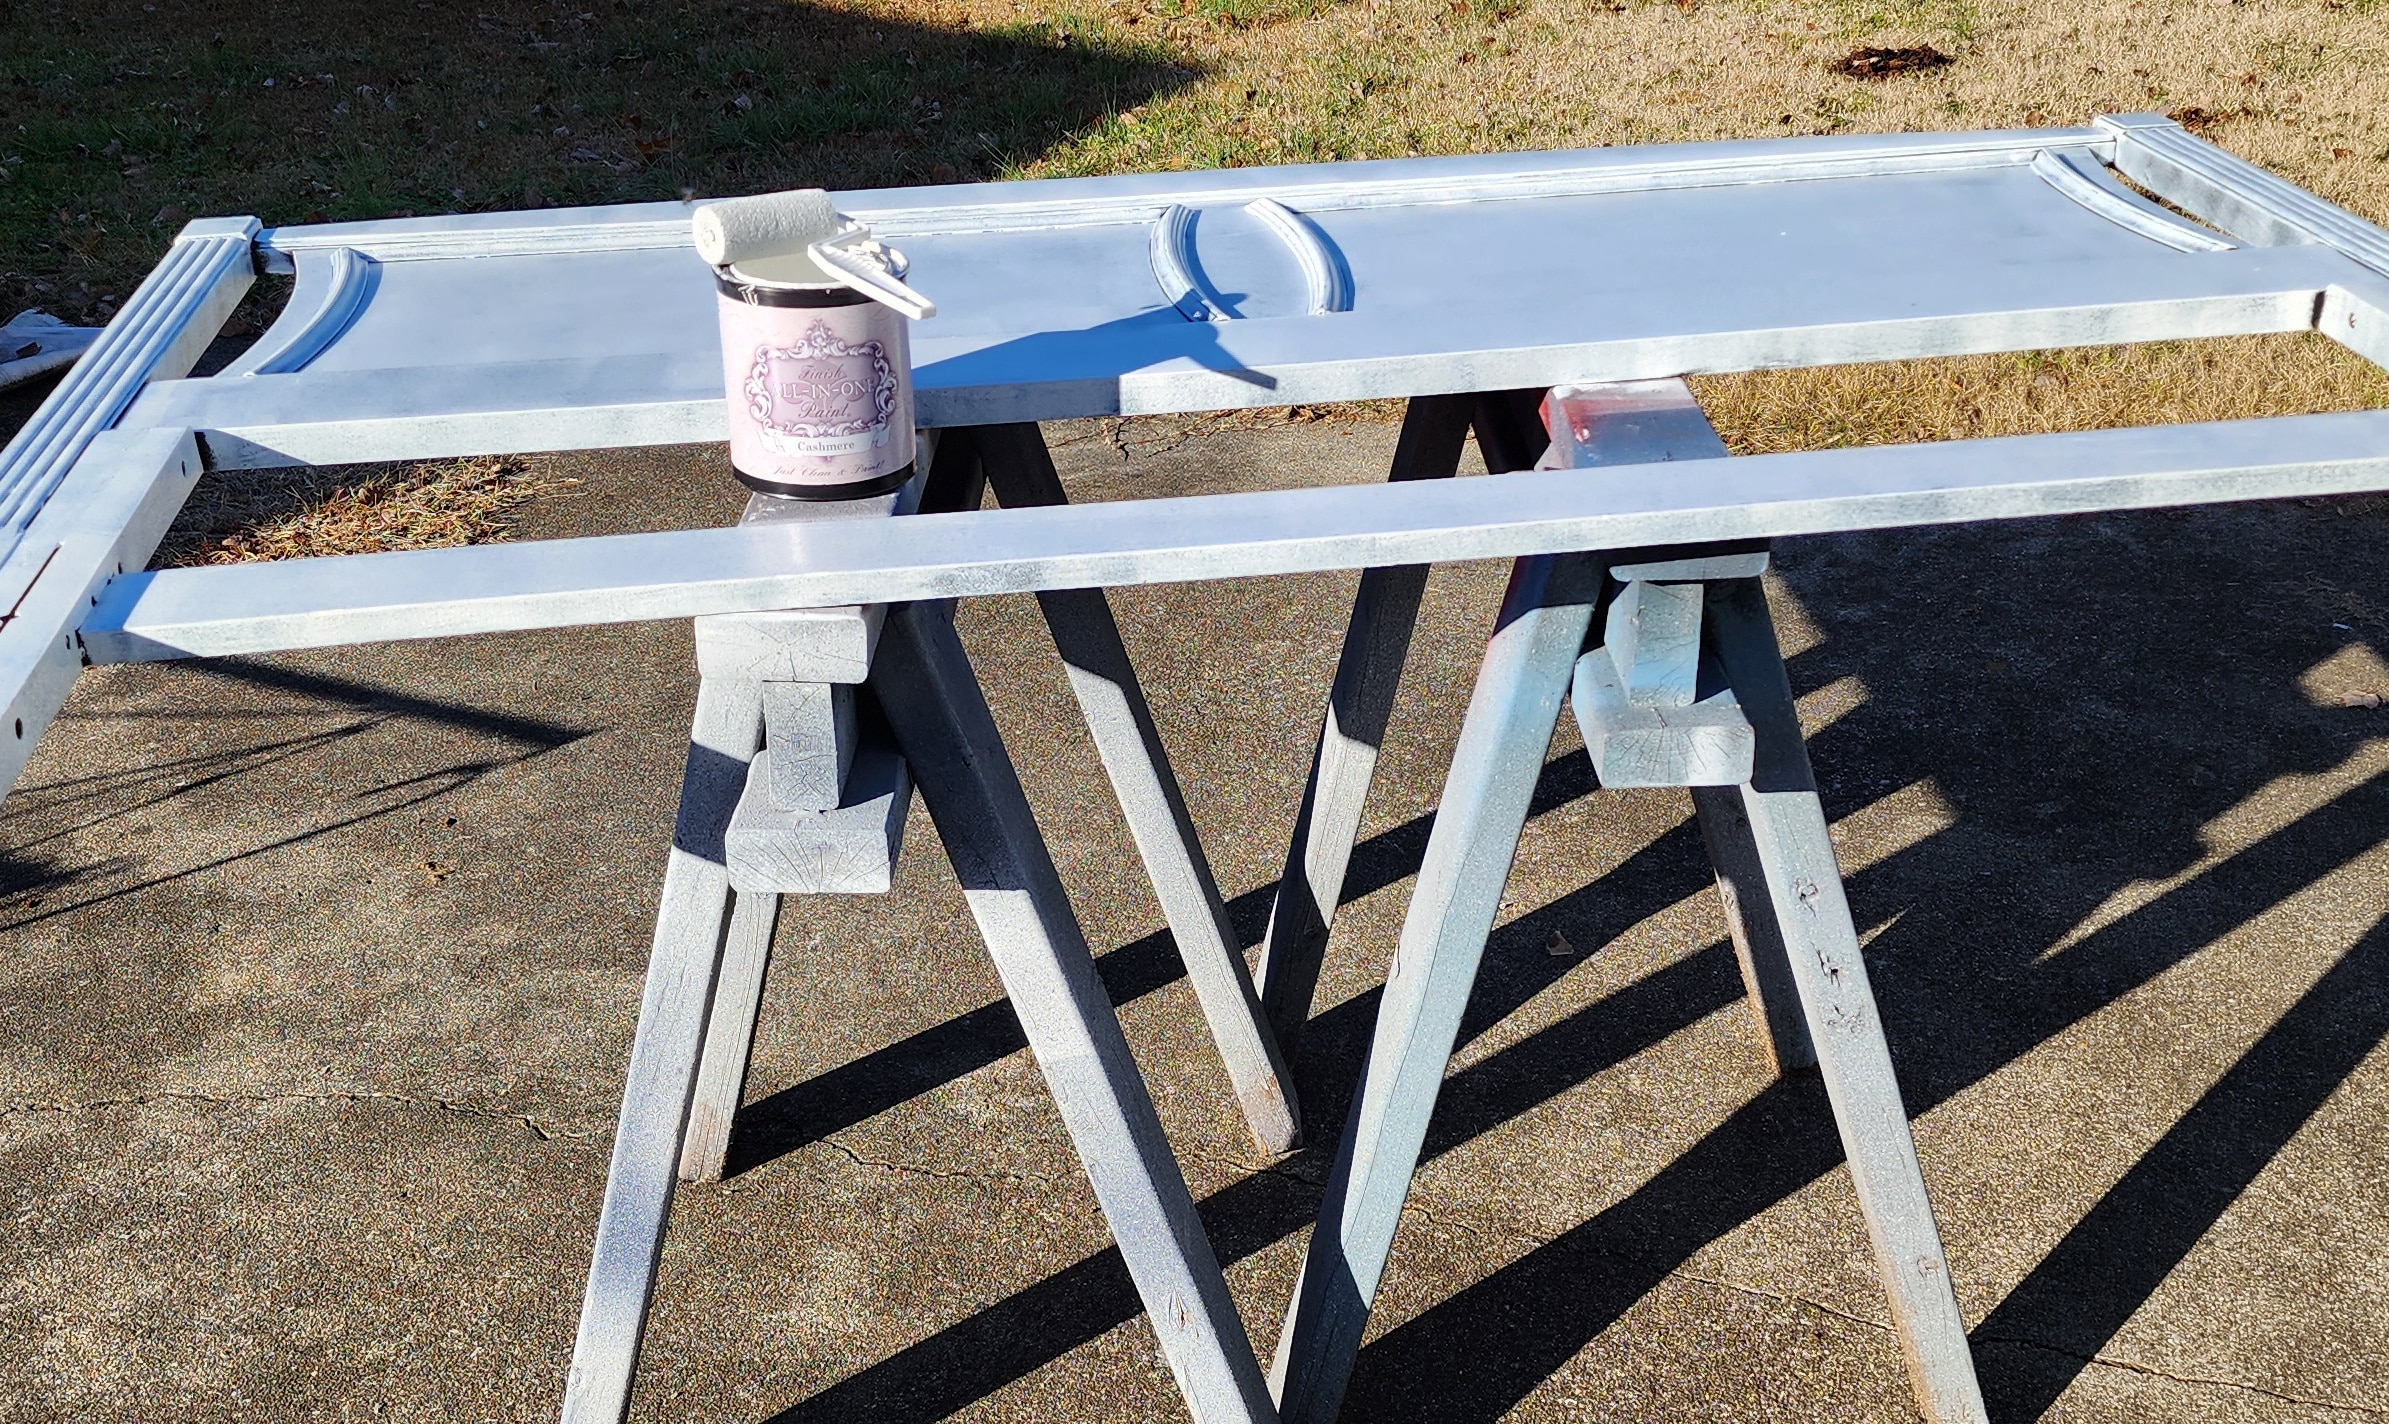
I planned on painting it white, Cashmere. I used my favorite method of painting furniture, a small foam roller, to do the first “ugly” coat.
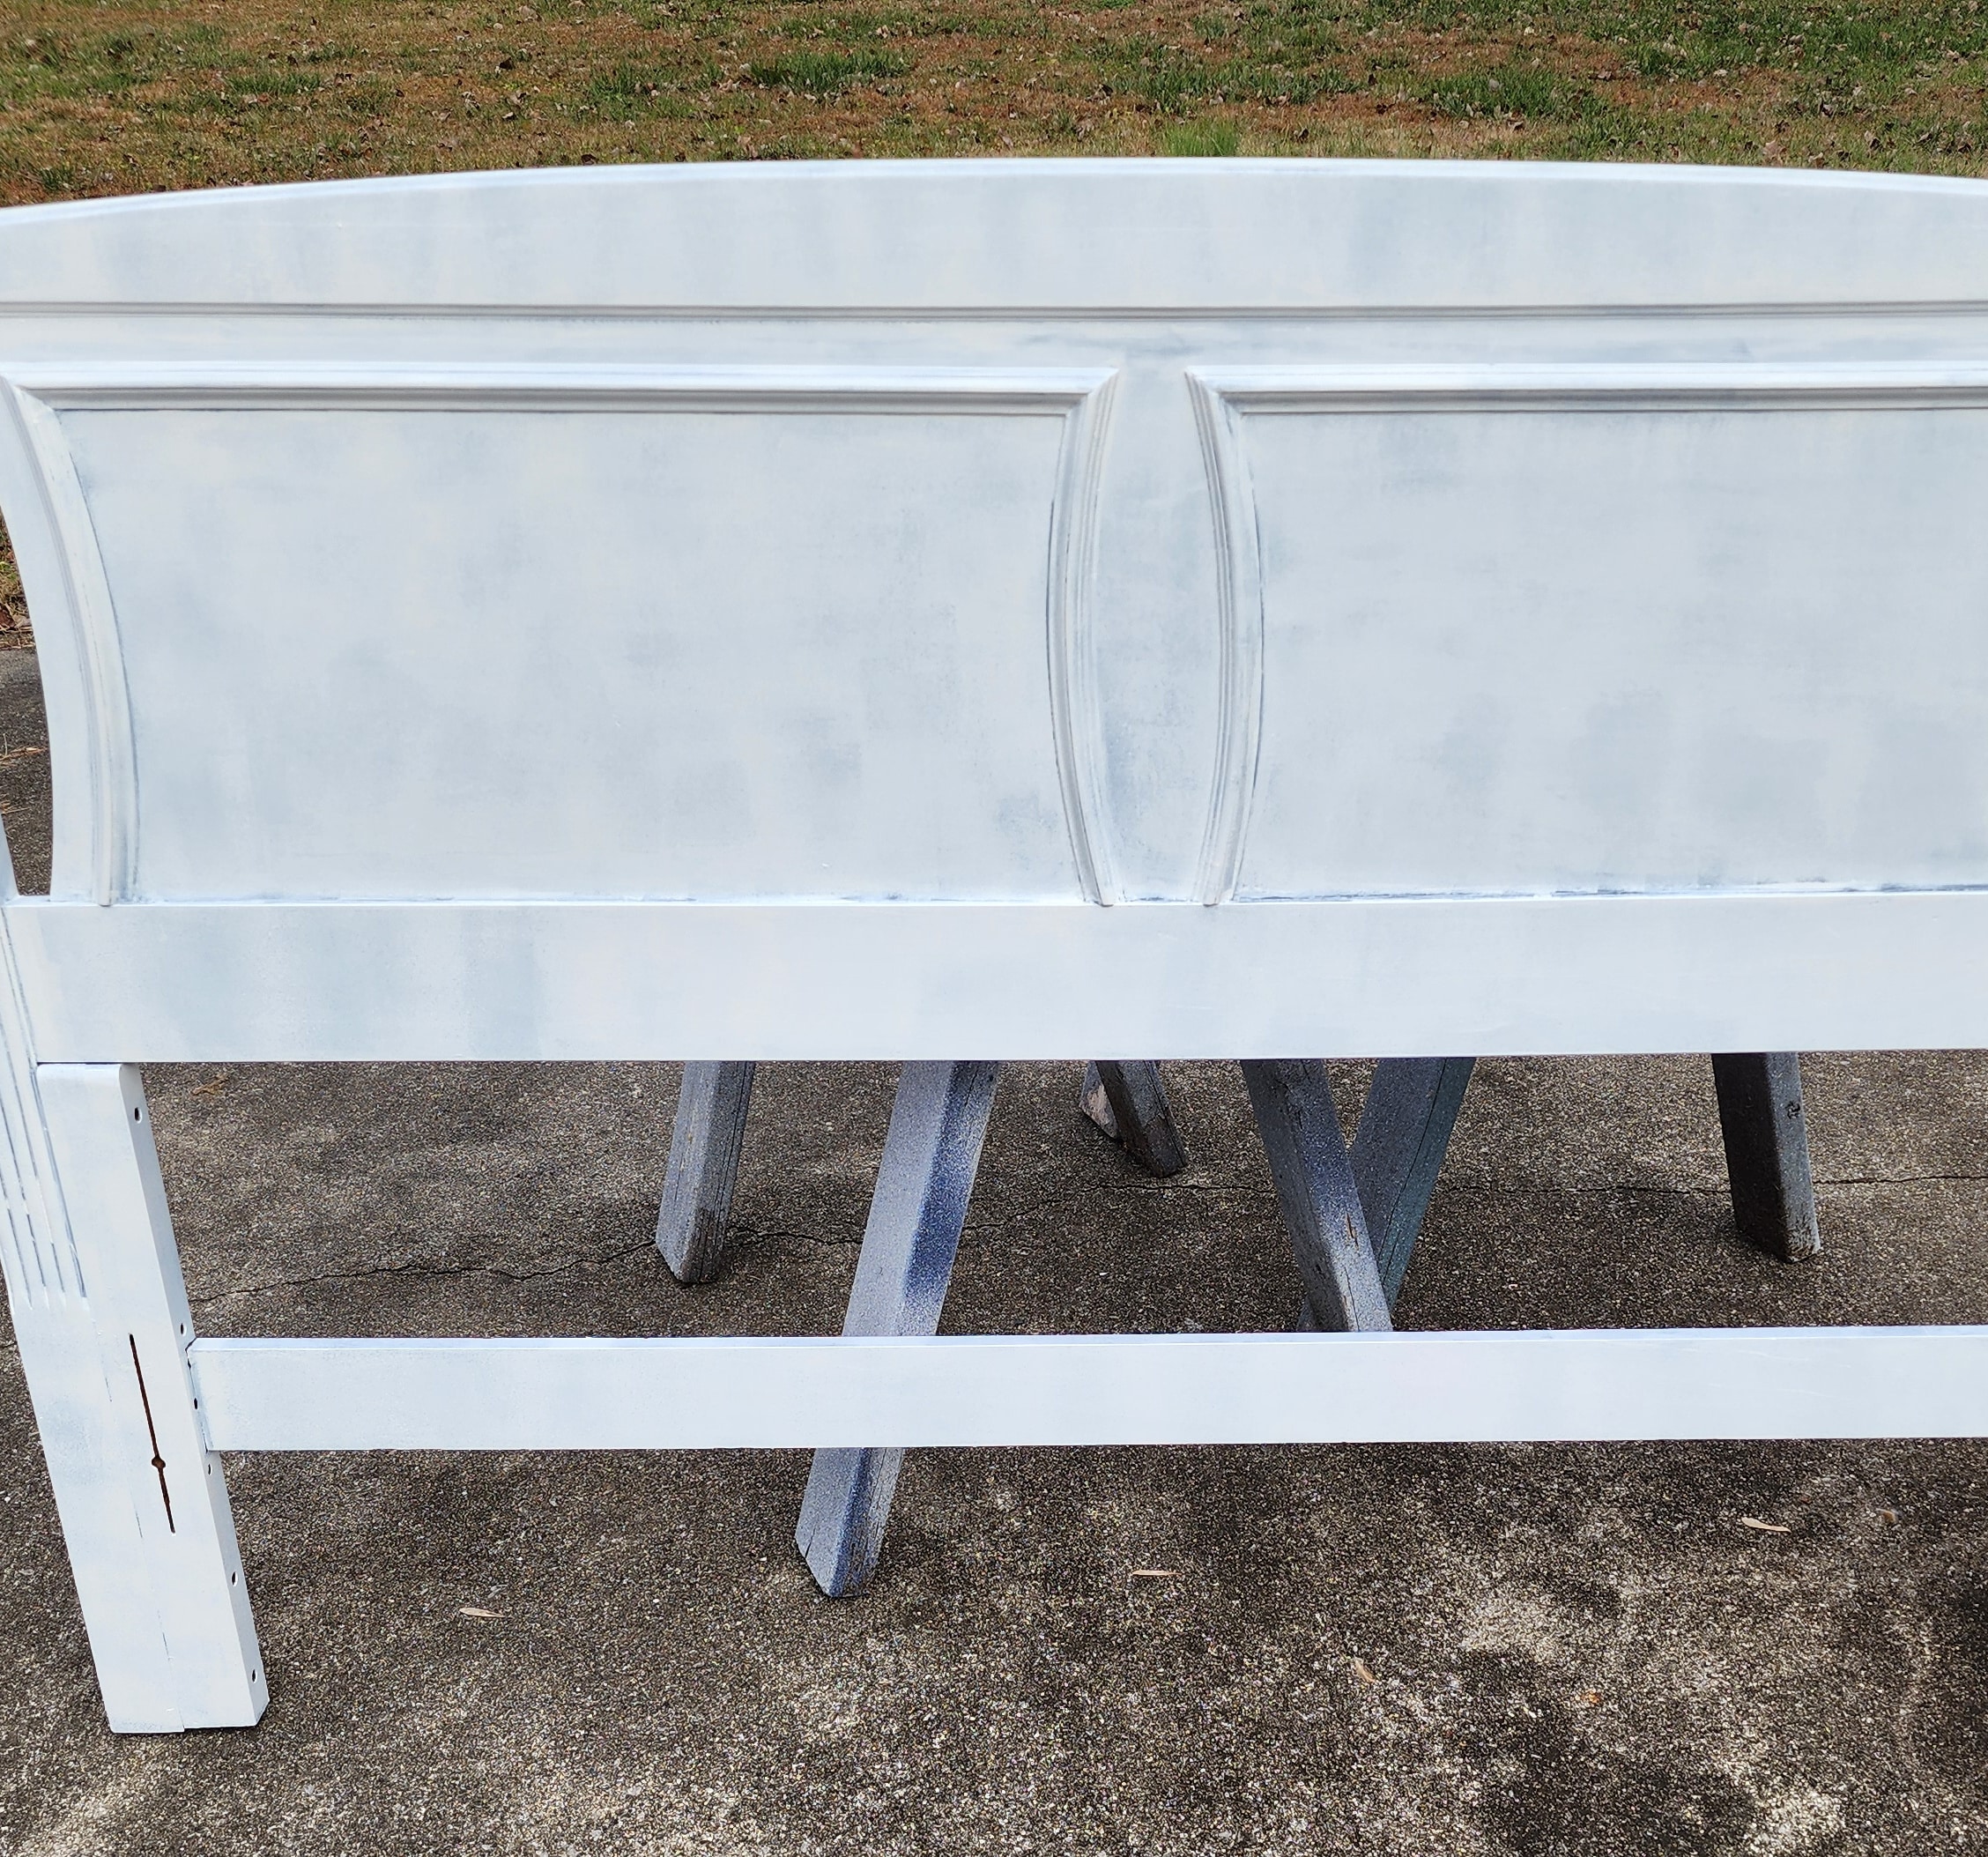
The foam roller had a dent in it from shipping. That left a very distinct pattern. Even so, I quickly realized I wouldn’t love the color on this particular piece of furniture.
A Lesson Learned
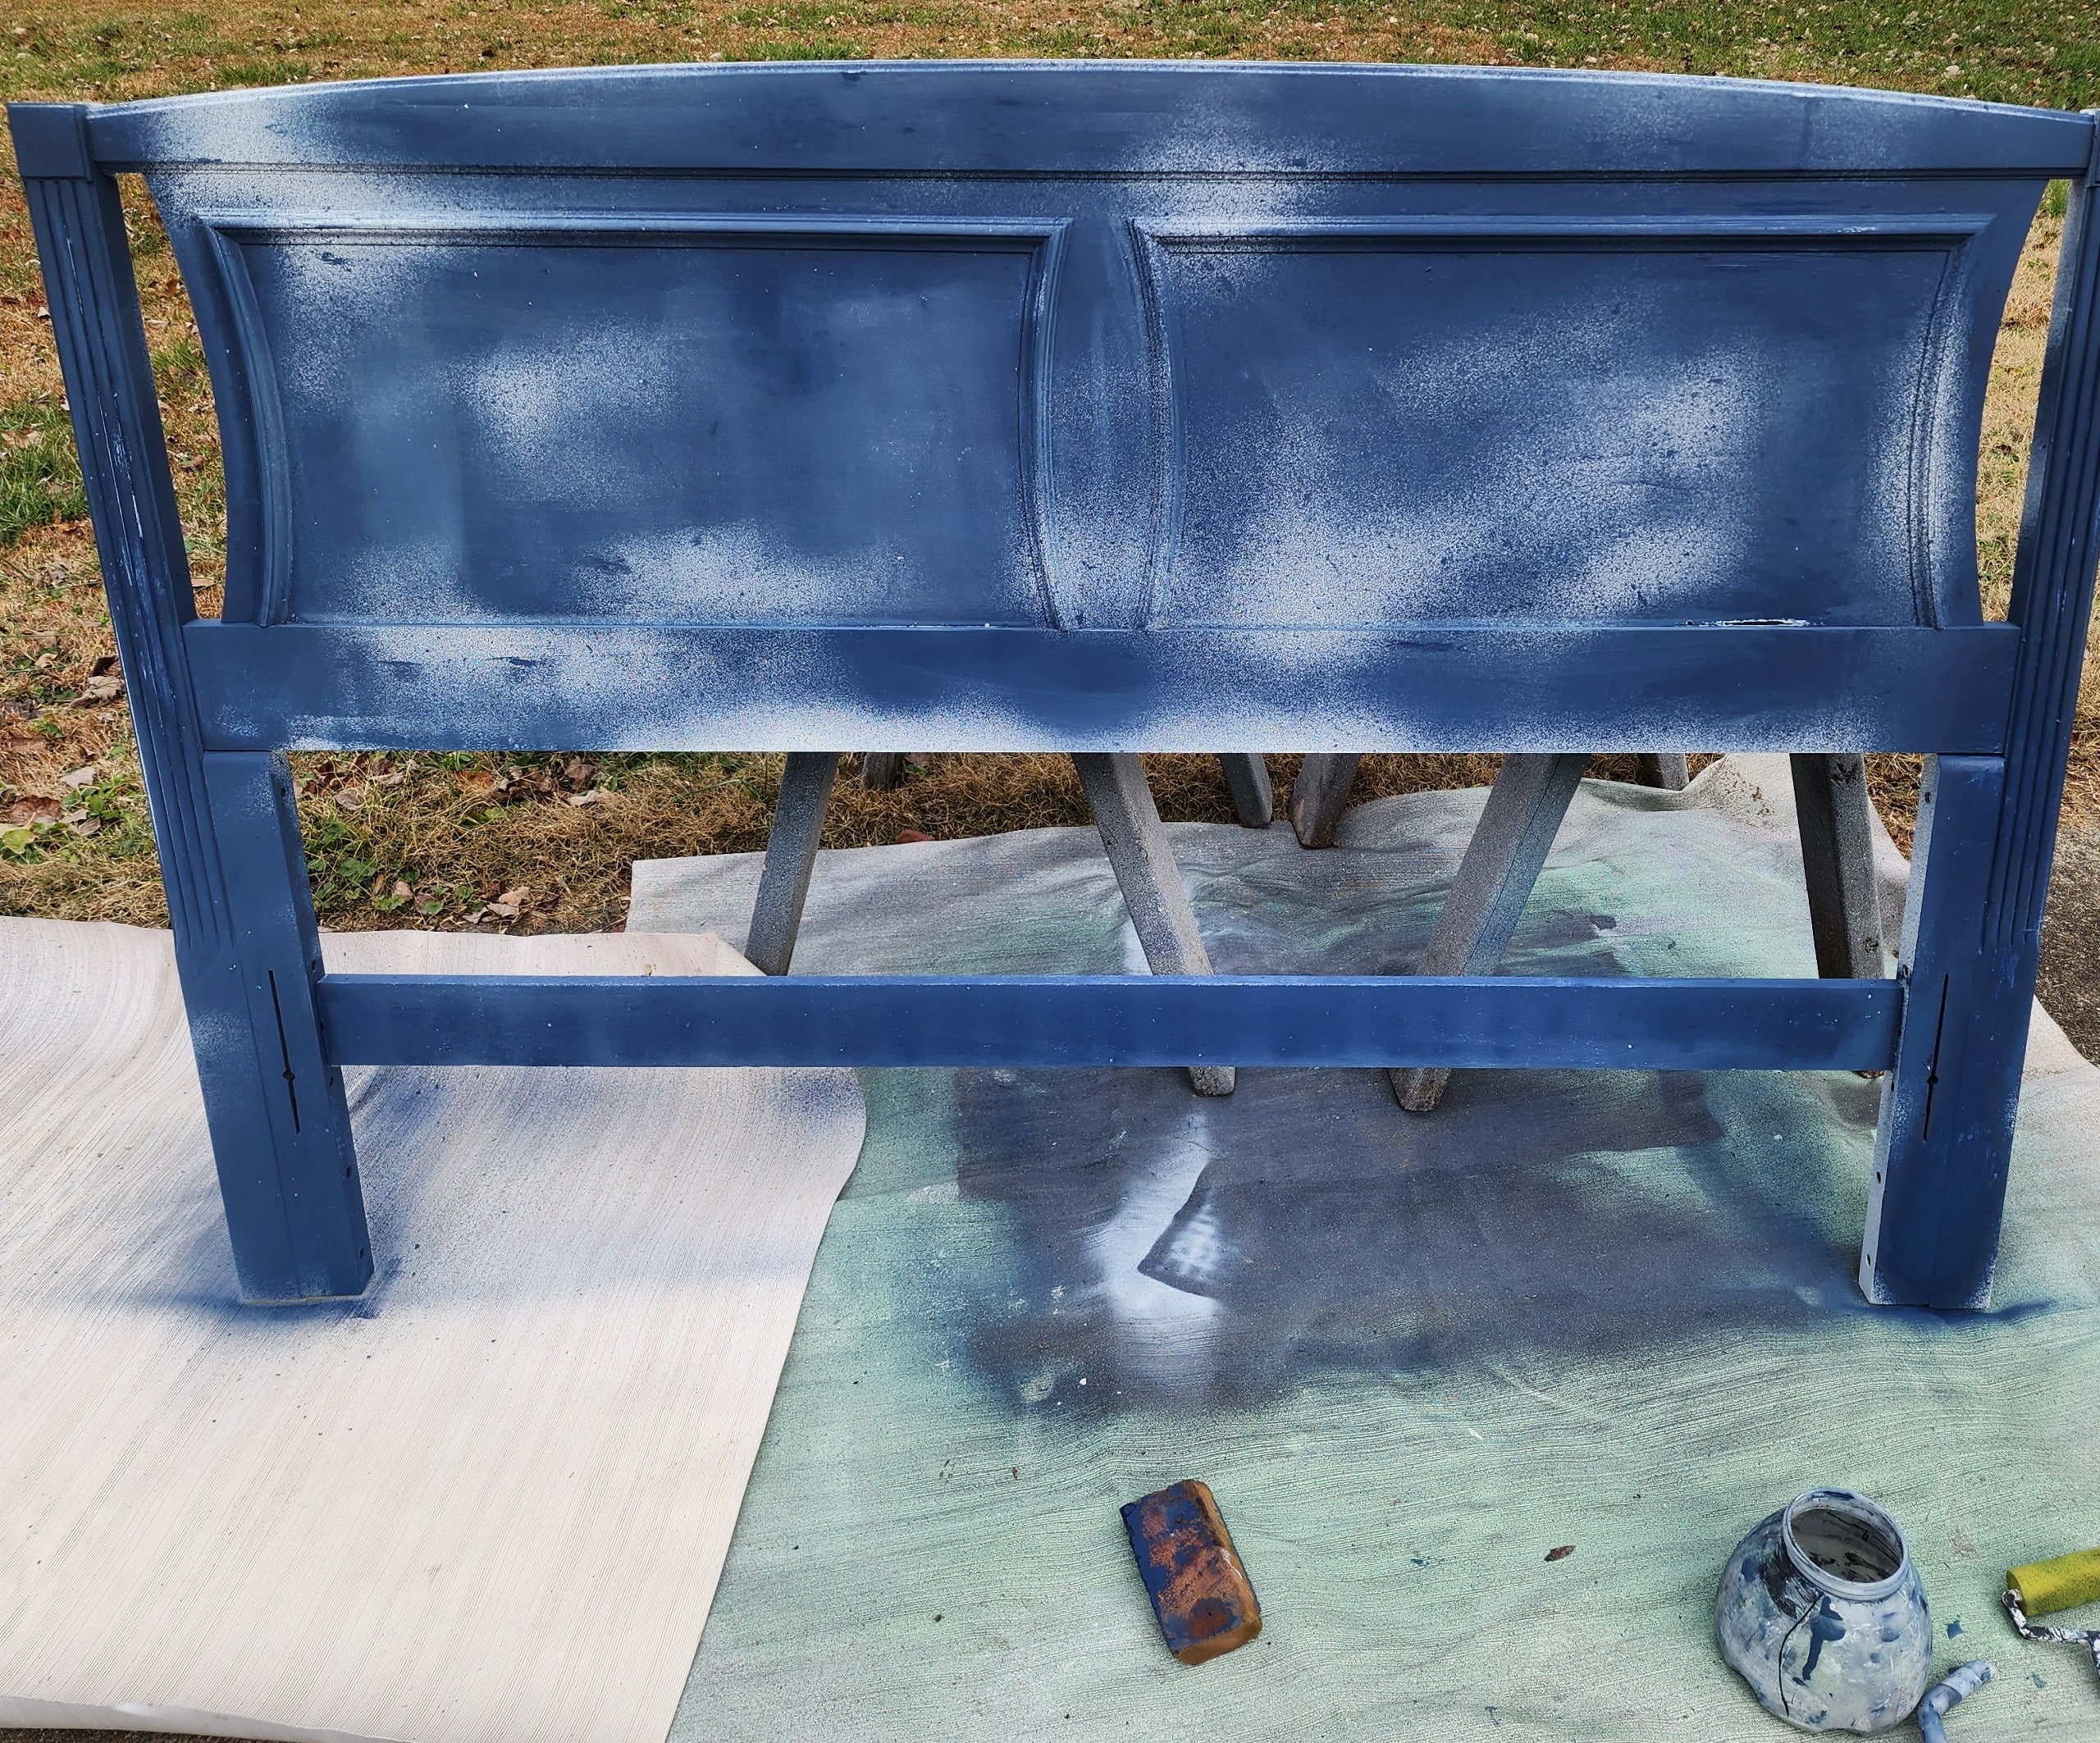
I decided to paint it navy blue using some old paint as a base coat. This was not the best idea. I was making this quick vintage headboard makeover drag on too long.
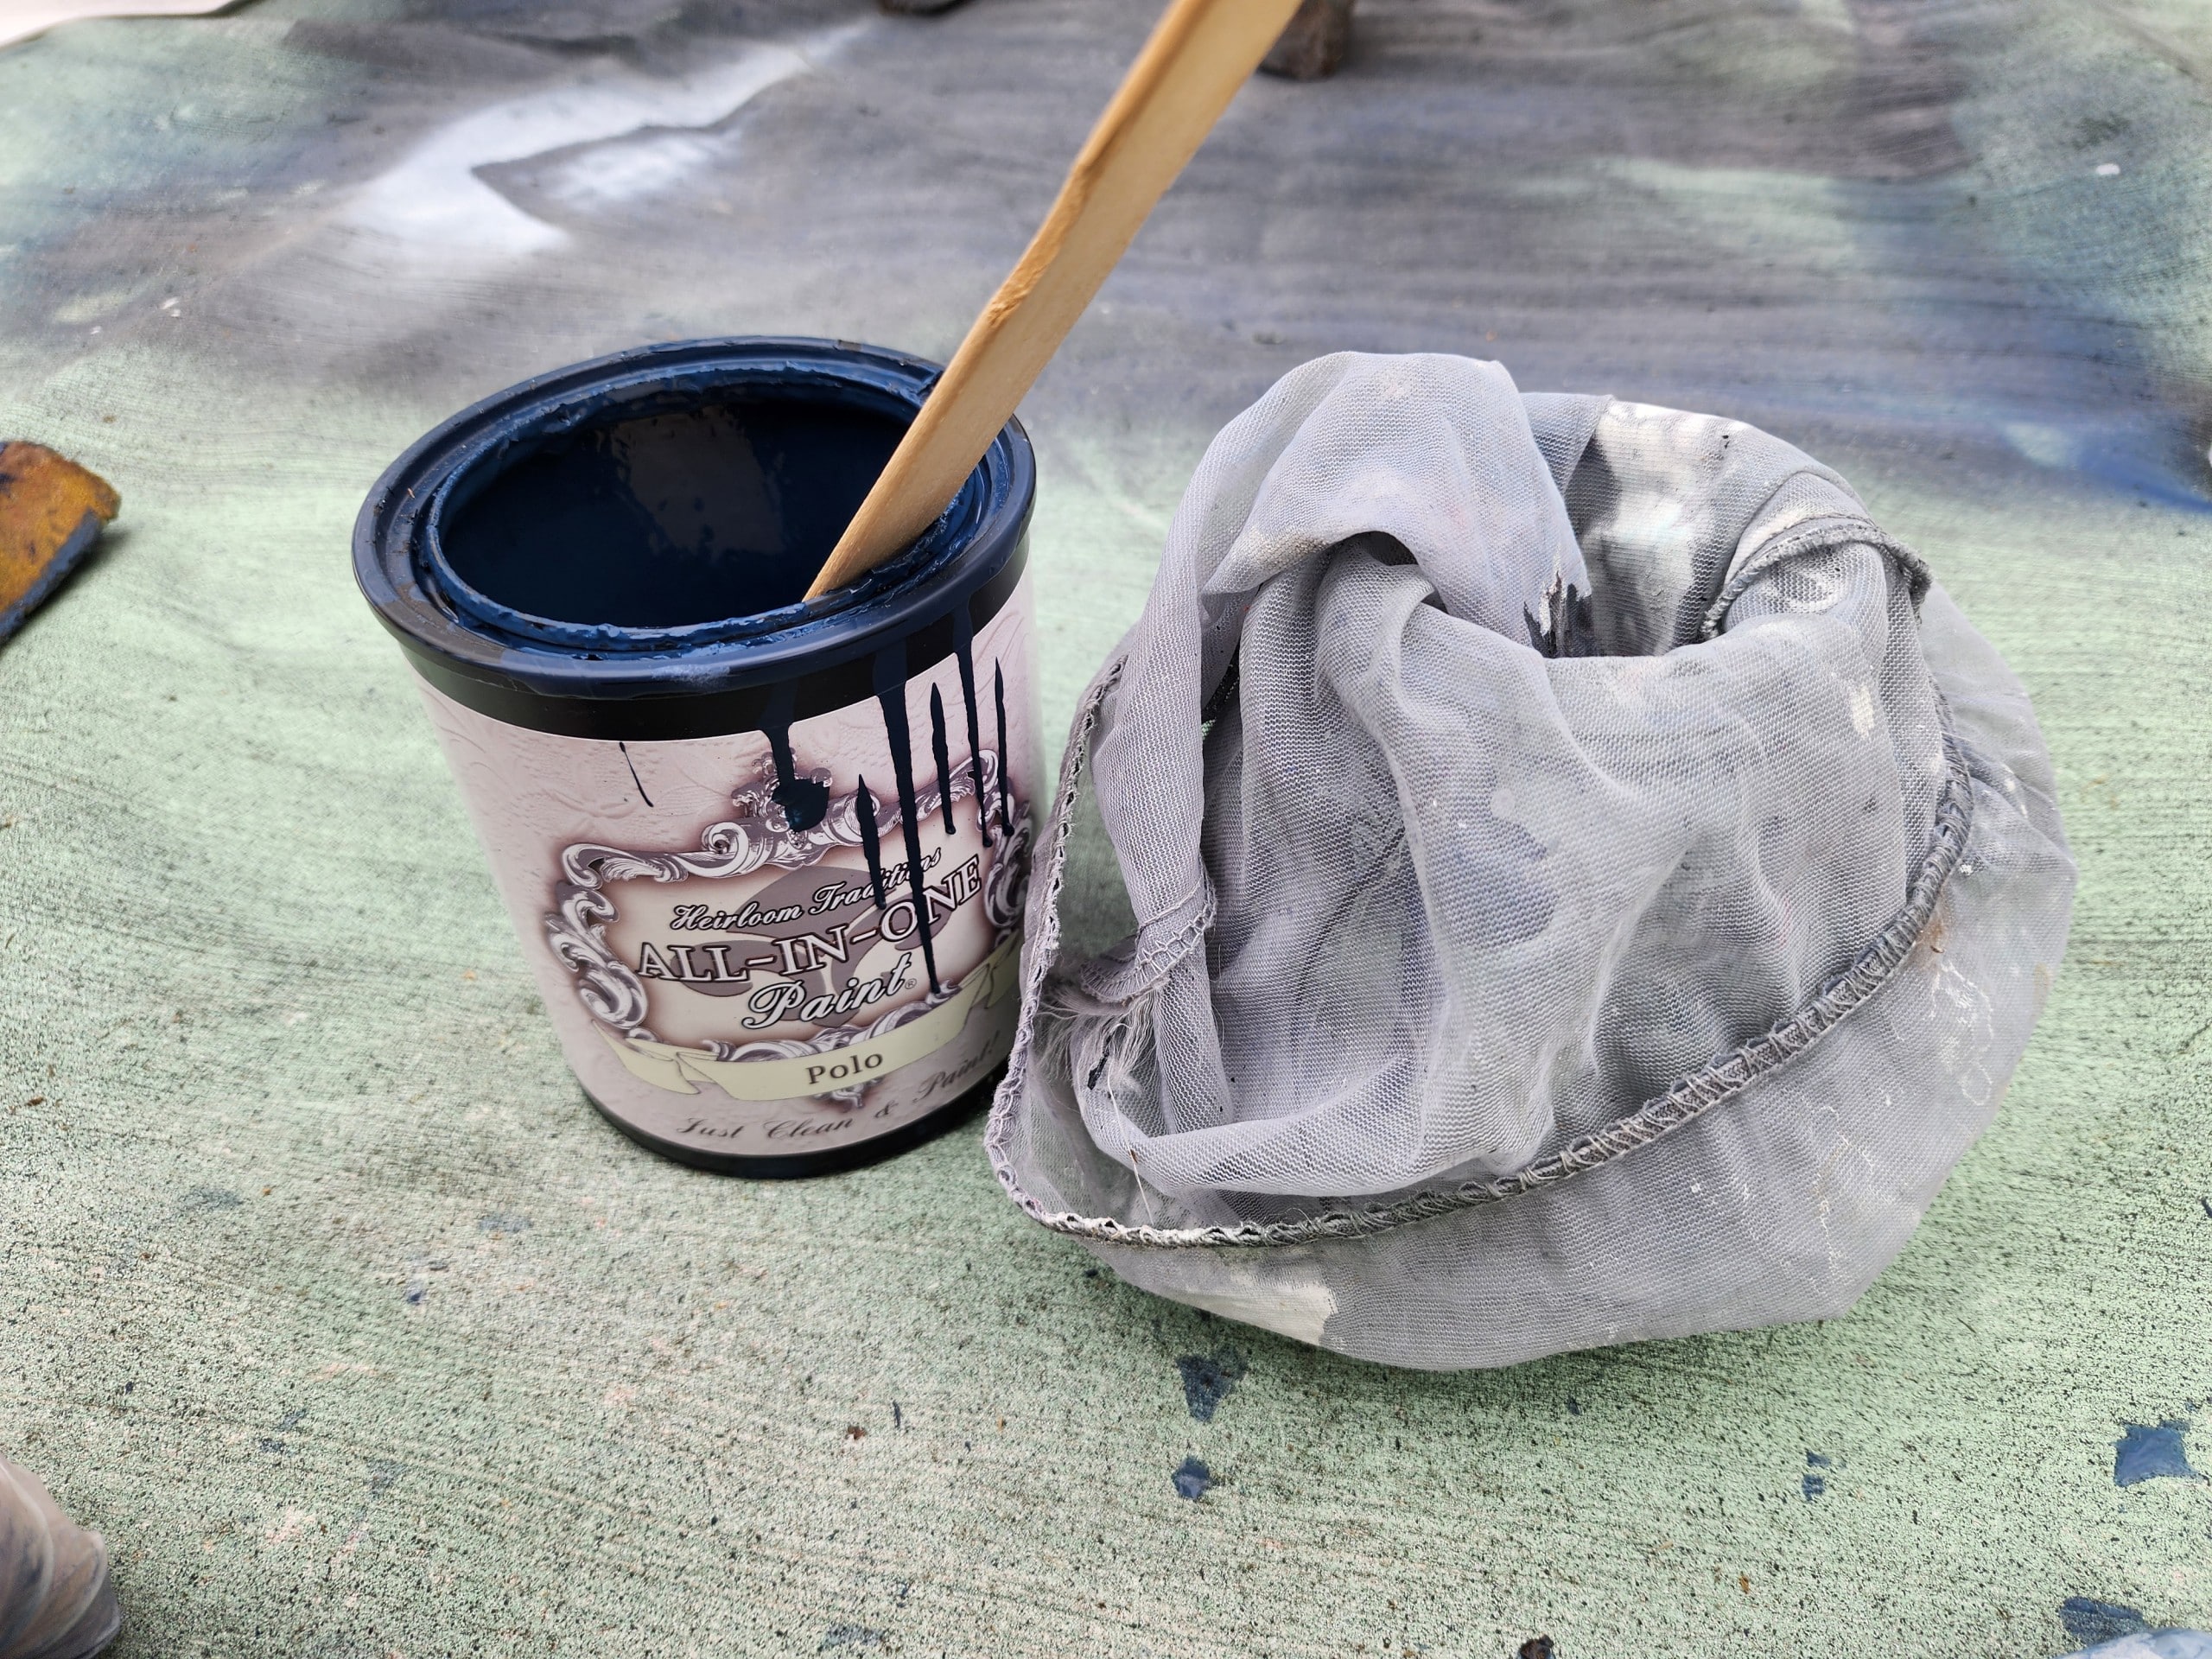
After the old paint was gone, I grabbed a new can of Polo. I highly recommend straining your paint before you use it in a paint sprayer. Not shown, I used my Finish Max Paint Sprayer to complete this project.
Visit the My Repurposed Life Amazon Store to shop my favorite items.
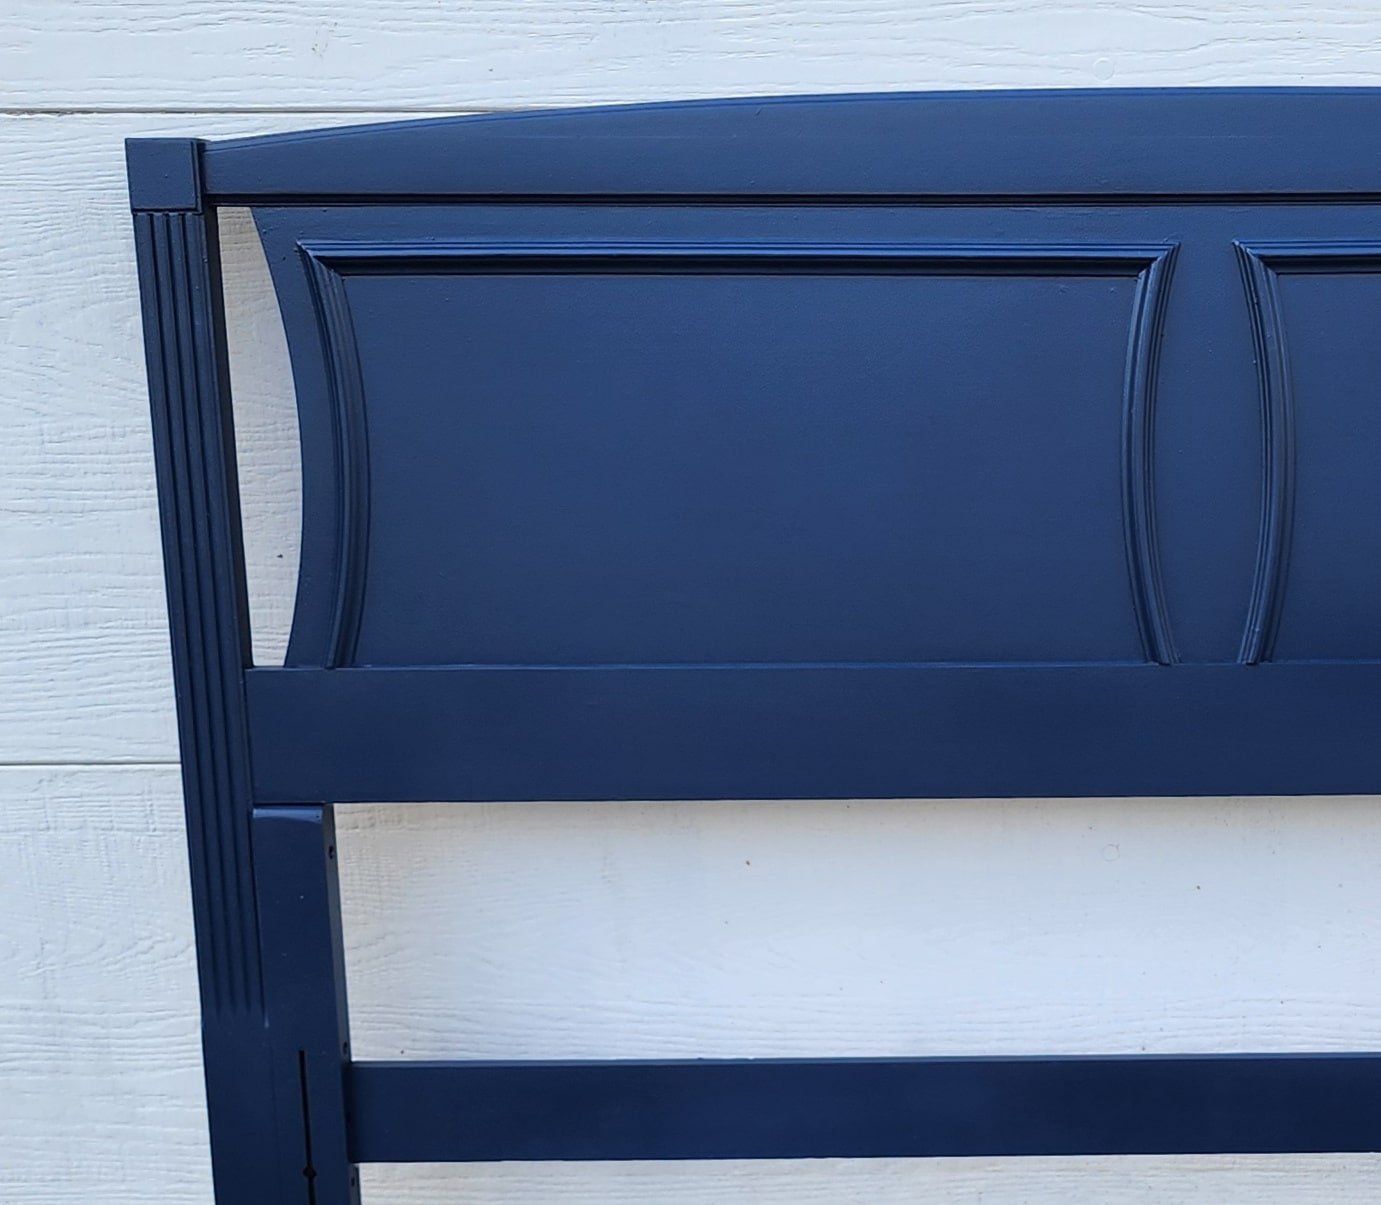
Finally! The color and the finish are perfect.
Related Content: Navy Blue Furniture Projects
Pretty Navy Blue Vintage Headboard Makeover
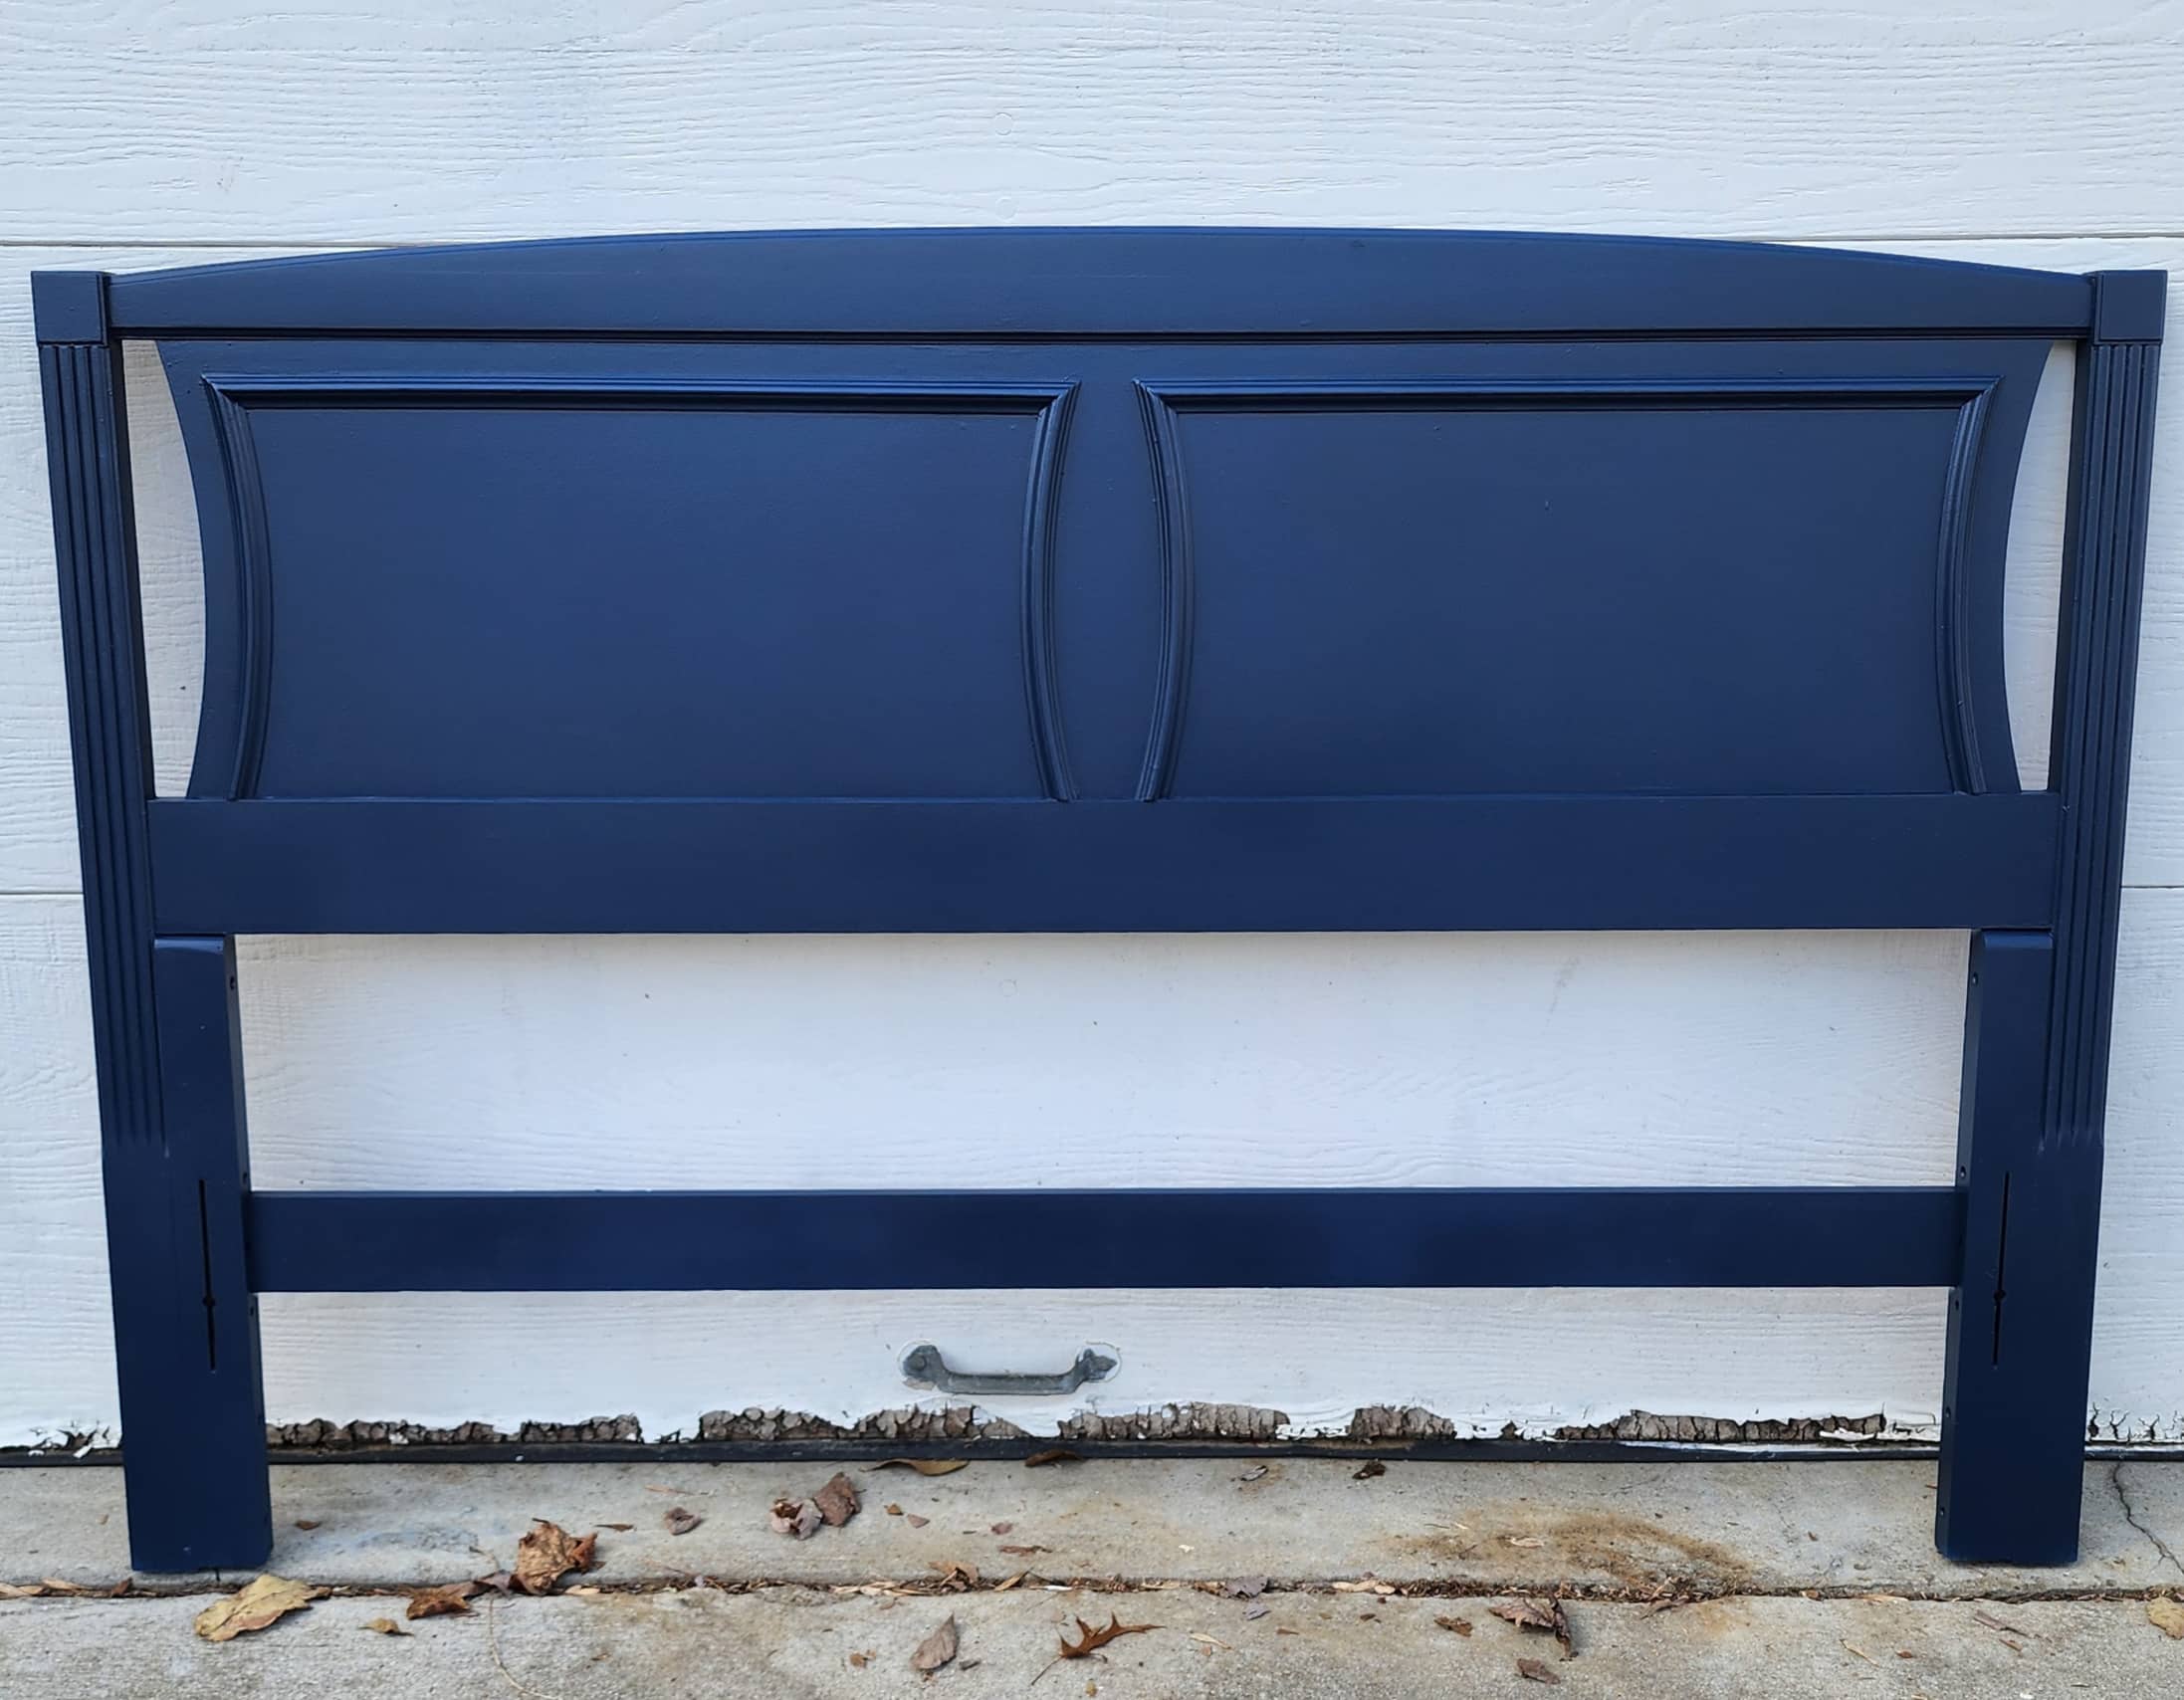
The vintage headboard makeover was finally complete!
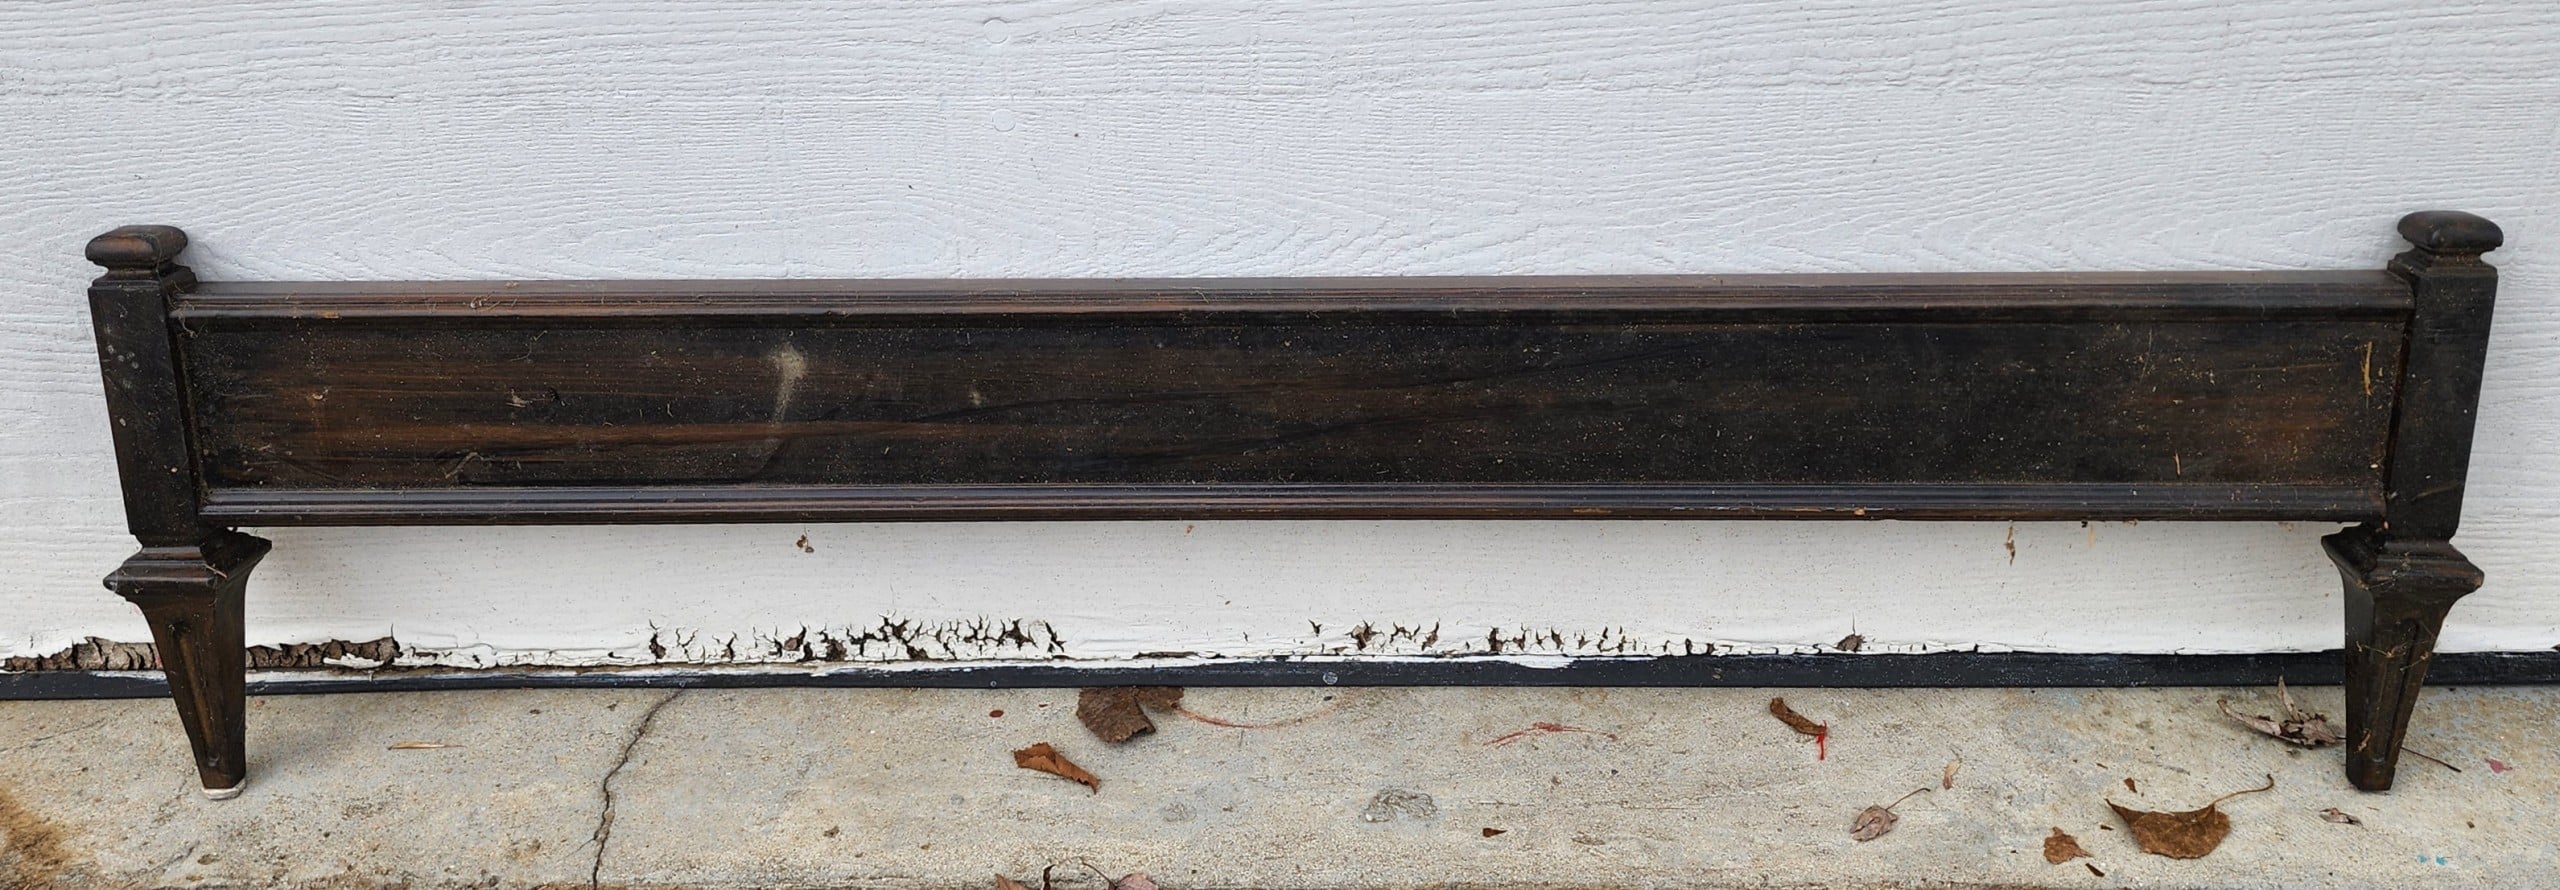
I don’t think I will use the footboard with the bed for now. What do you think I should do with it? You can see how it measures up to the headboard in the original photo (above).

The master bedroom at The Hideaway is definitely a work in progress. In this photo, you can see why I need a low-profile headboard. I would love to have a lot of fluffy pillows on the bed; however, I don’t have room for the pillows while the bed is being used. You may notice there aren’t any curtains, for now, I only have blinds on all the windows.

Awesome Thrift Store Projects
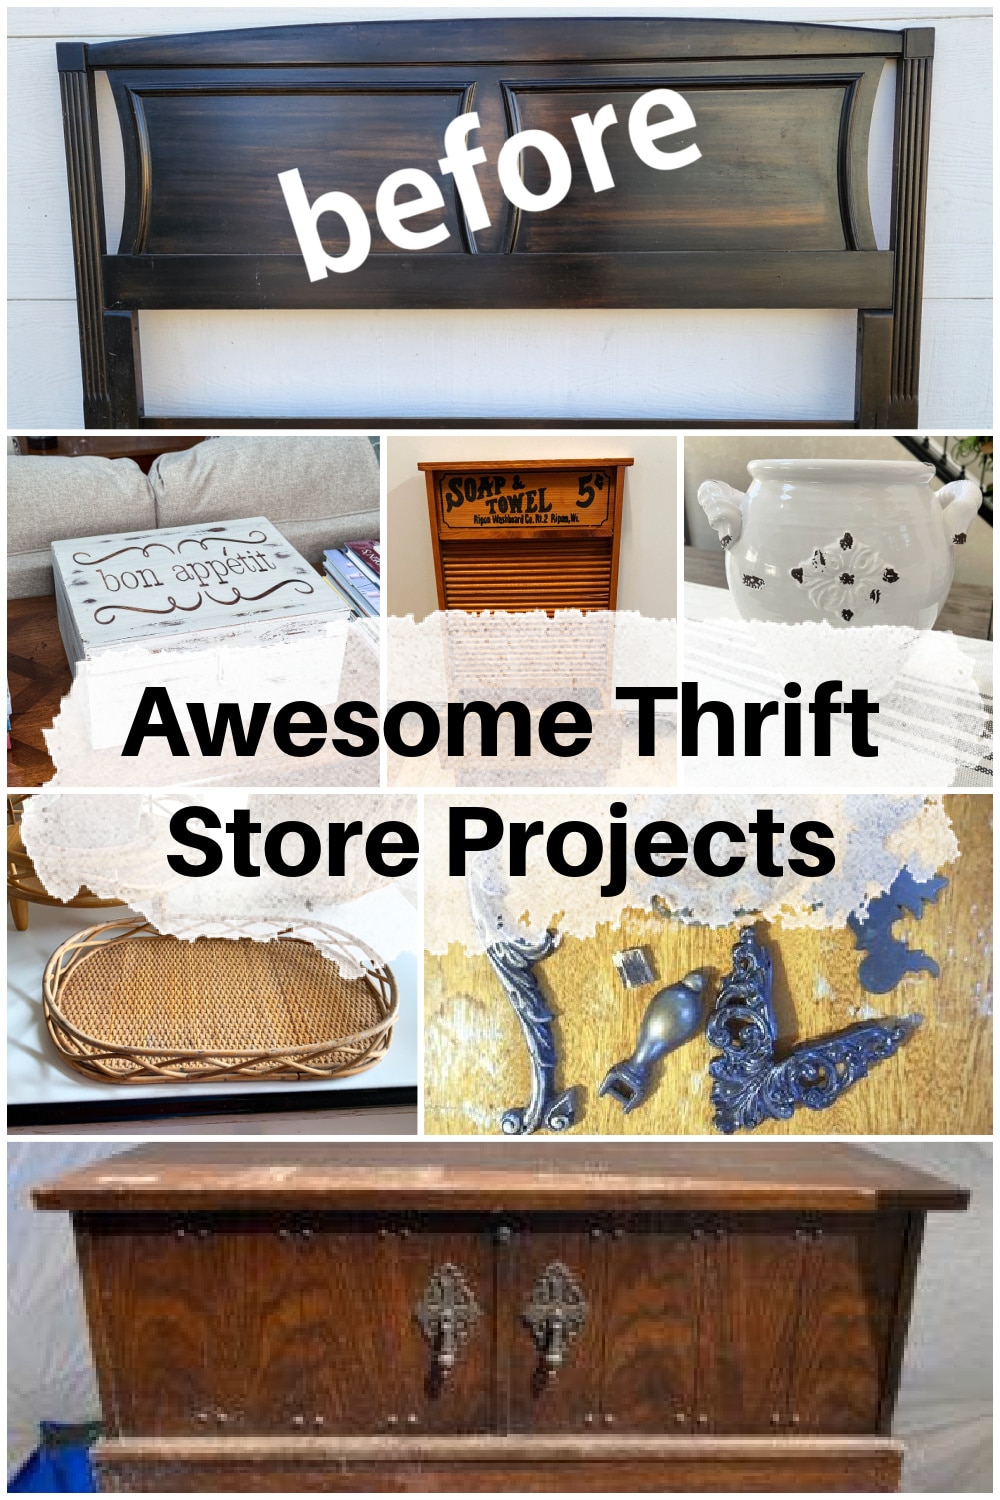
- Vintage Headboard Makeover (you are here, thank you).
- Thrift Store Box Makeover
- Eleven Washboard Upcycled Decor Projects
- DIY Vintage Aged Pottery Vessel
- Upcycled Boho Bamboo Decor
- DIY Love Sign
- Cedar Chest Trunk Makeover
Hi Gail,
I enjoy reading about all the ways you upcycle older pieces. It seems a shame to simply discard quality furniture that has simply lost its luster.
One project that I would like to see is taking two twin size headboards and combining them , adding some height and using them for a king size bed. I’ve had that project in mind (and sitting around) for several years now. The headboard doesn’t even need to attach to the frame as far as I’m concerned. It should be an easy fix but I just need some
practical ideas from that crafty head of yours.
Thanks for considering this as a project..
Thanks for your very sweet comment Elaine.
Off the top of my head, here is how I would probably complete this project.
1. Cut off the bottom legs of both beds
2. Install a French cleat on the wall
3. Add the other portion of the cleat to the back of the bed. Most likely you would need to use a scrap piece of wood to attach the cleat, because the bed posts won’t allow the
flat part of the bed to rest against the wall.
4. Attach “mending plates” to the back of the center posts to connect the two pieces
5. Hang new headboard on the cleat.
Let me know if you are successful. I would love to see it and share it with my audience. I can’t build it because I don’t have a King Sized bed to display it for photos.
good luck!
gail
A friend once showed me how to revive foam rollers, get it a bit damp and then use a hair dryer on the low setting, the foam will pop back to normal. This also works for outdoor furniture cushions!
Love the headboard color. Such a classic color.
Thank you so much for the tip about the foam roller! I’ll have to remember that in the future.
I appreciate your comment.
gail
Your vintage headboard makeover turned out so pretty, I love the color! Sorry the old paint made this project a little more difficult and thanks for the tips on straining the paint!
Thank you Kristin. I made a quick trip up to the hideaway today for some measurements, and when I walked in the bedroom, it caught me off guard. I instantly smiled when I saw it. Blue has always been my favorite color.
gail
You know I love a good blue project! This is darling and I bet you sleep so well on that beautiful property. As for the footboard…wall rack! You need that storage in the new place. Pinned!
Sue,
Me too! I love blue, always been my favorite color.
Wall rack, as in with hooks?
gail
Love the color! Inspires me to do something with my East Lake bed that’s in hiding right now!
Thank you Pat. I’m so happy I went with the navy blue. Good luck with your project!
gail
Beautiful color Gail! Thanks for the tip on the furniture prep wipes too!
Carlene,
Thanks! I’m so glad I didn’t go with white. If I can get the walls painted in the bedroom, the headboard will look a lot better. So much to do!
I’m happy I found those prep wipes.
gail
I love it! And I love love love the color. What if you make the footboard a wall shelf? Turn it upside down maybe?
Thank you Nancy for checking out my latest project. That’s a great idea about a wall shelf. It would be quite long, but I’ll definitely consider it.
gail
Gail,
It is so lovely for the Hideaway! I did a similar project for my daughter’s college apartment in a similar color with a sprayer. Blue is such a great headboard color as opposed to safe white. Spraying gets a nice factory finish look on all those flat surfaces. Enjoy the new bed. Going down to the full is perfect for 1 plus a fur baby.
Christy,
Thank you so much for your very thoughtful words. I appreciate your kindness.
gail