Vintage Oak Cane Chair Makeover
As an Amazon Associate, I earn from qualifying purchases.
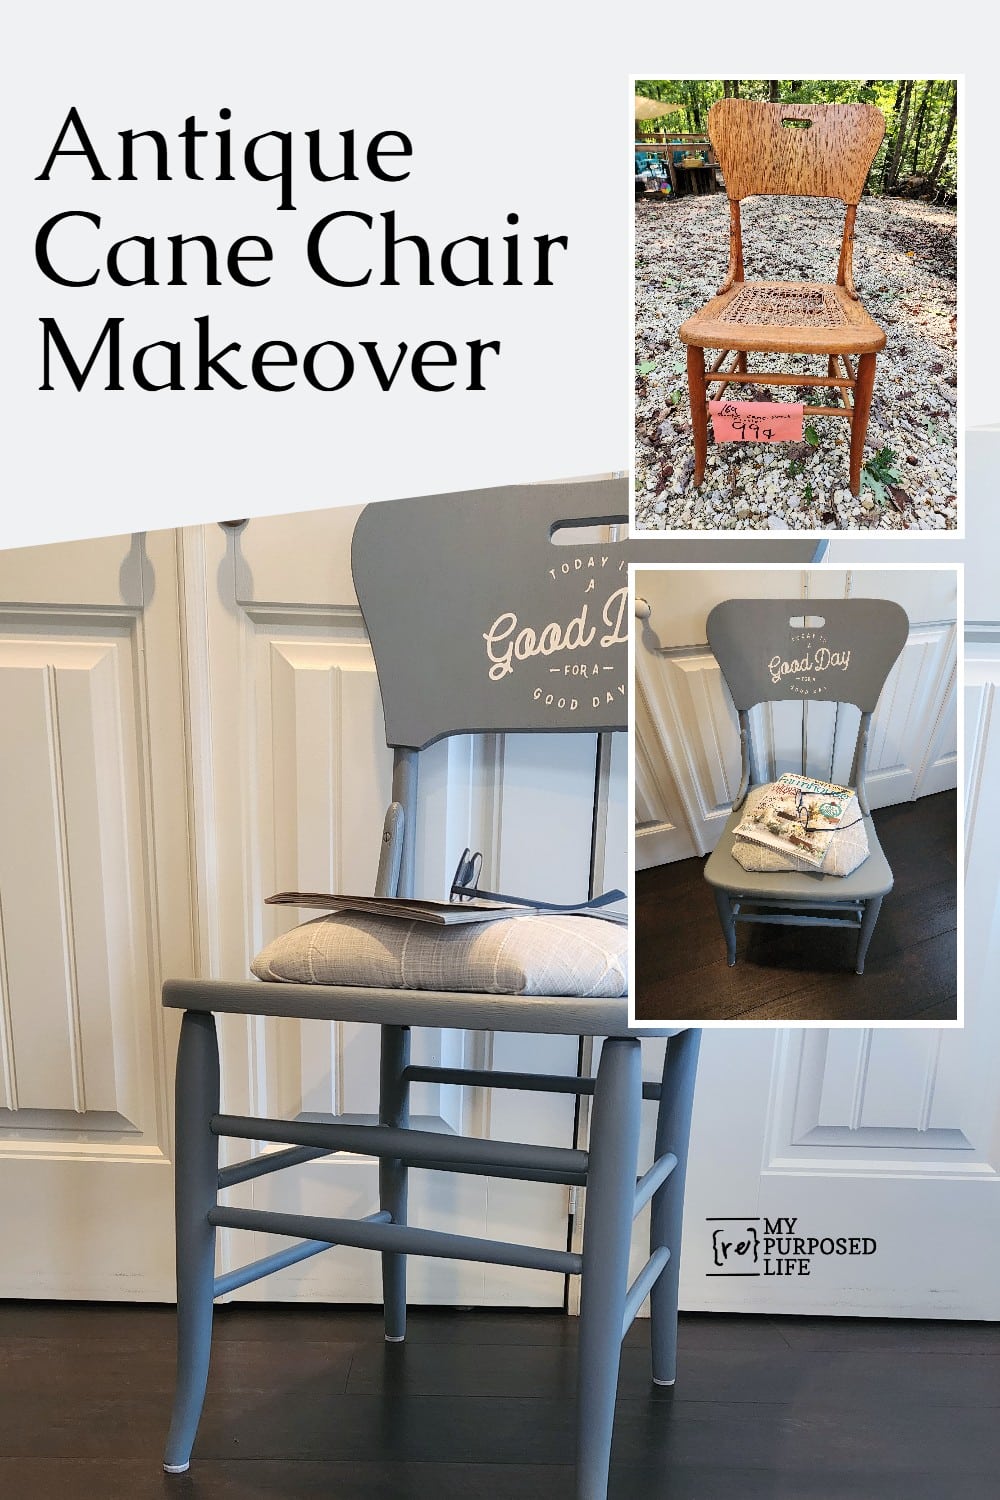
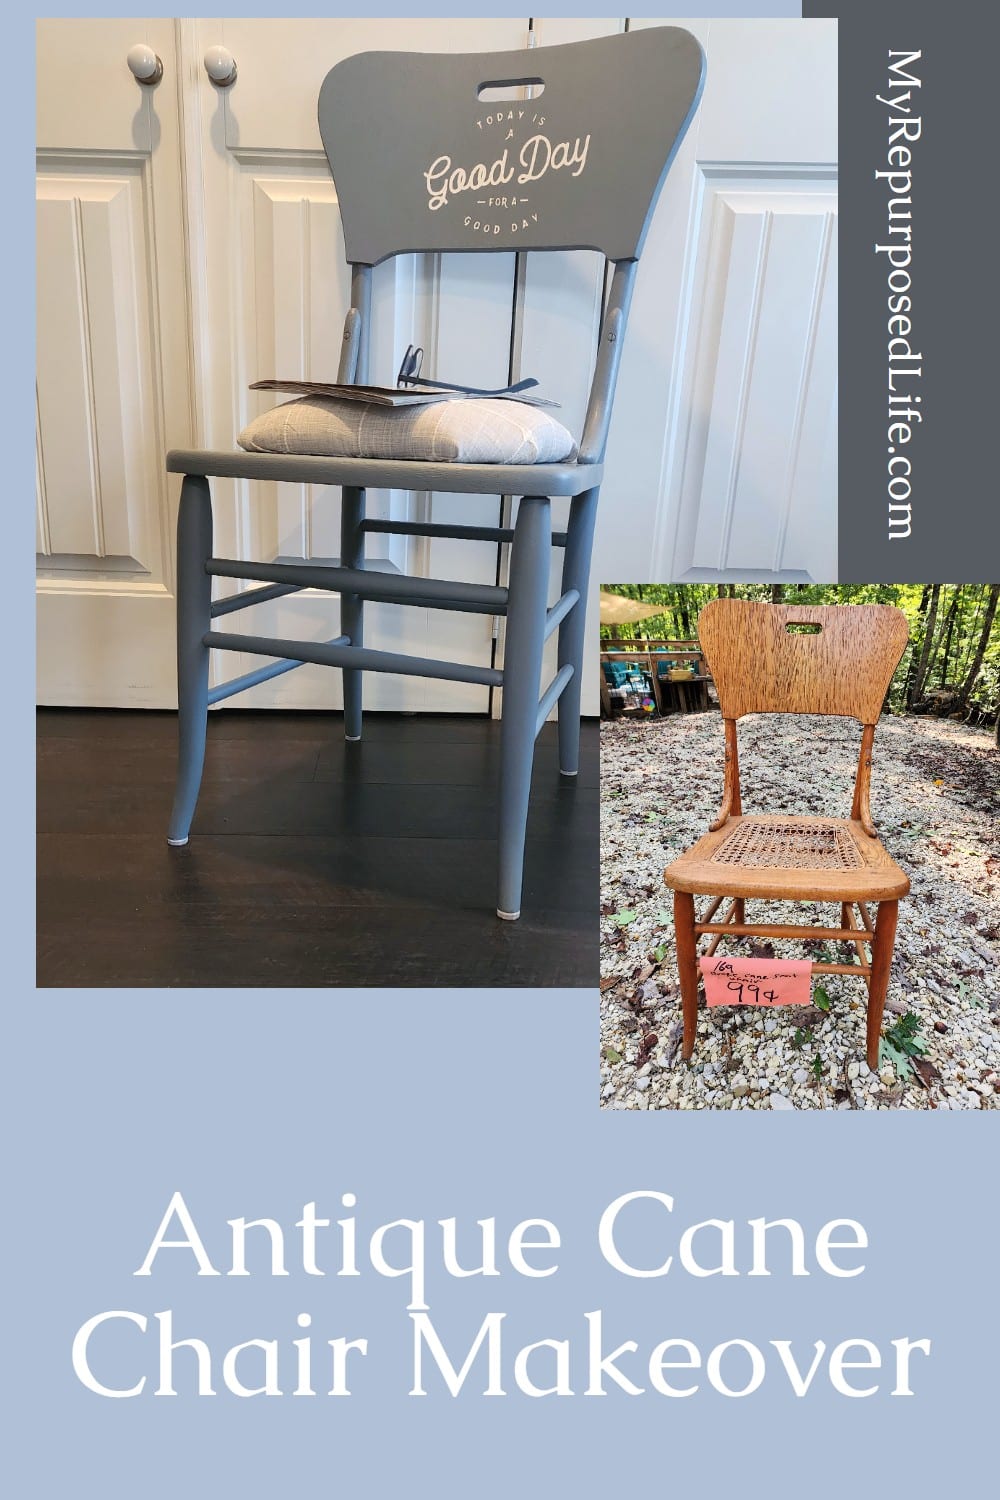
I’m refurbishing a vintage cane chair for this month’s Thrift Store Decor project. I got a great deal on it because the cane seat was damaged.
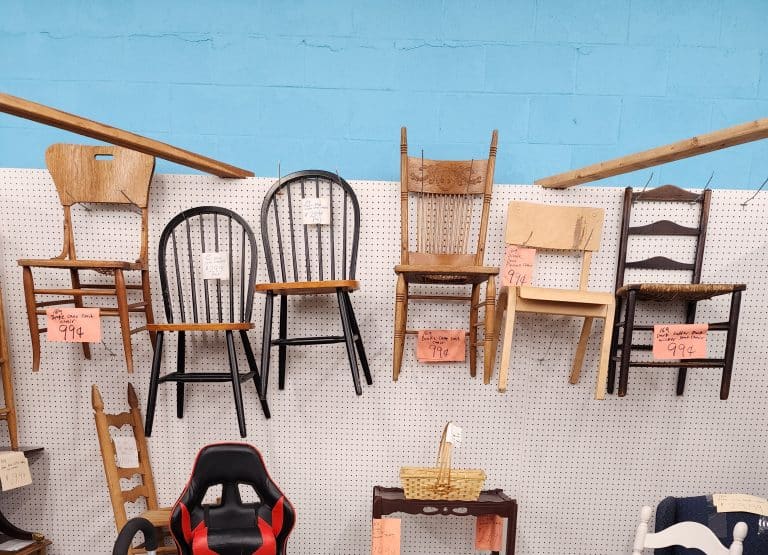
The chair in this article is the one hanging on the wall on the left. On this day, I also picked up the one on the right and the cane chair third from the right.

This is our Thrift Store Day. Be sure to check out all the projects below.
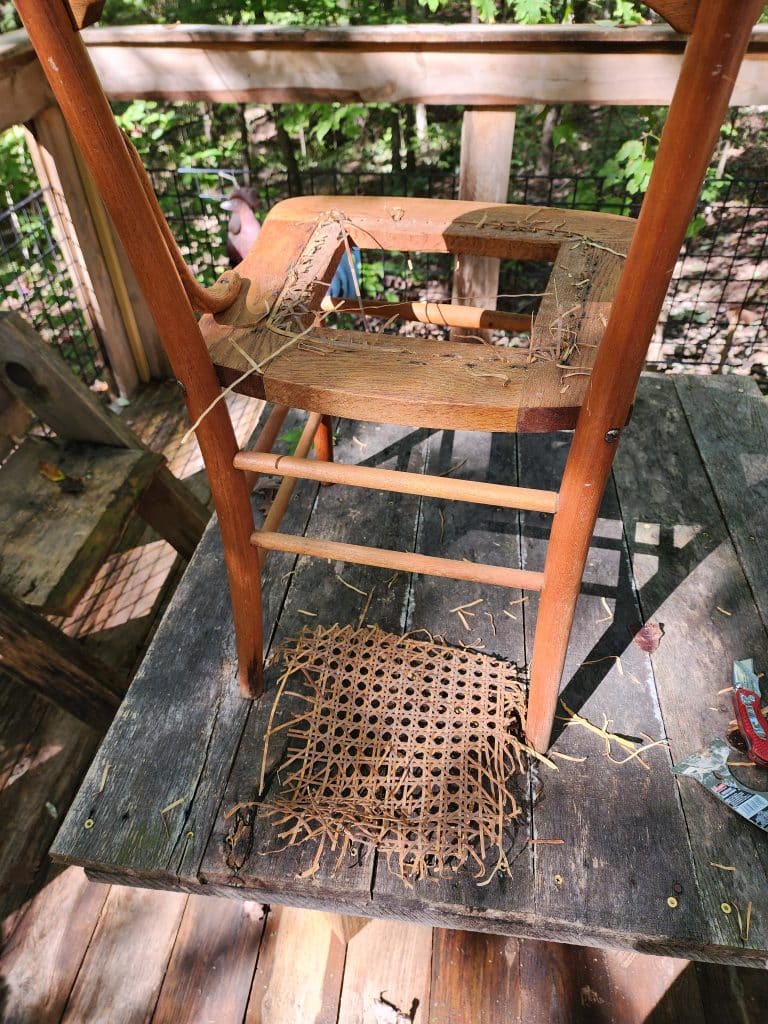
Vintage Wooden Cane Chair
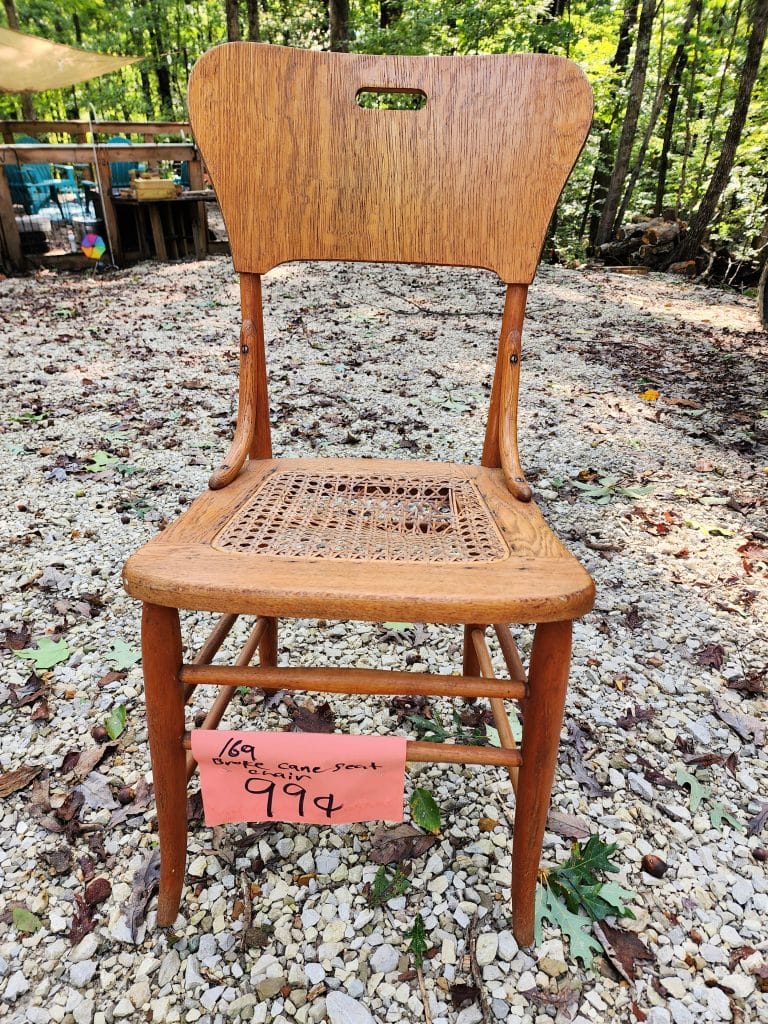
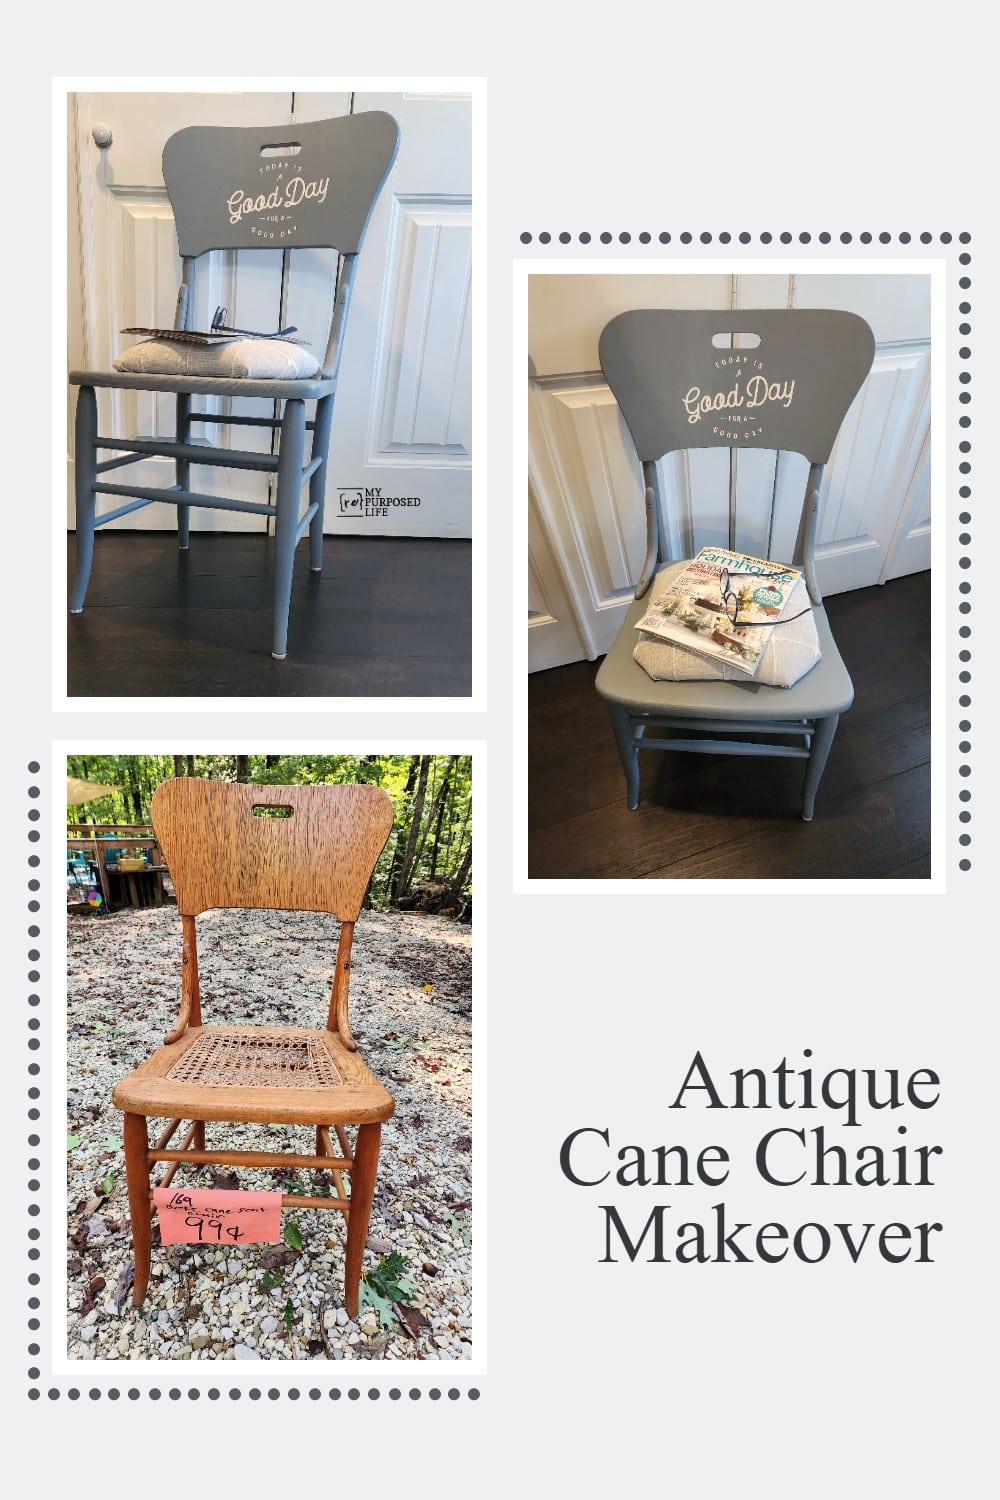
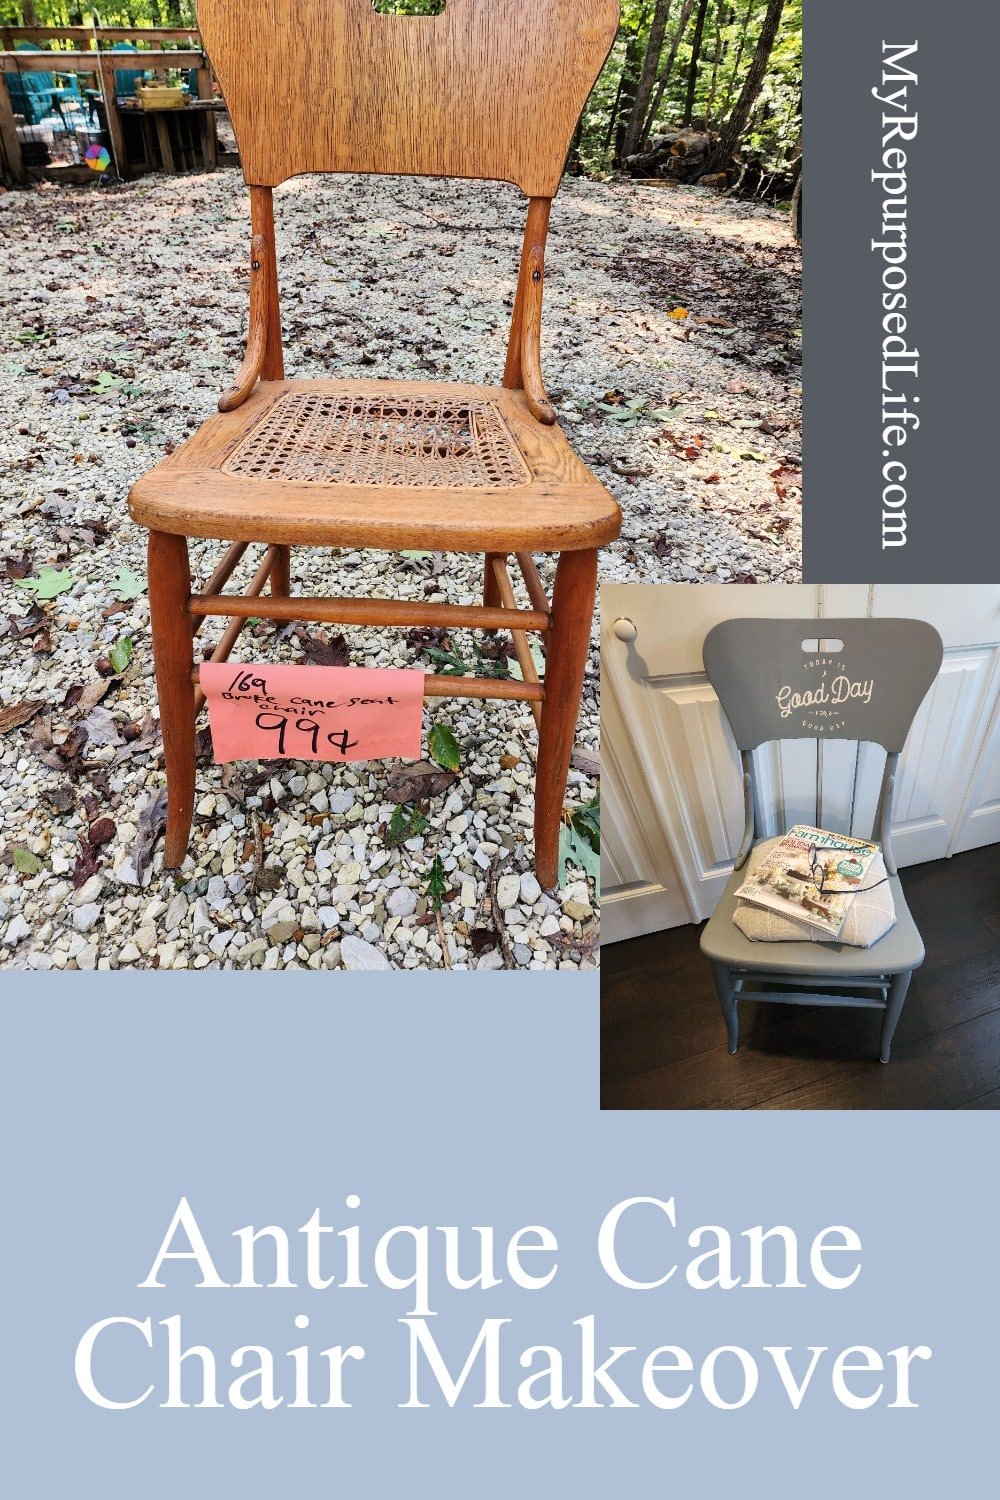
Can you believe this chair was only ninety-nine cents? The chair is very sound and sturdy, but the cane seat is damaged. Did you notice that I’m doing this makeover at The Hideaway?
Remove Cane From Damaged Chair Seat
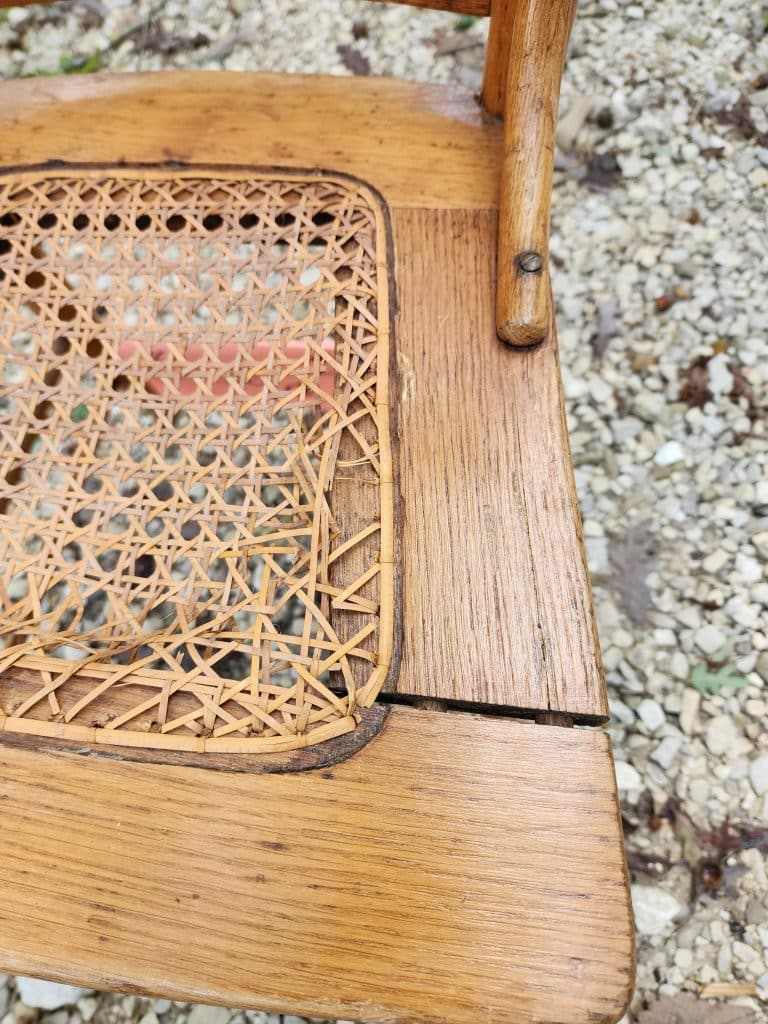
The chair seat needed a little TLC; I knew I couldn’t repair the cane seat. I knew I would remove the cane seat and paint the chair for now.
Tools For Removing a Cane Seat
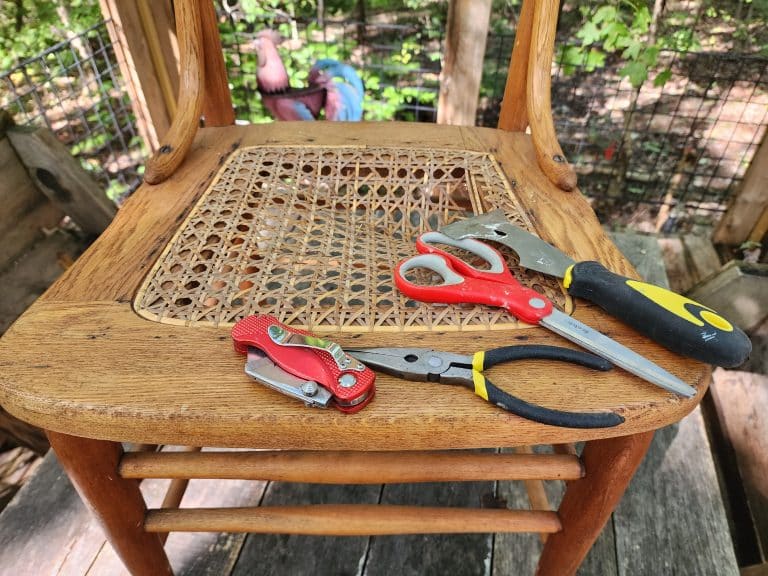
The tools I gathered were as follows:
- Utility Knife
- Needle-nose pliers
- Scissors
- Six-in-one Painter’s Tool
How to Remove a Cane Seat
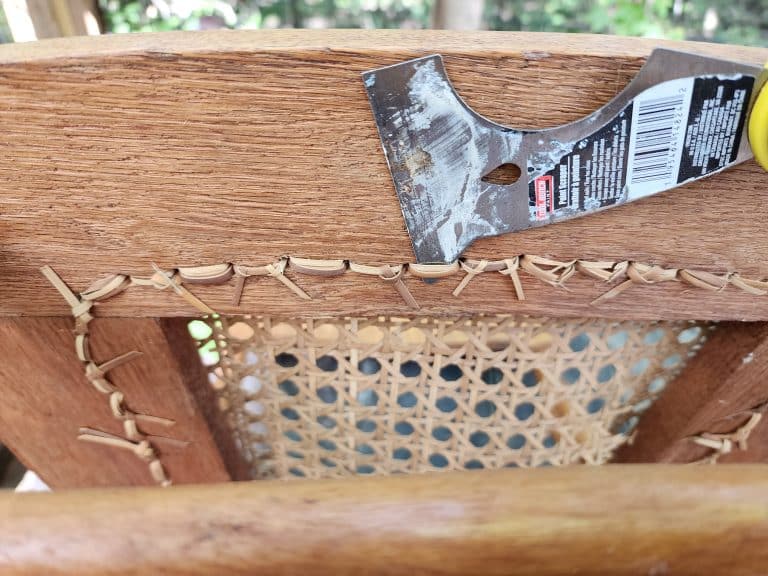
I began by using the tip of the painter’s tool to snap the loops on the underside of the chair.
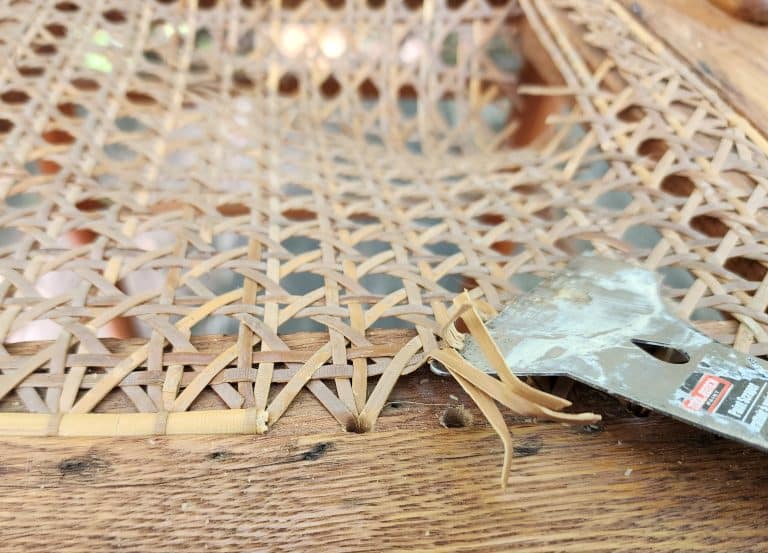
After snapping the loops, I used the painter’s tool to pry the cane strands through the holes.
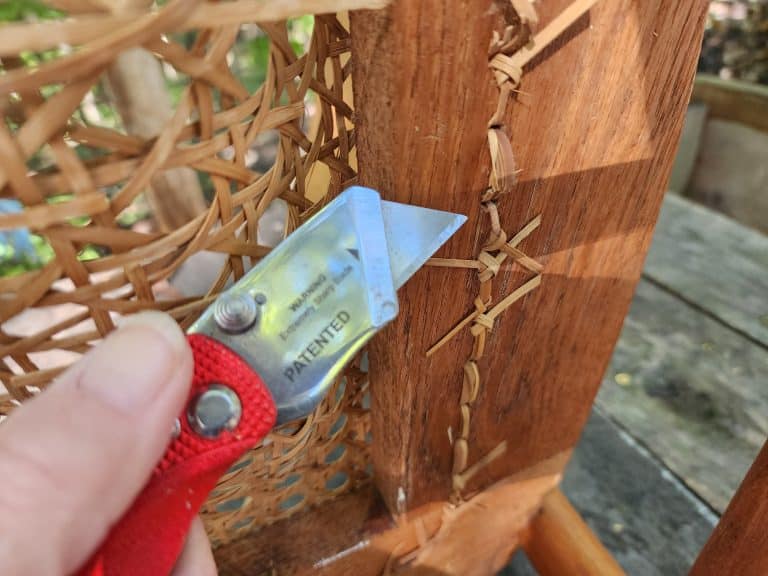
This task moved slowly, so I switched to using the utility knife to cut the loops.

Many of the cane strands were stuck firmly in the holes, so needle-nose pliers were necessary to remove the strands.
The only thing left was to clean out all the strands with the pliers.
Prepare Vintage Cane Chair for Painting

The wood needed sanding, but the seat needed extra work.
Related Content: Antique Cane Chair With Upholstered Seat
Clean and Degloss

To clean and degloss the chair, I used HTP Surface Prep, a chip brush, and a soft cloth.
Patch the Holes
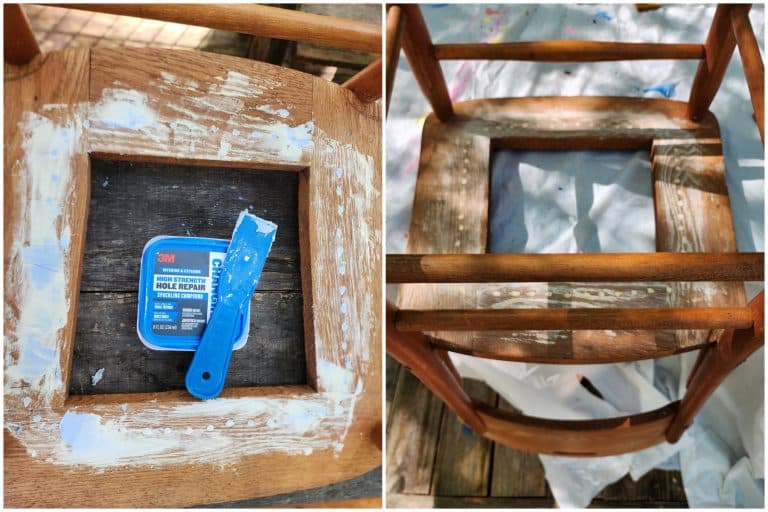
I used some blue spackle to patch the cane holes underneath to make the chair look cleaner.
Heirloom Traditions Paint: Haven
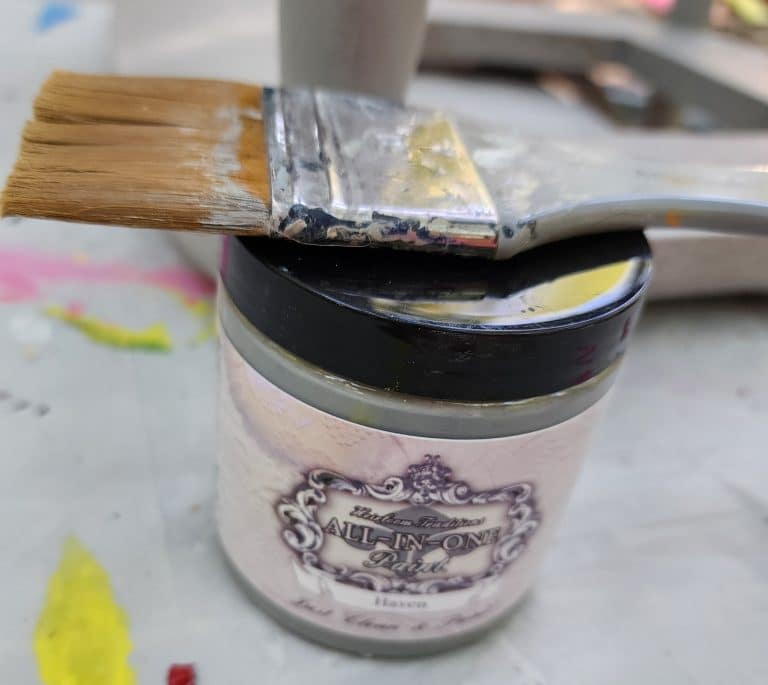
I used a sample jar of Haven by HTP All-in-One Paint with one of my favorite small paintbrushes.
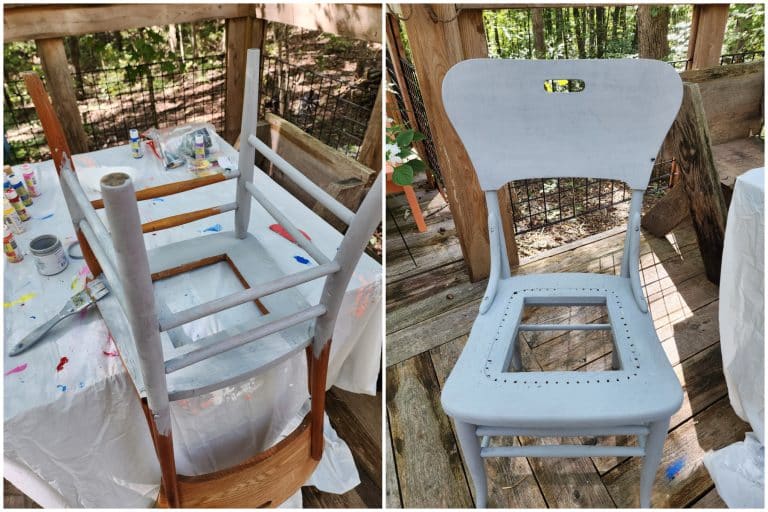
My paint technique rarely changes when using HTP paint. I give it a quick base coat that looks thin, with the wood still showing through. After allowing this to dry, I painted one more coat and finally did a light touch-up where needed.
Adding a New Seat to a Broken Cane Chair
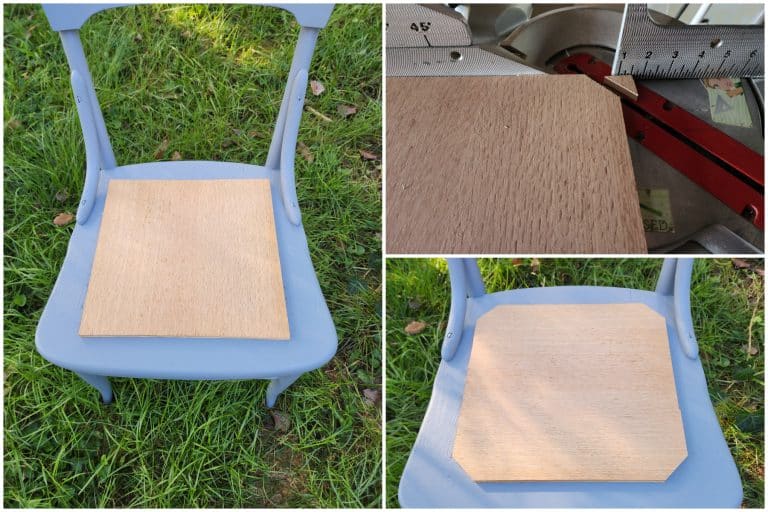
I found a scrap piece of plywood in the garage and cut it to size. After placing it on the chair, I cut off each of the four corners. The color (Haven) changes hues depending on the surroundings.
Covering a Chair Seat
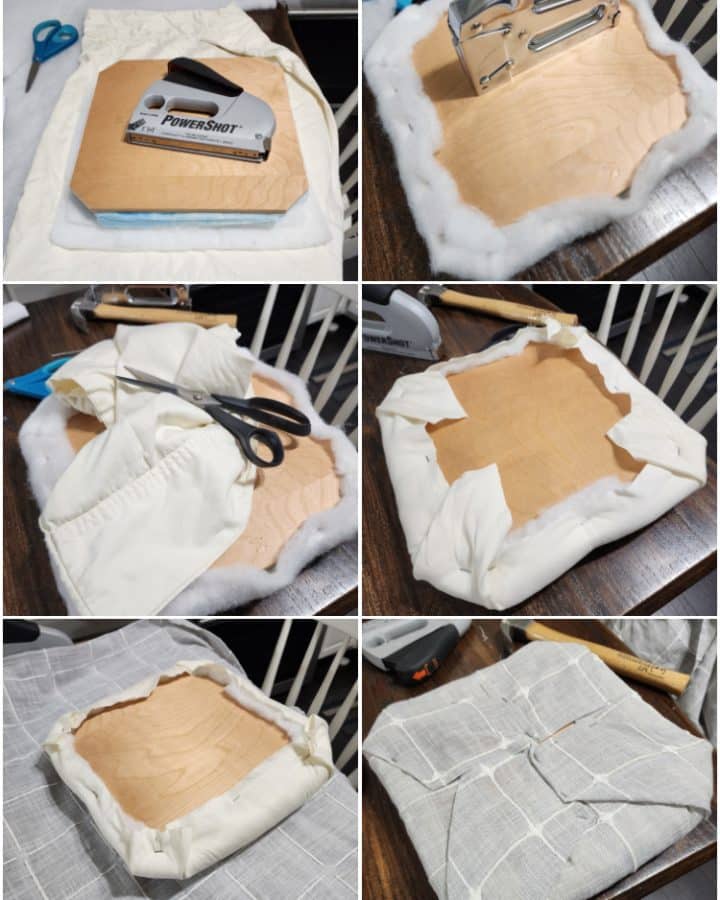
I am no expert when it comes to upholstery. Typically, I fly by the seat of my pants. Because I was repurposing a thin tablecloth as fabric, I needed some muslin as one of the layers. I had no muslin and used an old pillowcase to protect the batting layers.
Attaching the New Chair Seat
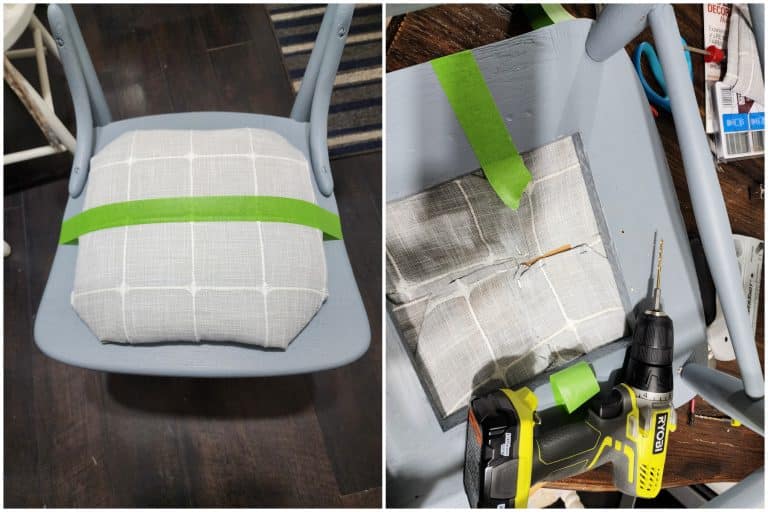
To keep it real here, I don’t know what I’m doing, so I make it up as I go along. I tried to use painter’s tape to hold the seat in place as I flipped the vintage cane chair over. It didn’t work that well. I drilled two holes and added two screws to hold the chair seat in place. You may notice that the holes are filled in this image but still show a little.
Upholstered Cnae Chair Seat
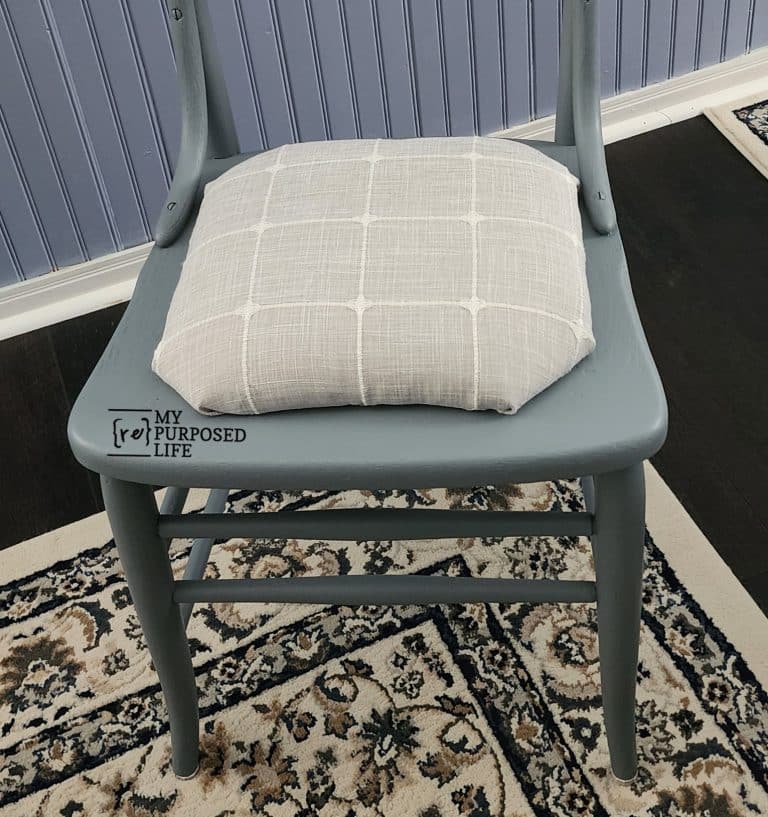
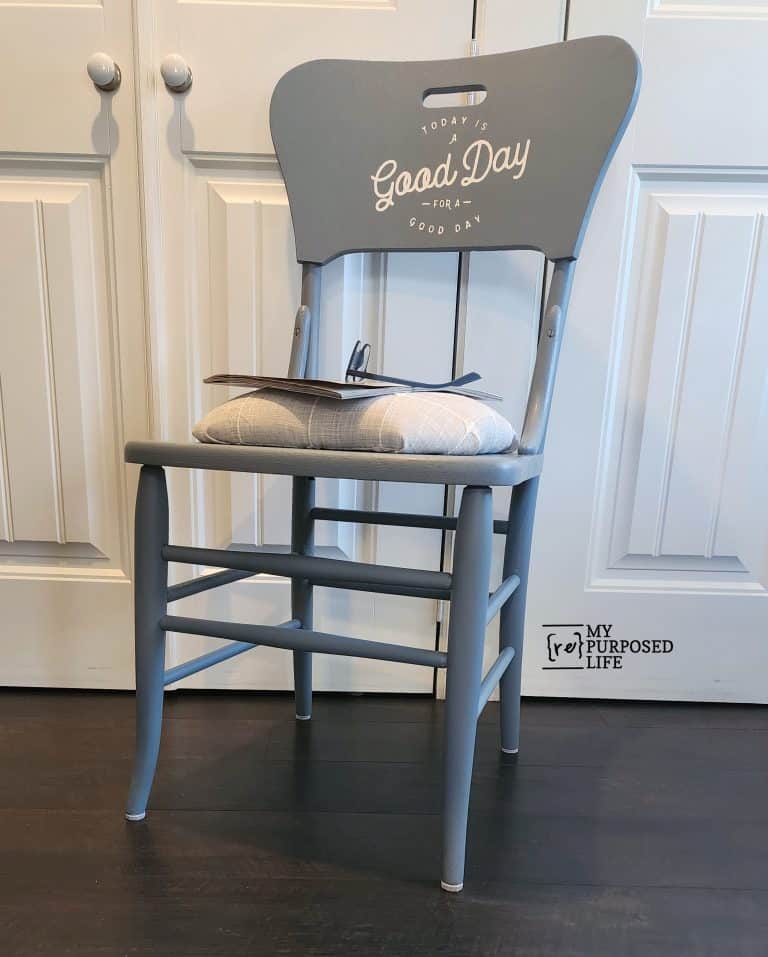
Against the blue wall, the chair looks more gray. Other times, the chair looks a bit blue.
I felt that the chair needed a little something extra!
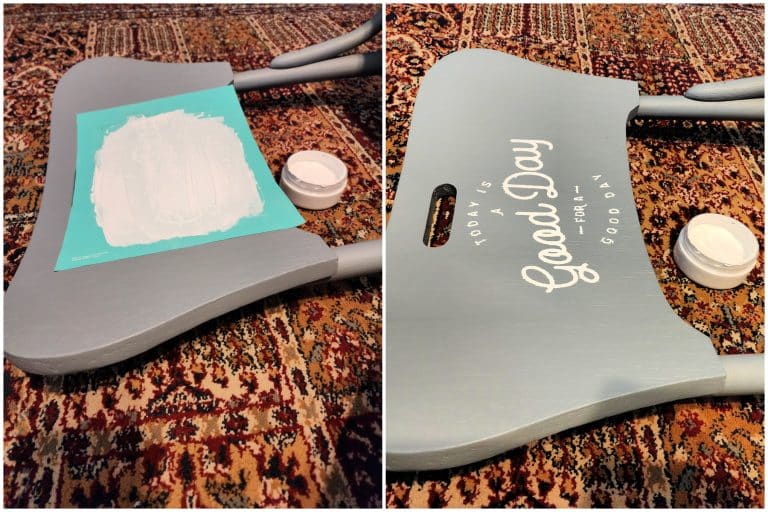
Did you know I am a Chalk Couture Designer? I’ve been with the company for years and still love using their products. The “Today is a Good Day For a Good Day” is one of my all-time favorite transfers.
Pretty Vintage Cane Chair
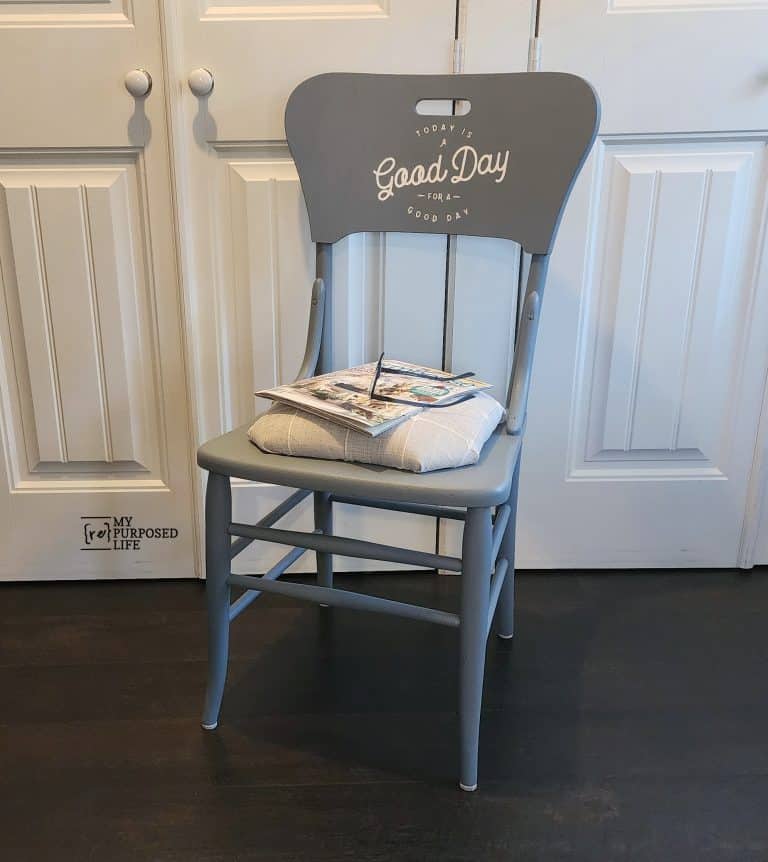
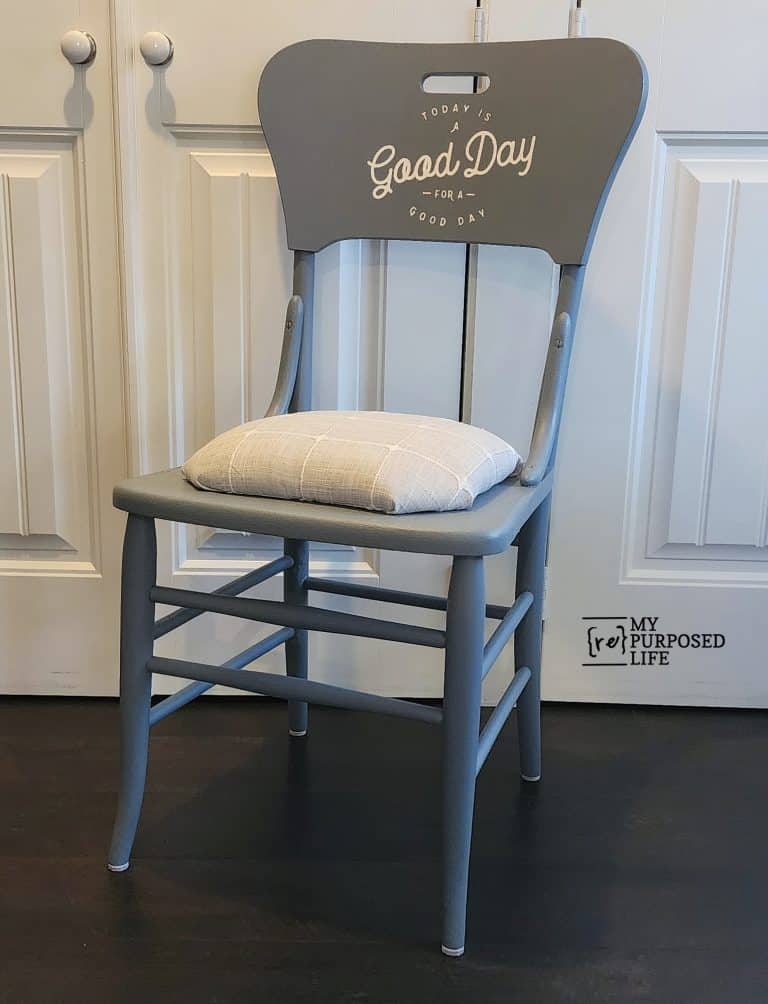
The upcycled vintage oak cane chair currently resides in my bedroom because I took the Antique Parlor Chair to The Hideaway.
I’m excited to share the rest of the team’s projects:
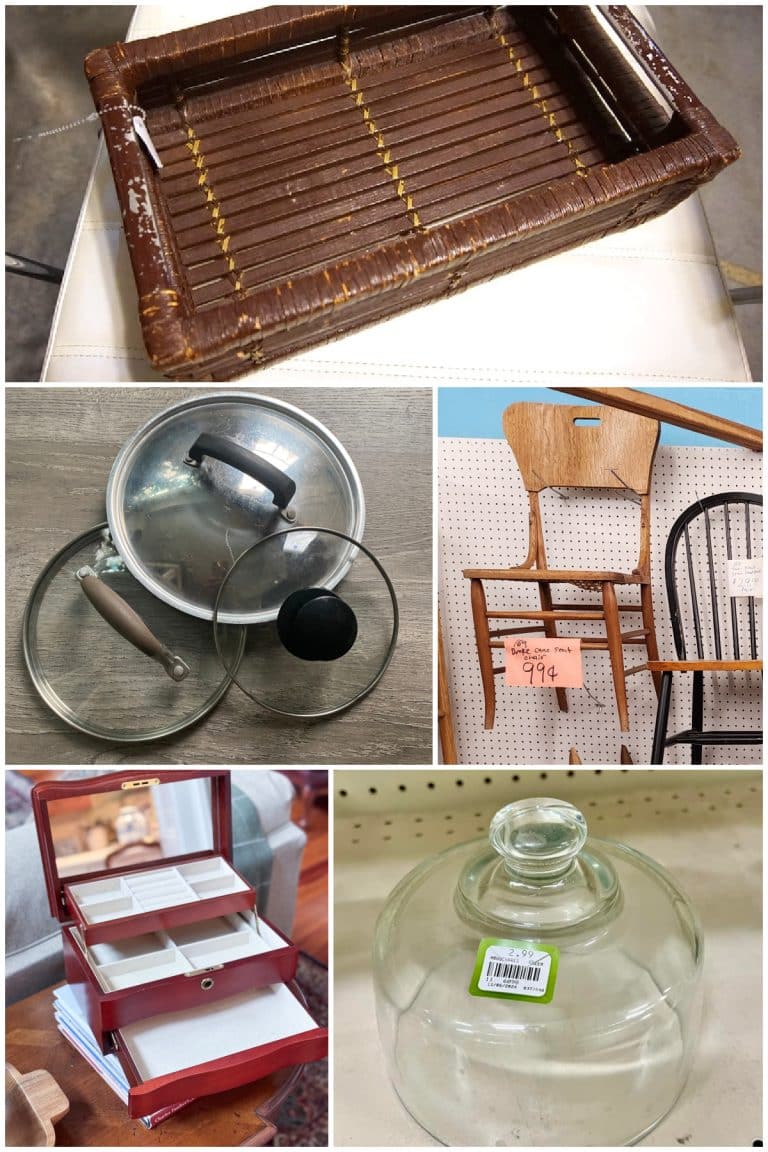
- Paint A Bamboo Tray
- Kitchen Utensil Decor
- Oak Chair Makeover (You’re here, thank you)
- Using Restor-a-Finish on Thrifted Finds
- How to Style a Glass Cloche
What a steal on the cane chair! Love the new look and the Today is a Good Day For a Good Day transfer is perfect!
Thank you so much Kristin! For now, it’s in my room to hold the pillows when I unmake the bed. 🙂 It rests right below a sign with the very same transfer. LOL