Vintage Record Cabinet Makeover repair bad veneer
As an Amazon Associate, I earn from qualifying purchases.
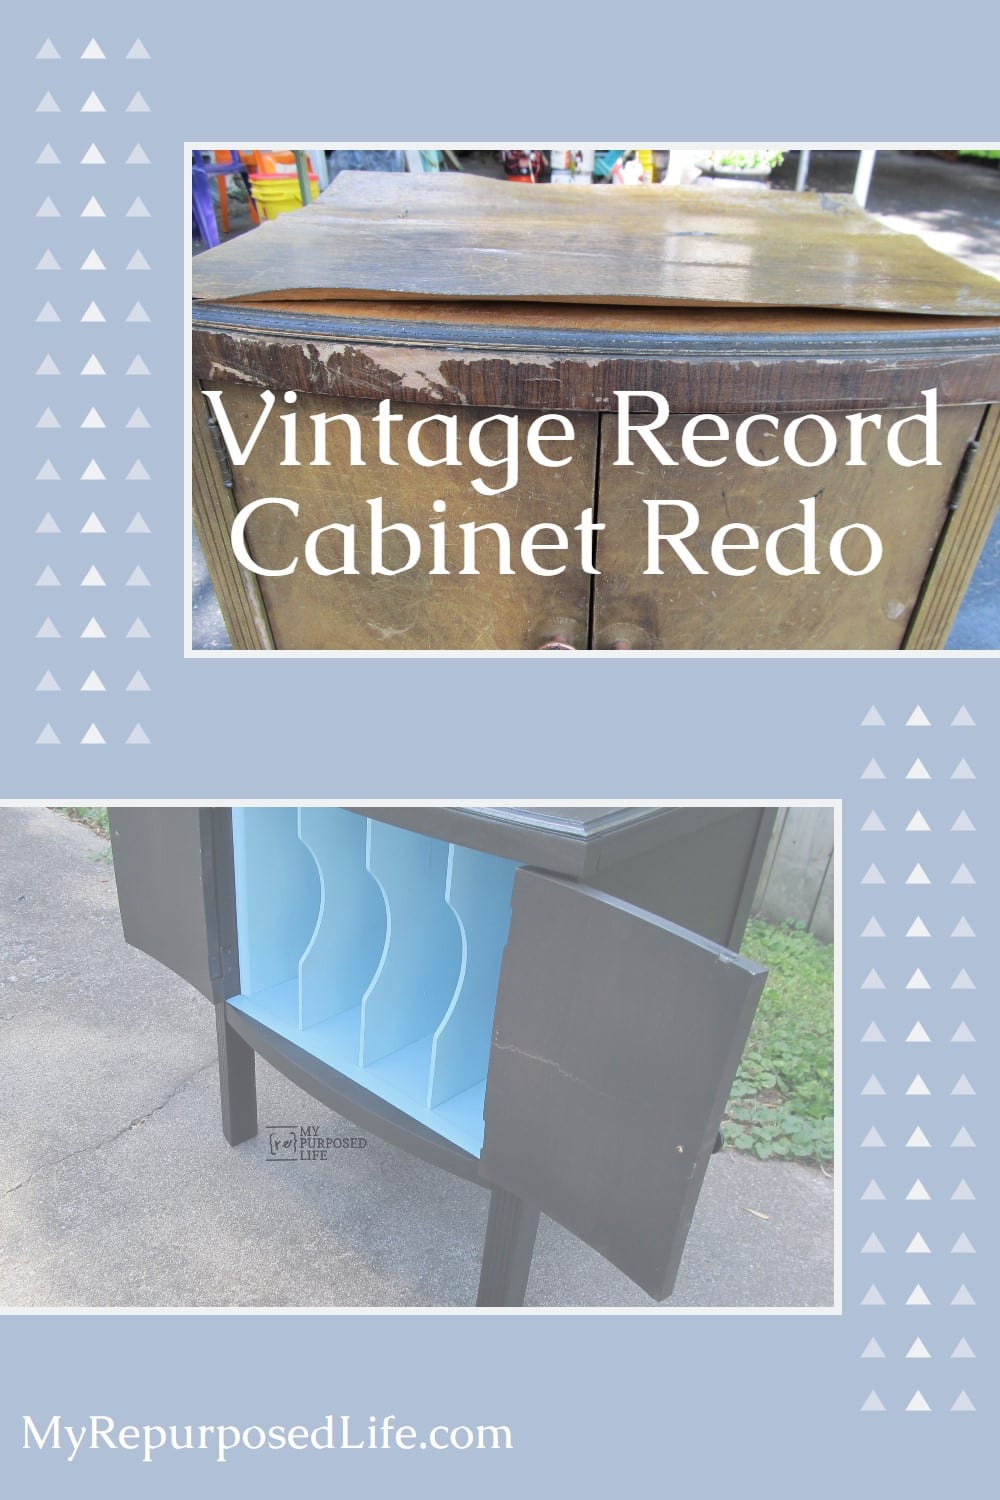
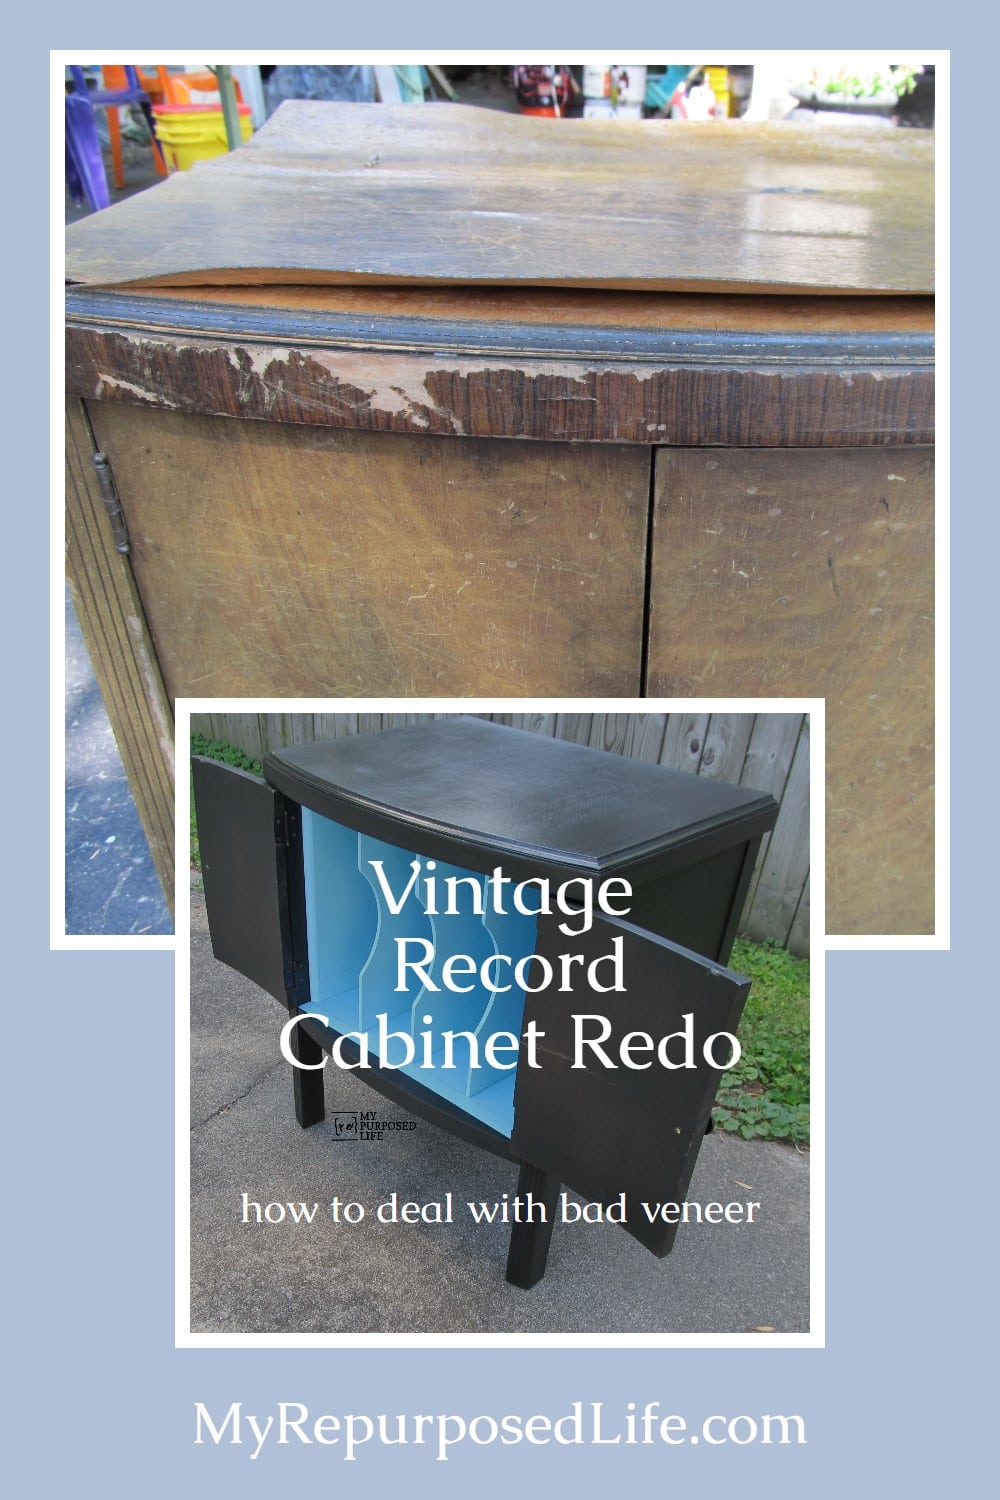

I love quick and easy makeovers in between my repurposing projects. This vintage record cabinet with really bad veneer fell into my lap on a day that I had nothing planned. It’s so pretty now, but wait till you see what I started with, and how I had to go about repairing it.
Vintage Cabinet with Bad Veneer
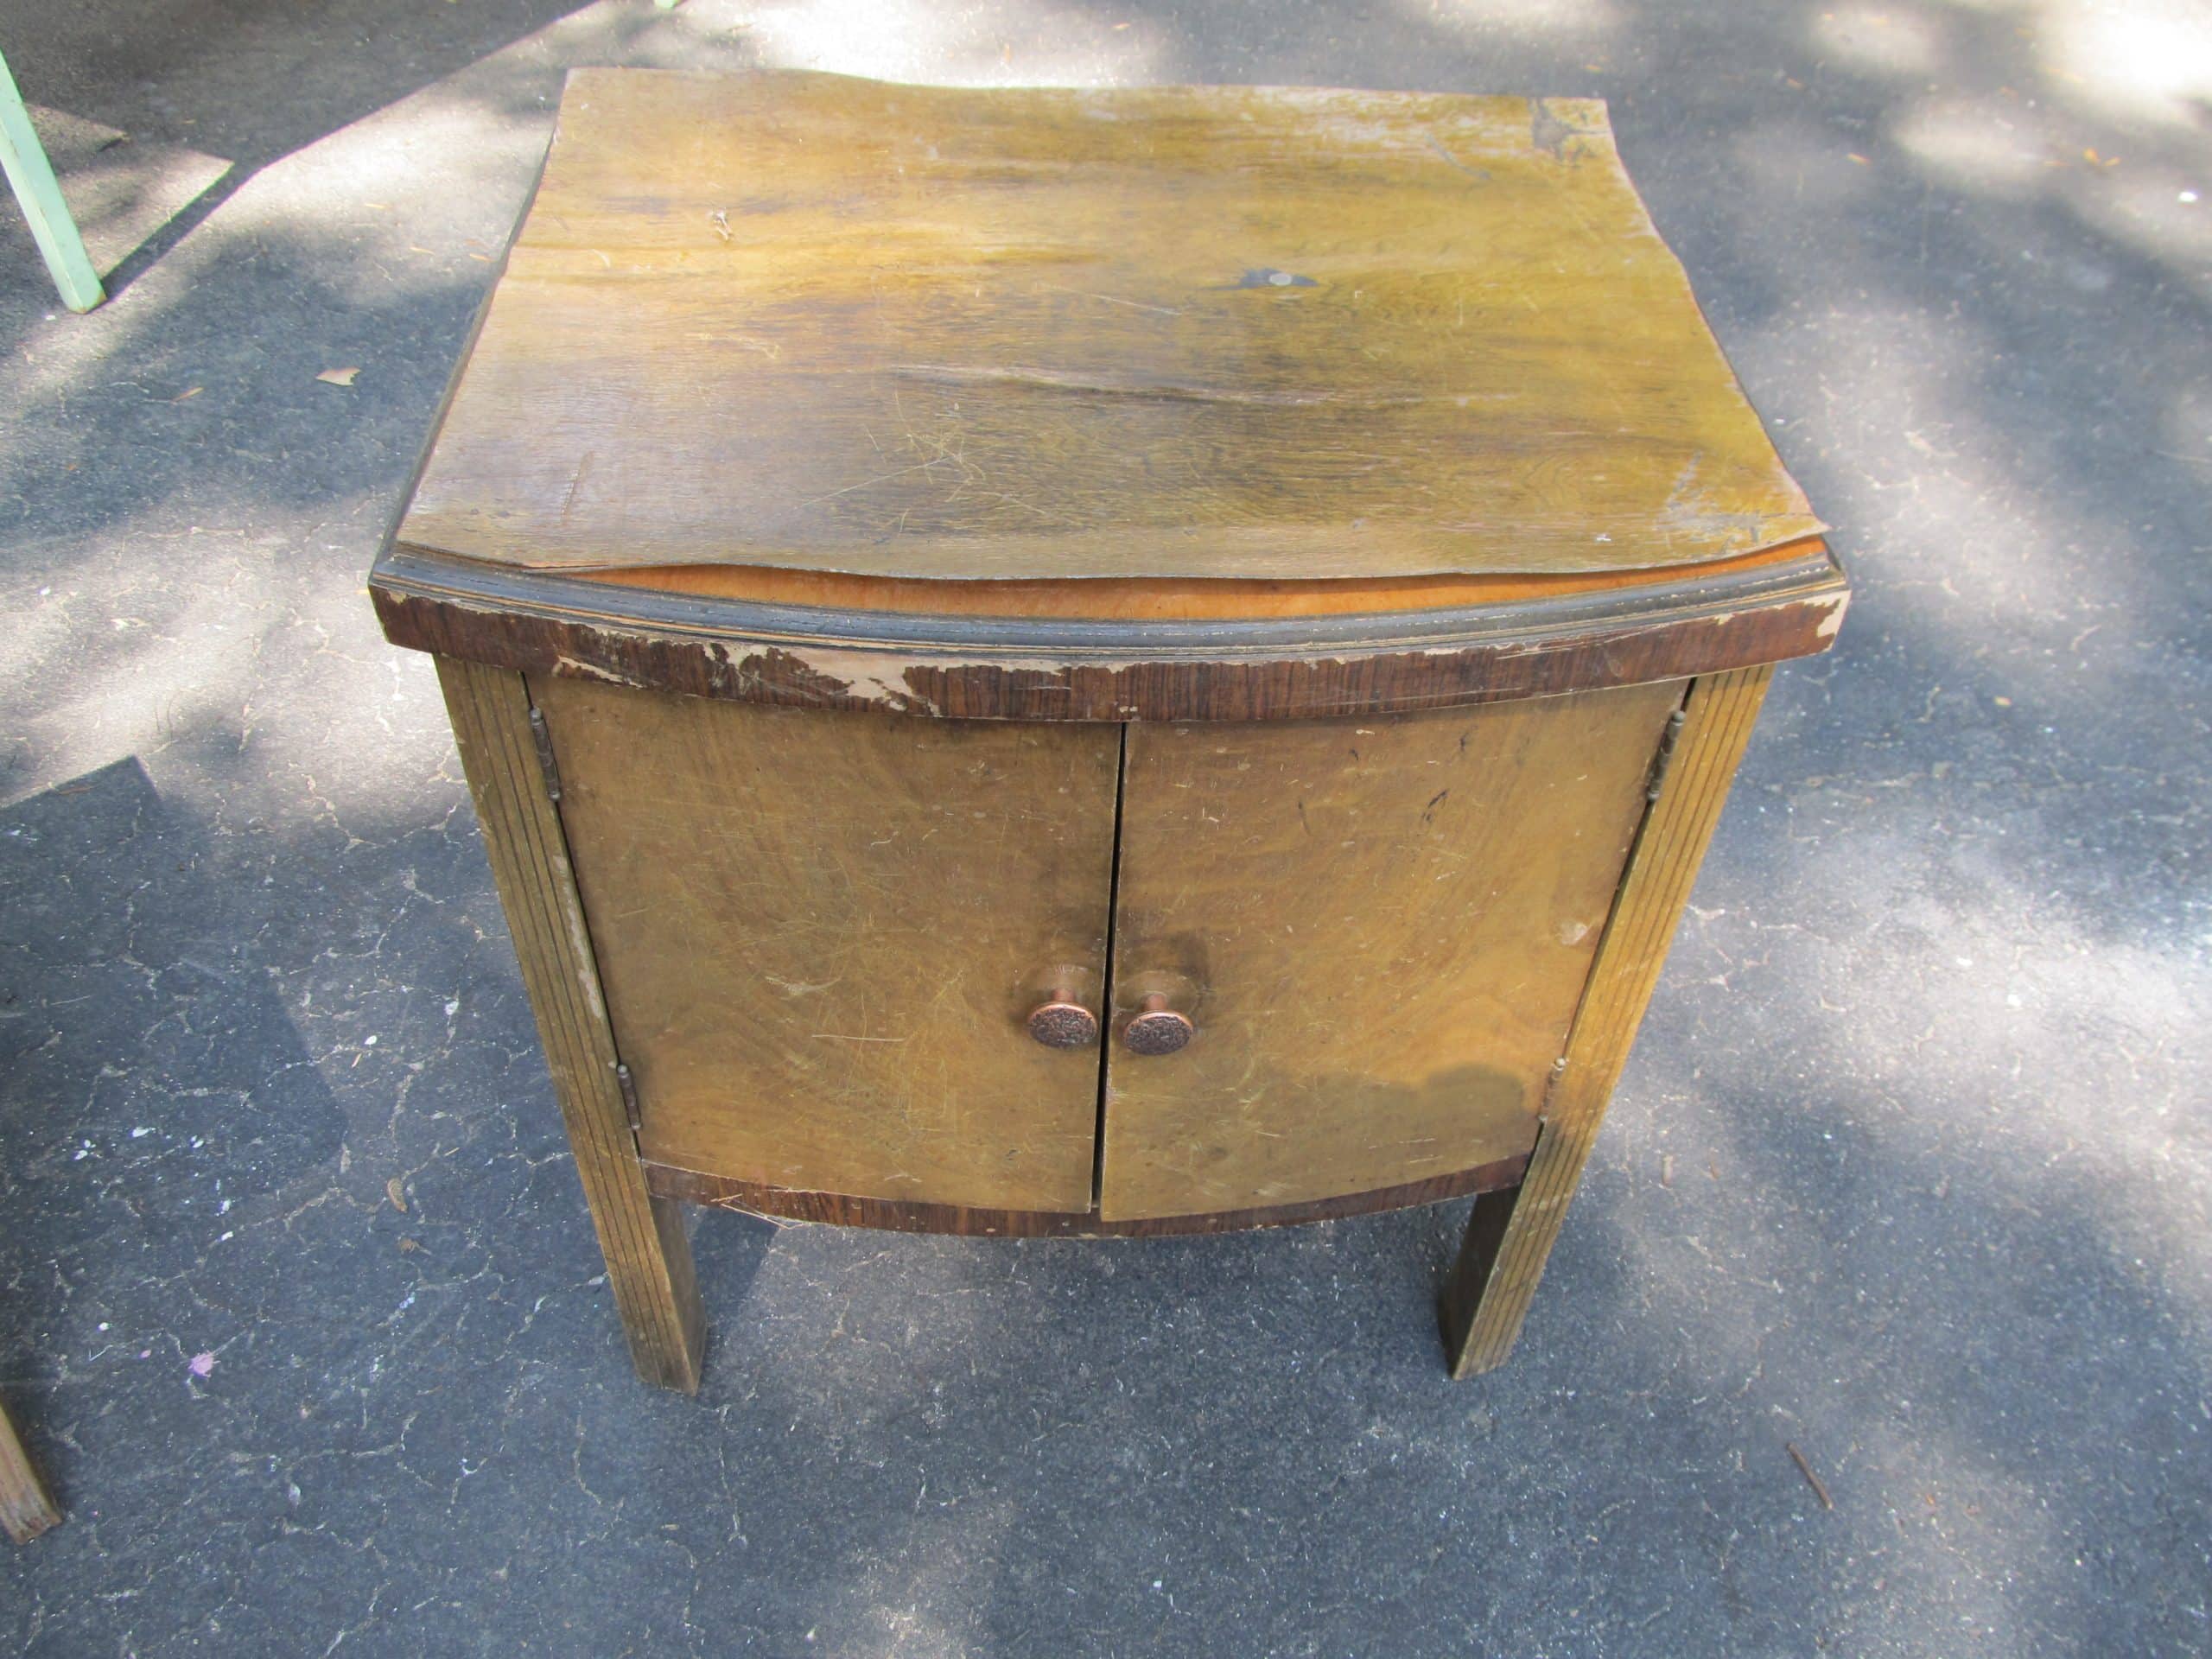
This is how it came to me, abused and neglected, apparently left out in the elements for far too long.
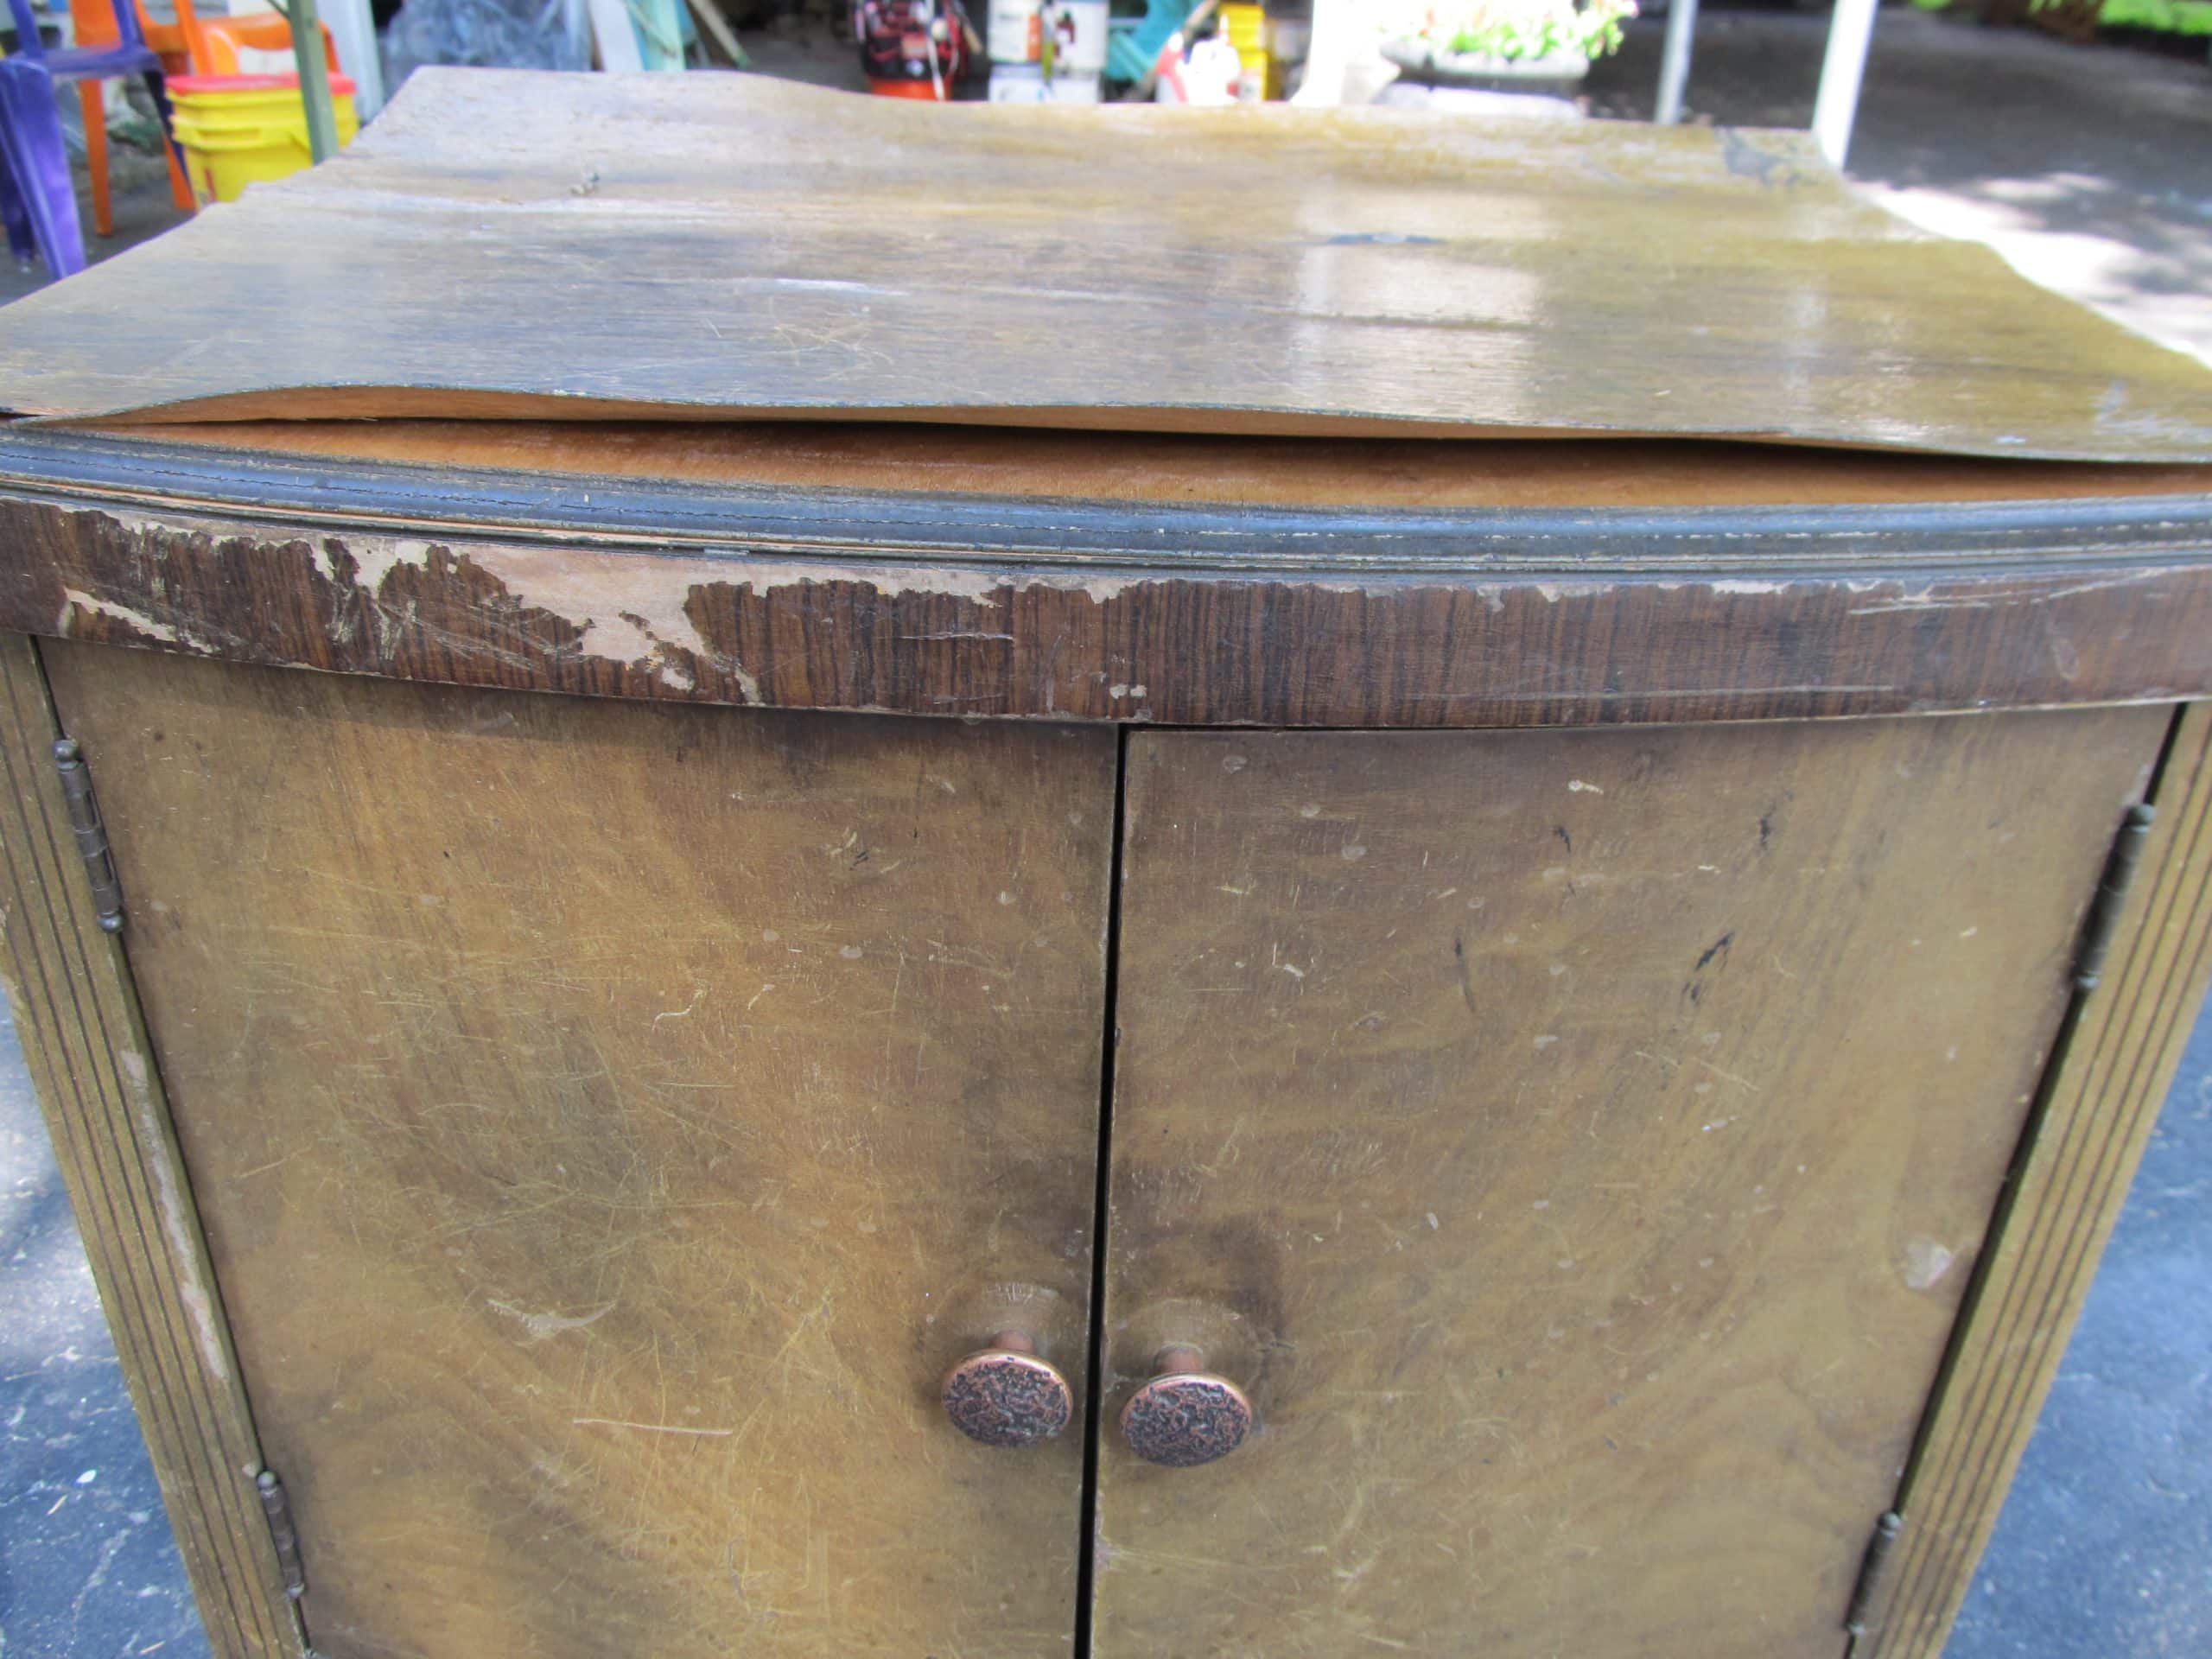
The top was in bad shape.
Related content: how to patch wood after removing veneer
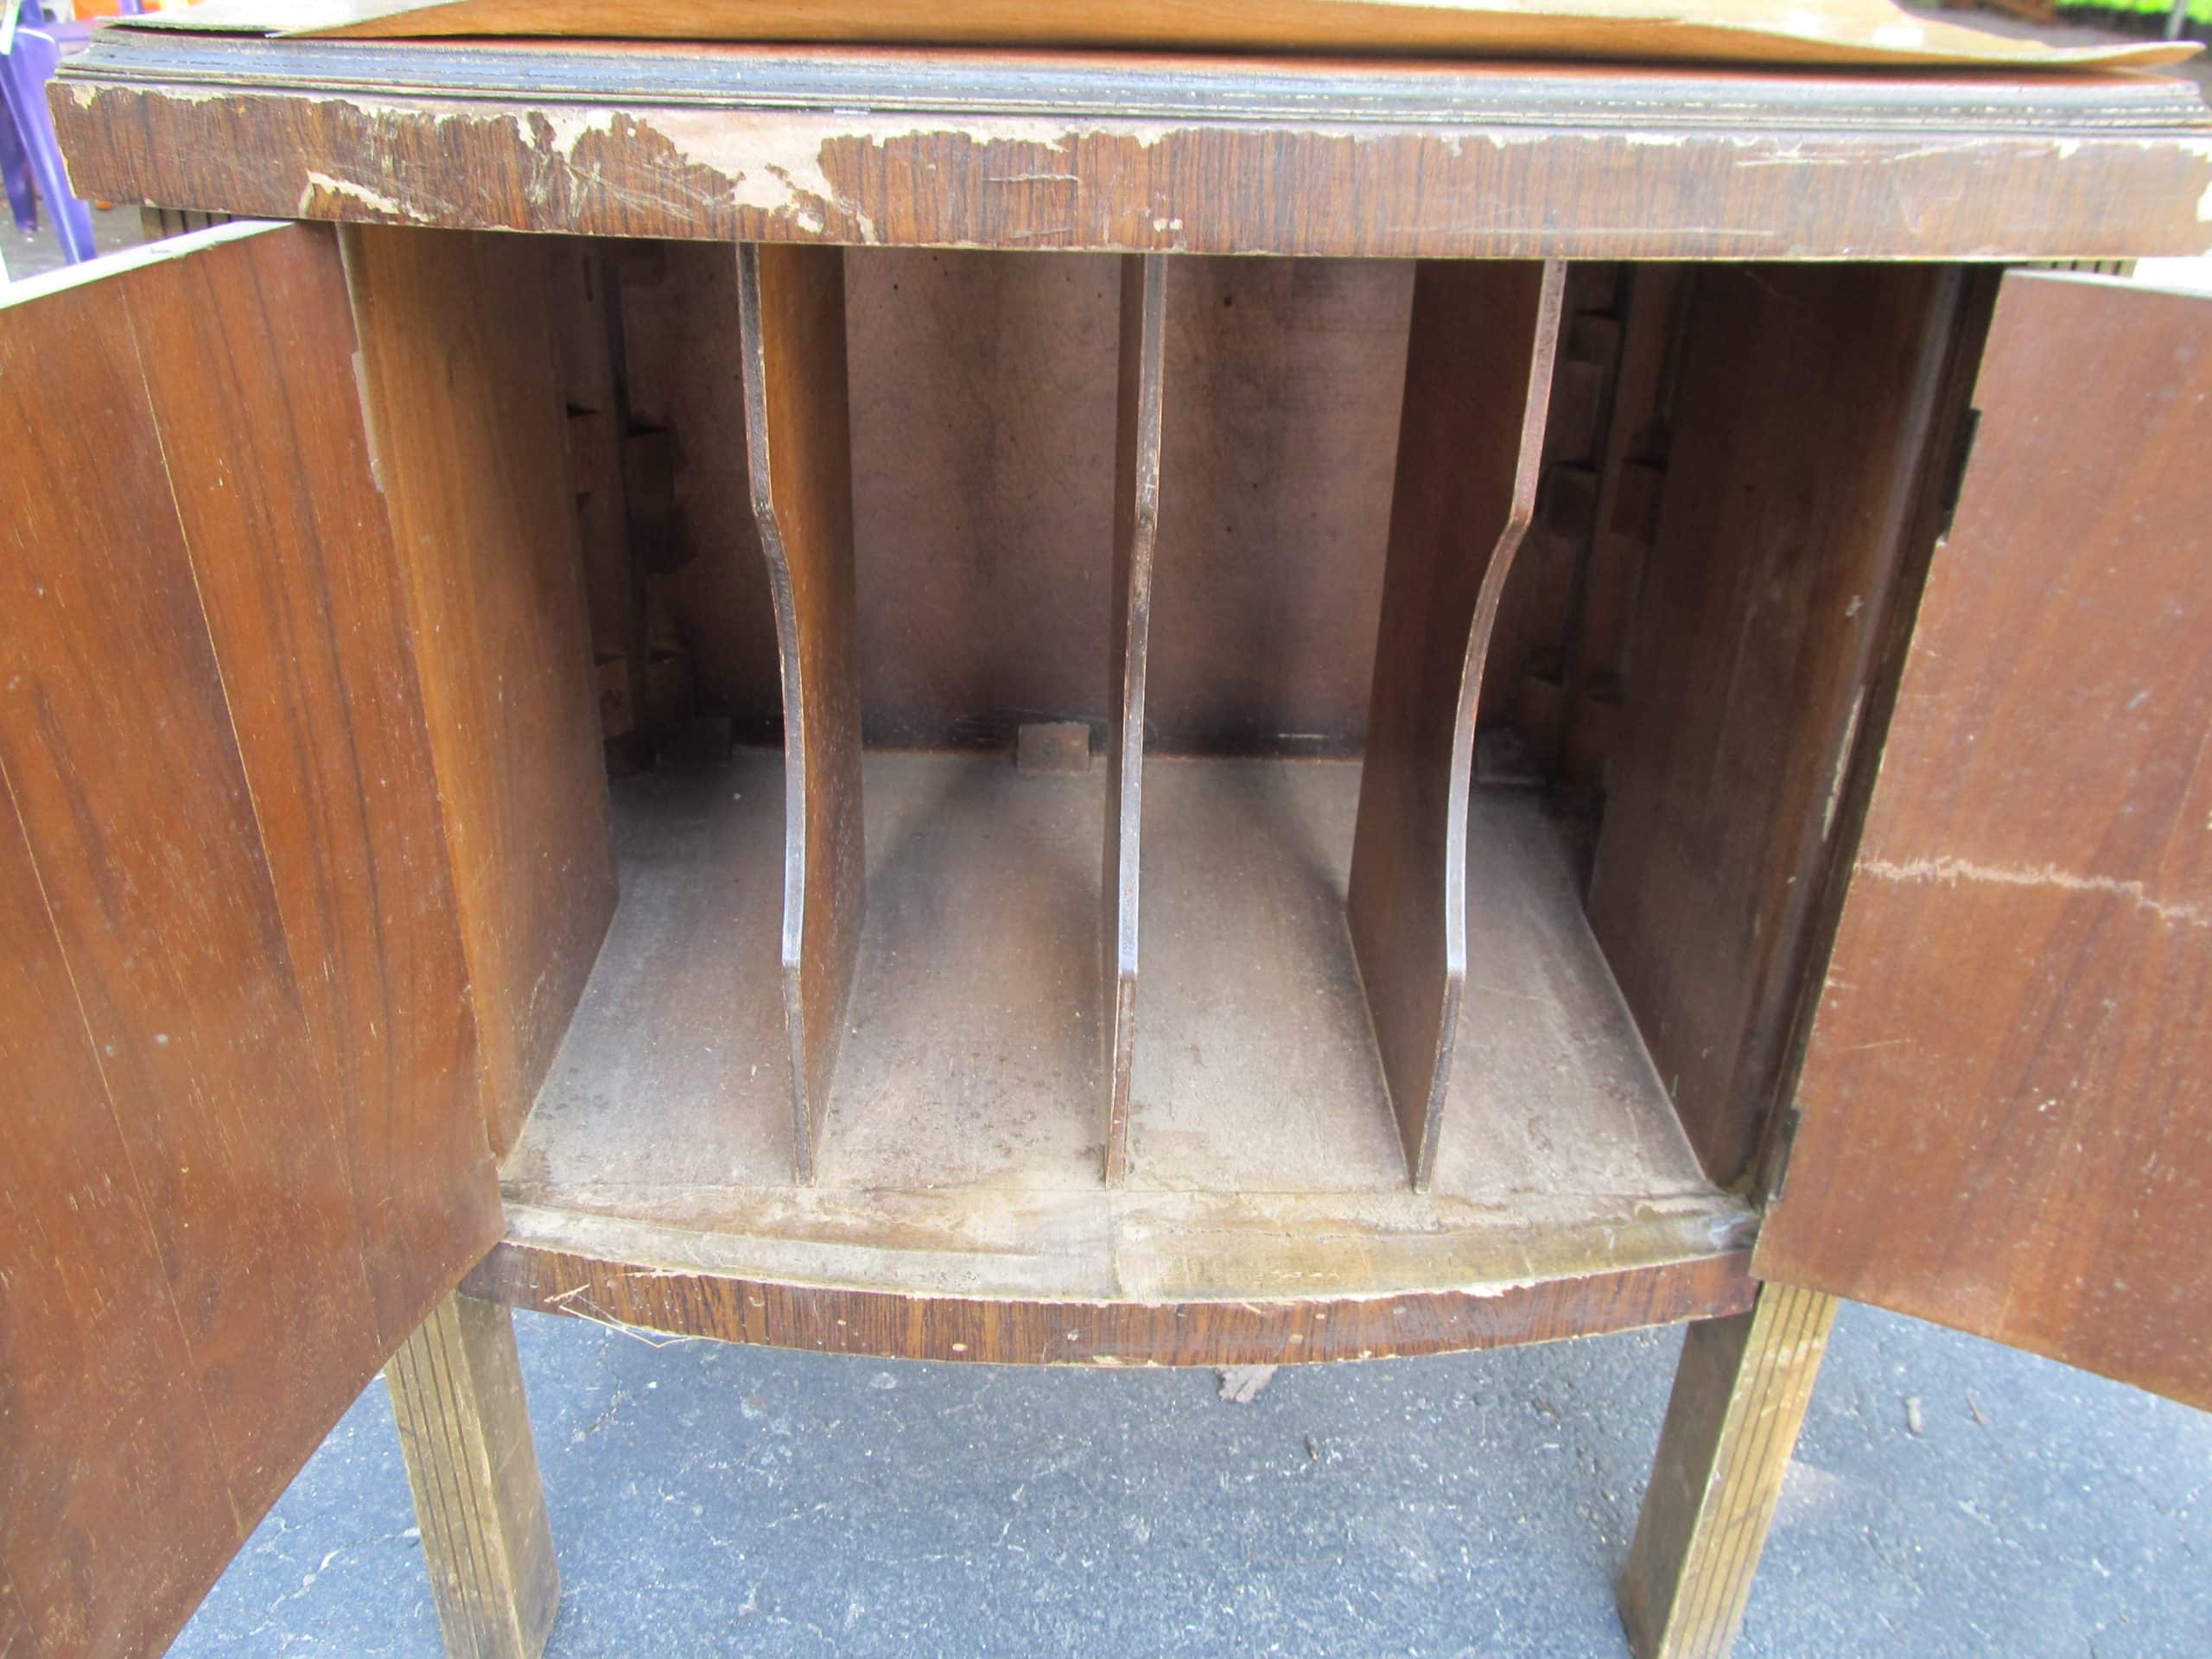
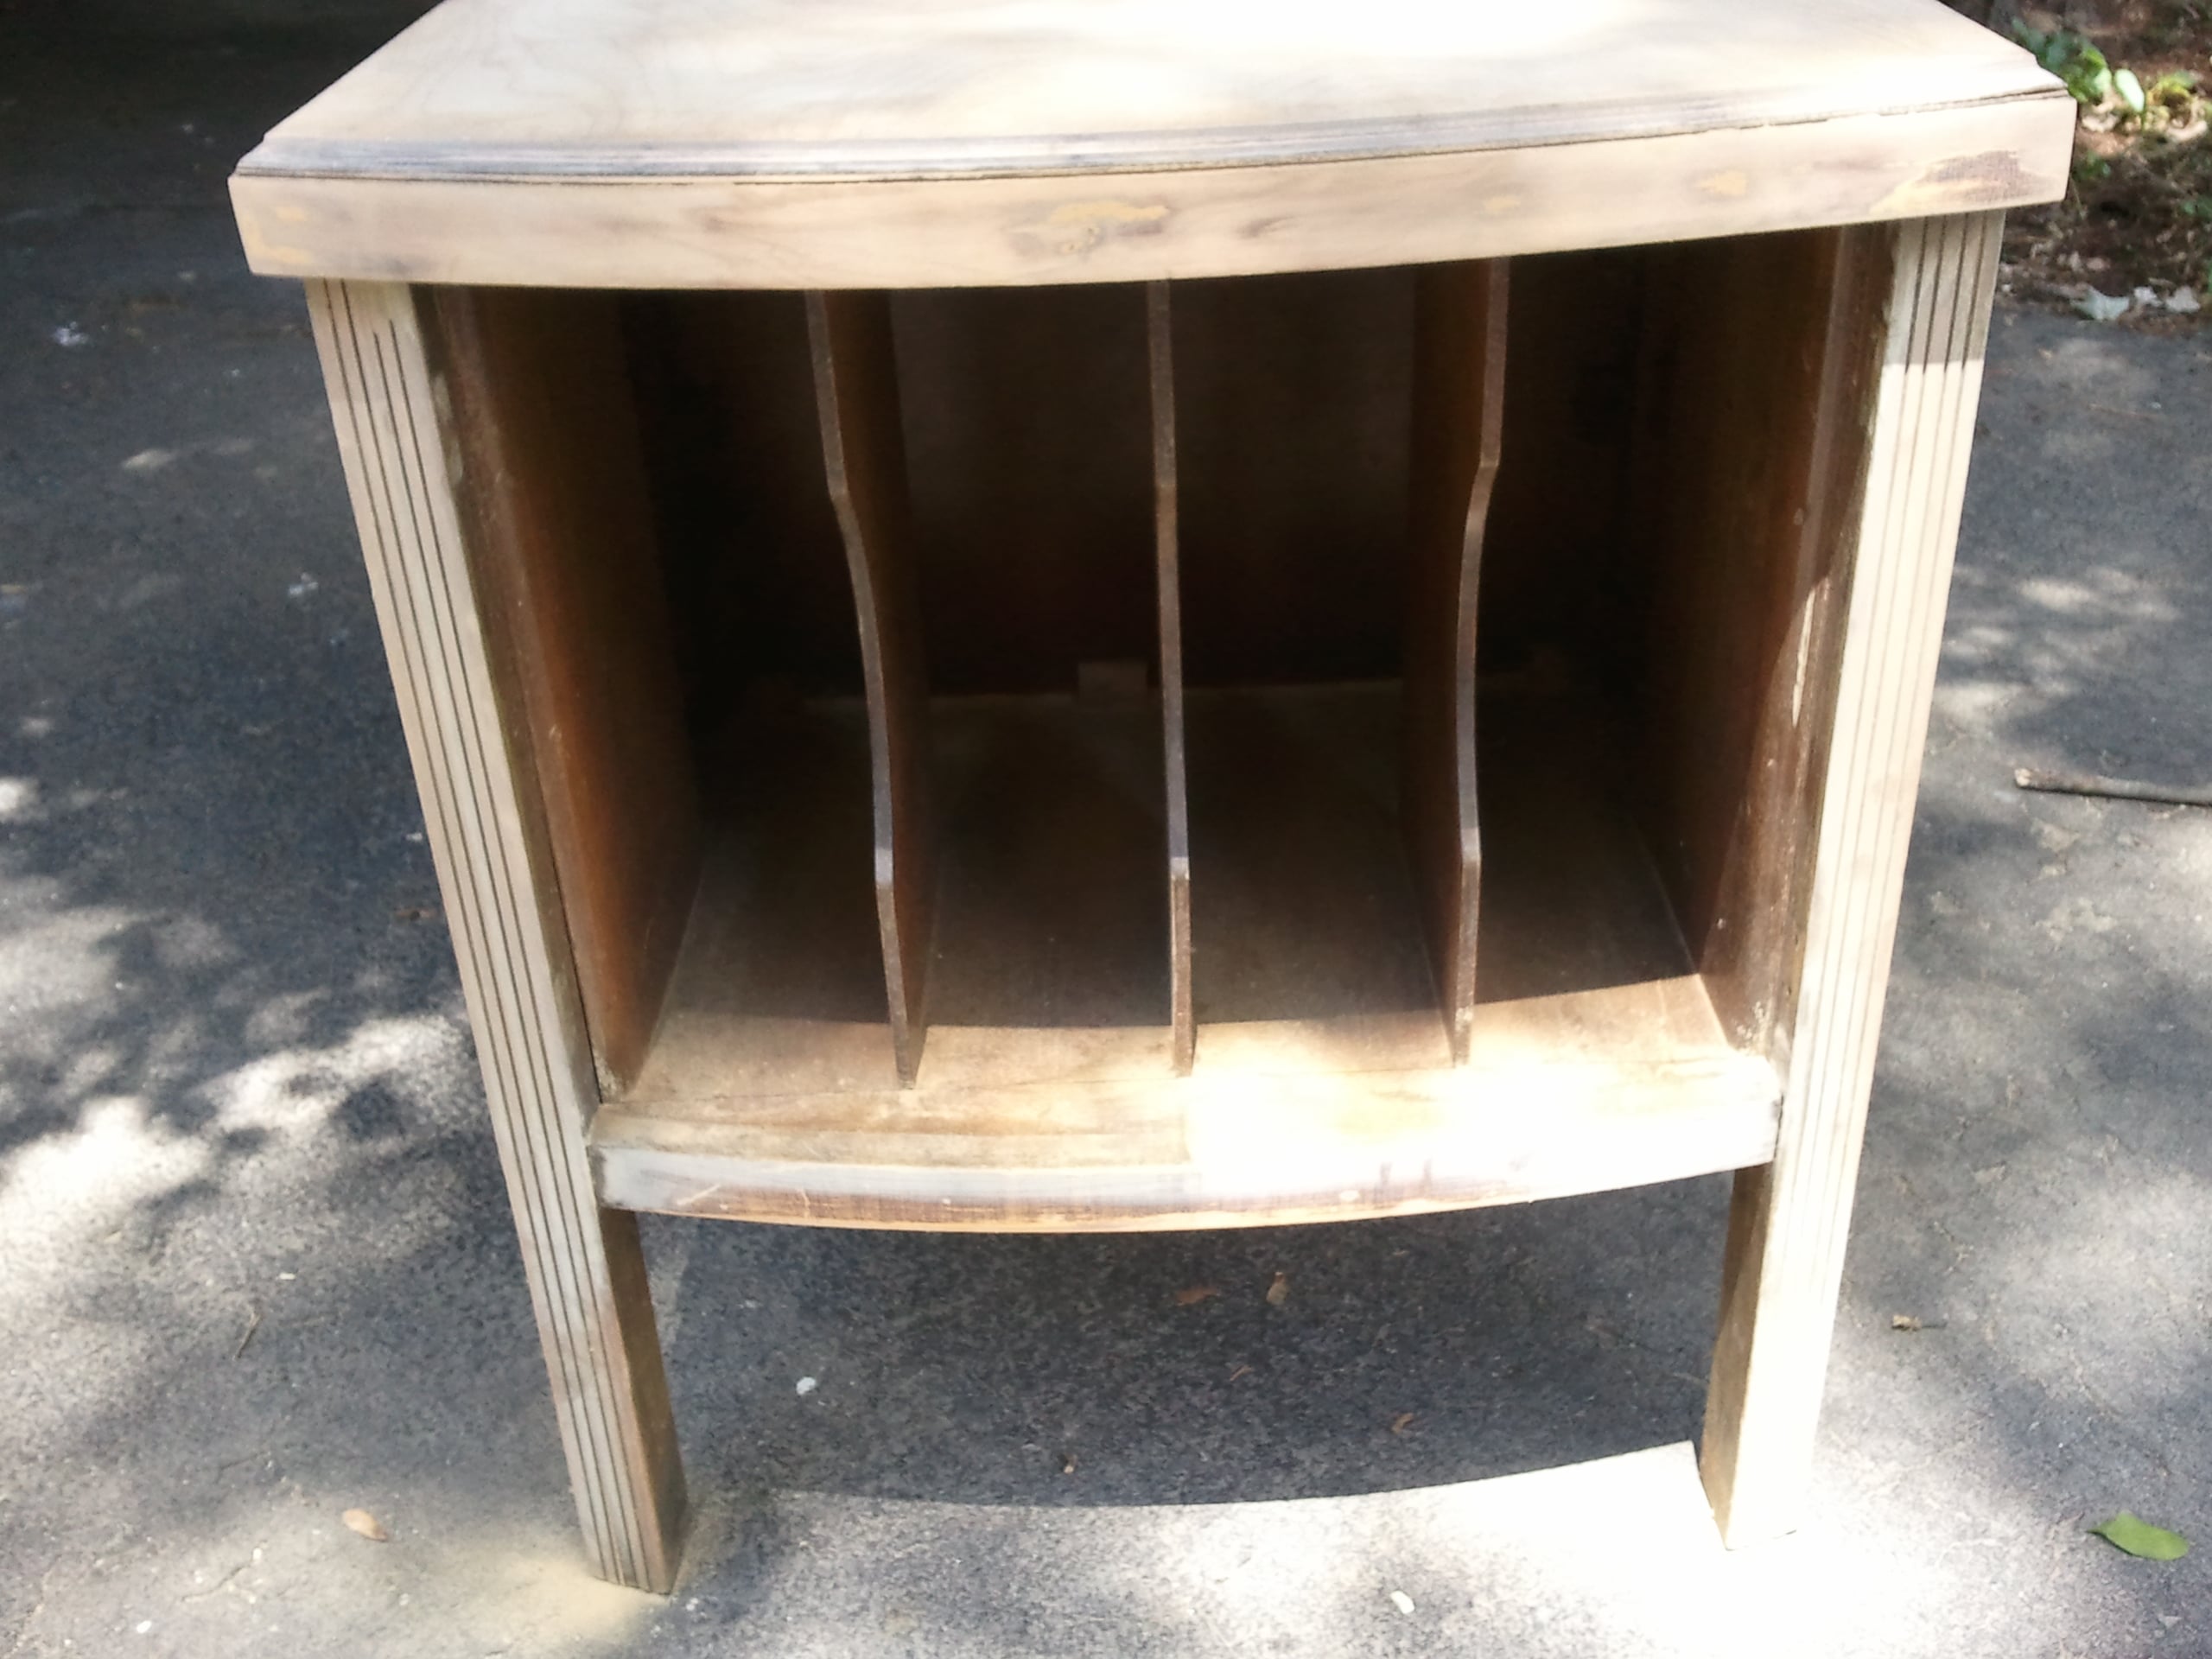
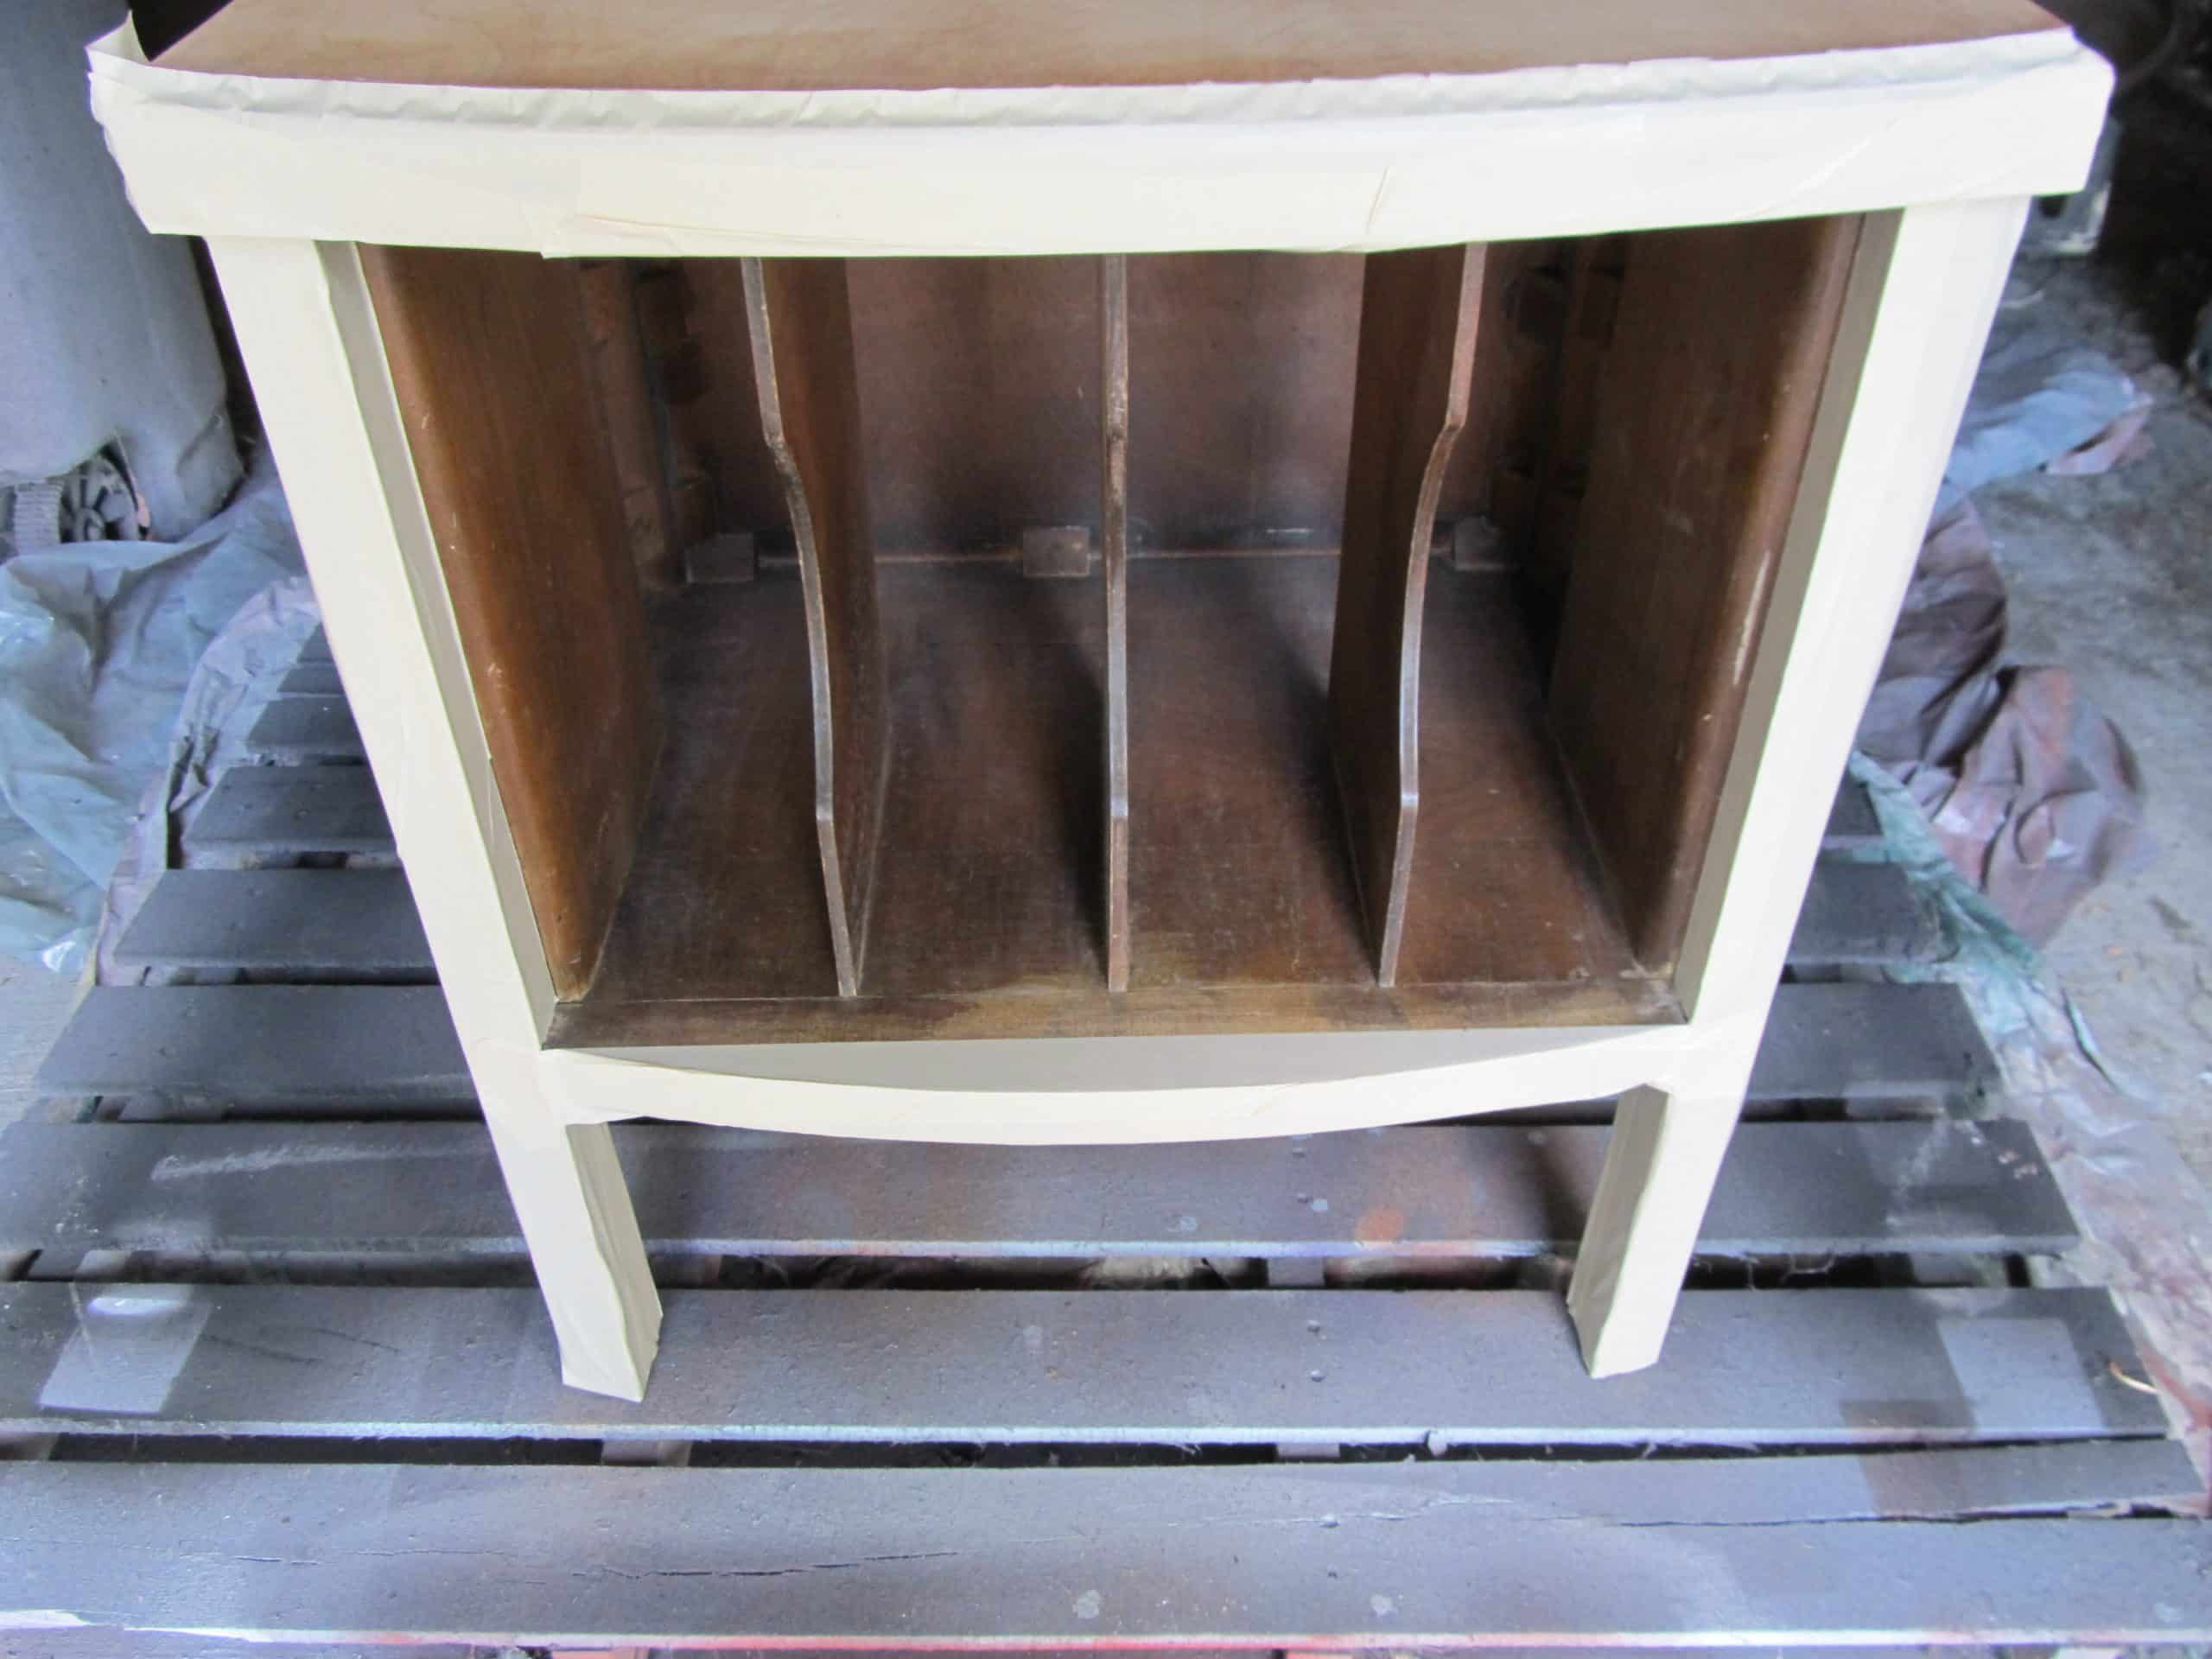
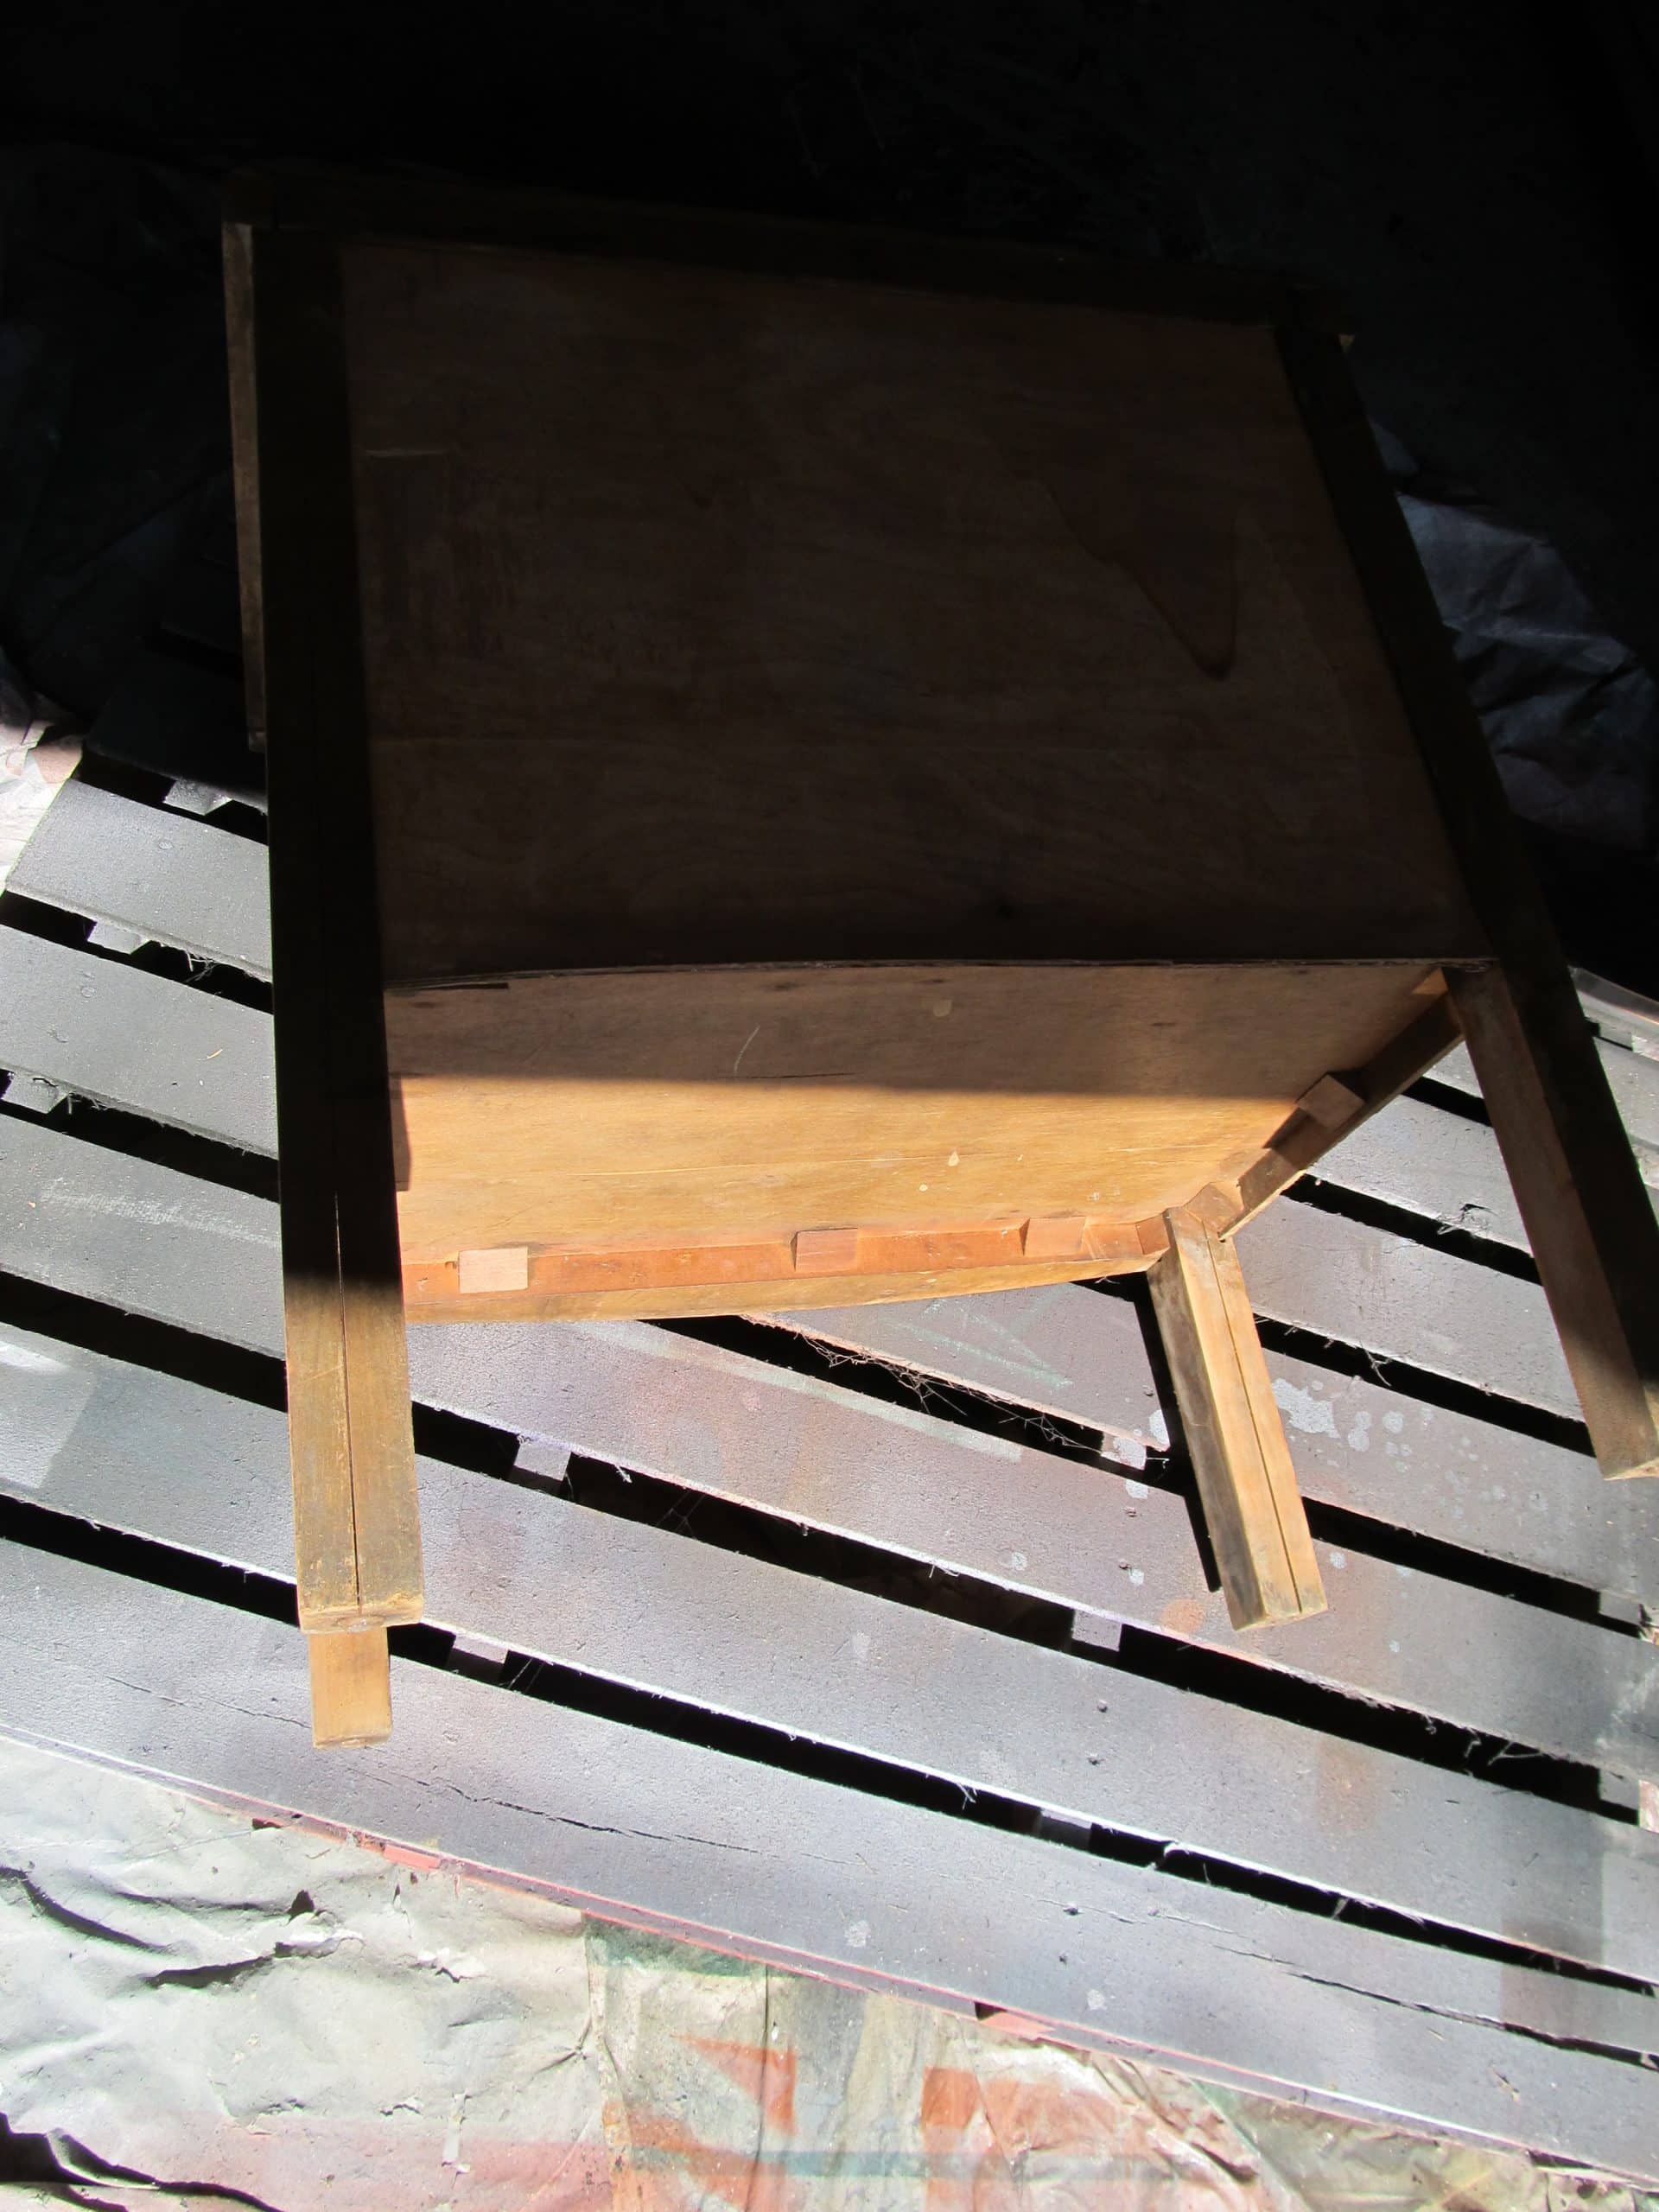
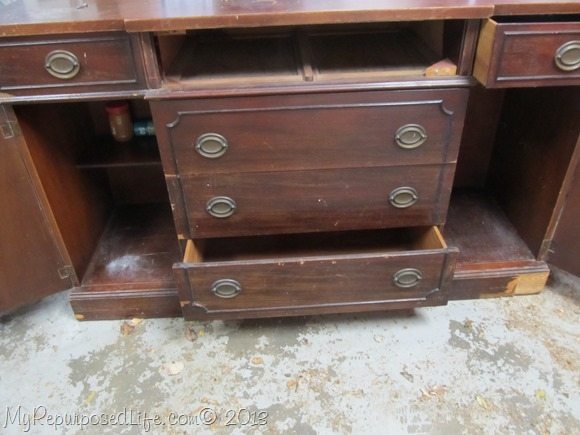
The inside was mostly in fair condition.

This is one side.
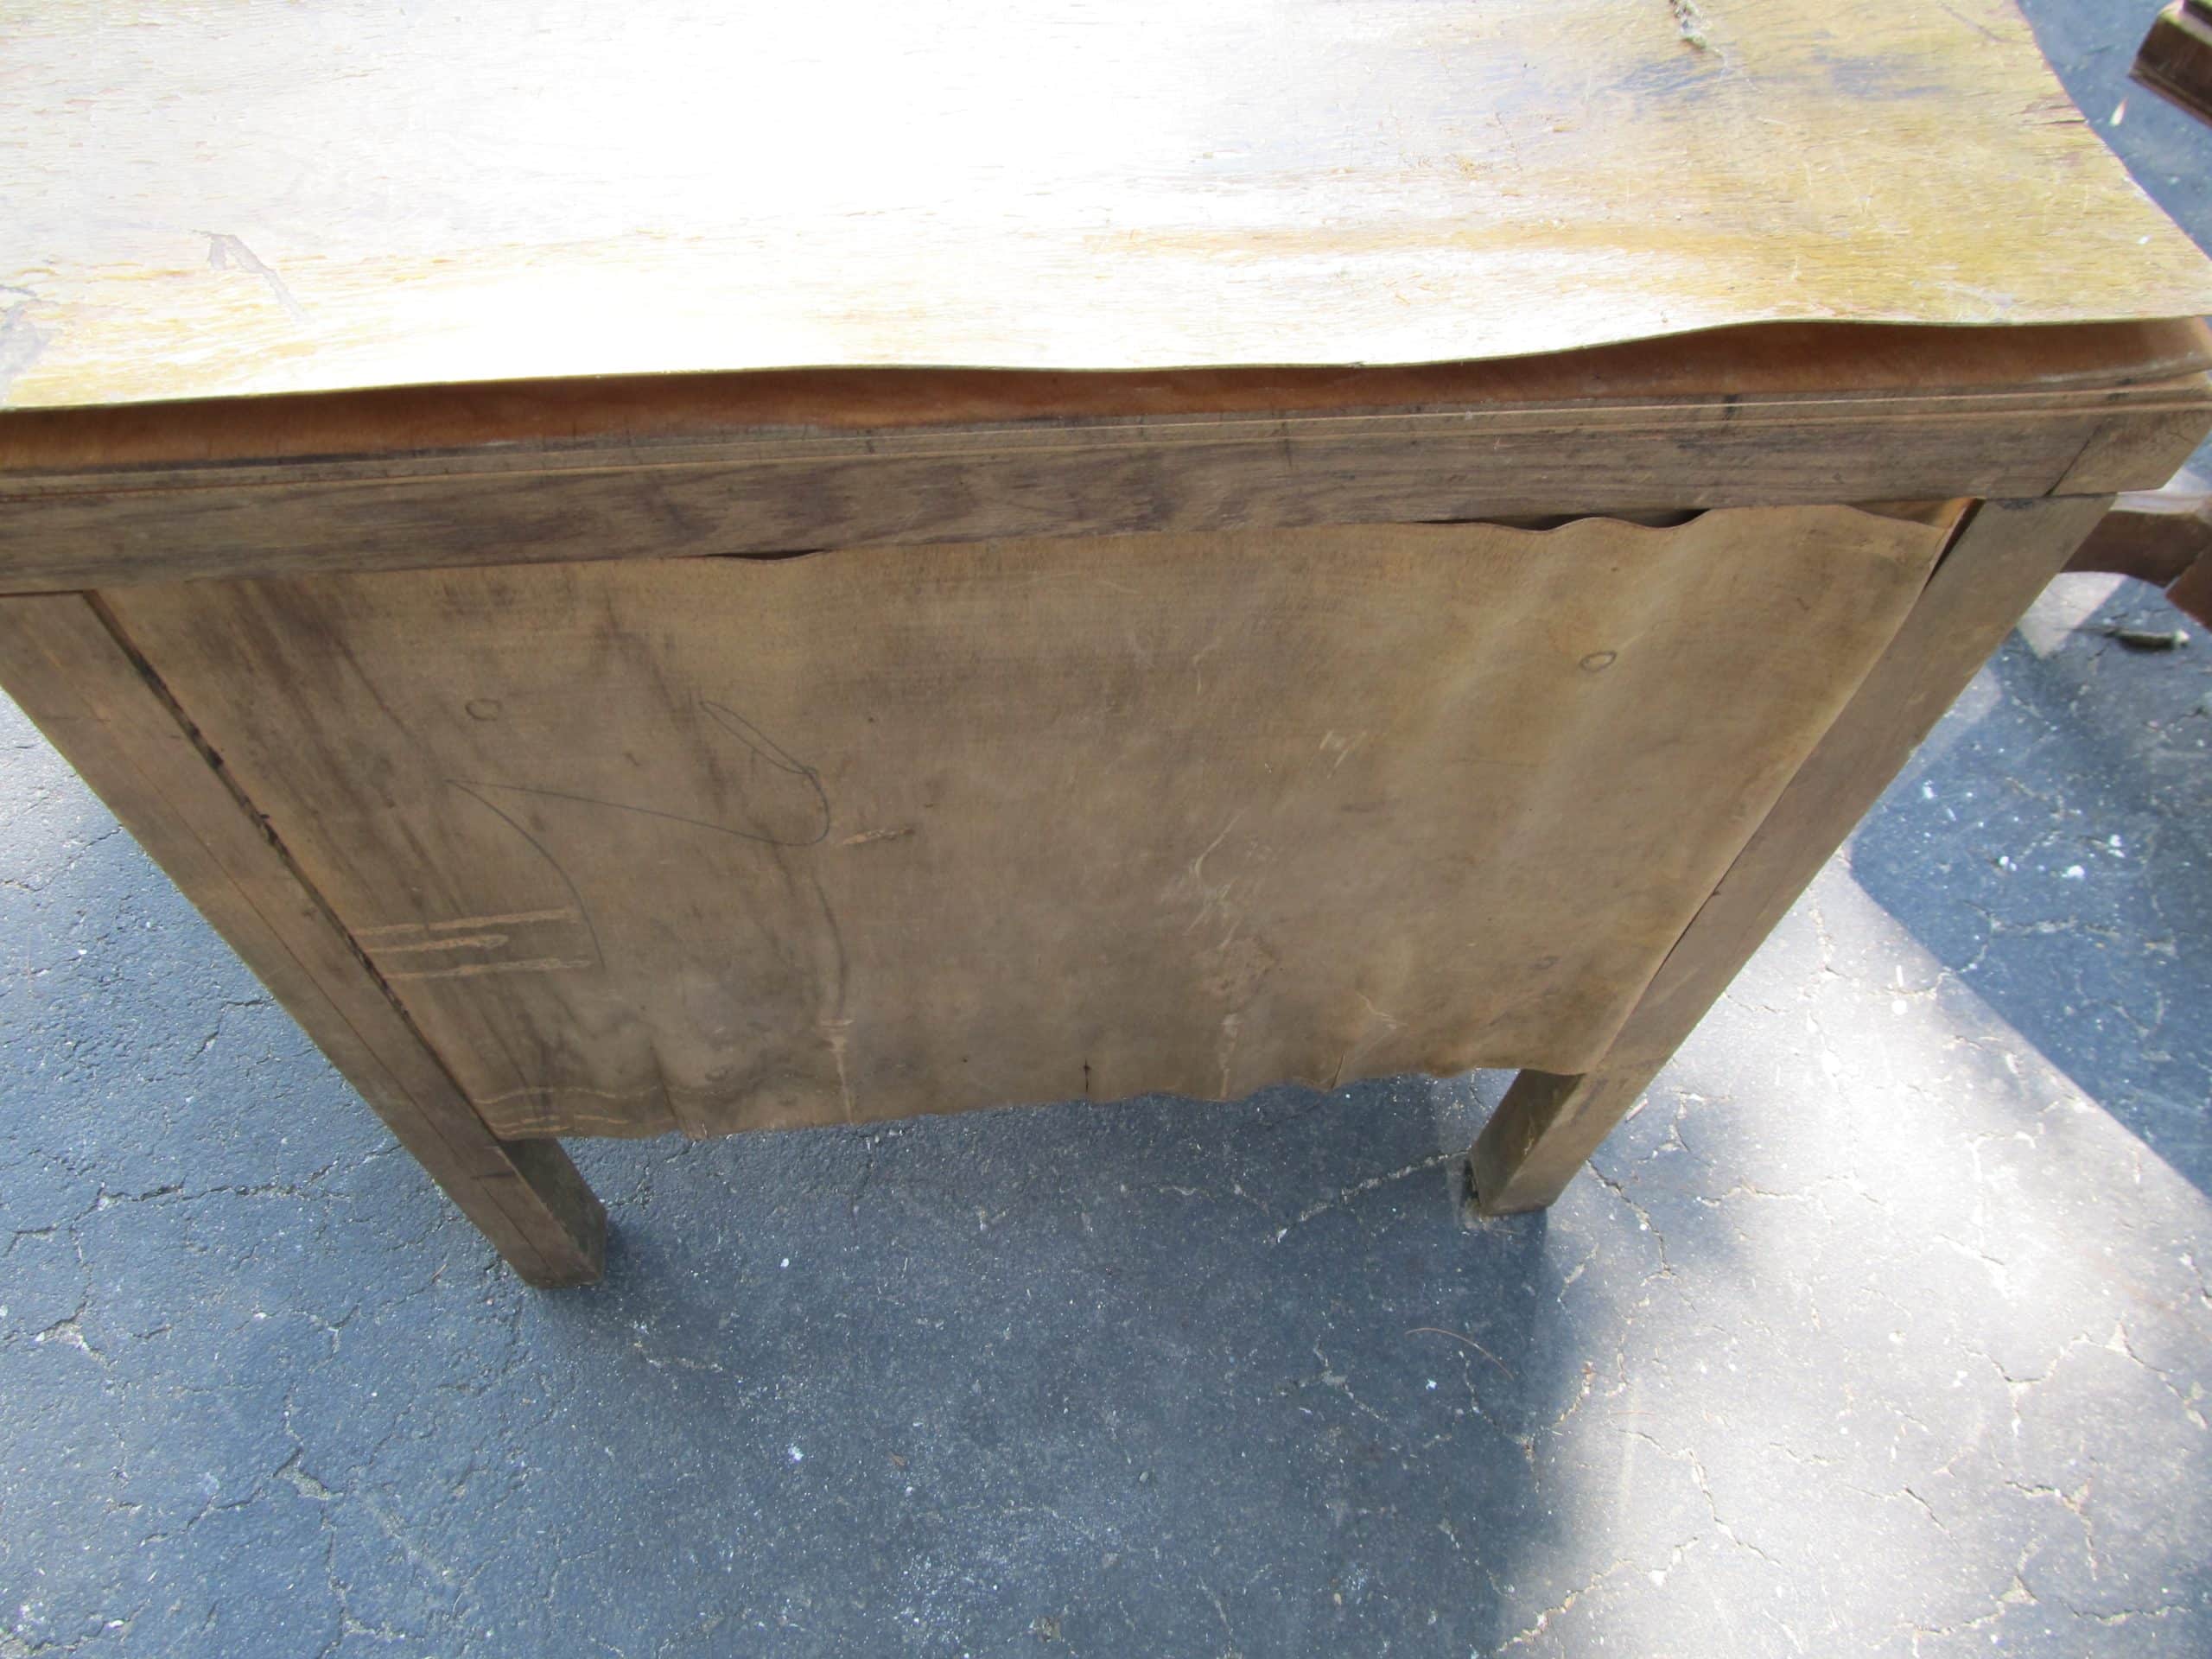
And, this is the back!! b.a.d.
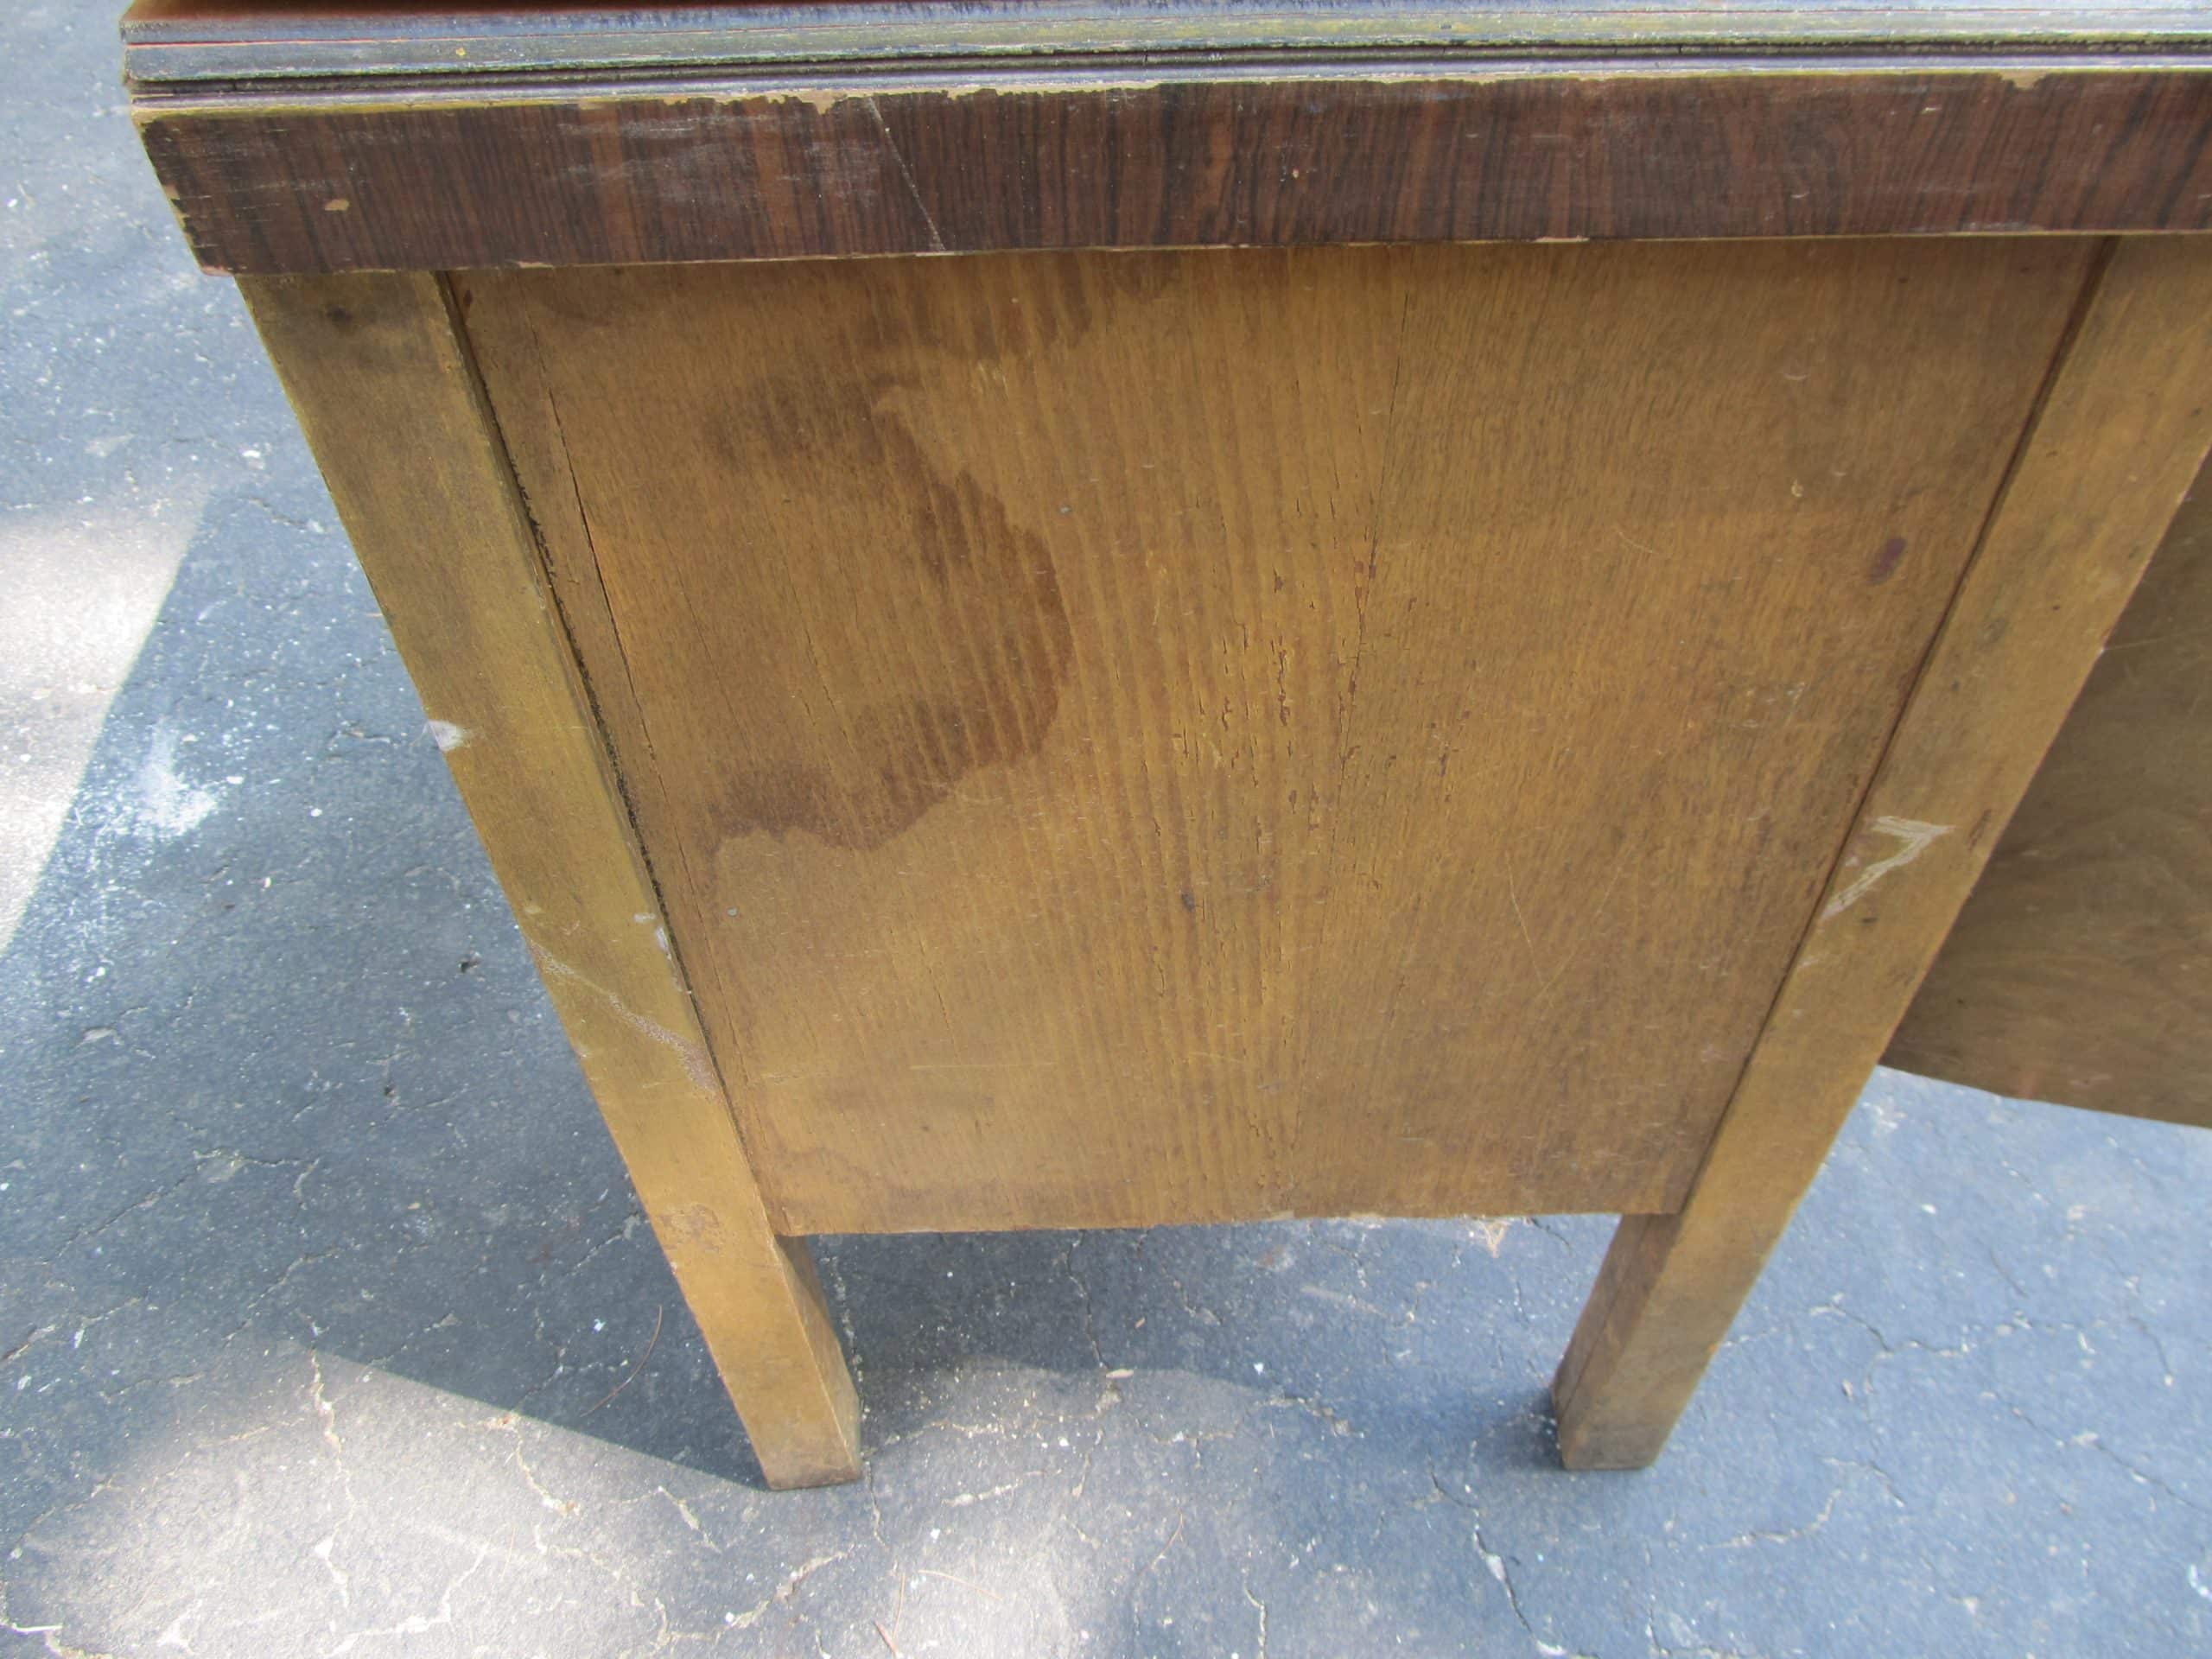
The other side, though stained, is in good shape.
How to remove Bad Veneer
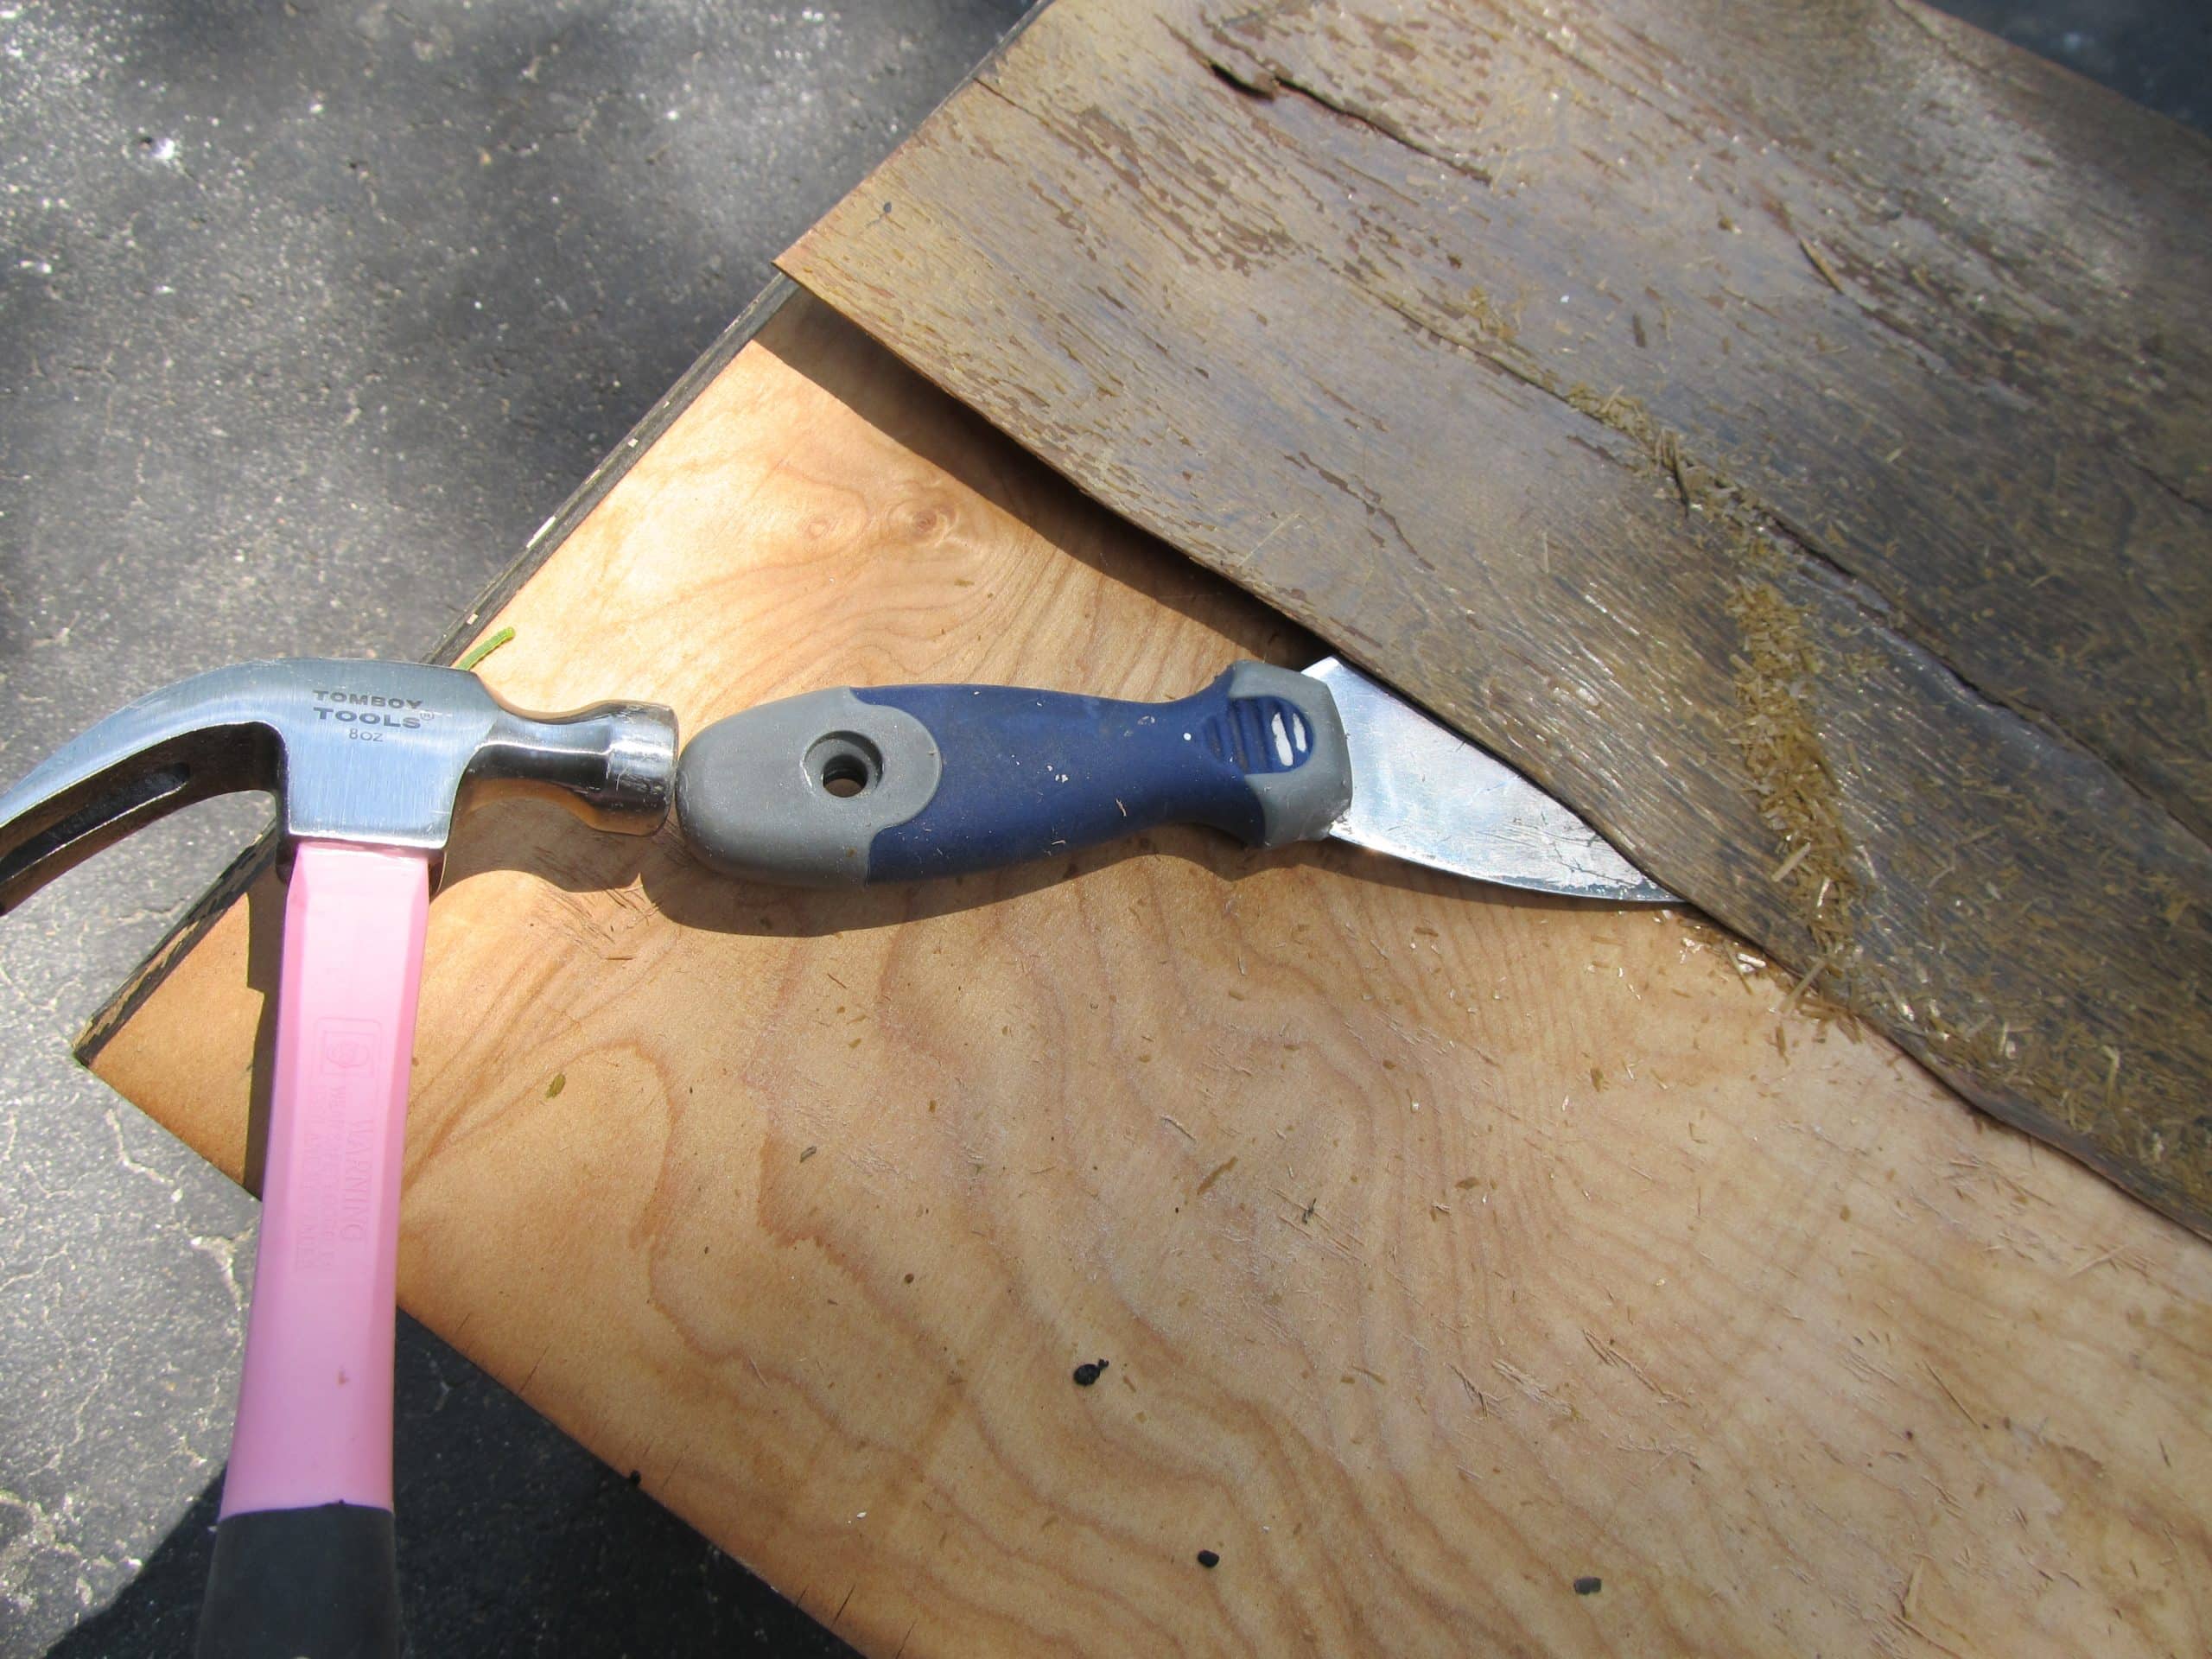
I used a wide putty knife and a hammer to loosen up the glue on the peeling veneer.
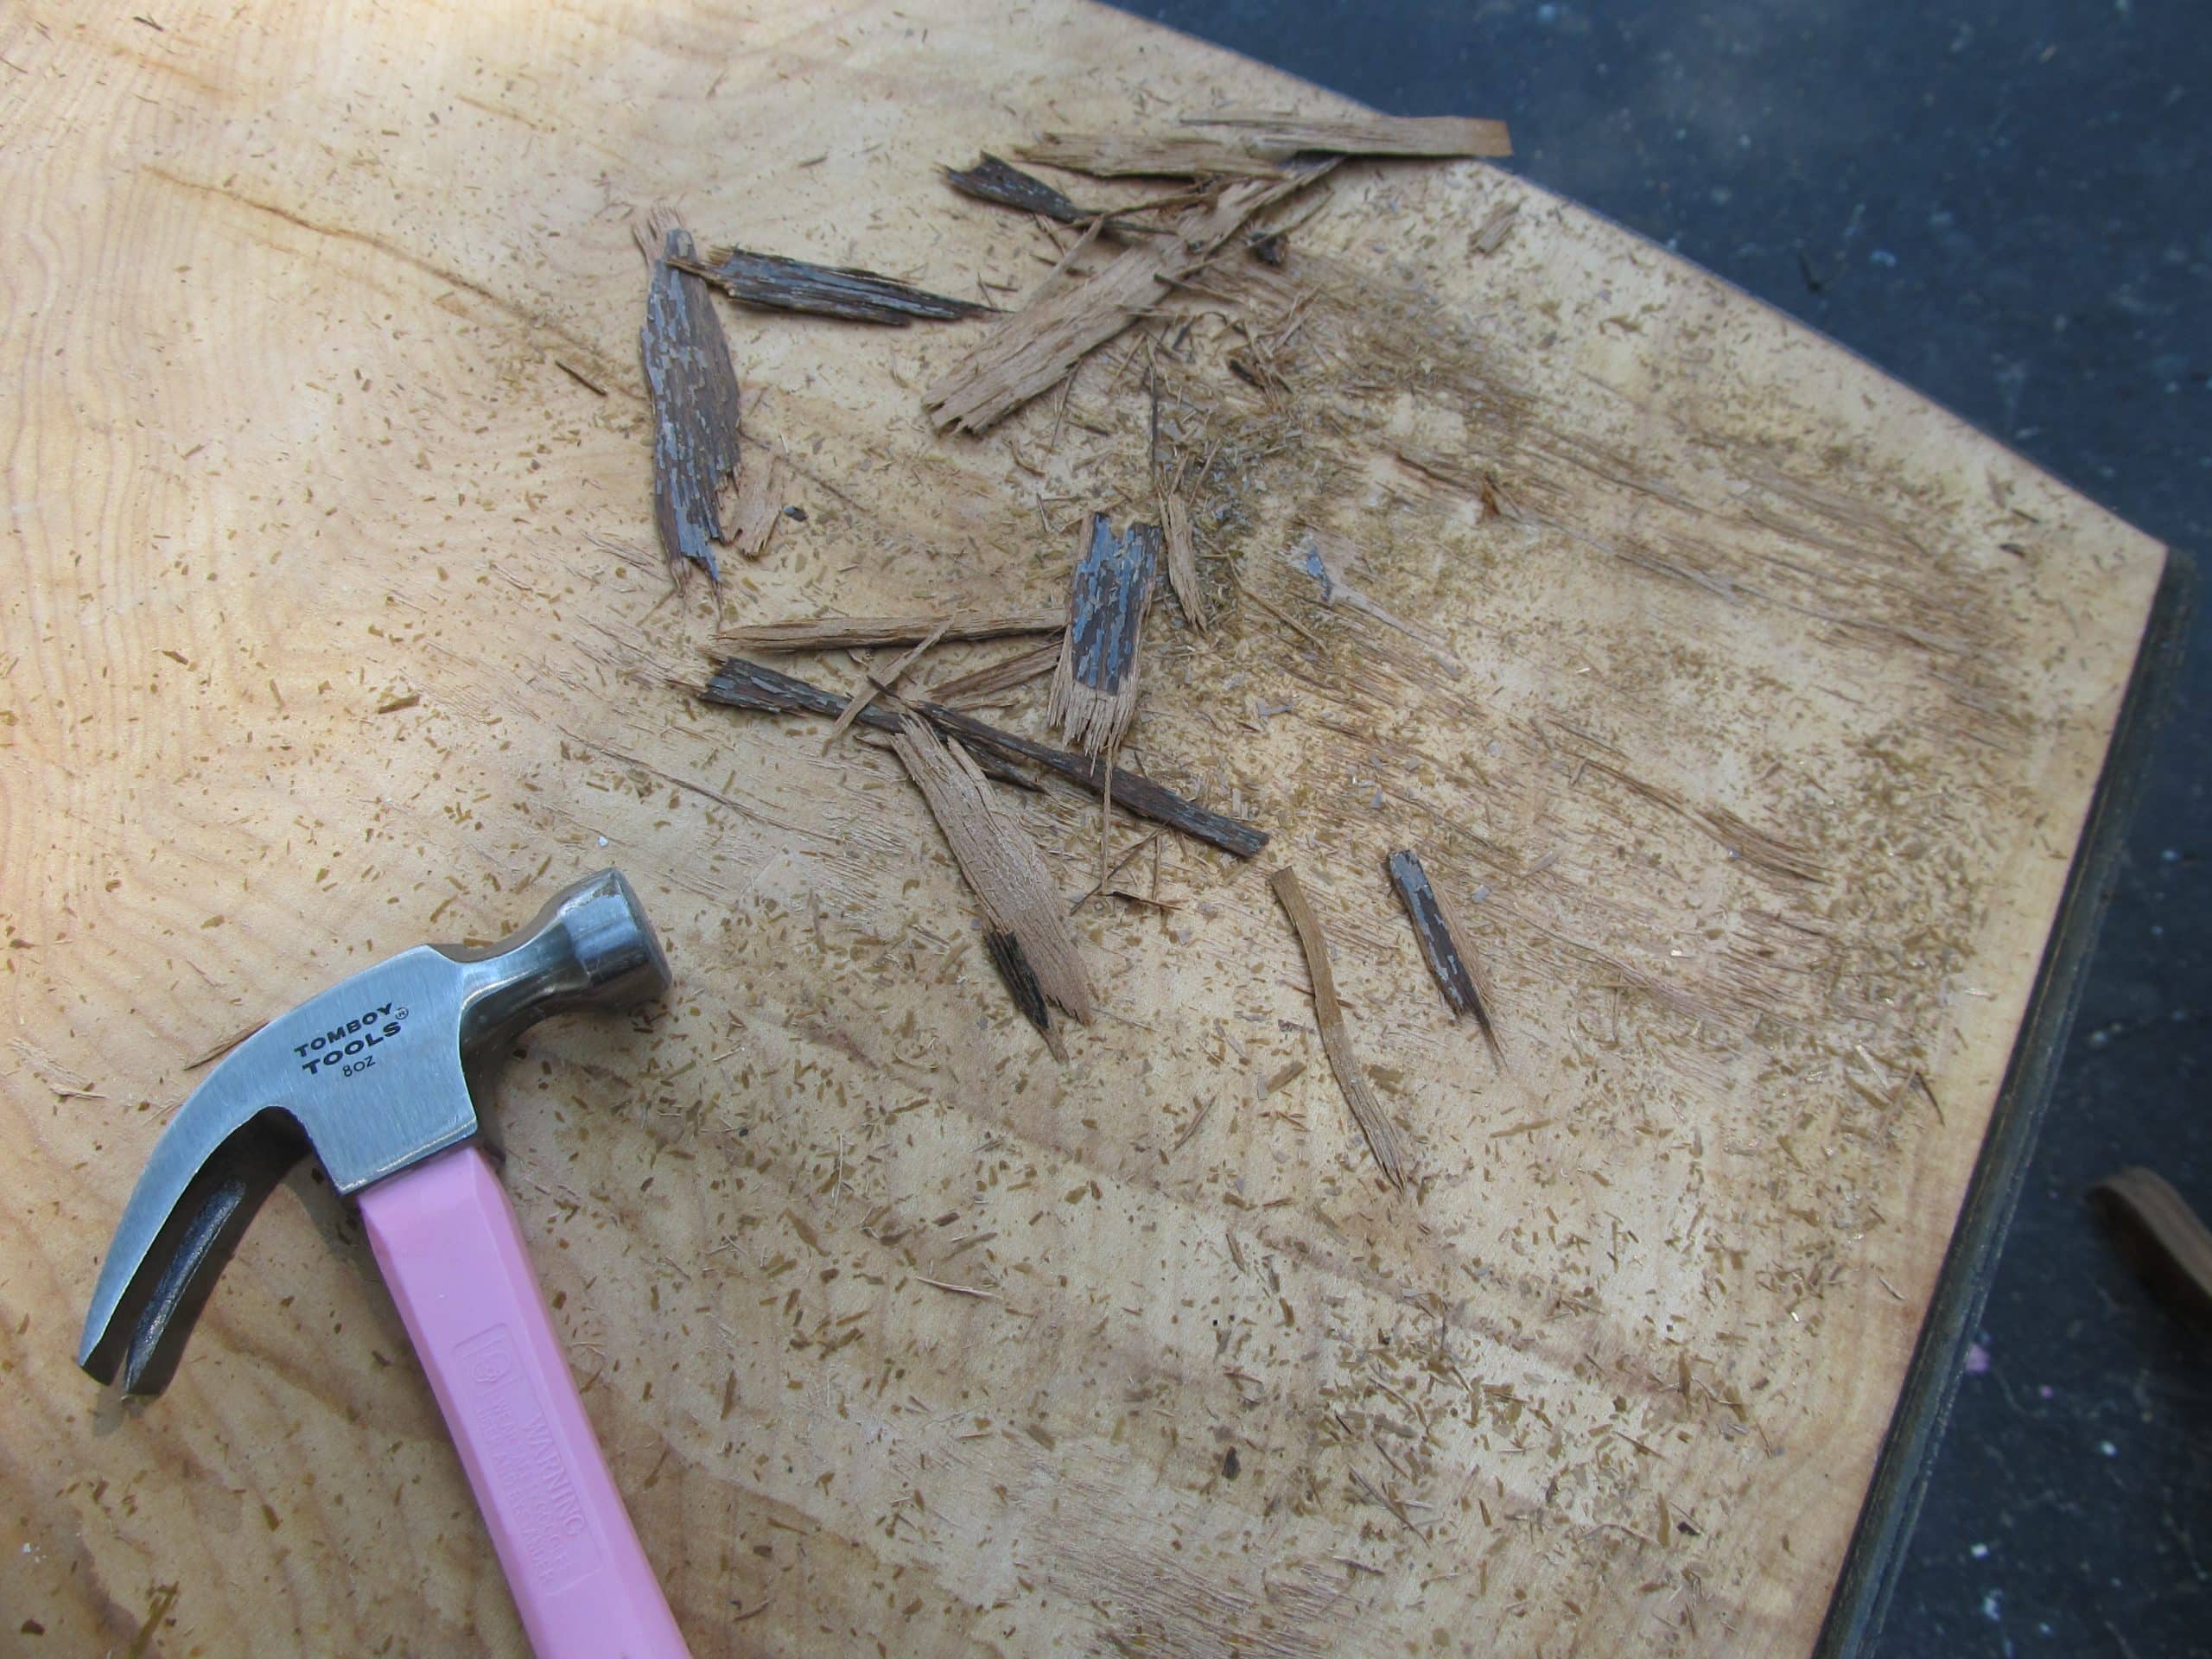
About 90% of the bad veneer came right off.
Related content: replace veneer with hardwood flooring
Sand Original Wood Top
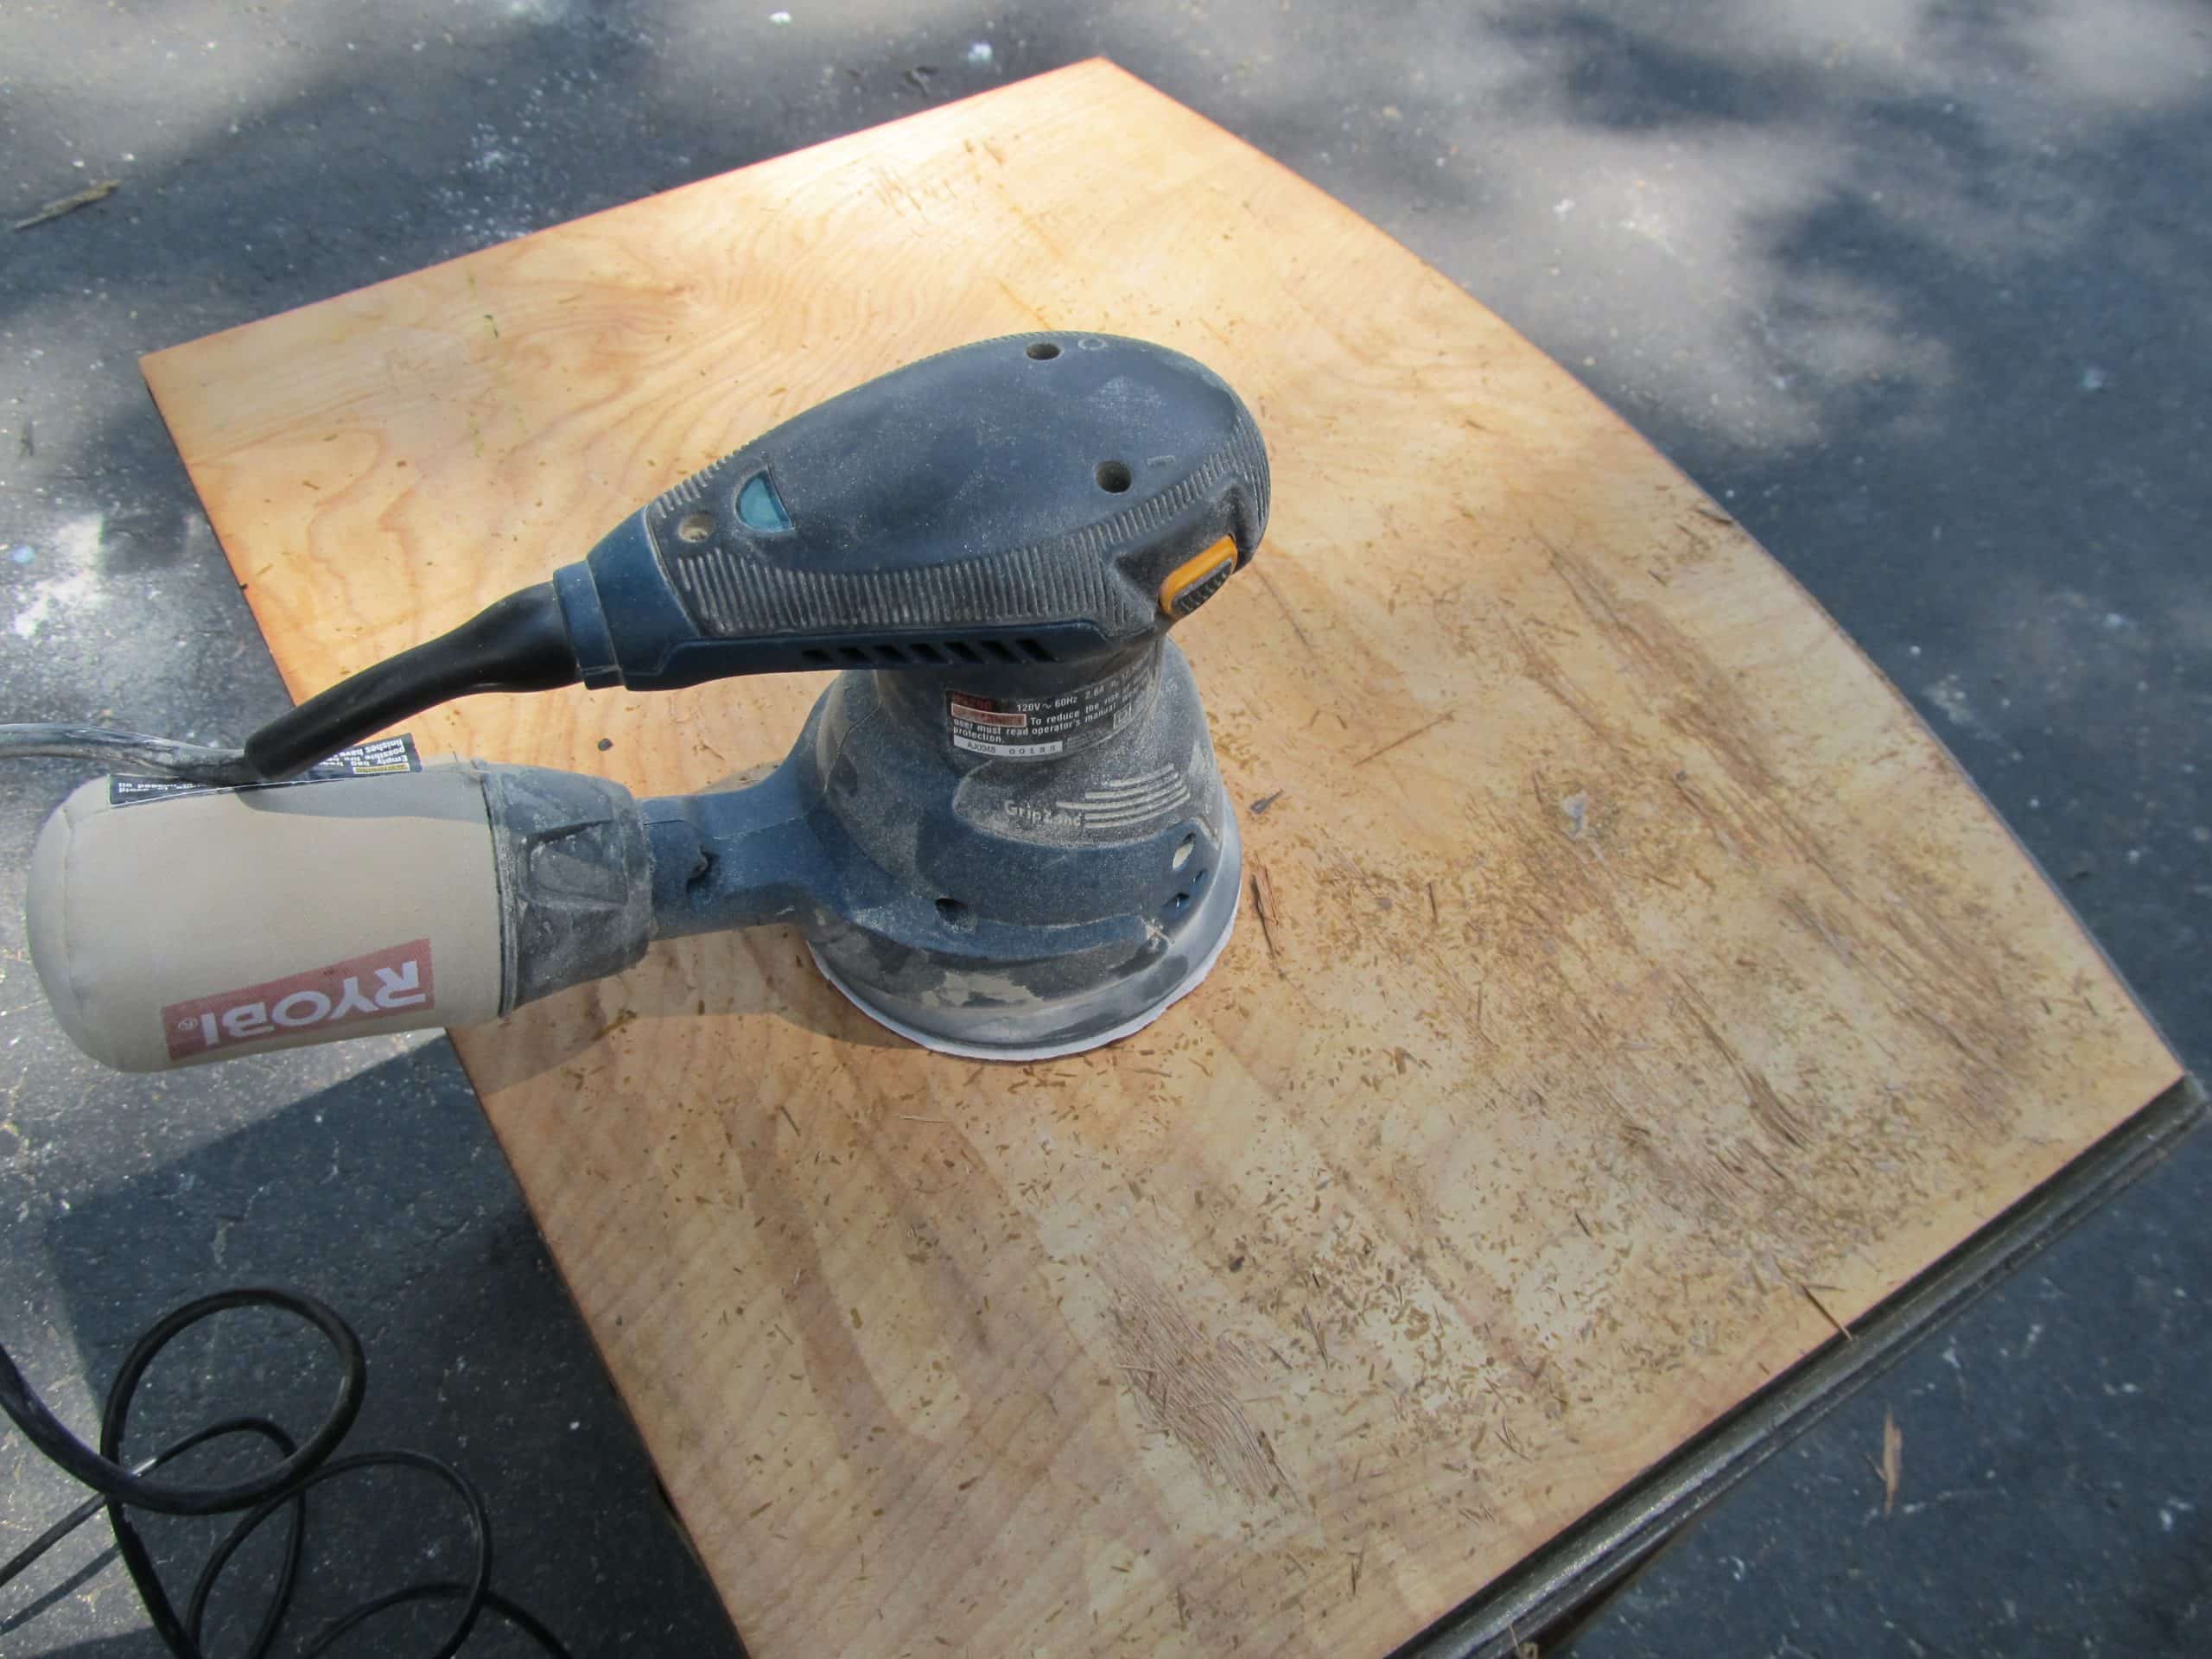
I used my Ryobi orbital sander to finish the job.
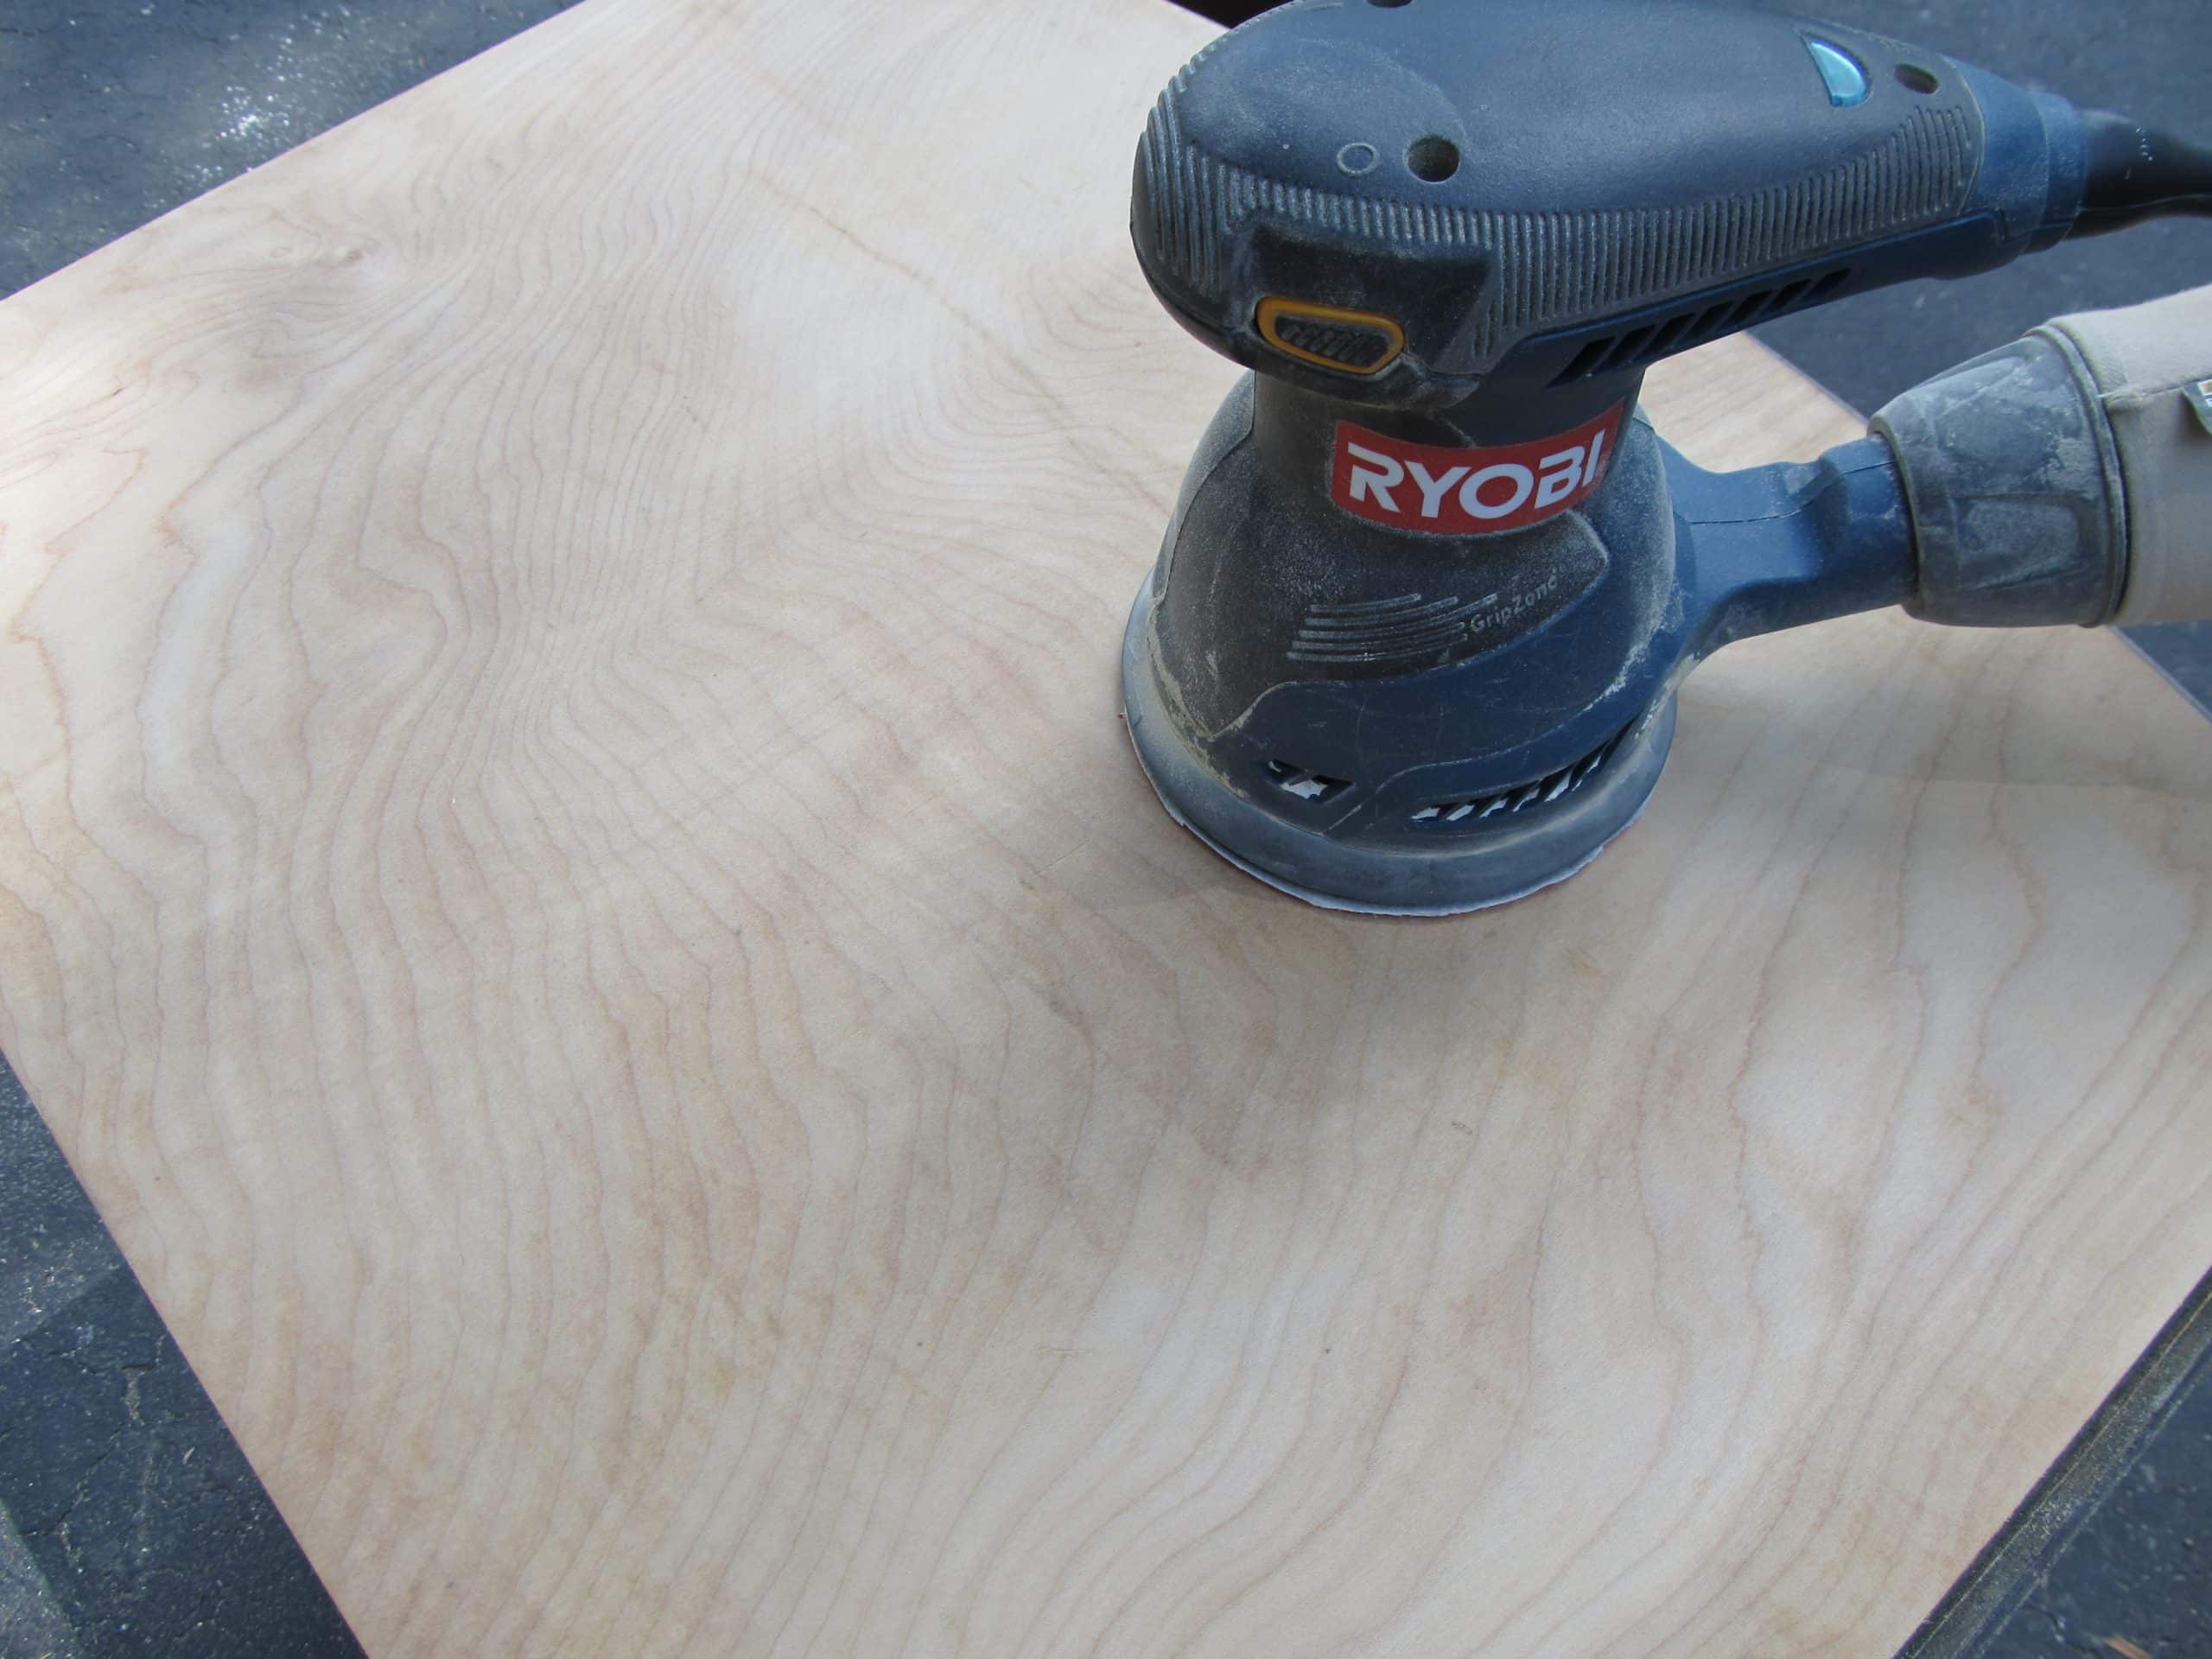
Look how pretty the top of the cabinet looks.
I started sanding the loose layers on the front.
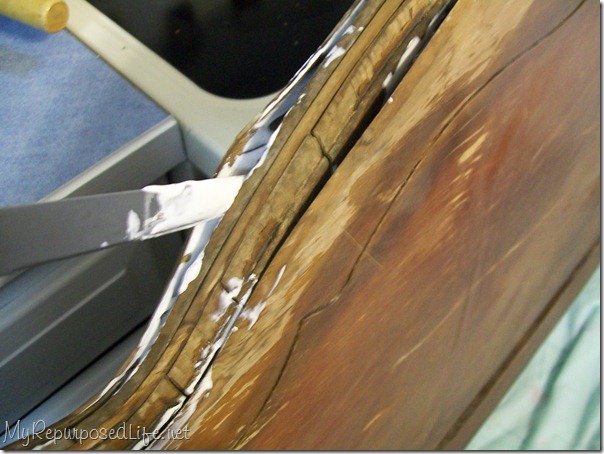
Repair Bad Veneer
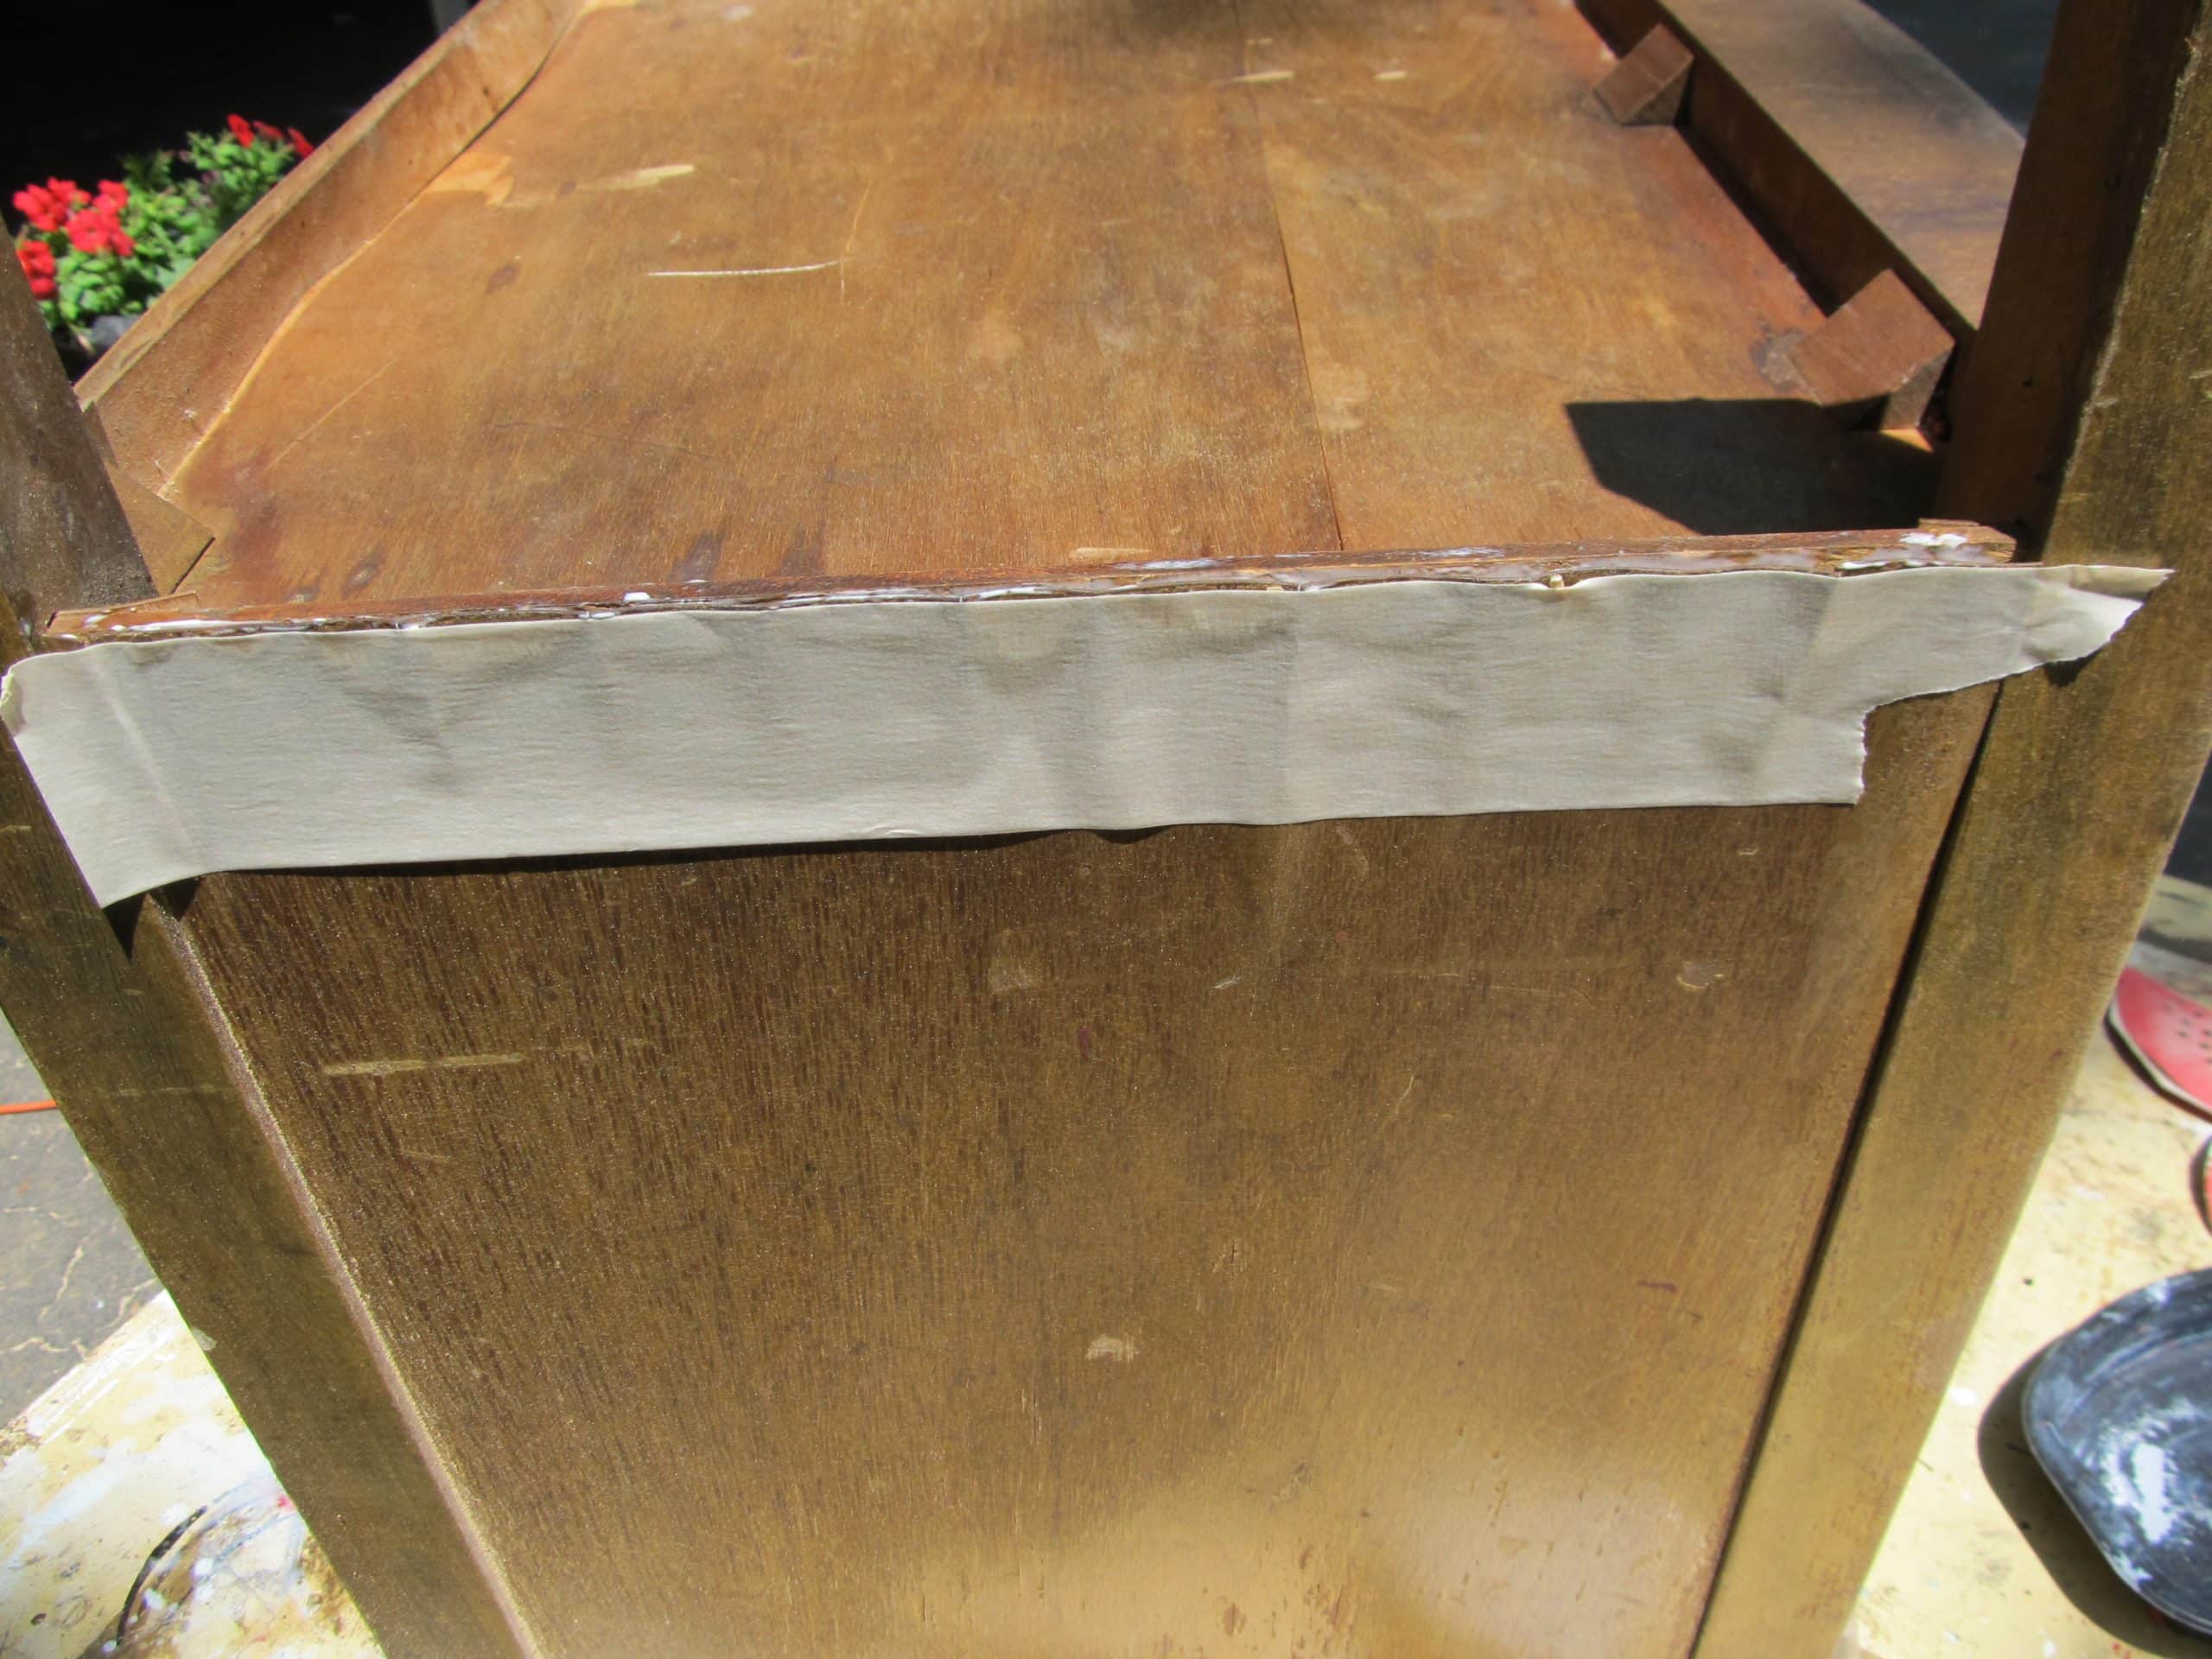
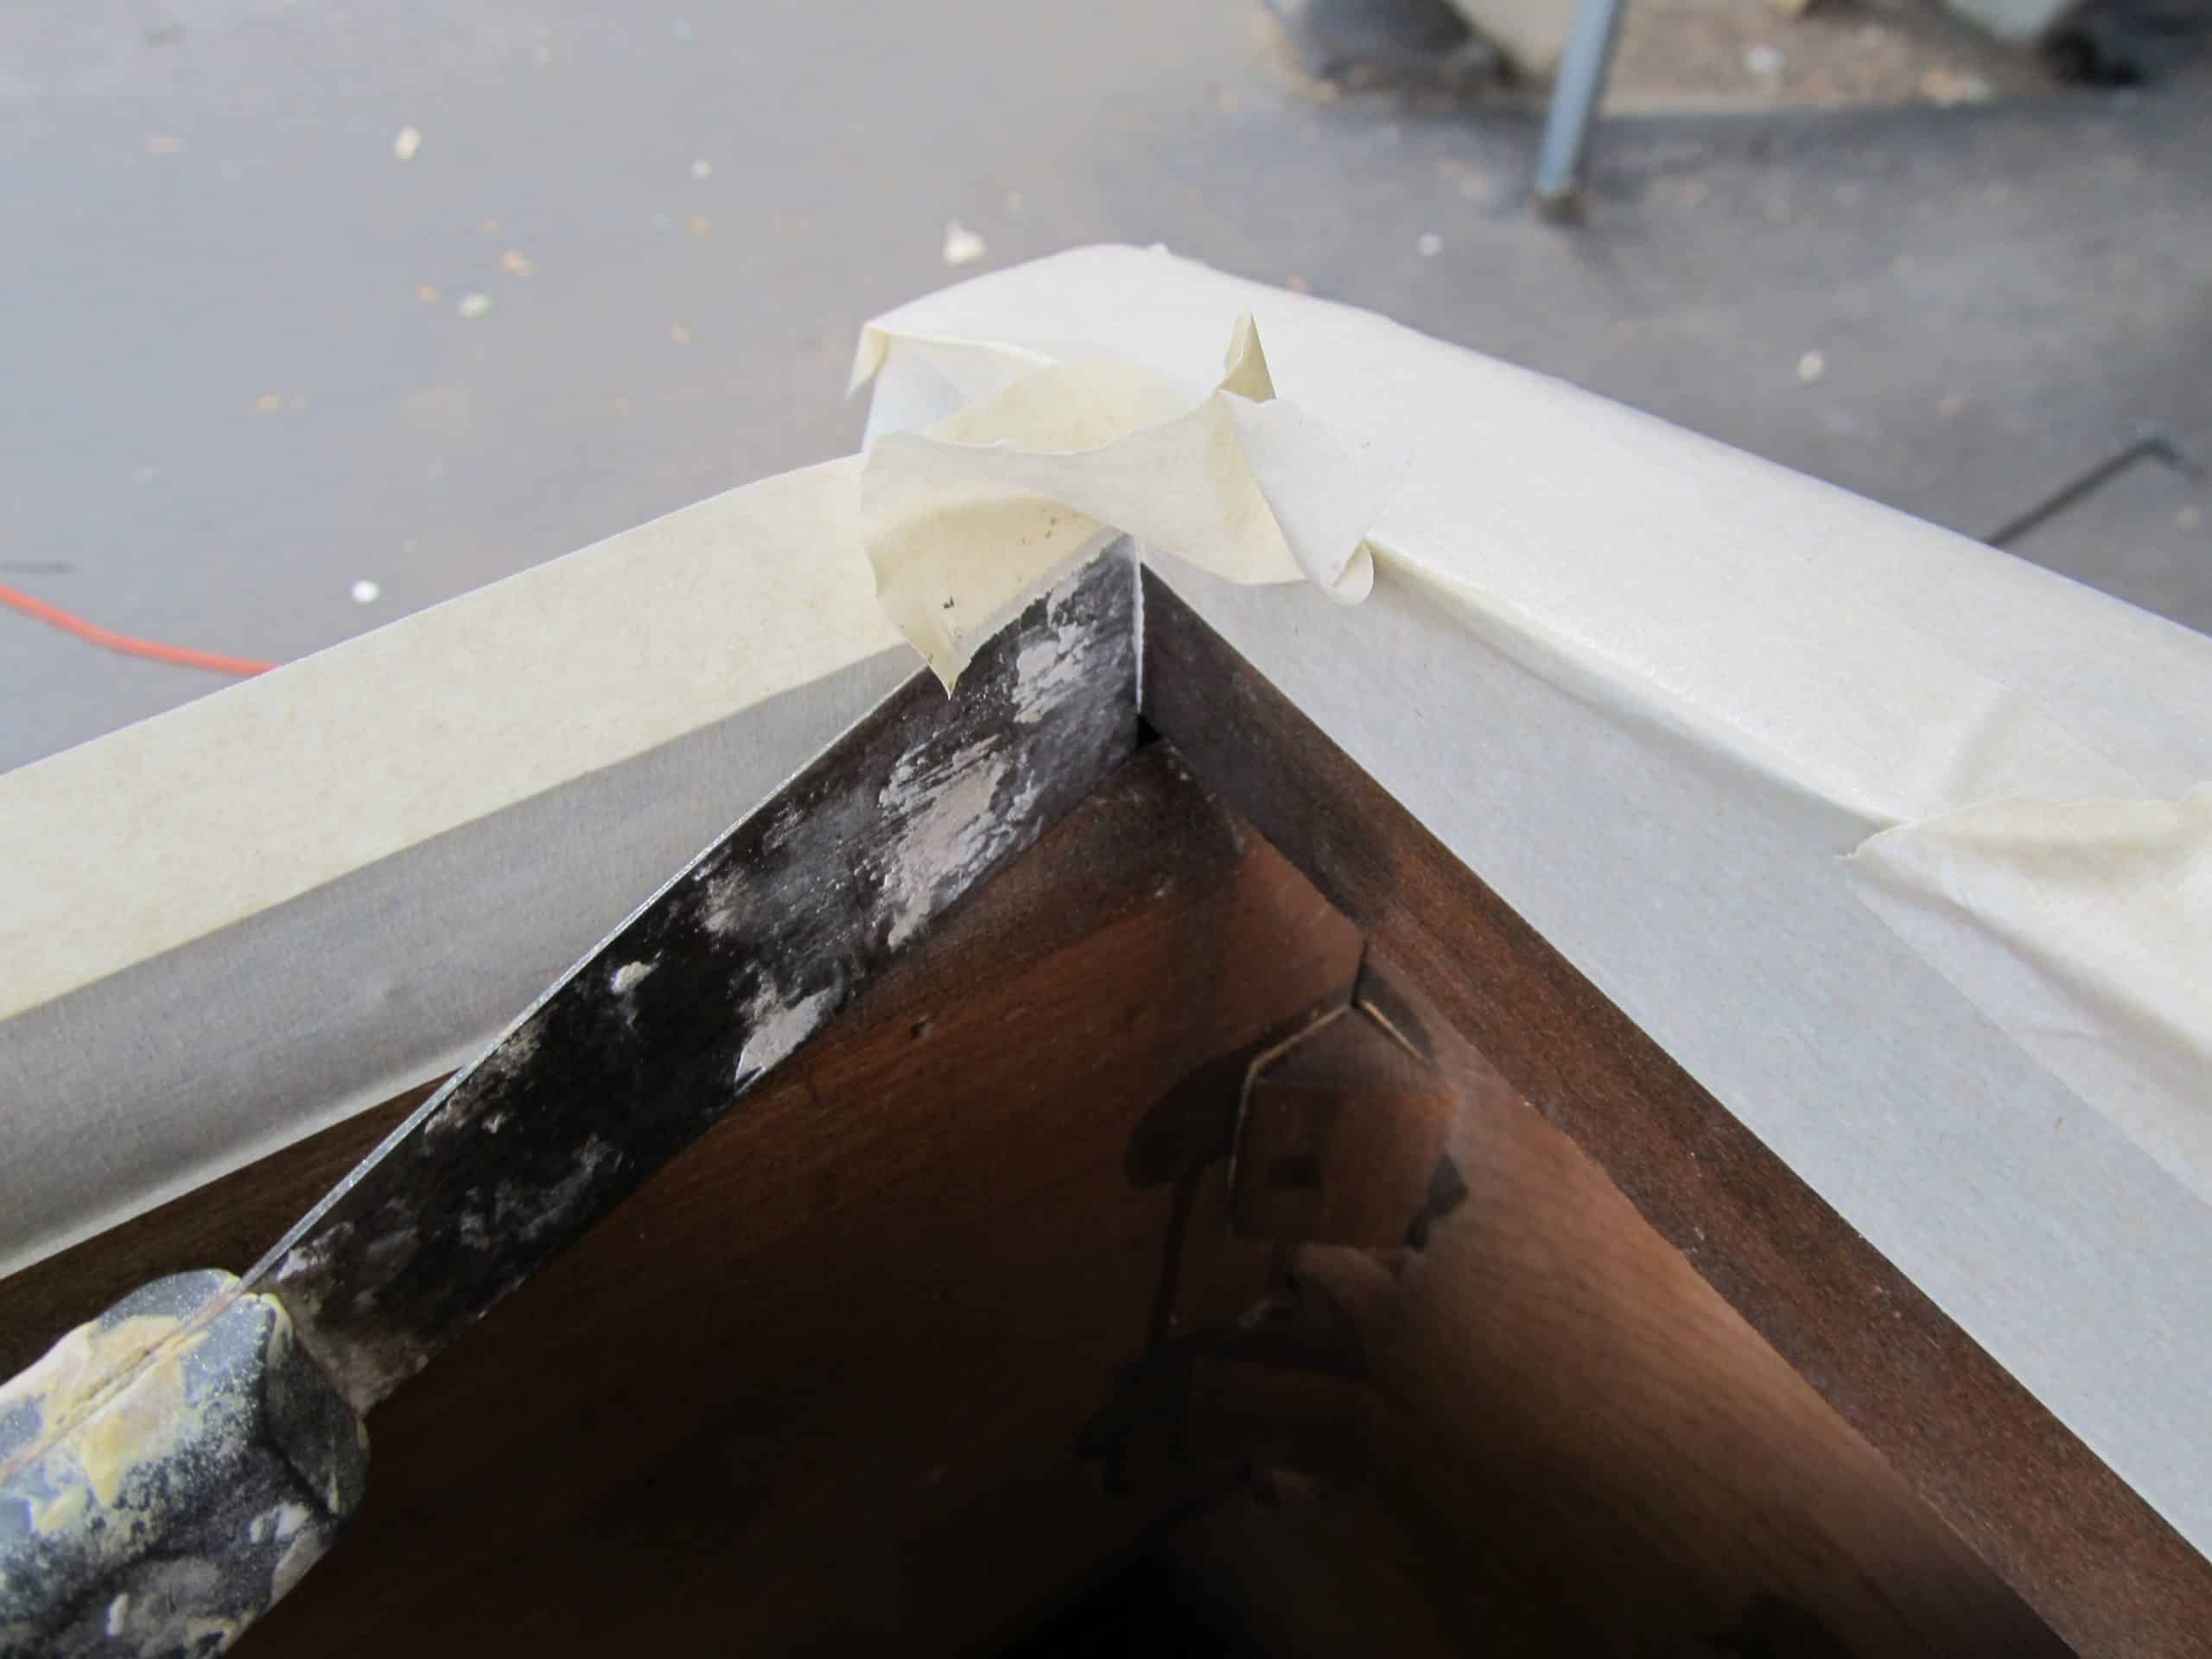
Now it was time to tackle the loose veneer on the side. I used some scotch greener masking tape . (It is made with paper from sustainably managed forests and regenerating latex harvested from rubber trees. It is ideal for use on woodwork, cabinets and trim and provides a 5 day removal time.)
I used Gorilla Glue and then clamped a piece of scrap wood to get a tighter grip. Using the painter’s tape keeps your scrap wood from getting glued to the piece. An alternative method was used in my post How To Repair/Clamp a Headboard.
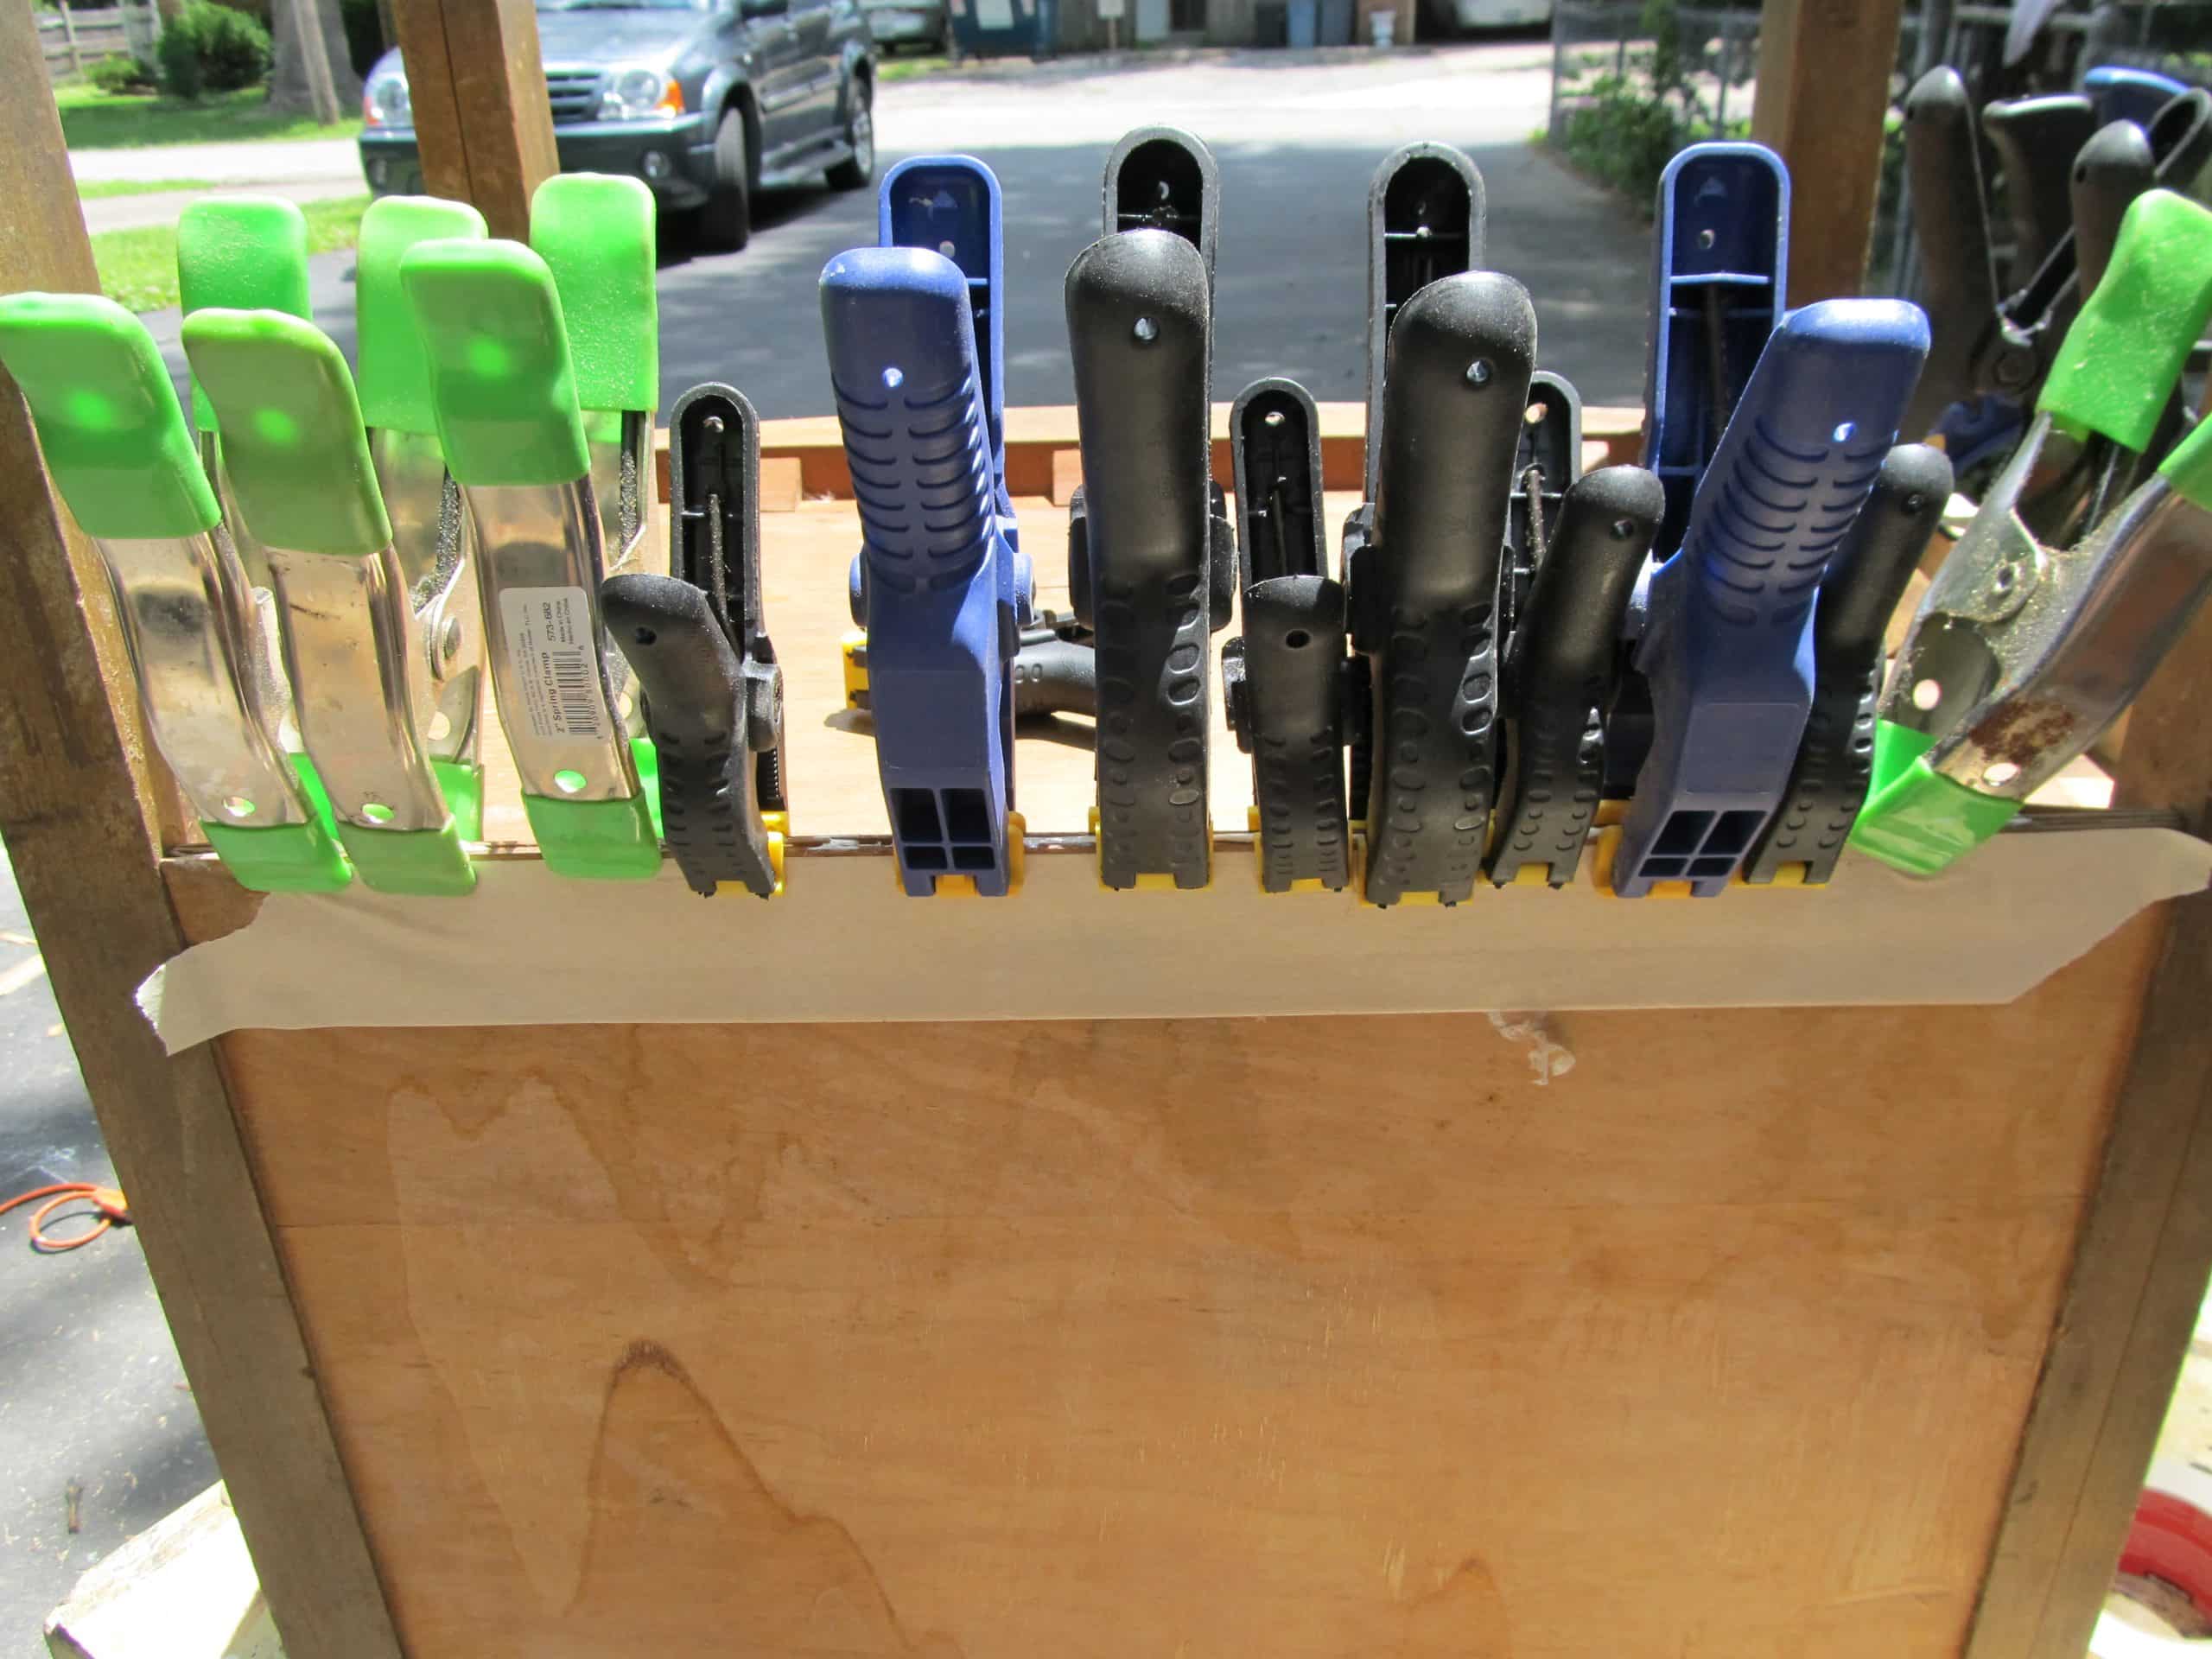
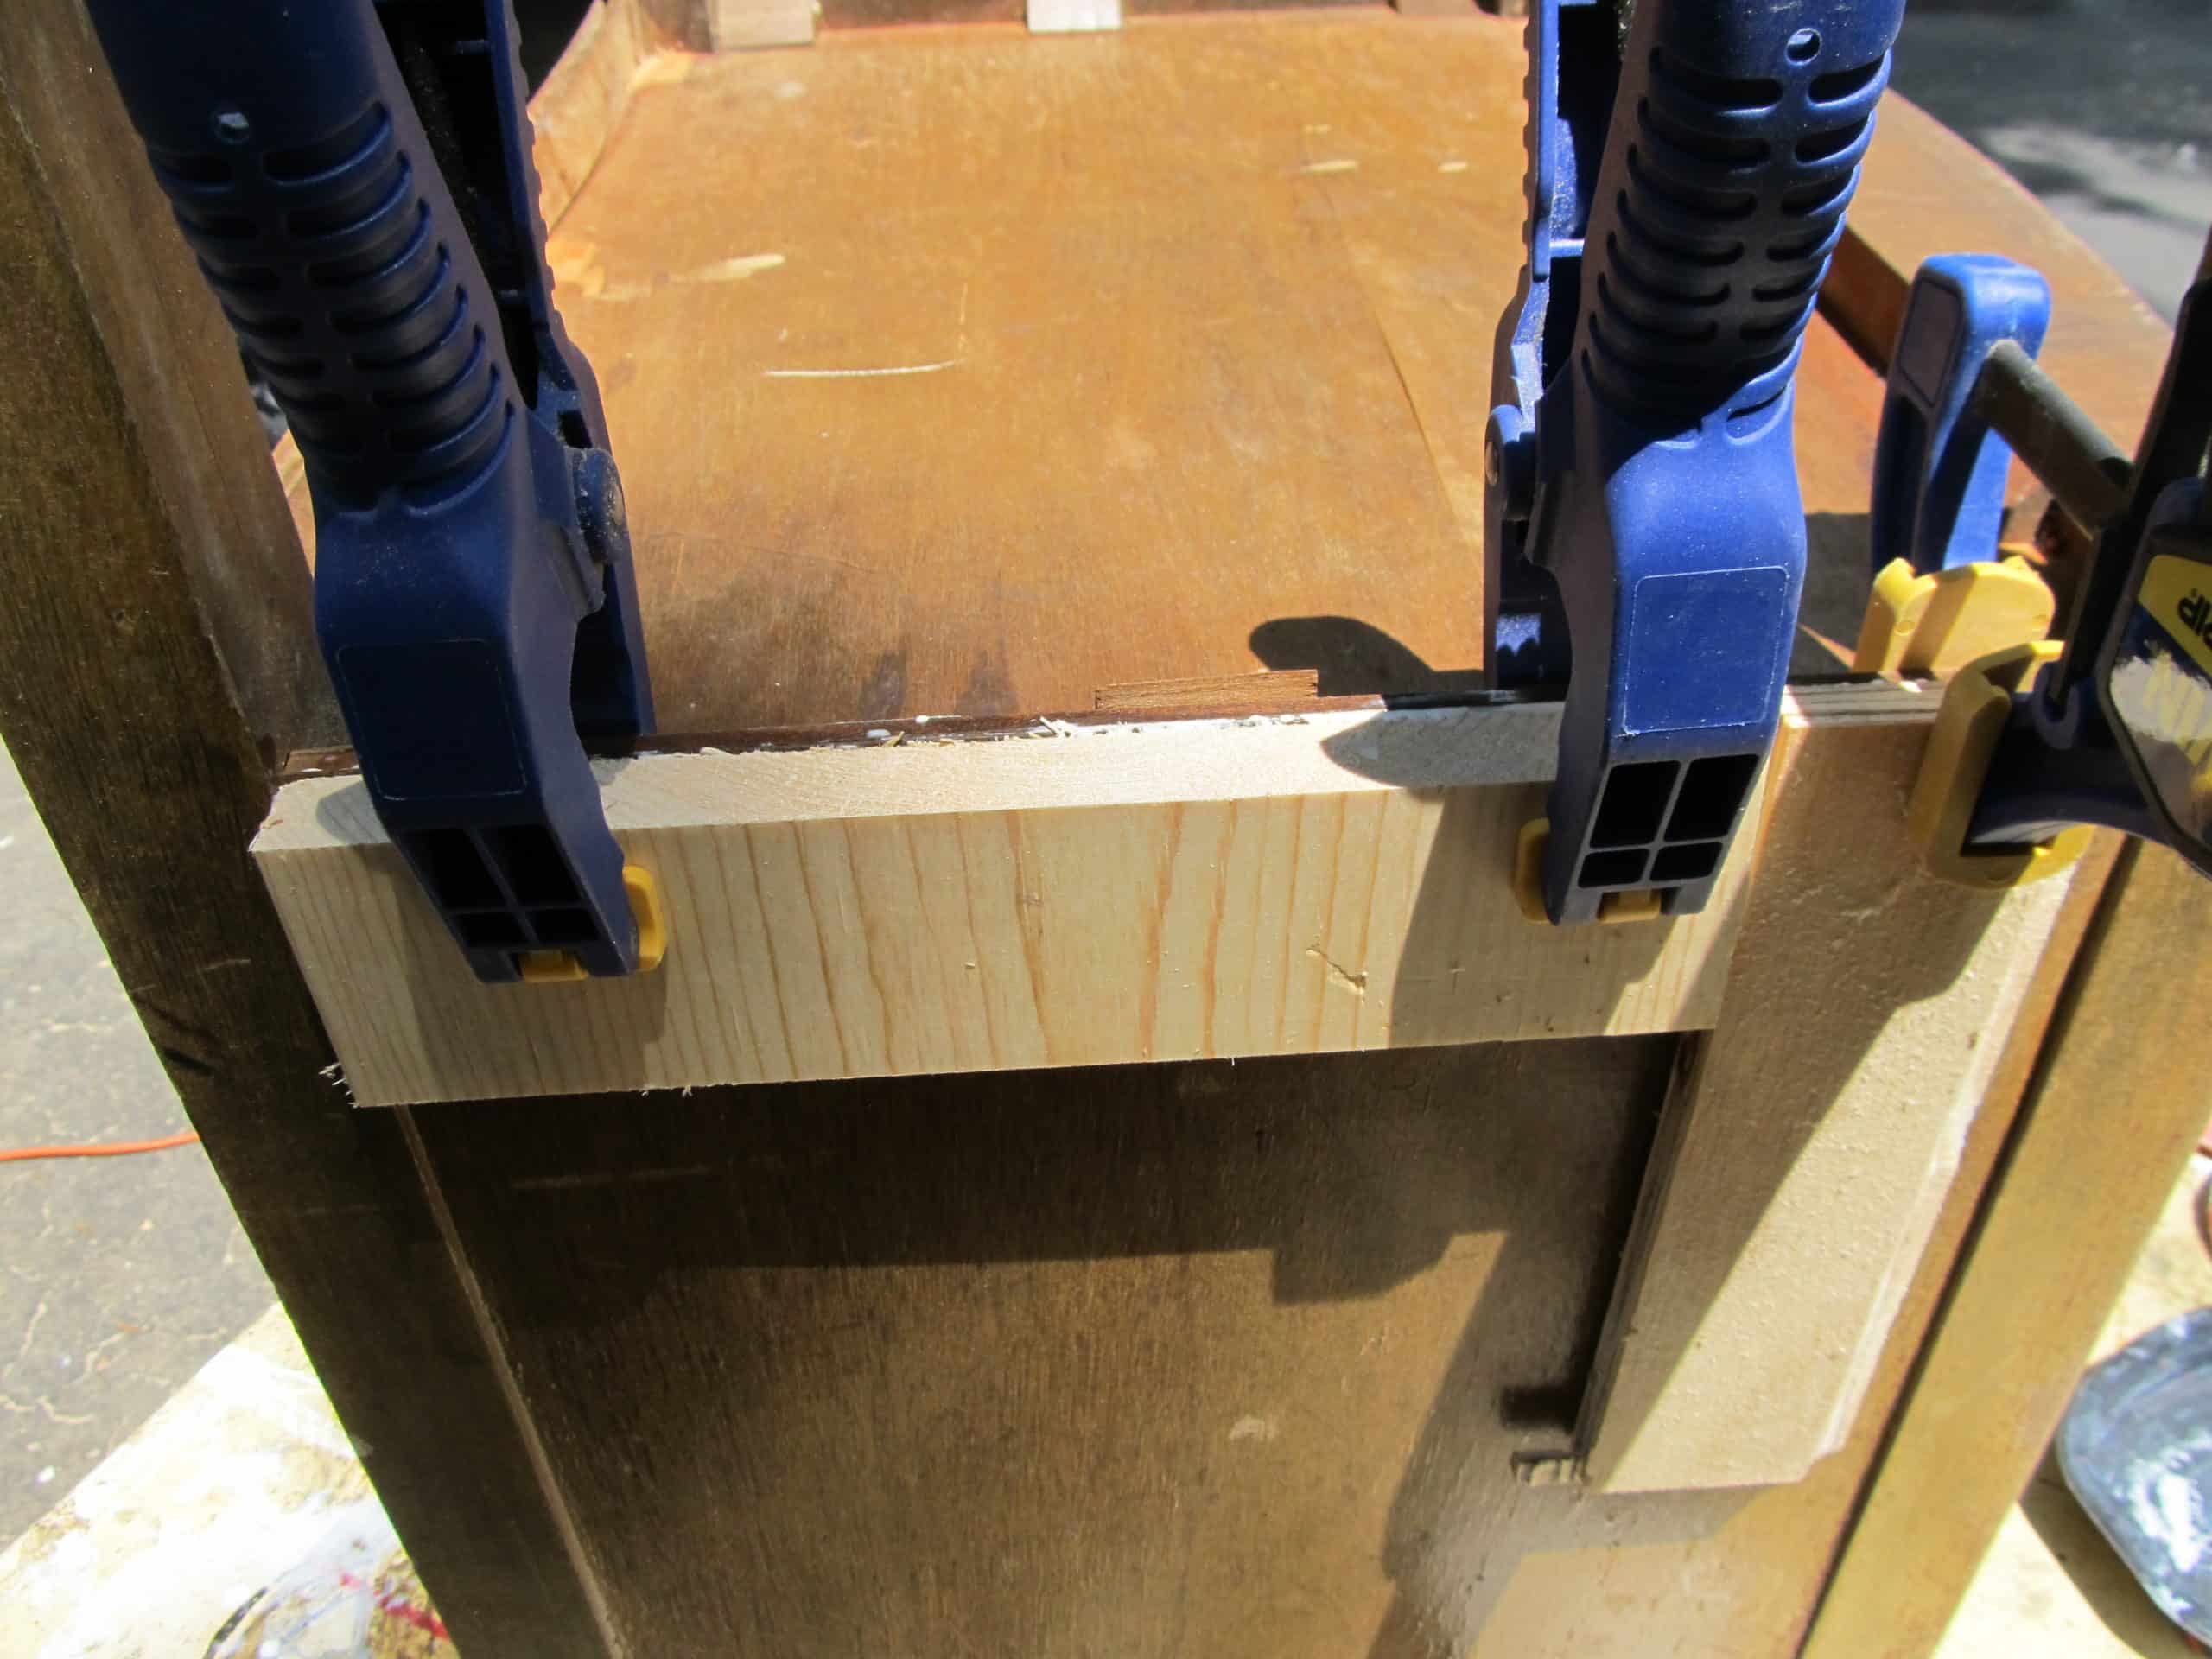
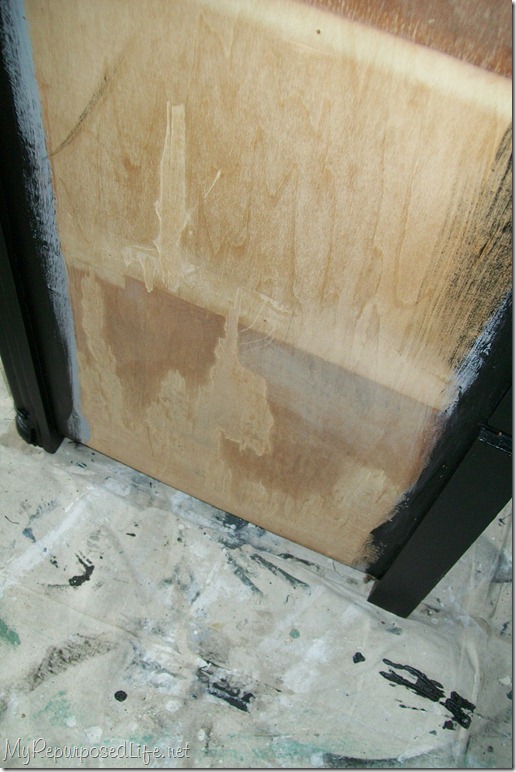
I removed the veneer from the back of the cabinet, but the layers of wood were separating. Because it wasn’t just peeling veneer, I needed to change up my method to get these layers back together. How many clamps are too many clamps?
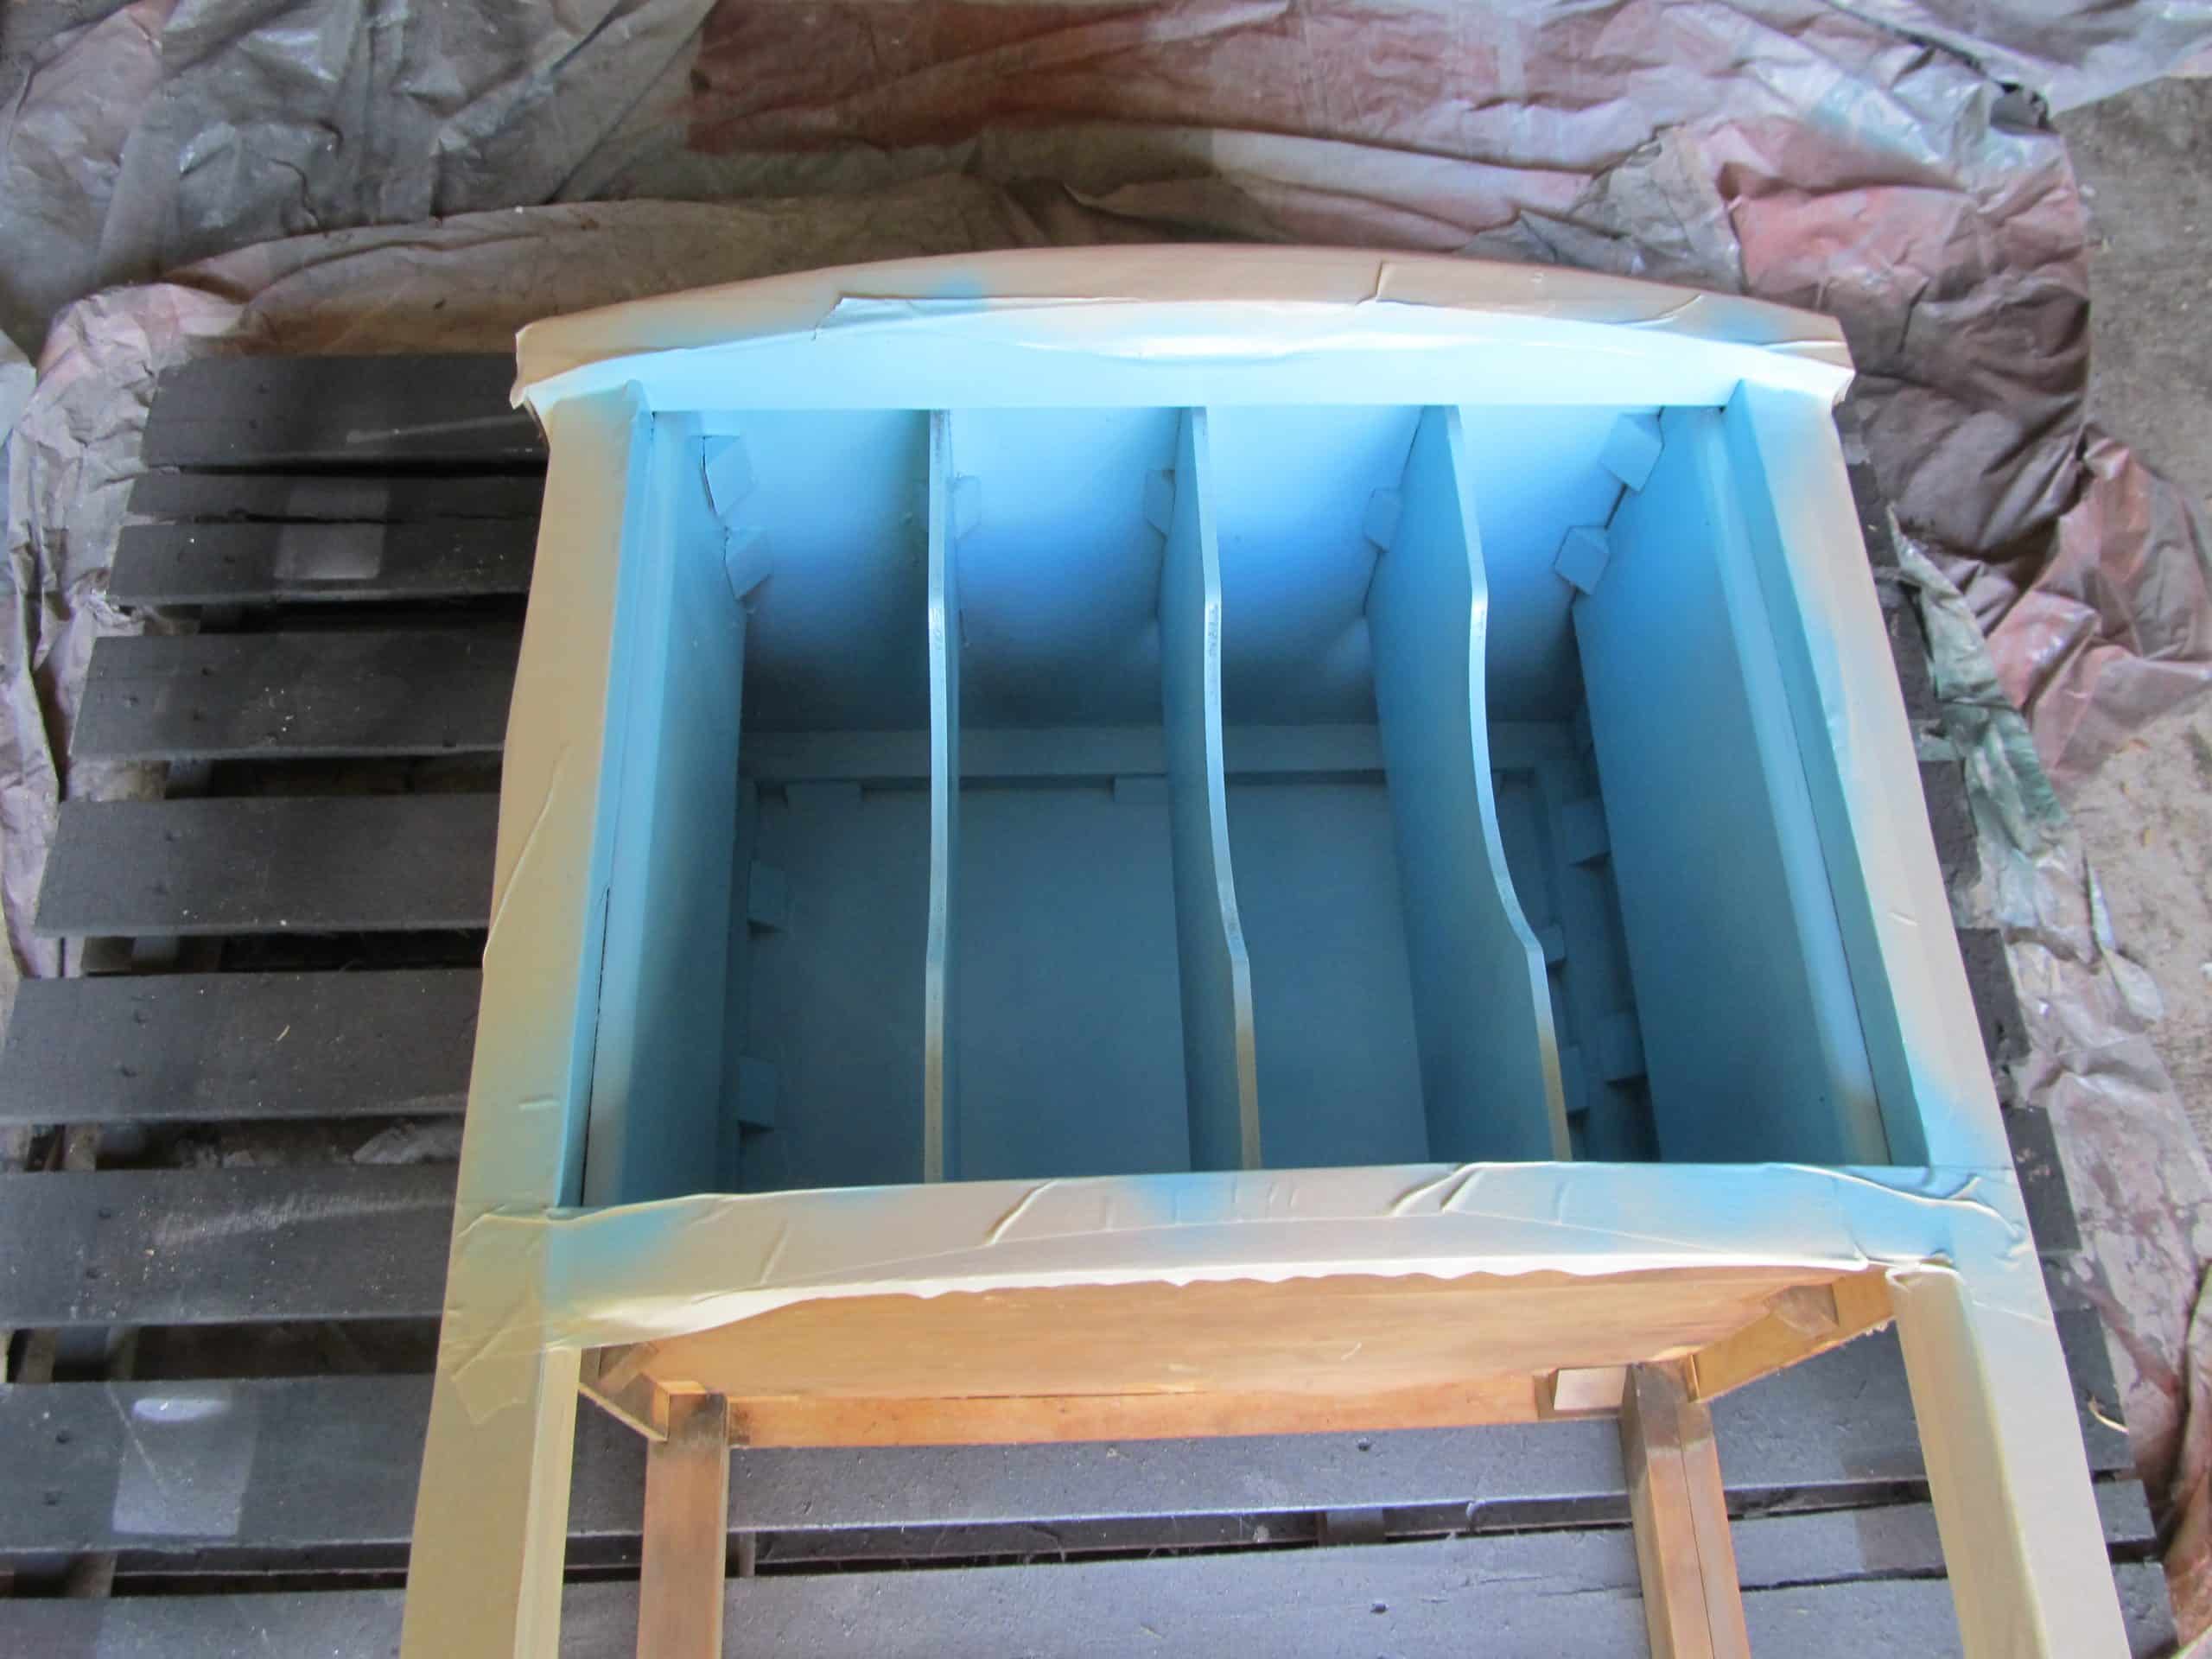
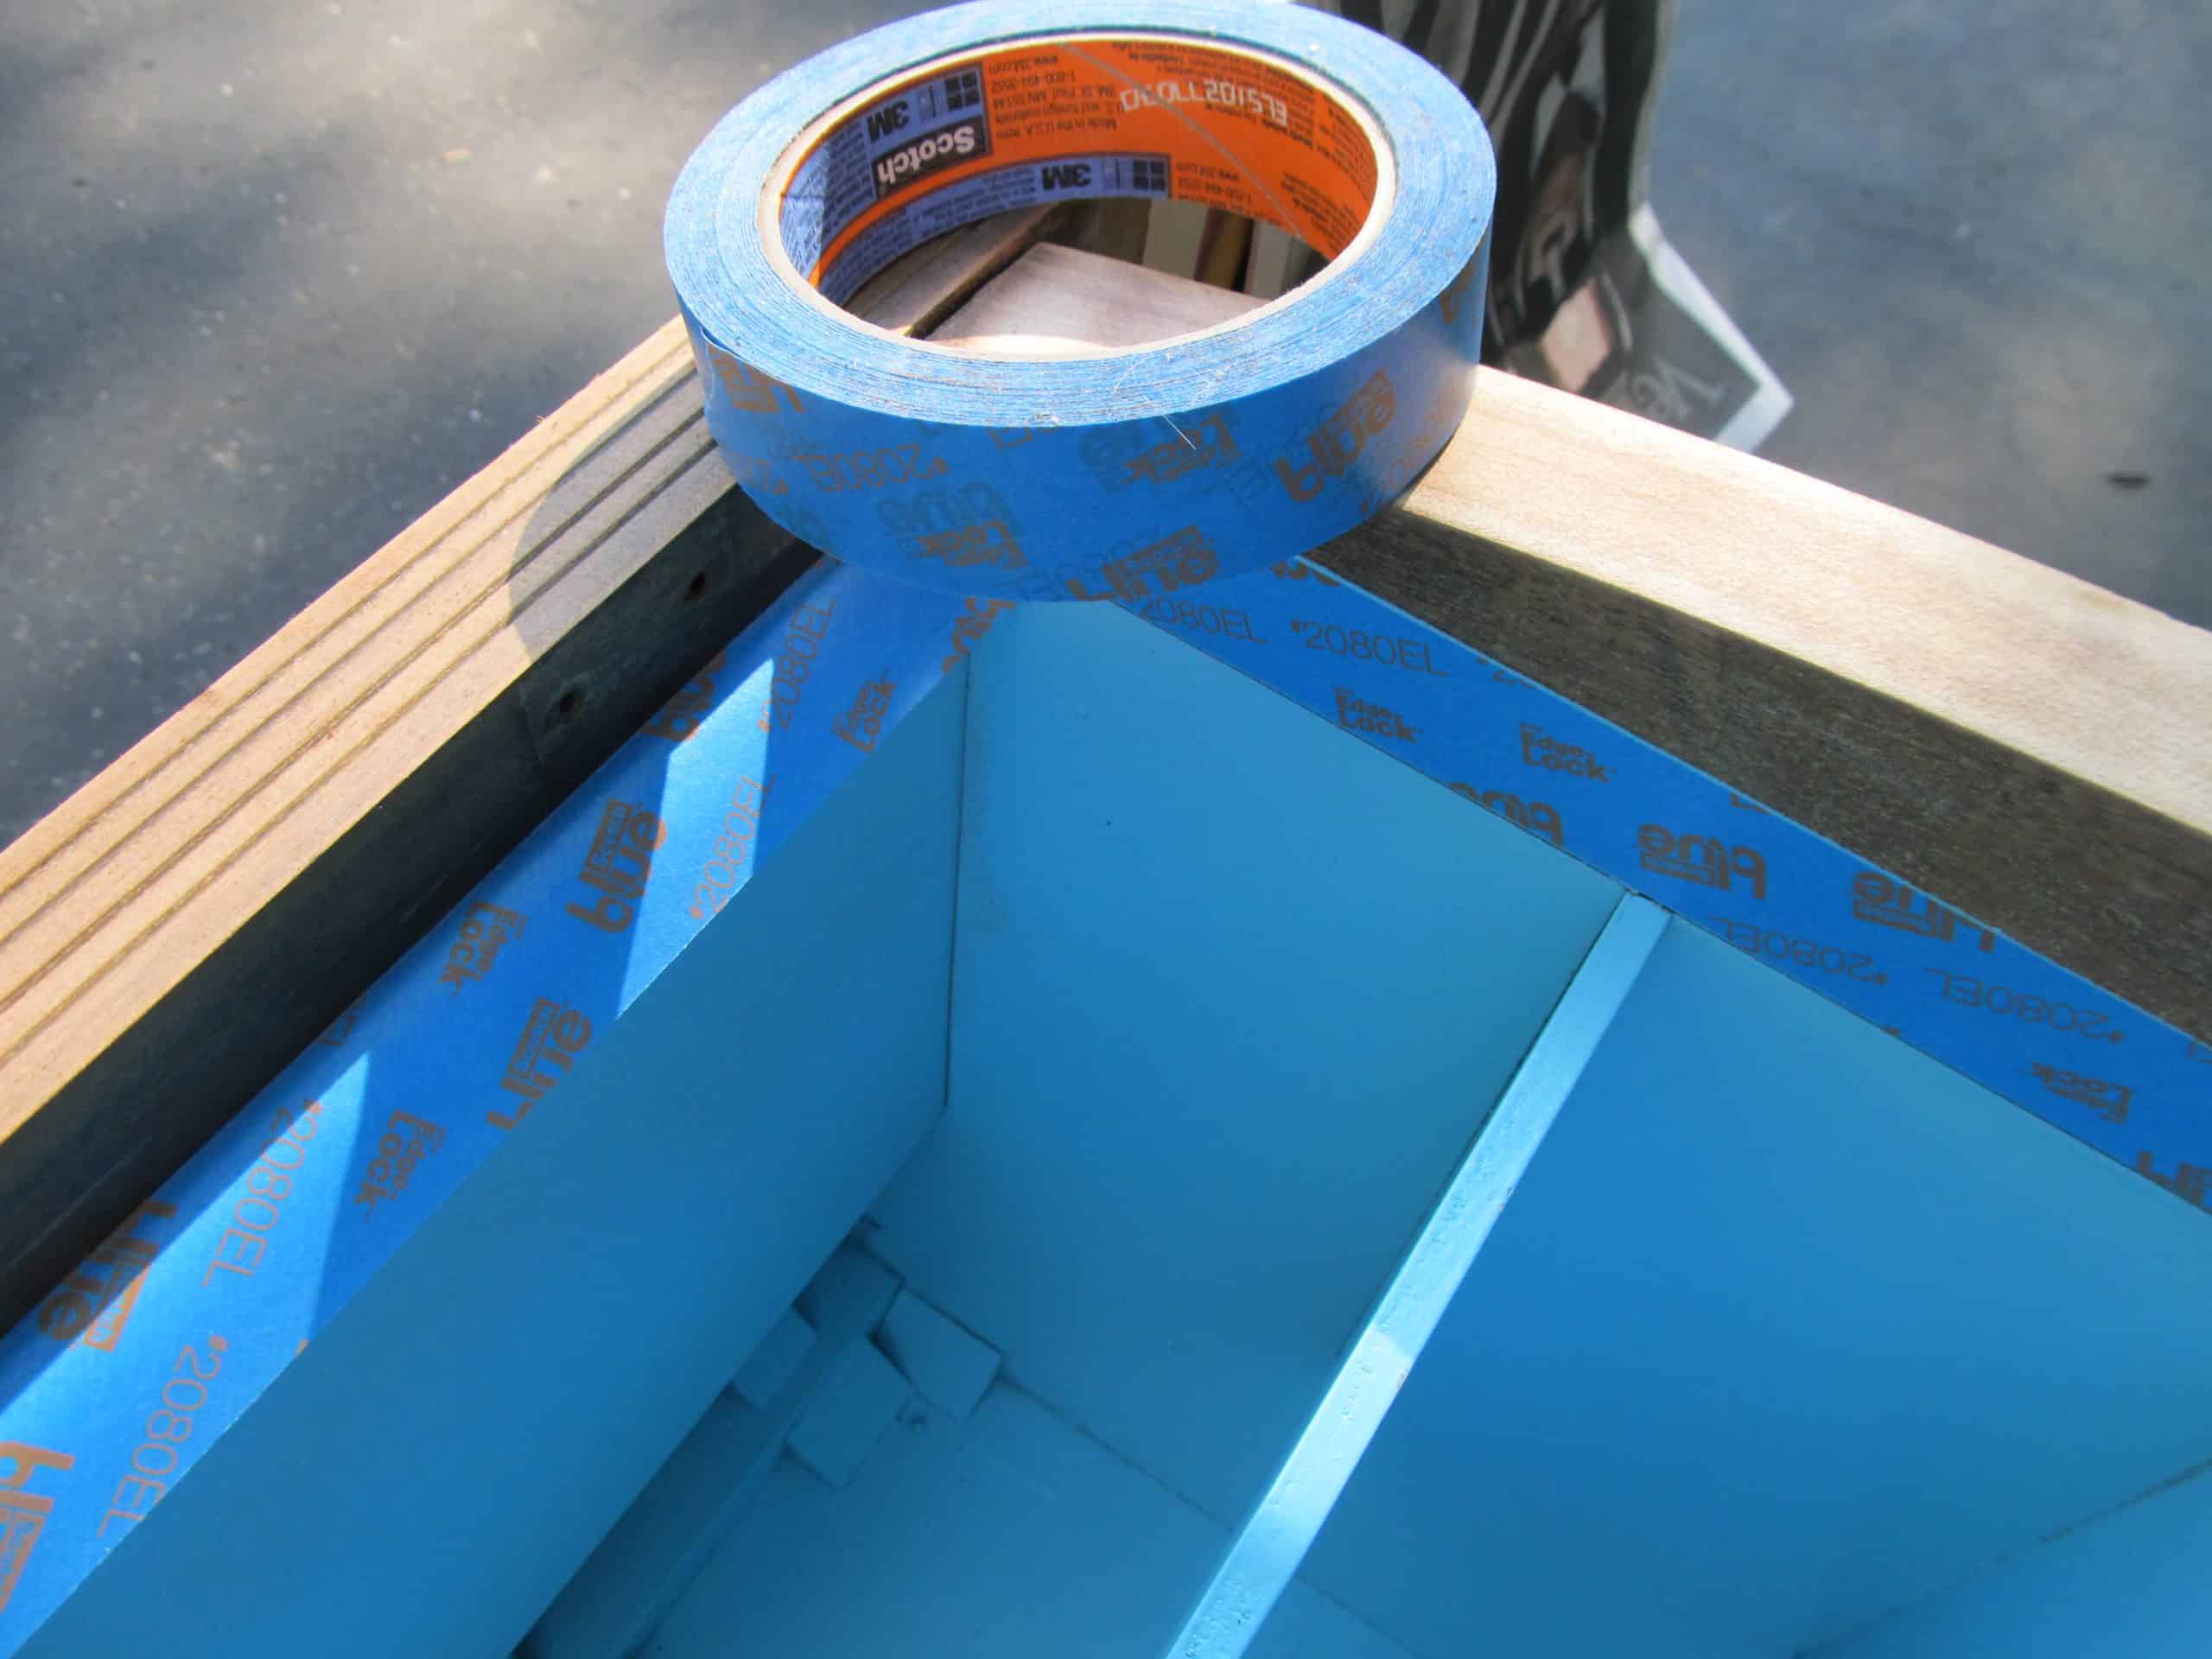
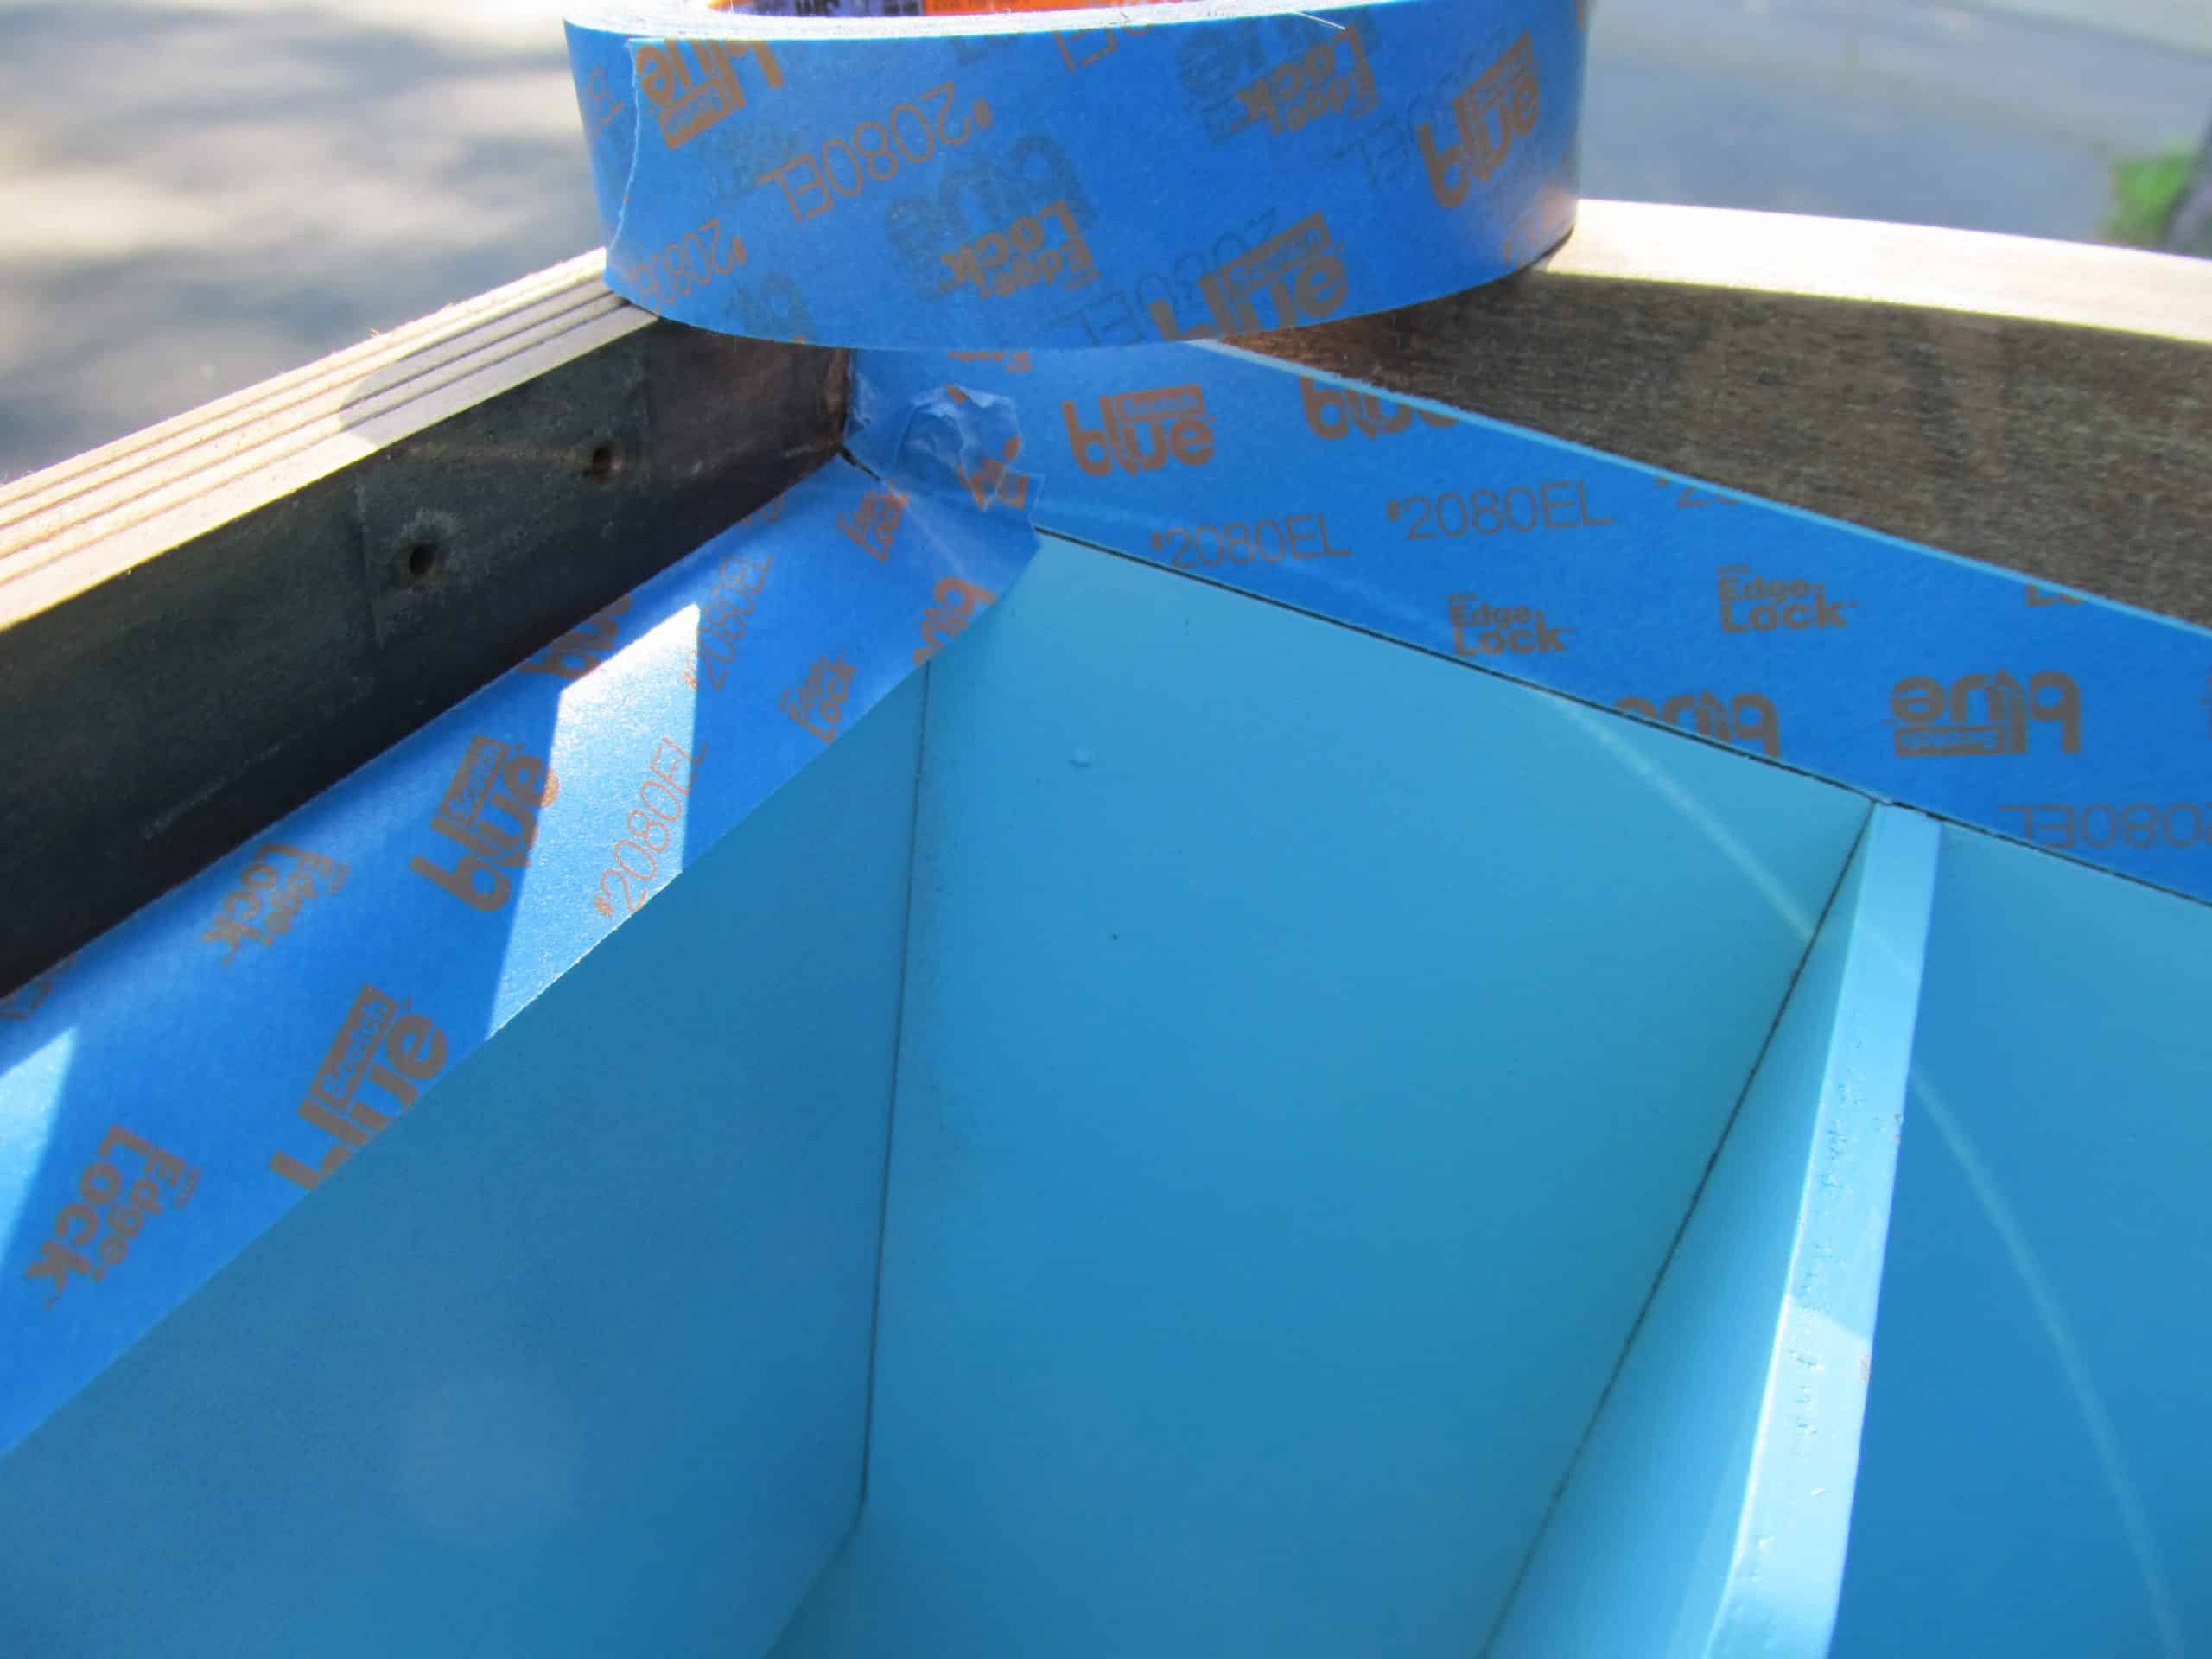
Prep For Painting with Painter’s Tape
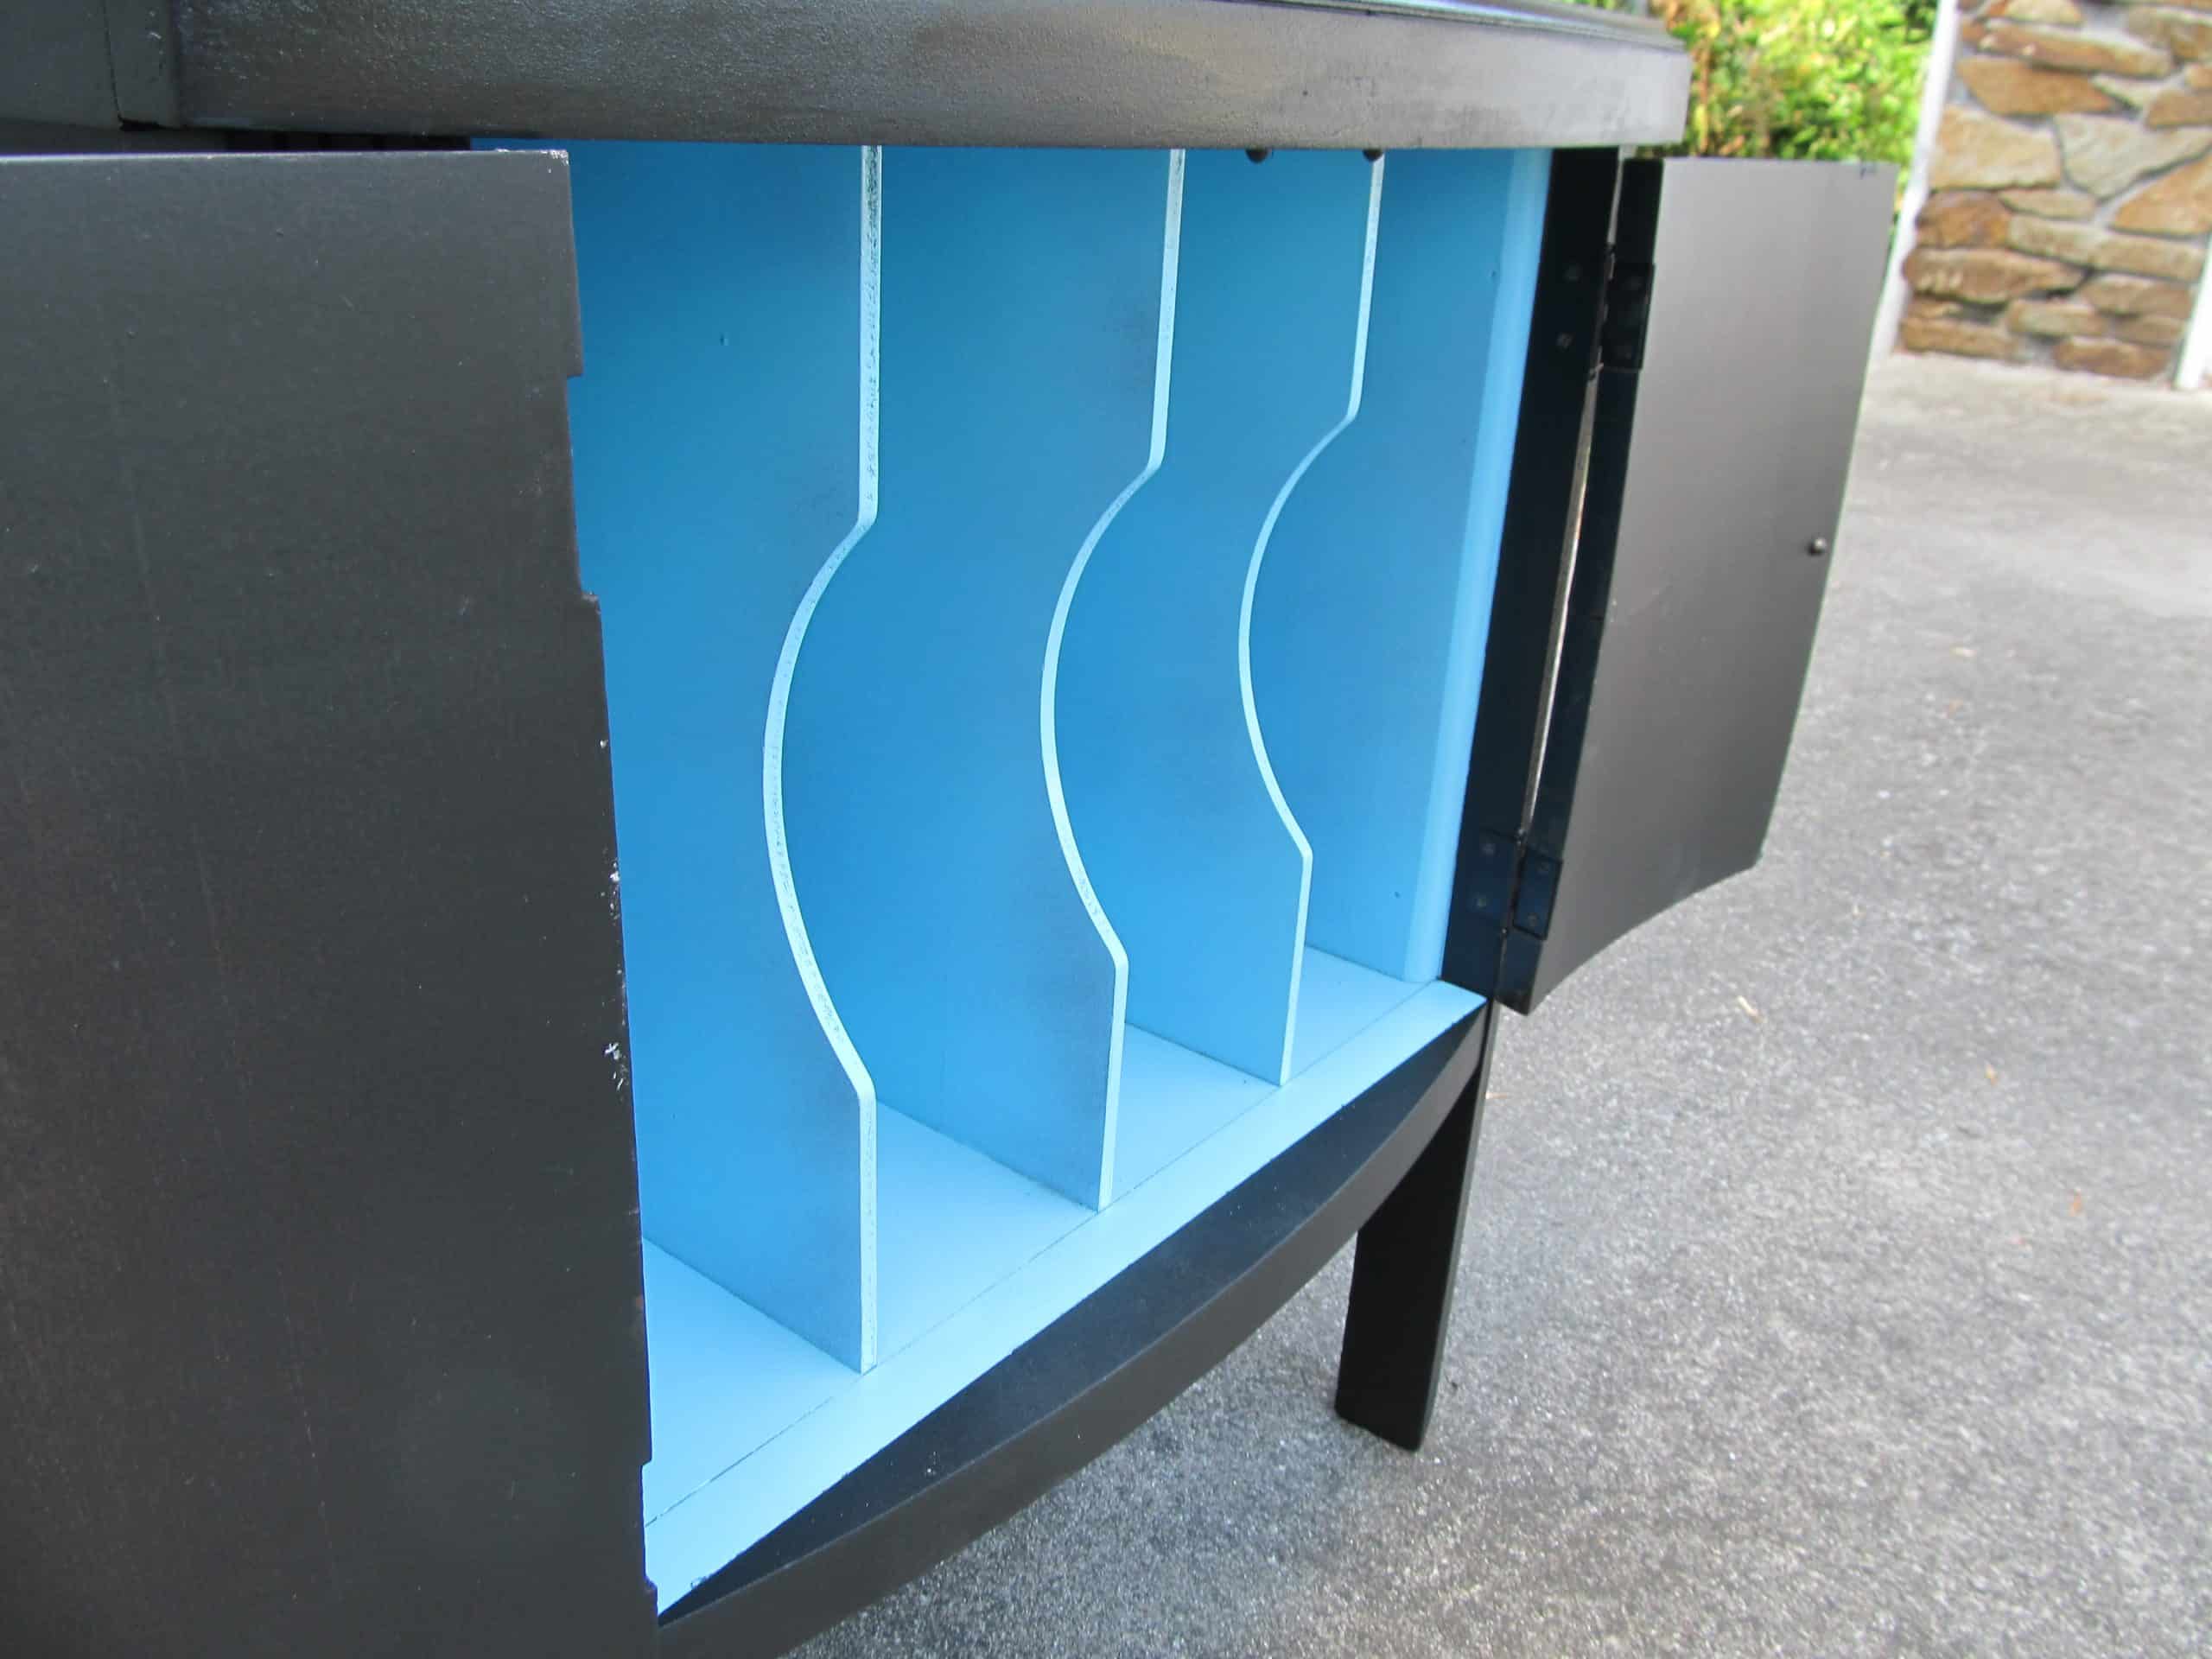
After I get the layers fixed up, I prepare to paint the inside of the cabinet. Because I’m doing a two tone, I tape a little further toward the inside. I want to make sure no aqua is showing when the doors are closed.
Tip: to get a good clean cut when taping corners, use a putty knife . Hold the putty knife firmly in the corner, then tear the tape.
Time for Paint
I didn’t want any overspray, so I taped the legs good. I started spraying with the cabinet upright . . .
. . . then laid it on it’s back to get the top of the inside.
I then removed the tape. This is where it gets tough!!! I made myself put this away for a day so that the blue paint would be dry enough to tape off again. Patience? not really my strong suit. I wanted to jump right in to finish this piece.
More Tape and Paint
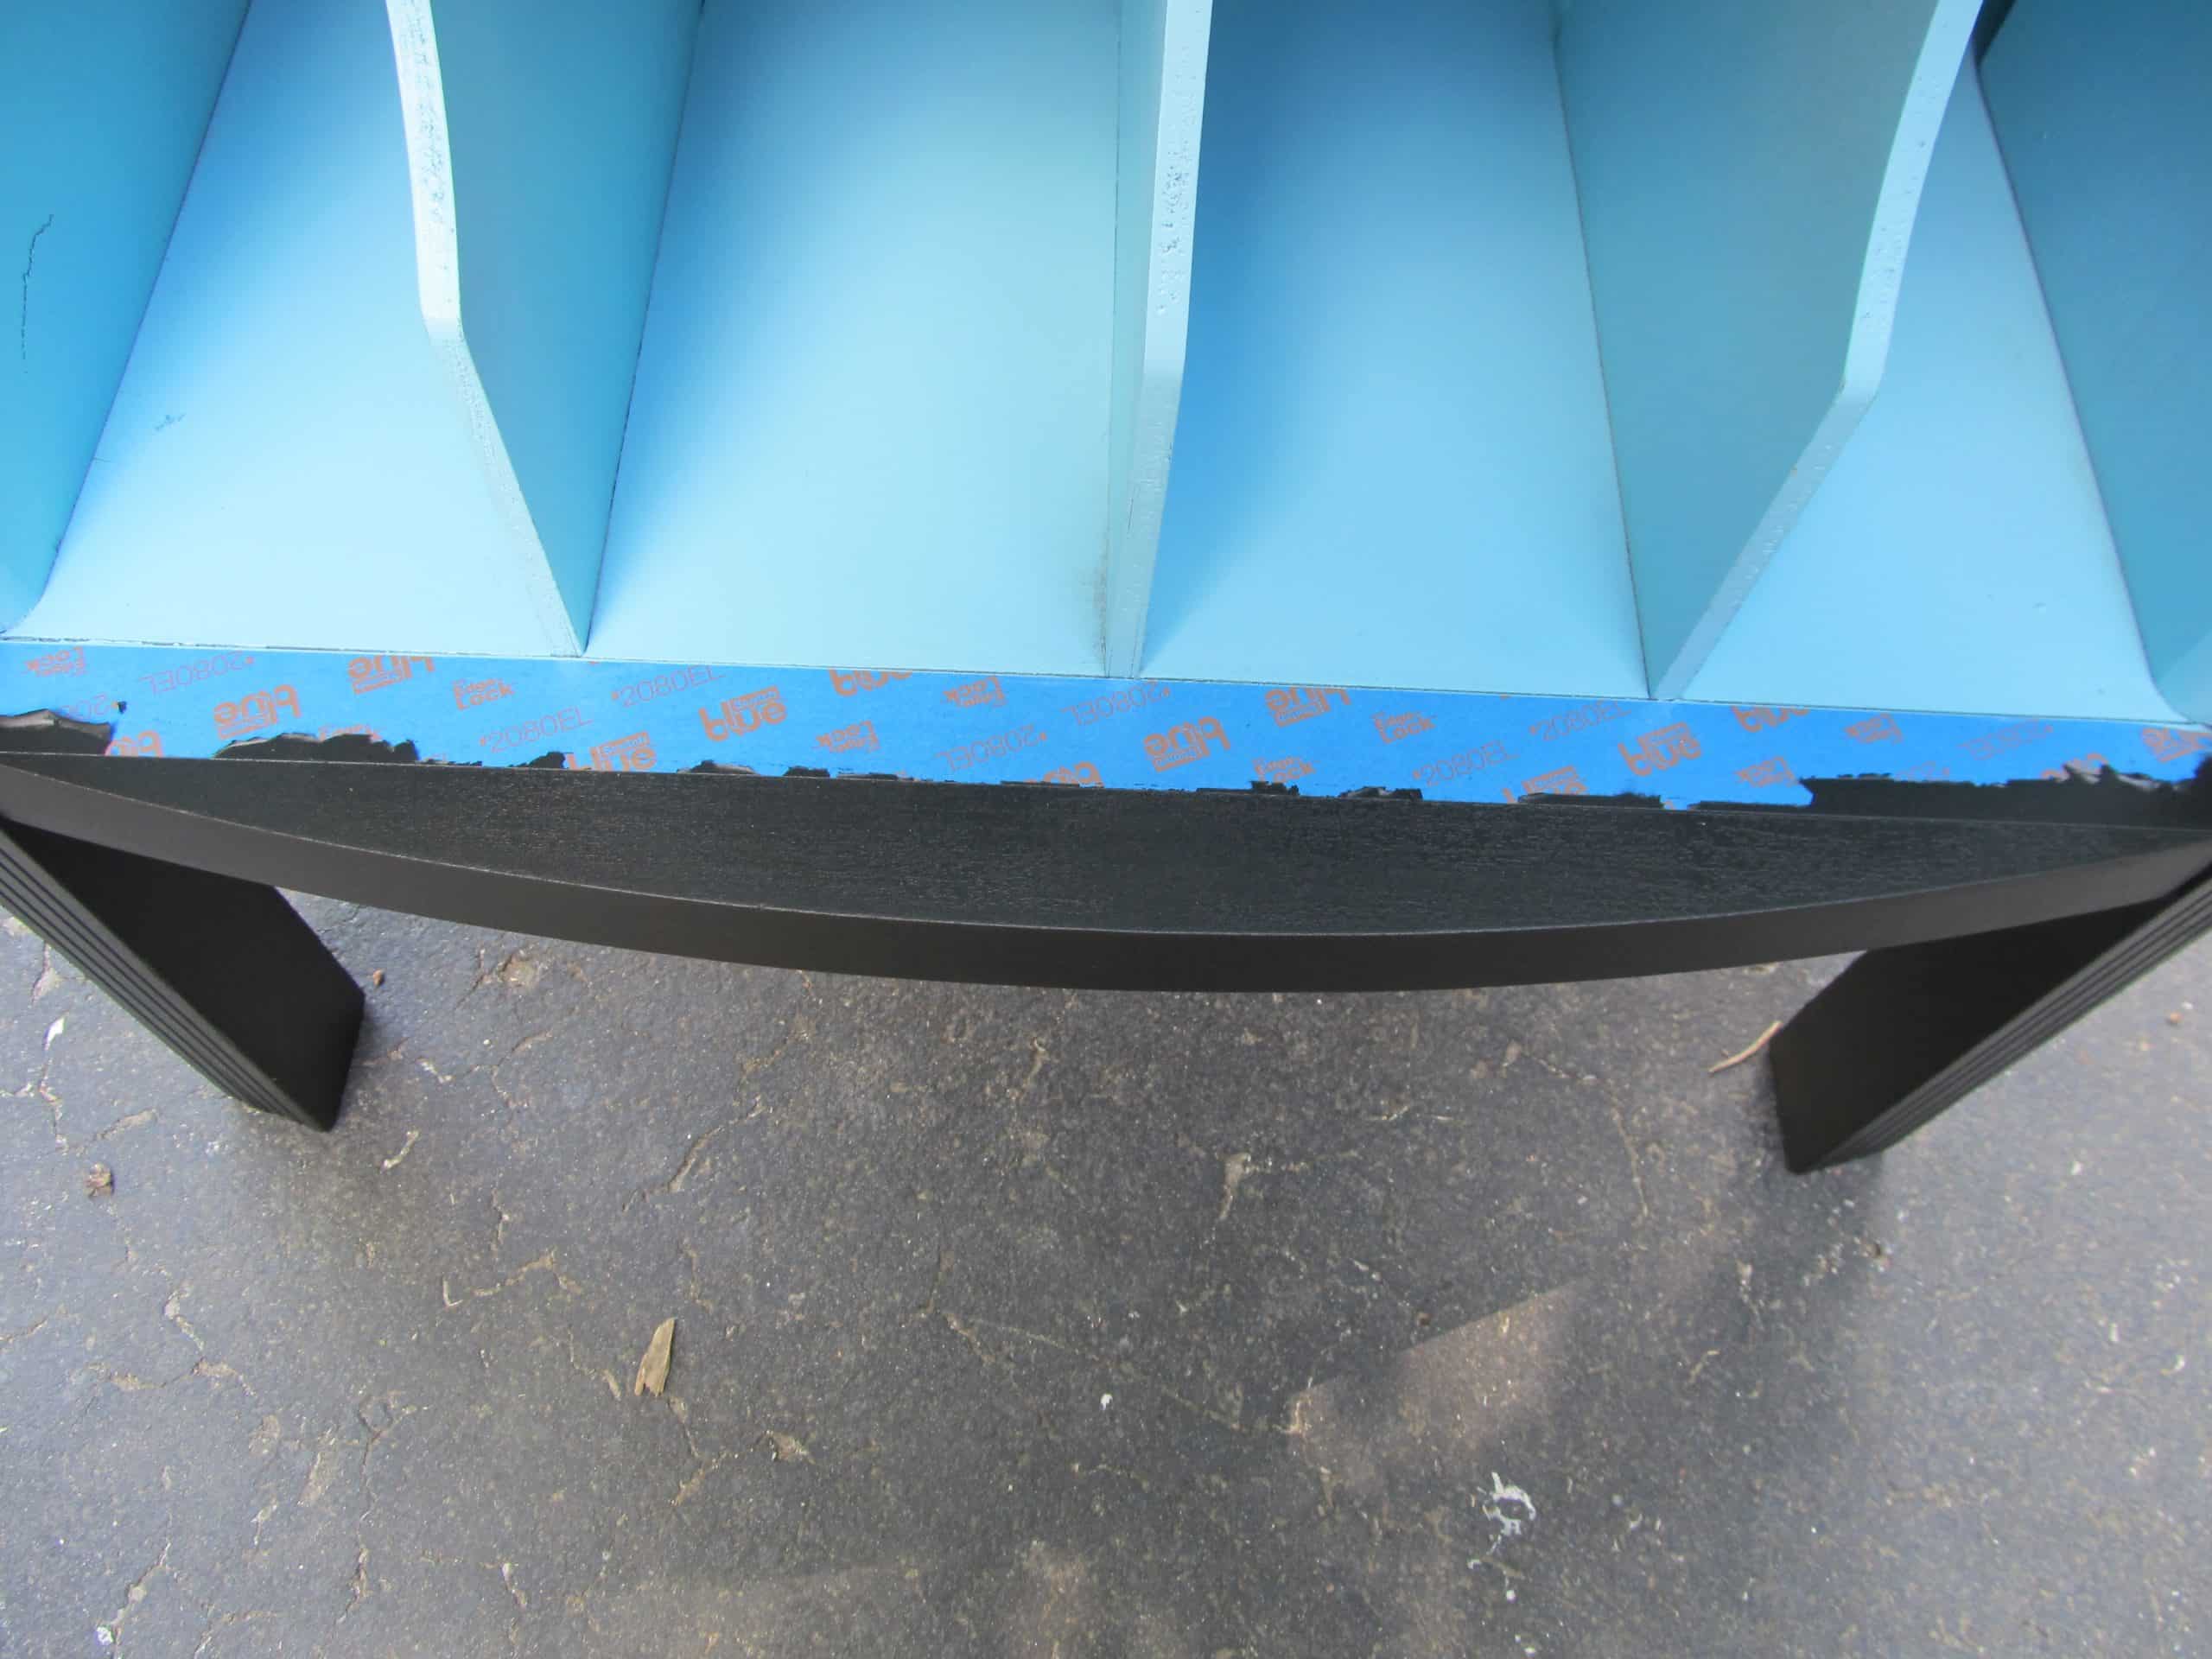
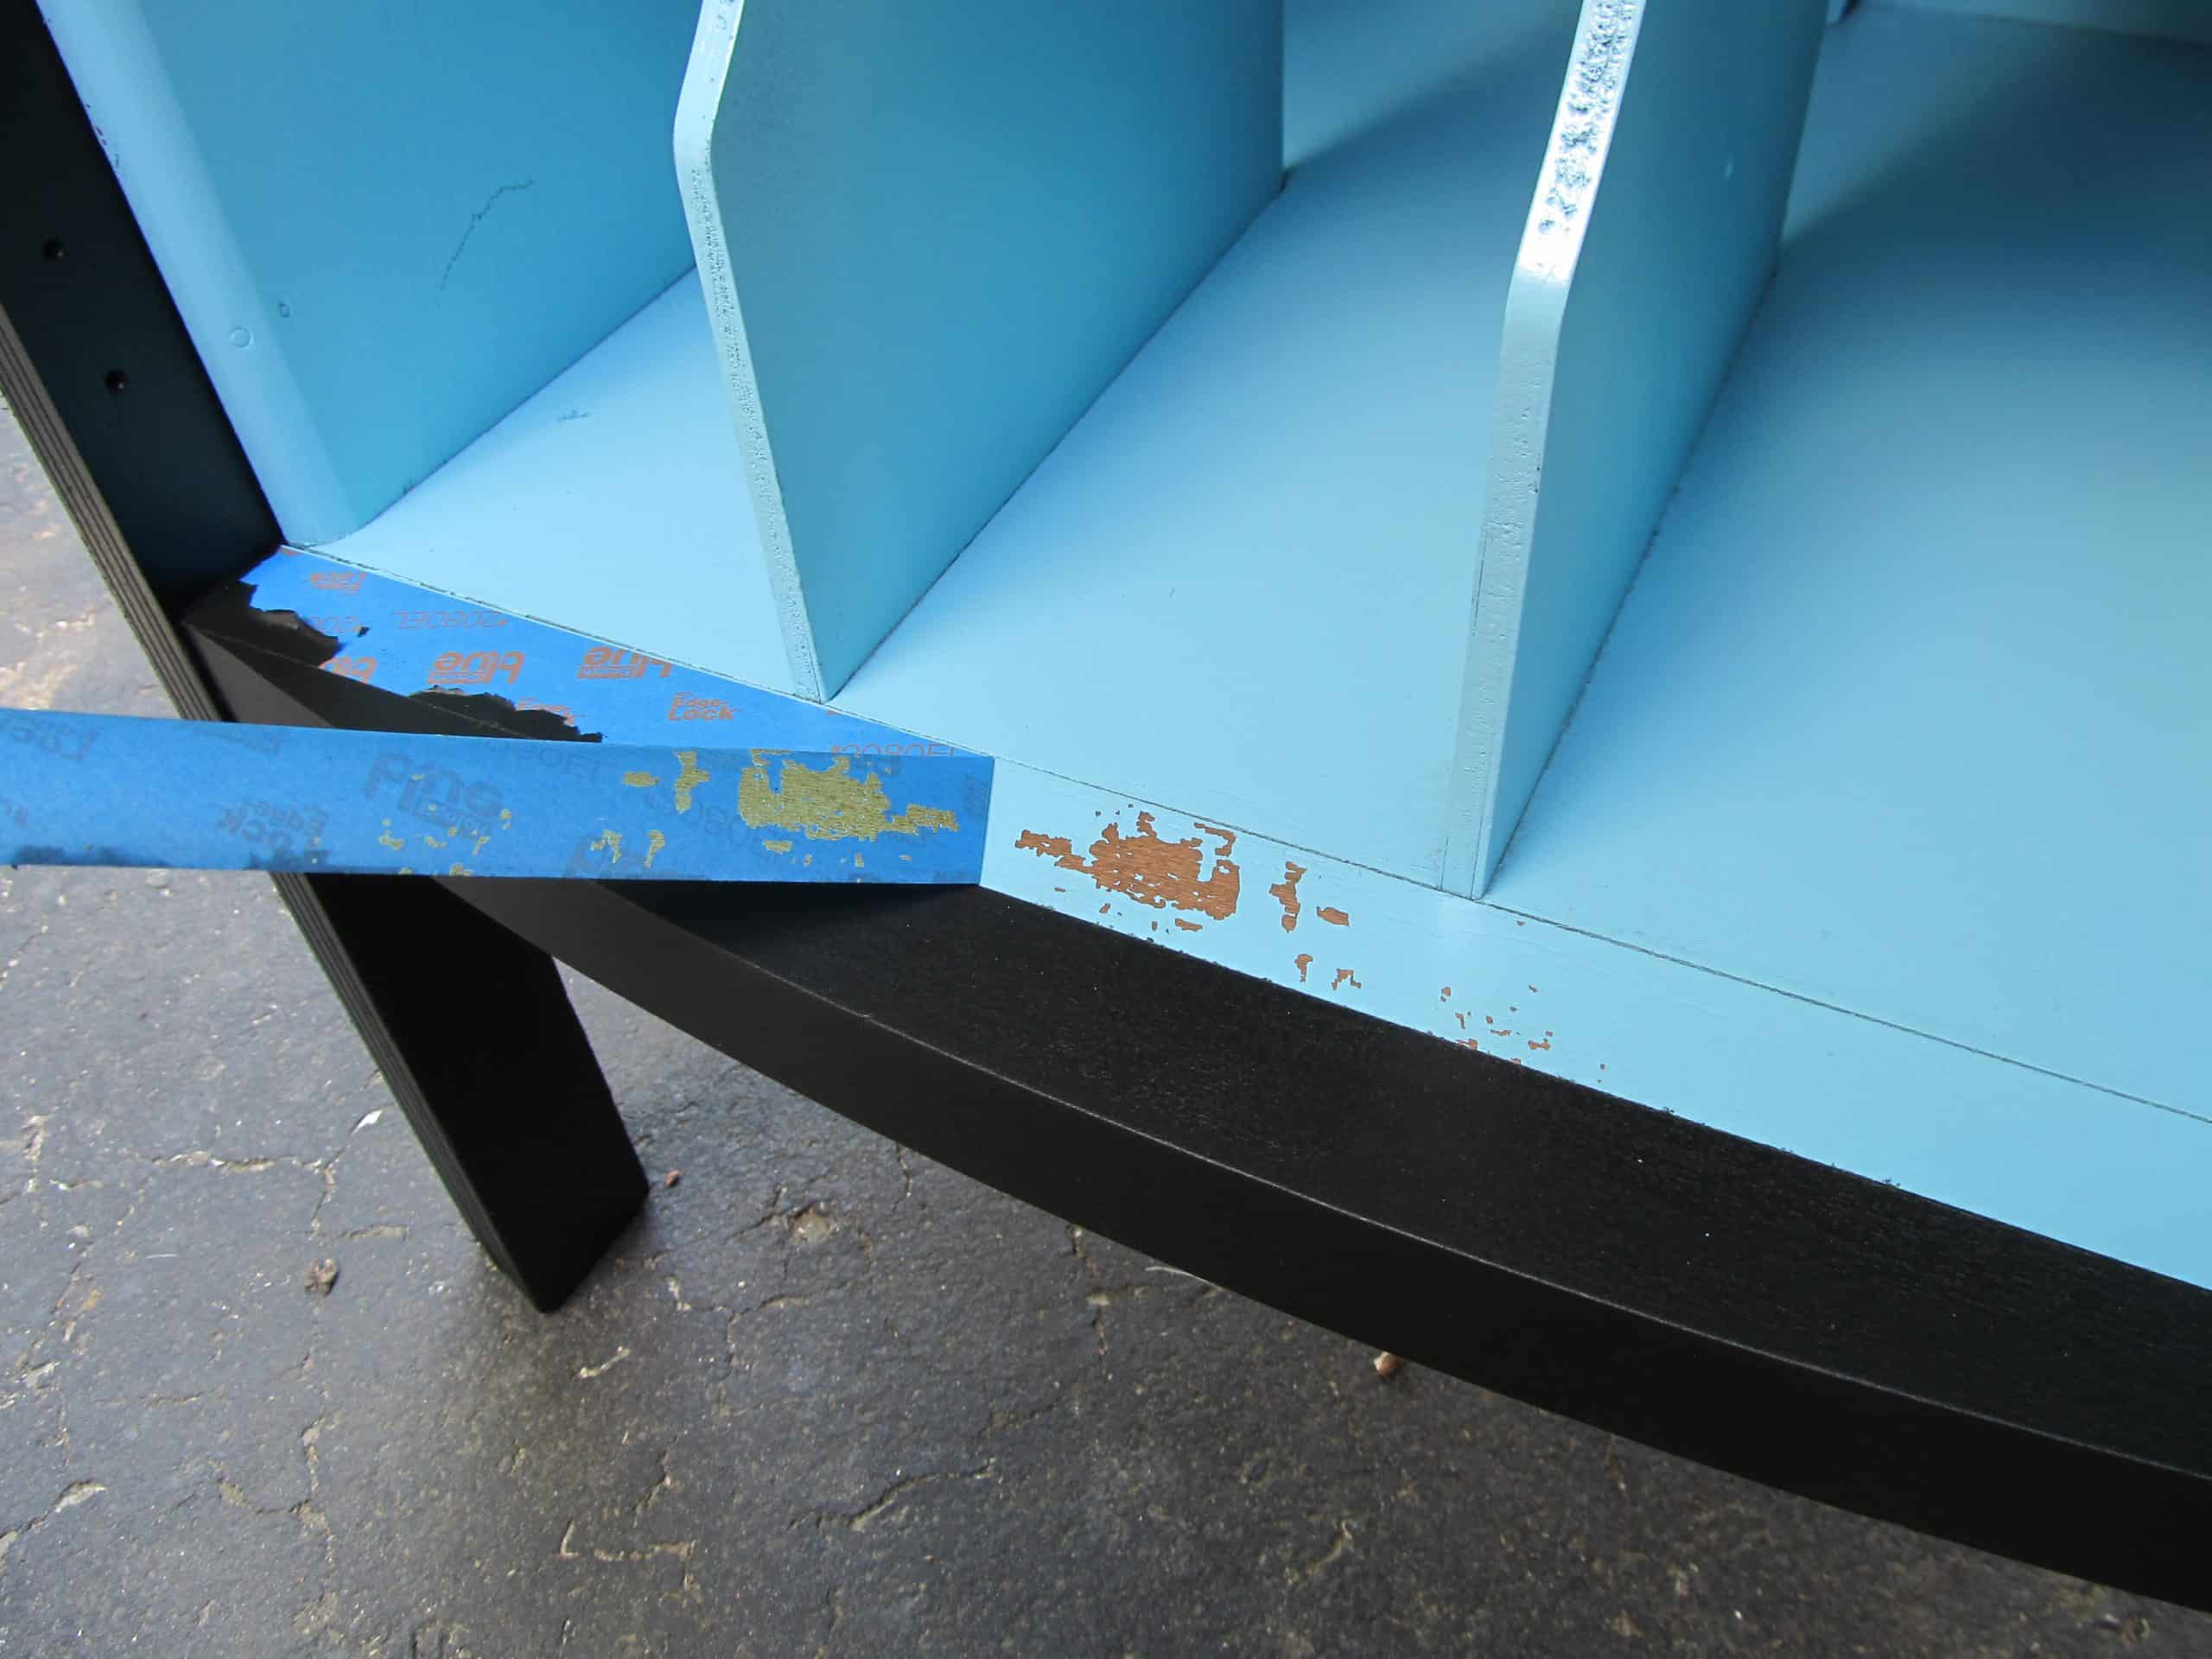
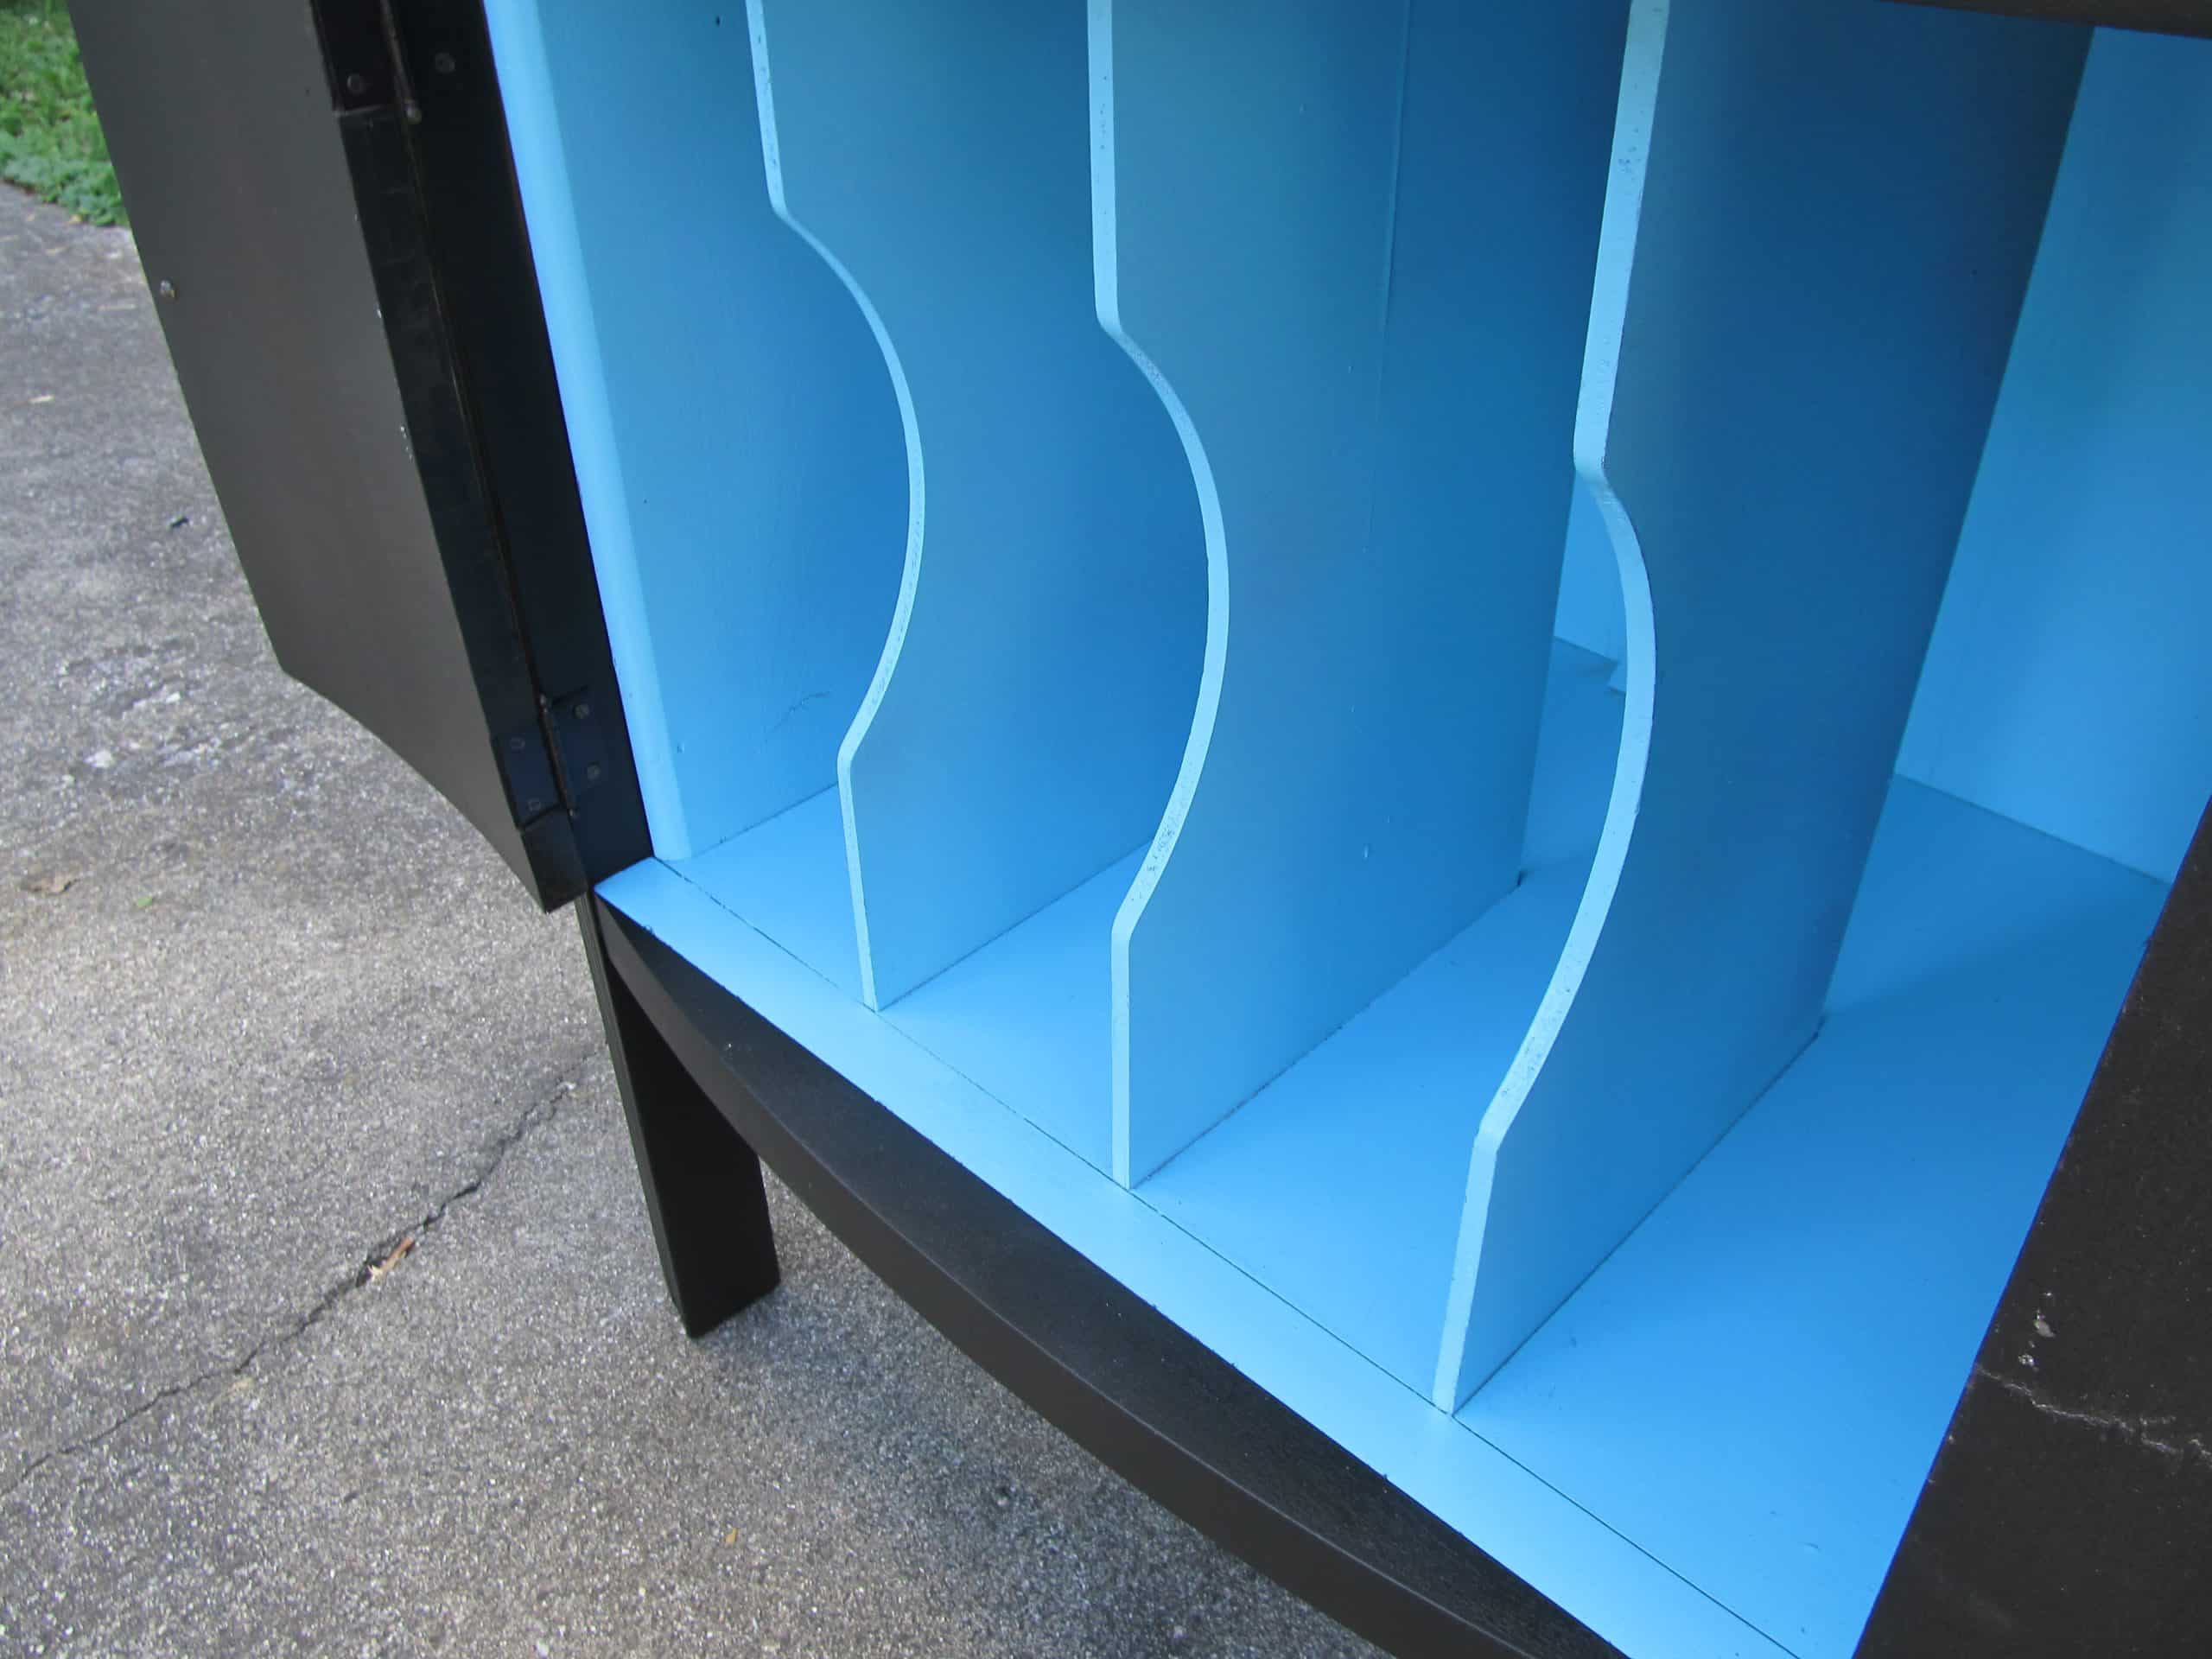
To tape the inside, I switch to my Scotch Blue for delicate surfaces . (one of my favs!) The first thing I did was tape right on the edge that I had painted aqua. I let a little aqua show, just a very thin line.
On the top, you can see just a small hint of the aqua.
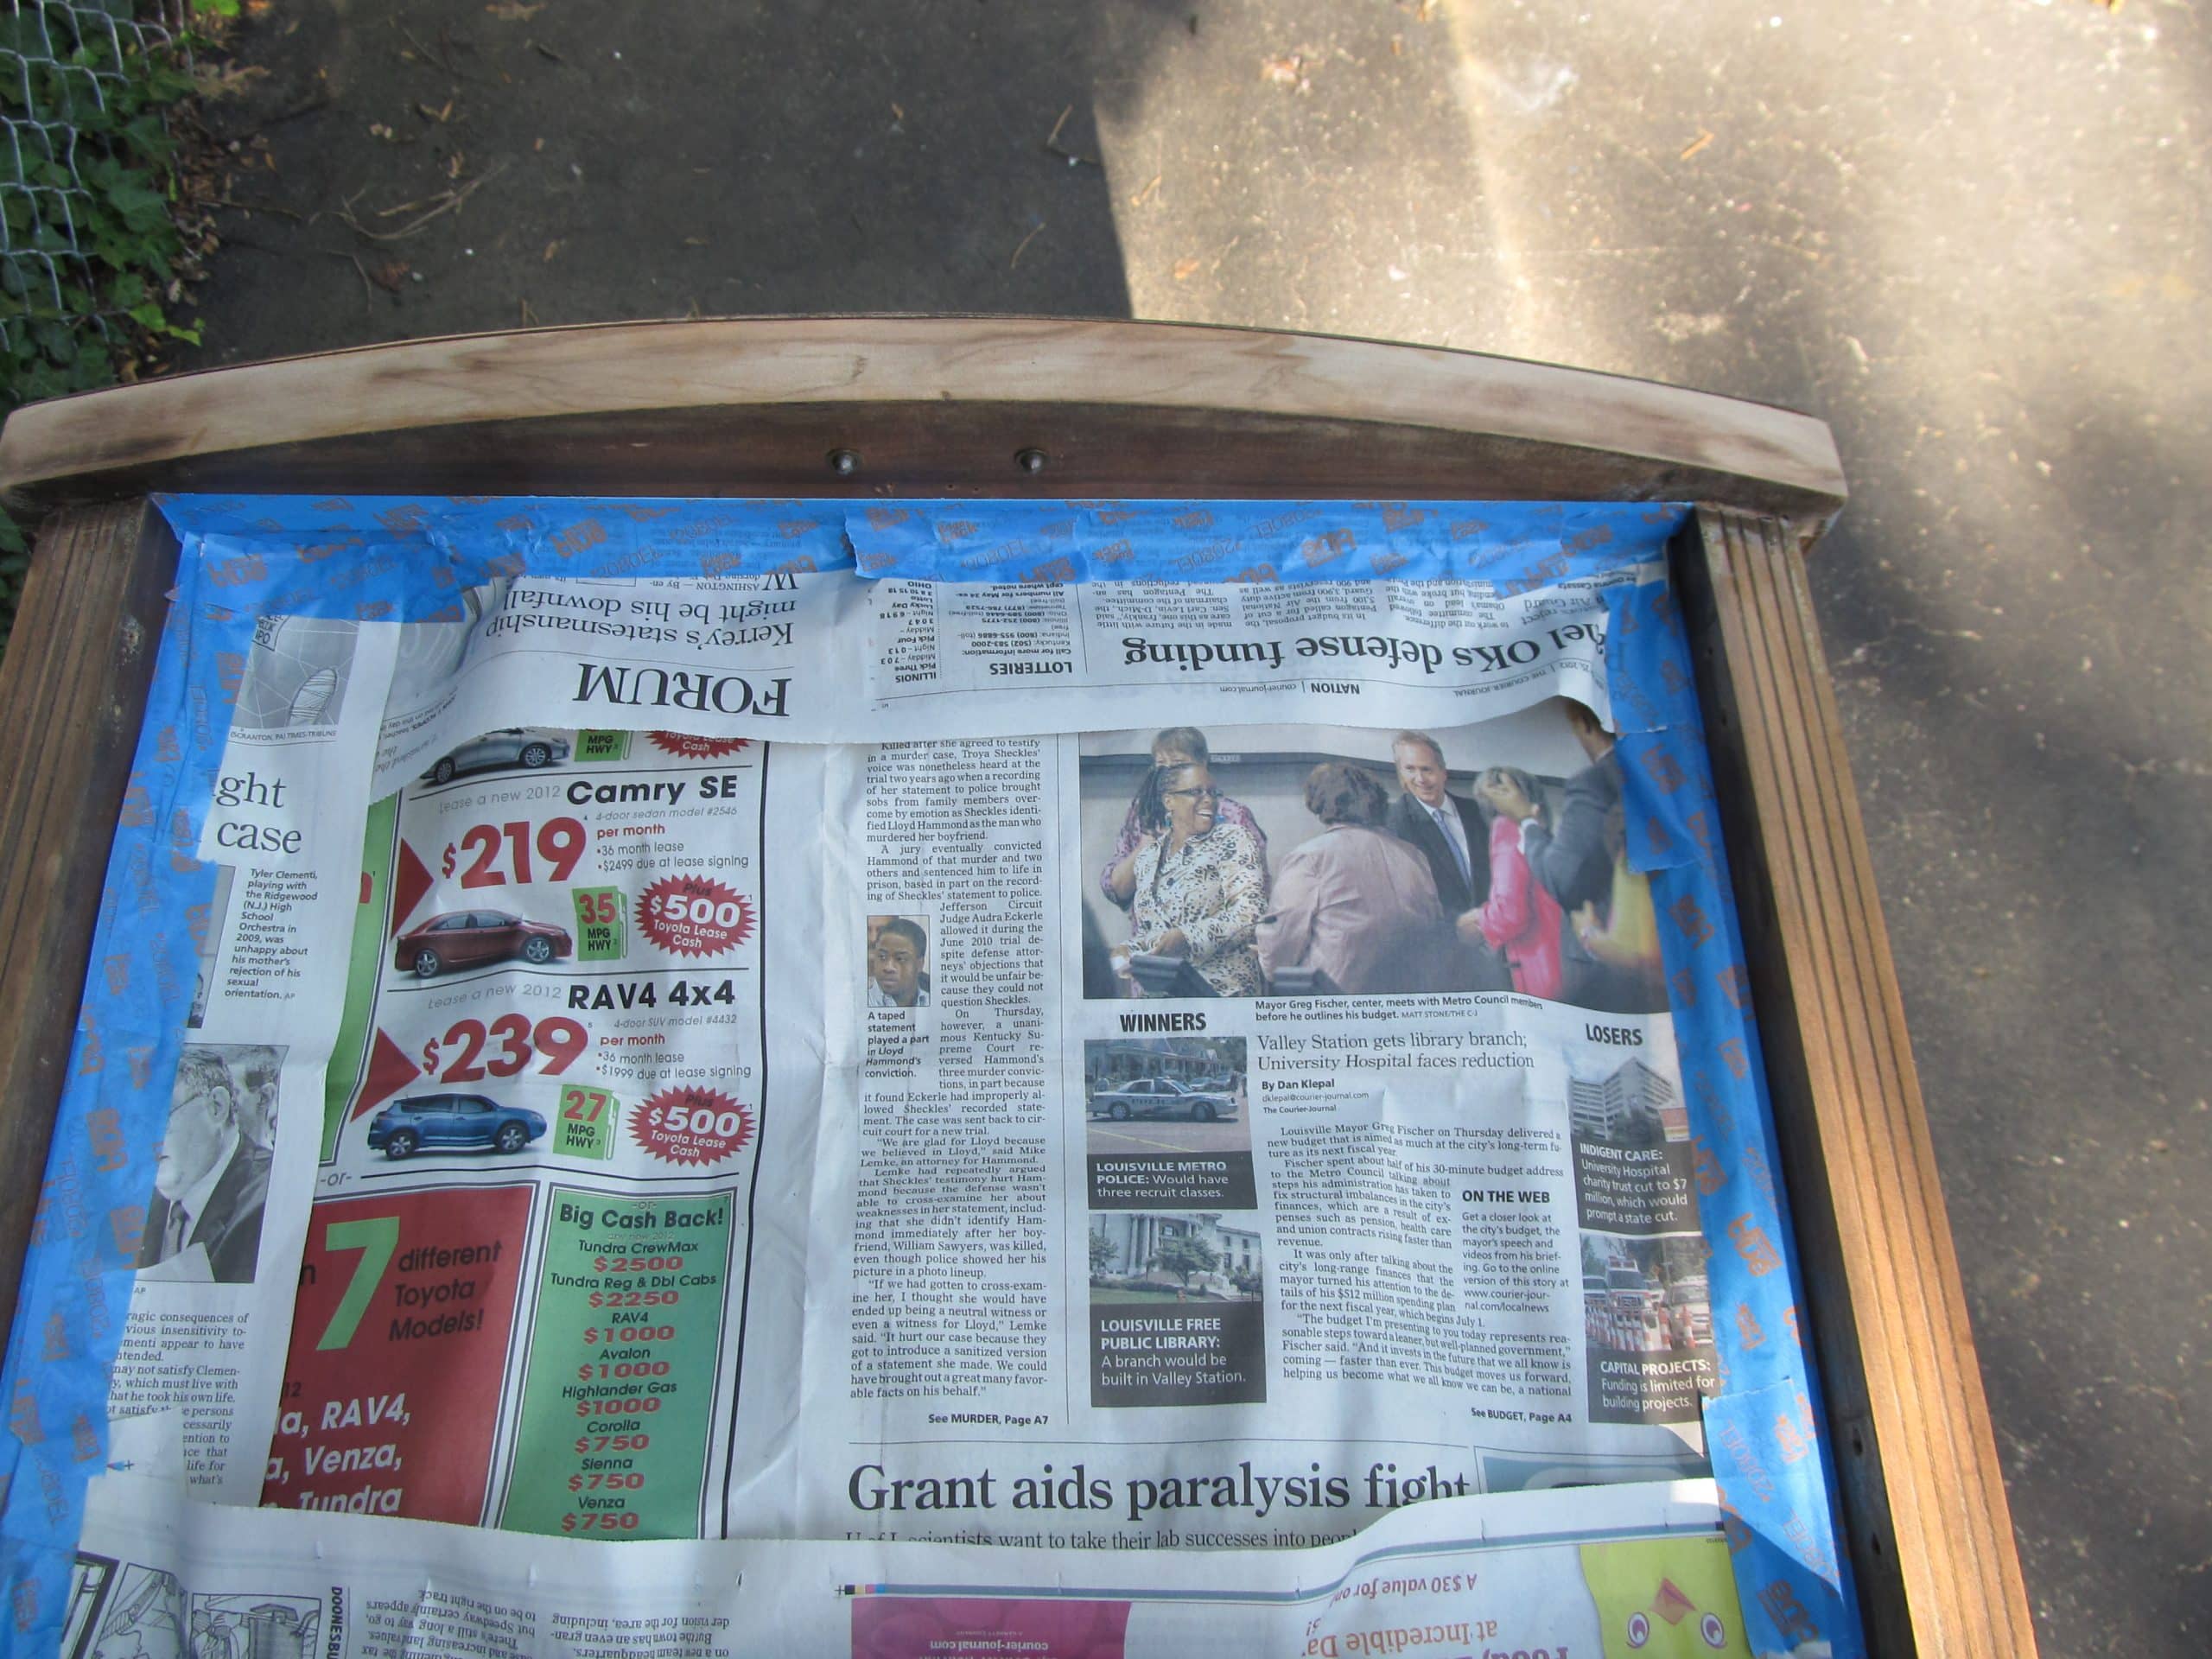
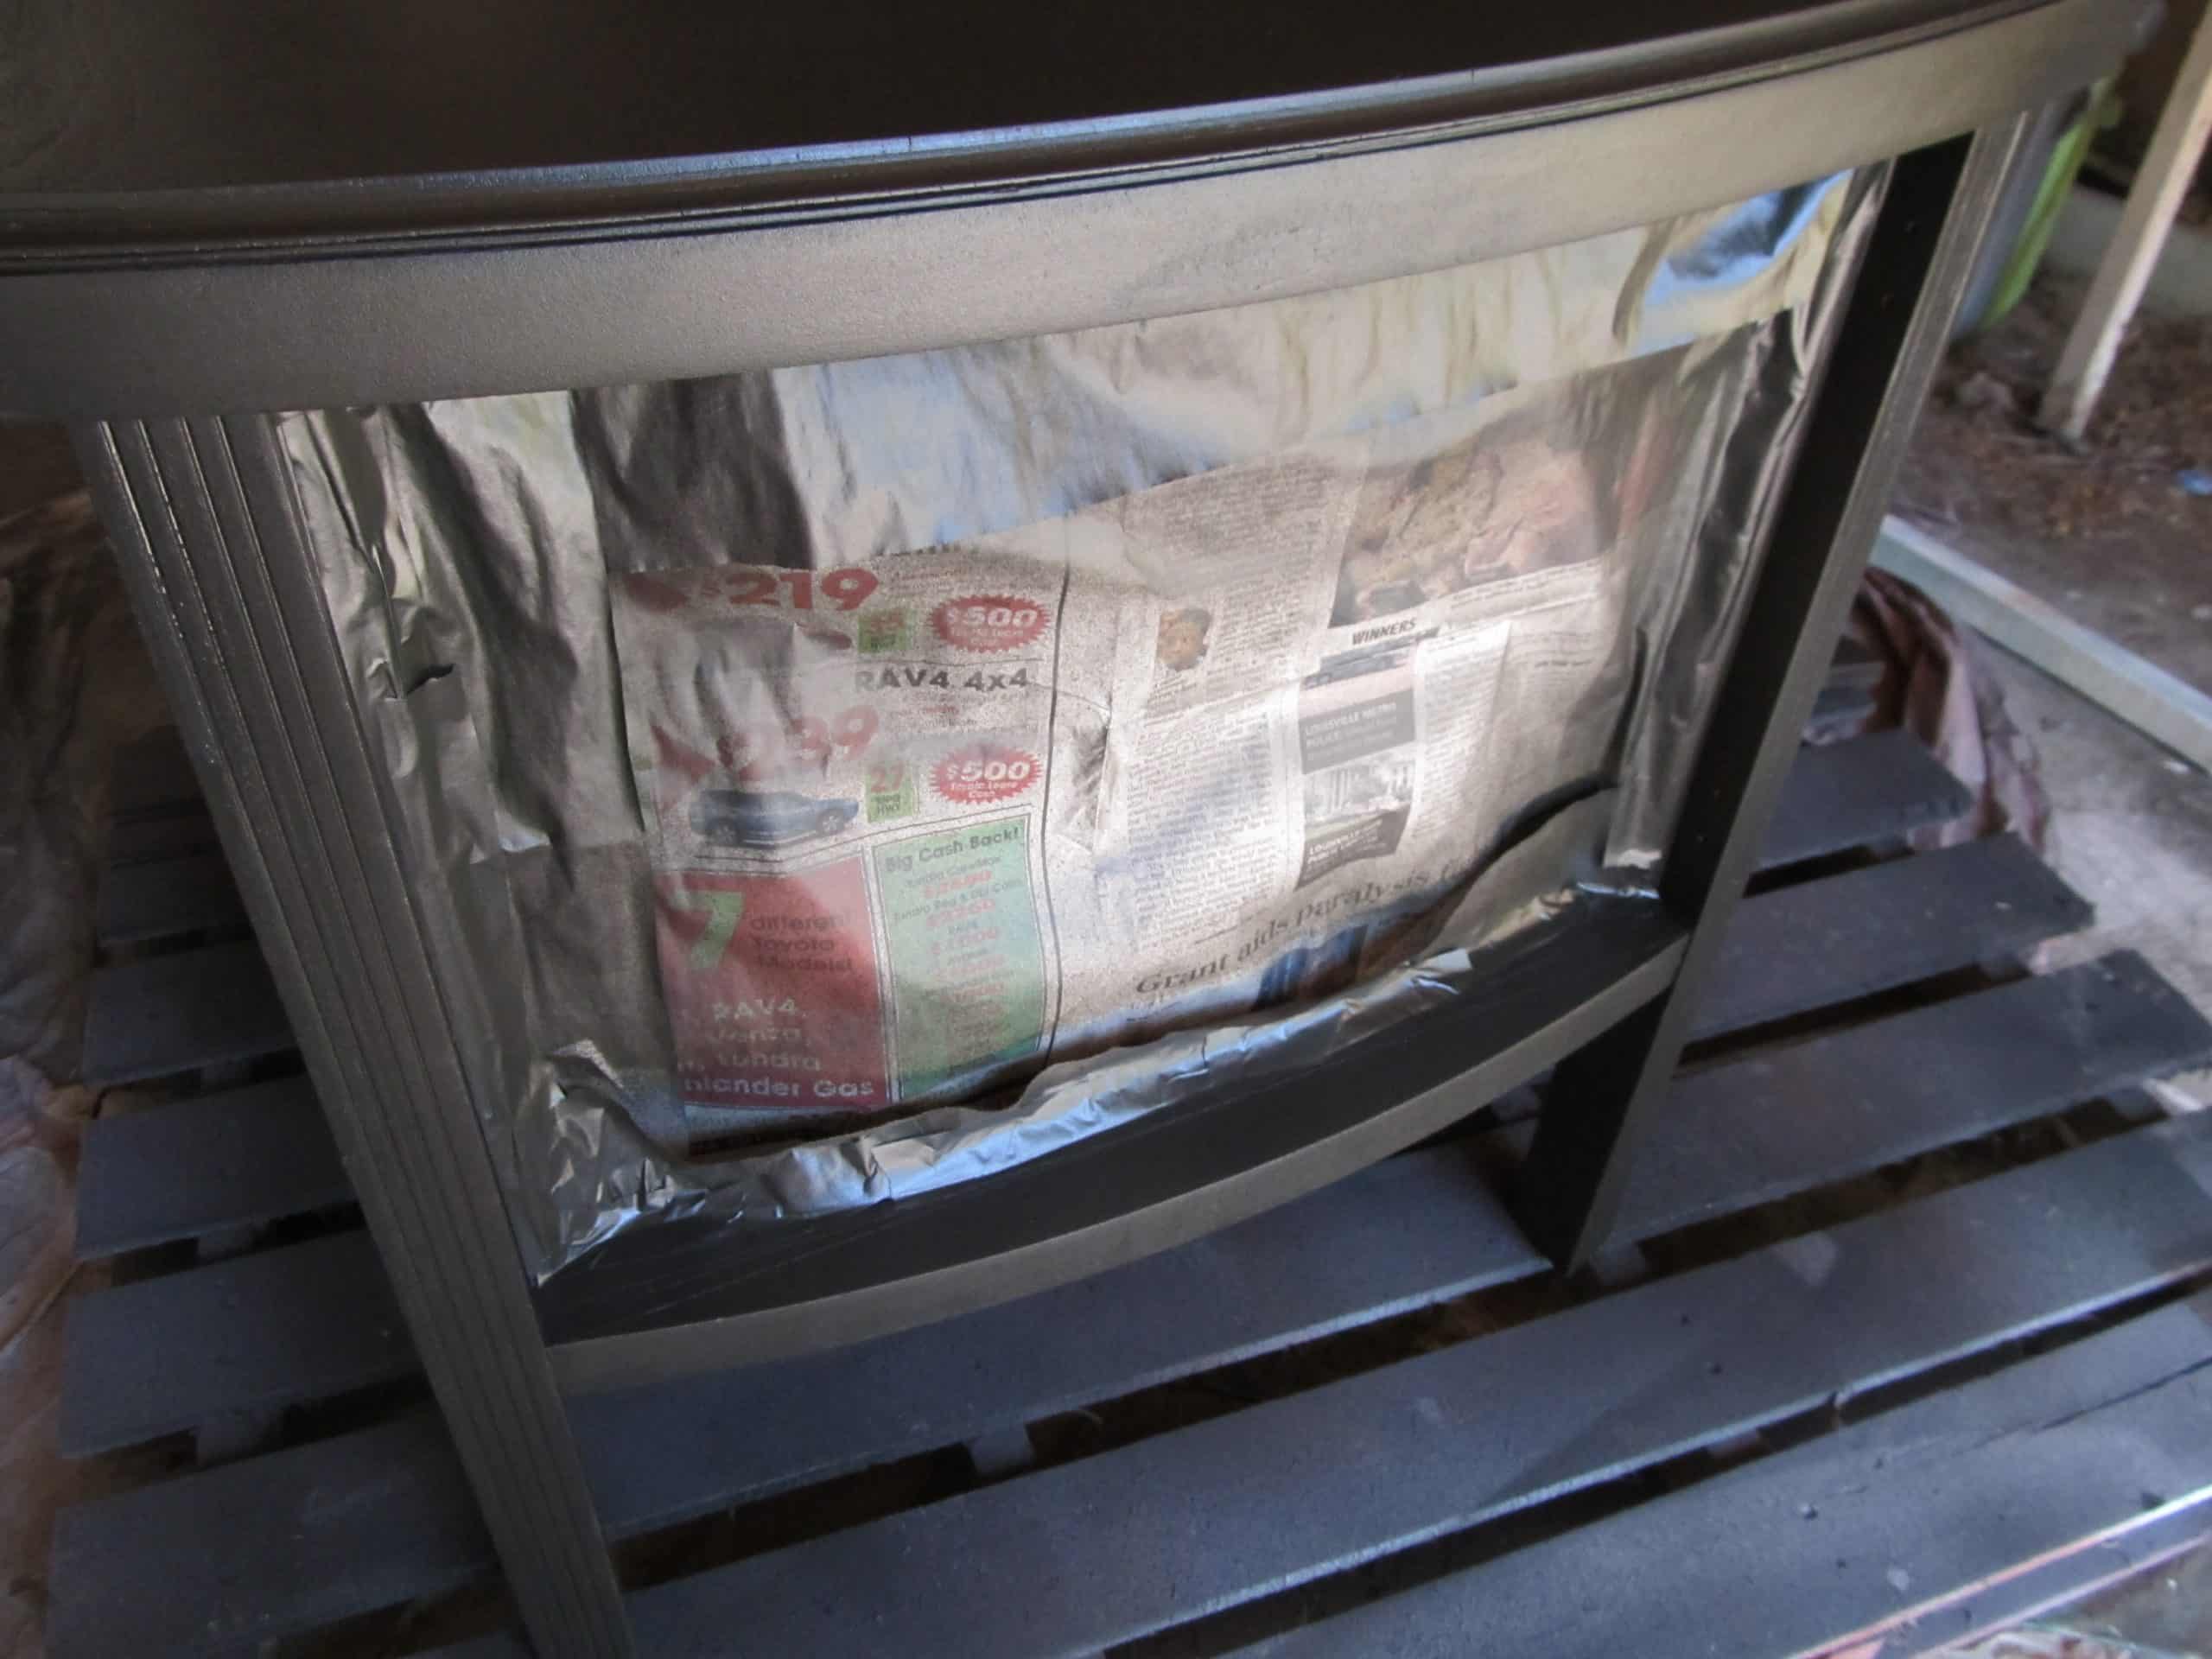
I then stuffed some newspaper in all the little cubbies, then started taping a sheet over the entire front.
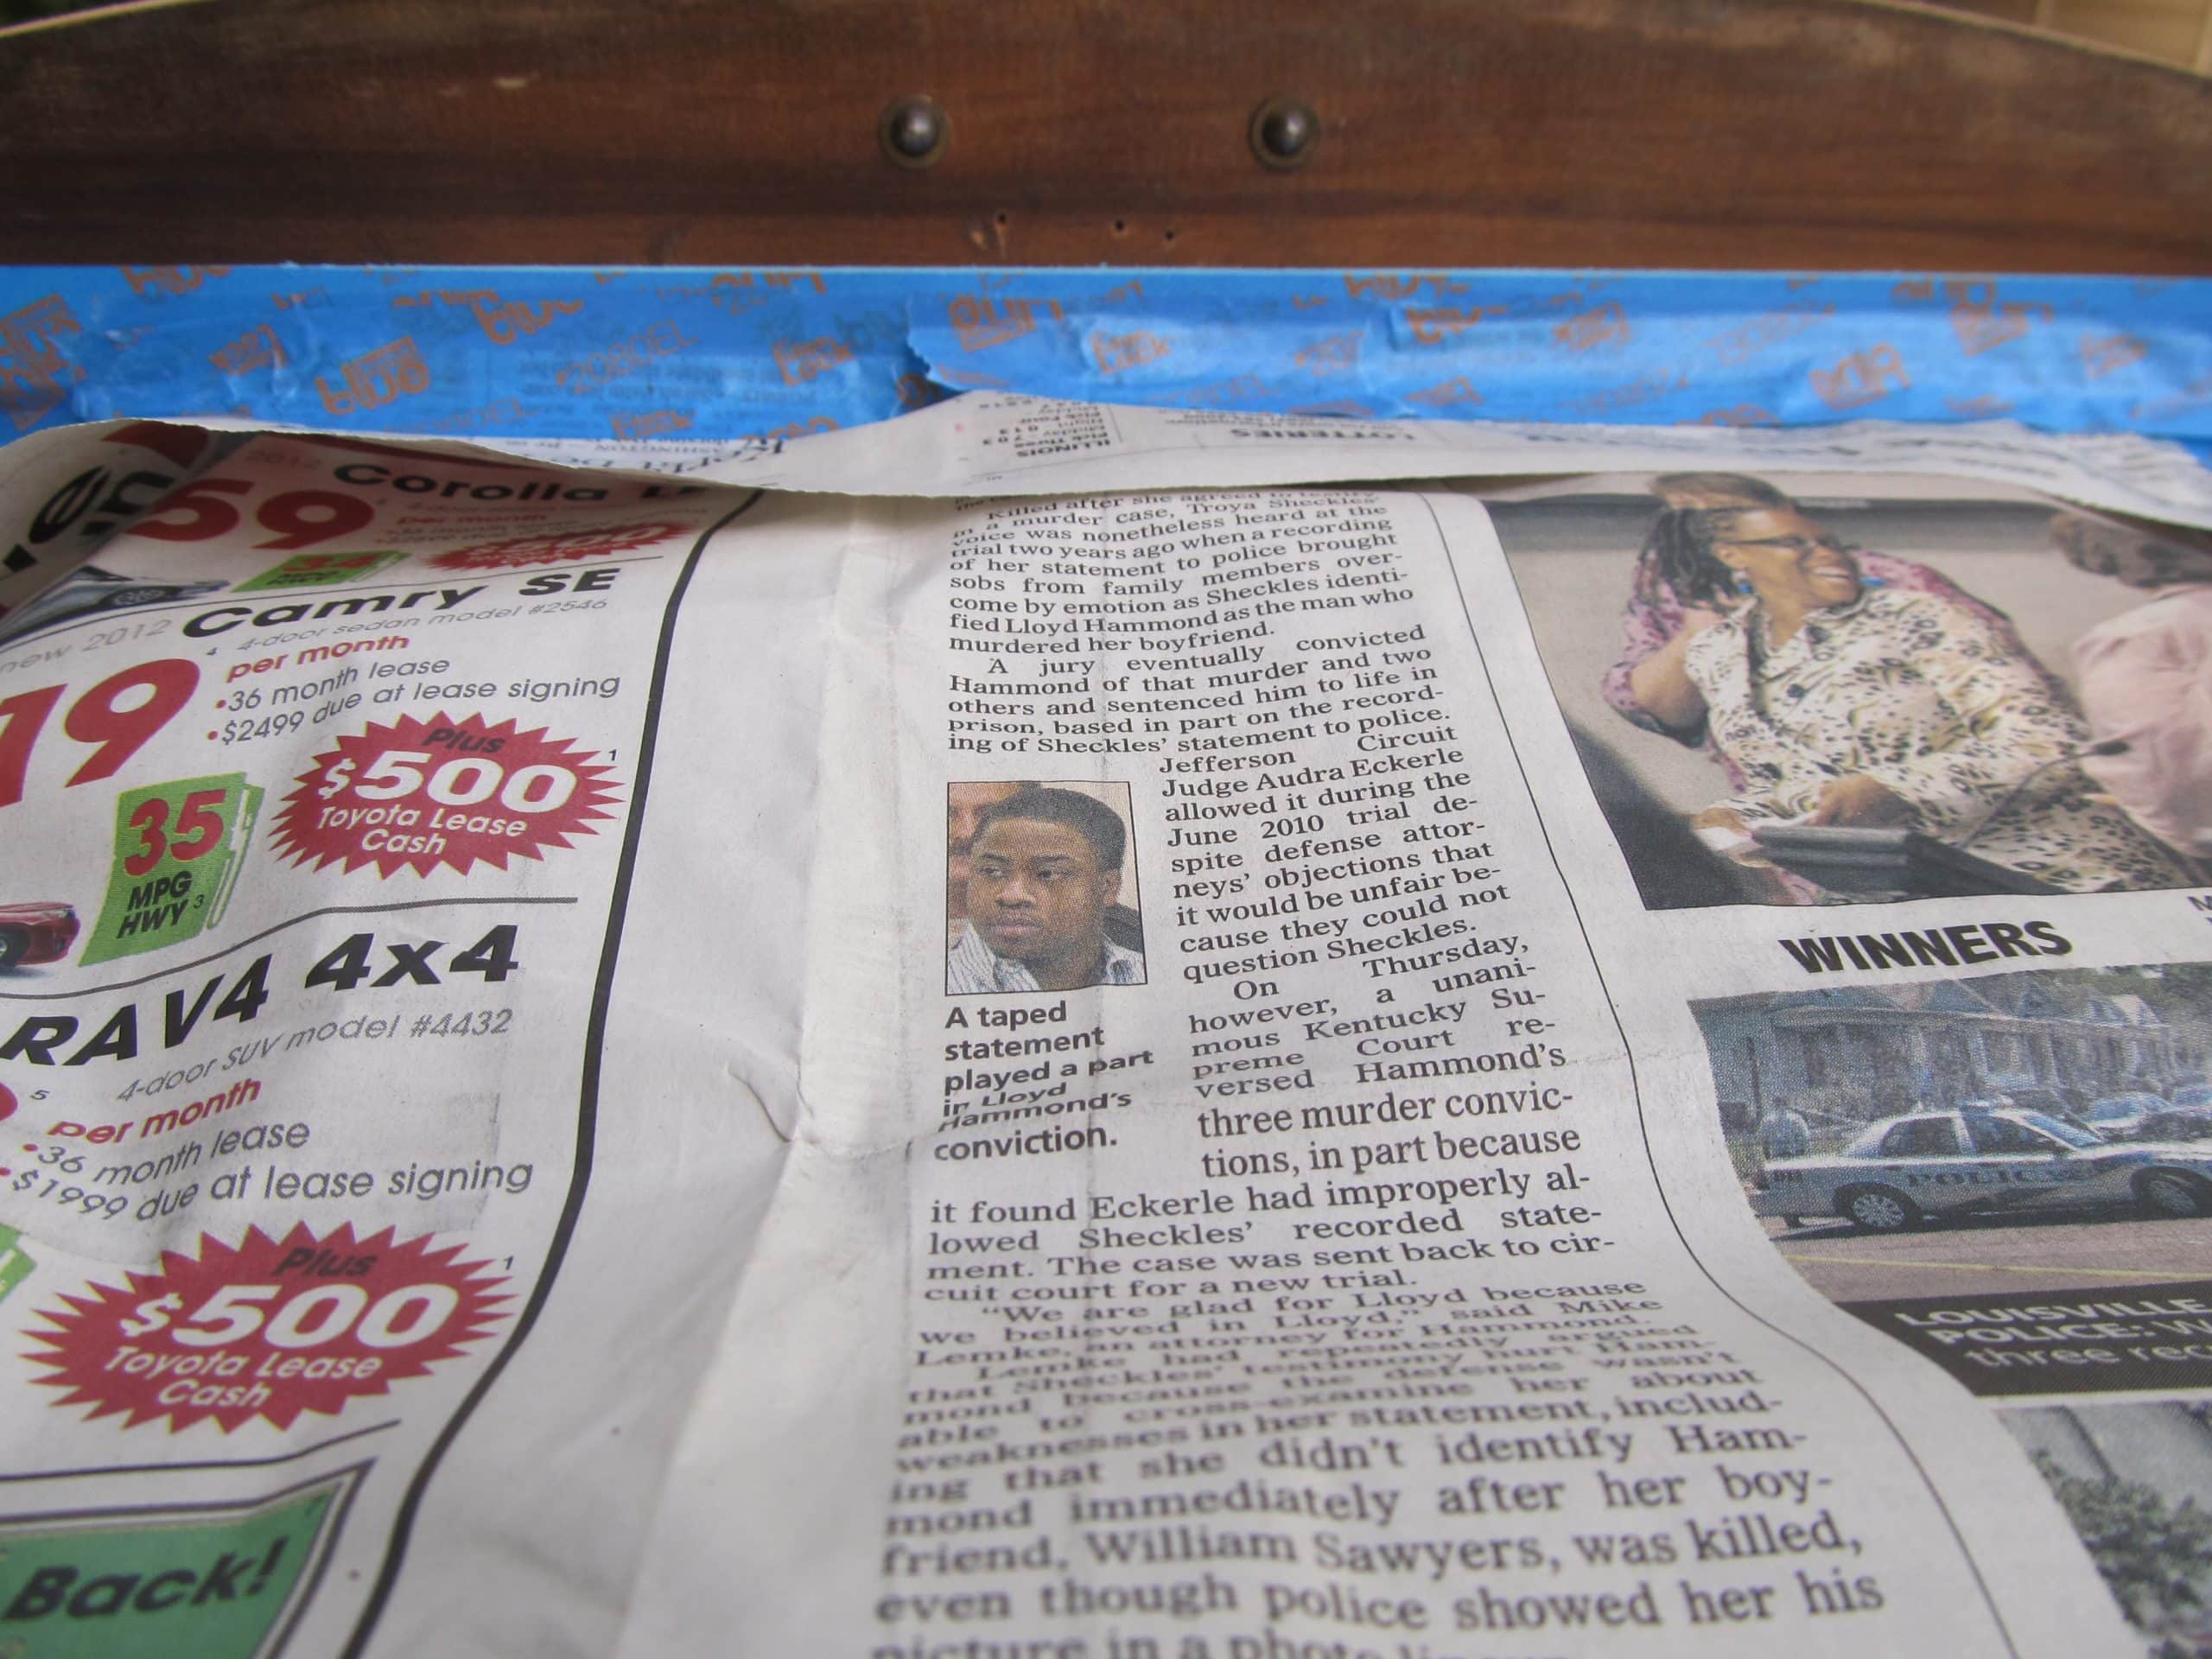
Ok, I sort of did an overkill with the newspaper and the tape. I believe this was my first time doing a two tone, and I didn’t want to have to spray the inside aqua, if some black paint sprayed inside.
I always start by painting the underneath side (and back) first.
Then I set it up and gave it several light coats of the same paint I used on the upholstered headboard bench, and my kitchen island. I applied the paint with my Homeright Finish Max.
I love this paint, it’s Behr Premium Plus Ultra from Home Depot. Black Suede in Satin (I get nothing for saying it, but I truly LOVE the sheen and the quality of this paint.

It’s time to start removing the paper and tape.
Remove Tape and Newspaper

Here you can see the first layer of protection I had taped in. (NO overspray) I was happy to see that.
Tip: Do not tape the newspaper and the tape at the same time. Using that under layer of JUST tape, then tape and paper will make all the difference.
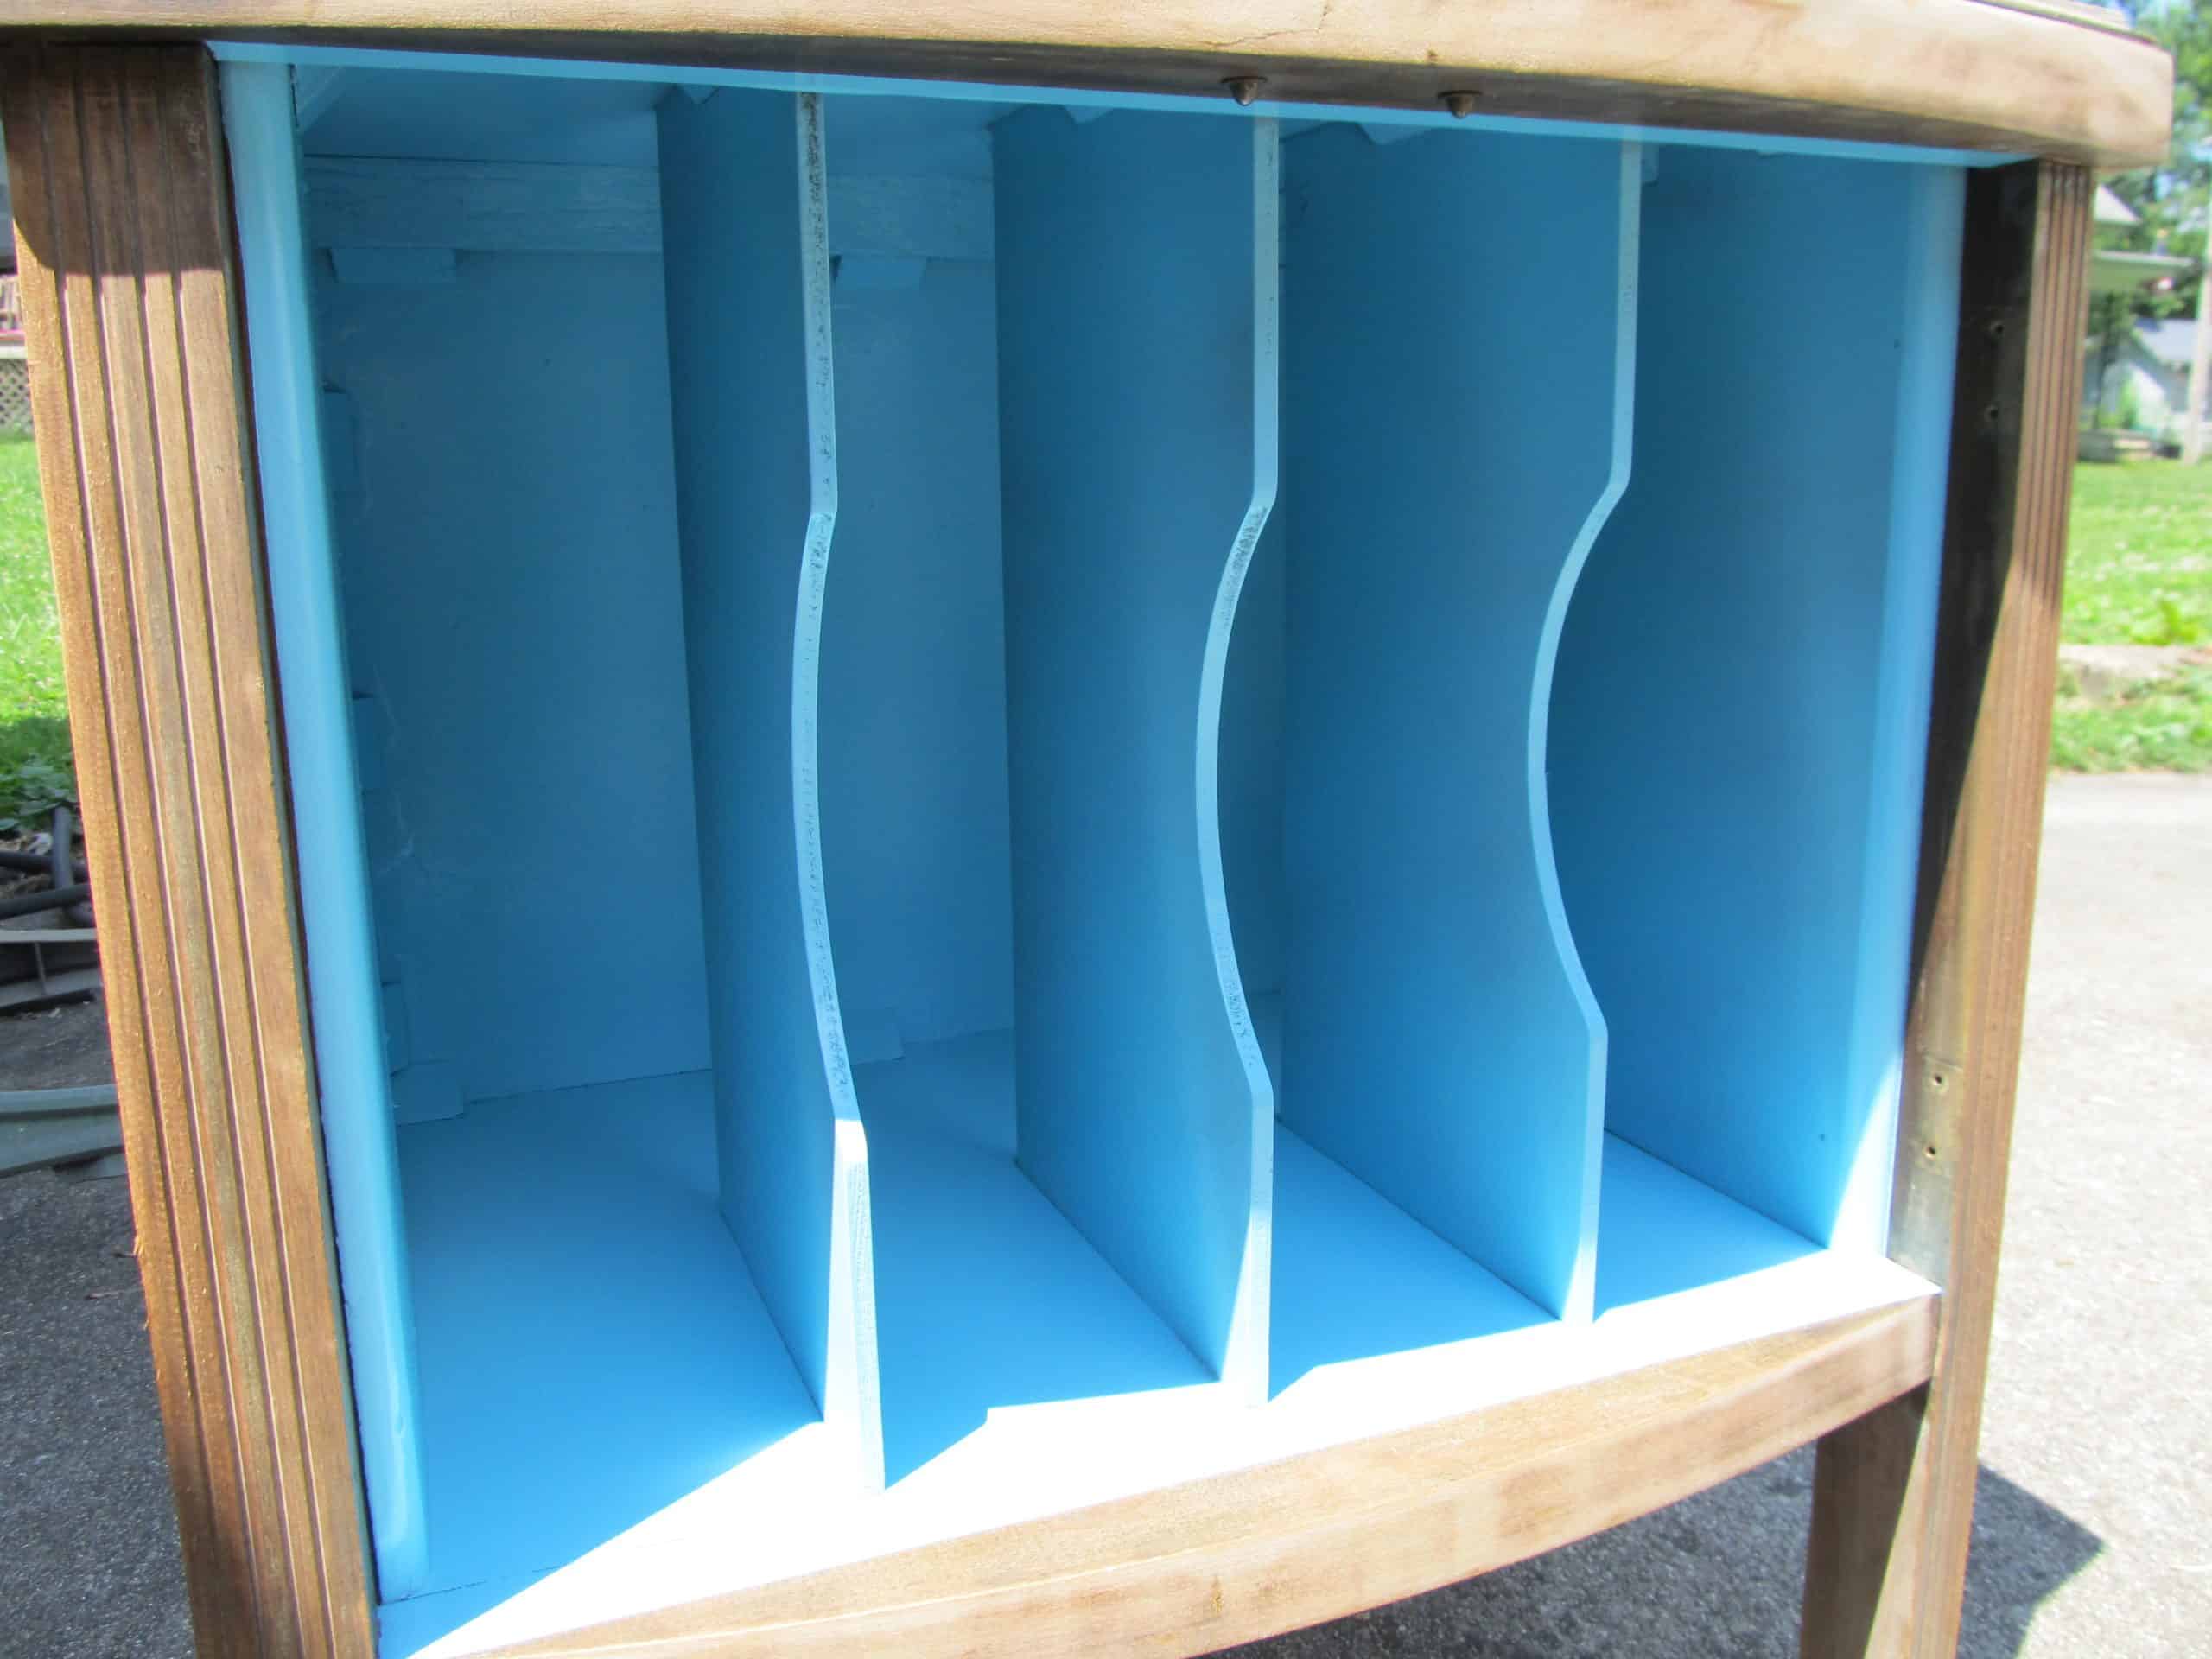
I am loving the look of the black and blue together!
How to Touch Up Spray Paint
UH OH! I do not blame the tape for this, and remember, I waited 24 hours for the spray paint to dry. I’m guessing there must have been something oily that kept the spray paint from adhering to this spot. It is the only spot that did this, and being where it is, makes me think something had been spilled there at one time or another.
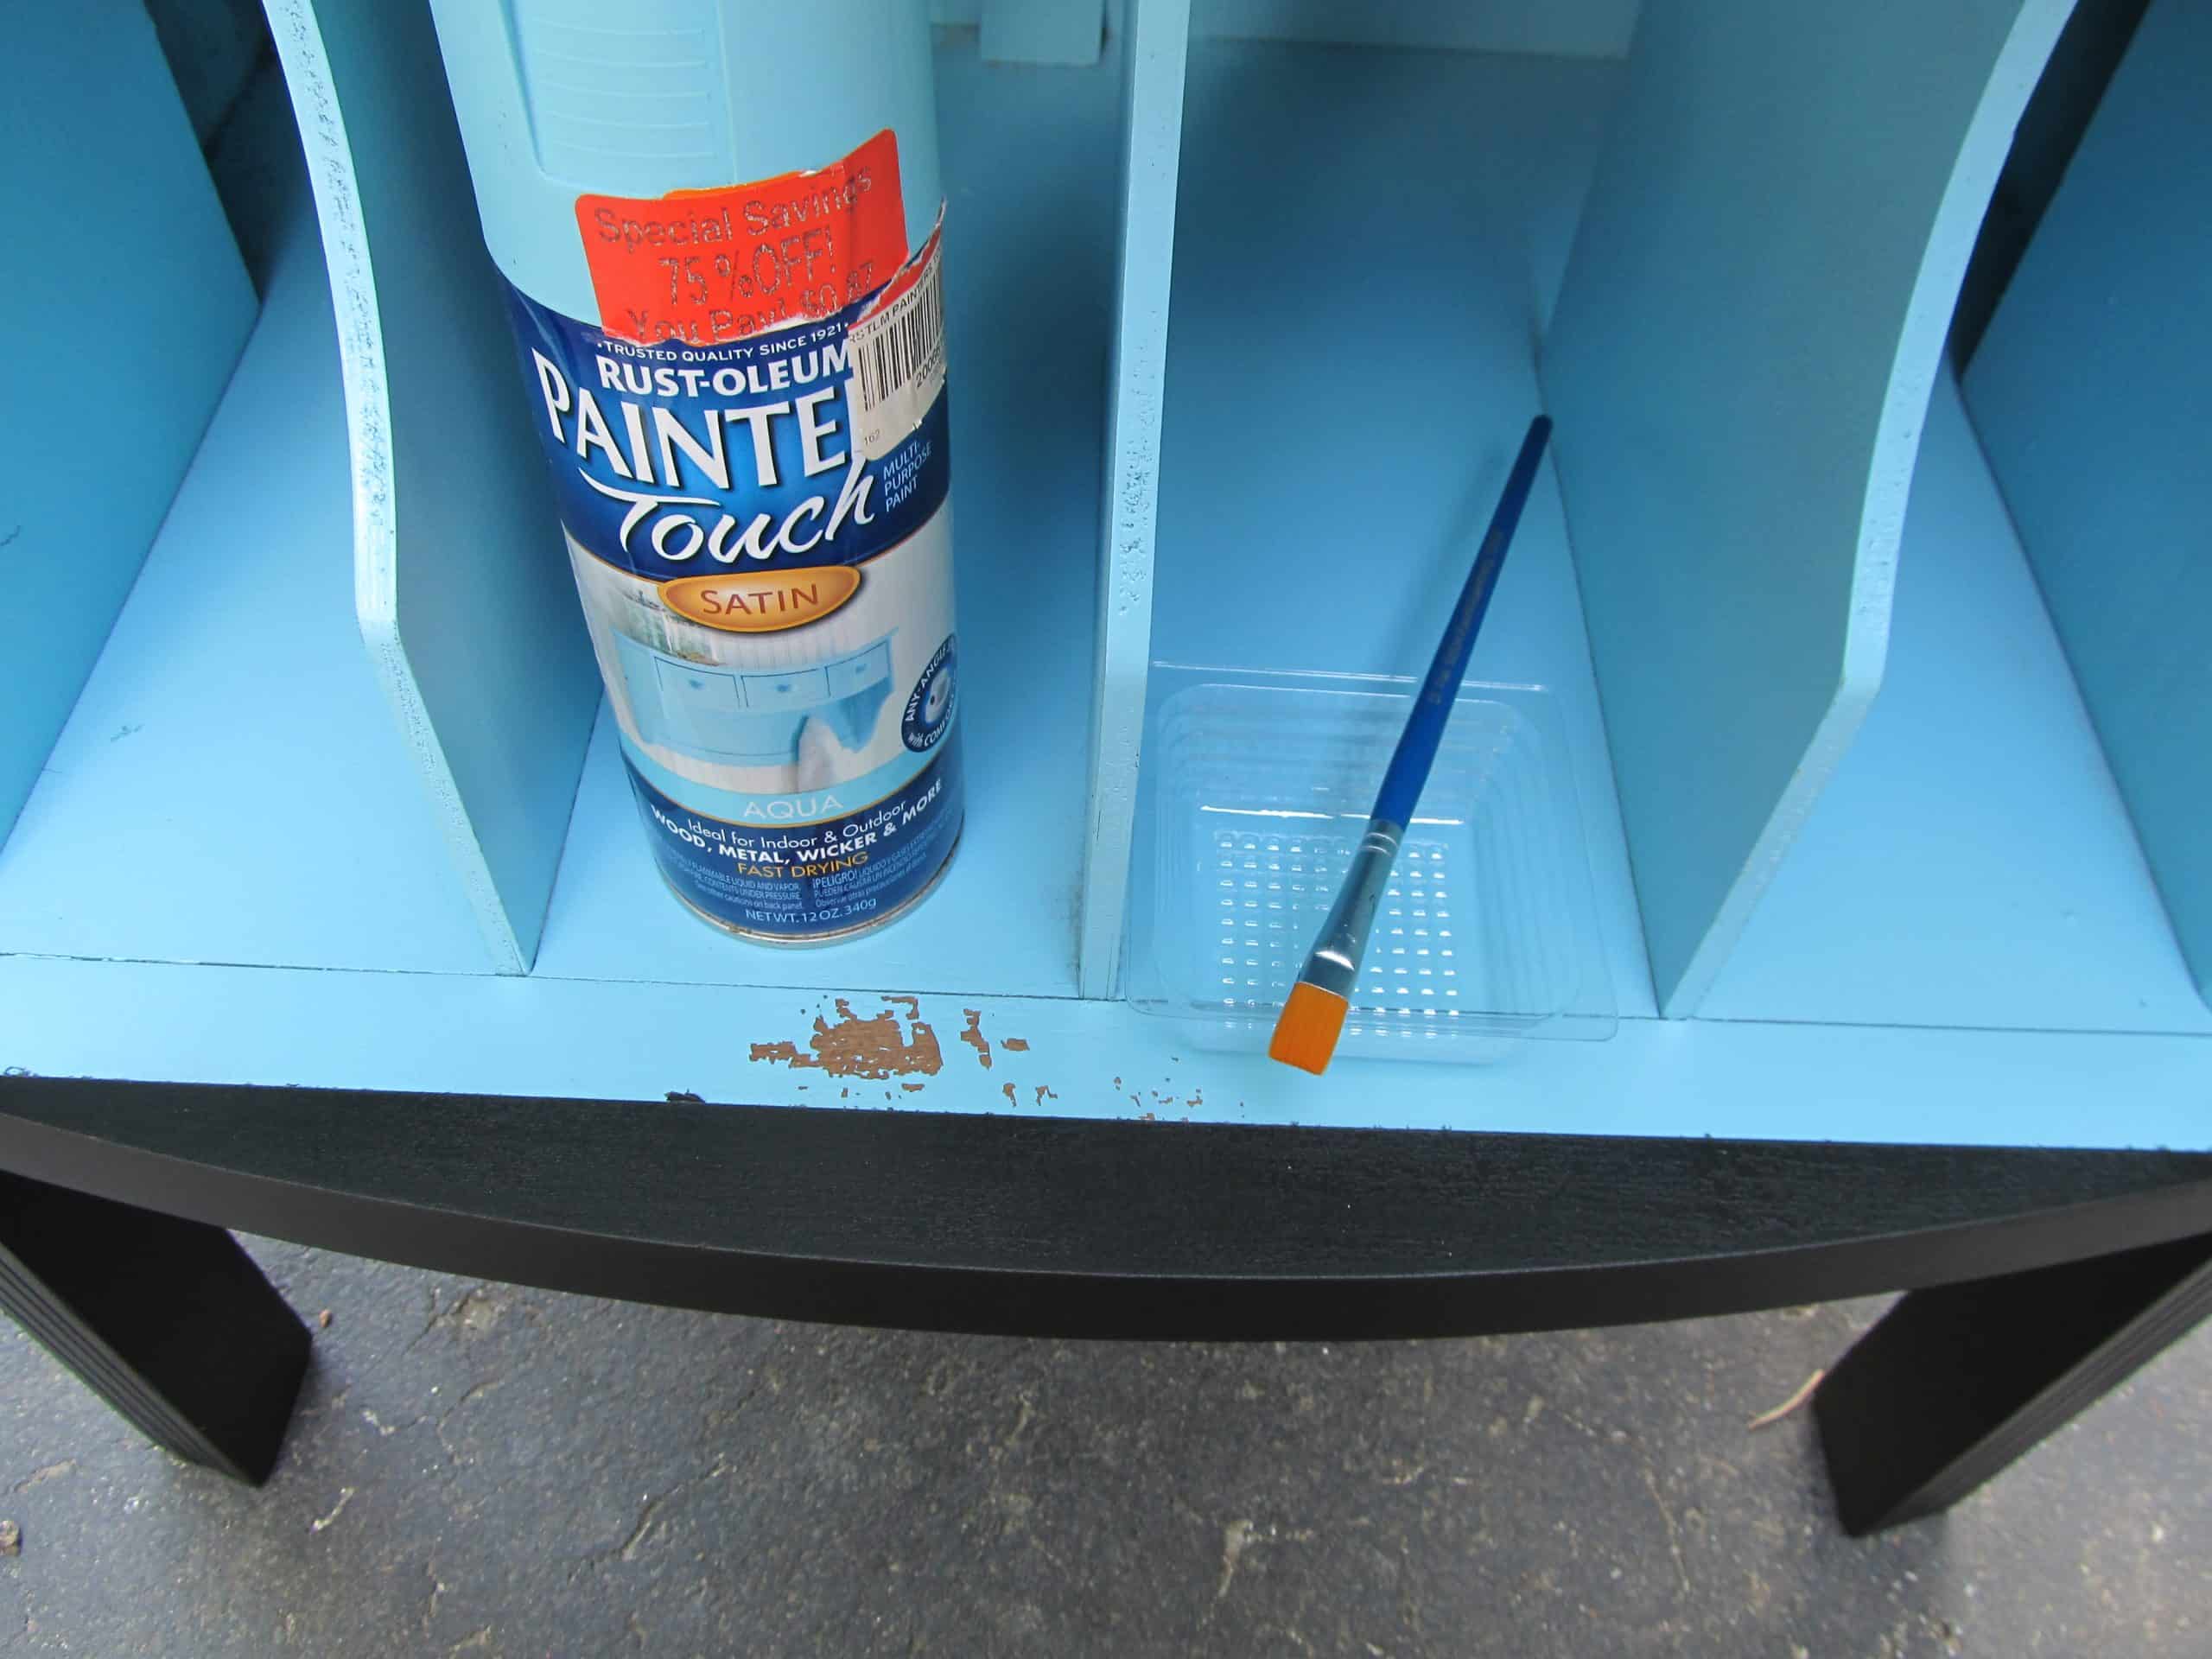
NO worries, I know how to fix this. I sprayed a small amount of the aqua paint into that little tray, then carefully patched up the splotchiness (yeah, that’s a word, right?)
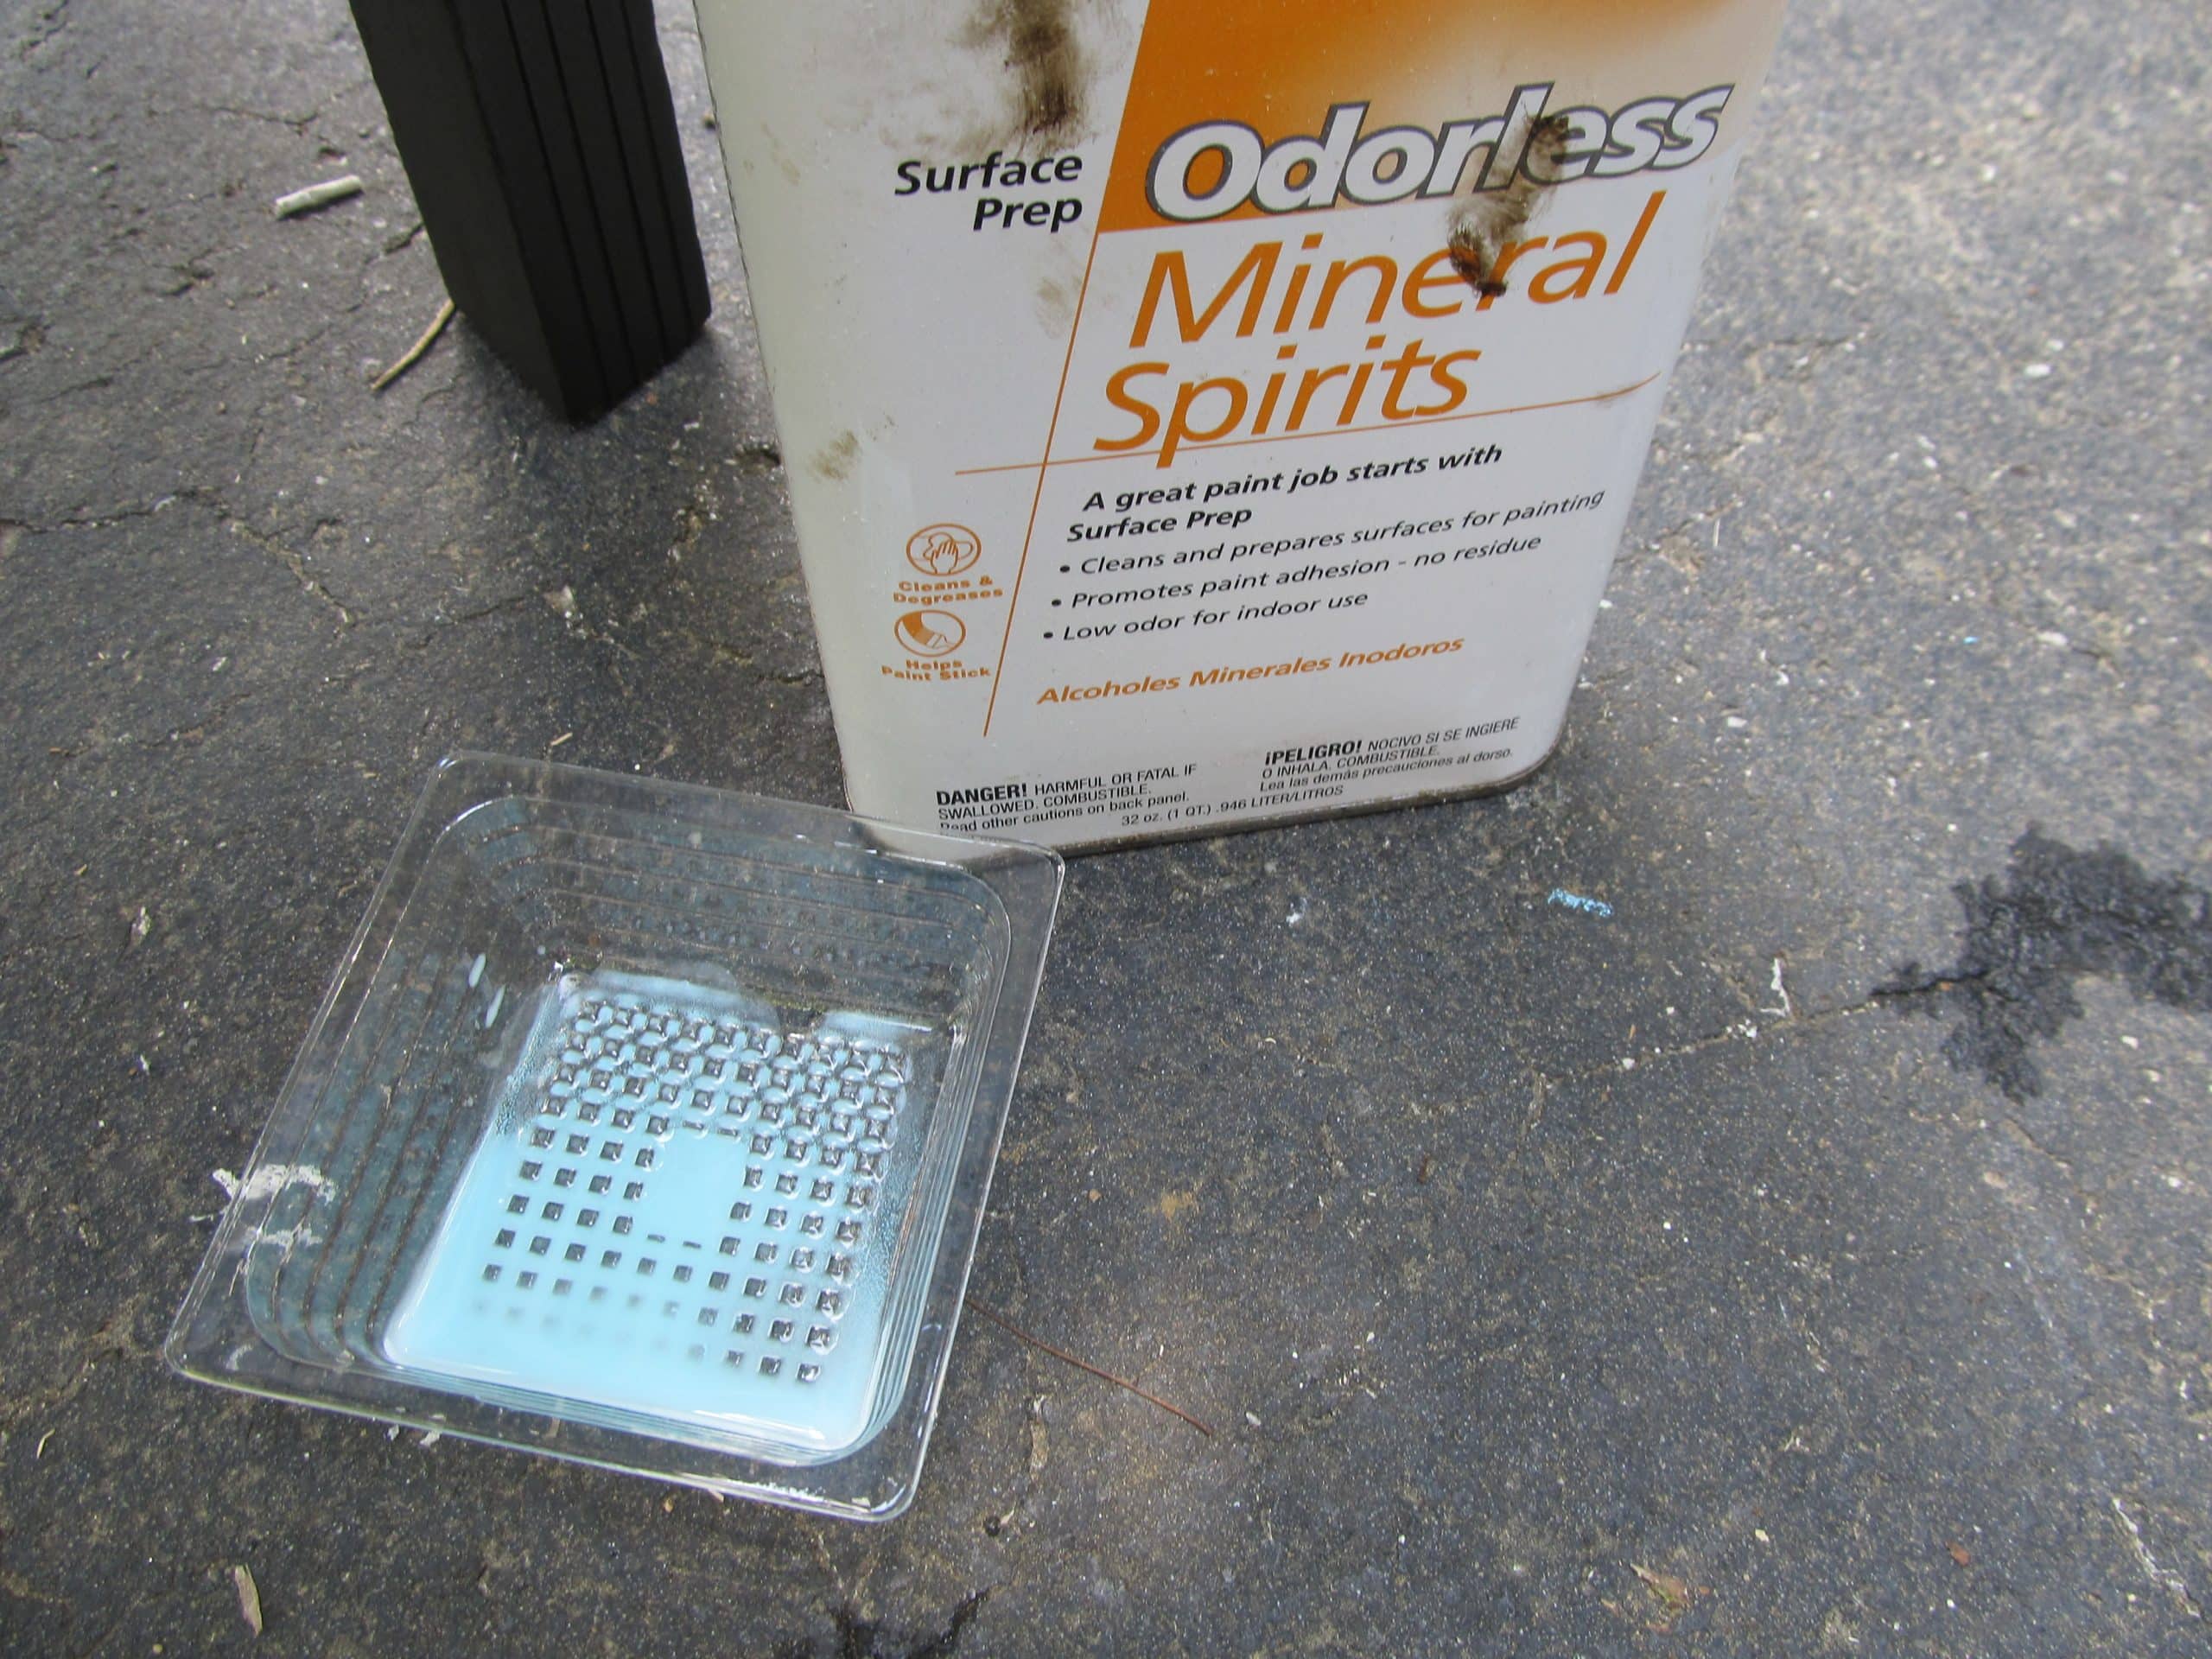
The brush had to be cleaned with mineral spirits.
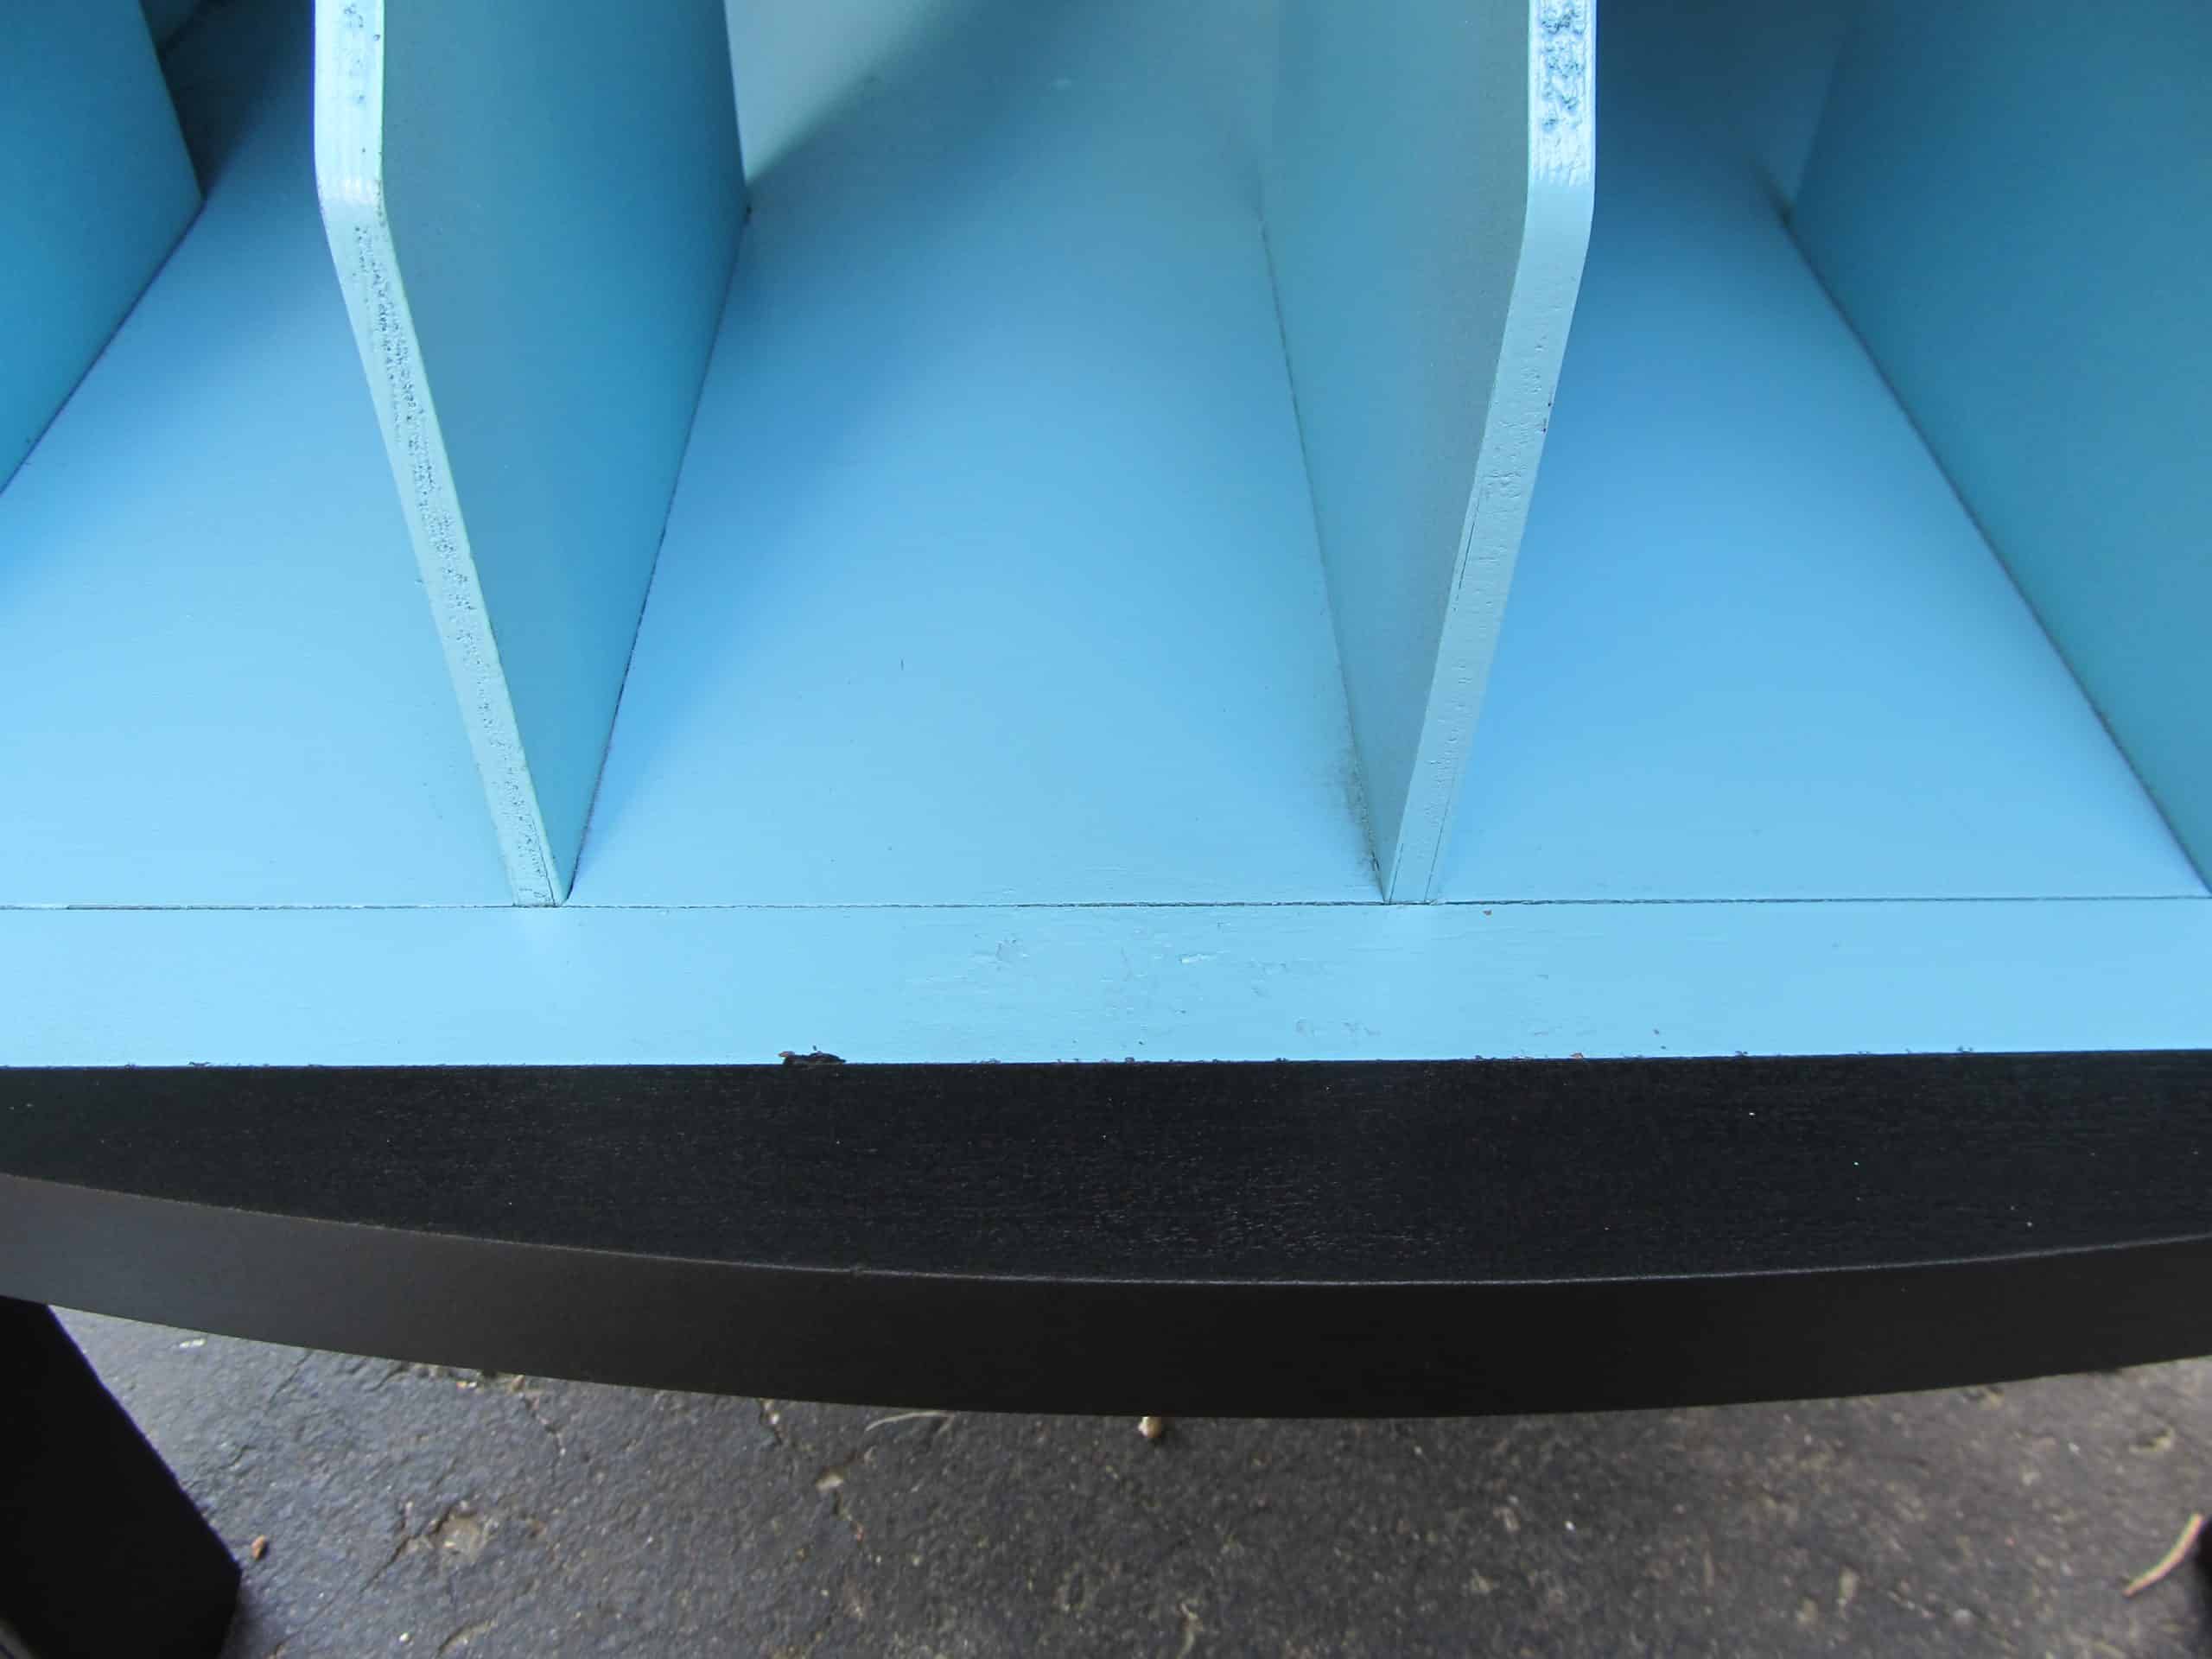
This was after the first coat. On the second coat I took care of that little black spot.
Reassemble Record Cabinet
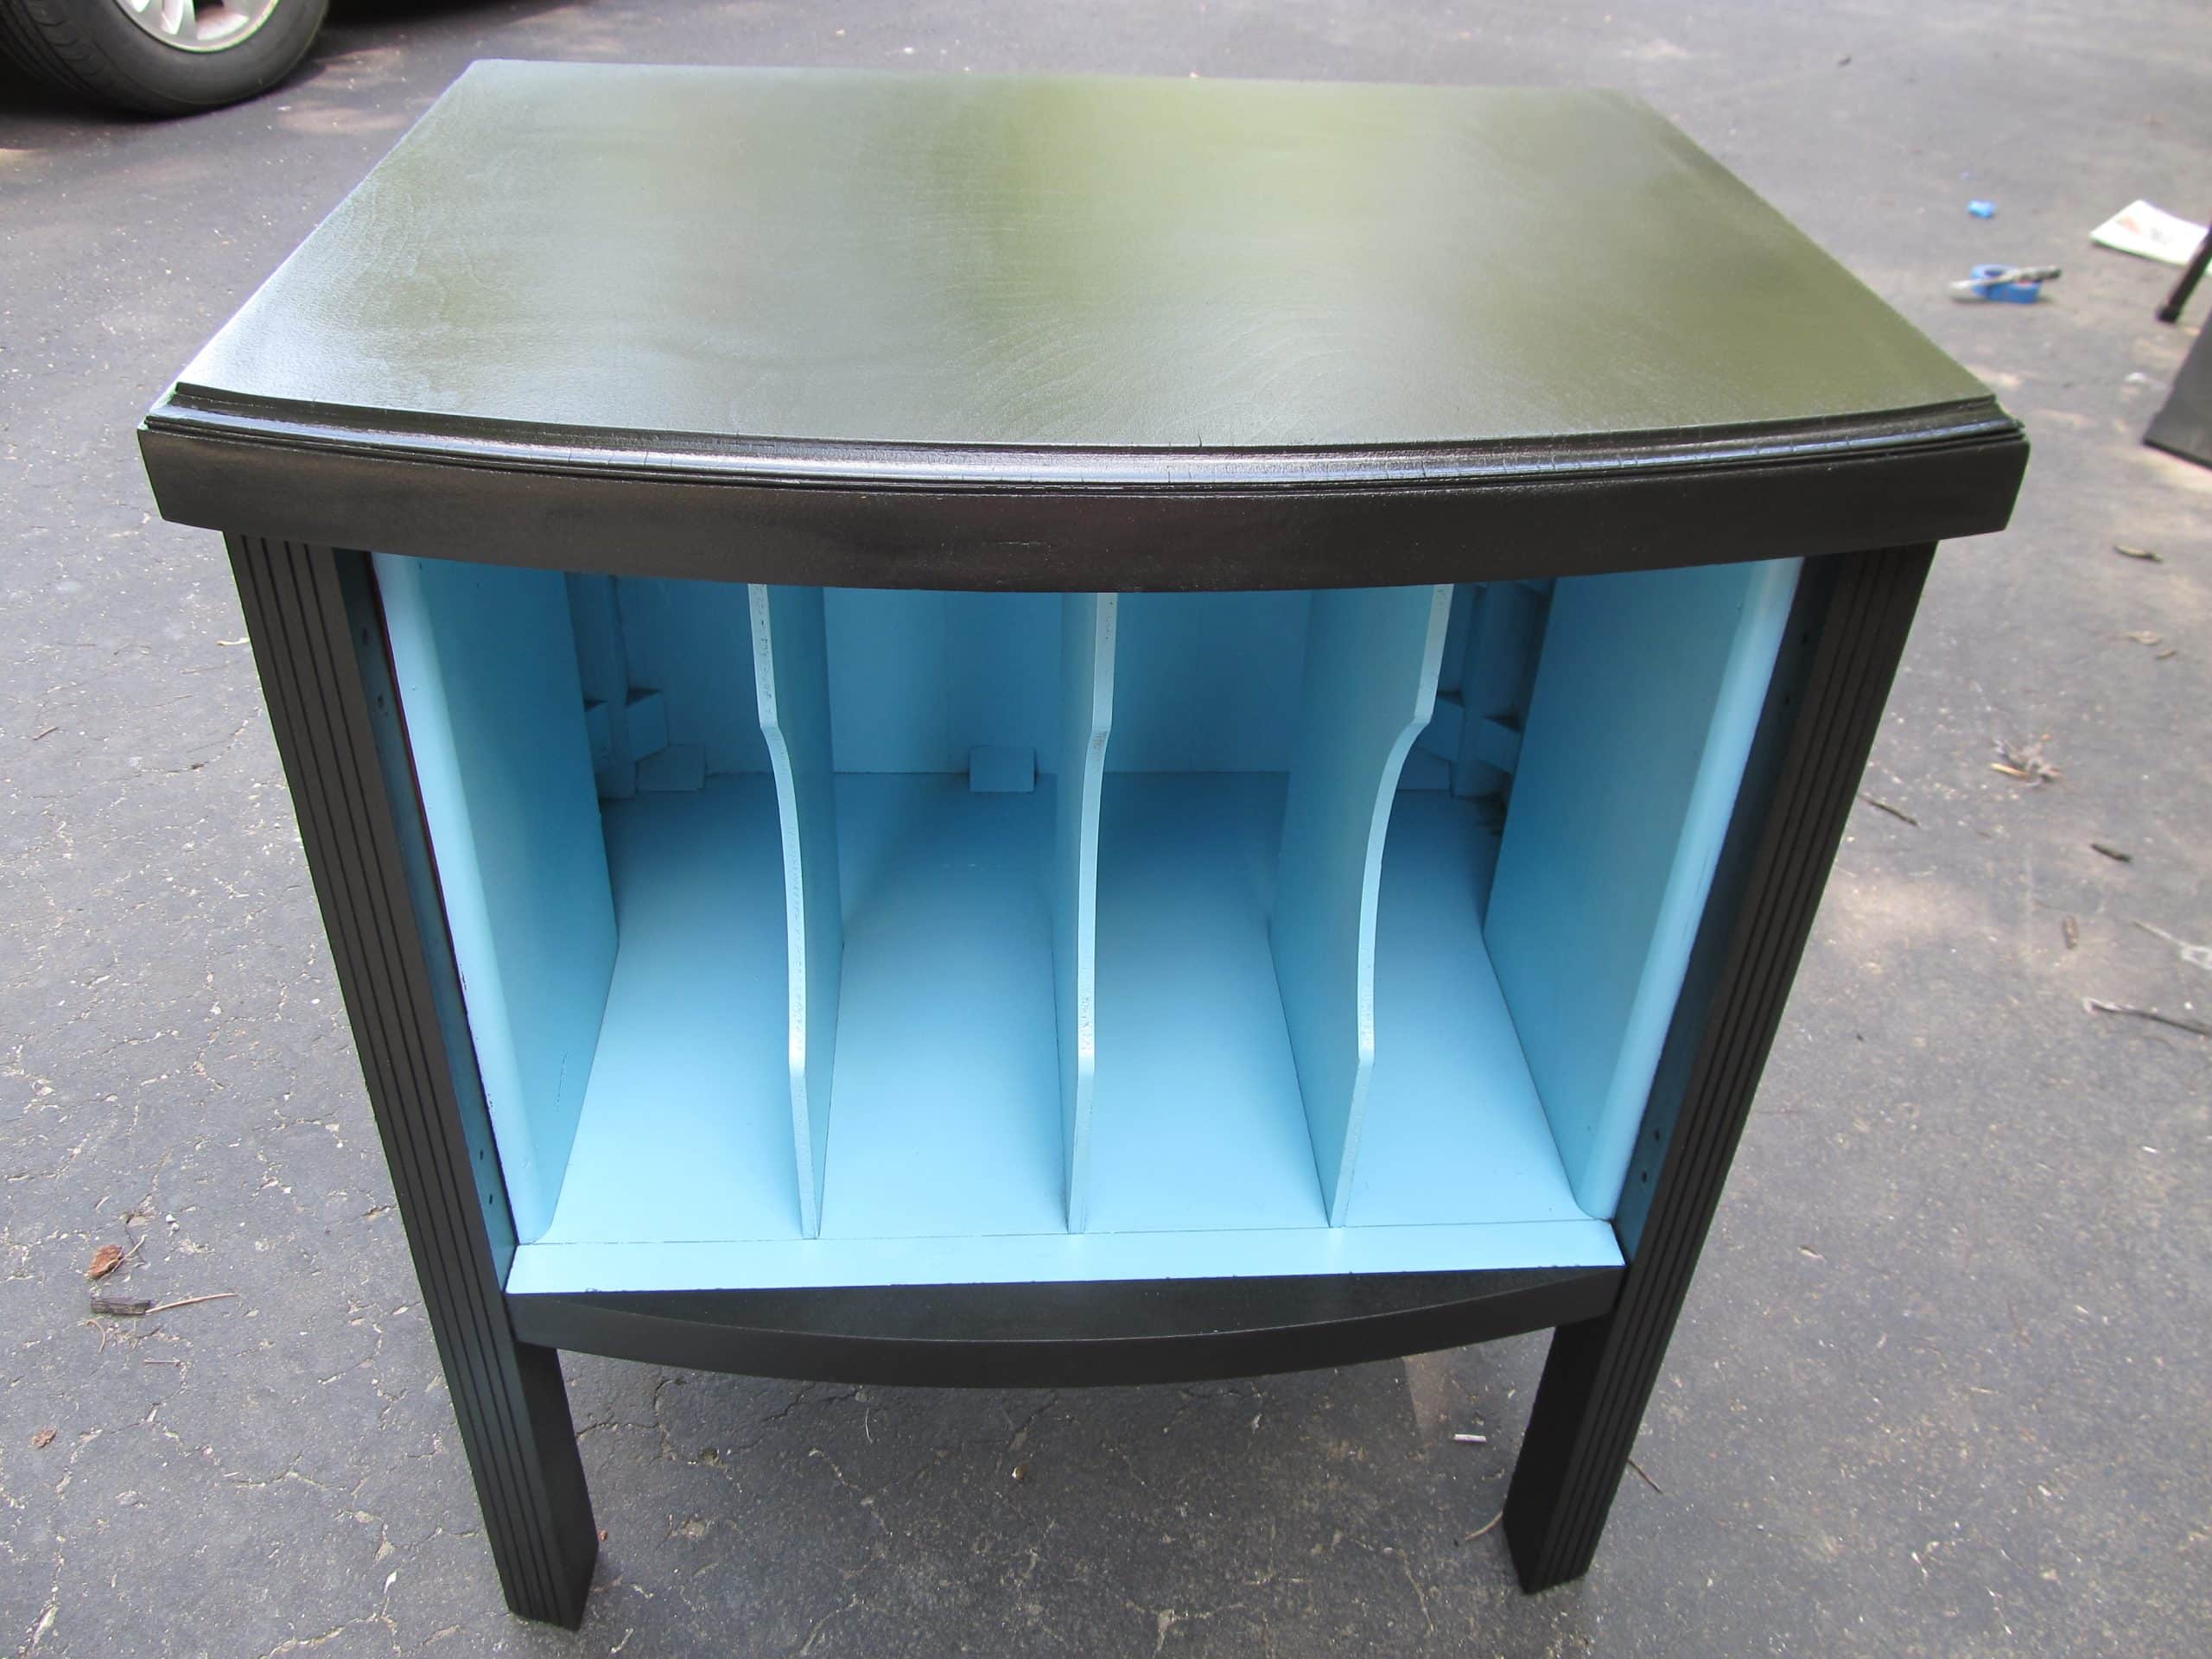

awww, isn’t that much better?
Here it is before I put the doors back on.

I spray painted the original hardware black. It’s hard to believe it’s the same cabinet that had the bad veneer.
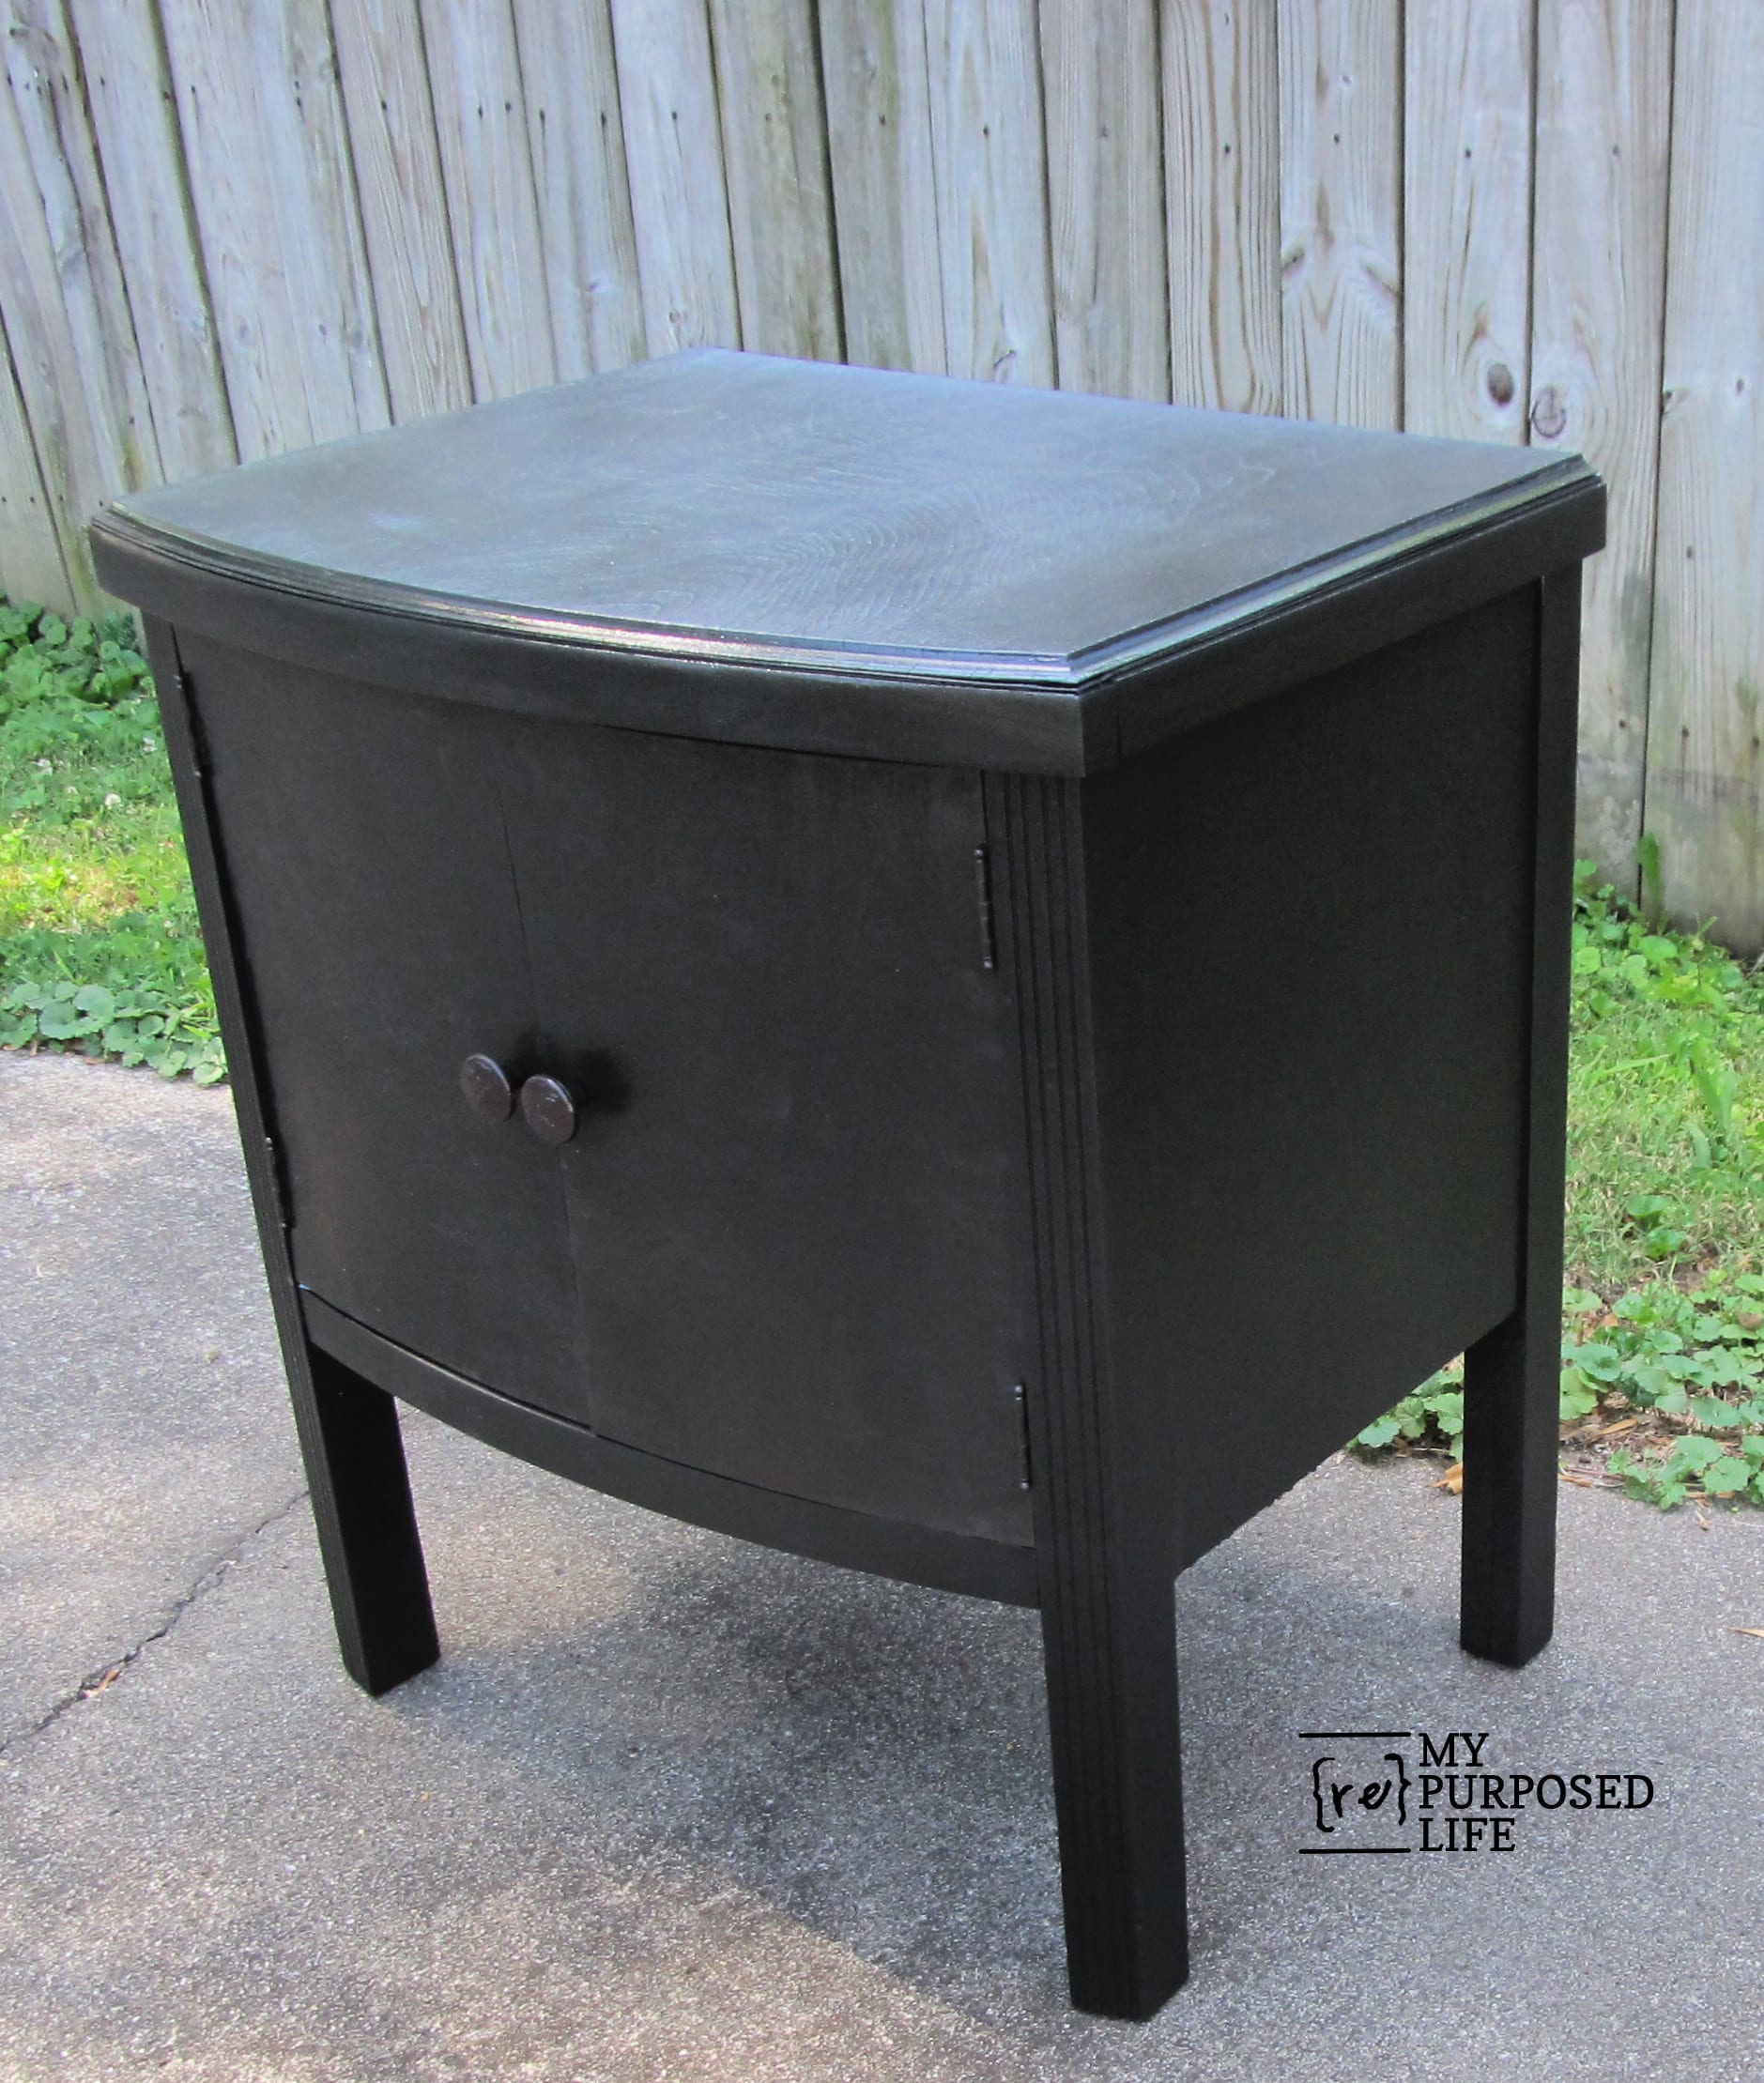
It’s tough to take pictures of black furniture without glare. I did add a coat of wipe-on poly on the top for some extra protection.
Pretty Aqua and Black Record Cabinet
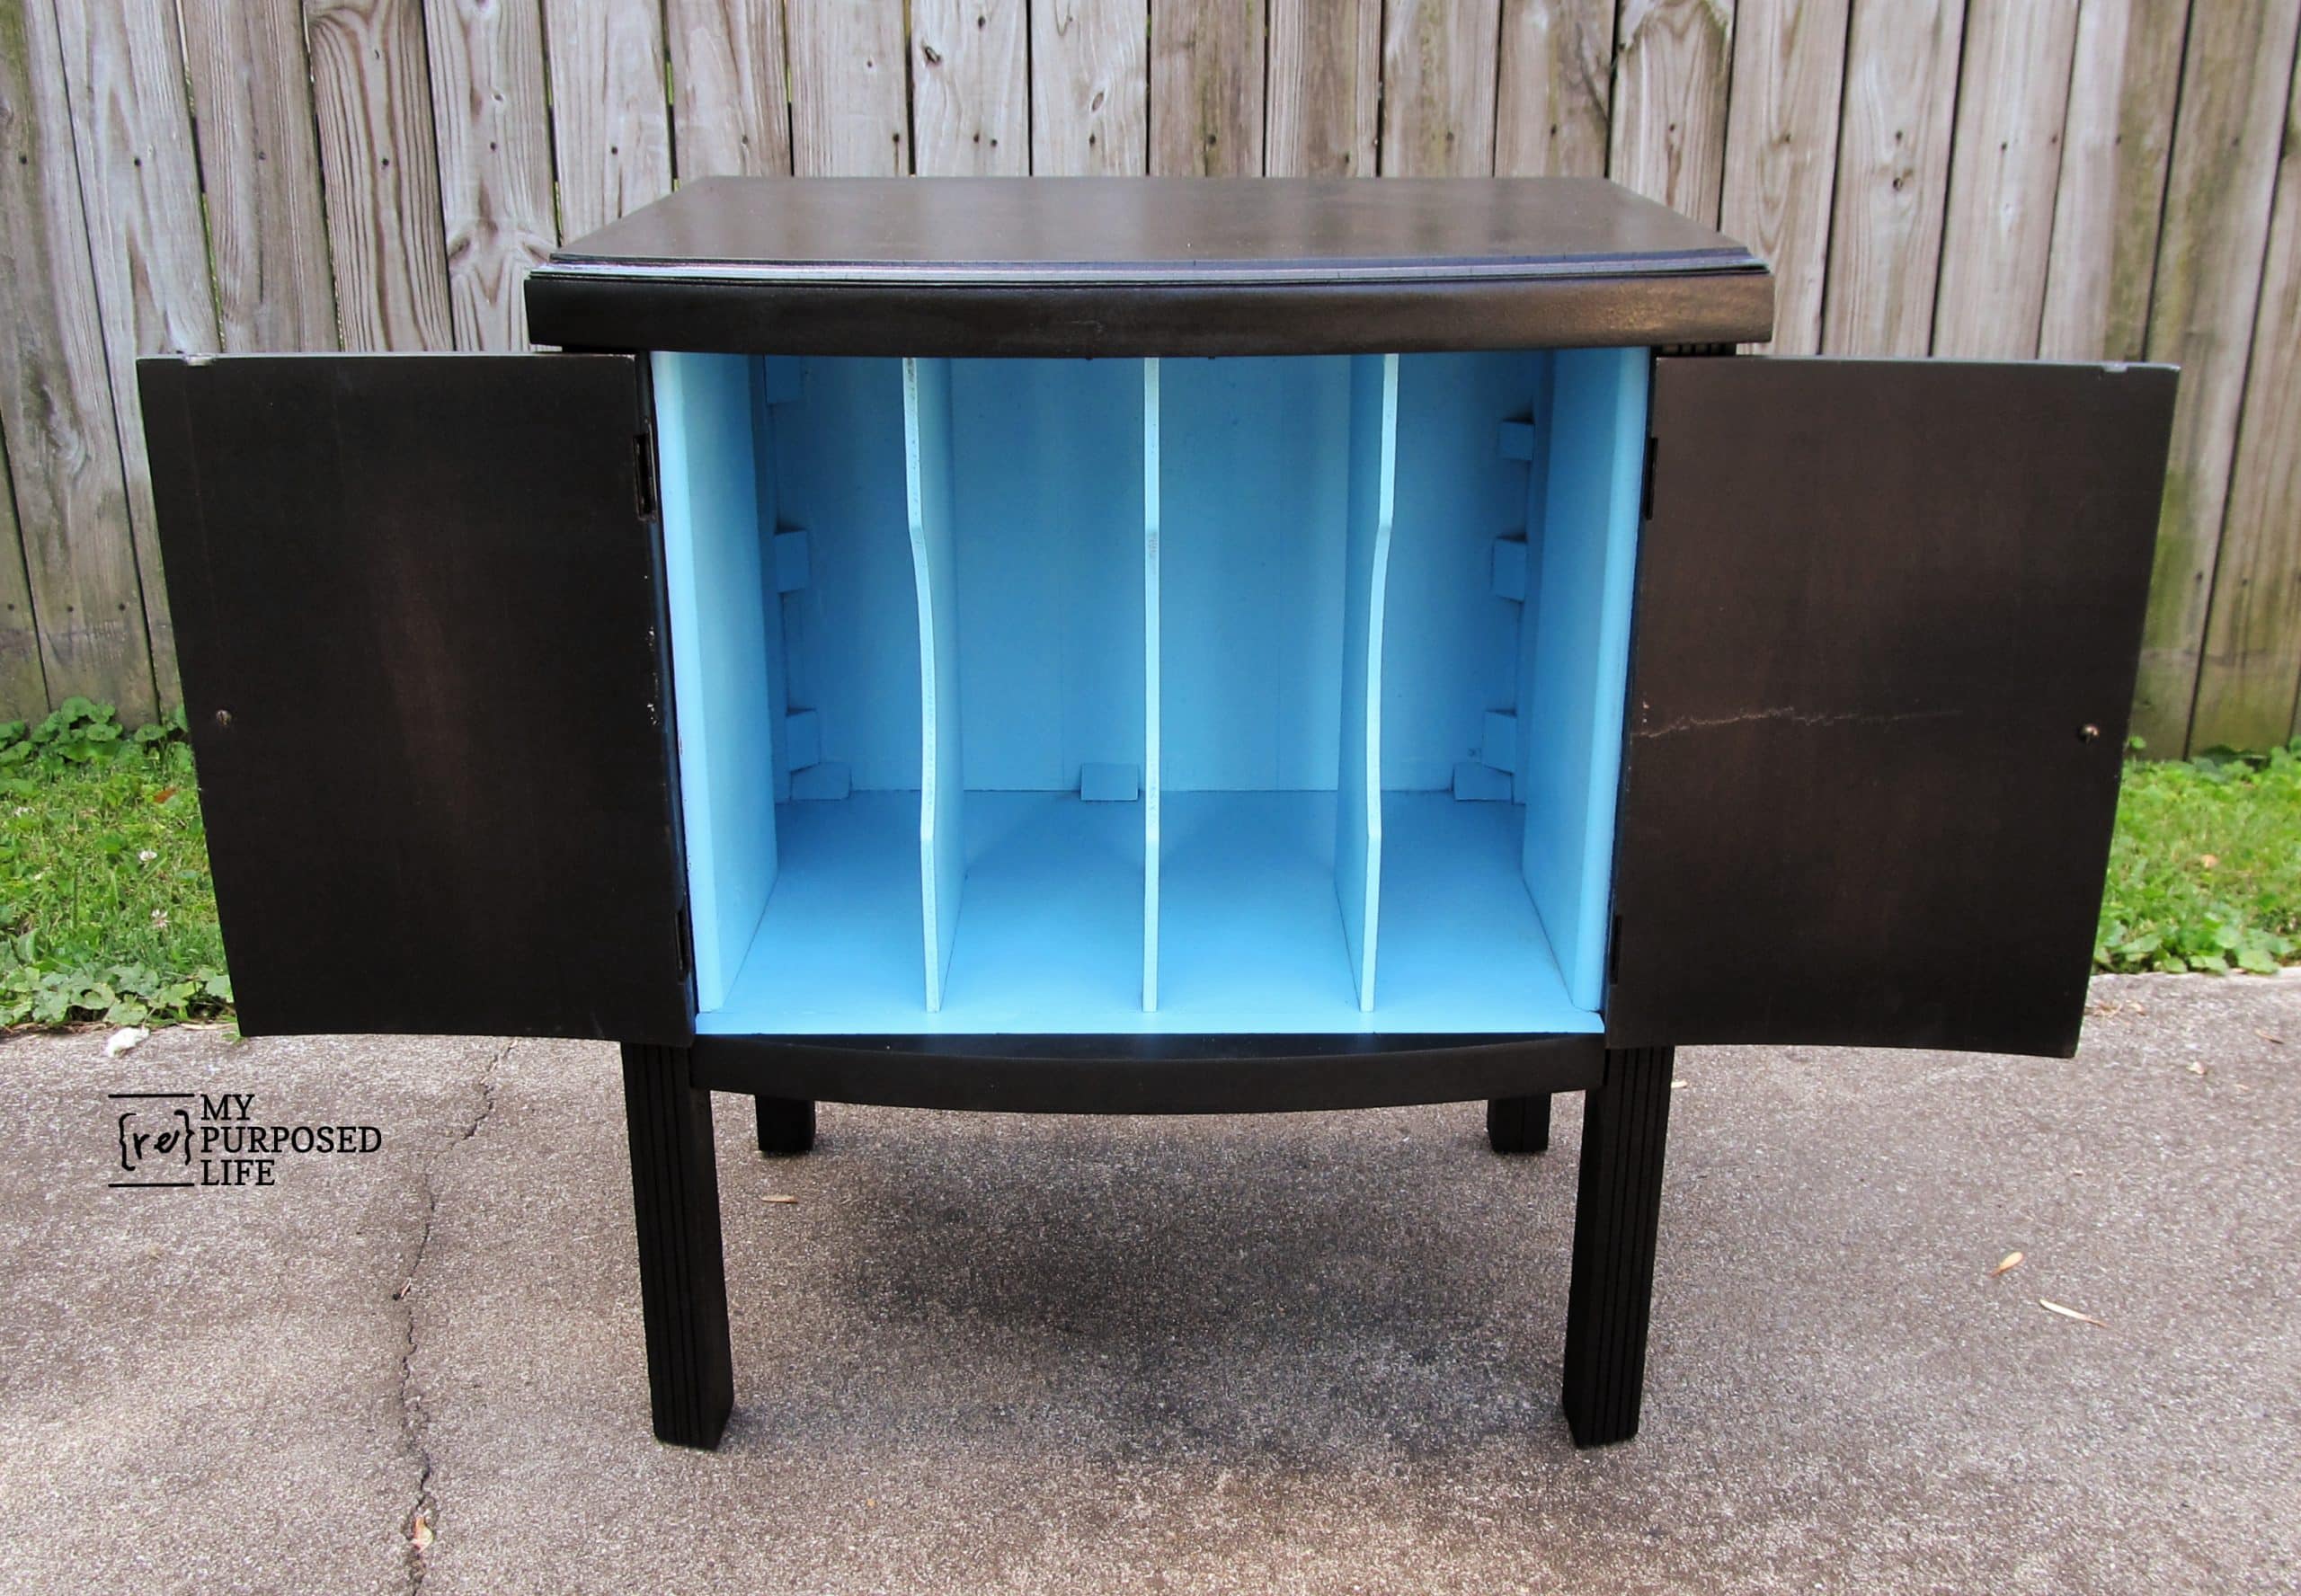
I love the pop of color! (notice that you can’t even tell there was an oops)
There is a flaw on that right door. I couldn’t quite figure out what to do with it, and then I remembered, this was a quickie in-between-projects project.
So, it may have grown up as a record cabinet, but I can easily see it holding books or magazines. In any case it makes a great side table.
Do you like the aqua? We all know I struggle with paint choices. If you were going to do a two tone on this piece, what two colors would YOU have used. (be sure to tell me which one for the inside)
gail
See more great tips about bad veneer below:
When to remove and when to repair bad veneer
How to clamp and repair loose veneer
Wow Gail! Great save,… there was a lot to fix on that piece but you made it perfect in the end. Love the colors and it would make a great magazine cabinet 🙂
Love it! You did a fabulous job!
Hey I just found one of these on a classified ad and am picking it up on Monday and will be refinishing it as well!!! Thanks for the pics!
I actually scored a very similar record table (no doors on mine) recently! Love the pop of blue inside. Pinning for my future table re-do!
Kelly