vintage sewing cabinet storage cabinet
As an Amazon Associate, I earn from qualifying purchases.
Easy vintage sewing cabinet makeover
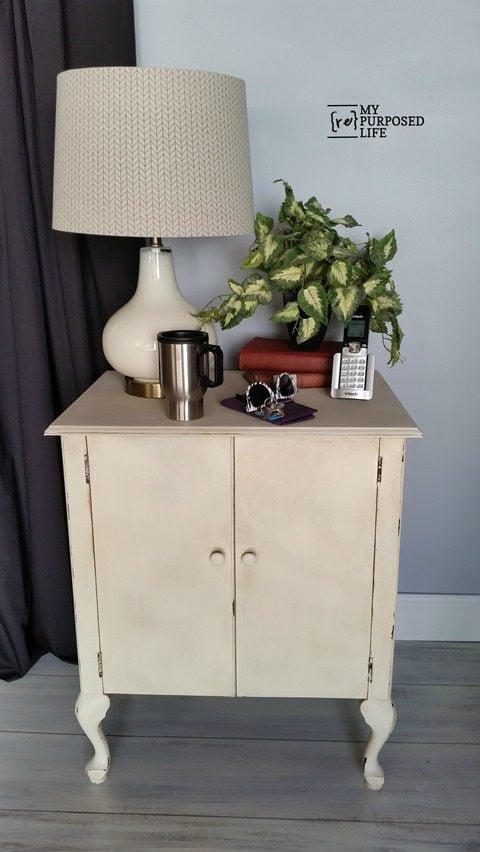 I am so excited to show you my makeover on this vintage sewing cabinet. I didn’t even really transform it—but more like gave it a freshening up. Mostly, I cleaned up the vintage sewing cabinet and gave it new paint and gel stain along with a new top.
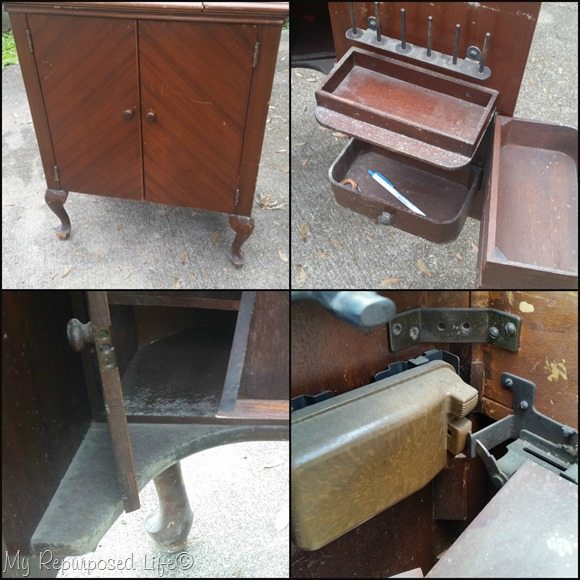 This is the most I have ever paid for a project to “flip”. yep, this piece set me back $20. But it was so darn cute I couldn’t help myself. It was in the back of the store at Vendors’ Village and it wasn’t until I got it in the light of day that I saw what rough shape it was truly in. Do you see that MILDEW in the lower left image? (correction—I actually paid more for this kitchen hutch)
Dismantle the sewing cabinet
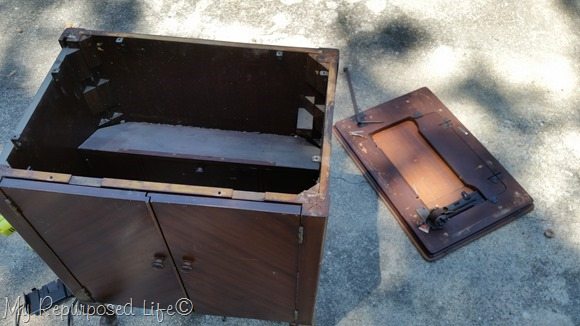 I began dismantling the guts and the top of the vintage sewing cabinet. Notice the gap on the left side where the cabinet top mechanism would allow the top to open and rest in place. I’ll show you below how I dealt with that gap.
Clean up thrift store furniture
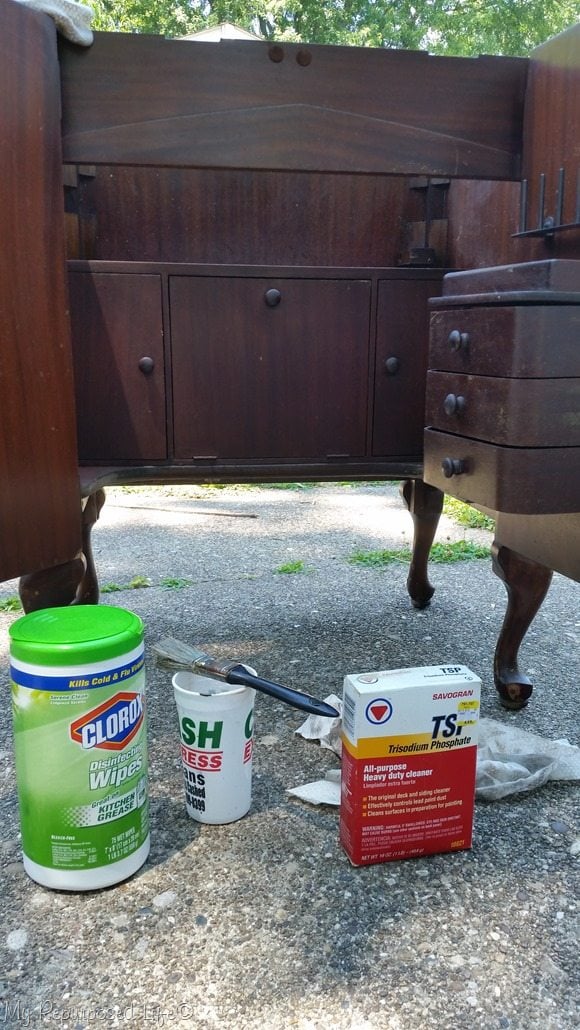 To tackle the dirt, mold and mildew I used Clorox disinfecting wipes and TSP. I used the wipes first, then I mixed up the solution of TSP and applied it in the cracks and crevices with an old paint brush. Not shown, I used latex gloves while using the TSP.
Prepare to paint
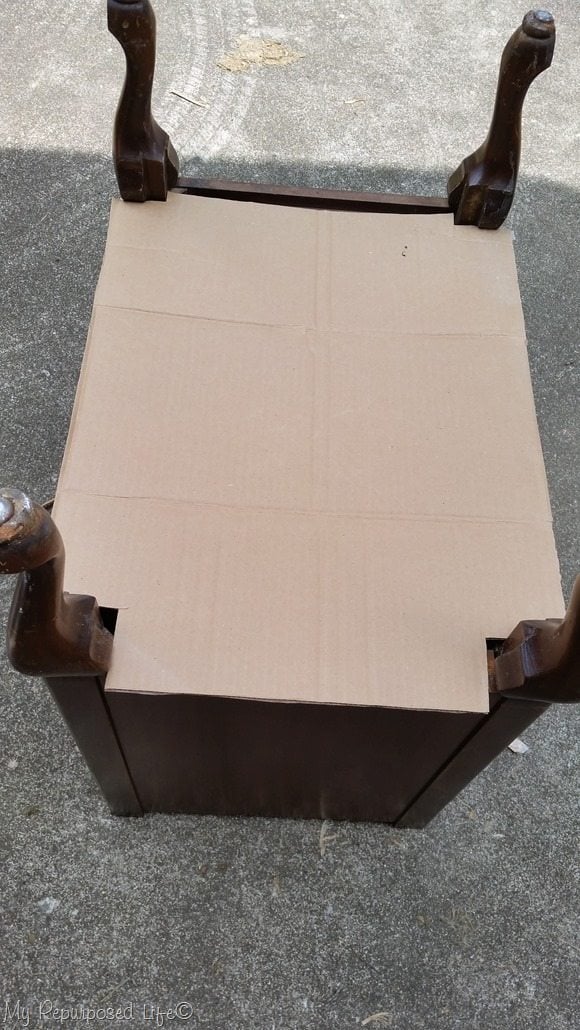 After cleaning the inside of the vintage sewing cabinet, I decided that I didn’t want to paint all those little cubbies, drawers and doors. Once painted, I knew they wouldn’t work as well. I cut a piece of cardboard to protect the insides from paint.
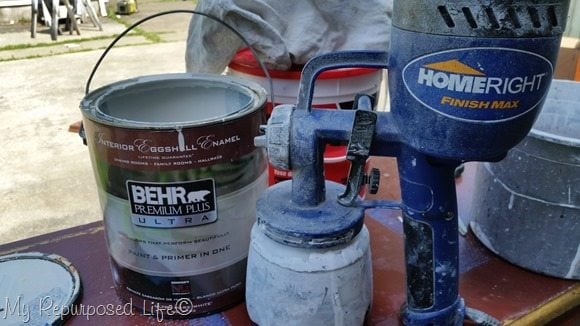 My Homeright Finish Max would give me the best and quickest paint finish using my favorite DIY chalky paint primer with plaster of paris.
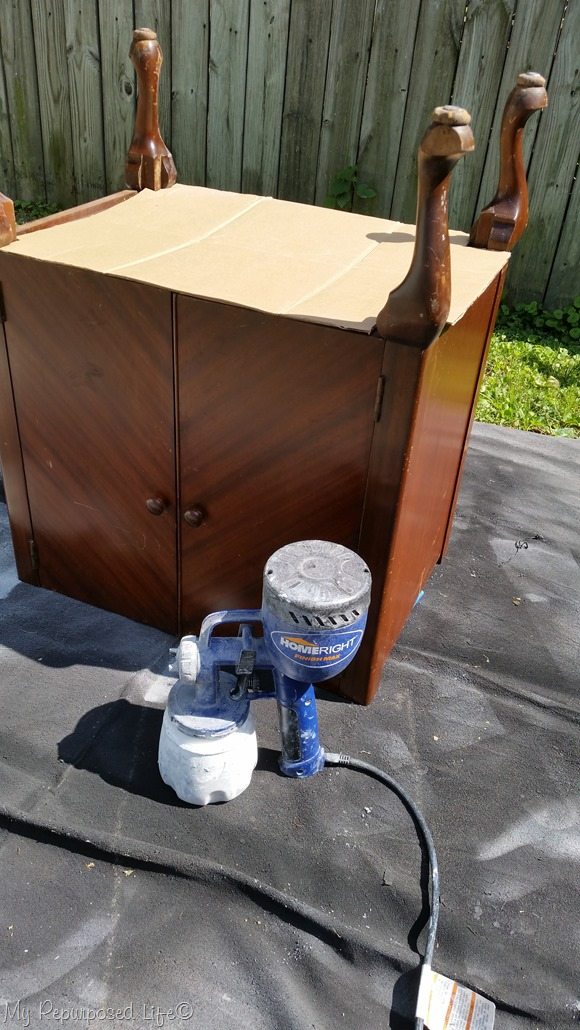 Other than cleaning, there was very little prep work done before painting. Painting upside down gives easy access to the underside of the feet and legs.
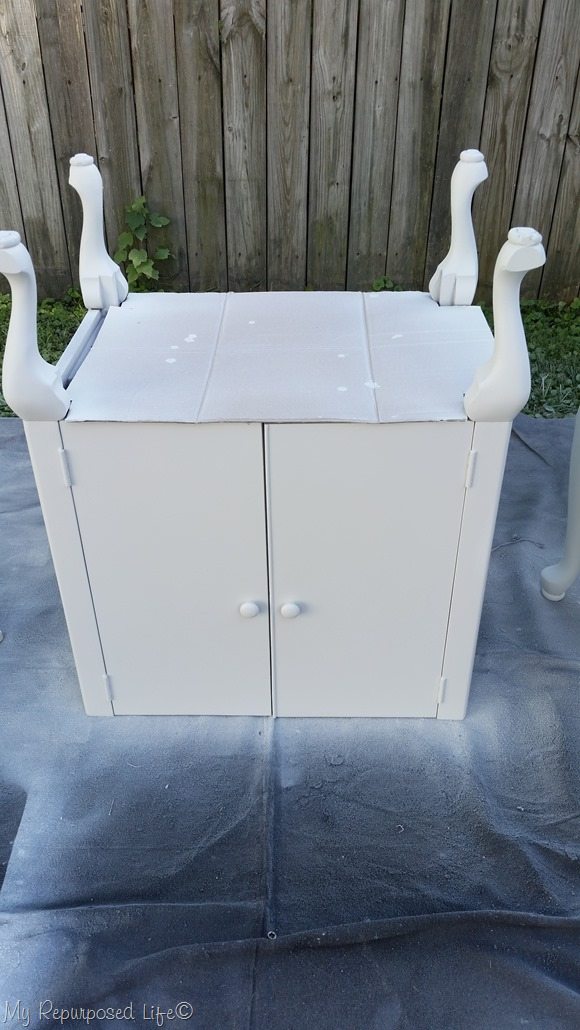 I used my stand-by white paint, Polished Pearl. After painting, this vintage cabinet set for nearly 2 months of hot summer weather. I just couldn’t deal with the high temperatures of July and August.
Gel Stain beautifies wood
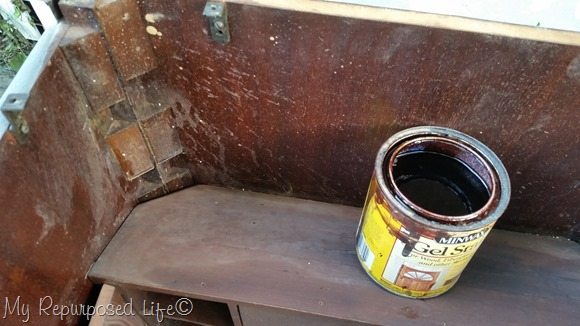 You will be amazed at the difference the Minwax Gel Stain makes on the inside of this vintage sewing cabinet.
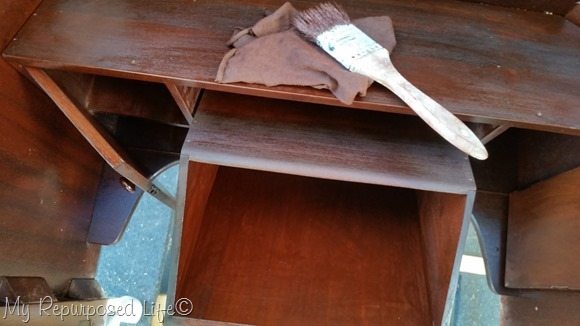 This is after the gel stain. I used a rag on some spots, and a cheap chip brush in the smaller nooks and crannies.
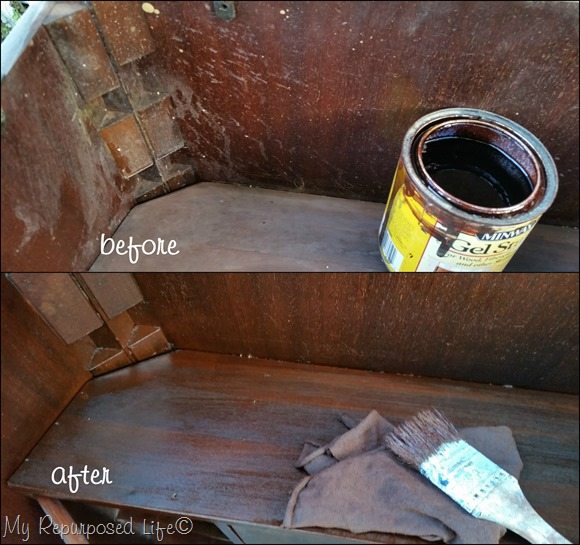 No need to scroll up and down, here is the before and after of the inside of the cabinet using the Minwax Gel Stain (Mahogany) over the existing finish.
Make a new top for vintage sewing machine
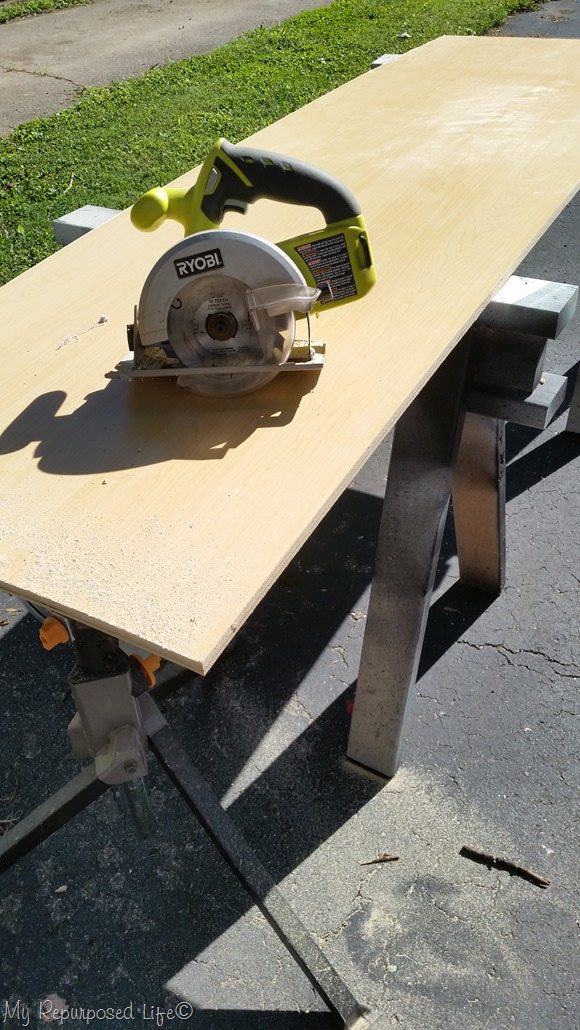 Since I had removed the top—because it was hinged and in two pieces—I needed a new top for the sewing machine cabinet. I dragged this piece of plywood out and set it up on my easy diy sawhorses along with my Rockwell JawStand. Using the jaw stand is so easy because it’s adjustable.
Add trim to plywood top
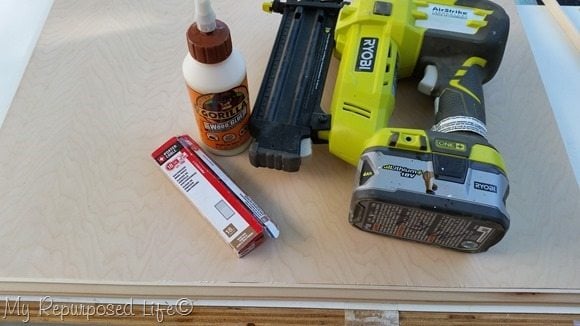 I cut some trim to size on my compound miter saw, and even ripped it on the table saw in order to get it shallow enough to fit the thickness of the plywood. The trim was attached using Gorilla Wood Glue and my Ryobi Airstrike. I did this in order to give it some definition and cover up the edge of the plywood.
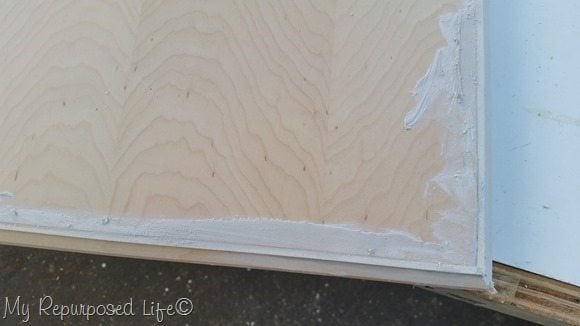 Spackling was used to patch, then some quick sanding.
Paint the new top
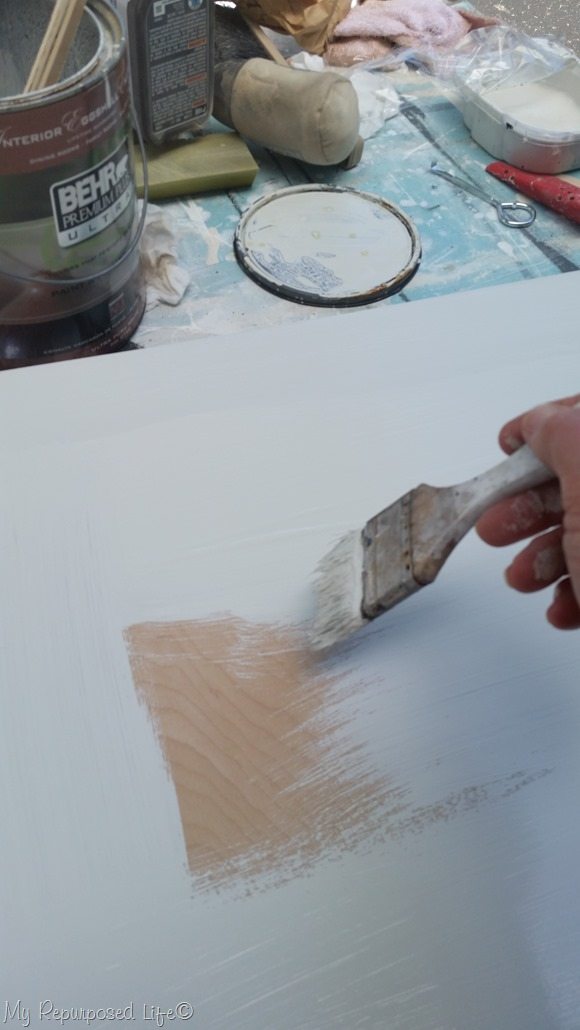 Because I was being lazy, I mixed my chalky paint primer using spackling instead of plaster of paris, and applied it with a chip brush. I did a couple of quick coats on each side of the tabletop.
Dark wax enhances white paint
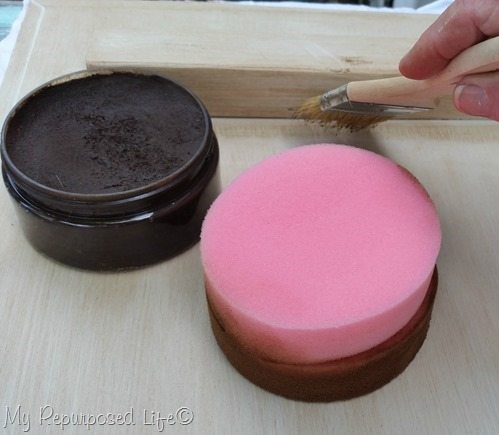 Because the sewing cabinet had a few issues after I painted it, I felt it was best to give it a dark wax by Heirloom Traditions to give it a vintage look. I love using sponges for waxing, and the chip brush is so handy at getting the wax in the corners.
This is actually the bottom side of the table top. Instead of attaching the top, I made it removable by adding some supports to keep it from sliding around the frame. (another picture later)
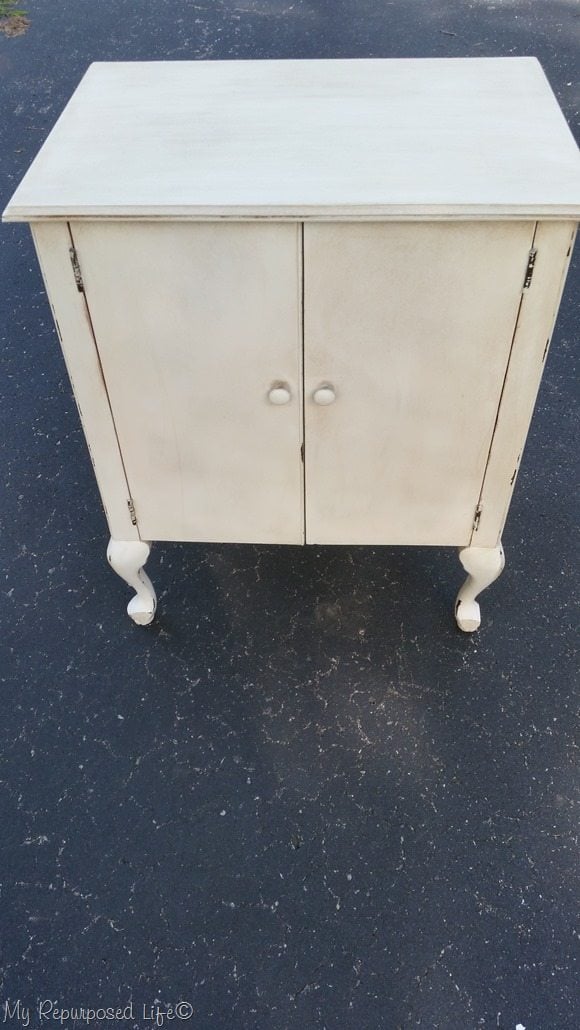 Again, because the cabinet had a few issues, I used an emery board to do some distress sanding on the edges. I love using them for distressing, and they come in handy in the shop when I break a nail too!
Are ya still with me?
One last final step
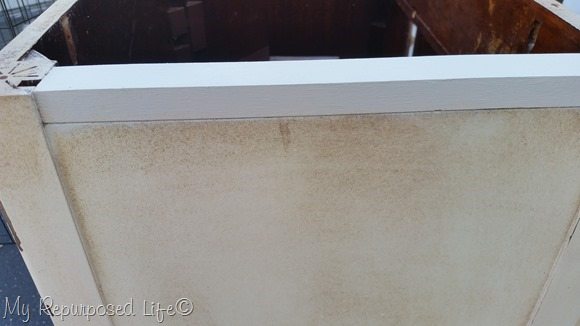 Here you can see where I added a scrap piece of 1x to fill that gap that was left by the mechanism to allow the original sewing machine cabinet top to open up to become a work surface. This is after I painted it, but before I waxed it with Muddy Pond.
 Doesn’t the inside look beautiful now? What a difference! Don’t you agree? I’ll be honest. At one point (before I started on the top) I was wishing I had never seen this $20 sewing cabinet. But now? I LOVE it!
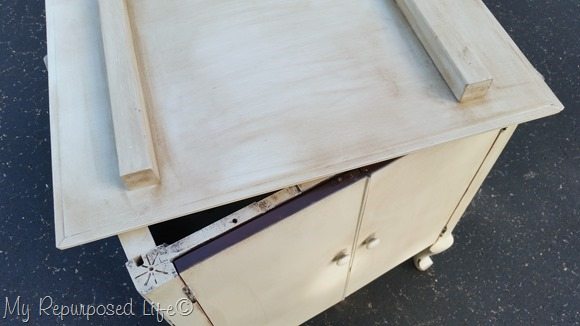 This is how the table top works. It simply lifts off, allowing easy access to the inside of the former sewing cabinet.
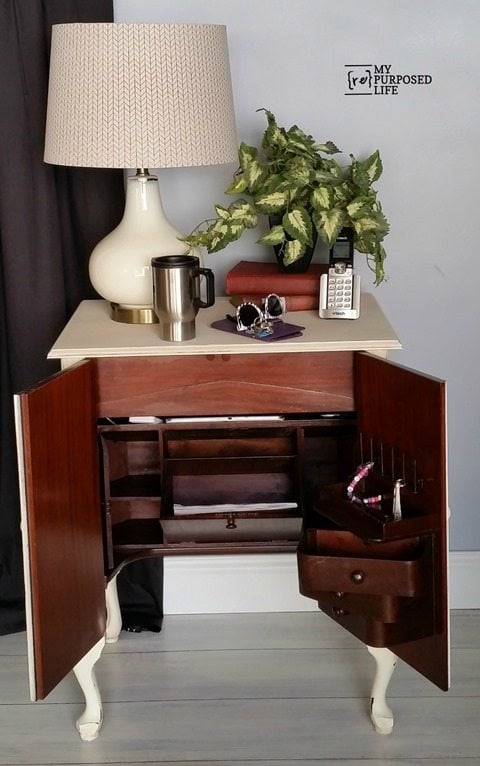 This cabinet offers so much storage, it’s perfect for an entryway as a charging station for a busy family’s electronics. The cubbies and drawers will hold glasses, keys, wallets and more!
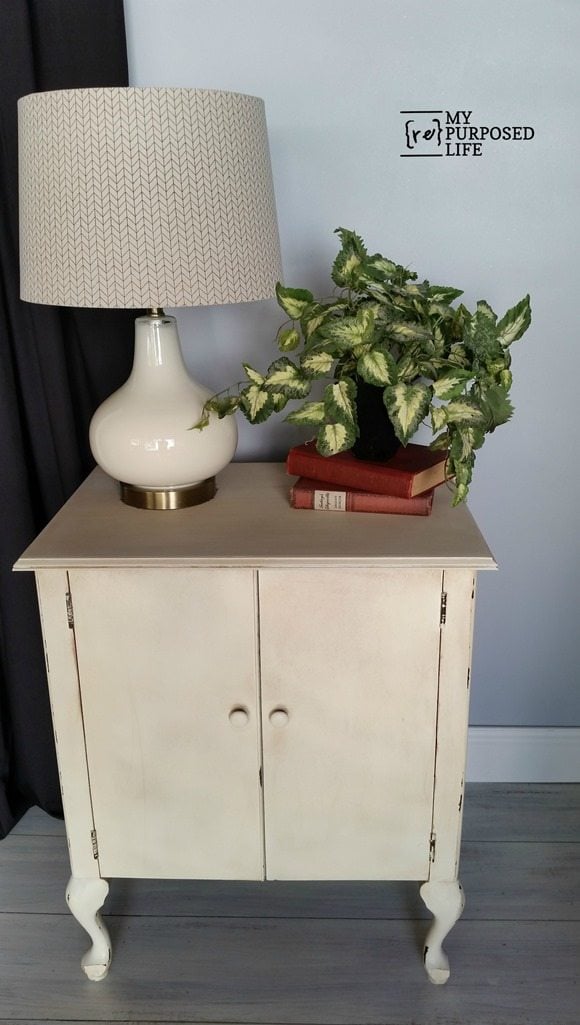 I’m so happy I figured it all out, because for awhile I really was ready to throw in the towel.
What would you have done with this vintage sewing cabinet? Have you ever seen one like it?
gail
For more great projects follow this site on Facebook and Pinterest

I actually just got it’s sister tonight! Mine is in a bit rougher condition but I am excited !
That’s awesome Jennifer! I had never seen a sewing cabinet like this before. Have fun with your project.
gail
I have never seen anything even close to this. I love it you did an incredible job and I would love to have it, all those little cubbies perfect for my husband to put all his little pieces of paper in.
Do you know where you are going to set up in Glendale yet? I hope you will have this with you.
Patty,
I will be at the same spot I’ve been in for all these years. If you’re standing on the porch of Bennie’s Barn, step down, walk forward and I’ll be the second booth on your left. (the food booths use to be across the aisle from me before Bonnie moved them over to the field)
I will be bringing this, and I will be there IF the weather is good. At this stage of the game, if it happens to be heavy rain, I will not set up.
gail
It’s adorable! I love that you changed out the top, because the sewing machines of today wouldn’t have fit to swing up. They do still make cabinet sewing machines, but the fix would have been problematic. The cubbies are beautiful. I’m happy that you chose not to paint them. It would be great for an entry hall, or use it as it was intended as a sewing table. It might be a bit too tall though, and I’d cover it with a sheet of glass. But as a writing table or small craft area, it’s fabulous!
Thank you so much Jennie for your sweet comment. I think this is a very useful piece, and I wish I could keep it! A writing table would be great! or a small desk for a laptop. 🙂
gail
Beautiful piece. If you don’t mind my asking, what would you sell something like that for now that you have brought it back to life. Thanks for sharing!
Tiffanie,
I actually hadn’t thought about a price for this, but guessing it would be somewhere between 70-95??? Depending on where I sell it.
gail
I must have this!!!! If only it had a sister.
awwww, Mona–I hope you find it’s sister someday. 🙂
gail
I have the same cabinet. It was my Grandmother’s, that she TRIED to teach me to sew on. It’s a keepsake. Have never been able to bring myself to paint it, though it is rough as well. Nice job!!!
Angie
Family piece? That is how I decide whether or not to paint something Had this been my grandmother’s I would have definitely worked on refinishing it. I’m such a fan of two-toned colors that I knew this would look great if I could pull it off. In addition, those little cubbies and drawers would have been very difficult to paint and have them work as well as they do now.
I think it is so awesome that you have your grandmother’s sewing cabinet. I had NEVER seen this one before-not in my childhood or all of the junking I do. Maybe someday soon, you can gather the courage to bring yours back to it’s original beauty. Thanks for stopping by and taking the time to leave a comment.
gail
This is such an amazing find and honestly, I’m surprised it was only $20! I’m guessing it would have cost at least double where I am. I can’t even describe how beautiful it is in the picture with the doors open & all dressed up Gail! It’s so elegant. I should be so lucky to come across something like this and hope to one day 🙂
Thank you so very much Angie! Had I seen it in the light of day, I may have passed on it. It was pretty scary after I got a good look at it.
I hope you find something equally as pretty someday soon.
gail