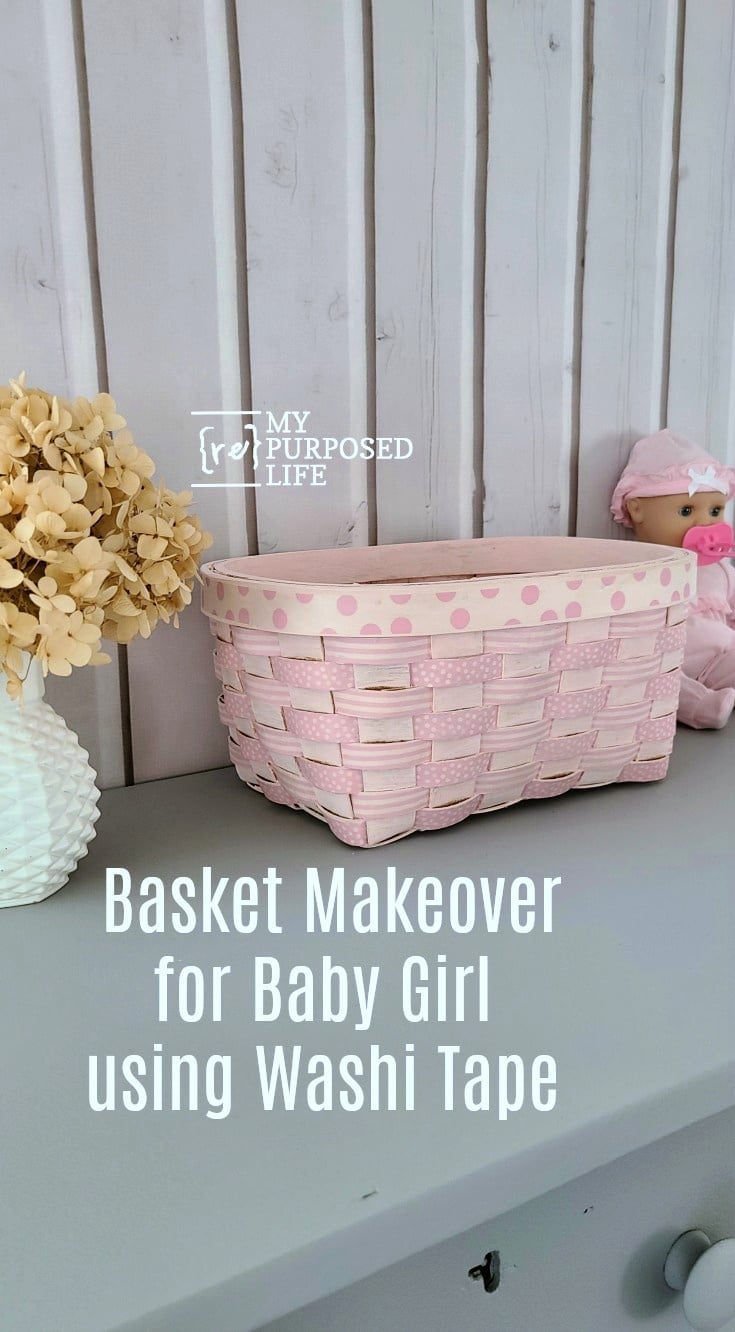
Cute Washi Tape Basket
As an Amazon Associate, I earn from qualifying purchases.
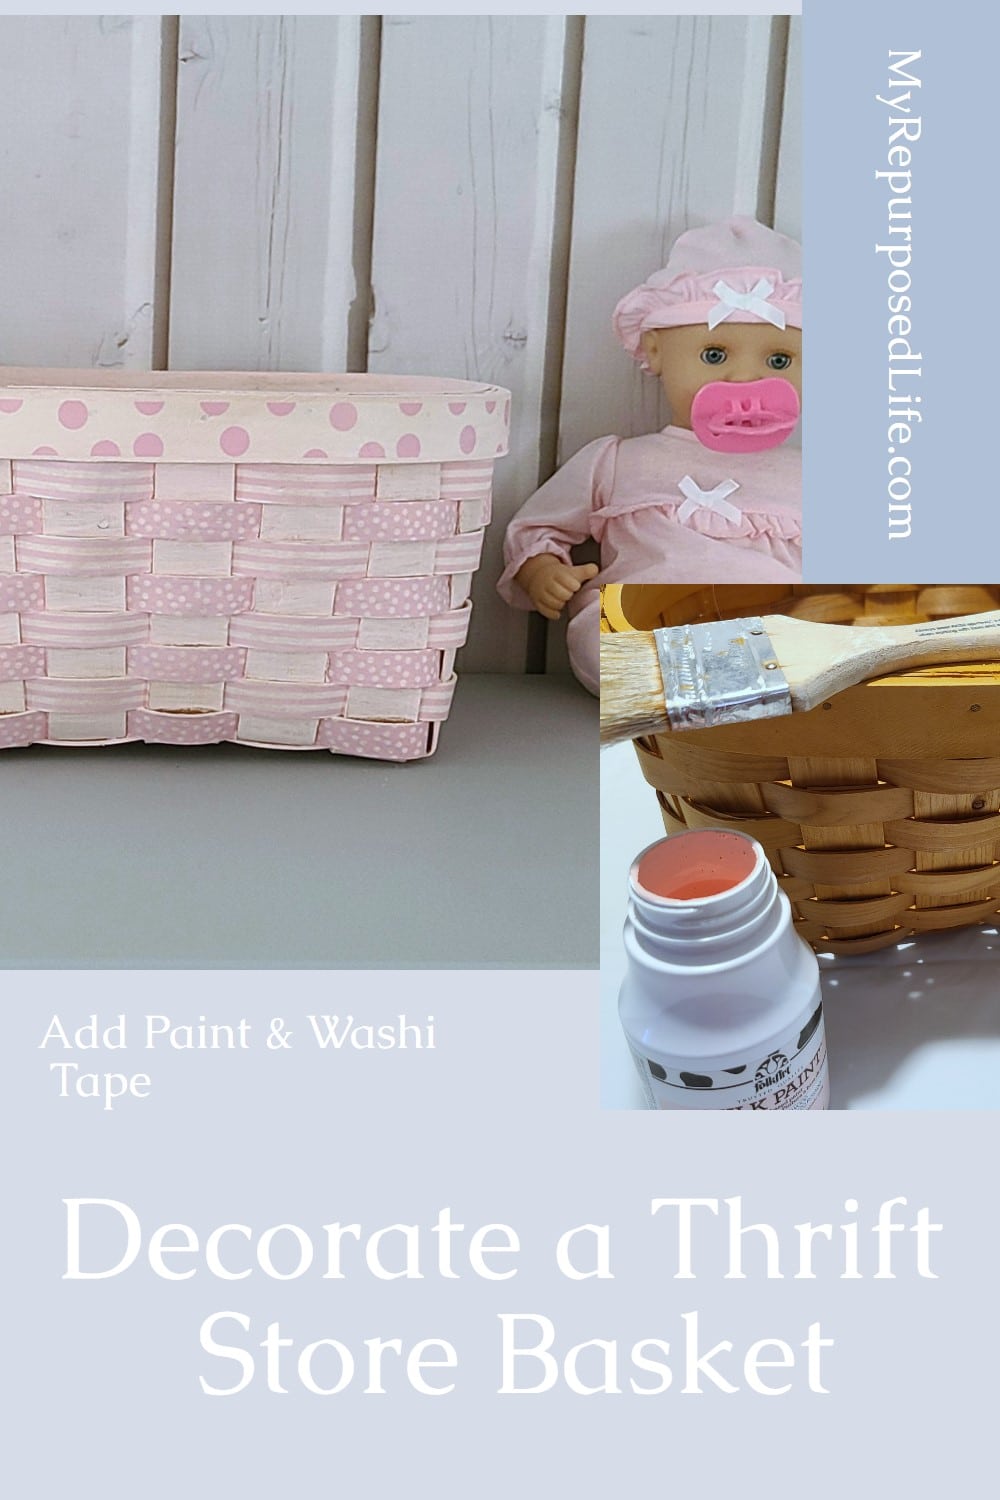
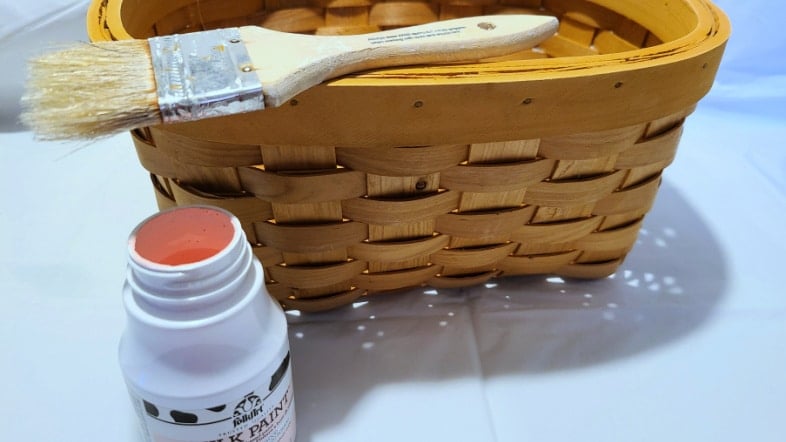
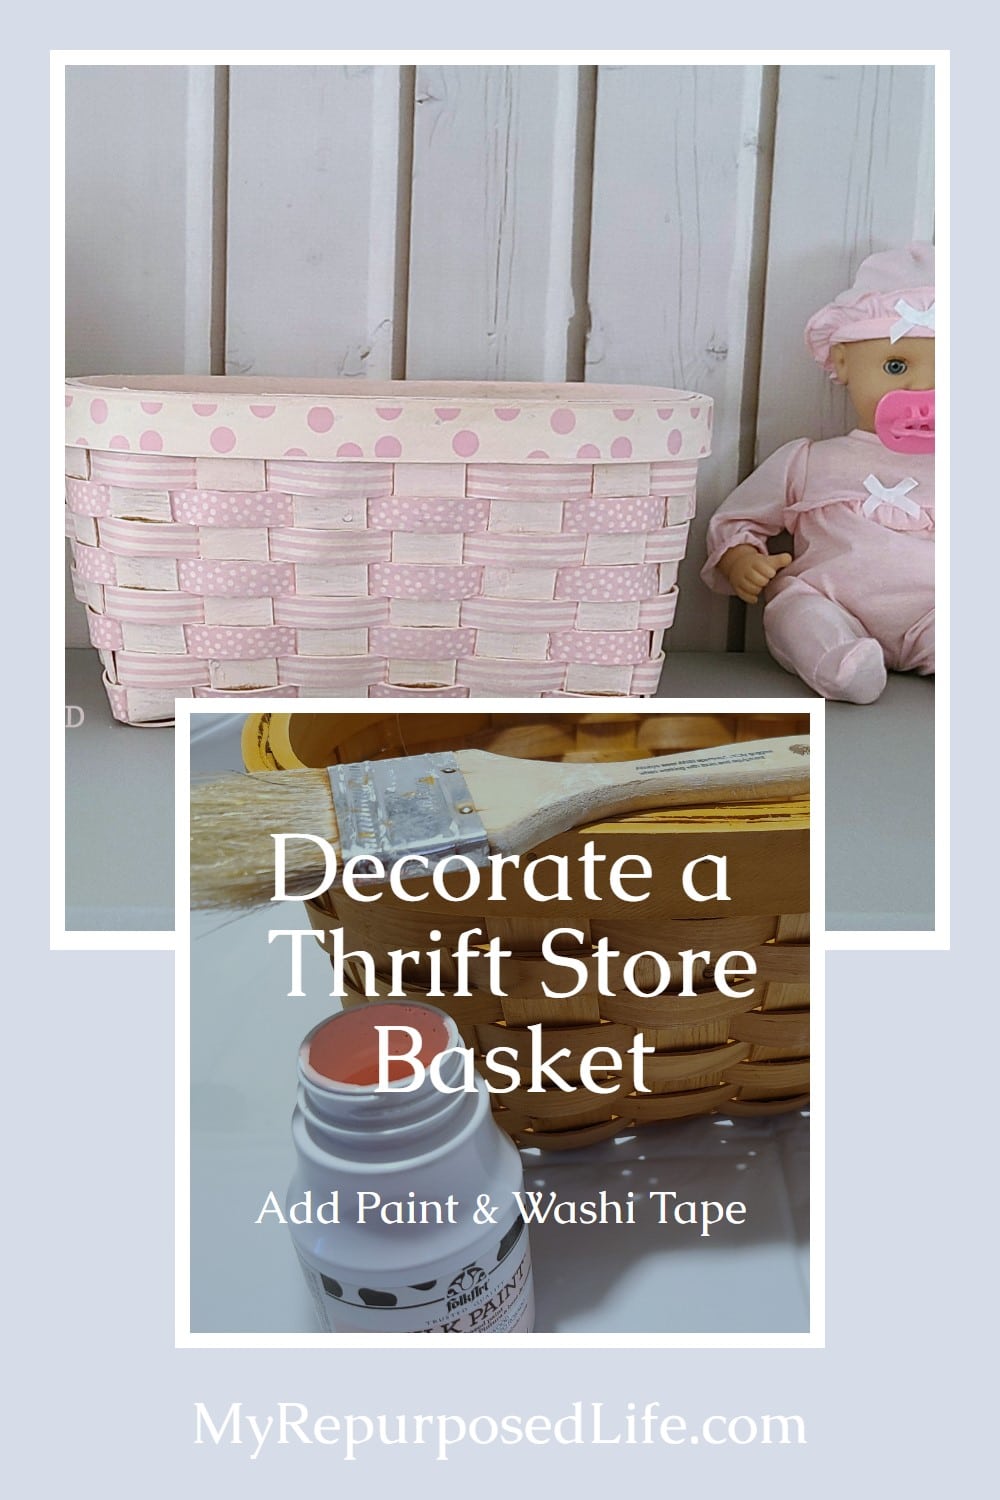
Sometimes the simplest projects are the most fun. This washi tape basket started as an ordinary thrift store find and turned into something sweet and colorful with just a little paint and decorative tape. It’s an easy way to give a basic basket personality without a big commitment, and it’s still one of those quick wins I love.
Materials for Cute Washi Tape Basket
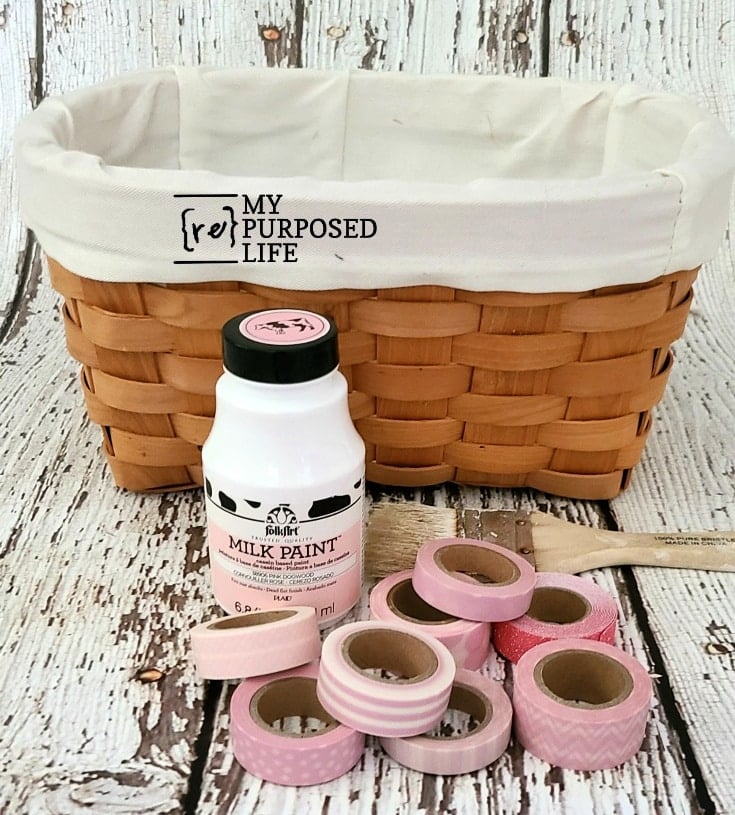
Here’s what you will need to make a cute washi tape basket.
- Thrift Store Basket
- Paint
- Chip Brush
- Washi Tape
- Scissors
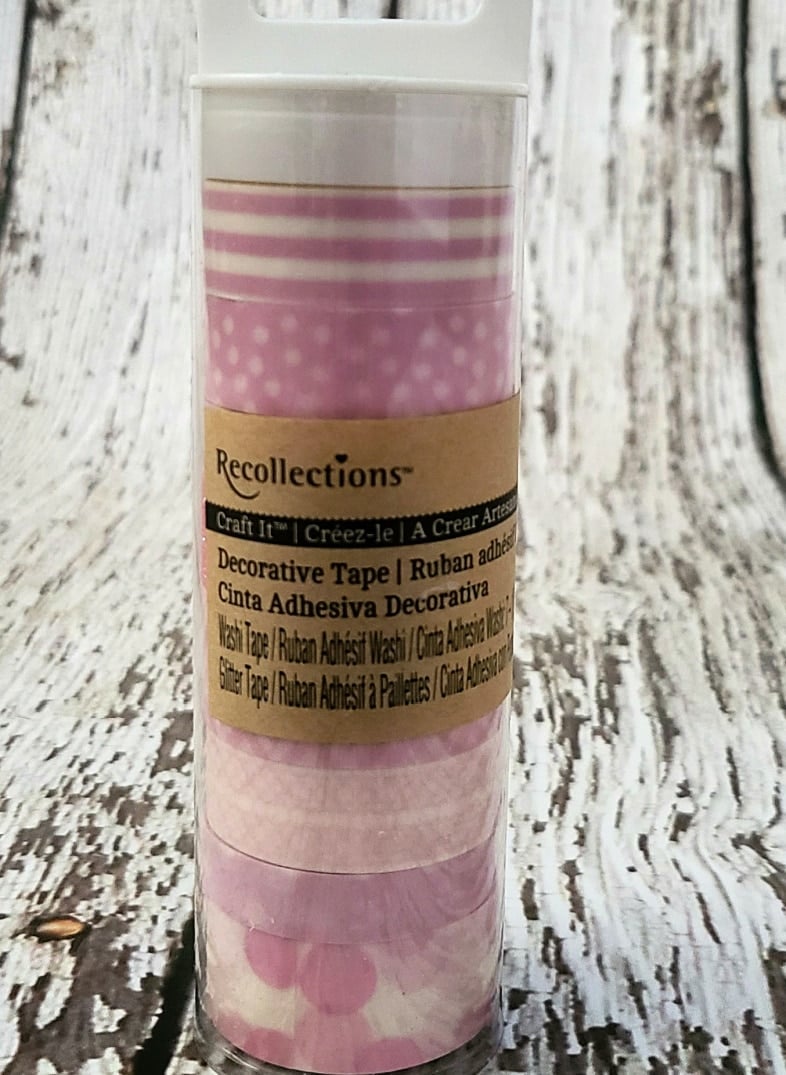
I love this washi tape set and thought it would be perfect for that basket.
Paint Basket Pink
When I looked for pink paint on my craft paint shelf, I reached for this Milk Paint instead of acrylic paint. I’m happy I did. Although it is a flat paint, it’s thin and perfect to use with this chip brush.
While painting, check for runs that may be going through to the other side.
Related Content: Decoupage Basket
Place the Brush in a Baggie
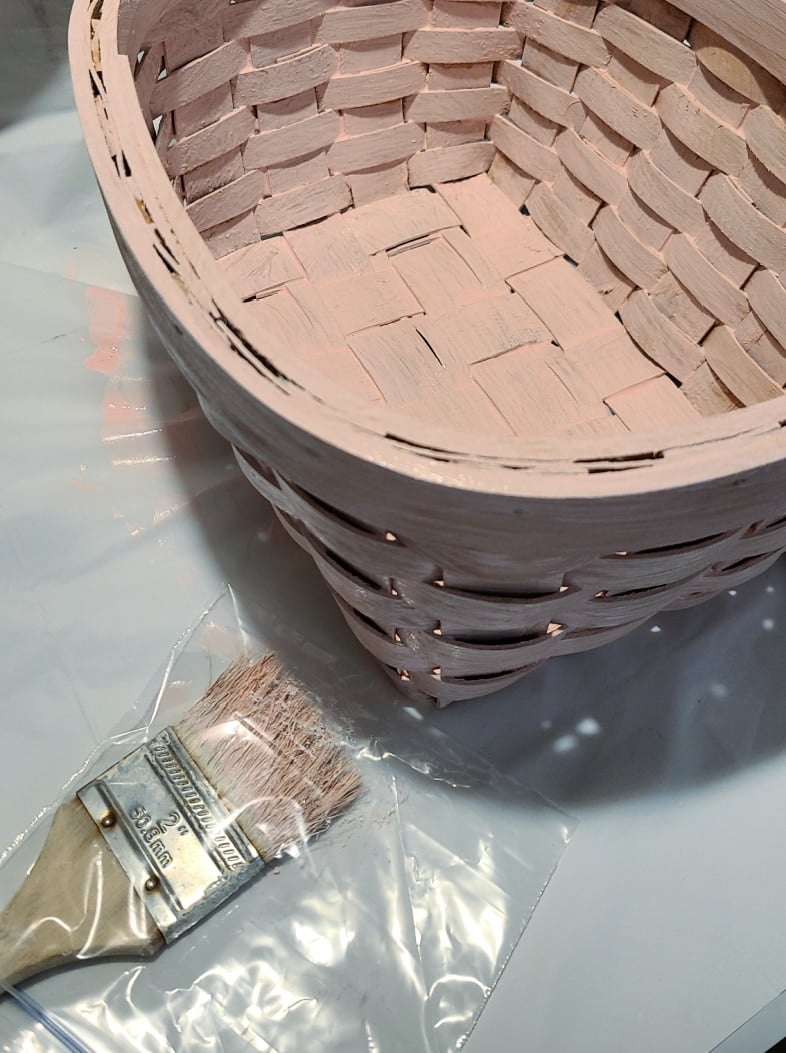
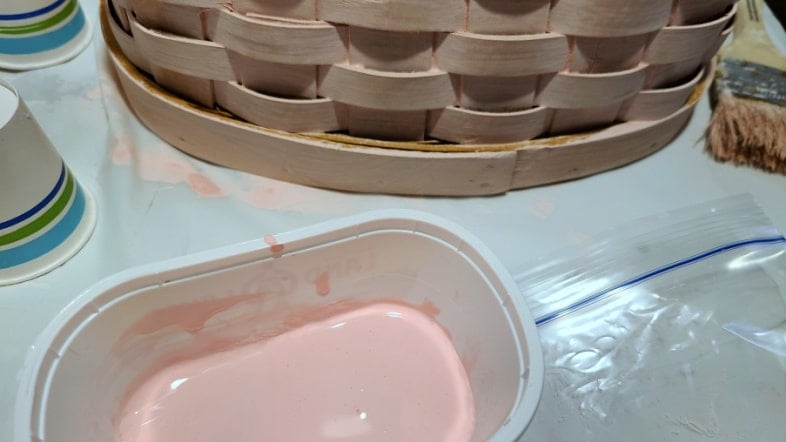
I painted the bottom of the basket and all the sides, then I painted the inside. After the first coat, I put my brush in a small snack baggie and waited for the paint to dry.

To make it dry faster, I rested the painted basket on some small paper cups and turned on the ceiling fan in the kitchen. Who else is an impatient crafter like me? I was so excited about the taping that I could barely wait for the paint to dry! Maybe that’s why Jeanie didn’t paint her wicker basket before putting washi tape on it. ![]()
Examine Wicker for Bare Spaces Where Paint Didn’t Cover
So, after the first coat dried, I turned the basket upside down again to get any spaces I missed with the first coat.
Sanding With Brown Craft Paper

Because the paint is very flat, the directions say to seal it. I didn’t want to do that because I feared the Washi tape might not stick to the basket (sealer). Instead, I used my favorite trick of burnishing (sanding) with brown craft paper. It seemed to remove most of the residue that was wanting to rub off onto my hands.
Pretty Pink Washi Tape

Now, I have to decide which patterns of Washi Tape to use.
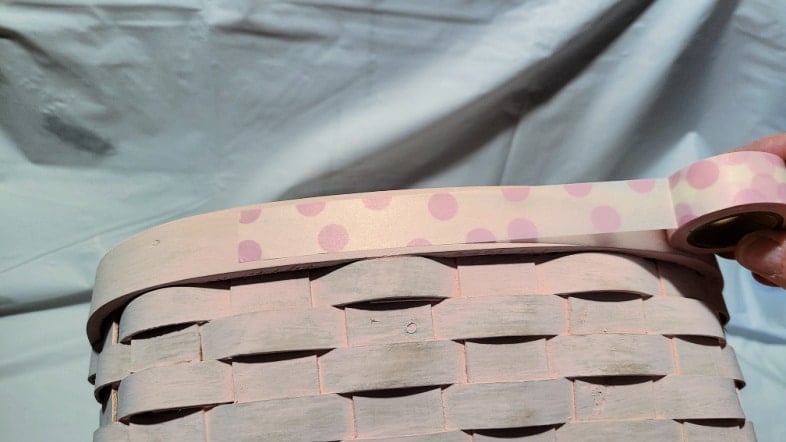
There were two broad patterns, so I opted for the polka dots. Here, I’m just testing to see how it will lie.
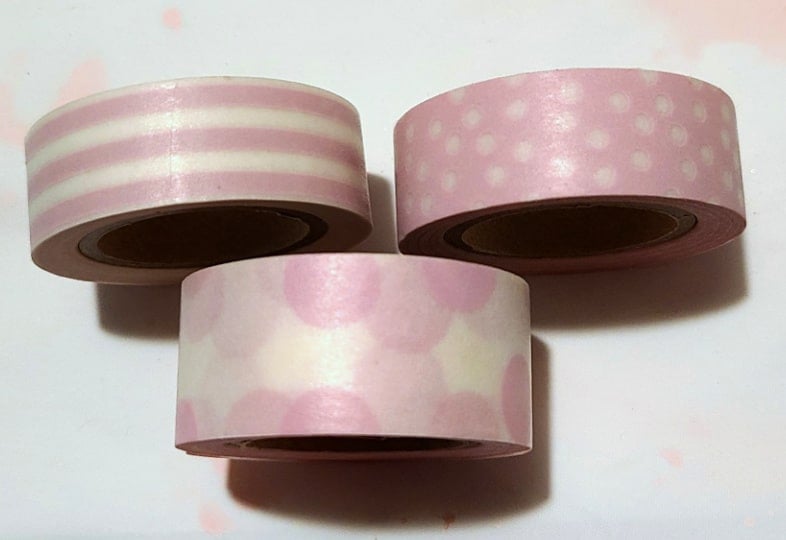
So, these are the three washi tape patterns I decided on.
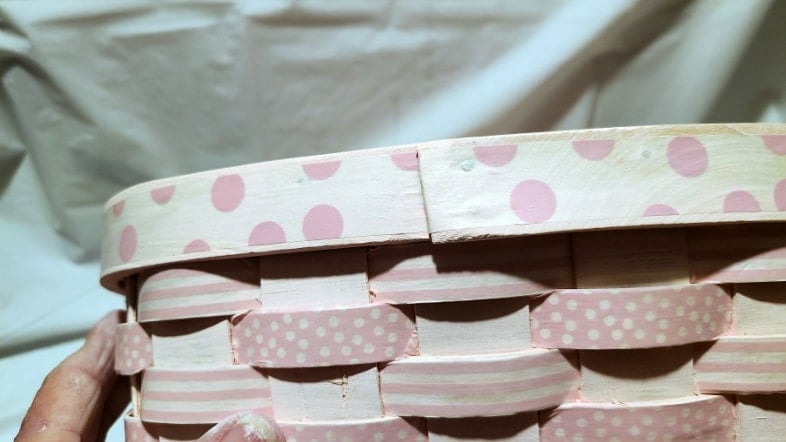
Adding Washi Tape to Wicker Basket
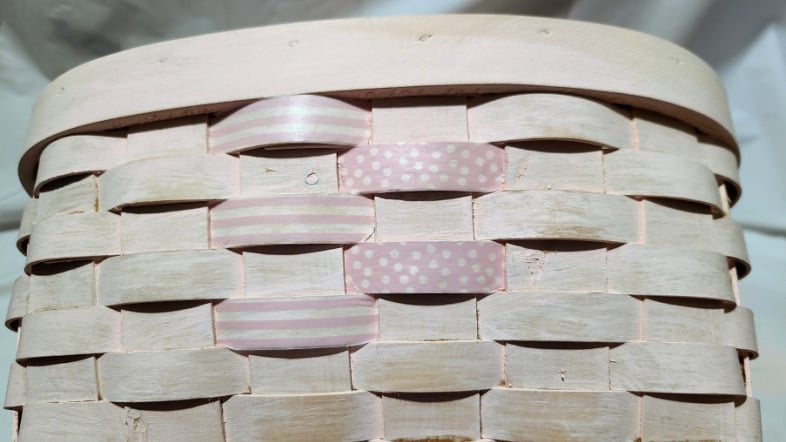
I just jumped in and started with the tape, alternating stripes and polka-dots. ![]()
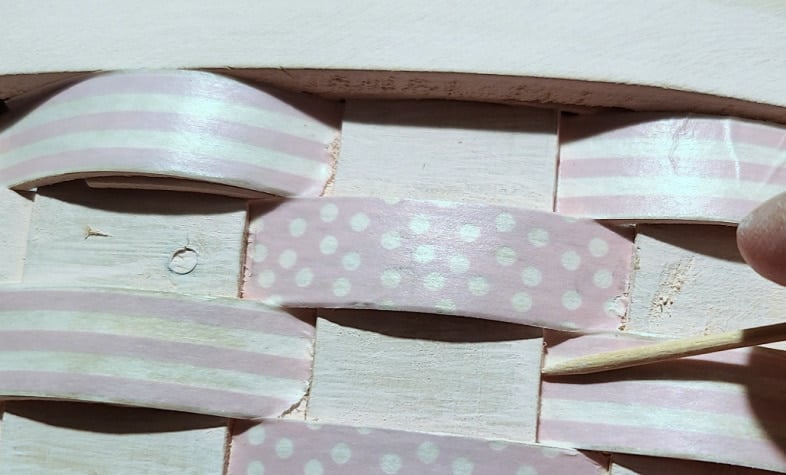
These were the first few strips I put in. I removed these pieces once I figured out how to cut the tape. However, I did continue to use a toothpick to tuck the tape under the vertical band.
I had been using a craft knife but switched to scissors, which worked much better. So, I cut each strip of tape about 1/4″ of an inch longer and tucked in 1/8 on each side. I did NOT measure the tape. For each piece, I placed it on the horizontal band, leaving about 1/8″ on one side, then cut the other side, leaving about the same length.
After placing the washi tape, I lightly pushed down on one side, allowing the tape to slide under the vertical band. Then I would use the toothpick to tuck the end completely under the band.
I was looking at the time stamps on the pictures. It took less than 1 1/2 hours to complete the process. I moved to the living room, put a kitchen towel on my lap, and worked on it while I watched TV.
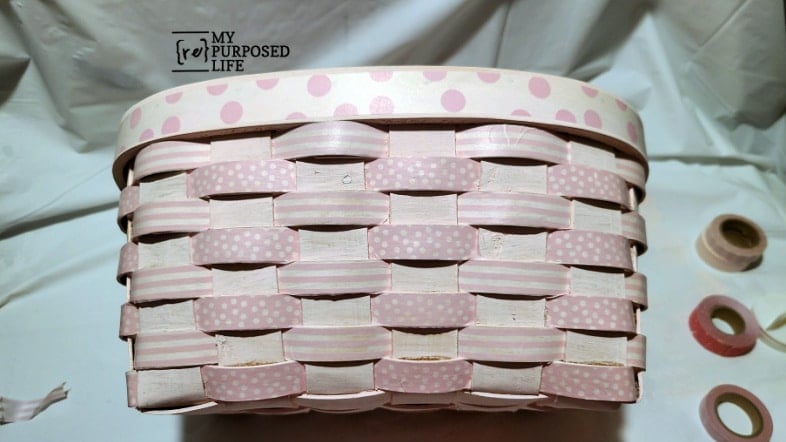
How To Washi Tape a Basket
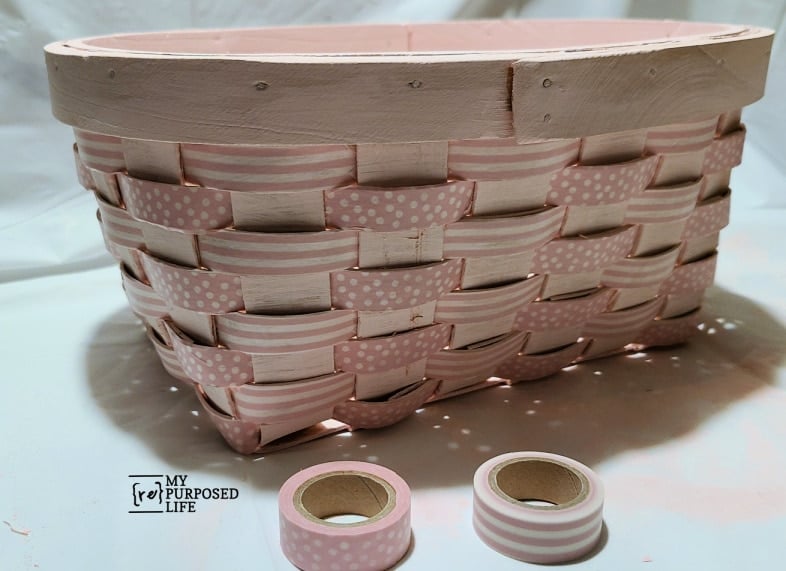
This is the result of all my hard work while watching TV. Now, it was time to add the wider Washi tape to the top of the basket.
Add Wide Tape to the Band
To add the wider polka-dot tape, I started on the back. I left a little “tab” of tape overhanging and worked my way to the right around the basket. When I got back around, I trimmed the tape, leaving another small “tab” of tape. I used a craft knife to tuck the right side over and under the band. Then, I tucked the left side under the band where the nails were. It gives a really clean look.
How Much Washi Tape Did It Take?
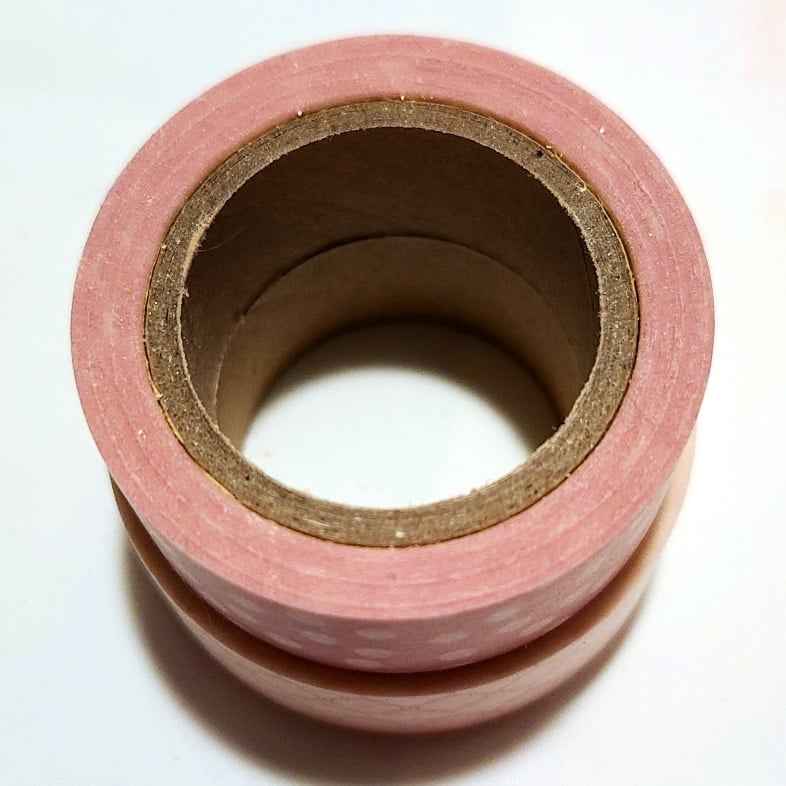
That’s a good question; I was very curious. At the beginning of this project, I had no idea how far the Washi tape would go. This is the roll of polka-dot tape on top of another roll of tape that I didn’t use.
You can see a LOT of tape left on the polka-dot Washi tape roll.
After taking this picture, I did some tweaking, removing that wrinkled piece of striped tape. It was simple to replace with a new piece that wasn’t wrinkled. You can see the difference in the image below.
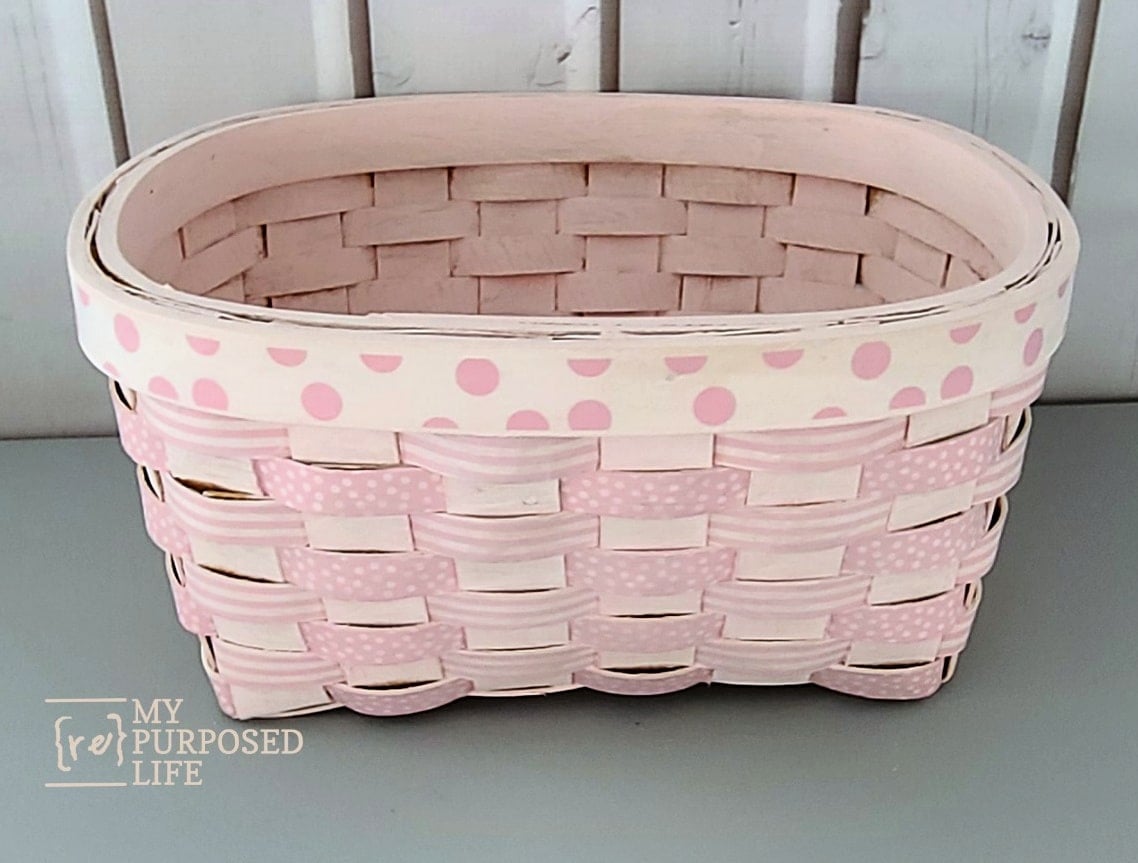
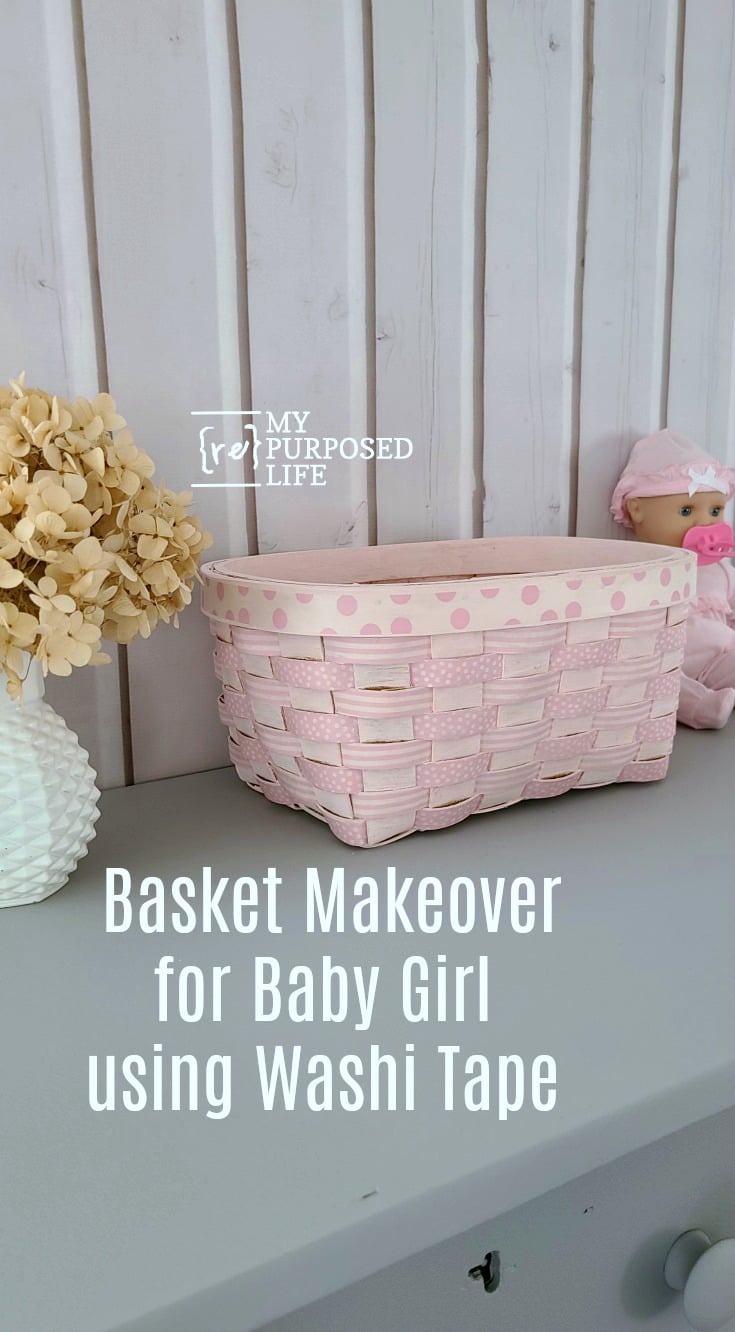
Isn’t this the cutest thing ever? It’s perfect for a baby girl’s room, don’t you agree?
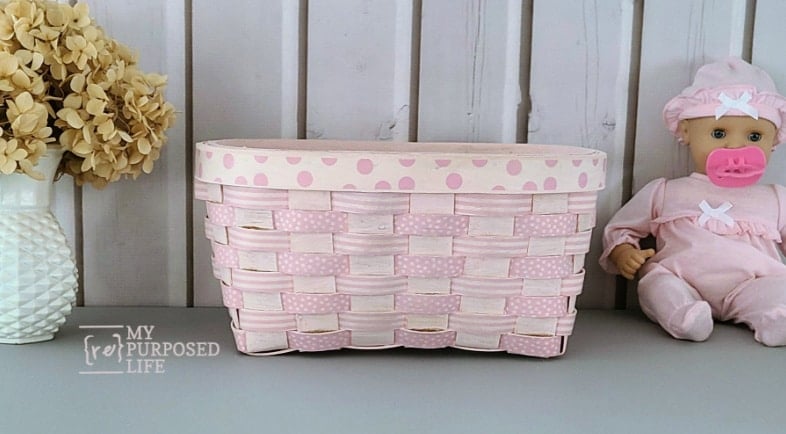
My favorite part is how cute the wider washi tape looks around the rim of the wicker basket.
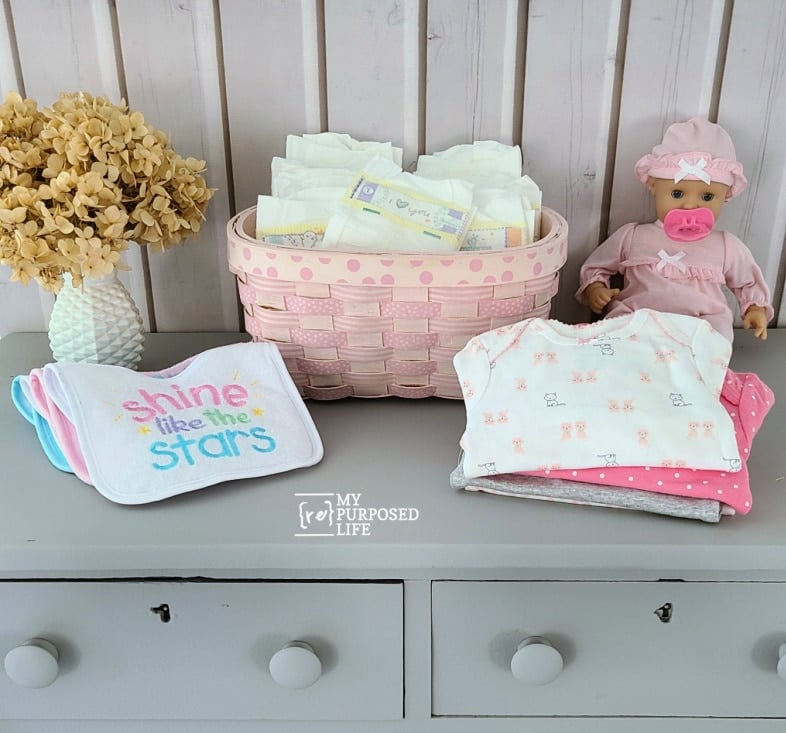
Everyone needs a cute little basket on a dresser to quickly grab diapers! It’s staged on a gray dresser that I did a makeover on a while back.
I’d love for you to Save & Share this cute washi tape basket on Pinterest!
I have to say, this is my favorite Washi Tape Basket project ever… okay — maybe it’s my first-ever washi tape project.
This little basket proves you don’t need power tools or a complicated plan to make something special. A little paint and a few strips of washi tape can completely change the look. It’s budget-friendly, beginner-friendly, and easy to customize for any room or season. If you have a plain basket sitting around, this might be the nudge you need.
What do YOU use Washi Tape for?
gail
Related Content:
Wow, the finished basket is absolutely adorable! I’ve never used washi tape, but might have to try it now. A perfect addition for a baby shower!
Oh my goodness, this is adorable – what a great idea!
Thank you so much Becky! I love doing easy projects in between my repurposed furniture projects.
Gal
Very cute and unique. Great job. This gives me a couple of ideas.
Awesome Rebecca! So happy to inspire you!
Happy crafting!!
Gail
Did you spray seal it with a matte clear coat to protect it? Contrasting colors would have been better I think- –
out a bit washed out looking.
No, I didn’t spray it with a sealer. That’s the great thing about what I do, I show you how I did it, and you put your own spin on it.
Thanks for stopping by Kathy!
Very cute for a baby girls room.
Thank you Rebecca!
Very cute and creative!
Thank you Gail! I’m beyond thrilled…. sometimes crafts intimidate me… lol
I really really love this project! It would also be great to hold a baby shower gift! Now I need someone to have a baby
that is such a great project! you could used different tapes for holidays! or seasons!