White Entryway Bench made from Kitchen Cabinet
As an Amazon Associate, I earn from qualifying purchases.
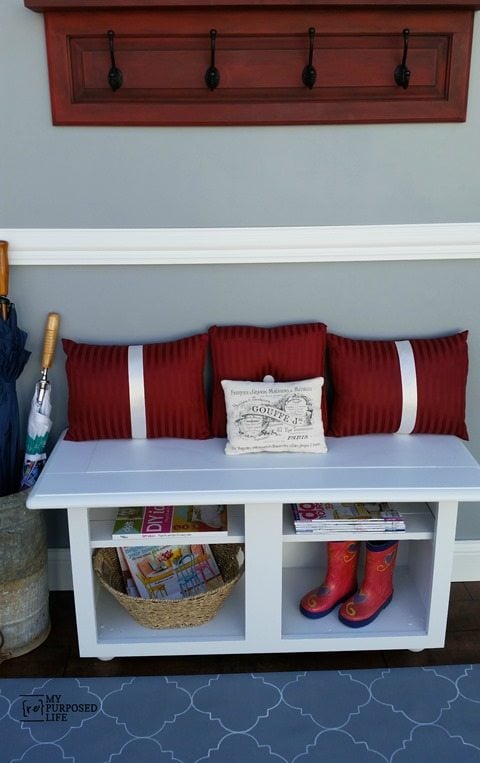
Today’s project is a white entryway bench that I made using a repurposed kitchen cabinet.
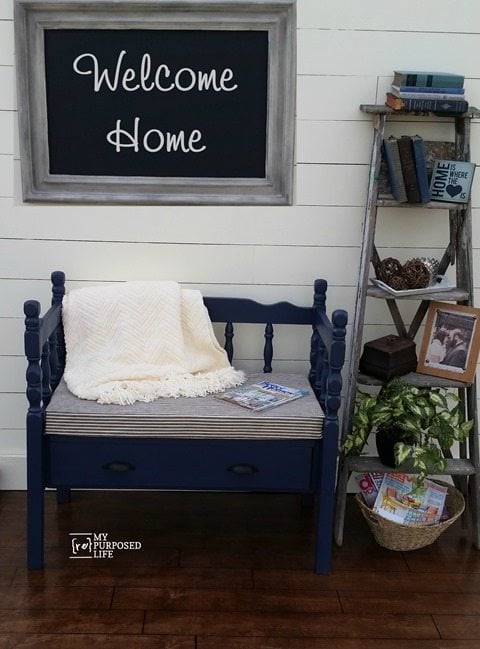 Do you remember headboard bench with storage drawer from a couple of weeks ago?
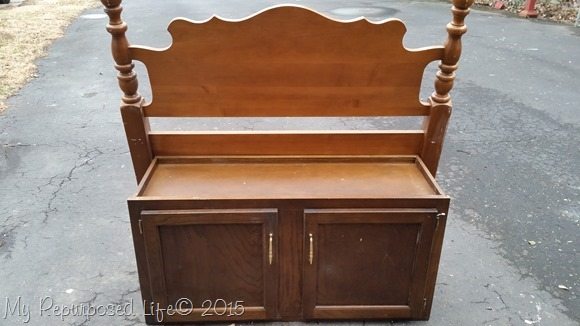 I had originally wanted to pair it with this kitchen cabinet. But it just wasn’t working for me, so that’s when I set the cabinet aside and used the drawer unit for the headboard bench.
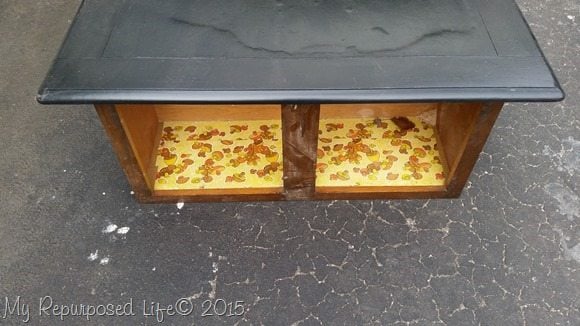 The cabinet was in my way in the garage, so I decided it needed to be my next project. I thought it would make a great entryway bench or window seat. It just needed a nice sized top. I dug out the top from the big ole table I parted out last year.
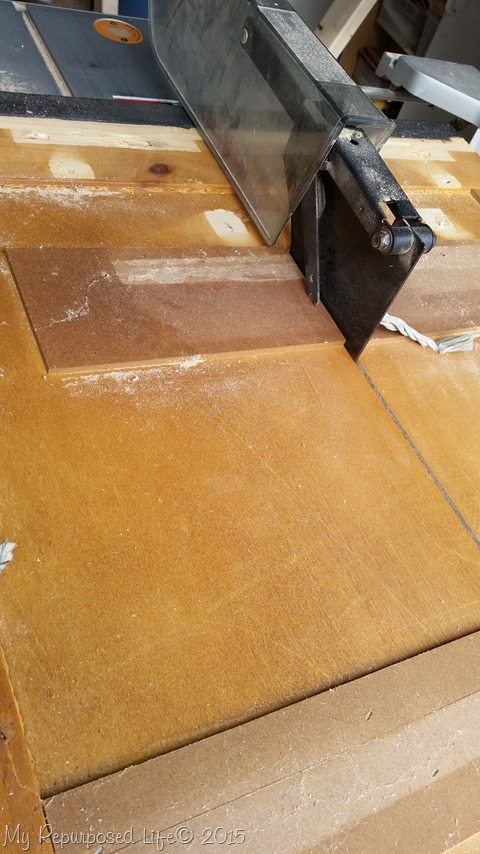 The top was too deep for an entryway bench, so I ripped it on the table saw.
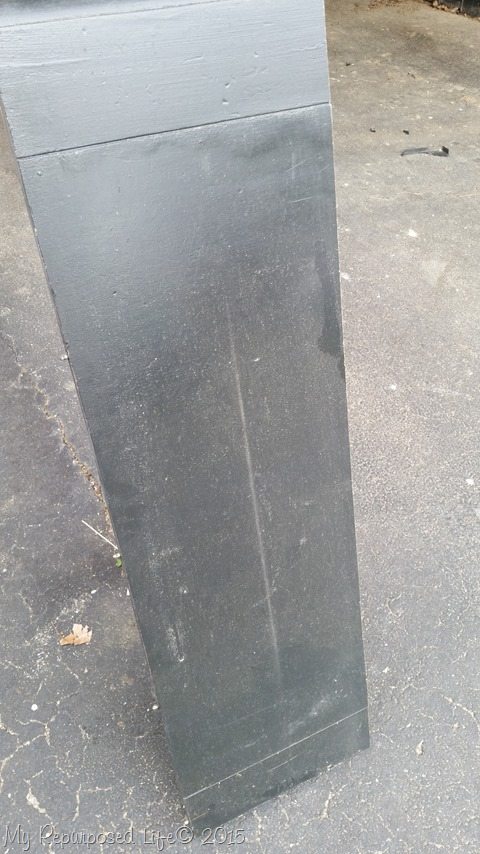 This is the piece I have left after ripping it. I think this would make a great console table top.
How to remove vintage contact paper
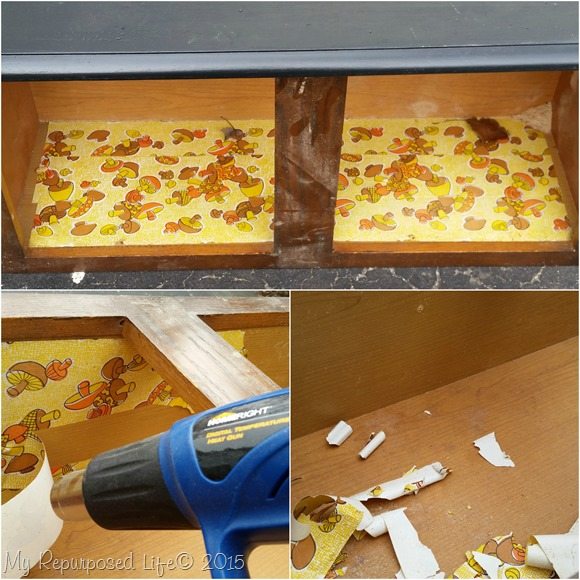 Check out that vintage contact paper! I brought out my HomeRight Digital Temperature Heat Gun and got busy. It worked like a charm. I used it on about 160°. Most of it came off in very large pieces with a putty knife.
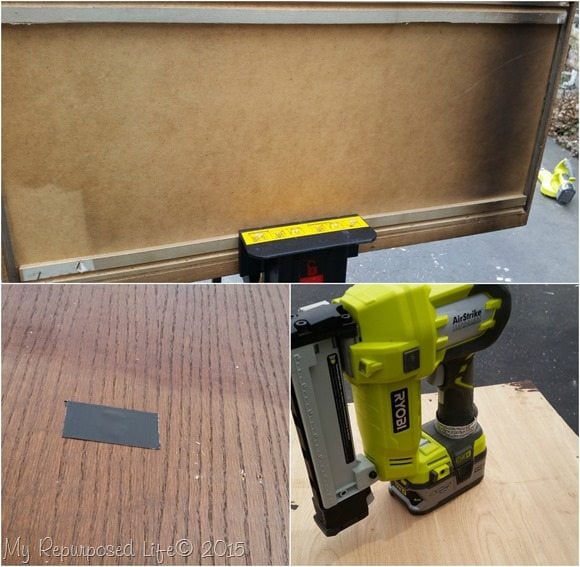 The back of the cabinet wasn’t very nice looking. I found a scrap piece of thin plywood that fit nearly perfectly, but it had a hole that had been cut in it for some reason. To make it easier to patch I put a piece of Gorilla Glue tape on the back side. I attached the plywood with my Ryobi Staple gun.
How To Add Feet to an Entryway Bench
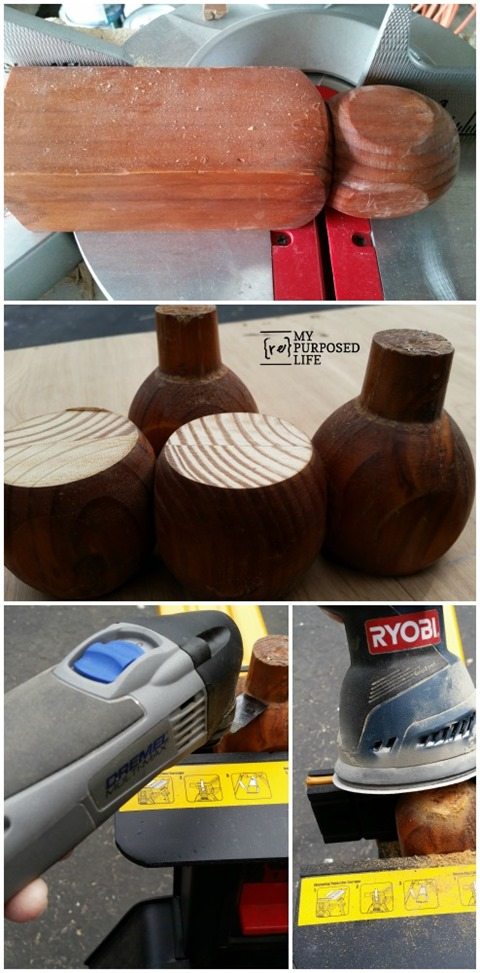 I wanted to lift the bench off the ground slightly, so I went to my stash and found some bunk bed parts. Two of the pieces were still in tact, and 2 of them were the rounded part with the pegs still attached. I cut the pegs off, then cut the rounded piece from the squared off leg. The other 2 pieces were much too short to cut the pegs off with the miter saw. I used my Dremel Multi-Max to do a flush cut on the large peg. I used my new Rockwell JawHorse to clamp the pieces. (LOVE it)
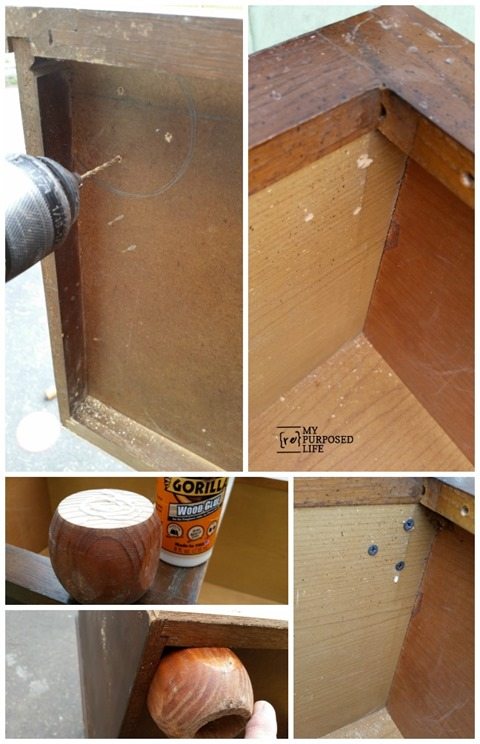 This is how I added feet to the bottom of this entryway bench.
- Mark the area of the foot on the bottom
- Drill from the bottom
- Add Gorilla Wood Glue for extra strength
- (not shown) Clamp the foot to get a tight fit
- Secure screws from inside the cabinet through the bottom into the feet
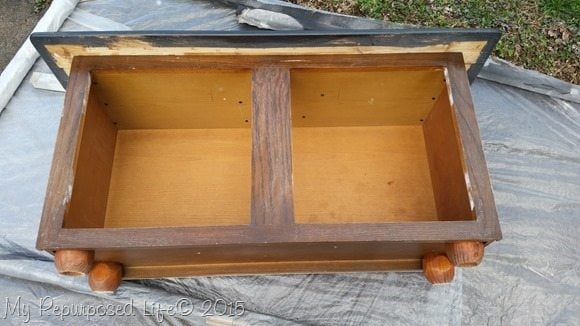 I attached the former tabletop by screwing from the inside (top) of the cabinet into the tabletop.
Time to paint with a Homeright Finish Max Paint Sprayer
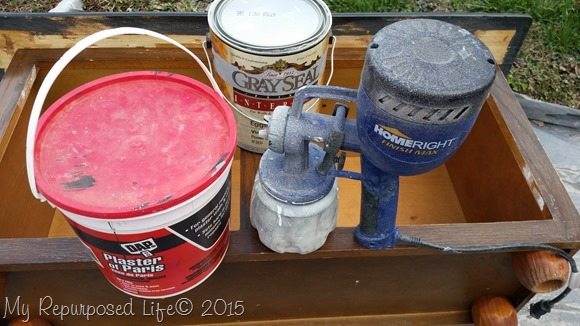 Of course, I used Plaster of Paris, and latex paint to mix up my favorite chalky paint primer to use in my HomeRight Finish Max.
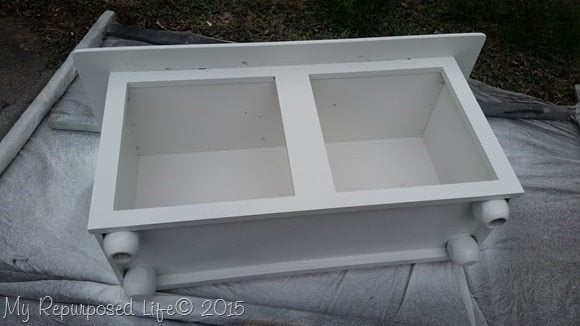 Then I used my regular routine of doing a couple of light coats of the chalky paint as a primer, using the semi-gloss paint as the top coat with 2 light coats.
I always start with the underneath side first.
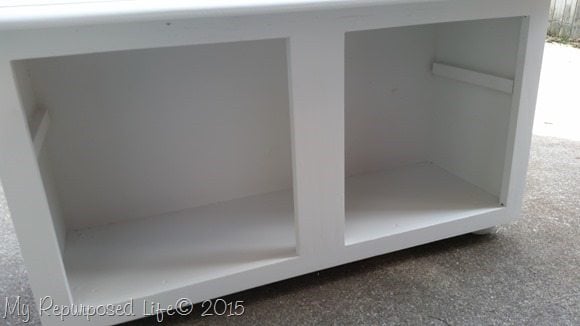 I added some scrap 1x as cleats for a shelf.
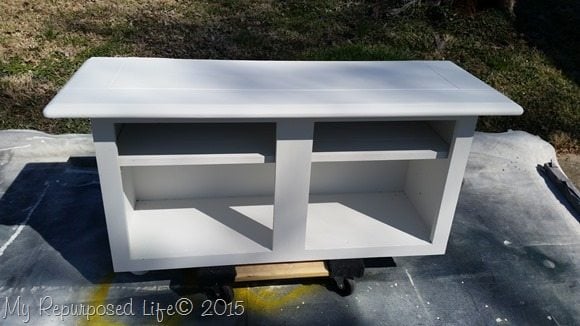 Two light coats of semi-gloss with my Finish Max—and the entryway bench was done!
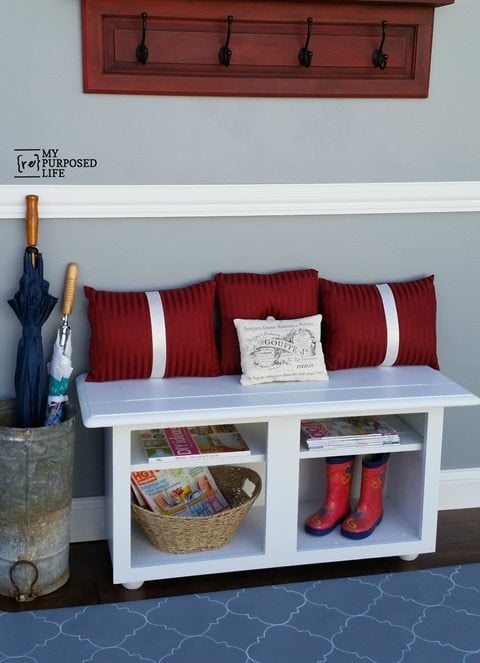
I think this little repurposed kitchen cabinet makes a perfect entryway bench, and would also be great as a window seat.
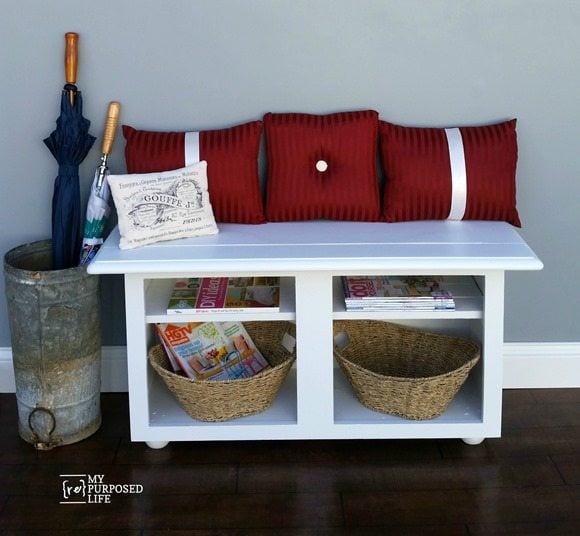 Ohhh, and it would probably work really well as an end of the bed bench! Very versatile, don’t you think?
How would you use a bench like this?
gail
See the other projects seen in the photo here:
Full Sheets into Accessories (red pillows)
Printing on Fabric (Graphics Fairy Image Pillow)
Coat Rack Shelf (made from a cabinet door)
Would you like to see more Bench Projects


Greetings,
Ordered a HomeRight Finish Max Fine Finish Sprayer today. Looking forward to finding something to work on this weekend now.
-R
Beautifully done!!!, Gail Mary
Beautiful as always…..love the little feet that you added.
Great job again, Gail. I can’t believe how productive you are! Do you have a regular place to sell larger pieces like this?
You are the bench queen that is for sure! It is such a versatile piece that would go with any decor. Love it!
thanks for showing us how to put the feet on! will help me add some to a bookcase!!! love the bench. would use it inside the basement door!
Putting feet on anything can really change it up. Done properly, it’s very easy. 🙂
I wish I had a bookcase to add some feet to.
Thanks so much Nova!
gail
Gail, I LOVE every single one of your bench projects. You are the Queen of benches and following along has taught me so much. Thanks for the inspiration!
~Tami Michel
I do love making a good bench Tami! I’m so happy you appreciate my tutorials. I love teaching others through what I’ve learned.
gail
Such a great project!! I love the feet you put on, everything on this thing is repurposed! So awesome! It looks so cute, and your wall….it looks great painted with the moulding! You staged this so beautifully Gail!
awww, thank you Mindi. I’m still struggling with the beauty shots, but trying really hard. Maybe I need to invest in a “real” camera for those pics.
I love having that faux wall!!!
Beautiful! You make it look so easy.
Wow Gail, you really changed this one up. It seems just the right size for almost any entryway. I think adding the feet was an added bonus for this project. As for the “vintage contact paper”……I remember this and the pattern. I think we may even had the exact one when I was a kid.