Repurposed Window Cabinet
As an Amazon Associate, I earn from qualifying purchases.
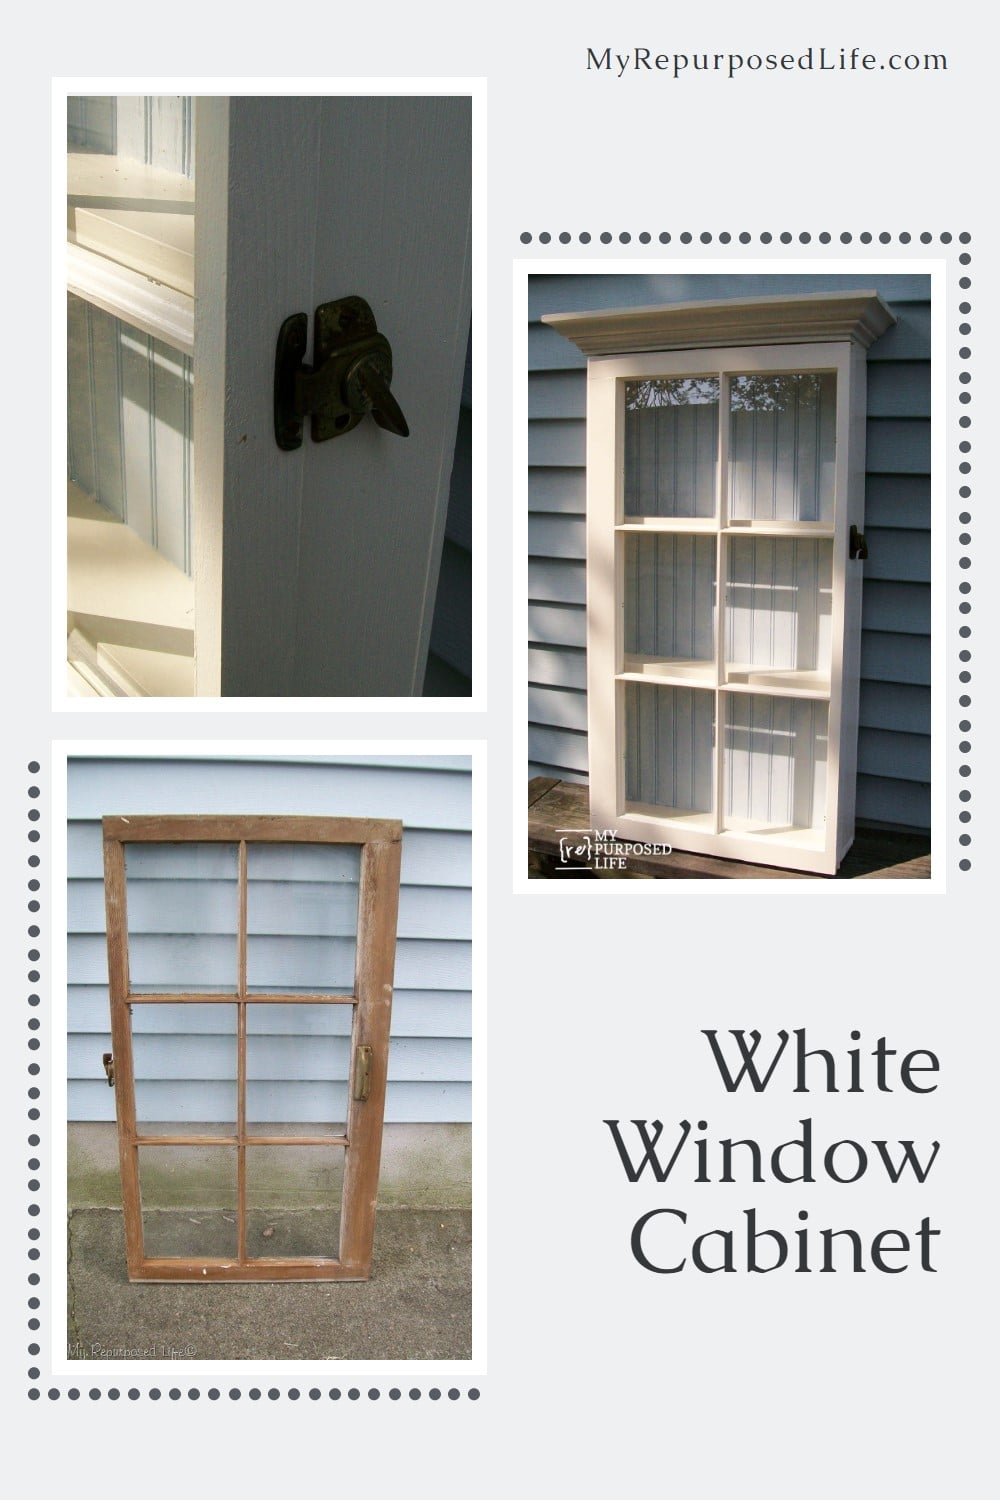
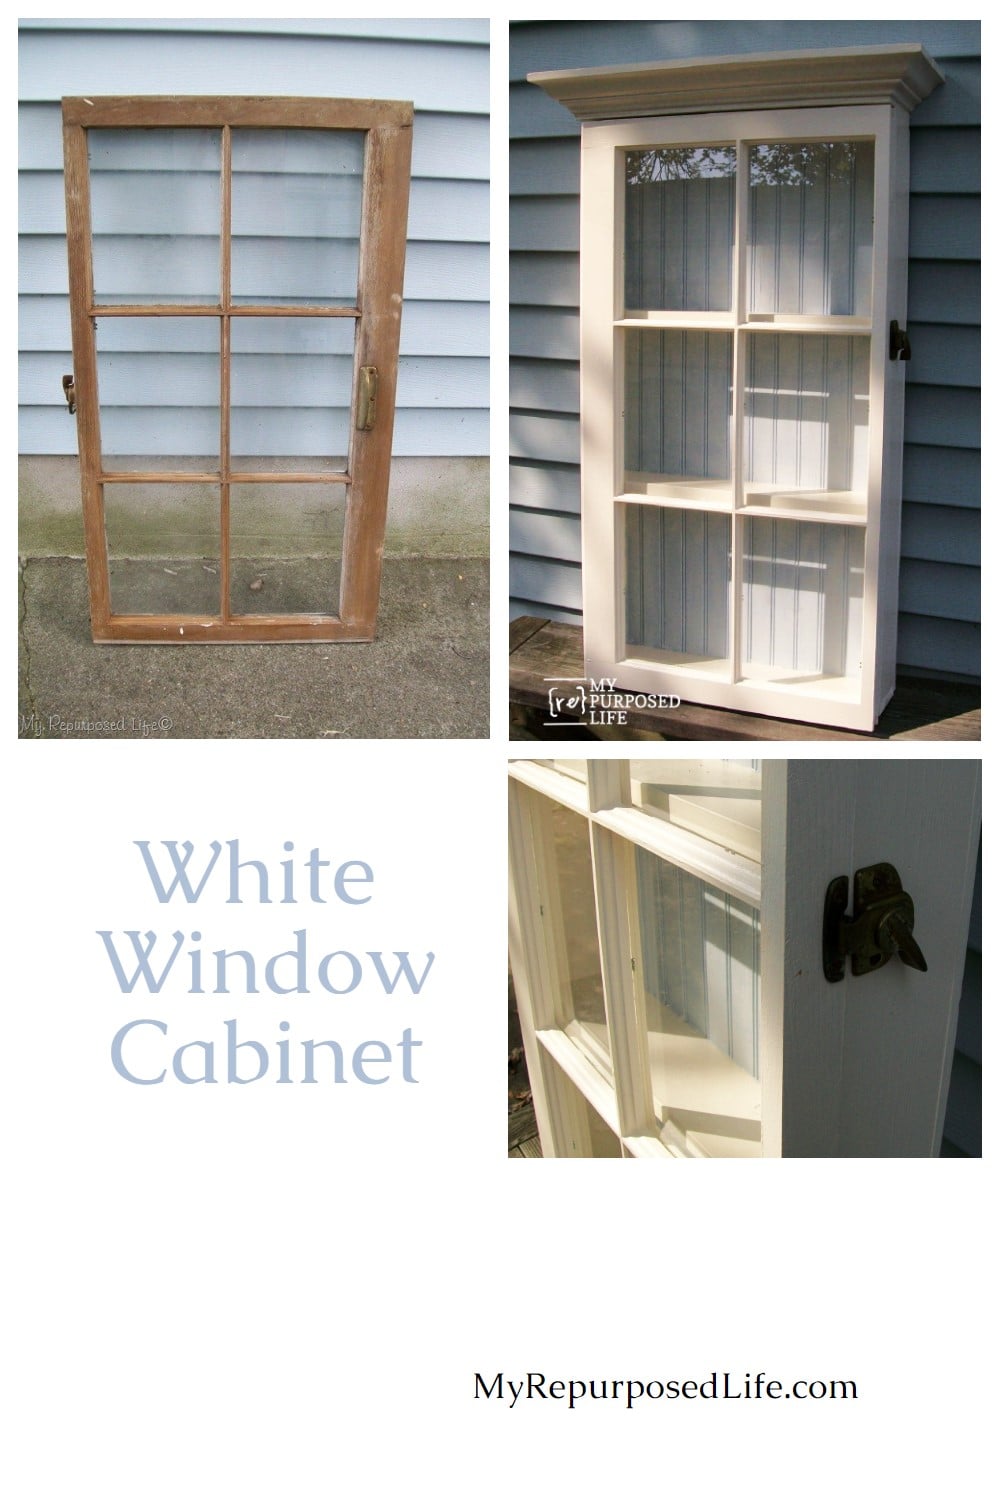
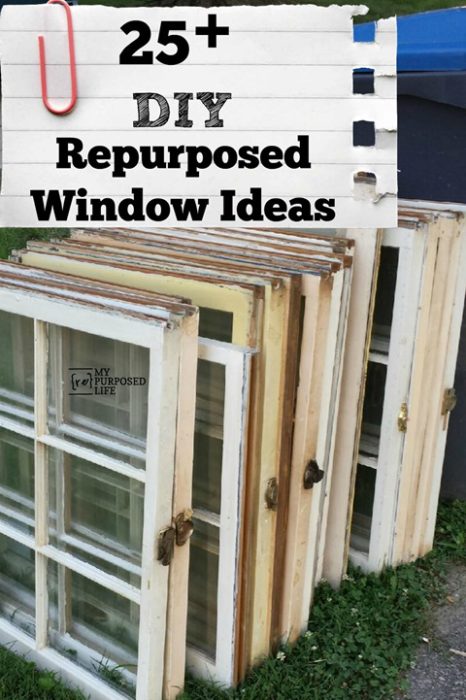
I love making projects using reclaimed windows; this repurposed window cabinet was assembled using mostly scrap materials.
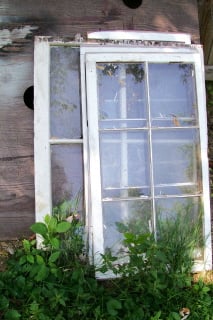
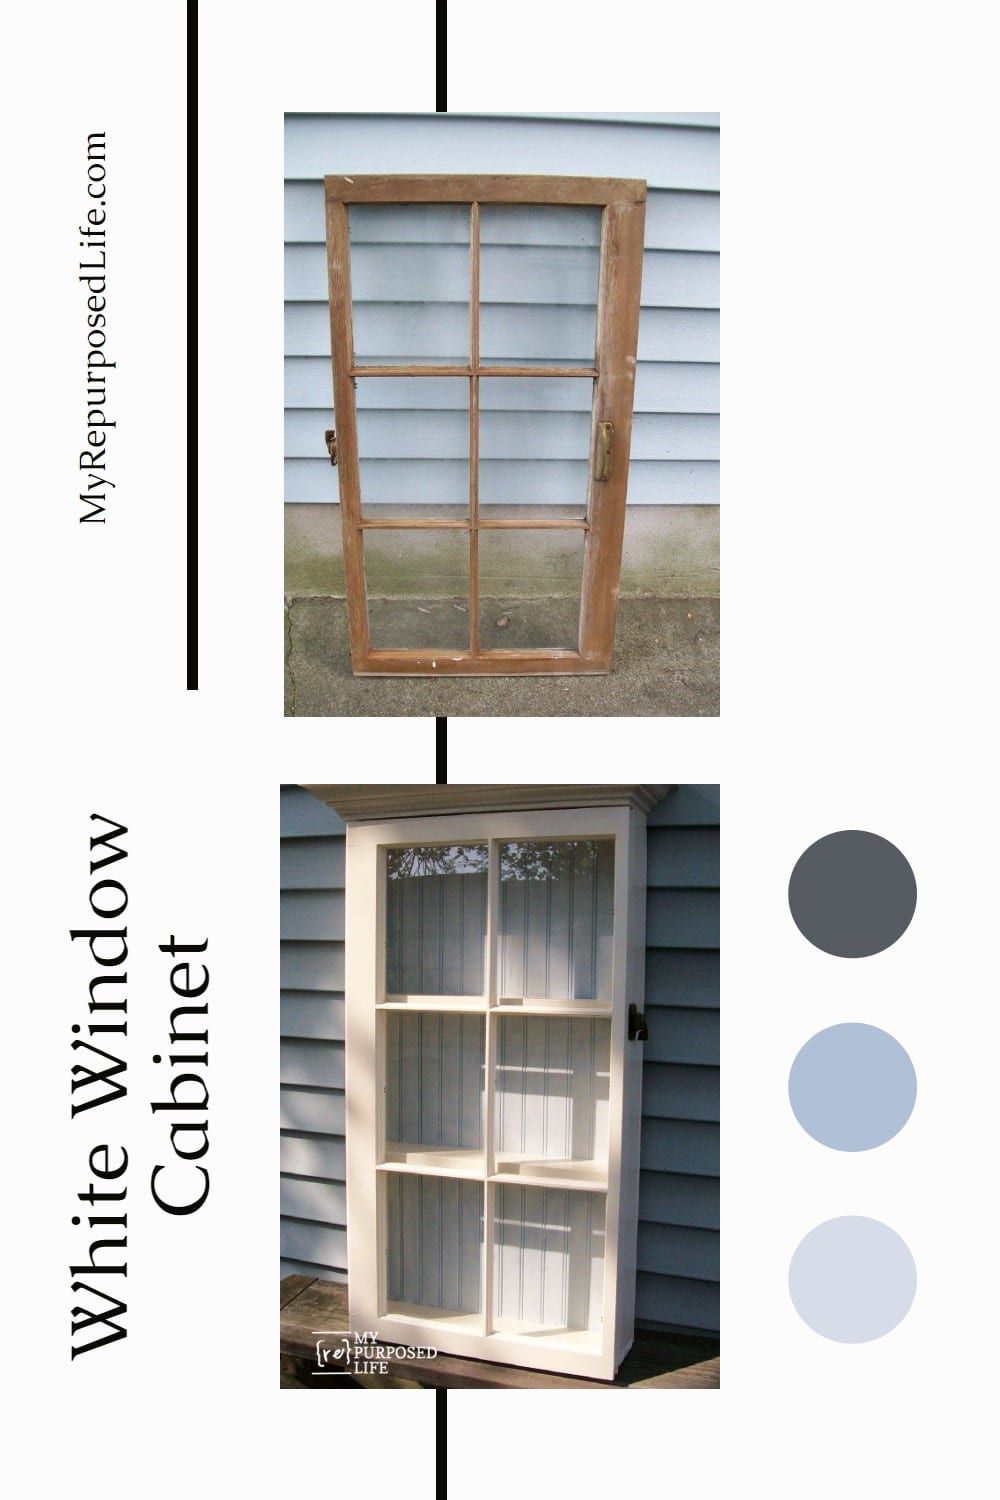
When I got these windows, they looked a little too new to suit me. I decided to store them outside so that they would get weathered.
Begin Your Project With a Reclaimed Window
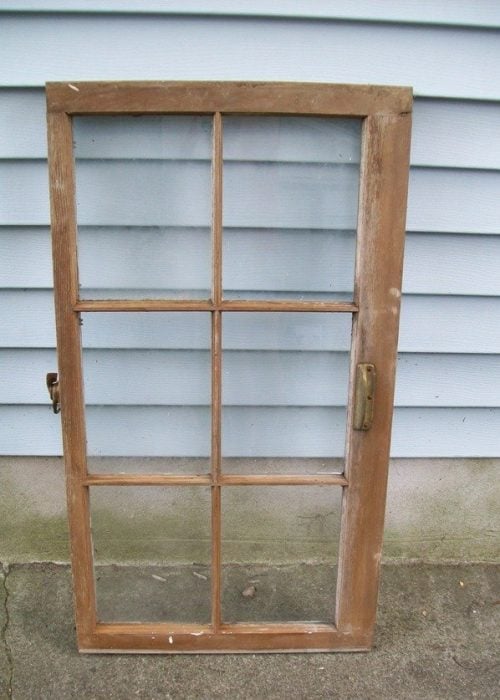
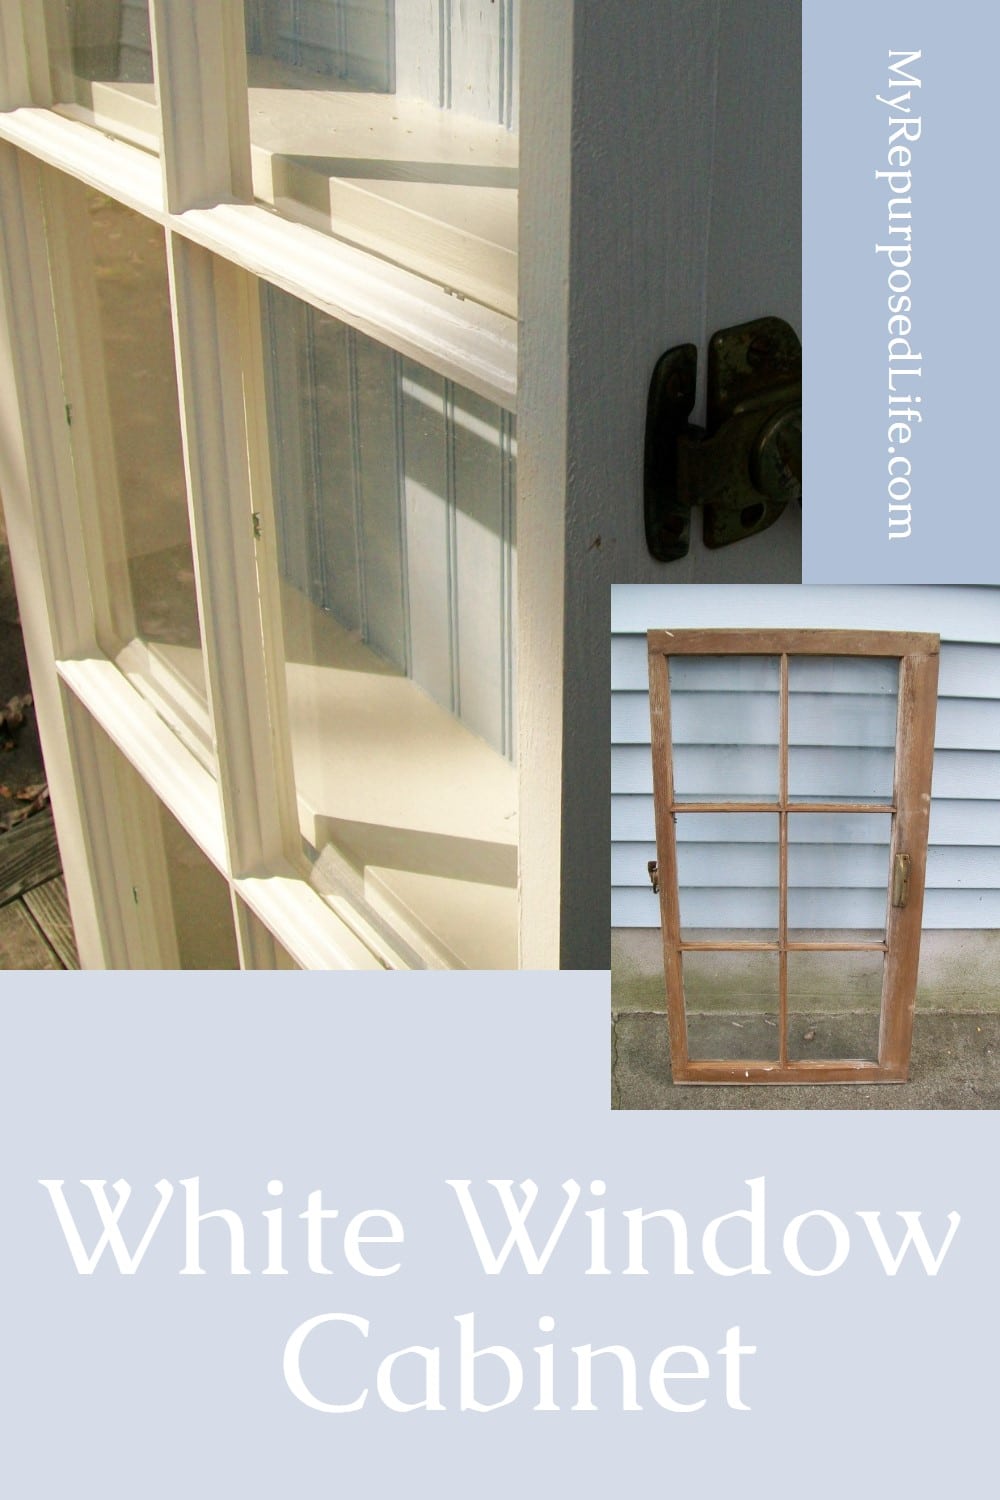
I chose this perfectly weathered window for this project.
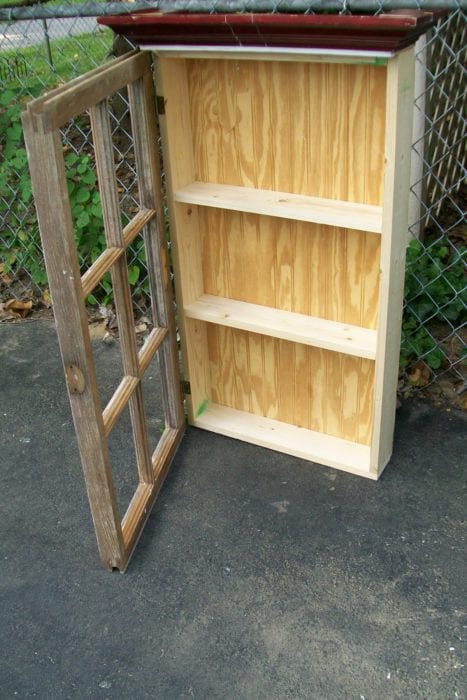
Construct a Simple Wooden Frame Box
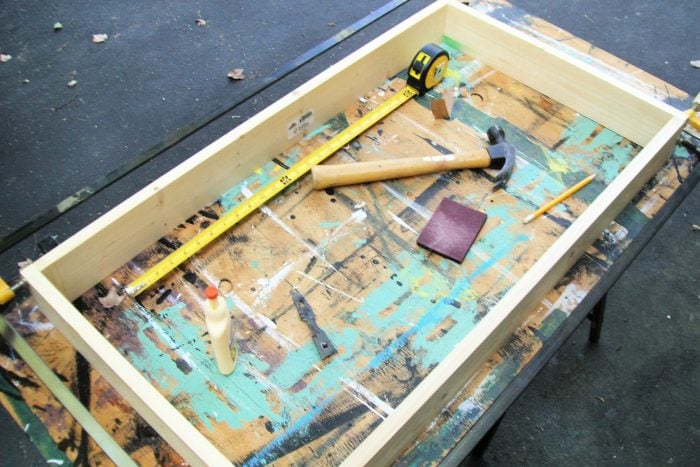
I used pine boards to make a box for my cabinet. I usually use reclaimed lumber, but I used new lumber in this case. You can see that I have it clamped. I used Gorilla Wood Glue and my nail gun.
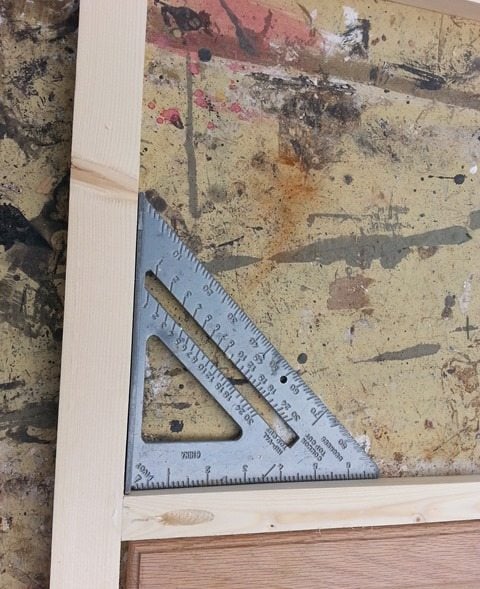
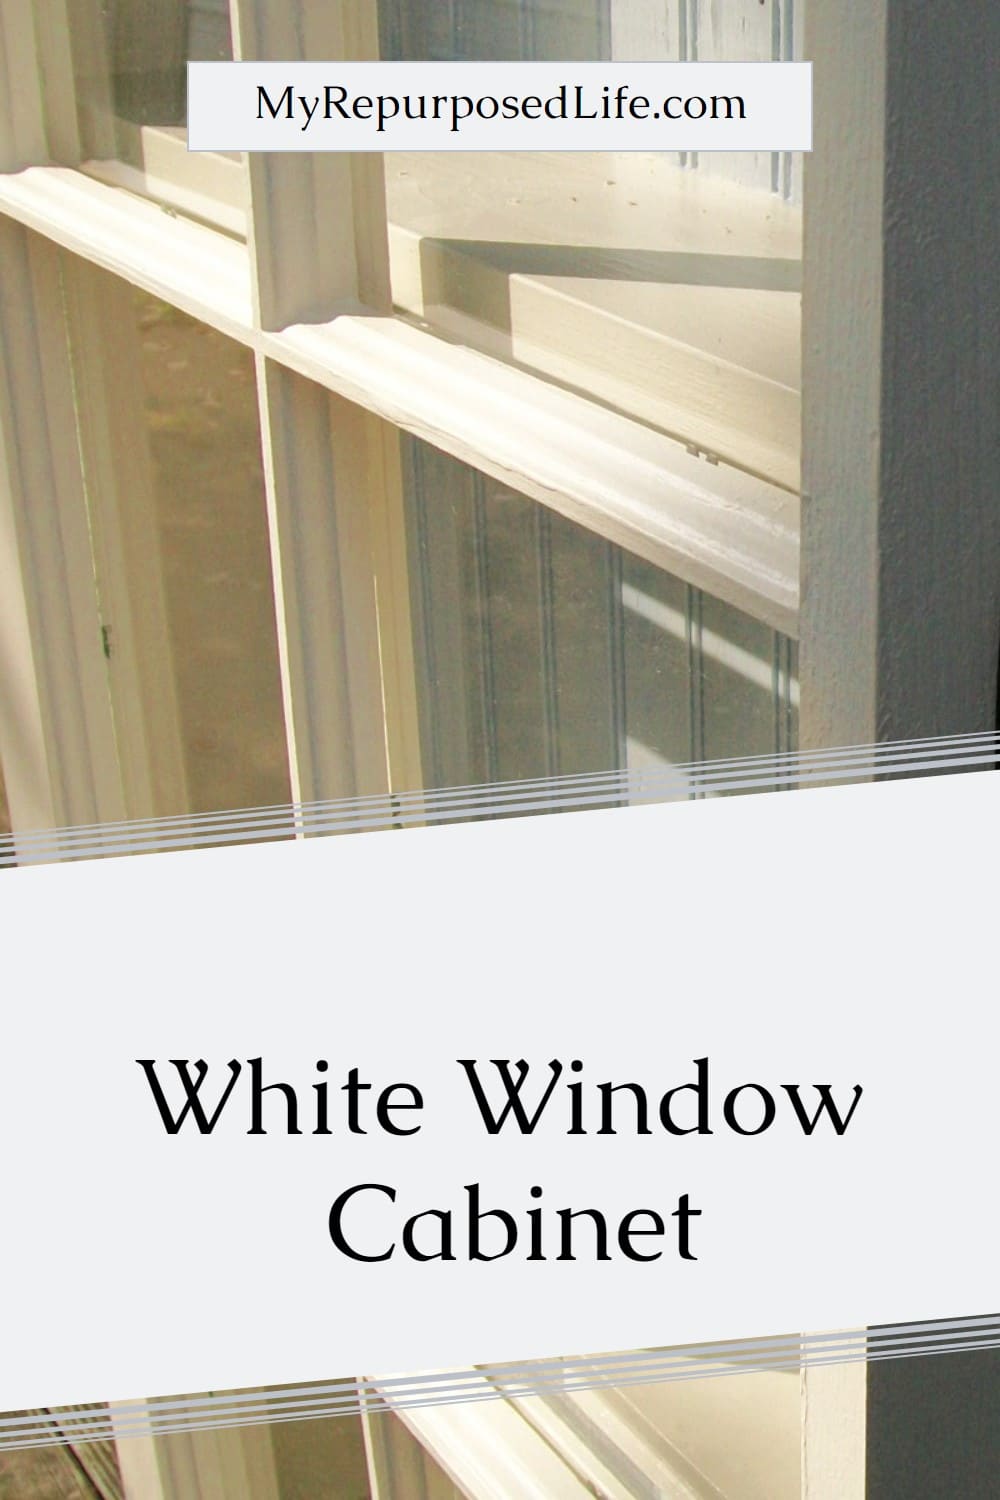
I added two shelves. Look closely, and you can see that I used a speed square. 🙂 I glued, nailed, and clamped the shelves.
Visit the My Repurposed Life Amazon Store to shop my favorite items.
Add Bead Board to the Back of the Reclaimed Window Cabinet
I added a piece of bead board to the back. Again, I glued and nailed this in place around all the edges. I put my clamp across, showing the placement of the shelves. I drew a line with my carpenter’s pencil to show where to place my nails to secure the shelves.
How to Transform a Wooden Shelf Into Cabinet Molding Trim
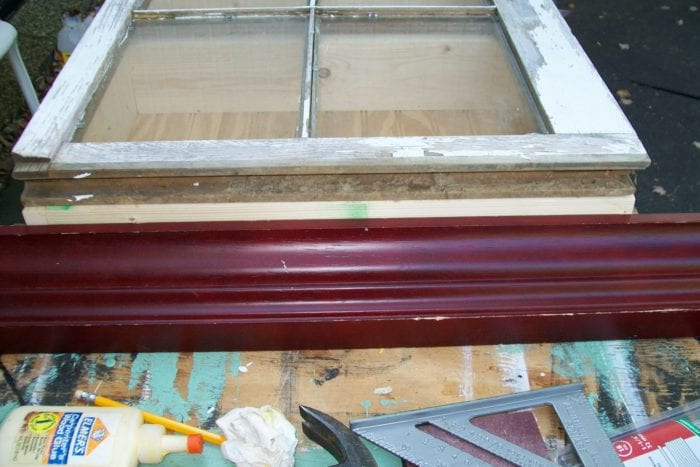
See this small shelf? Can you see how I intend to use it? I used it as trim for the top of my cabinet, faux crown molding!
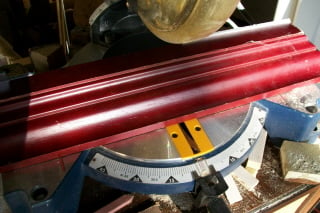
It was too long, so I cut it down on my miter saw. But the tricky part is that you can’t cut the ends off. You have to cut it in the middle.
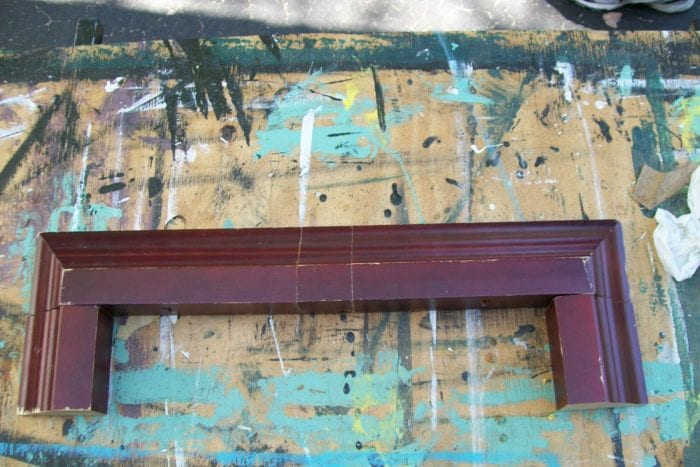
OOPS! I had it laying the wrong way when I measured it, so it ended up being too short, so I had to add a piece in the center. Can you see now why you can’t cut off the ends? Those 2 pieces lying separate are part of the shelf that I cut out of the middle… they have a special job to do, too.
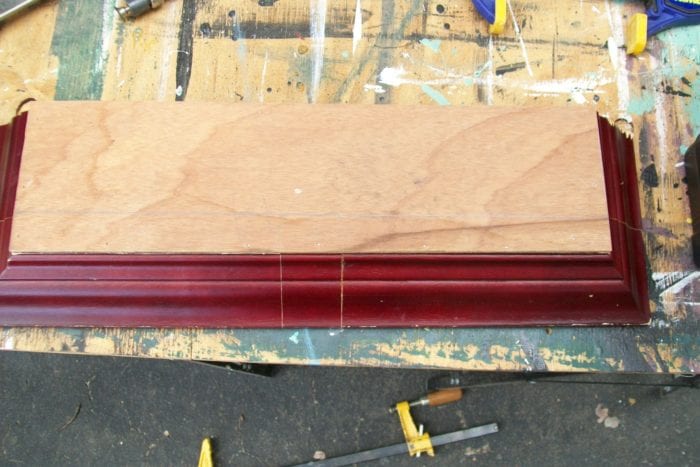
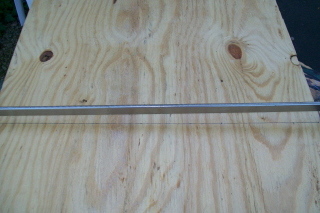
They became the sides of my top piece. To firm everything up (because of all the chopped-up cuts), I added a piece of thin plywood.
The Reclaimed Window Cabinet is Nearly Finished
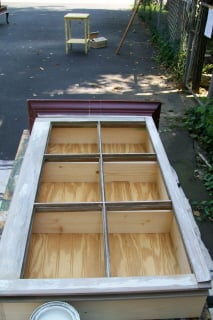
This is the cabinet taking shape. The piece of luan is glued and nailed to the top of the cabinet. I actually had the window on with the original outside of the window facing out. I even had the hinges on it. But I changed my mind and decided to flip the window over.
This picture shows the window before I switched it.
Putty Patch and Paint
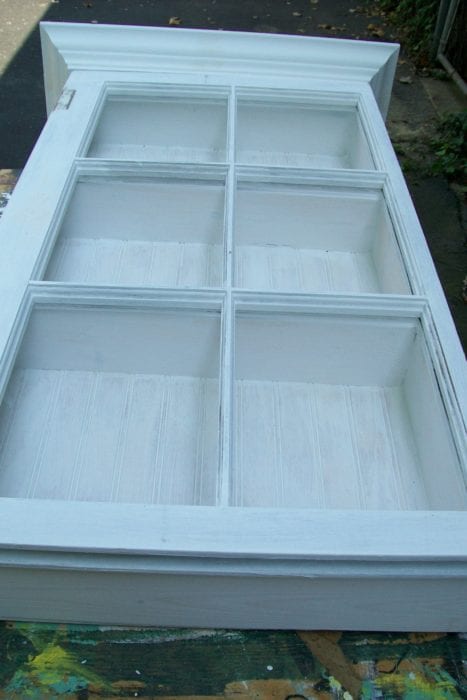
So I puttied the holes from the hinges and trimmed the side some to make it fit properly. (at this point, I had the glass out of the window, so I trimmed the window on my table saw) I had decided to take the glass out to make it easier to paint. I would not have used the table saw on this window with the glass attached. Here, you can see that the right-hand side is now more narrow (after I used the table saw)
I used spackling to cover up my oops on the trim.
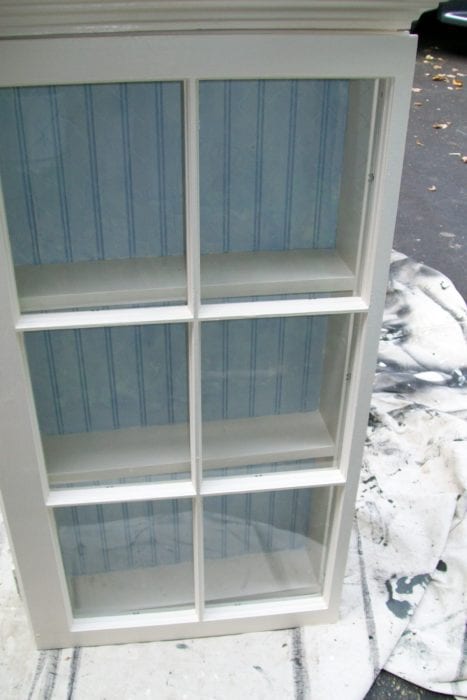
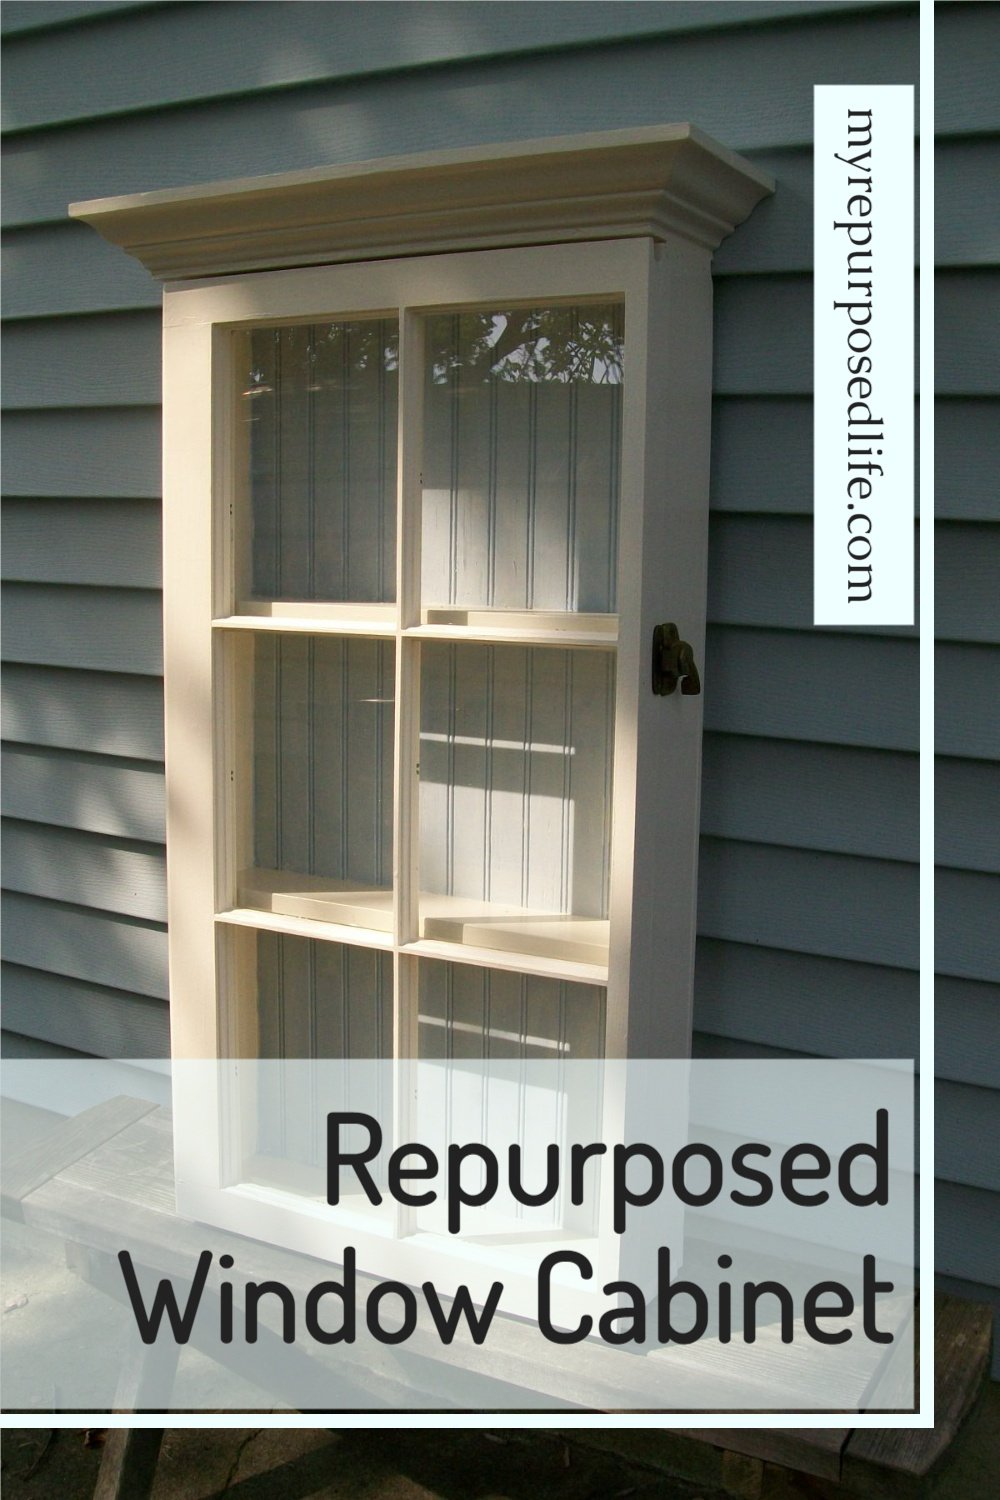
This picture shows that I painted it Heirloom white with a very pale blue on the bead board. I only had a medium blue, but I tinted it with the heirloom white to lighten it.

Pretty Window Cabinet
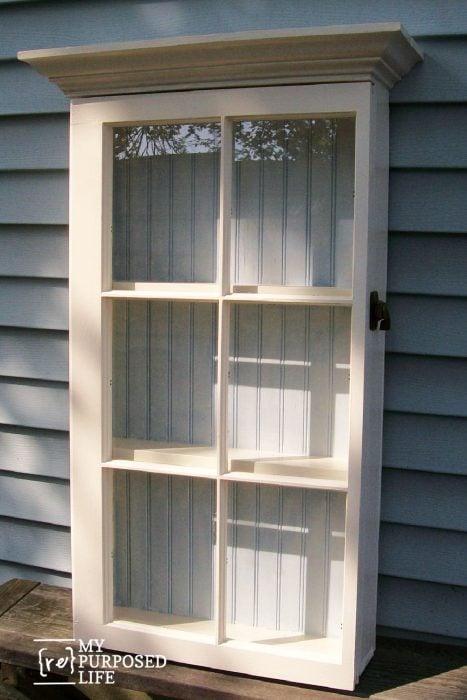
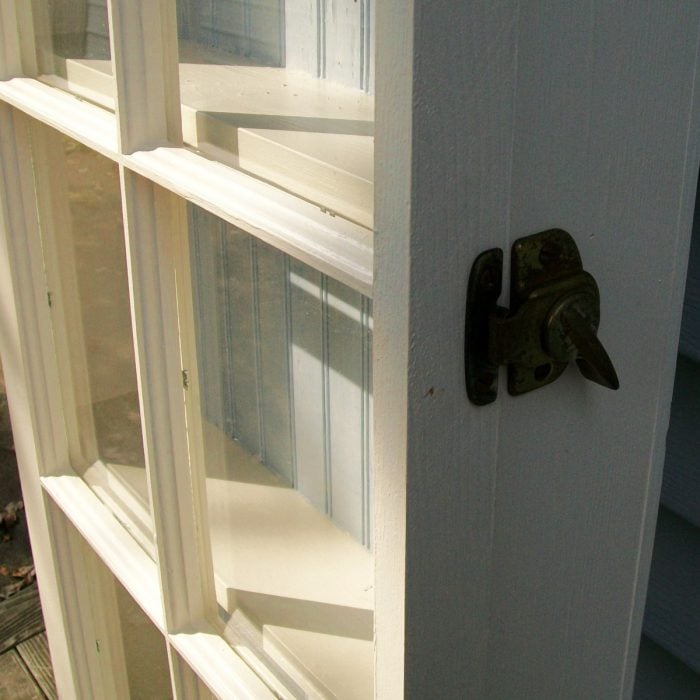
Ta Da! It’s done! I used the original window hardware to make a latch.
gail
yep, that was me! If ever you need to find something just google My Repurposed Life Coffee Pot (or whatever you’re looking for) and you will probably see it come up in the search. 🙂
https://www.myrepurposedlife.com/2011/07/vintage-coffee-pot-lamp-repurposed.html
yep, that was me! If ever you need to find something just google My Repurposed Life Coffee Pot (or whatever you’re looking for) and you will probably see it come up in the search. 🙂
https://www.myrepurposedlife.com/2011/07/vintage-coffee-pot-lamp-repurposed.html
yep, that was me! If ever you need to find something just google My Repurposed Life Coffee Pot (or whatever you’re looking for) and you will probably see it come up in the search. 🙂
https://www.myrepurposedlife.com/2011/07/vintage-coffee-pot-lamp-repurposed.html
yep, that was me! If ever you need to find something just google My Repurposed Life Coffee Pot (or whatever you’re looking for) and you will probably see it come up in the search. 🙂
https://www.myrepurposedlife.com/2011/07/vintage-coffee-pot-lamp-repurposed.html
yep, that was me! If ever you need to find something just google My Repurposed Life Coffee Pot (or whatever you’re looking for) and you will probably see it come up in the search. 🙂
https://www.myrepurposedlife.com/2011/07/vintage-coffee-pot-lamp-repurposed.html
yep, that was me! If ever you need to find something just google My Repurposed Life Coffee Pot (or whatever you’re looking for) and you will probably see it come up in the search. 🙂
https://www.myrepurposedlife.com/2011/07/vintage-coffee-pot-lamp-repurposed.html
yep, that was me! If ever you need to find something just google My Repurposed Life Coffee Pot (or whatever you’re looking for) and you will probably see it come up in the search. 🙂
https://www.myrepurposedlife.com/2011/07/vintage-coffee-pot-lamp-repurposed.html
yep, that was me! If ever you need to find something just google My Repurposed Life Coffee Pot (or whatever you’re looking for) and you will probably see it come up in the search. 🙂
https://www.myrepurposedlife.com/2011/07/vintage-coffee-pot-lamp-repurposed.html
yep, that was me! If ever you need to find something just google My Repurposed Life Coffee Pot (or whatever you’re looking for) and you will probably see it come up in the search. 🙂
https://www.myrepurposedlife.com/2011/07/vintage-coffee-pot-lamp-repurposed.html
yep, that was me! If ever you need to find something just google My Repurposed Life Coffee Pot (or whatever you’re looking for) and you will probably see it come up in the search. 🙂
https://www.myrepurposedlife.com/2011/07/vintage-coffee-pot-lamp-repurposed.html
yep, that was me! If ever you need to find something just google My Repurposed Life Coffee Pot (or whatever you’re looking for) and you will probably see it come up in the search. 🙂
https://www.myrepurposedlife.com/2011/07/vintage-coffee-pot-lamp-repurposed.html
yep, that was me! If ever you need to find something just google My Repurposed Life Coffee Pot (or whatever you’re looking for) and you will probably see it come up in the search. 🙂
https://www.myrepurposedlife.com/2011/07/vintage-coffee-pot-lamp-repurposed.html
yep, that was me! If ever you need to find something just google My Repurposed Life Coffee Pot (or whatever you’re looking for) and you will probably see it come up in the search. 🙂
https://www.myrepurposedlife.com/2011/07/vintage-coffee-pot-lamp-repurposed.html