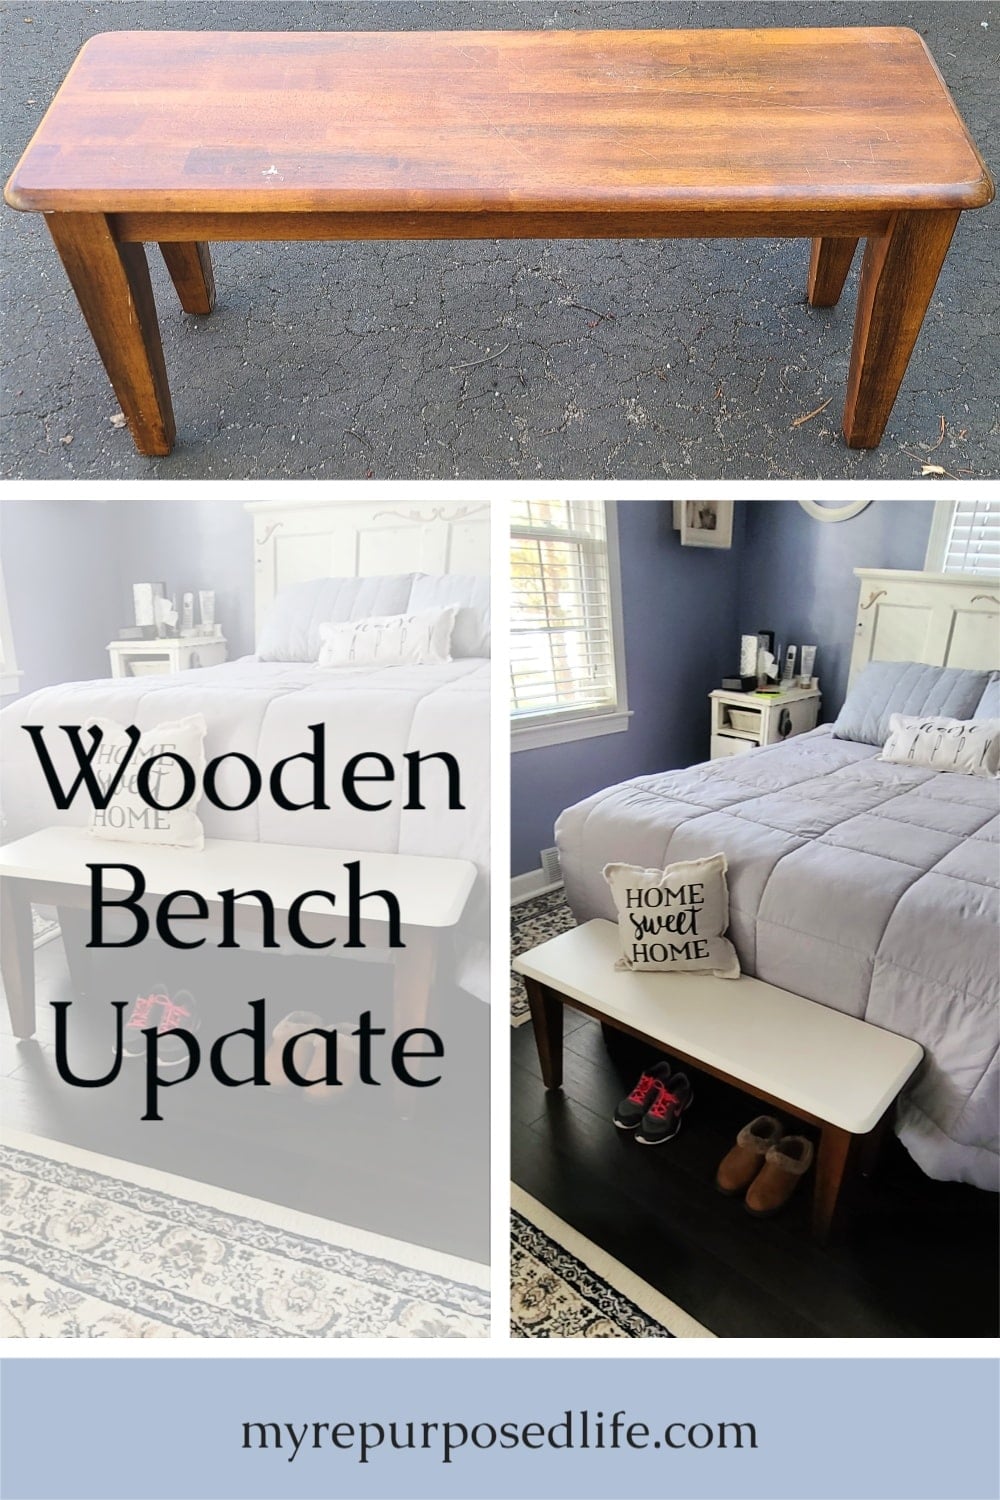
Wooden Bench Seat Makeover
As an Amazon Associate, I earn from qualifying purchases.
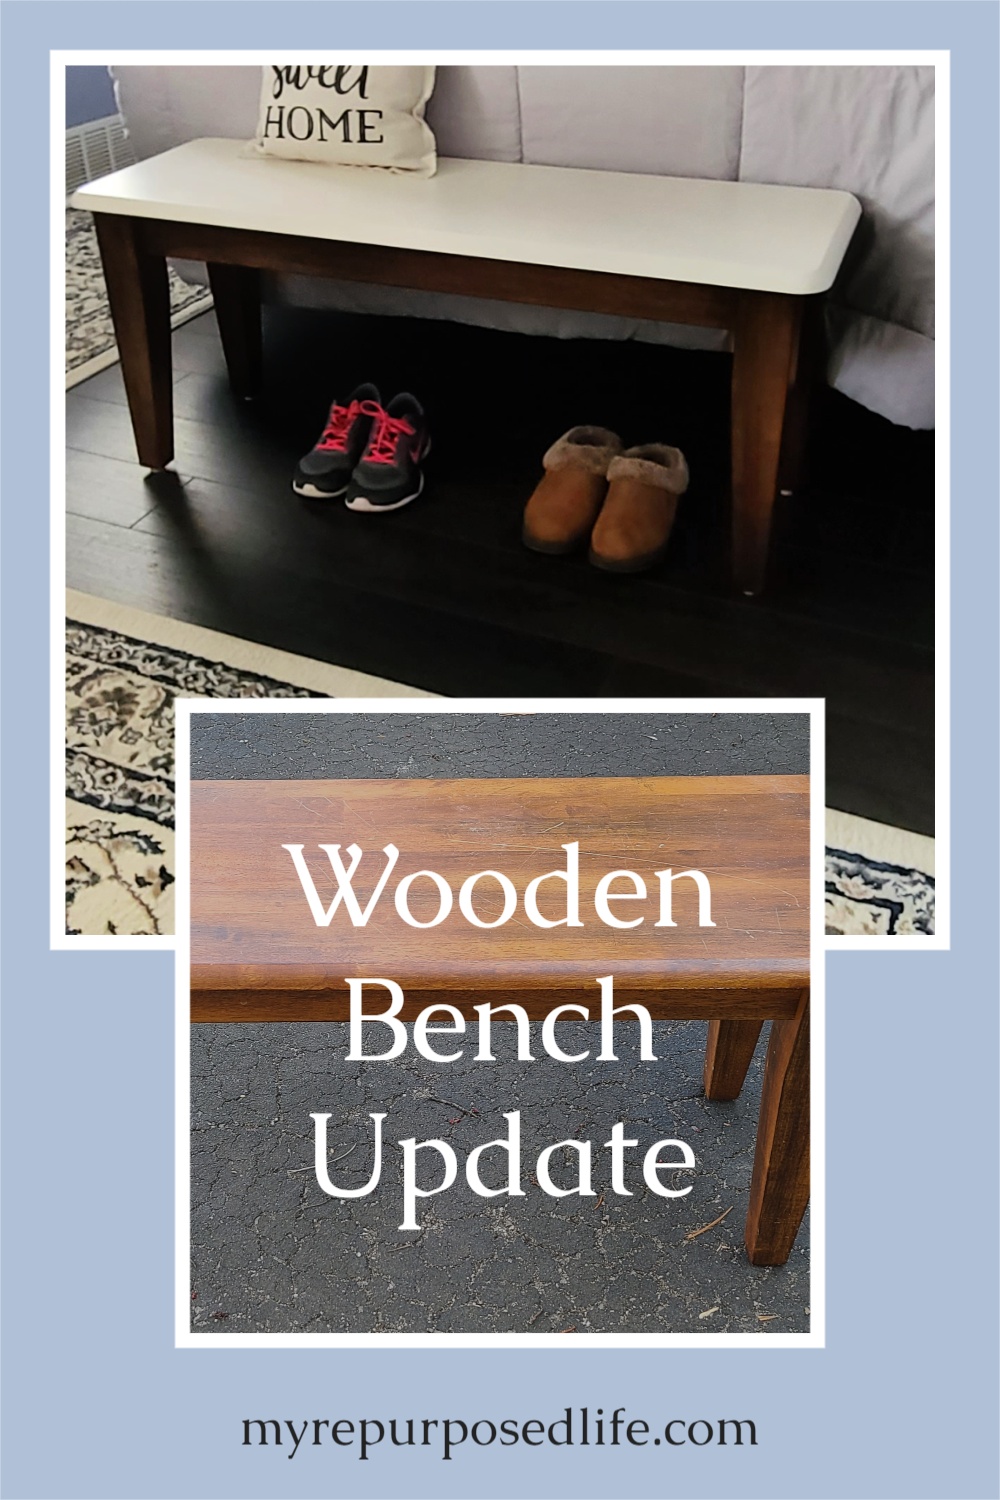
Sometimes the simplest furniture pieces are the ones that work the hardest. This wooden bench seat had good bones and a classic shape, but it needed a little freshening up to really shine again. With a soft-painted seat and richer wood tones on the base, this easy makeover gives an old bench a clean, new look that can work in nearly any room.
Originally, this was a wooden dining bench seat that came with a dining table set I bought. I sold the set in 2011 when I refinished an antique table. There were chairs and a wooden bench seat. Before I sold the set, my daughter Jamie had the bench. For years, she used it in her guest room to hold plants in front of the window. On a recent visit to Nashville, she sent the wooden bench home with me.
Visit the My Repurposed Life Amazon Store to shop my favorite items.
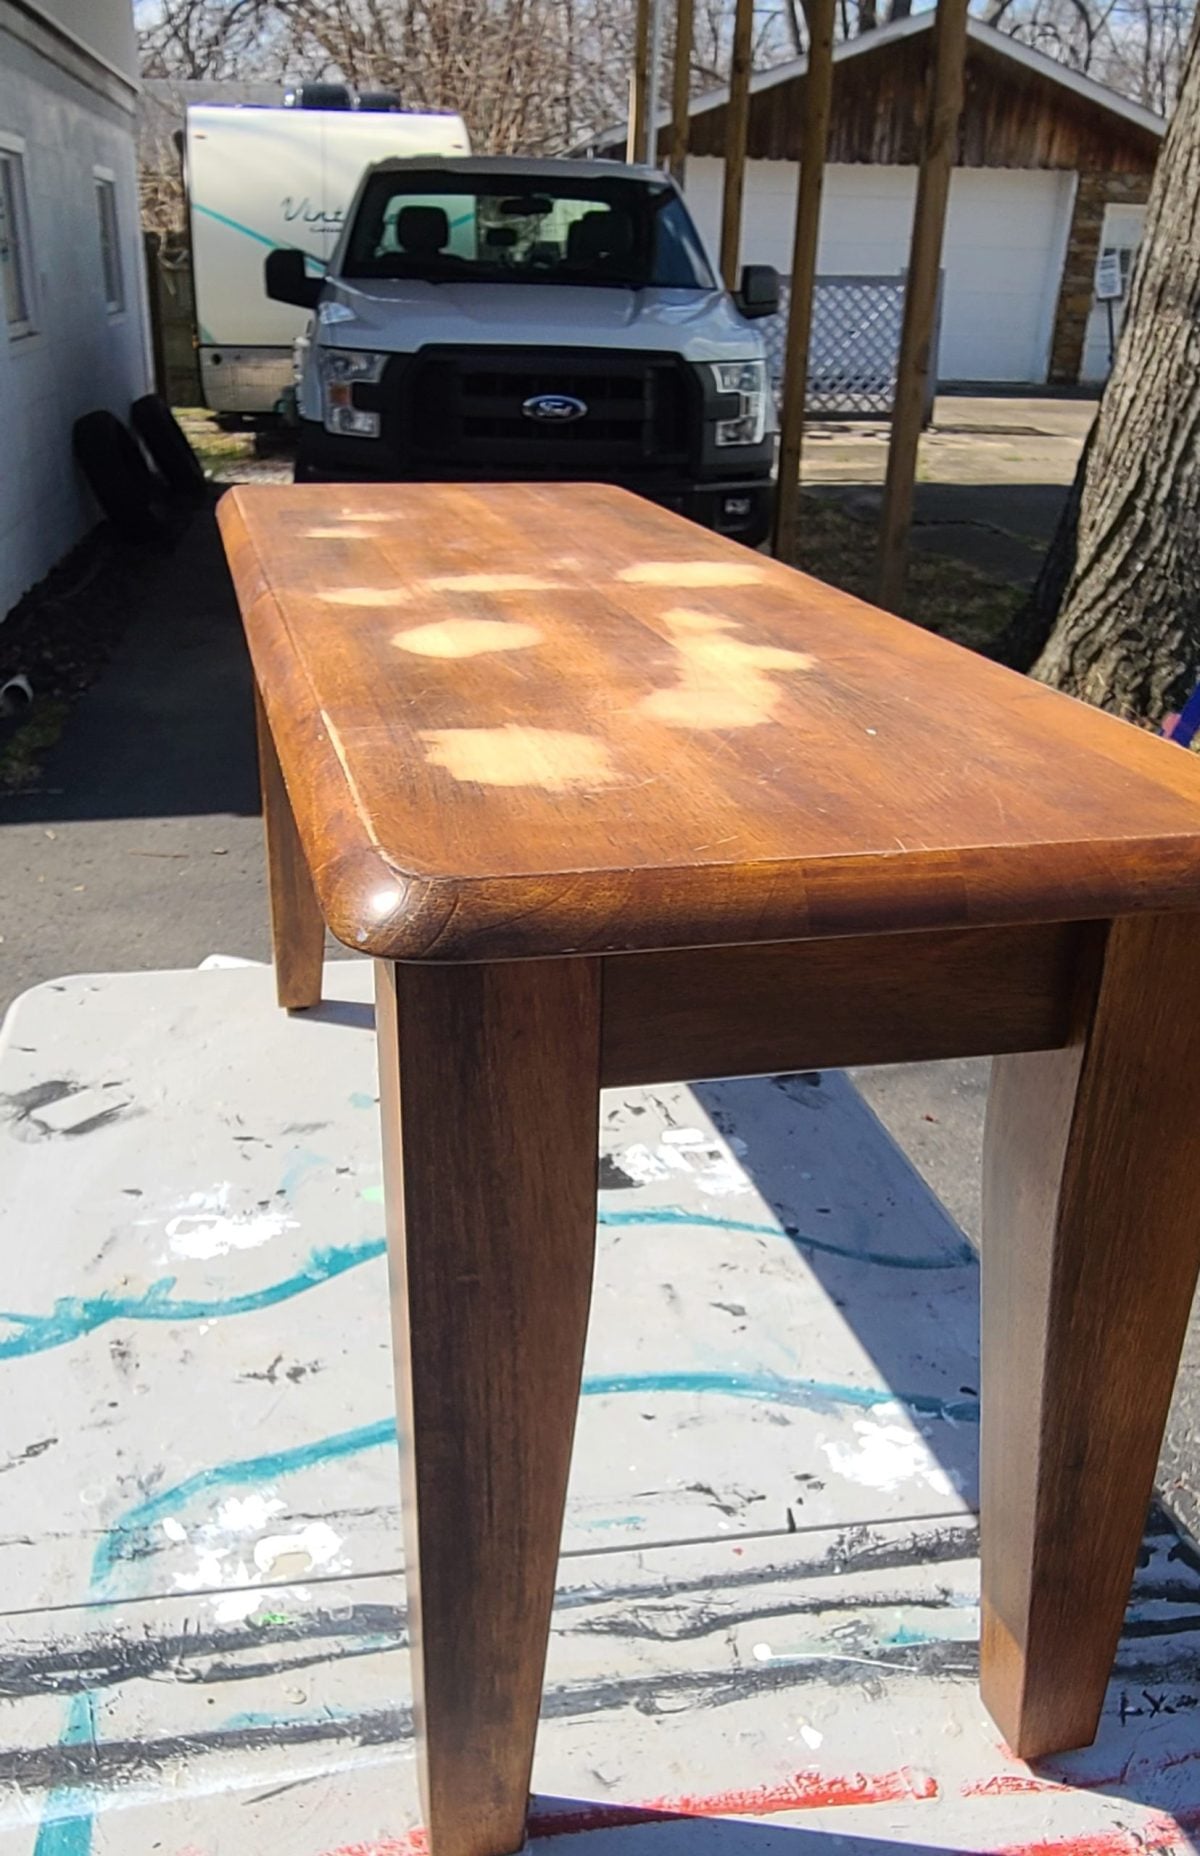
Wooden Bench Seat
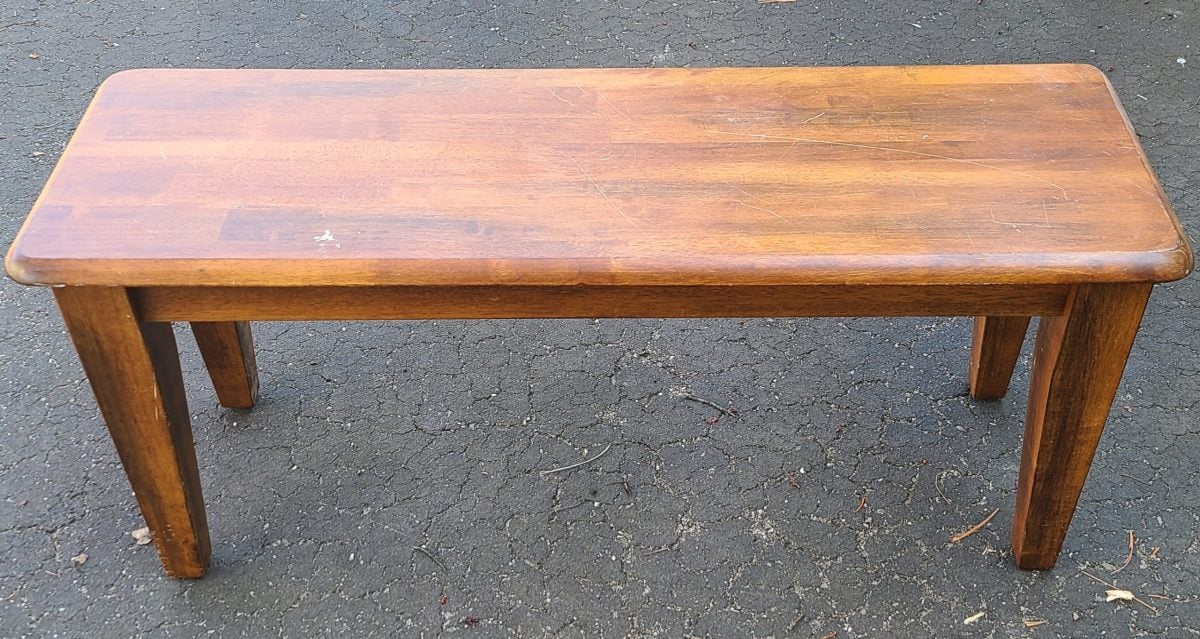
It’s a nice bench, in good shape I guess for it’s 17 years! If you look closely, you may be able to make out a capital E on the right-hand side. It looks like my grandson tried to scratch his name on the bench.
How to Give a Wood Bench Seat a Makeover
Sand Rough Places
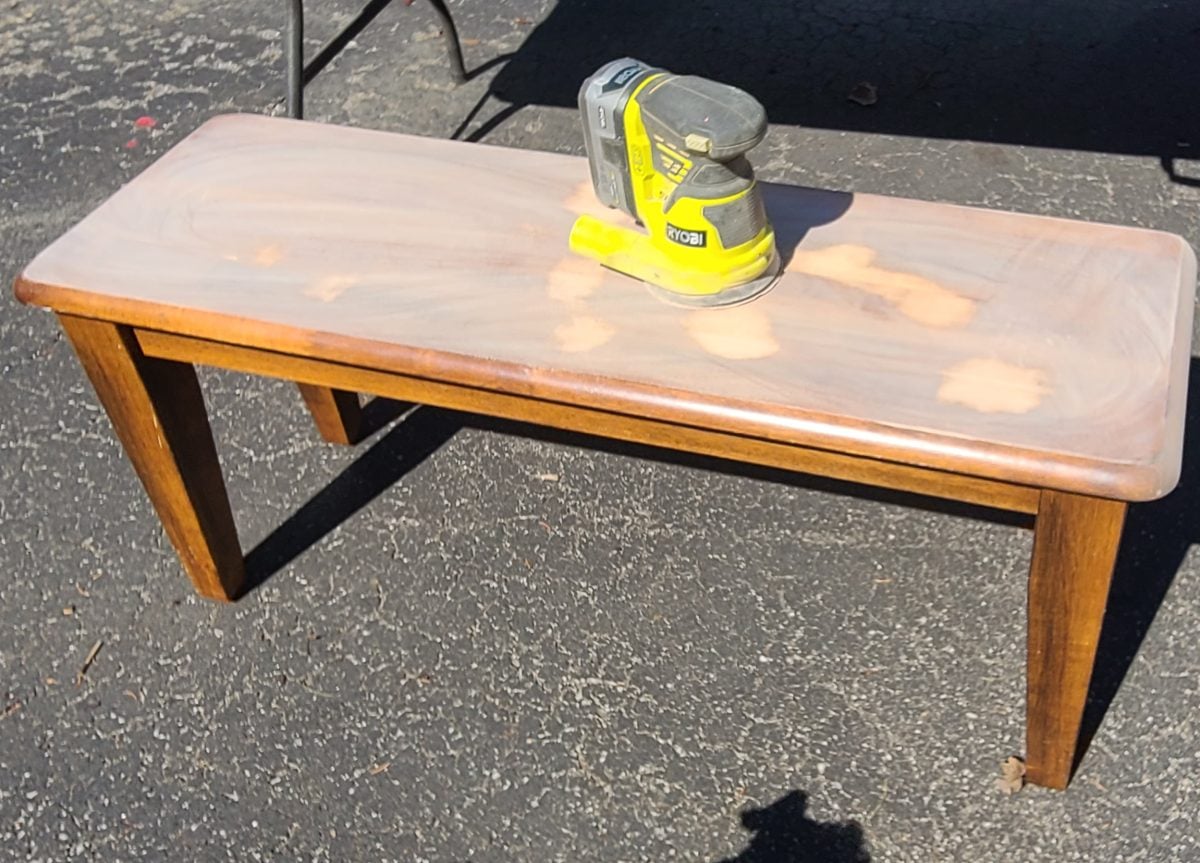
In order to get a smooth surface for painting, I used an orbital sander to remove scratches and such.
Do you see Lulu’s cute little shadow?
Clean And Degloss
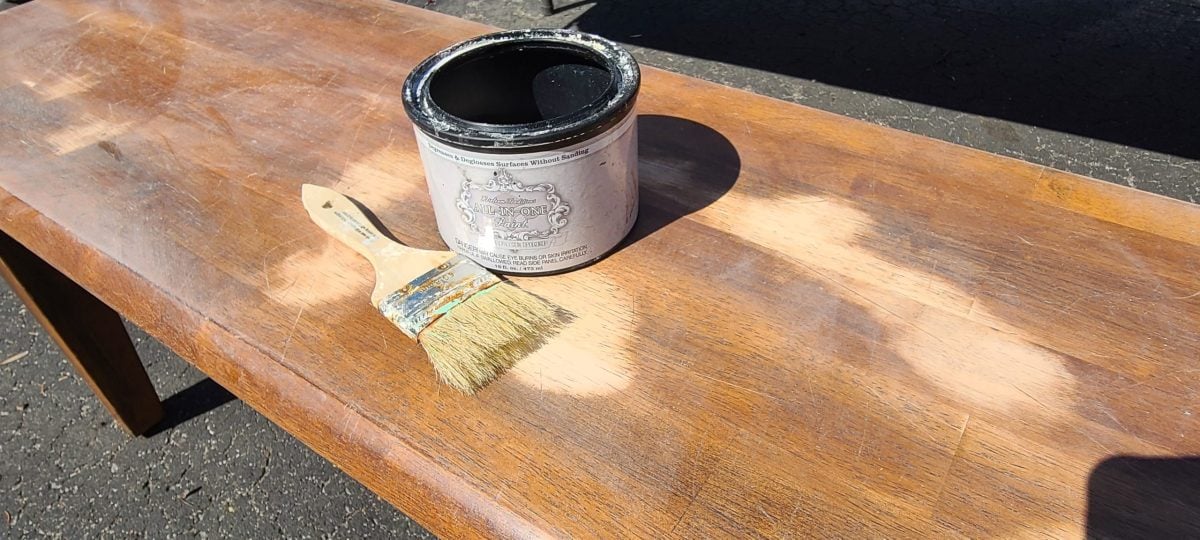
After sanding, I reached for my deglosser and a chip brush to clean the project. It’s really easy to use, brush it on and wipe it off. If a piece is extremely grimy, you can use a scrubbing pad before wiping. All this to say, you must get the finish ready to accept paint.
The legs didn’t have any scratches, only a few nicks of white paint. So, I only wiped the legs clean and scrubbed the specks of paint off.
After flipping the wooden bench seat back upright, I took some time to admire the finish on the legs. Should I paint them? I decided to paint only the bench seat, and then decide.
Paint Wooden Bench Seat
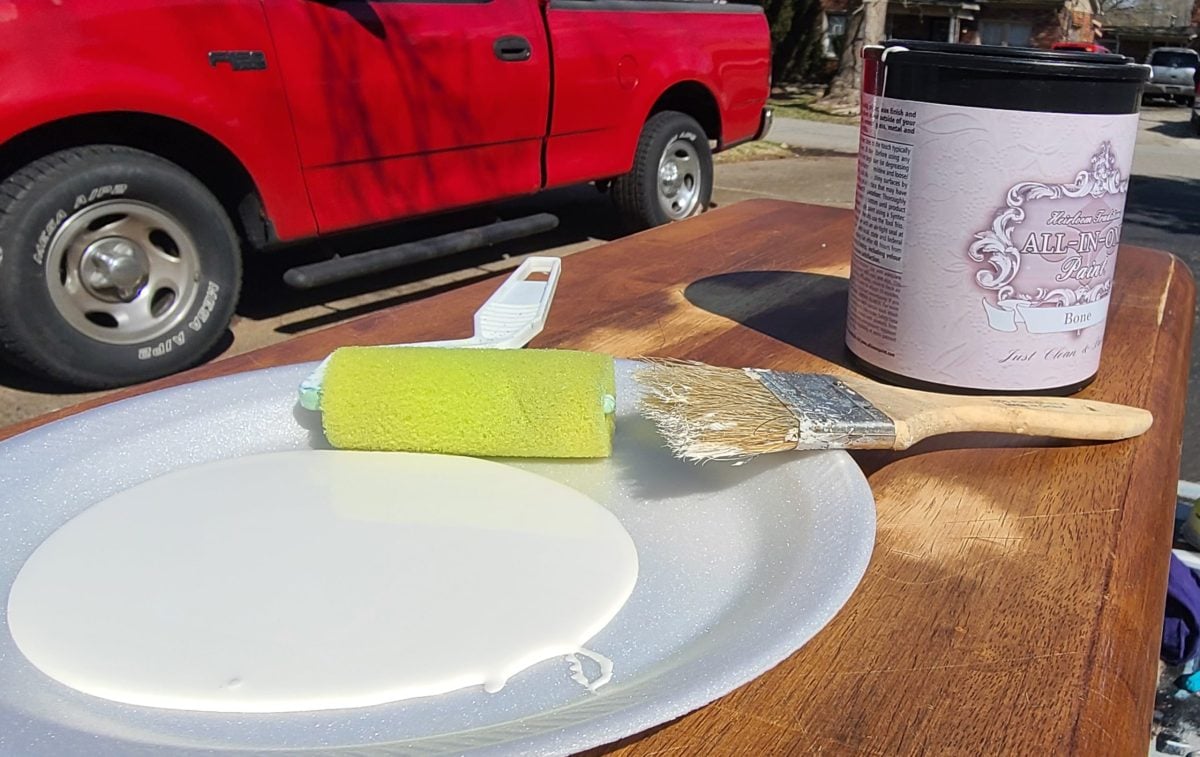
All In One Paint (Bone) was my chosen color. My tools were a foam roller, chip brush and a Styrofoam plate. This was going to be an easy wooden bench seat makeover!
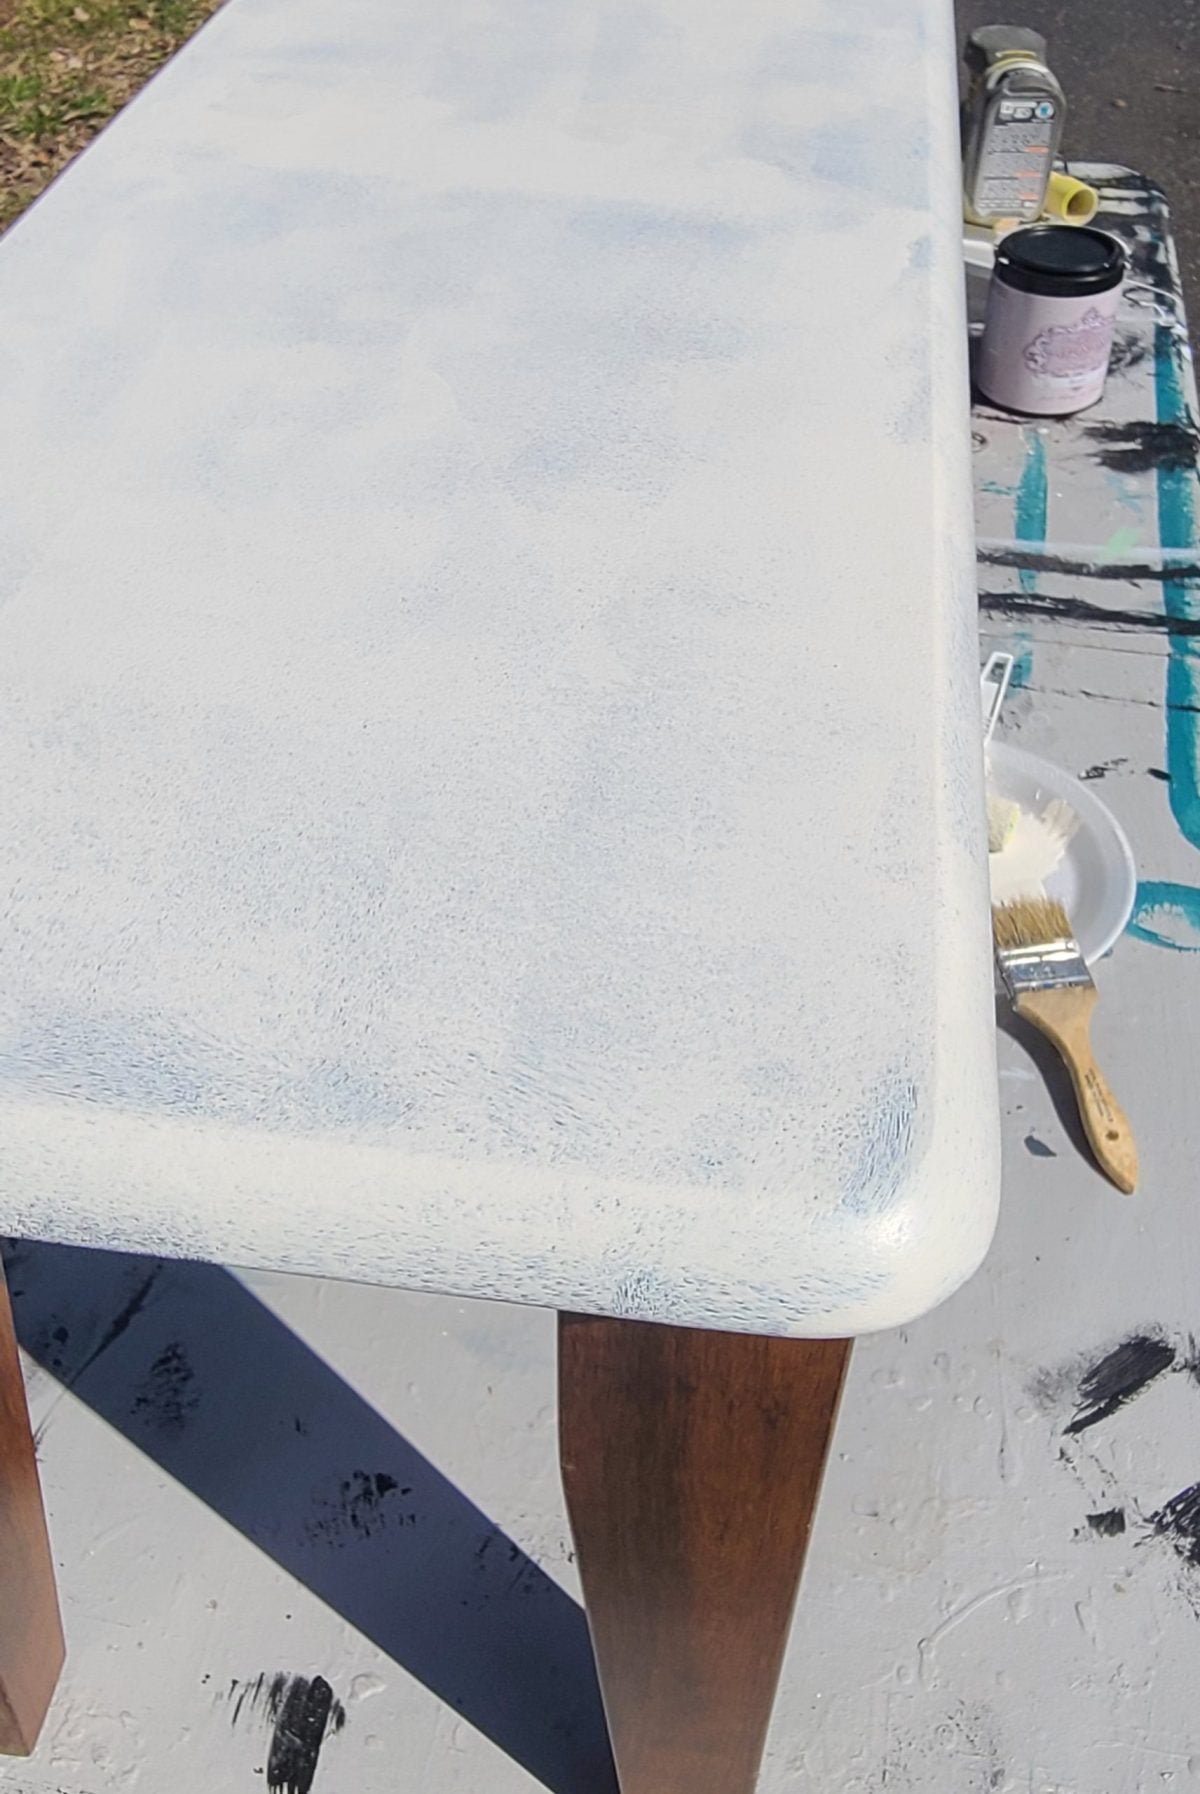
Patience is a virtue, right? To get the best finish, you need to be patient, and do several light coats of paint. The roller makes it quick and easy, and light coats dry really nice and fast.
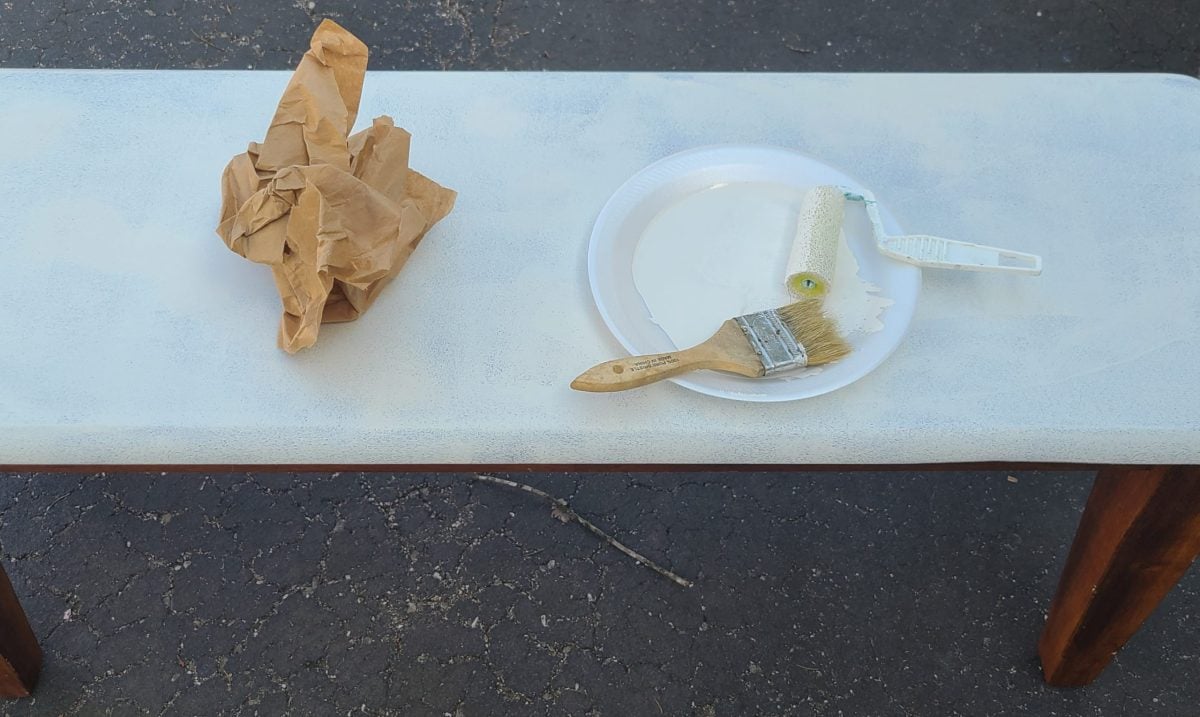
Before applying the second coat of paint, I used brown craft paper to sort of sand the first coat. I think it makes the next couple of coats go on really smooth.
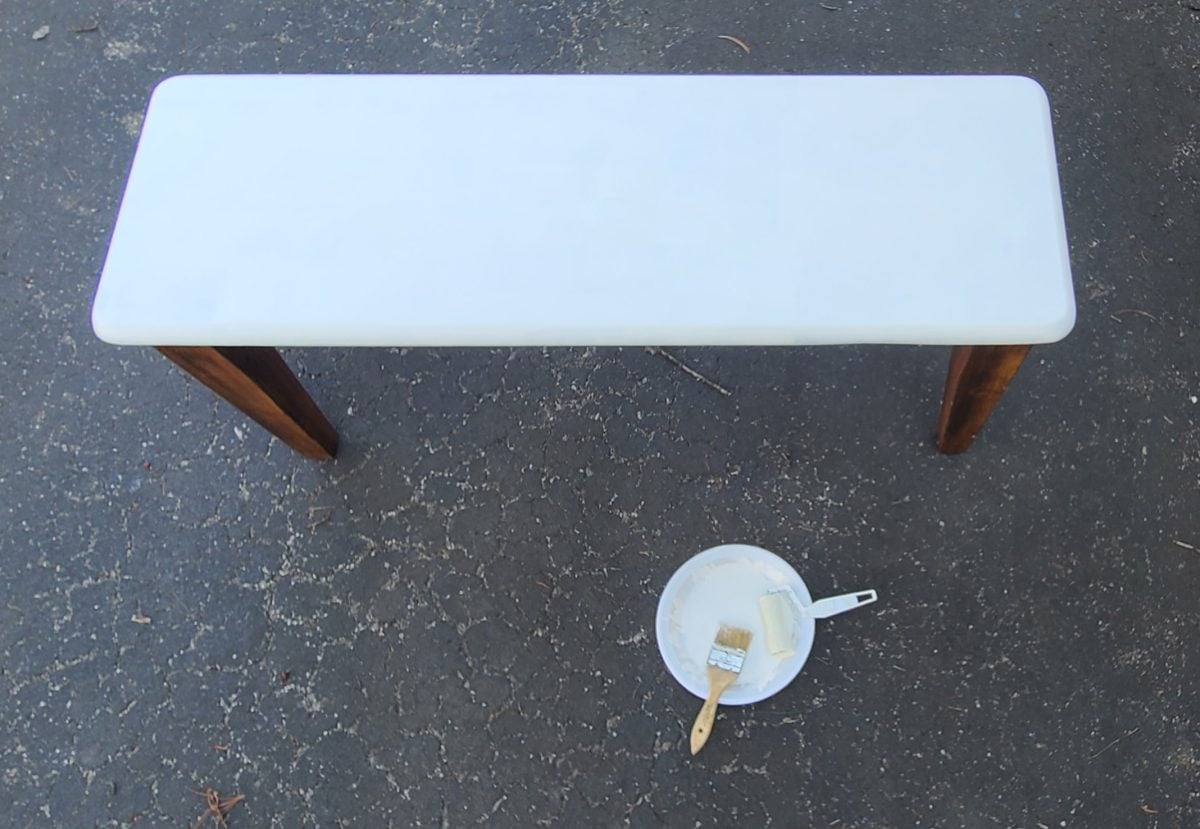
This is after the second coat. I did end up putting one more light coat on the bench for good measure.
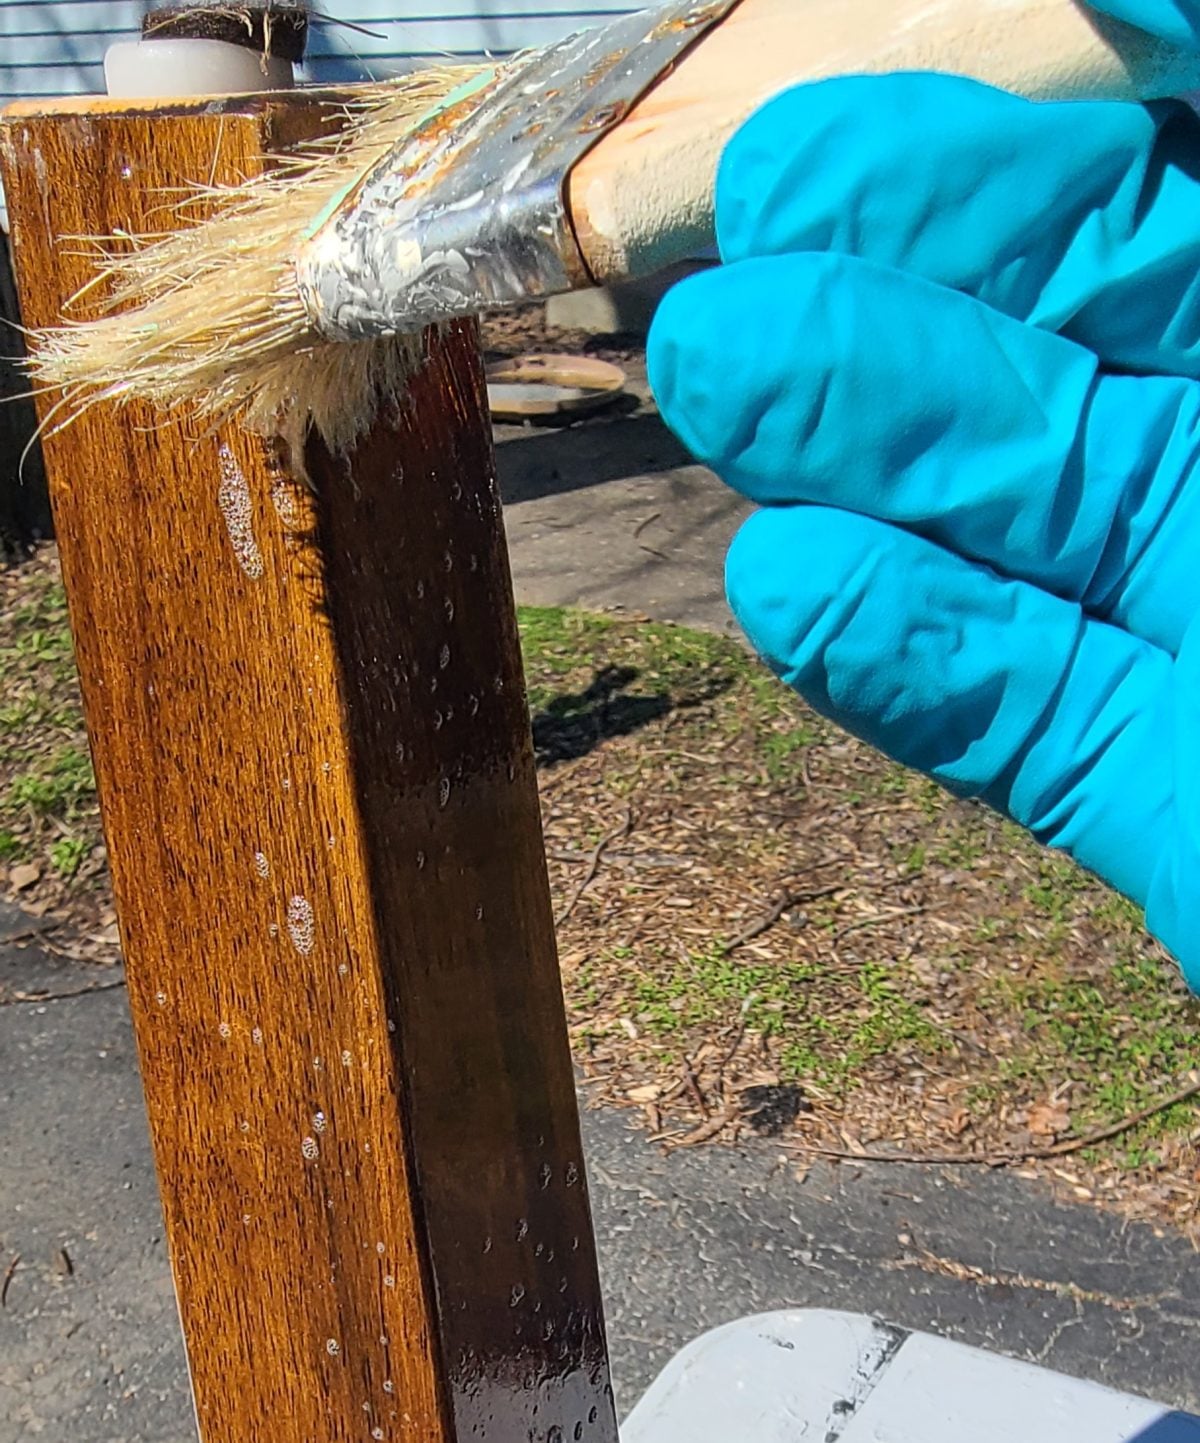
Refresh Wood with Gel Stain
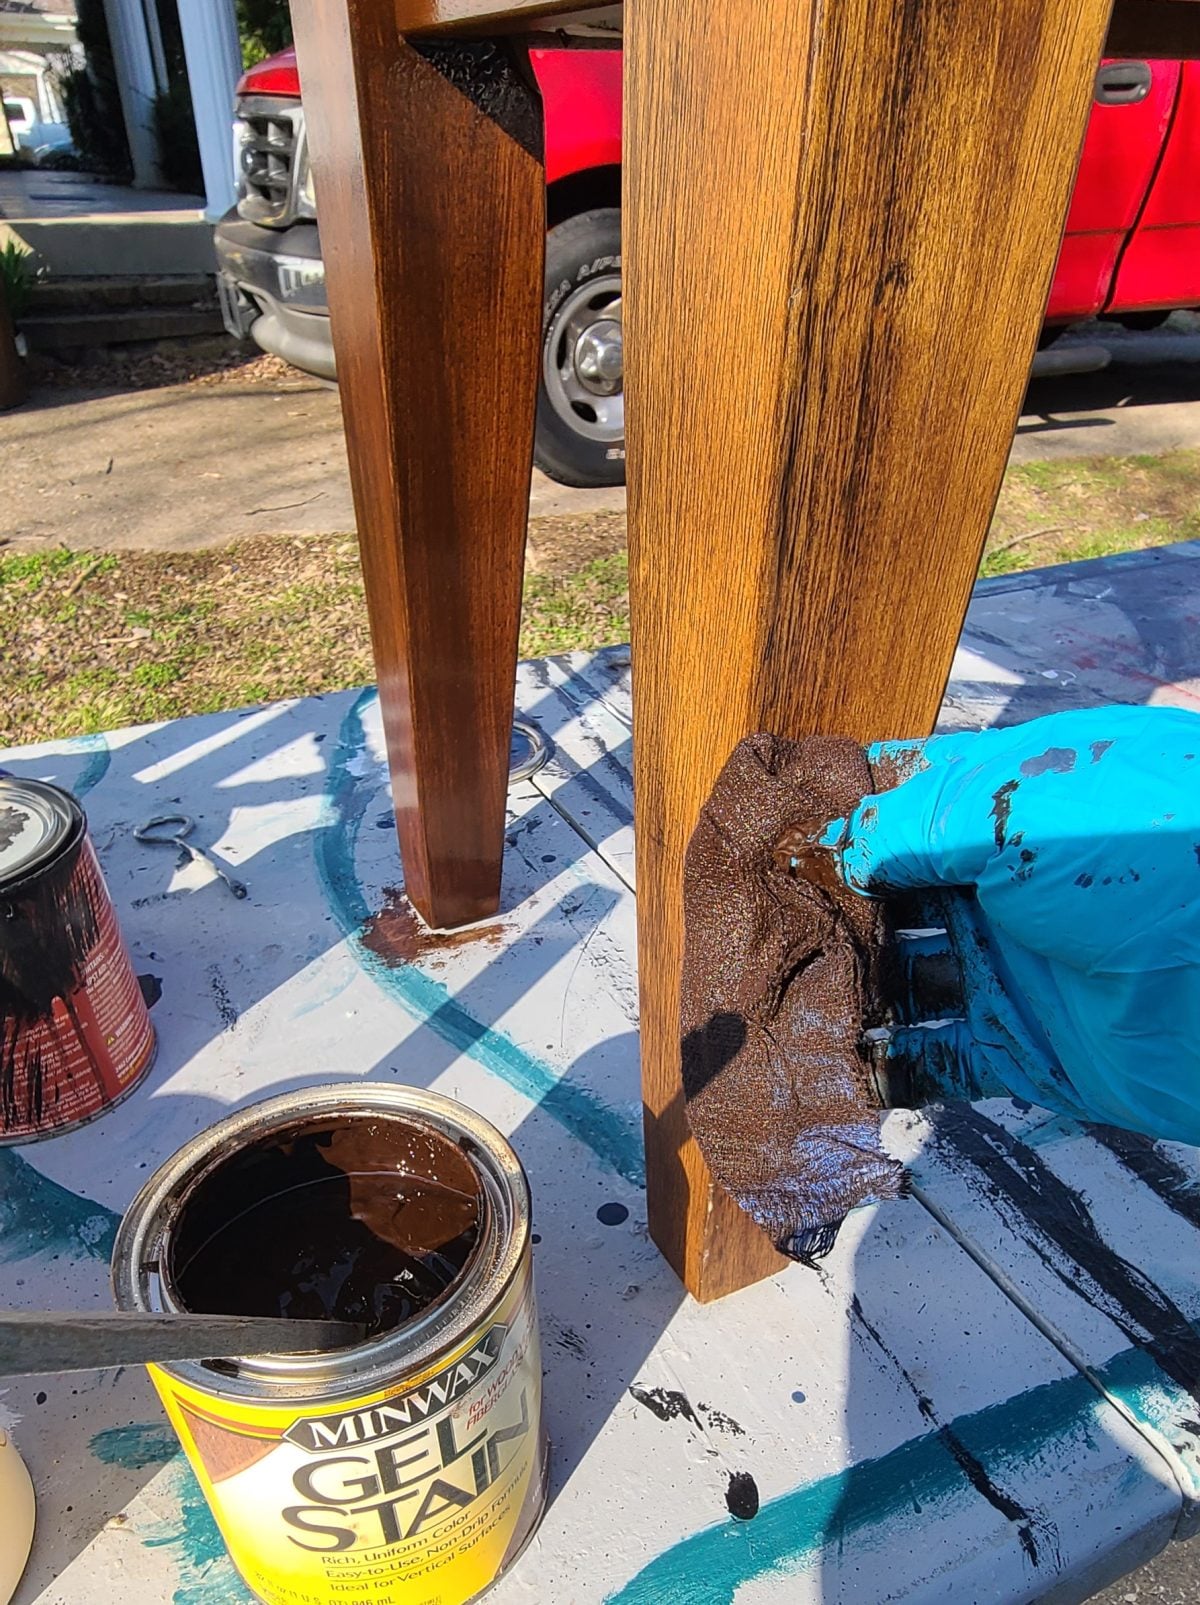
I bet you didn’t see this coming, did you? After I decided NOT to paint the base of the indoor wooden bench I thought the white seat would look better with a darker base. Using gel stain for this application is perfect. Have you ever used gel stain over an existing stained/finished wood surface? I’ve only done it a handful of times, but I find that it is so much easier than refinishing wood!
The leg in the background already has the gel stain applied. It darkens it “just” enough, don’t you think?
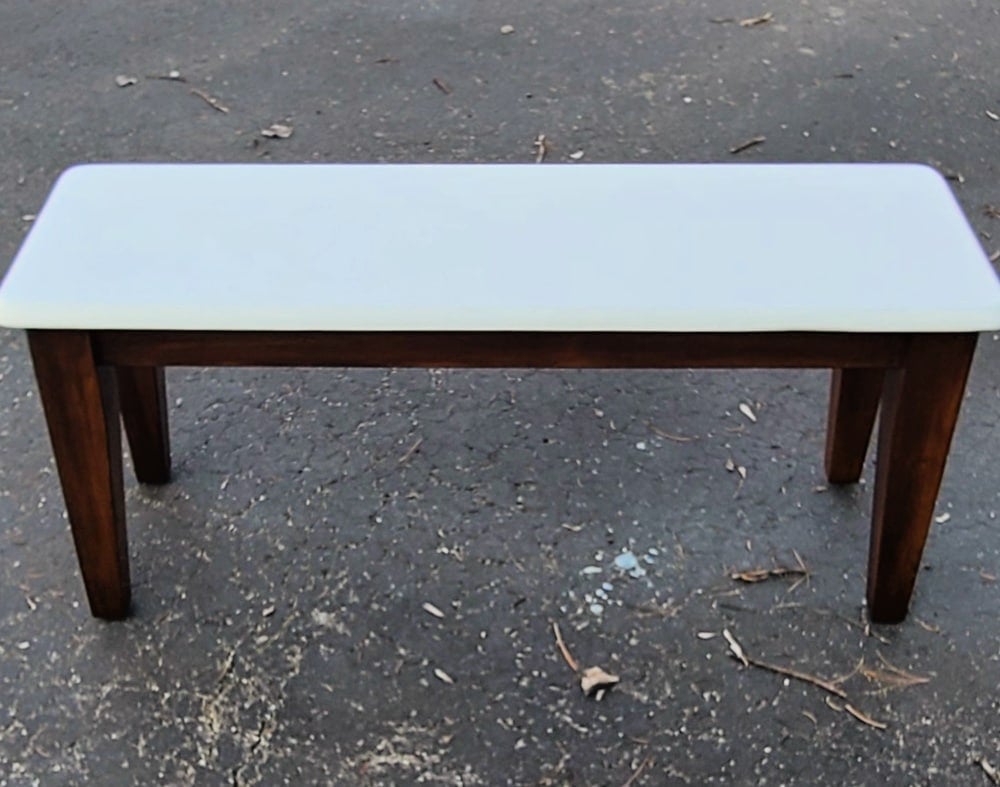
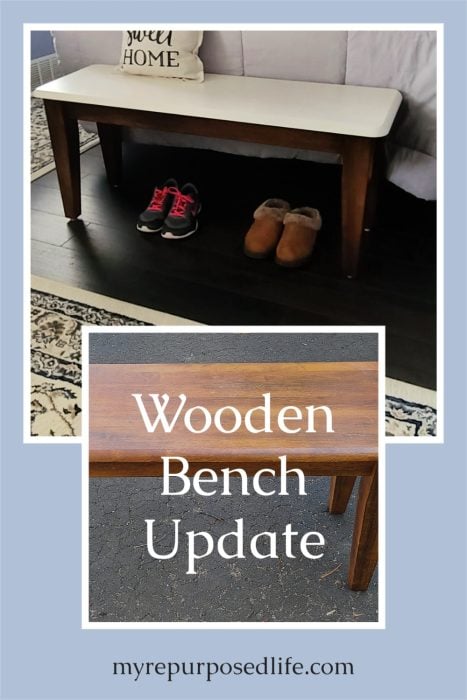
I absolutely love the new look of the wooden bench seat.
Where can you use a wooden bench seat?
- Put a small narrow bench in the foyer or entryway
- A bench is perfect for extra seating at the kitchen or dining table.
- Use a wooden bench at the end of the bed for putting on shoes and socks
- This bench was originally used for plants near a sunny window
- For extra seating a wooden bench can double as a coffee table in the living room
In short, where can’t you use a wooden bench seat? It might be one of the handiest pieces of furniture you can add to your home.
End of Bed Wooden Bench
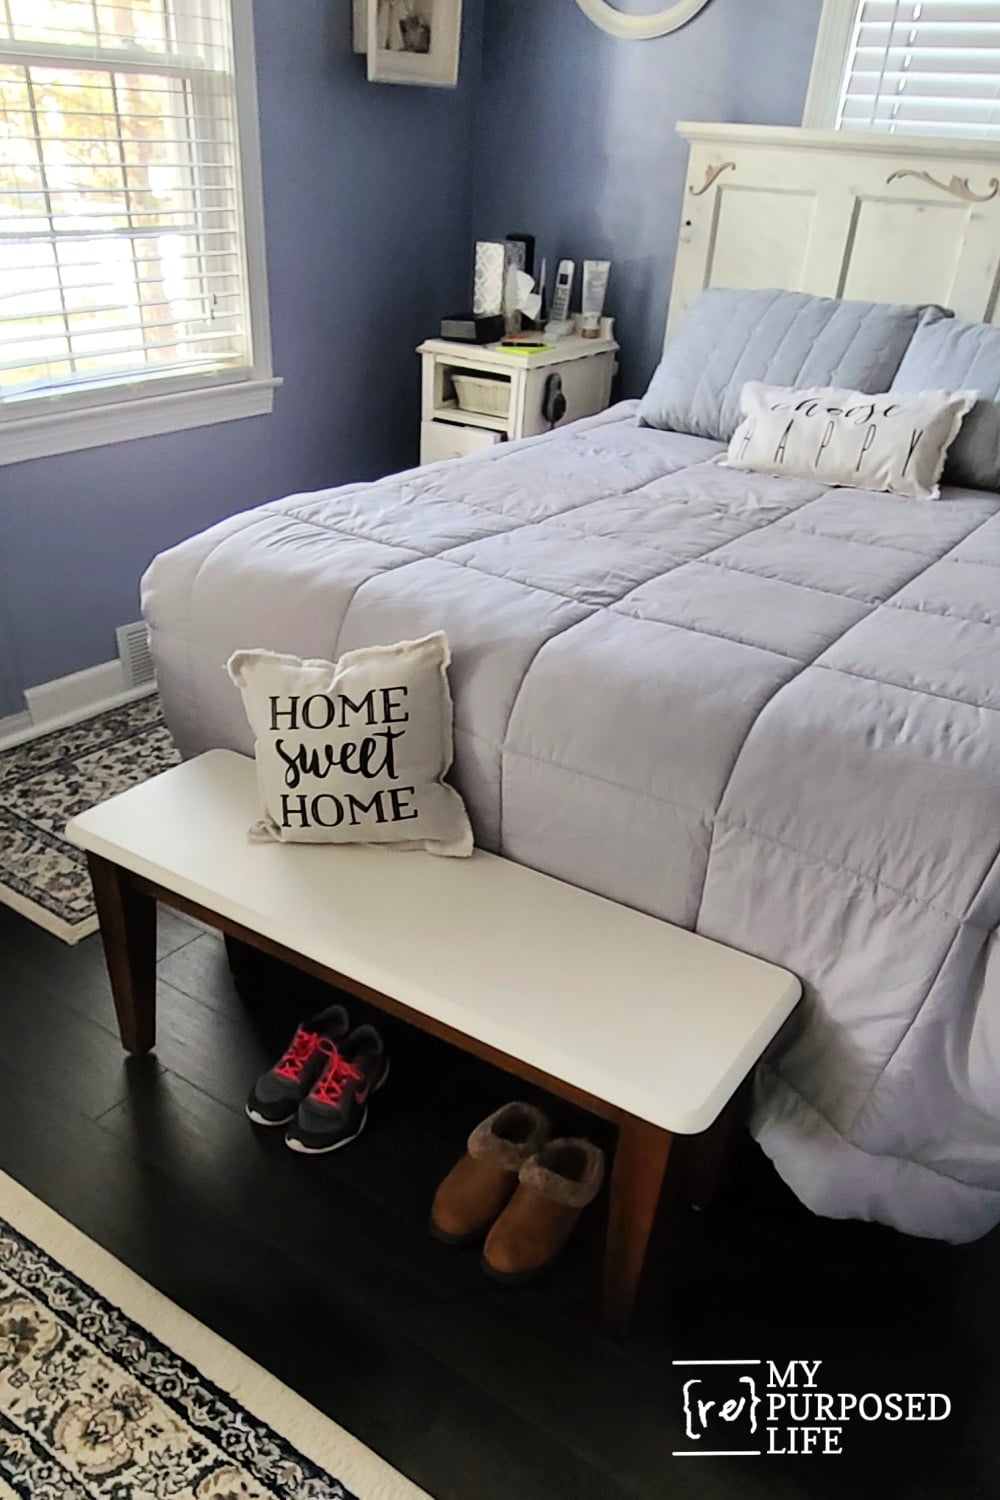
I love projects like this because they do not require a major overhaul to make a big difference. A little sanding, a fresh coat of paint, and a deeper wood tone completely changed the feel of this bench without taking away its original charm. Whether you use a bench in the entry, at the table, under a window, or at the end of the bed, this makeover shows just how much potential an old piece can still have.
Okay, now let’s see what my awesome friends are sharing this month!

DIY Faux Concrete Bunny Rabbit
Repurposed Cabinet Door Flower Display
Weaving in a Circle on a Pizza Pan
Mid Century Modern Table Night Stand Makeover
We will be back next month with more great thrift store project ideas to inspire you.
I always look forward to checking out your projects. You do such a beautiful job each and every time. I enjoy learning your beautiful techniques so as I can achieve the same results. Thank you for being a great resource and teacher.
Donna,
Your comment is so kind! I thank you for appreciating what we both love to do! Did you know I was a pre-k teacher for 19 years? I guess I’ve always loved sharing what I know with others.
take care,
gail
Gail that turned out beautiful! I’ve never heard about using brown craft paper to sand… I’m fascinated and definitely need to try!
I think it is great! I wish I had space these days for a bench. When I was a kid, the folks had a bench just past the living room where we would put our school books and stuff. It was great. Sadly, these days my house doesn’t currently have a spot like that, of course I don’t have kids, unless you count the cats…
What a fond memory you share with the family!!! This will be an end of bed bench for a friend. She fell in love with it as soon as she sat on it. 🙂
thanks for stopping by!
gail
That is so cute that your grandson tried to carve his name in the bench. I really like the look of the white top and stained legs! It makes the top pop out even more.
love it! i have a small similar bench that i use in front of a wkmdow for plants. may steal ur idea of darkening the legs up a bit.
*window (oops…)
Happy to spur your creative side with your bench! 🙂
gail
Looks great, Gail! When I first saw it, I thought you had upholstered it in white vinyl, LOL! And too funny that Eli tried to carve his name in it. I did the same in the wood paneling of my childhood home…shhhh…
Love the two tone look to brighten up the bench! Pinned!
I haven’t tried the gel stain. It does look so fresh with the white top. I’ve used polyshades, but need to try this!! LOVE it!