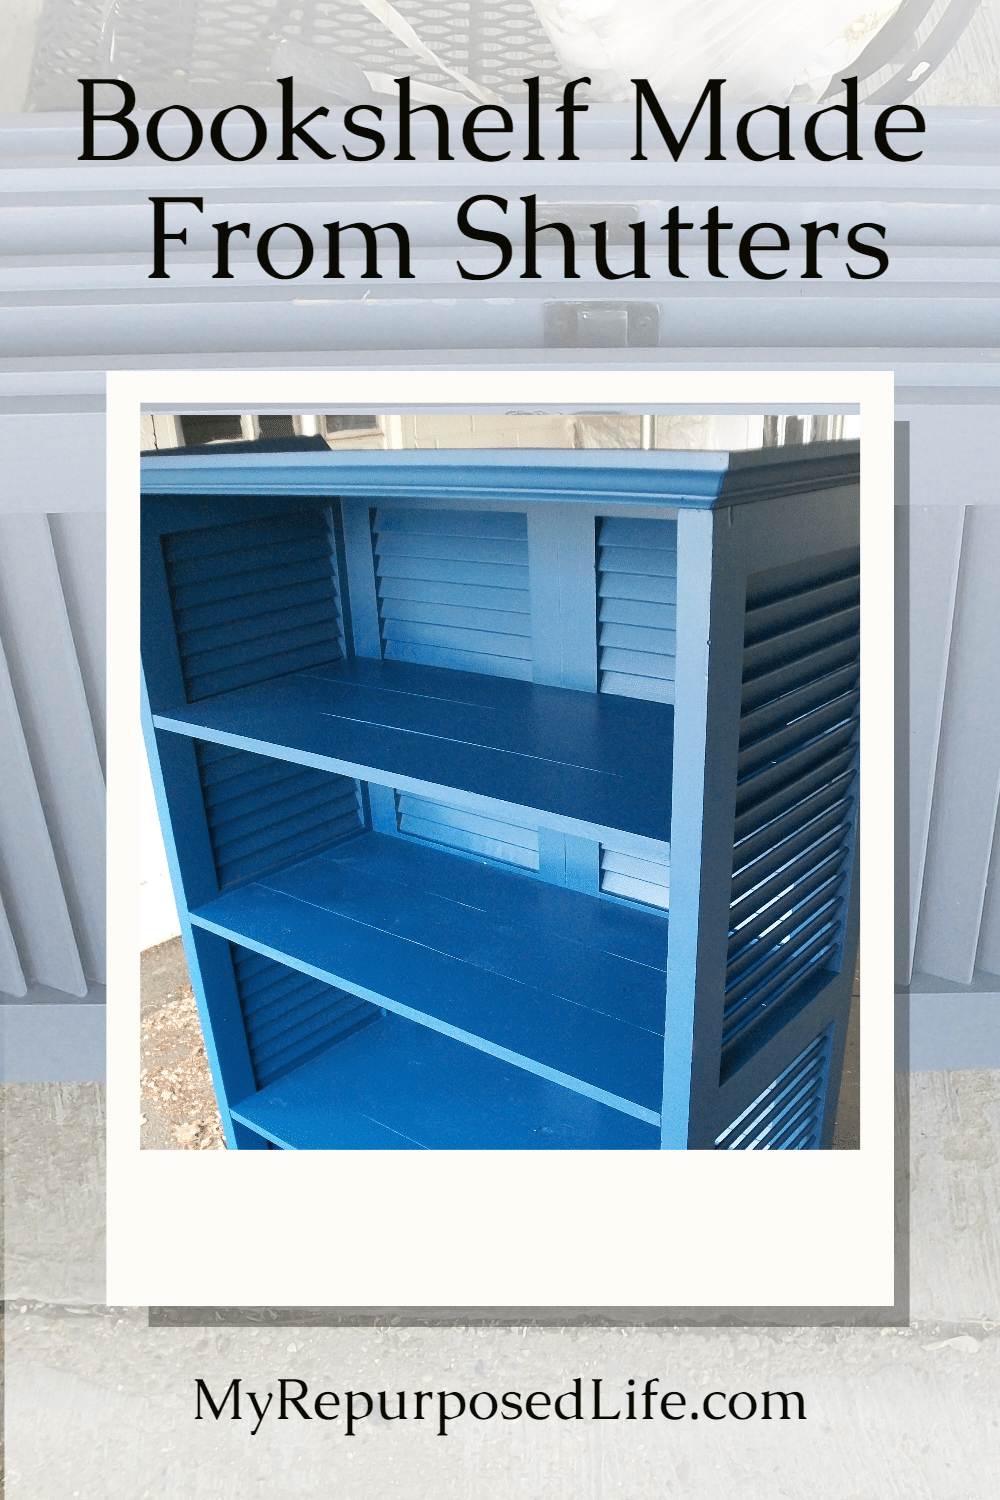
Shutters Repurposed into Bookshelf
As an Amazon Associate, I earn from qualifying purchases.

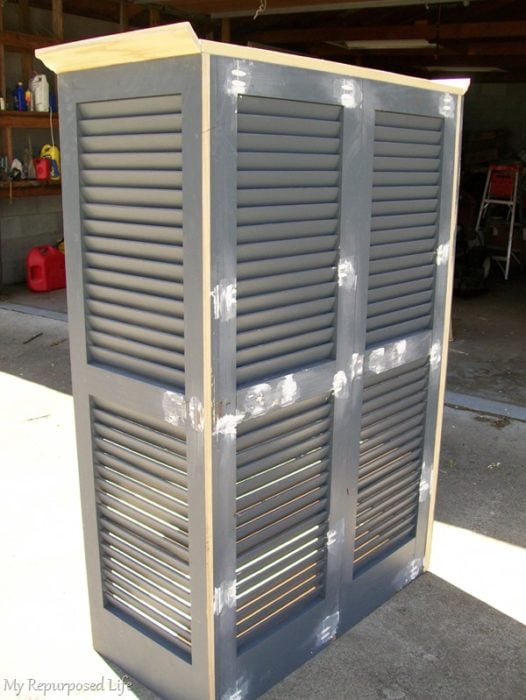
This repurposed shutters project was custom-made for a friend. Jan picked up these vintage shutters at our local Habitat for Humanity ReStore for $5.00 a PAIR. That is not typical of our ReStore.
Vintage shutters repurposed into an awesome bookshelf or bookcase. Who doesn’t love a great shutter upcycle?
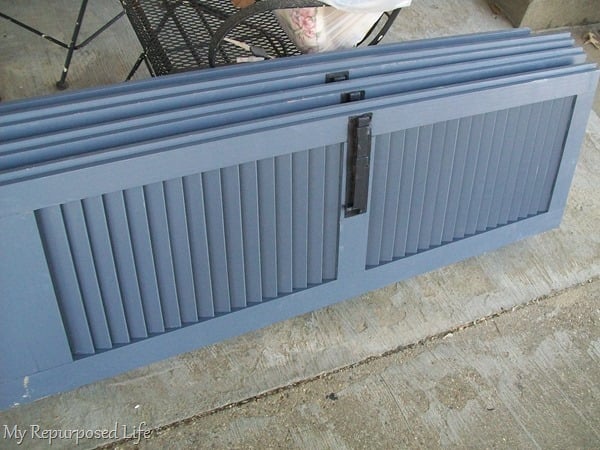
These are very nice, large, sturdy shutters.
Designing the repurposed shutter shelf
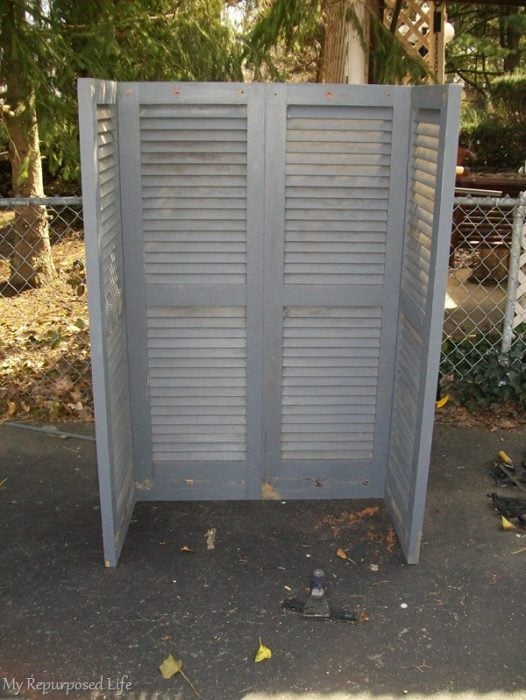
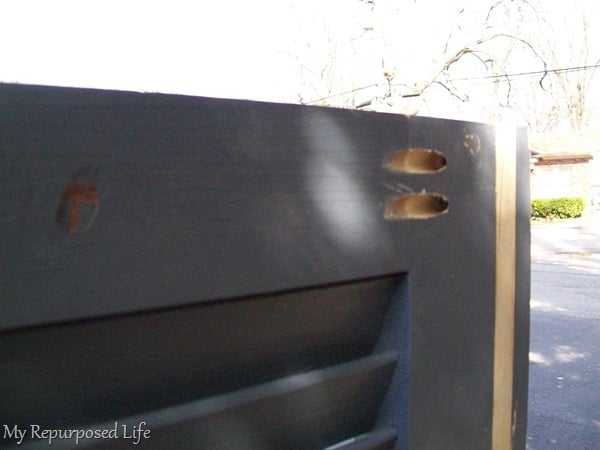
I had to rip a “ridge” off each shutter on the table saw to get them to fit together.
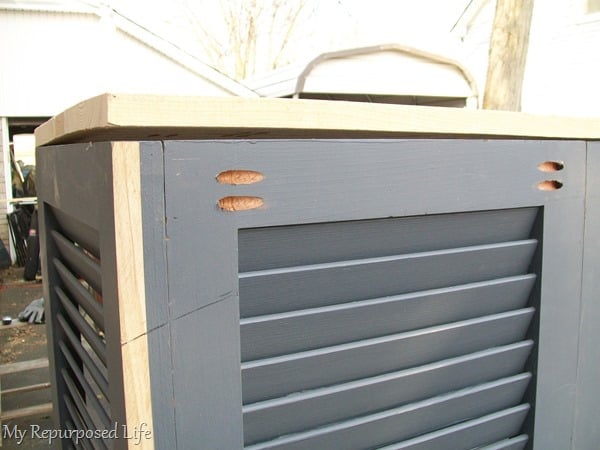
Connecting shutters using pocket hole joinery
I removed the black hinges and latches from the shutters. I used my Kreg Jig® R3 to make pocket holes to butt these two together in the back. Those pocket holes give a great (tight) joint. In case you don’t know what the Kreg Jig Jr. looks like:
I also used the pocket holes to attach the sides to the back using pocket hole screws.
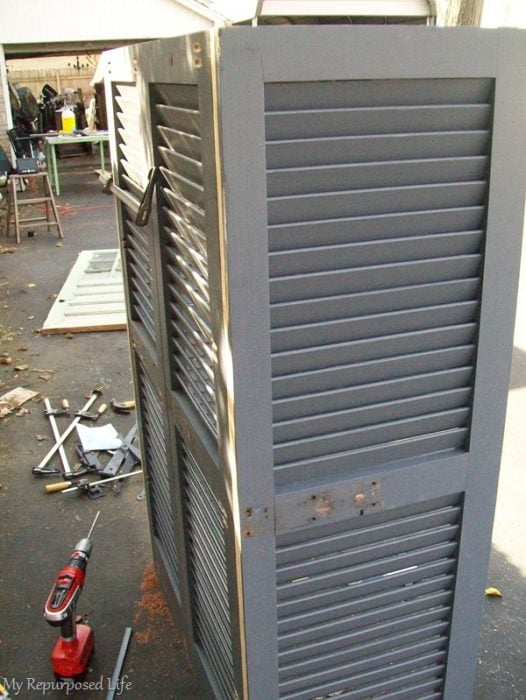
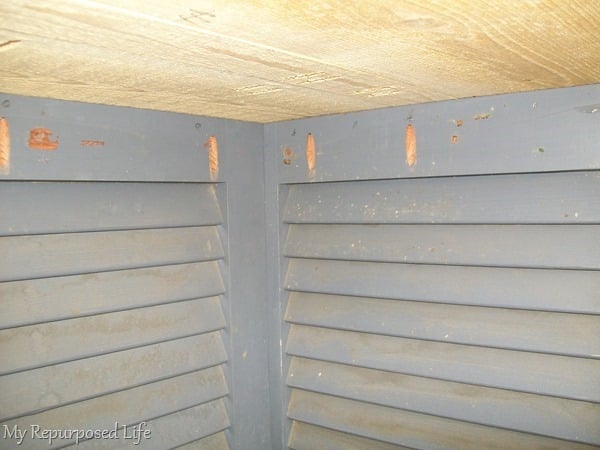
When I build, I rarely have a plan. I just sort of jump in. After I got the four shutters together, I realized I needed pocket holes to attach the top. That’s where the portability of this jig comes in handy.
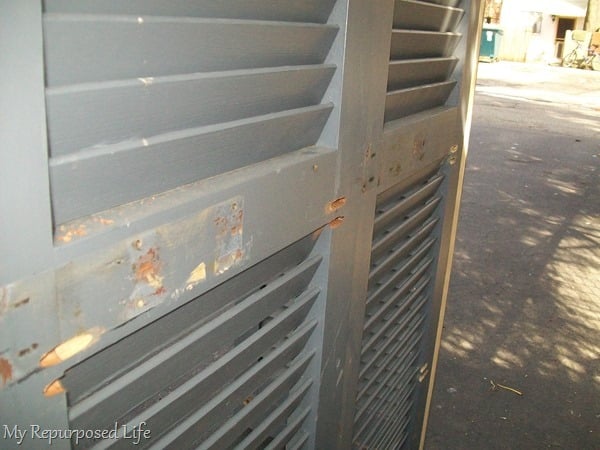
Even a warped top is no match for pocket hole screws
The rough-sawn lumber was a little uneven. Do you see the pocket holes? And the gap in the wood?
This is how it looked in the back.
Voila! Screws are in, and they pulled the top right down.
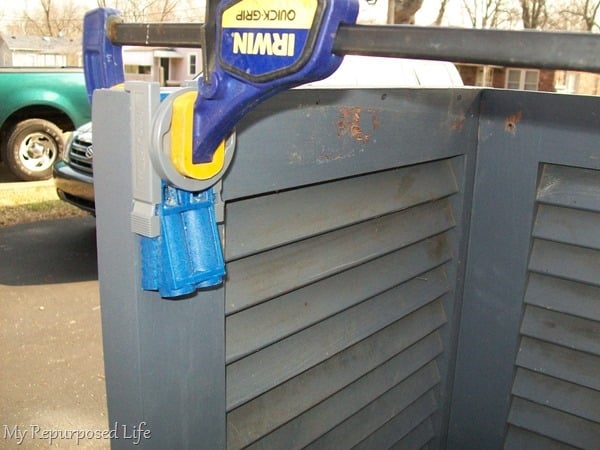
A quick clamp comes in handy when you work alone.
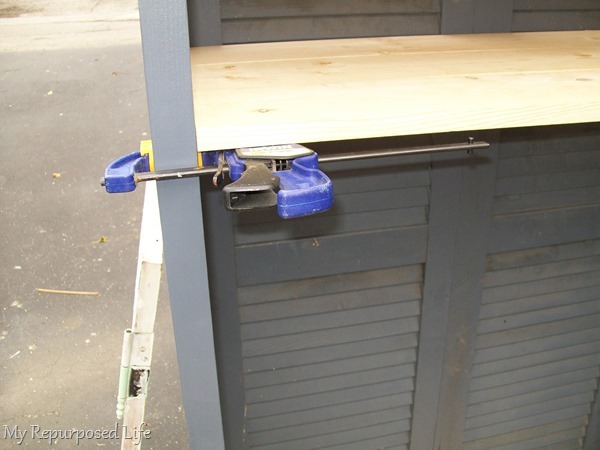
The shutter shelf comprises three 1x6s butted together with pocket holes to make three boards into one shelf. I found a new way to use my quick clamps. It can be pretty challenging building alone. I could use an extra pair of hands sometimes.
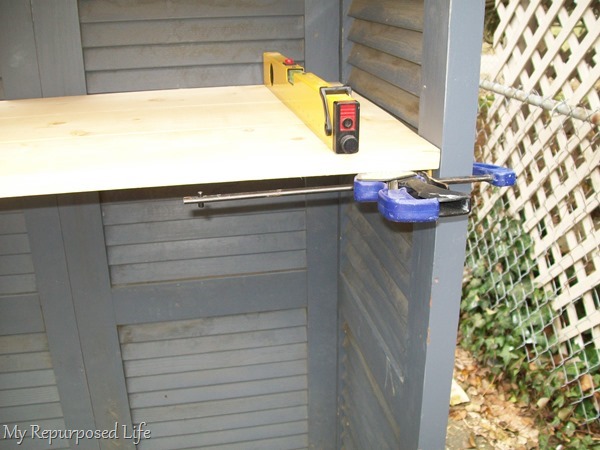
I made sure the shelf was level. The clamps were convenient to help hold the shelf in place. While the clamps held the shelf in place, I screwed the shelves to the shutters using pocket holes I drilled into the ends of each shelf. (If you don’t have a Kreg Jig, you can use cleats to hold your shelves.)
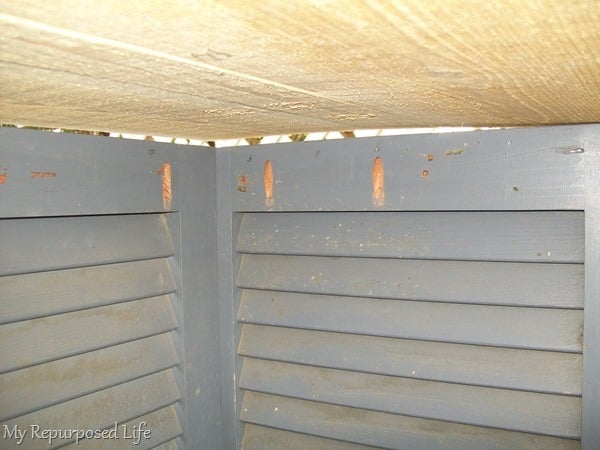
How to attach shelves to repurposed shutters bookcase
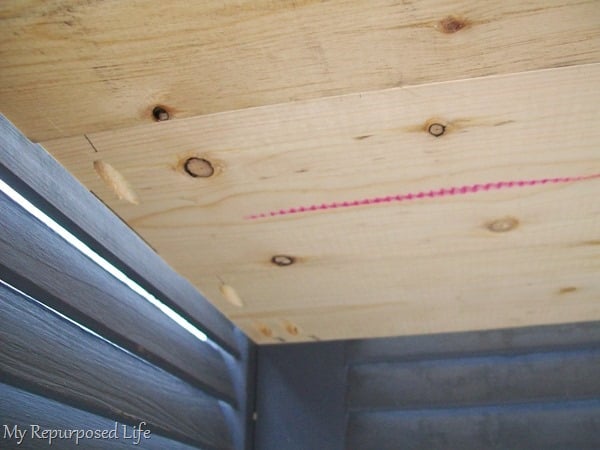
In this picture, you can see the pocket hole that put the boards together, and in the back left corner, you can see that I used a double hole to attach the shelf to the back of the shutter.
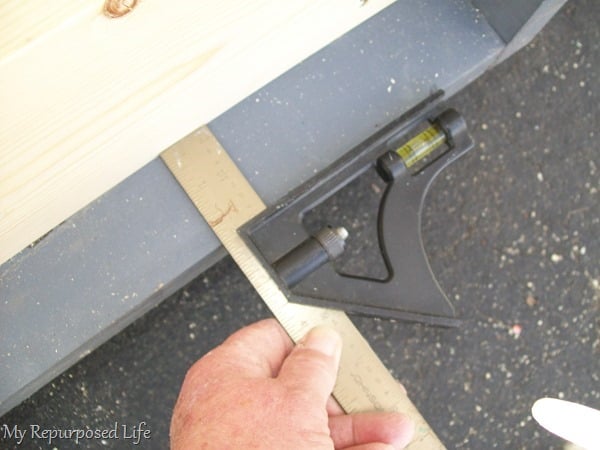
In this picture, I am getting ready to install the bottom shelf. I used this Combination Square to make sure the shelf was the exact measurement all the way around. This is one of the handiest tools I have.
Fill visible pocket holes before painting.
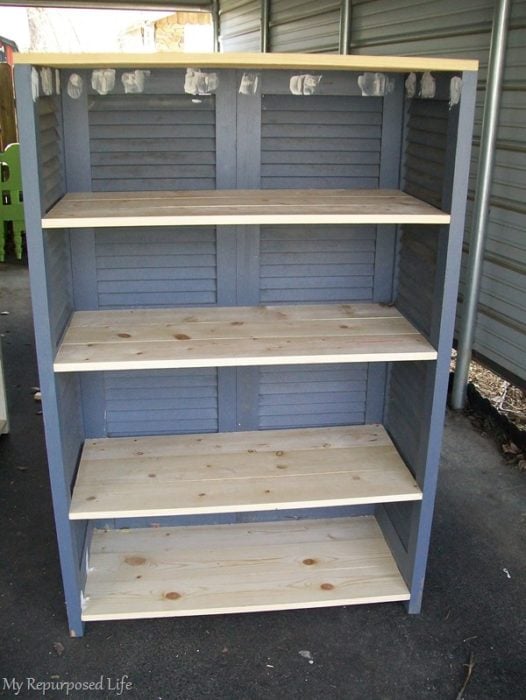
I filled all the (pocket) holes with spackling. The shelves are attached on the left front/back, middle, right back/front. The middle shelf is attached all around because the shutter is solid in the middle.
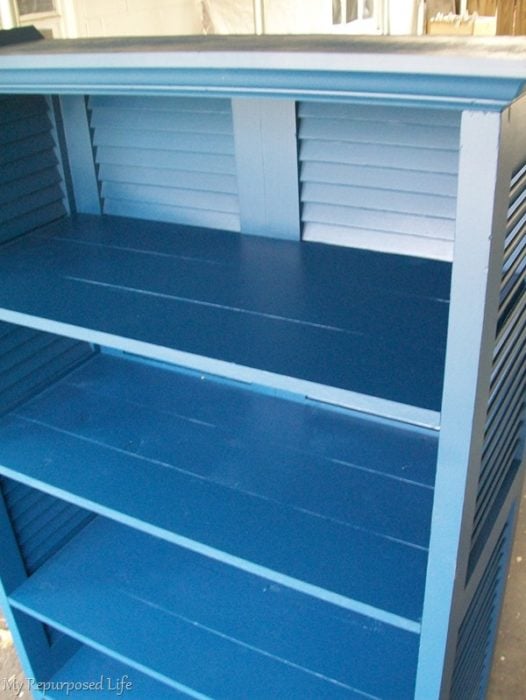
Add trim molding to the top of the bookcase.
Here, you can see what I mean. Without the pocket holes, I would have had to make “cleats” to run around the bottom of all the shelves to “rest” on. I installed crown molding on the top.
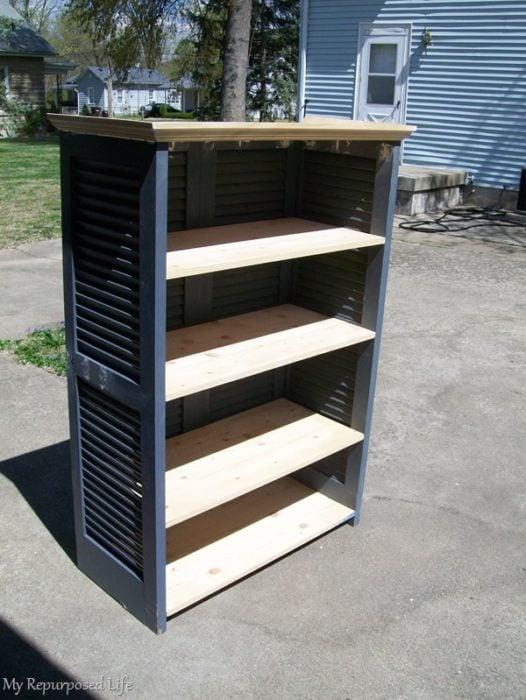
Then, I sanded all the patching and prepared the bookshelf for painting. I used a paint sprayer. You will love using a Finish Max paint sprayer.
Blue Bookcase made from Upcycled Shutters
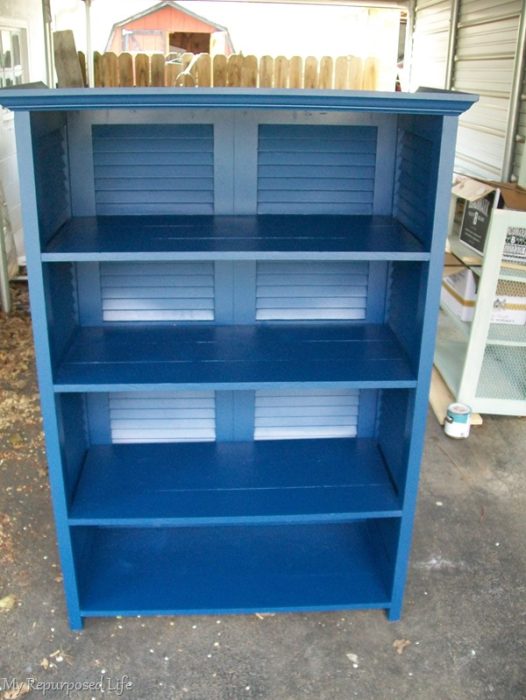
After many coats of paint.
Related Content: Navy Blue Furniture Projects
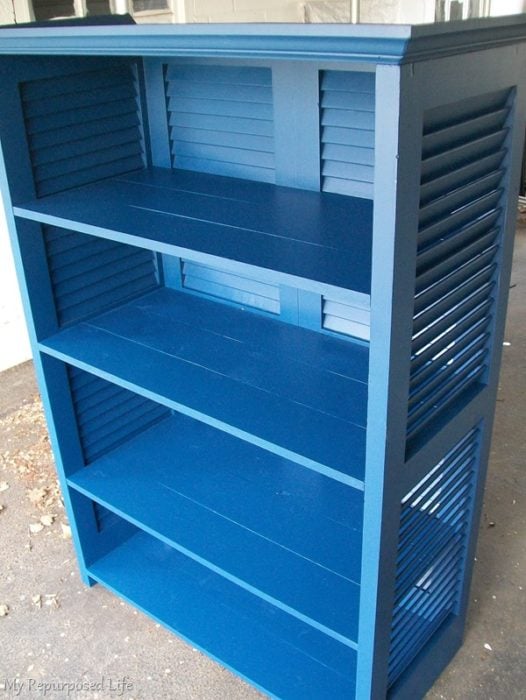
Jan chose a blue from Behr; I believe it’s called Velvet Evening. Maybe you want to see Jan’s other project, the door nightstand/bookshelf.
See other Shutter Projects on My Repurposed Life
absolutely a great idea!!! I want to try it and see how it goes. Never enough storage=
great color you chose for your Shutter Shelving!!!!
thanks for sharing,
Bonni
Thanks Bonni! Good luck, have fun!
gail
Lovely book shelf !…and whith my favourite colour!!
Congratulations
wow…beautiful and I love the blue, very nice!
Thank you Terri! I appreciate you kind comment.
Hope you’re having a productive week.
gail
I am wanting to make this but I would like the back to be open. Do you think it would be sturdy enough without the back two shutters? I could build a 1×4 “box” for the top and bottom. BTW my Kreg jig and Harbour Freight and air compressor and sprayer are two of my favorite tools. I told my husband it sounded like I could have written this post. Ha lol.
Sharon,
I would think you would need to connect the shutters in the back, maybe at the top and bottom, and possibly below each shelf using some 1×4’s? If it will actually be used for books, I would say that would be necessary to keep it squared. It may not be a problem if you’re just going to use it for decor.
I’m happy you found My Repurposed Life, thanks for reaching out!
gail