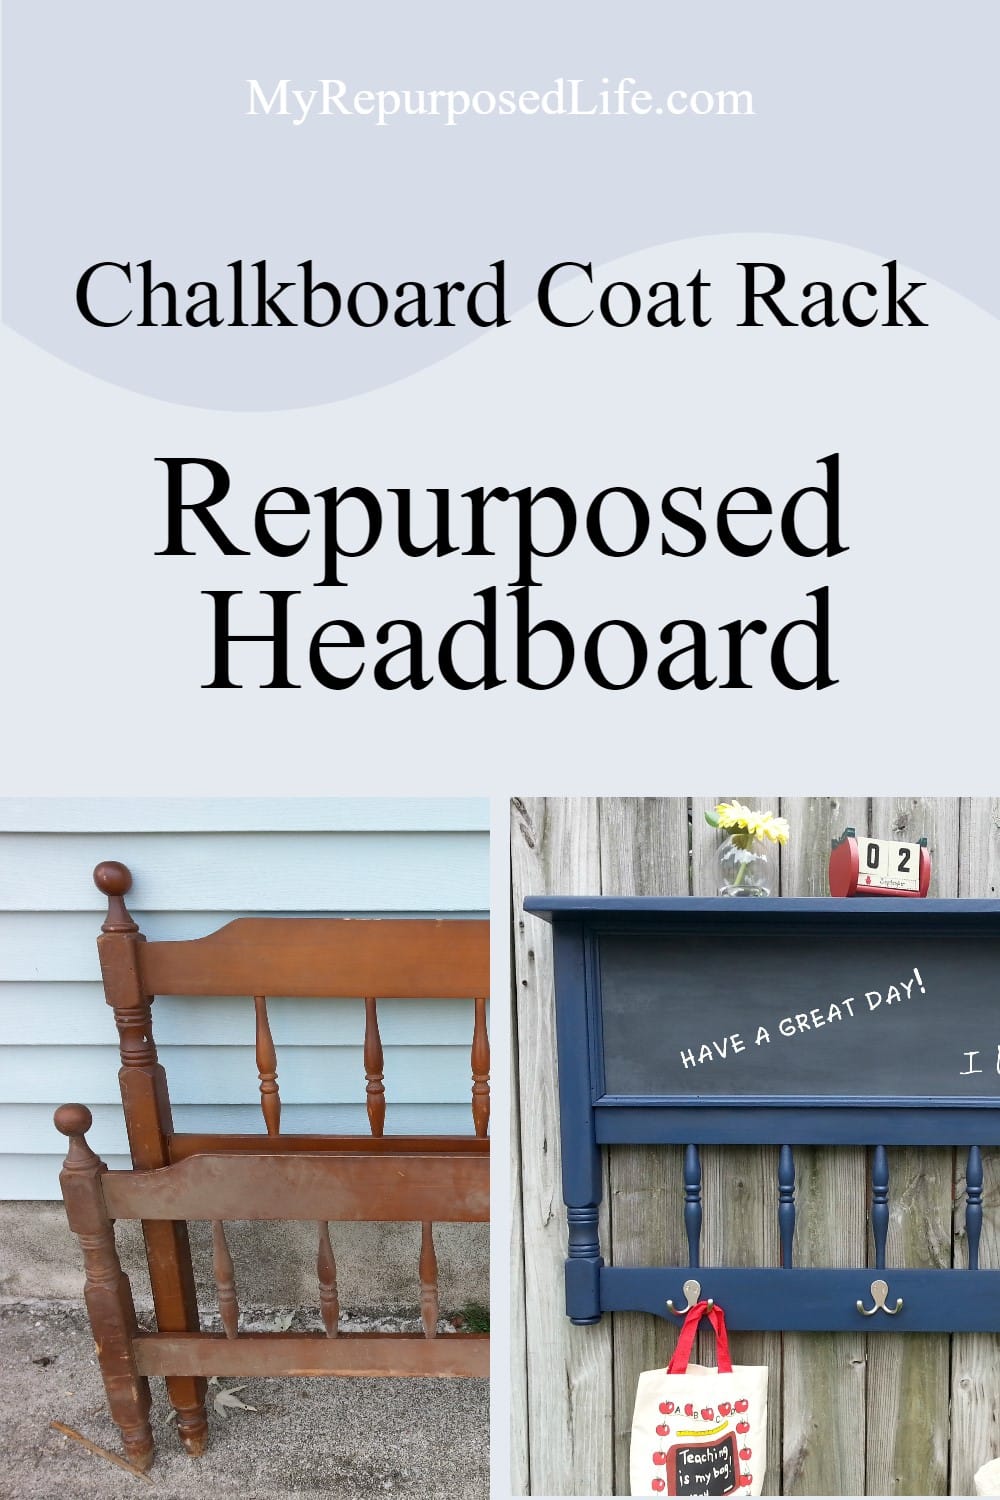
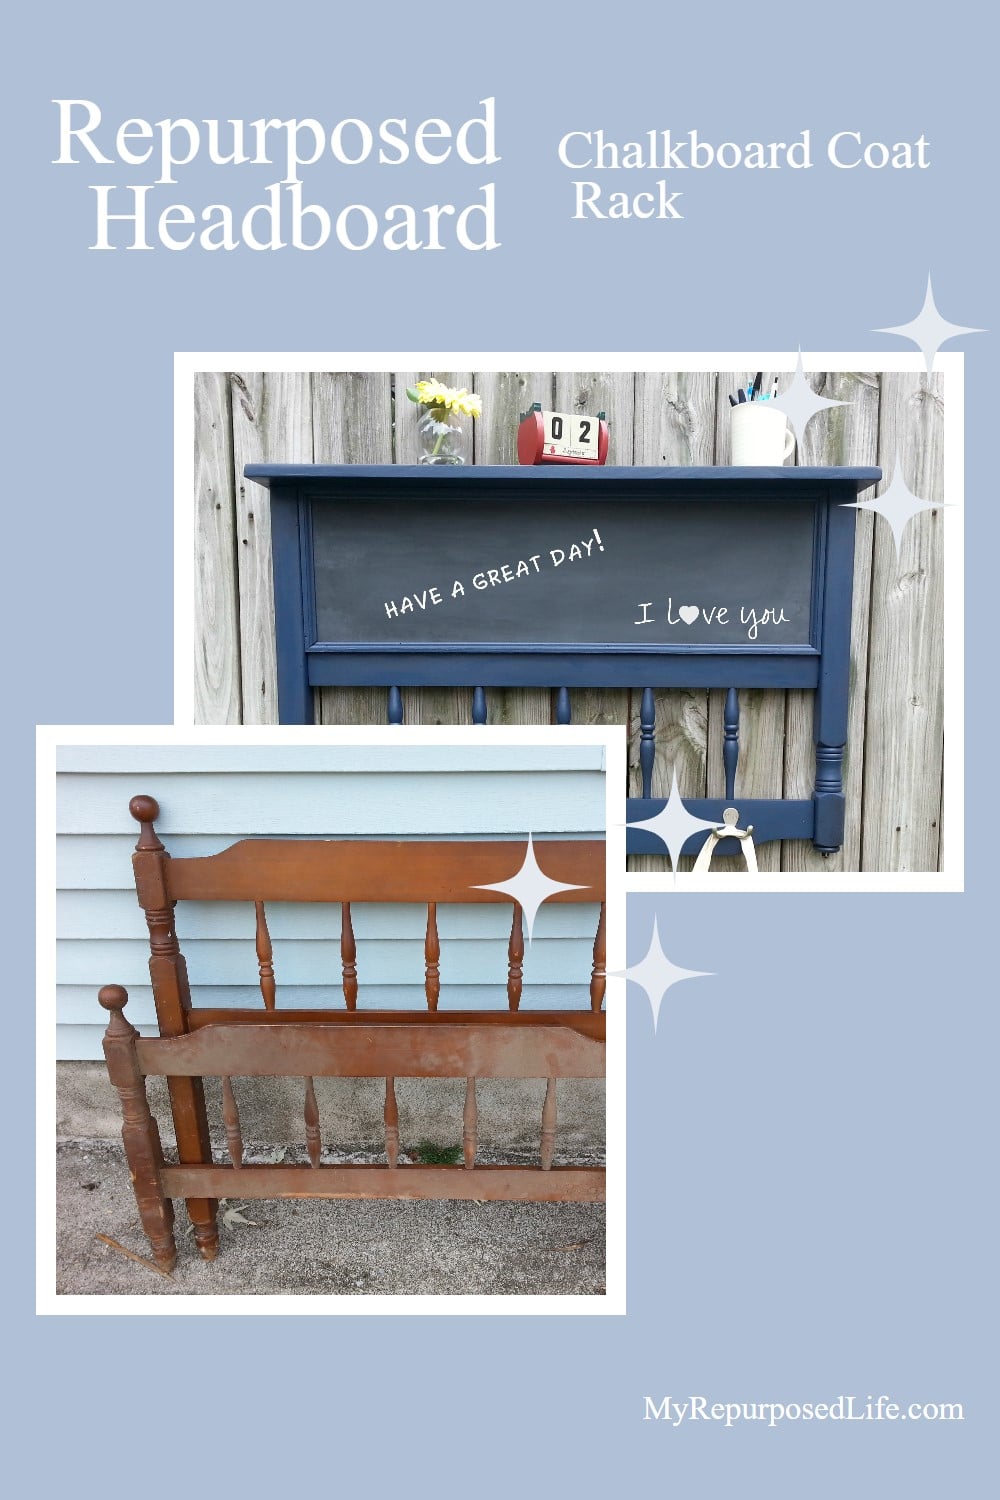
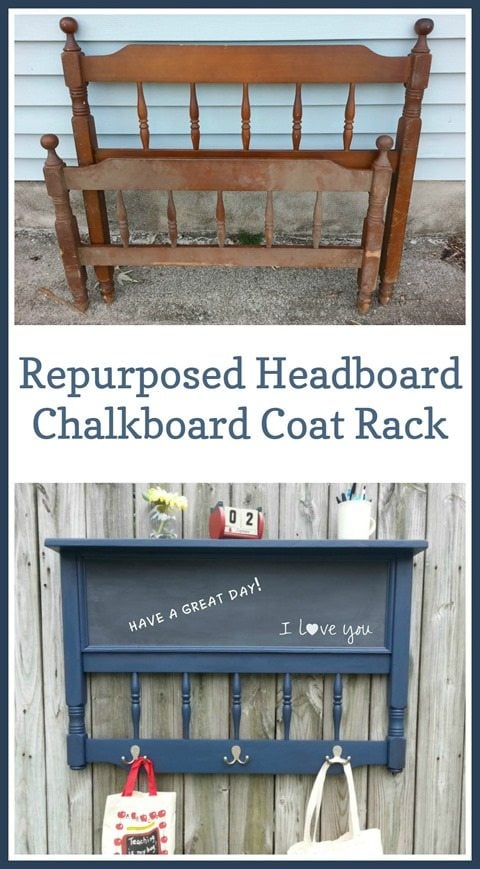
Headboard Chalkboard Coat Rack
As an Amazon Associate, I earn from qualifying purchases.

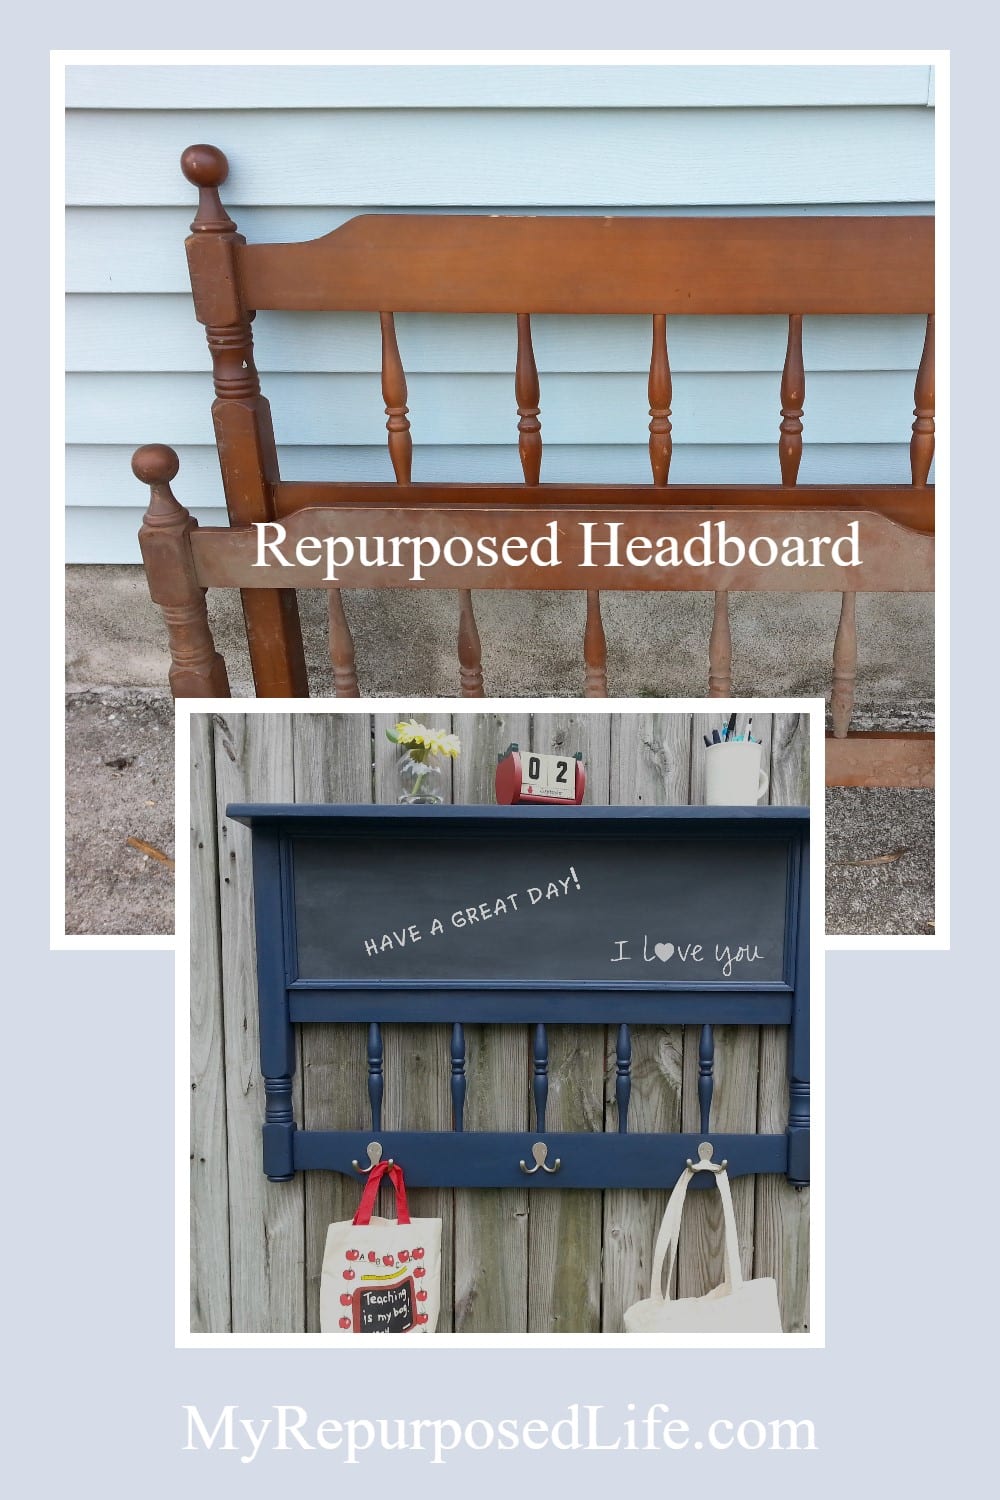
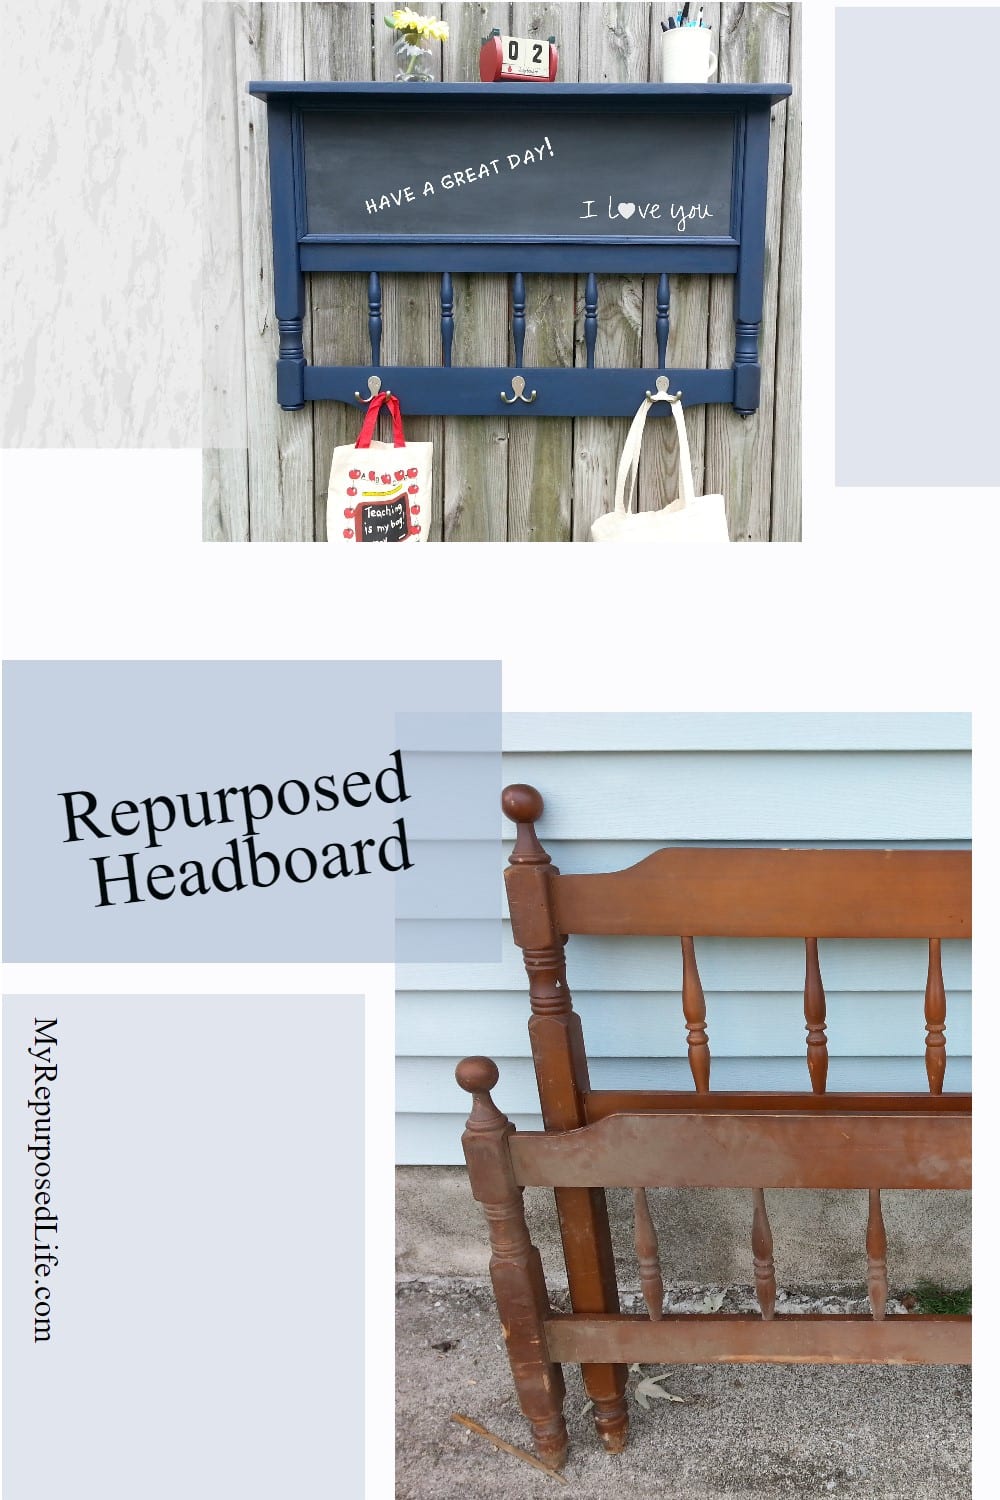
Today’s headboard chalkboard project is another quick turnaround project. When I got those yard sale castoffs a few weeks ago, I didn’t have a place to store them, so I got to work transforming them.

I’ll show you what I did with the small twin headboard today. The footboard has its purpose; see the transformation in this article: Repurposed Red Headboard.
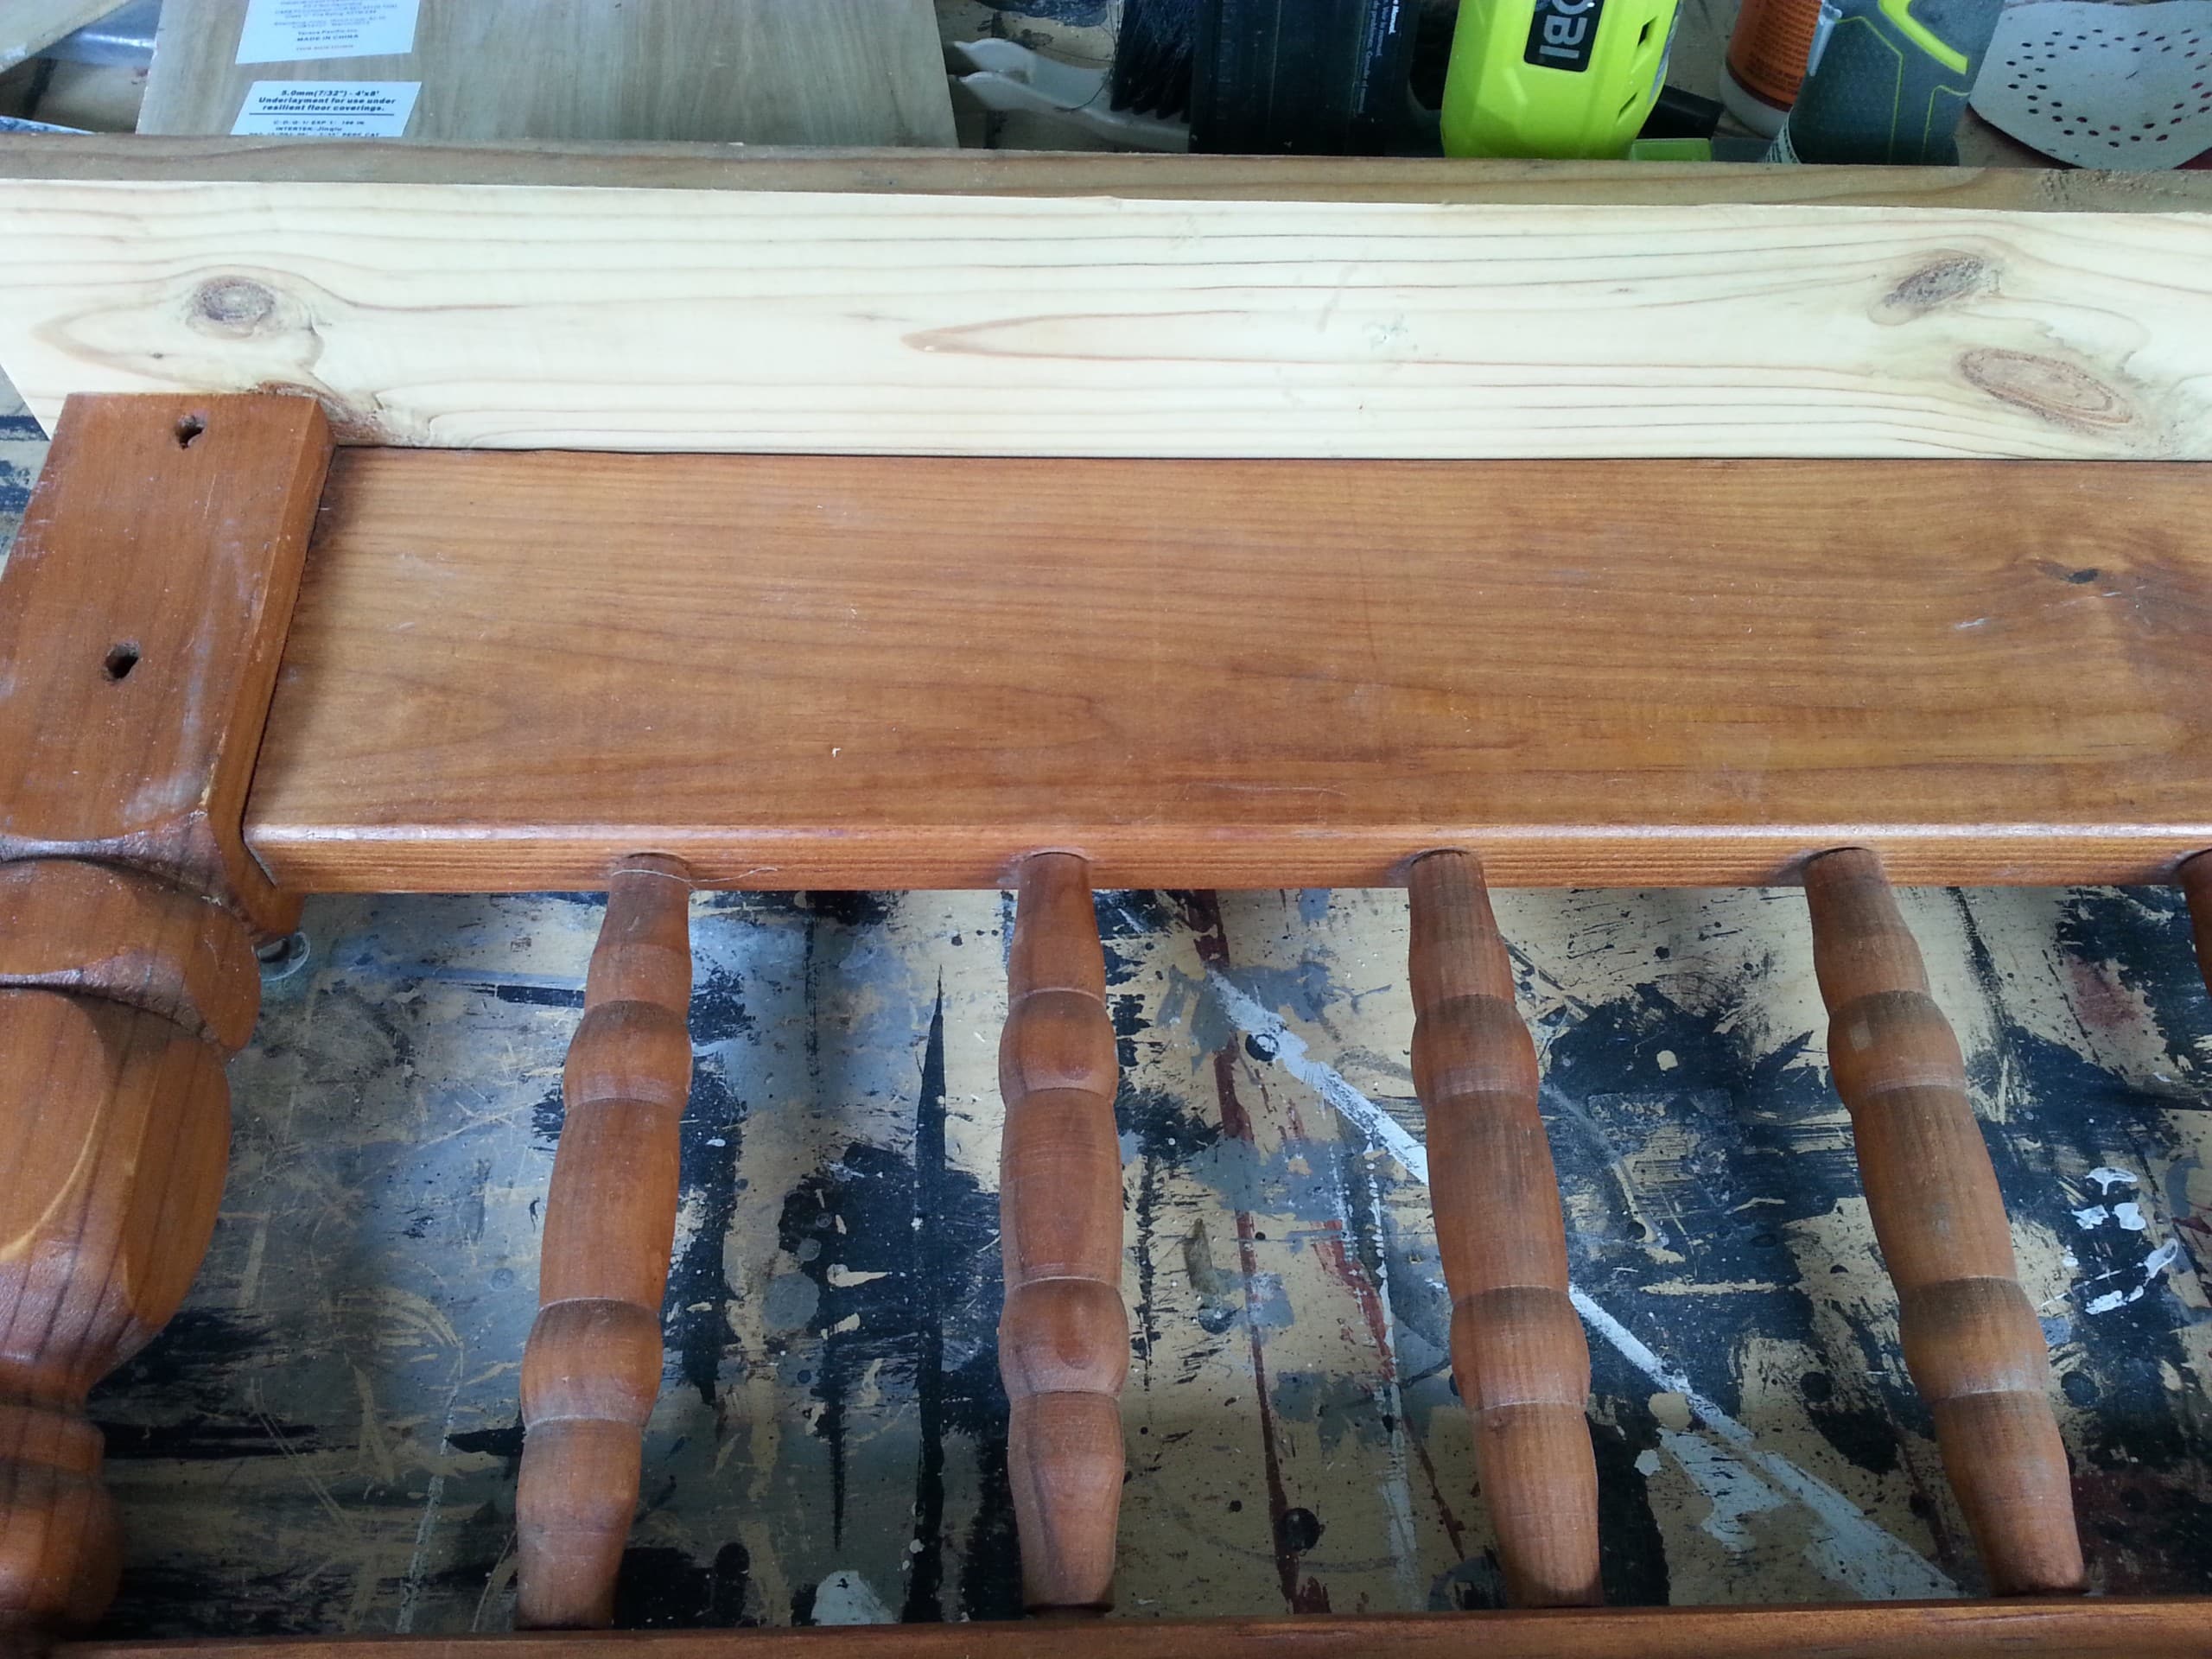
Trim off the legs of the bed.
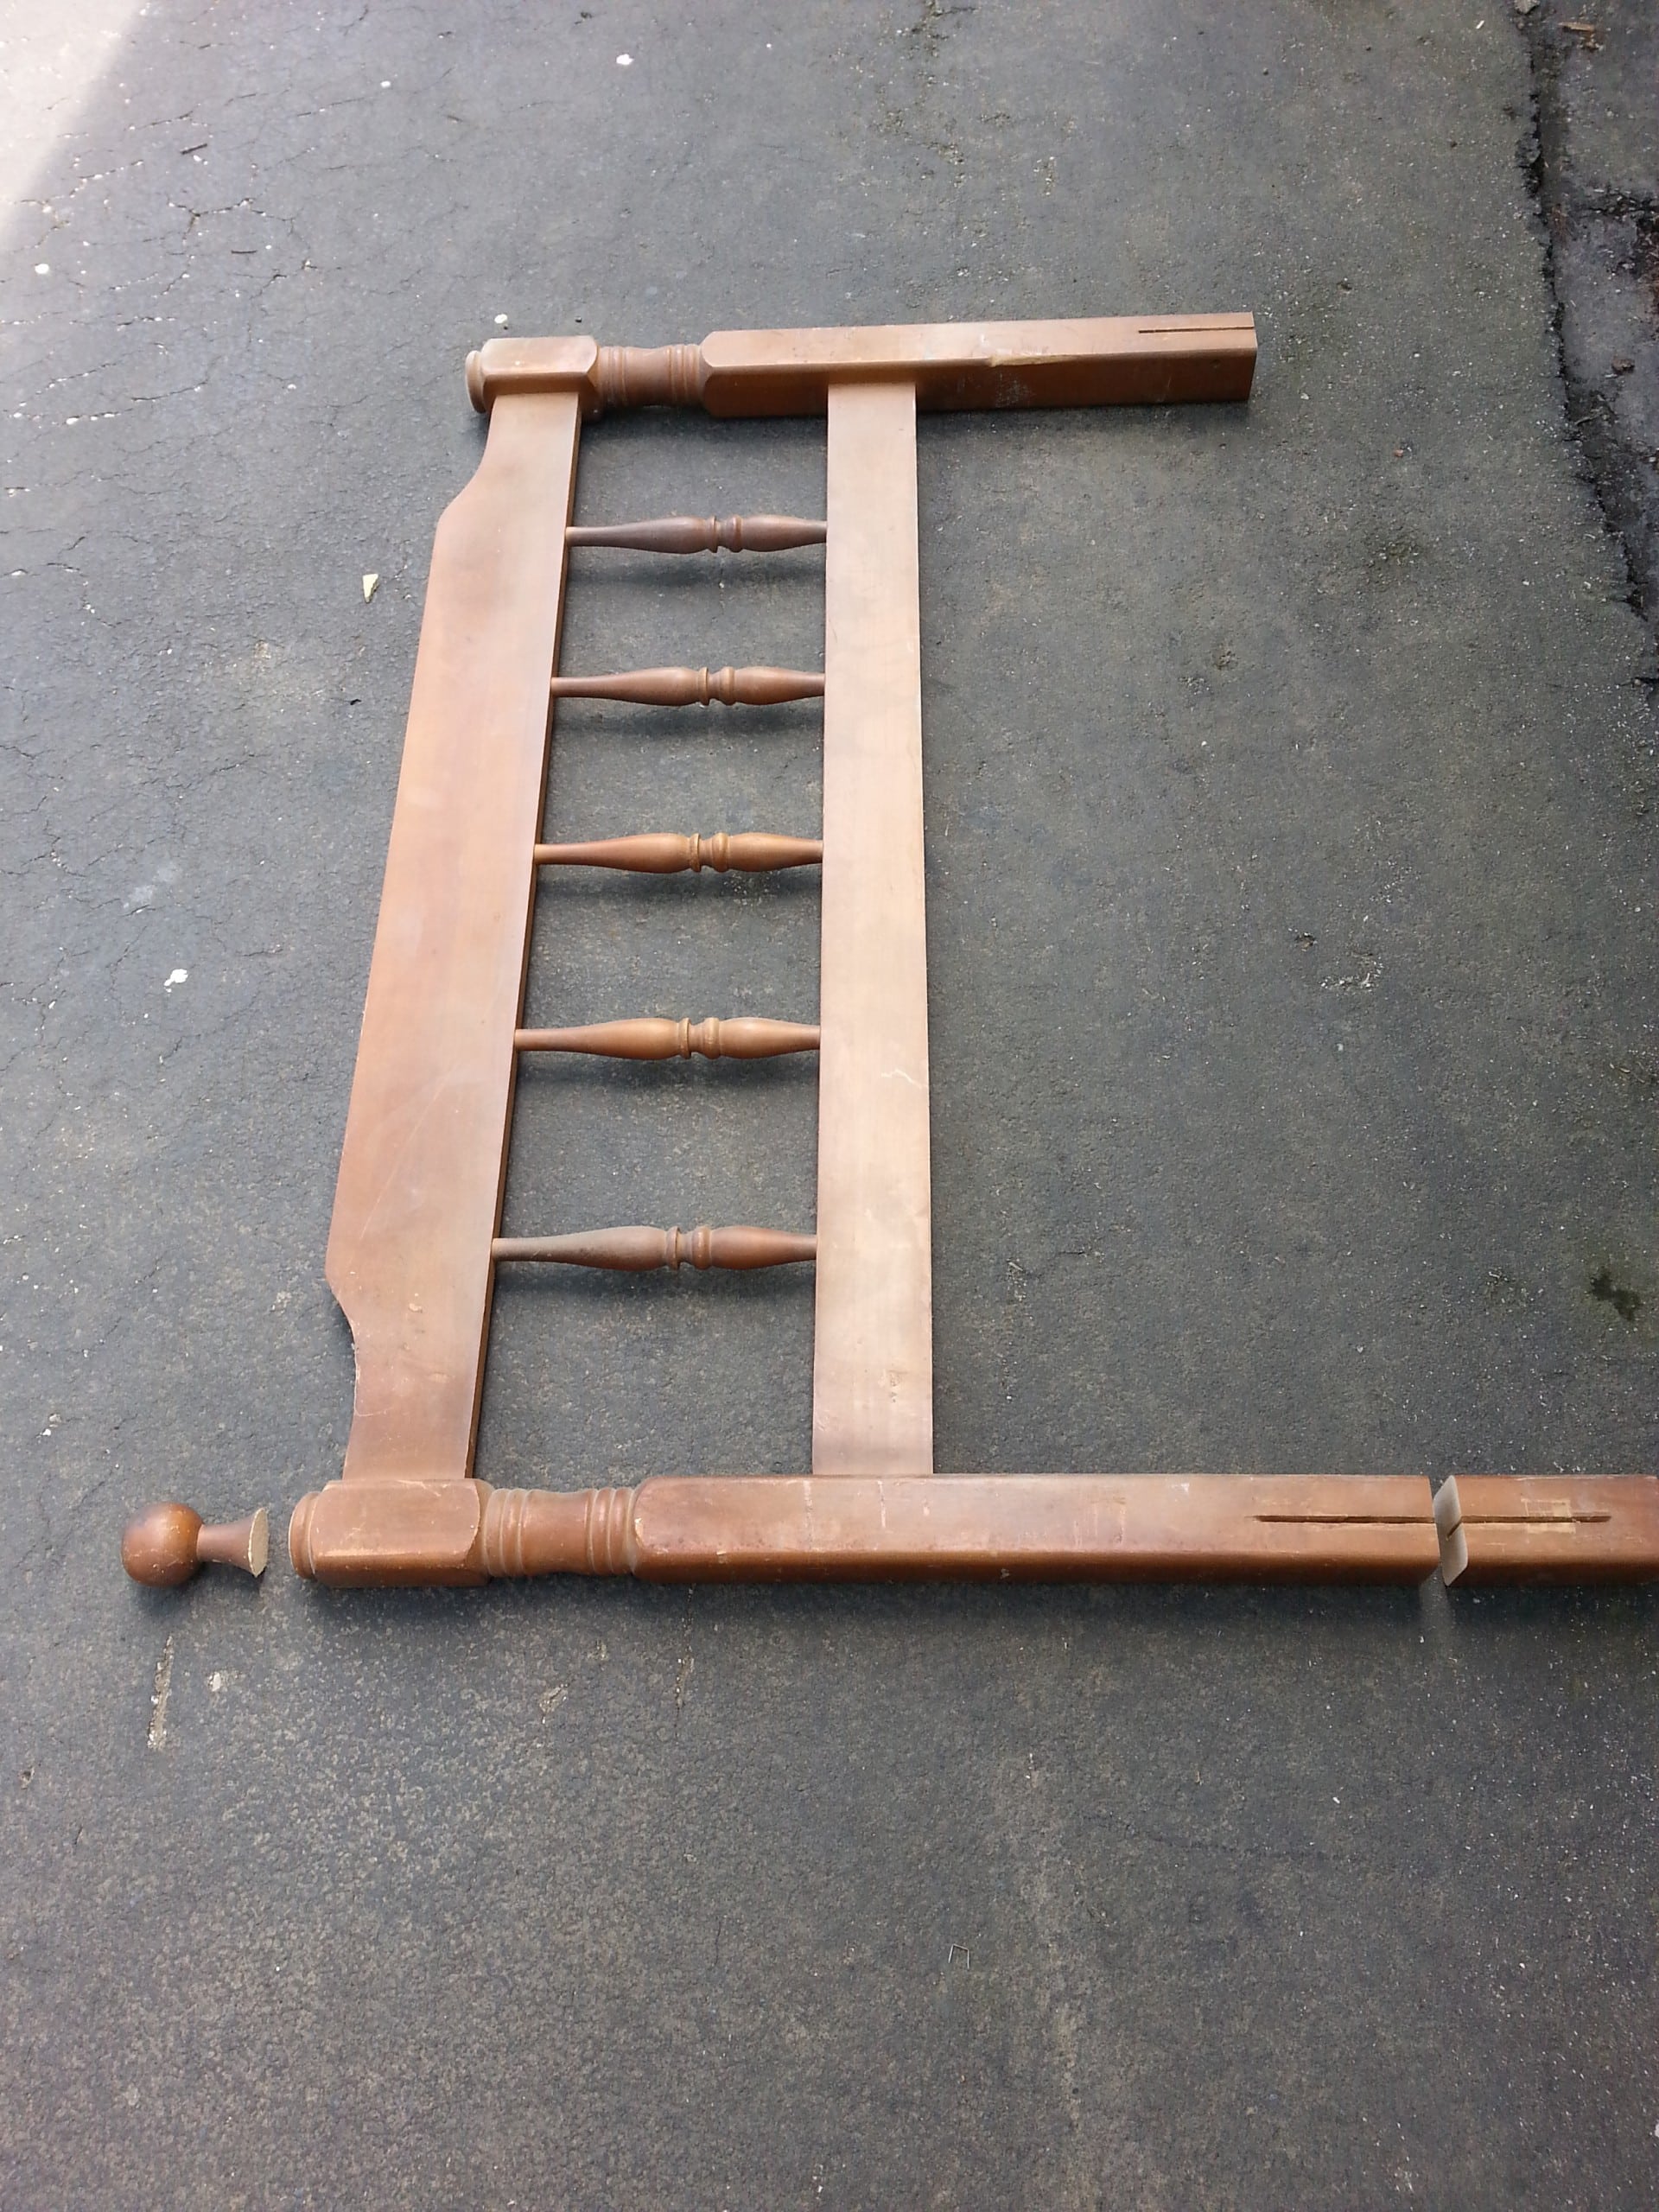
This repurposed headboard chalkboard started as many of my projects do—with a saw. I very carefully clamped and cut these pieces on my compound miter saw. See the large space left after I cut the legs? I want to fill that place with a piece of thin plywood, but I need a couple of pieces to support it.
Use a Kreg Jig
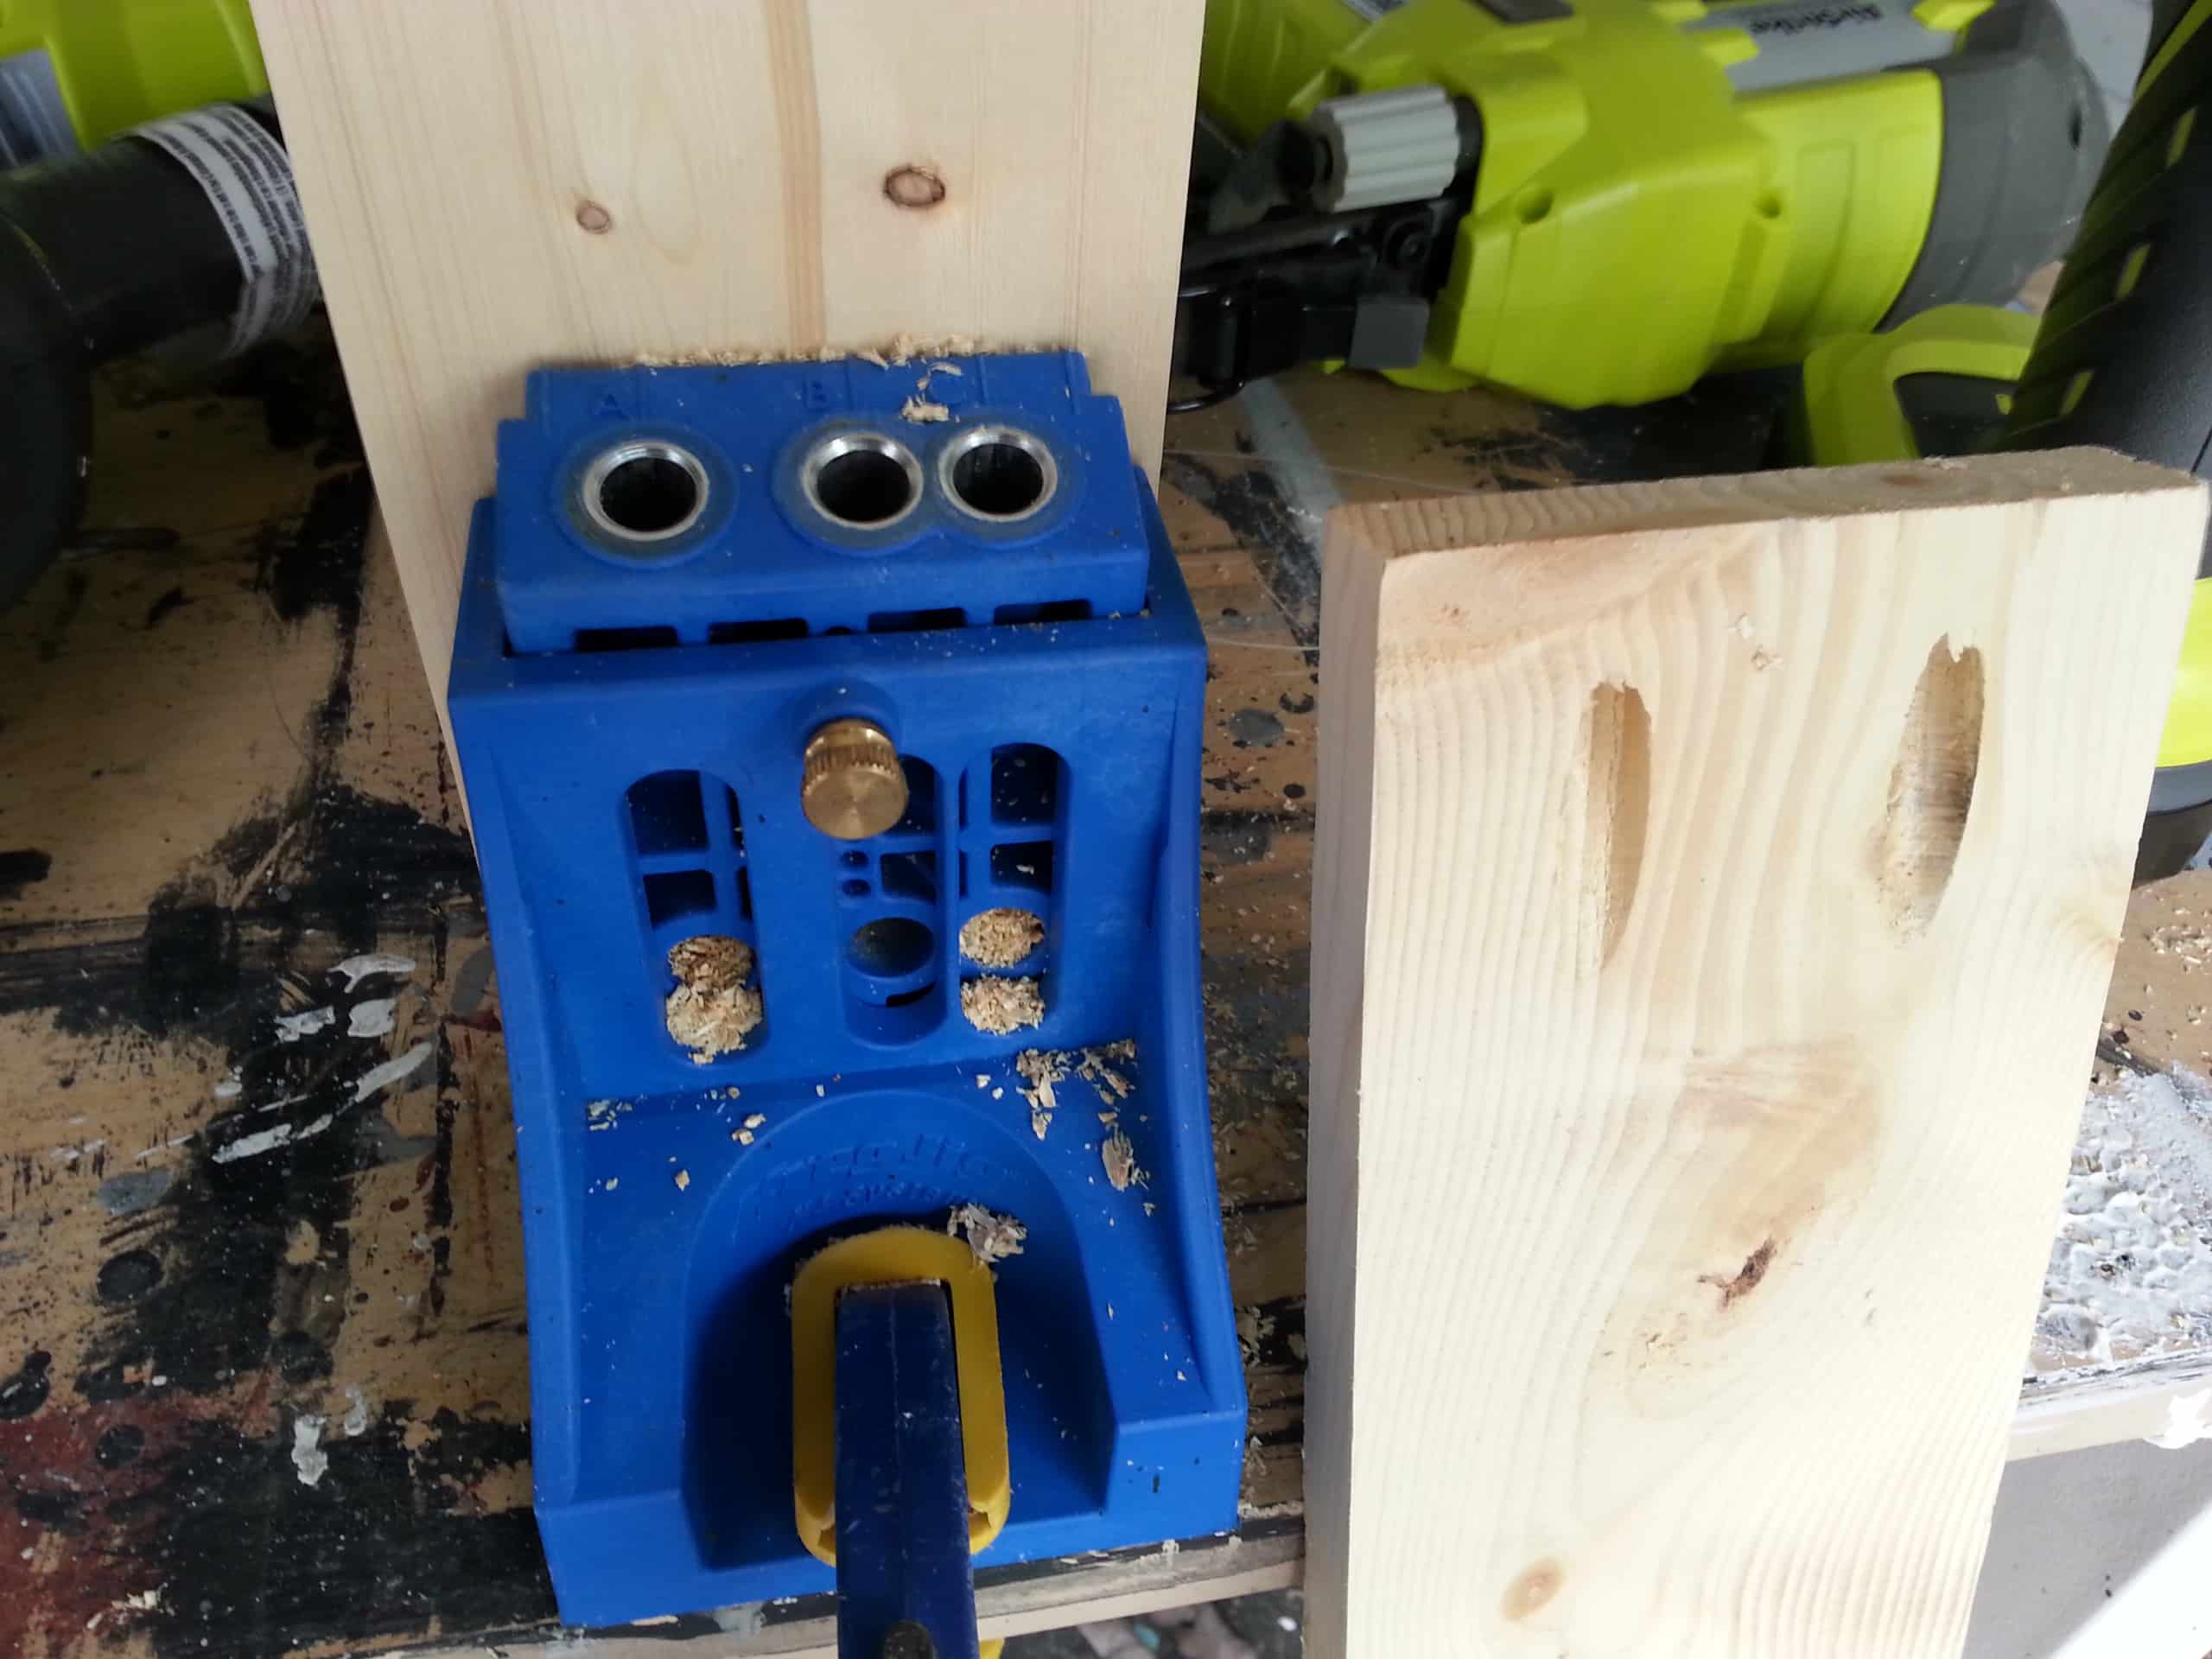
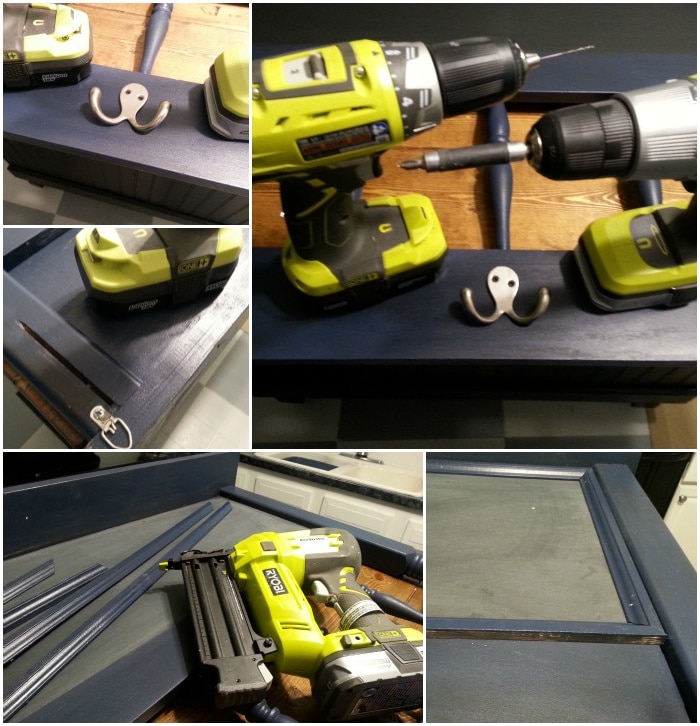
First, I grabbed a couple of 1x’s, cut them to length, and added pocket holes with my Kreg Jig® K4.
Learn how to use a pocket hole jig.
I chose to position the pocket holes facing frontwards so that when I attach the thin plywood, the joints will not show.
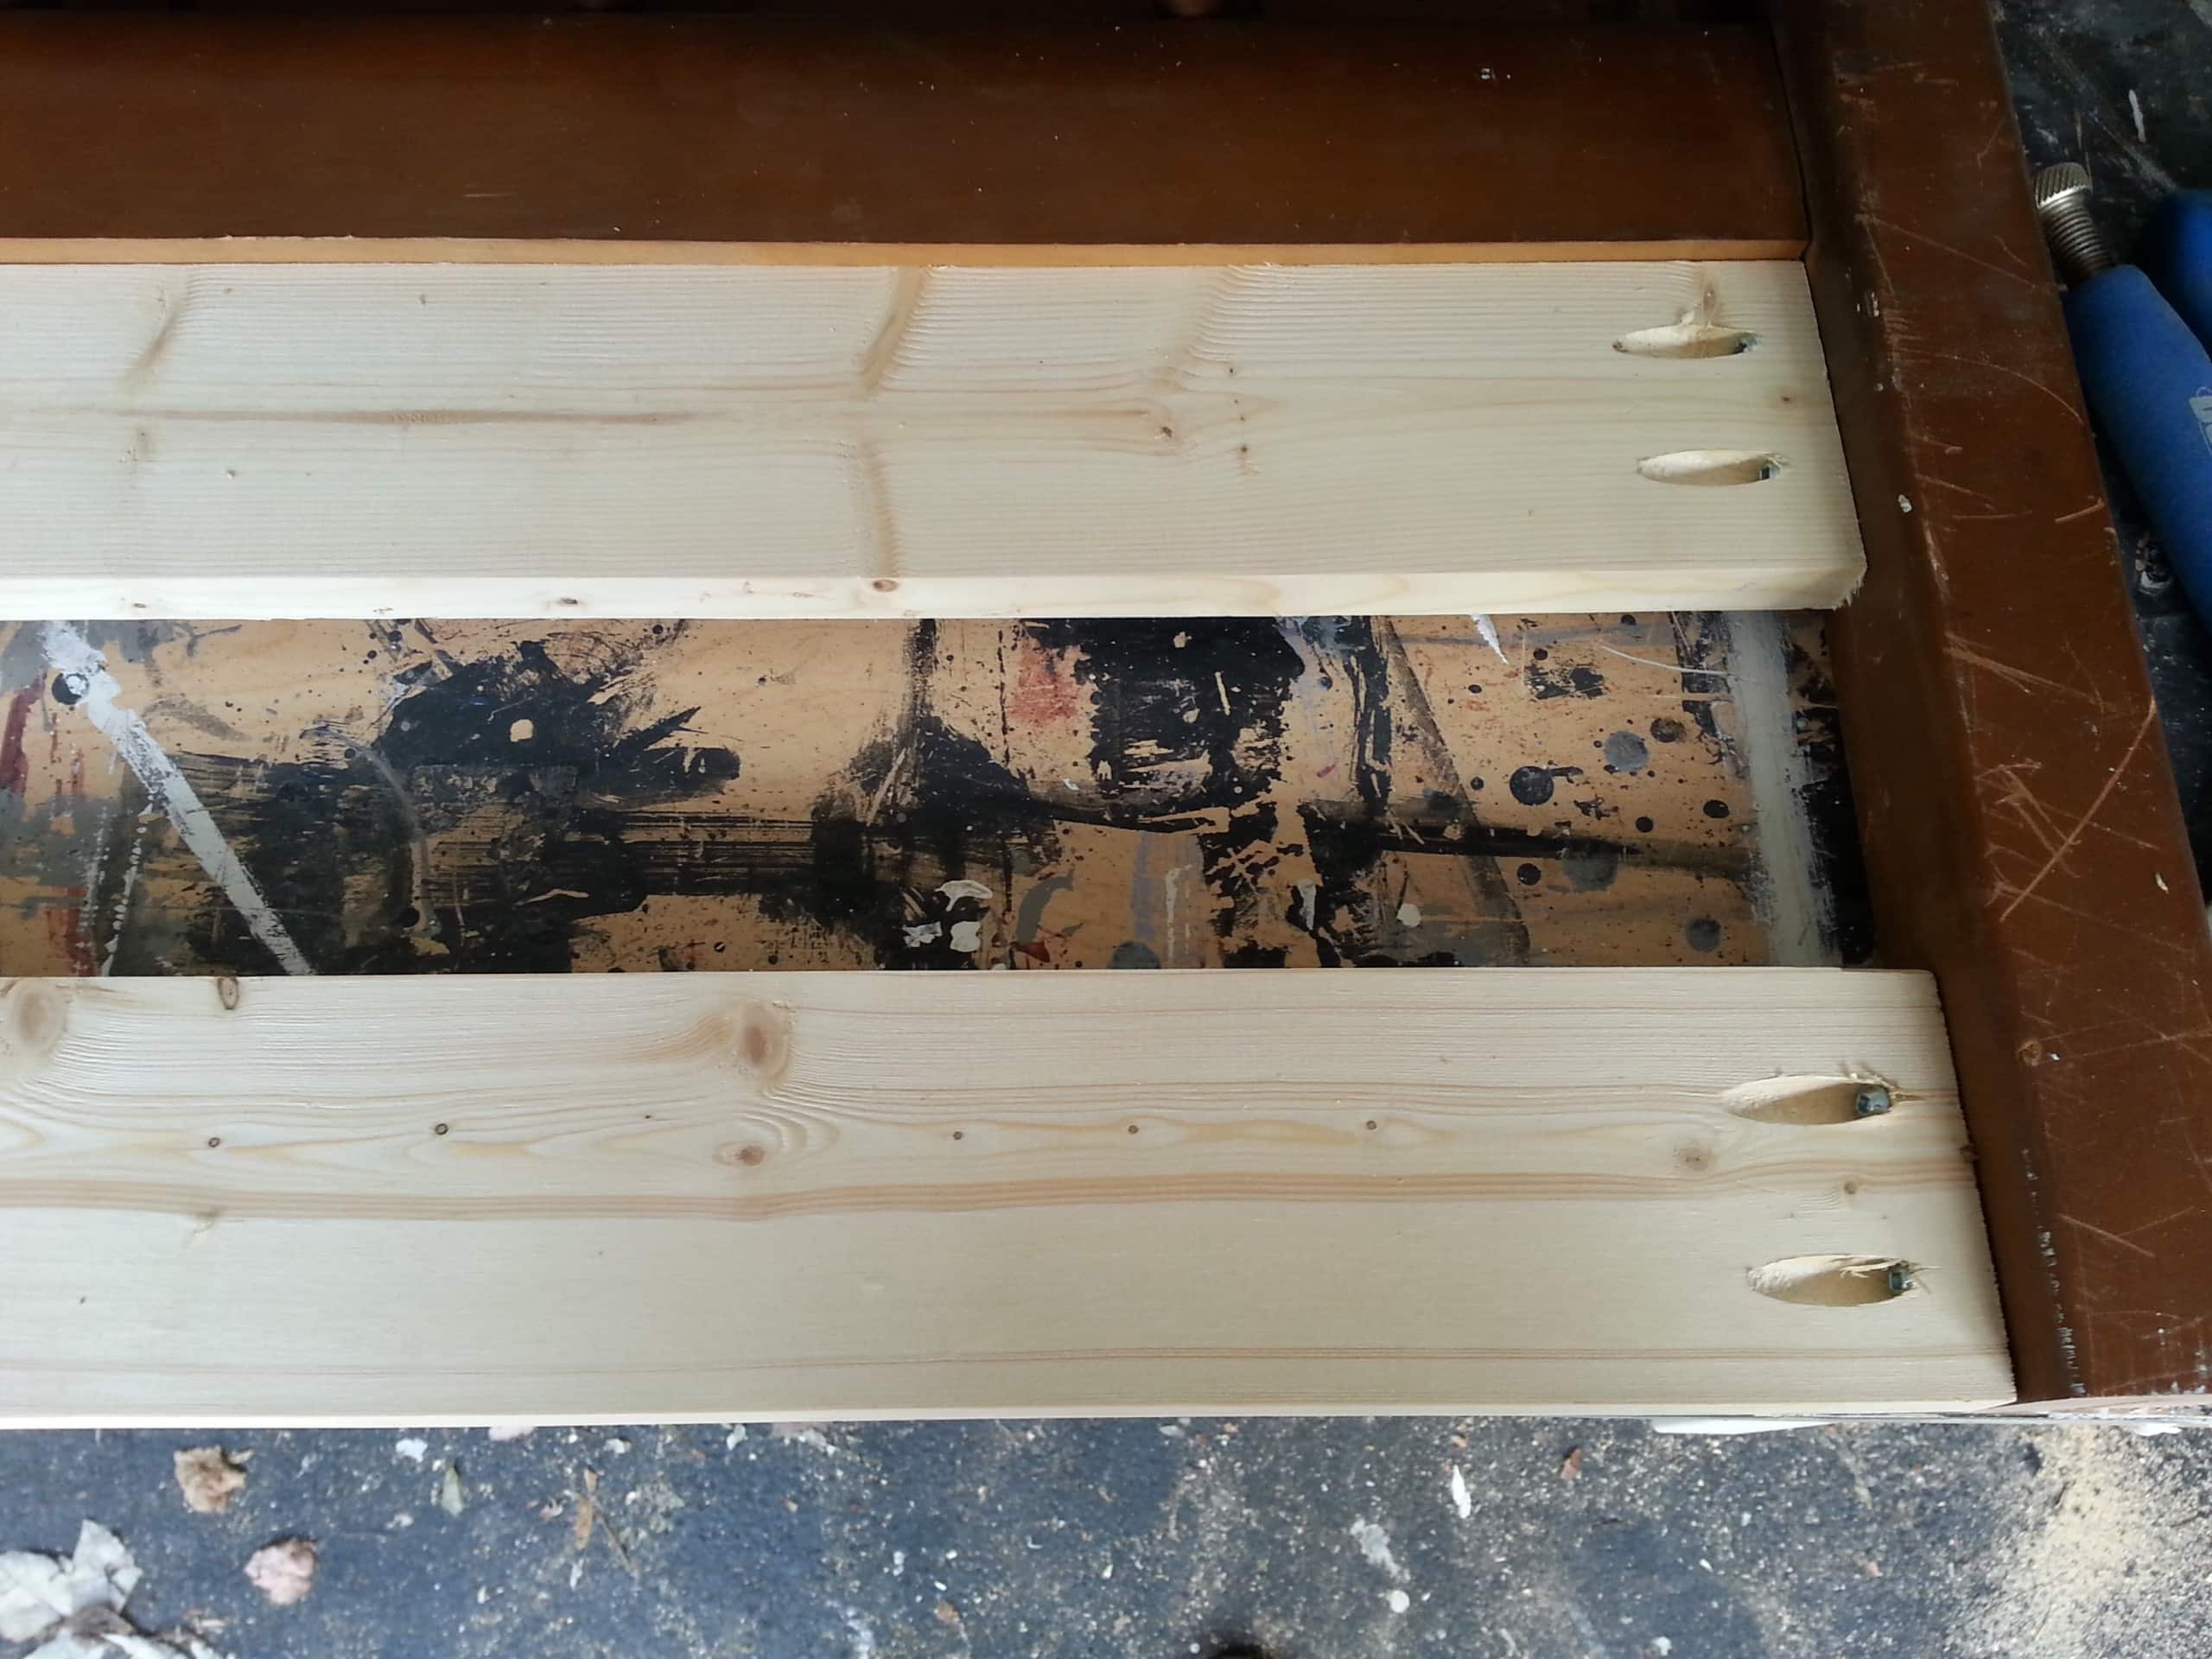
Use wood glue and a nail gun.

I attached the plywood with Gorilla wood glue and my Ryobi airstrike stapler as usual.
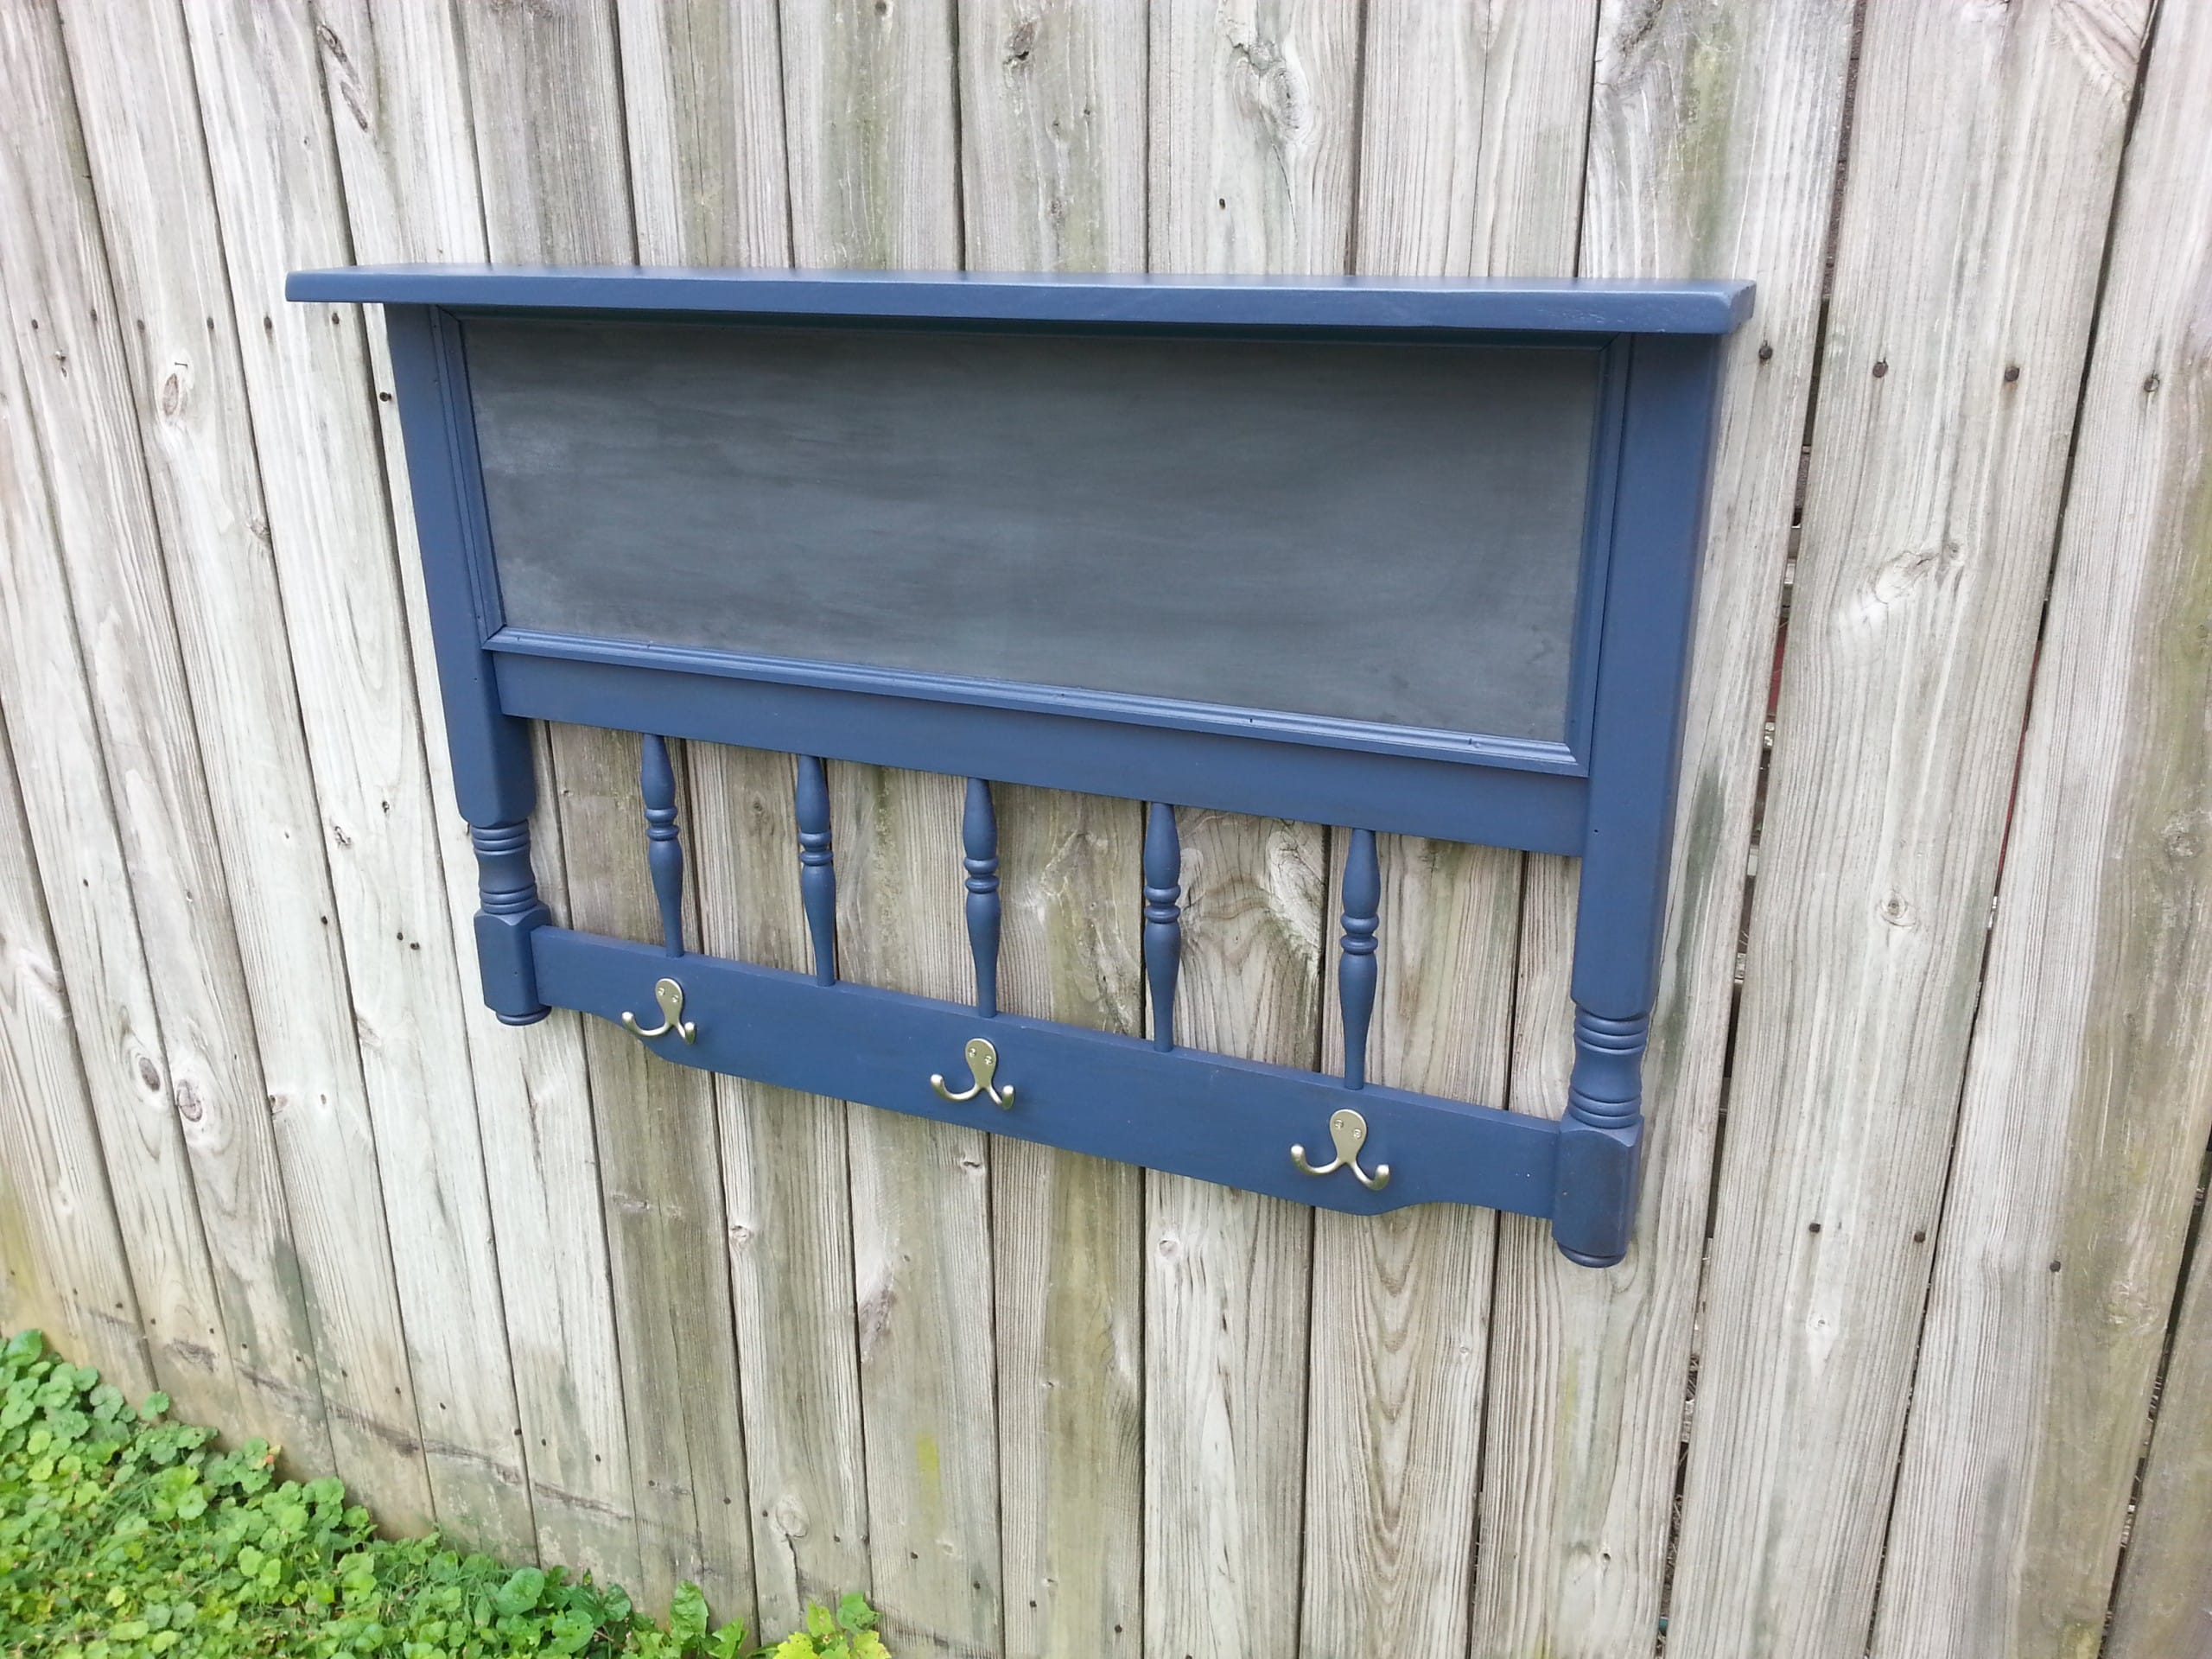
The Headboard Chalkboard needs a top shelf.
I thought this coat rack would be more useful with a top shelf, so I added one and secured it with Gorilla wood glue and my Ryobi stapler.
Coat rack with chalkboard and a shelf!
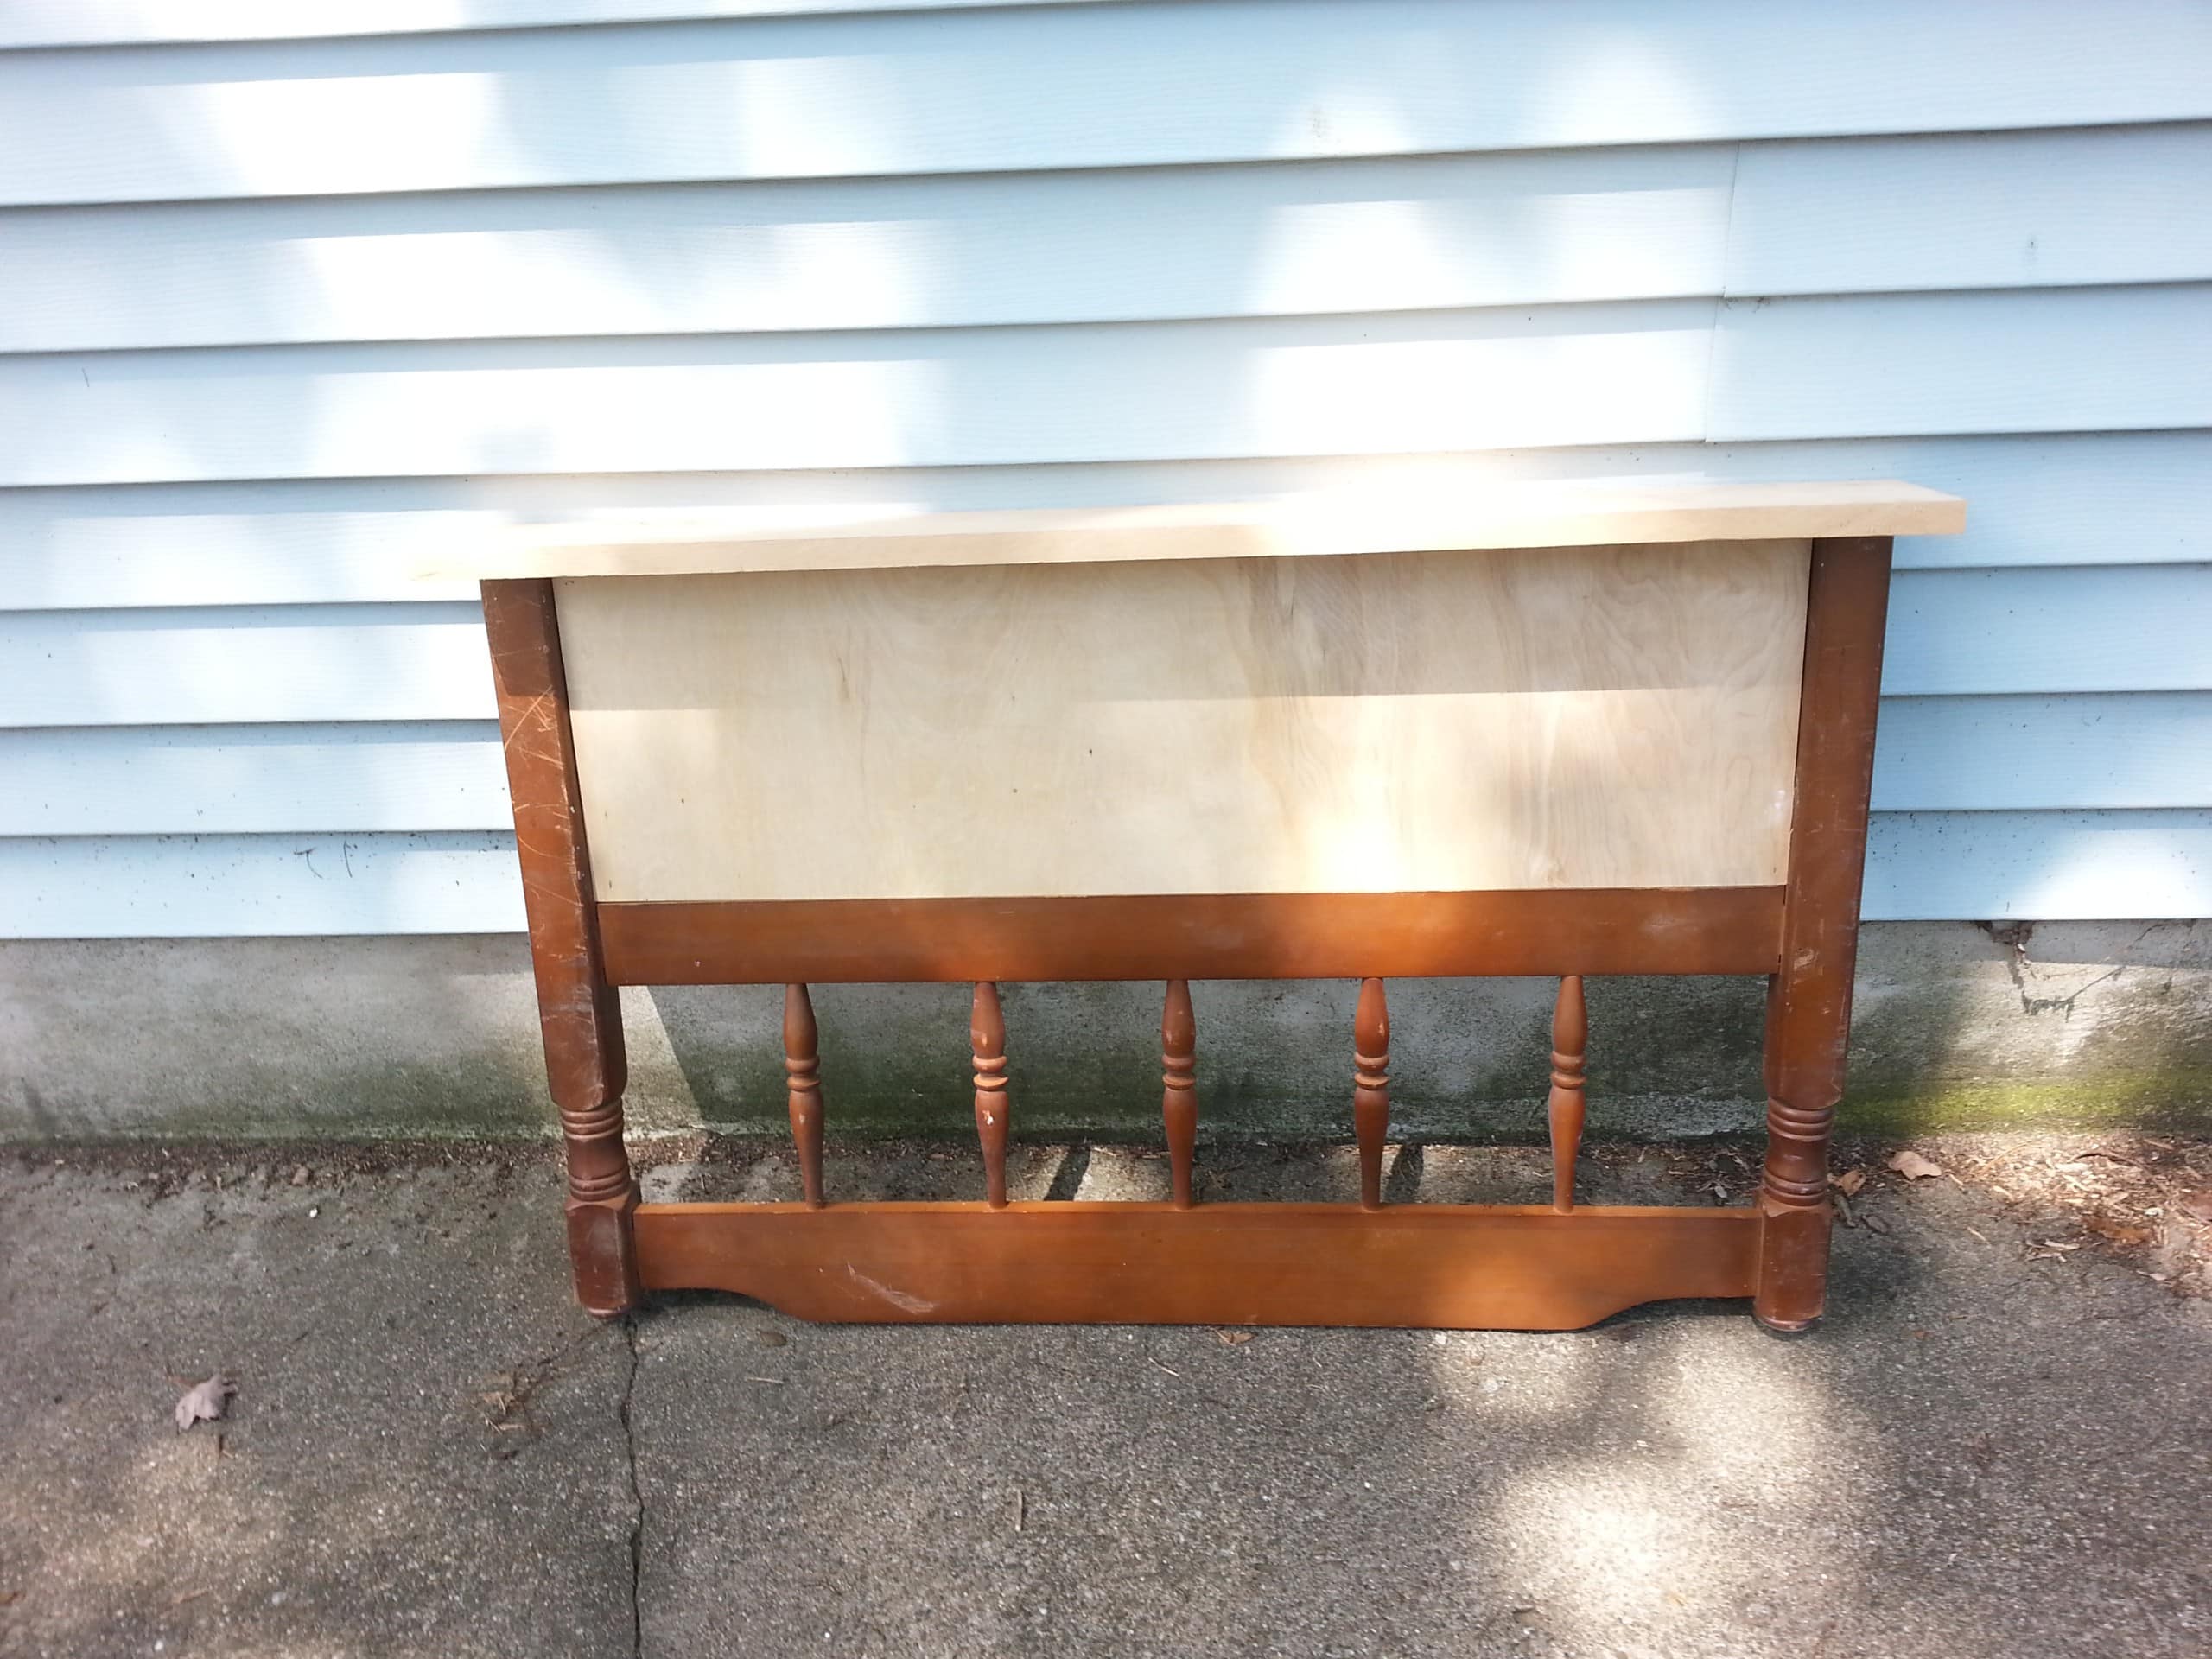
This is the progress so far. In hindsight, I wish I had left the tops (now the bottom legs) slightly longer. Notice how it rests on the cross piece instead of the side pieces.
Add trim/molding to the chalkboard area.
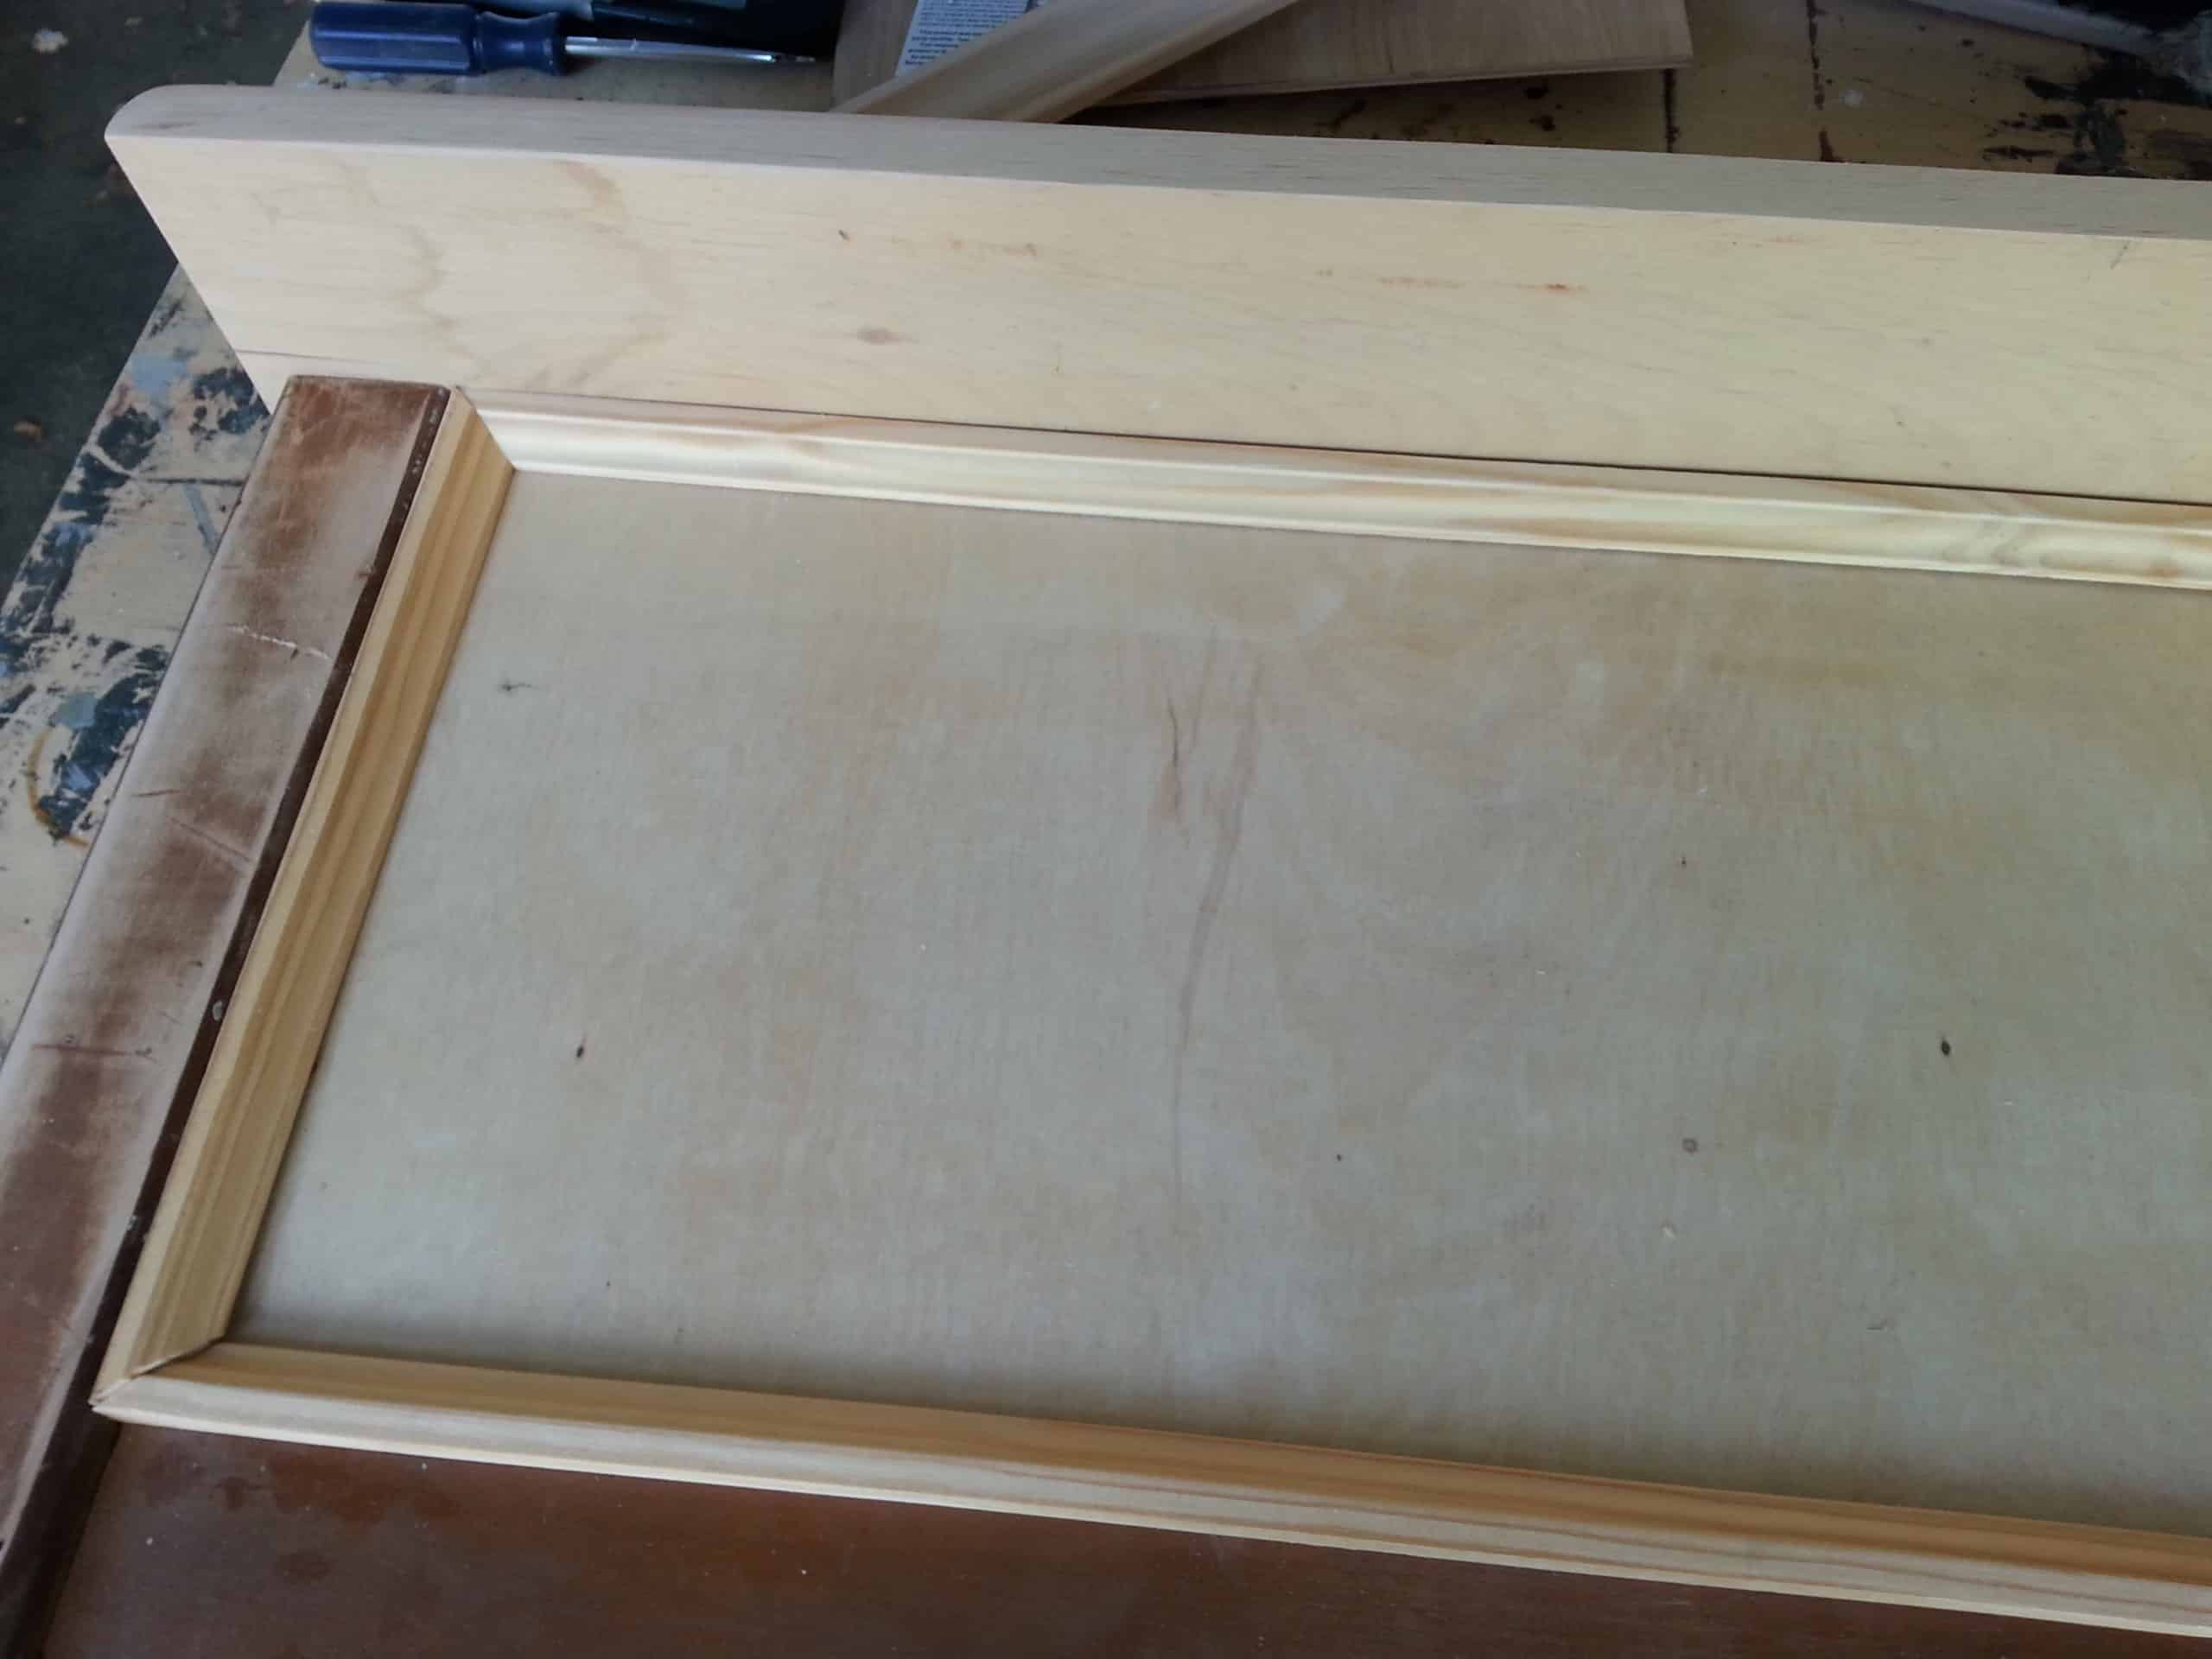
I did some light sanding, and just before I took it to the paint booth, I decided to cut some molding to give the area where the chalkboard meets the other pieces a more finished look.
Paint a coat of primer.
I used my HomeRight Finish Max to prime this and three other repurposed headboard projects.
Add hooks and hardware.
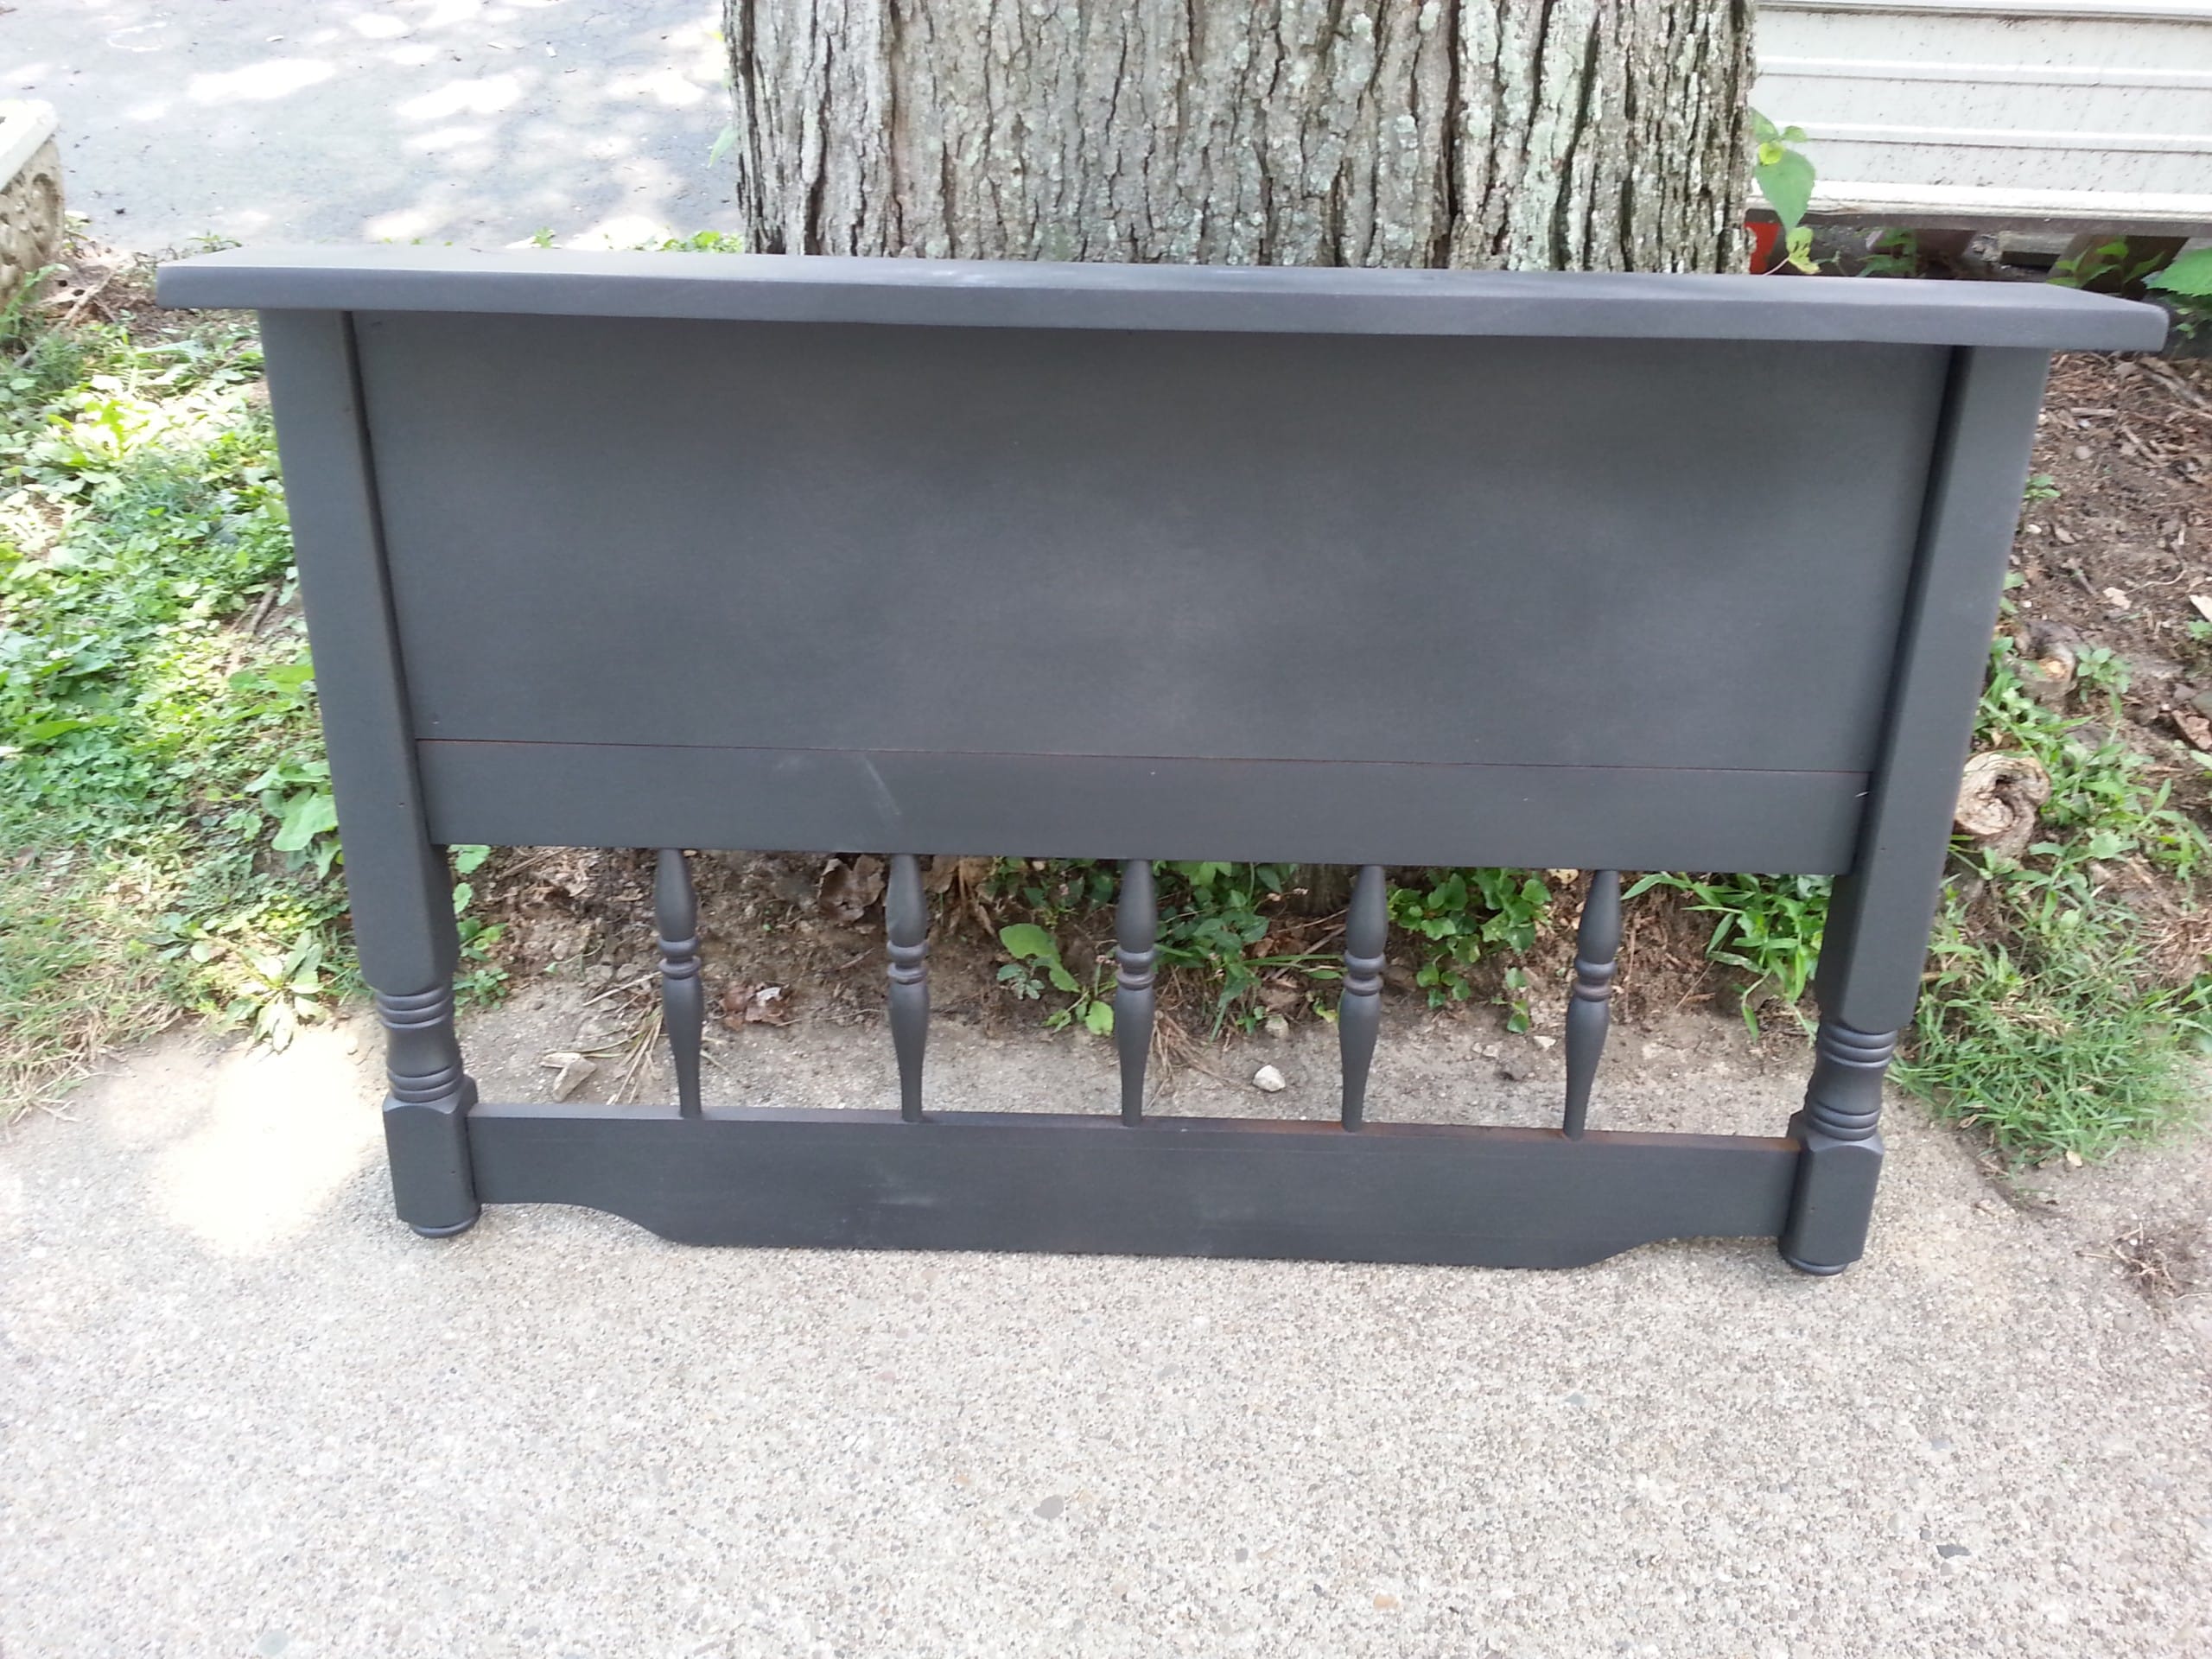
Then it turned H.O.T. I had to bring the headboard inside to finish it. Then, I painted a coat of Naval blue, the same color I used on the twin beds makeover. I painted it on with a brush because I didn’t want heavy coverage; I wanted some of the black to show through.
While in the kitchen, I added the coat hooks (from Home Depot), D rings for hanging, and the trim (molding) pieces. You can see in the bottom right picture of this collage that I didn’t quite get the trim totally covered where it meets the bottom. I did some touchups there, and I used the Ryobi Airstrike nail gun.
Headboard Chalkboard Coat Rack
I made a similar repurposed headboard coat rack chalkboard several years ago.
Related Content: Navy Blue Furniture Projects
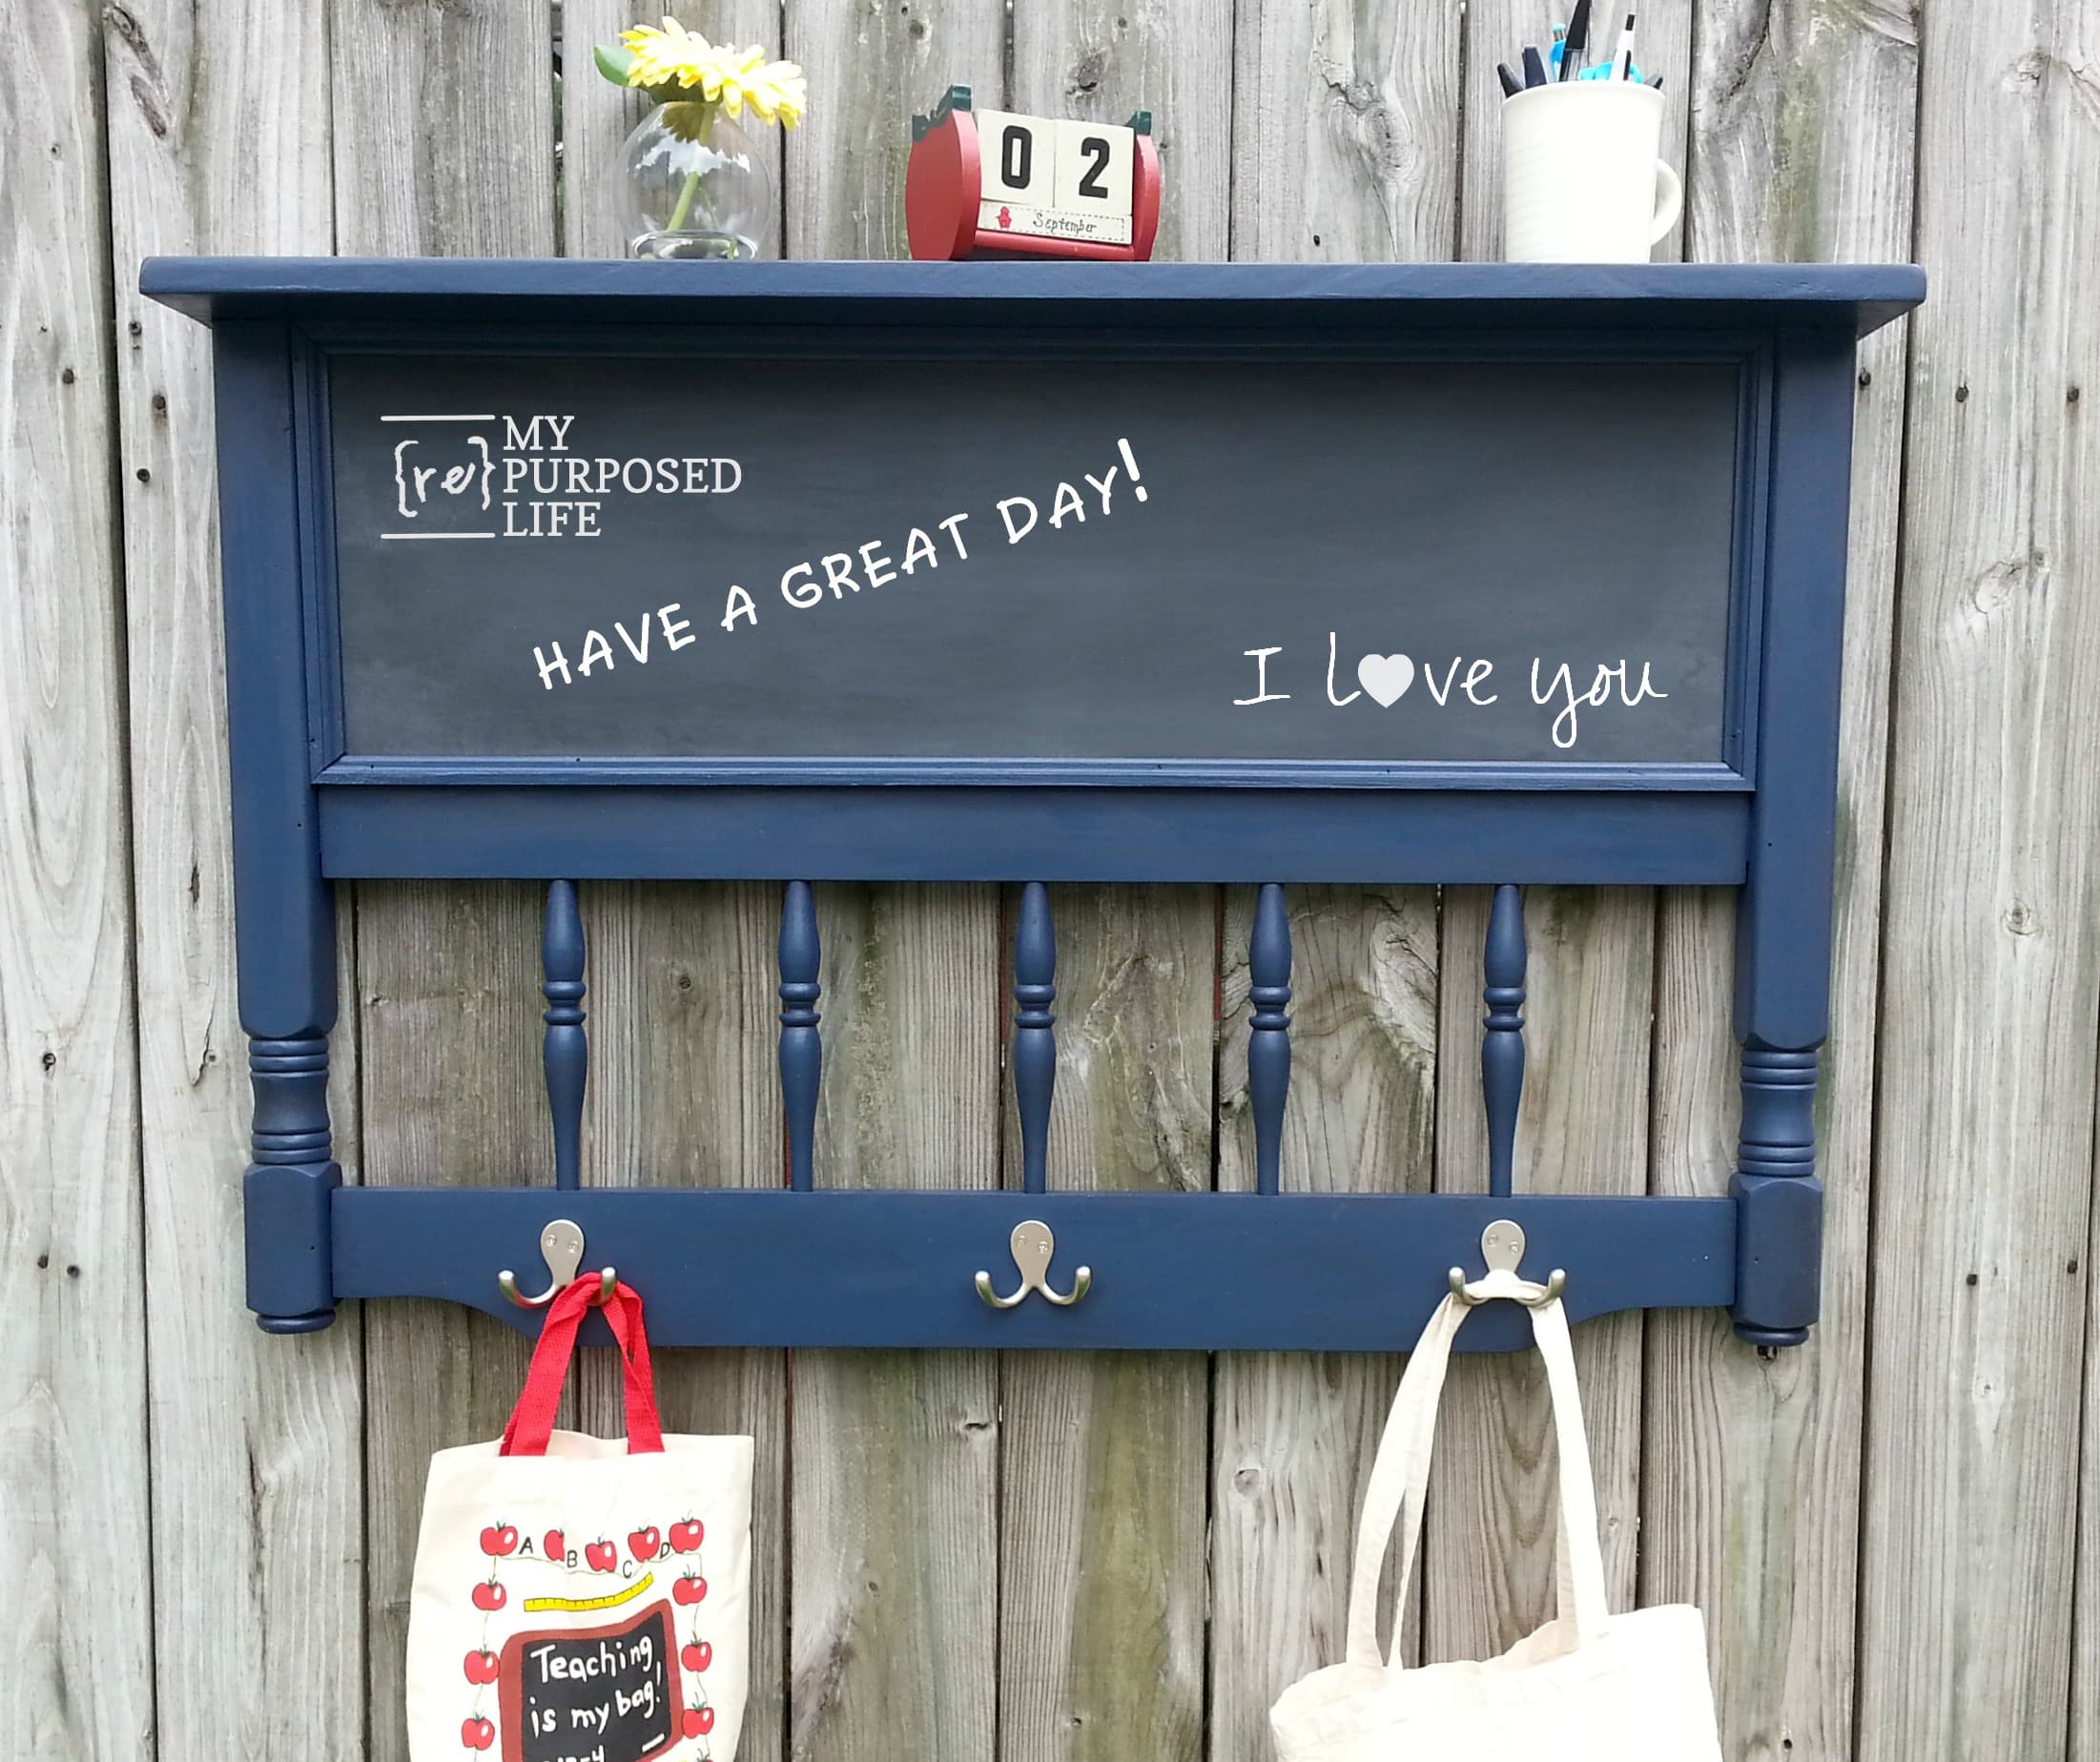
No, it’s not meant to hang on a fence, but it’s the only place I have that gets good light for pictures. I think it’s perfect for a busy family just in time for back to school.
Not every headboard becomes a bench around here. 🙂
What is your favorite part about this transformation?
gail
sharing at Sharon’s Be Inspired Party
See more great projects @ Not Just a Housewife
See other great headboard projects here
Wow Gail, you really know how to rock a headboard project!
You do such awesome work Jen! I’ll have to come visit you soon! I think I can squeeze something else in my house! lol
Lovely! Just curious…why didn’t you let the lovely knobs on?
Nice!
Great job. Have you tried magnetic paint or adding metal to the piece before painting? I could see notes, etc. held by magnets.
Great job!!! You are so creative. I love how it turned out! And would love to have something like this for just what you said-back to school a place for all the book bags to go.