iPad stand | easy Thrift Store Decor project
As an Amazon Associate, I earn from qualifying purchases.
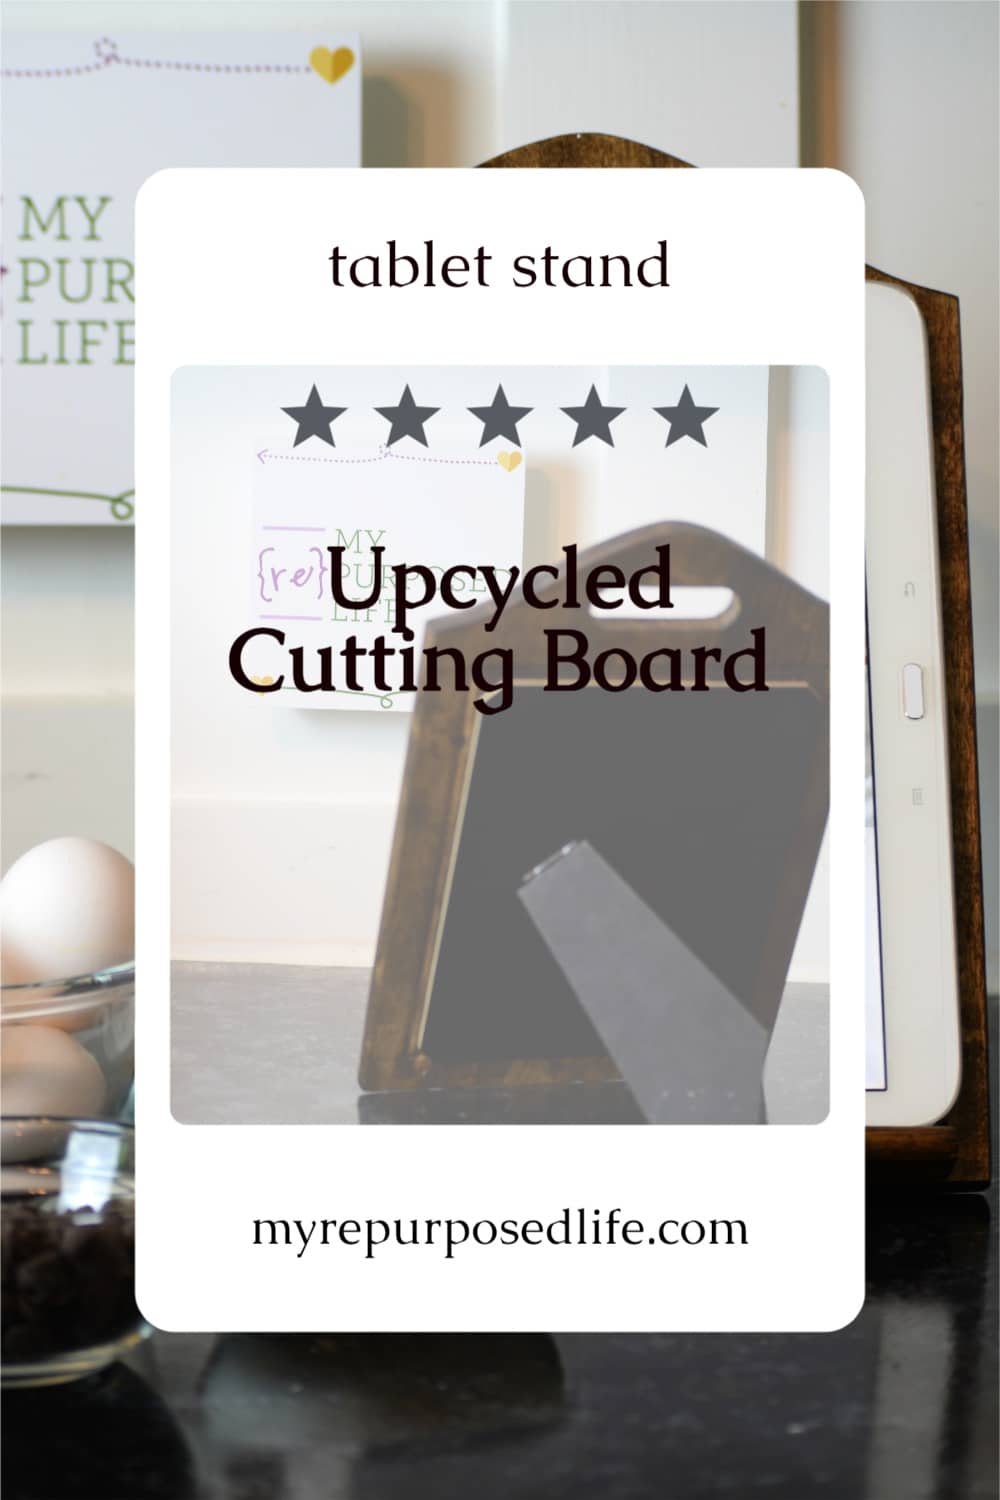
I’ve seen a lot of my blogger friends make an iPad stand. I’ve wanted to make one for a long, long time. Have you been looking for an easy way to make your own iPad stand for your kitchen? I was talking to my daughter Jamie about it, and she came up with the best idea of making the iPad stand sit on the counter without falling over. She was talking about using a picture frame for the iPad stand…. but that made it become a light bulb moment for me.
Let’s take a look at this easy iPad stand project.
Thrift Store Cutting Boards
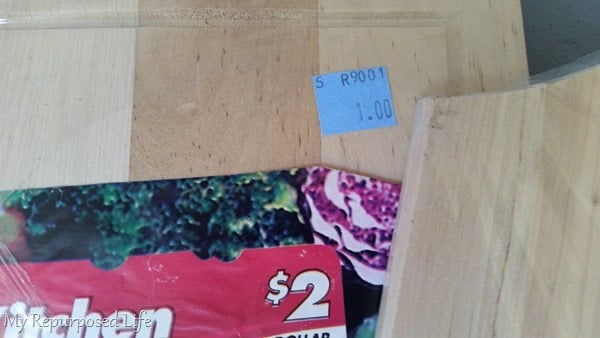
I bought two cutting boards for a dollar in Bowling Green at Grandma’s Attic, so using one of them for this month’s Thrift Store Décor project was a no-brainer.
Materials for DIY iPad Stand
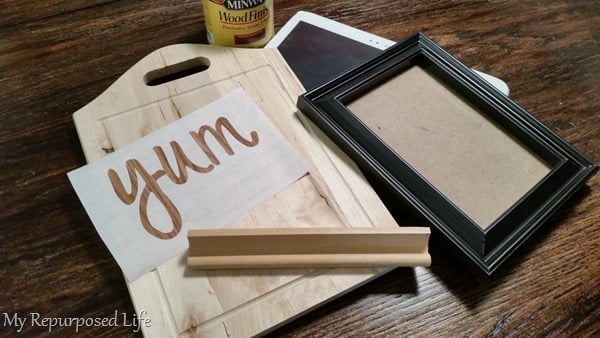
What you’ll need to make this easy iPad stand for your kitchen.
- Thrift Store cutting board
- Scrabble tile holder
- small picture frame
- Minwax stain (I used Dark Walnut)
- rag
- Minwax Polyurethane
- cheap chip brush
- nail gun
- Gorilla Glue Construction Adhesive
- vinyl image of your choice
- Hem Guide (optional)
How to Apply Vinyl with a Hem Guide
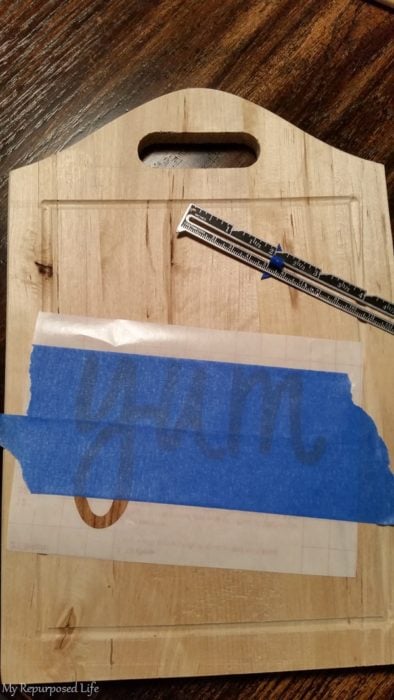
Jamie recommended that I do a negative stencil with the word “yum,” staining over the vinyl and allowing the letters to be the original light-colored wood. Sometimes, I like to use painter’s tape as a transfer tape. The hem guide helps center the word on the upcycled cutting board iPad stand.
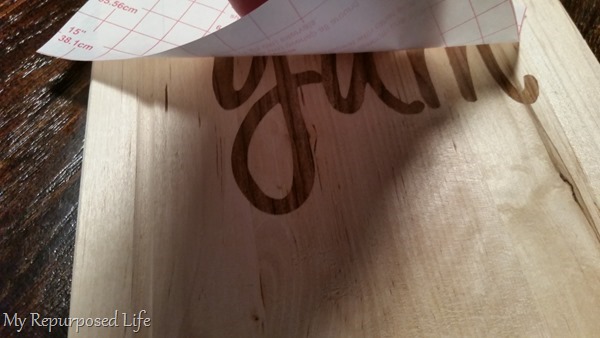
I applied the vinyl word yum that I cut out of contact paper.
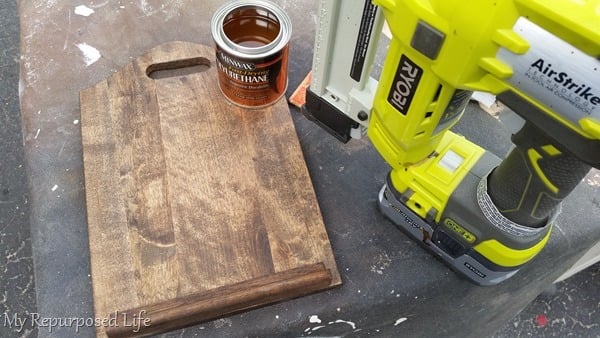
Stain Cutting Board and Scrabble Tile Holder
I used a rag to apply the stain to the cutting board and the tile holder.
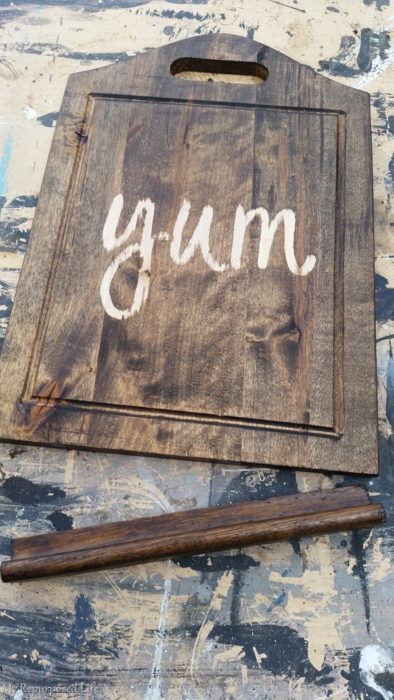
Oops! The stain bled under the contact paper stencil. This probably wouldn’t have happened had I painted the cutting board before staining.
Scrabble Tile Holder to Hold the Tablet
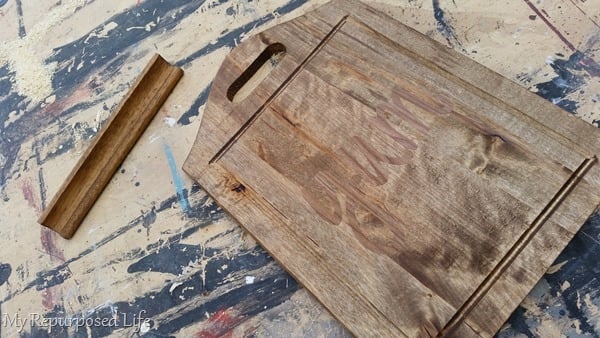
I used my staple gun to attach the tile holder (from the back). Then, I used the chip brush to apply the poly to seal everything.
NOTE: You don’t need a nail gun; you could use your favorite fastening method: wood glue, hot glue, or super glue.
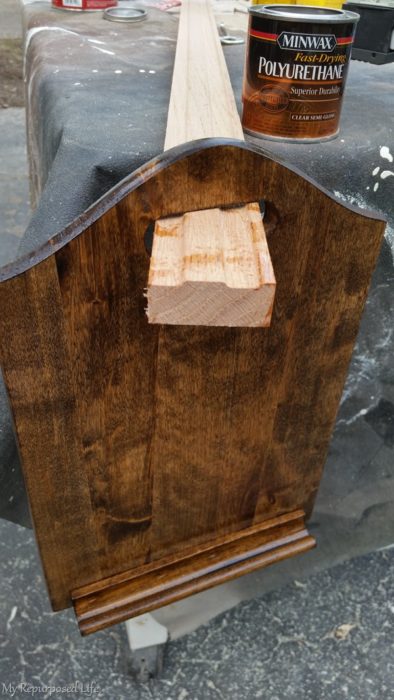
I hung the cutting board from the handle to allow the poly to dry.
What makes this iPad stand out from any other?
Picture Frame Easel
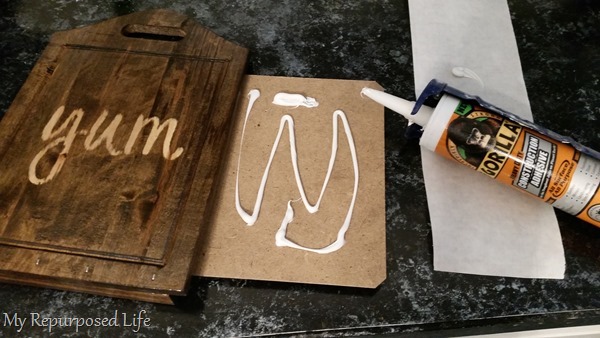
On to Plan B—I’ll put the back (easel) over the word “yum.” I used Gorilla Construction Adhesive with my caulk gun.
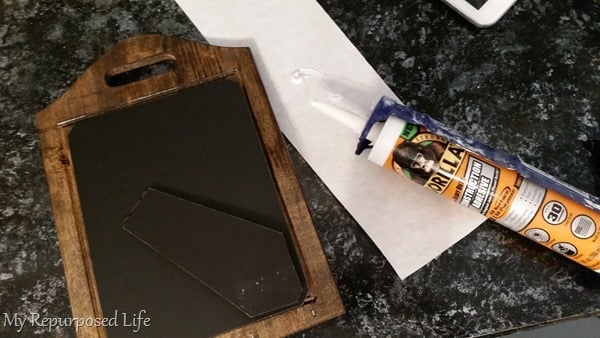
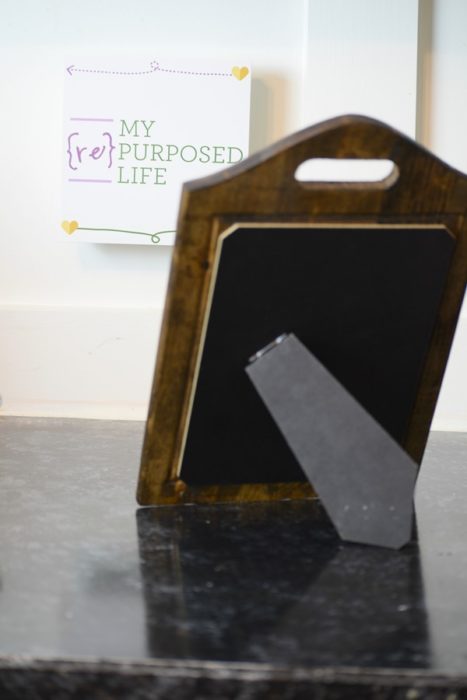
Isn’t it genius? It’s so simple—brilliant, actually! There are no hinges involved. As I mentioned above, when I told Jamie that I was doing this project, she mentioned using a picture frame. Then, there was some brainstorming, and somehow, it was decided that the back easel of a picture frame would be perfect to support the new tablet stand.
NOTE: The easel doesn’t go all the way to the bottom of the cutting board, which allows the iPad stand to tilt well.
Add Monogram to iPad Stand

I did a monogram on my Silhouette Portrait. As always, I used my hem guide to help with the placement of the vinyl.
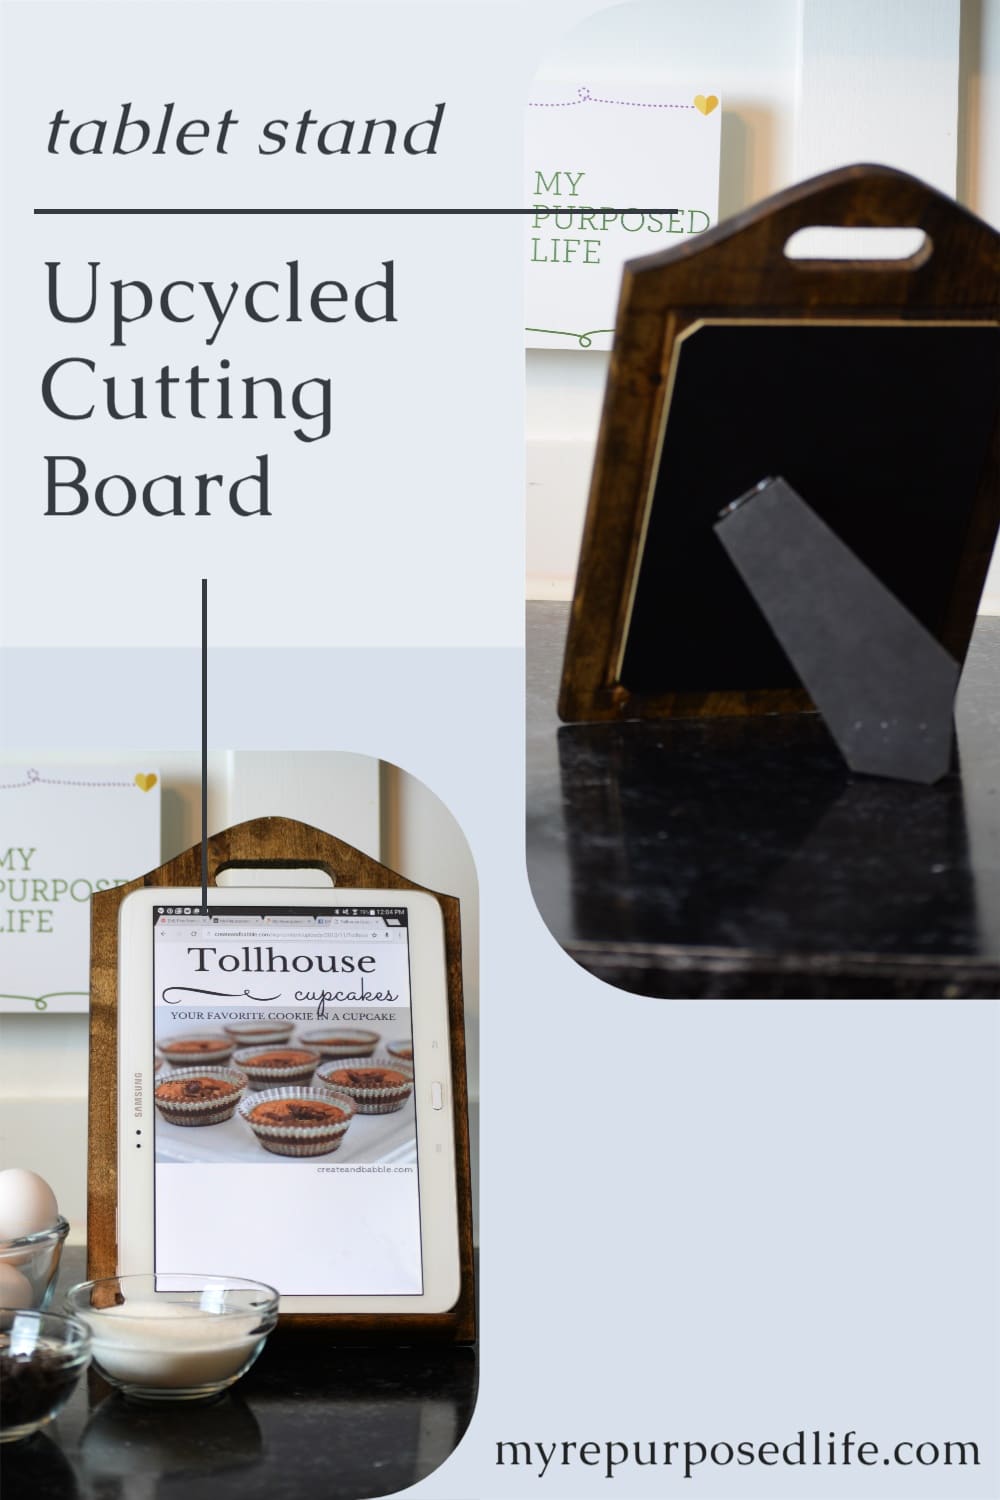
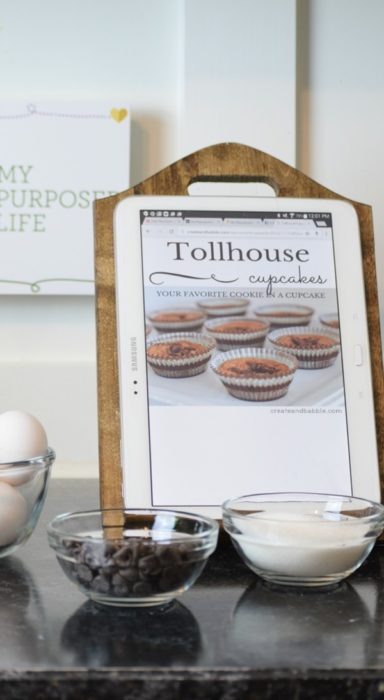
DIY iPad Stand in the Kitchen
If you cook or bake frequently, a tablet stand like this is excellent for displaying recipes.
Find this awesome Toll House cupcake recipe at Create and Babble


Of course, it can also be used for browsing your favorite sites or watching a movie while you work in the kitchen.
This was a very fun project. Be sure to check out my friends’ other Thrift Store Décor projects below.

Lettered Sock Bin Bliss Ranch
Farmhouse Candle Holder Our Southern Home
Thrift Store Chair Makeover DebbieDoos
Wooden California Clock Domestically Speaking
Spray Painted Thrift Store Decor Petticoat Junktion
Globe Makeover Setting For Four
What have you made over from the thrift store lately? Do tell!
gail
Related Content:
Repurposed Cutting Board, Chalkboard, Tablet Holder PLUS Key Rack
If you love thrift store makeovers, you may want to check out these projects:
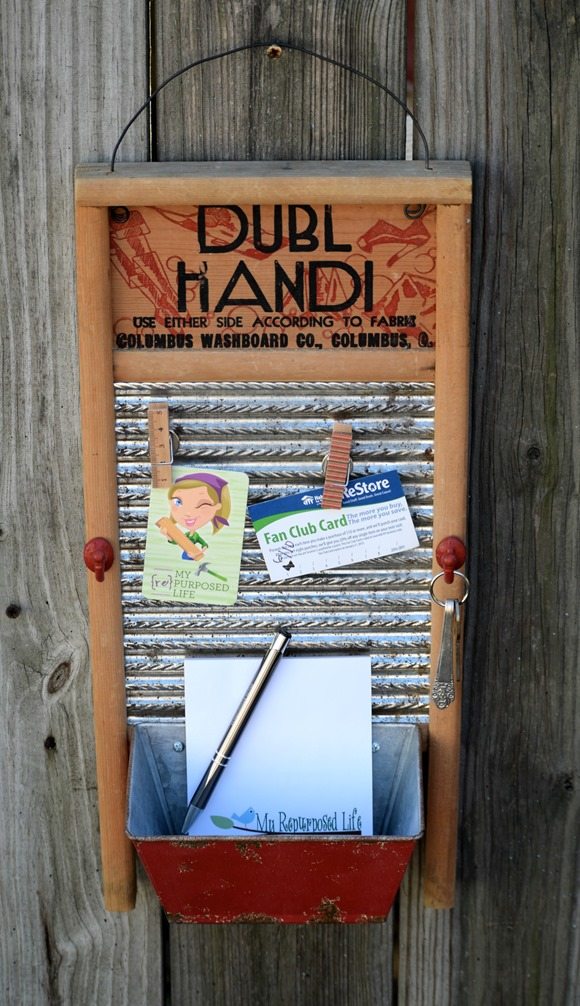
Repurposed Washboard Memo Holder
Some great ideas here! But, did you keep the YUM or not? Can you be more specific on the steps involved in doing a reverse stencil? Thanks for creating such a unique and terrific item! Sandra
Sandra,
No, I didn’t keep the YUM. A stencil means you remove the letters and toss them. For a reverse stencil, you USE the letters to paint or stain over them. One way, the project remains the same color, the other way the project color is changed, leaving the original color under the letters. Gee that’s confusing, isn’t it?
Just take another look at the pictures and maybe it will make sense. 🙂
Thanks for stopping by and taking time out of your busy day to leave a comment. I read each and every one!!
gail
You are a genius! Thanks for the clever idea. I think I’ll attach a picture hanger on the backside, on the picture stand, to store as wall decor in my kitchen. And what a nice gift it will be for the cooks I know!
Happy holiday Gail !
Blessings, Edie Marie
Thank you so much Edie!
It really is THE easiest way to make an iPad stand, right?
Have fun making your own version.
gail
I would never get around to making the ipad stand (altho a great idea), but I do like the washboard!!! In fact, I actually have a small one in the attic. A few years ago my granddaughter visited an old plantation and got to wash clothes on an old washboard. She thought that was just soooo cool, so she asked for one of her own. I got her one, she used it once!!!! Guess it wasn’t as fun as she thought it would be:) Thanks for giving me an idea of what to do with it:) I still am unable to enter my website address below!!!! Don’t understand why??????
I just recently made one and just used it yesterday! I had been wanting to make ome big enough for my Kindle and cell phone at the same time (I like to jam while I cook). I bought something from Restore for $1 that was just perfect. I think it was one of those roll out shelves that is used for your cutting board. I also used a hinge that I didn’t use for something else and a piece of scrap wood for the stand. I absolutely love it! It works great for reading off my recipes and it’s also large enough for a recipe book. But on this, the pic frame backing is genius! Wish I saw this sooner. I probably would have done the same thing.
I love that you made your iPad stand customized to how you needed it Tania! That’s what DIY is all about. Thanks for thinking the picture frame easel is genius, I thought so too! I haven’t seen anything else like it before. It’s so difficult to come up with something “new”.
gail
I love this idea! I could really use one in our kitchen. I’m on the hunt now for the supplies!! Well done my friend!
My neighbor really loved it when she saw it, so I told her “since you cook more than I do, you’re welcome to it” So I suppose I’ll have to make another one for me. Have fun hunting for the perfect supplies to make your own.
gail
This is genius, Gail. Love it! Thanks for sharing, Cynthia
Thank you Cynthia, I thought it was the best route for me. Sort of like taking the easy way out.
gail
Super genius Gail!! How ease to just glue the picture frame stand onto the back!! Seriously love it! Pinned!