Red Side Table | repurposed sewing cabinet
As an Amazon Associate, I earn from qualifying purchases.

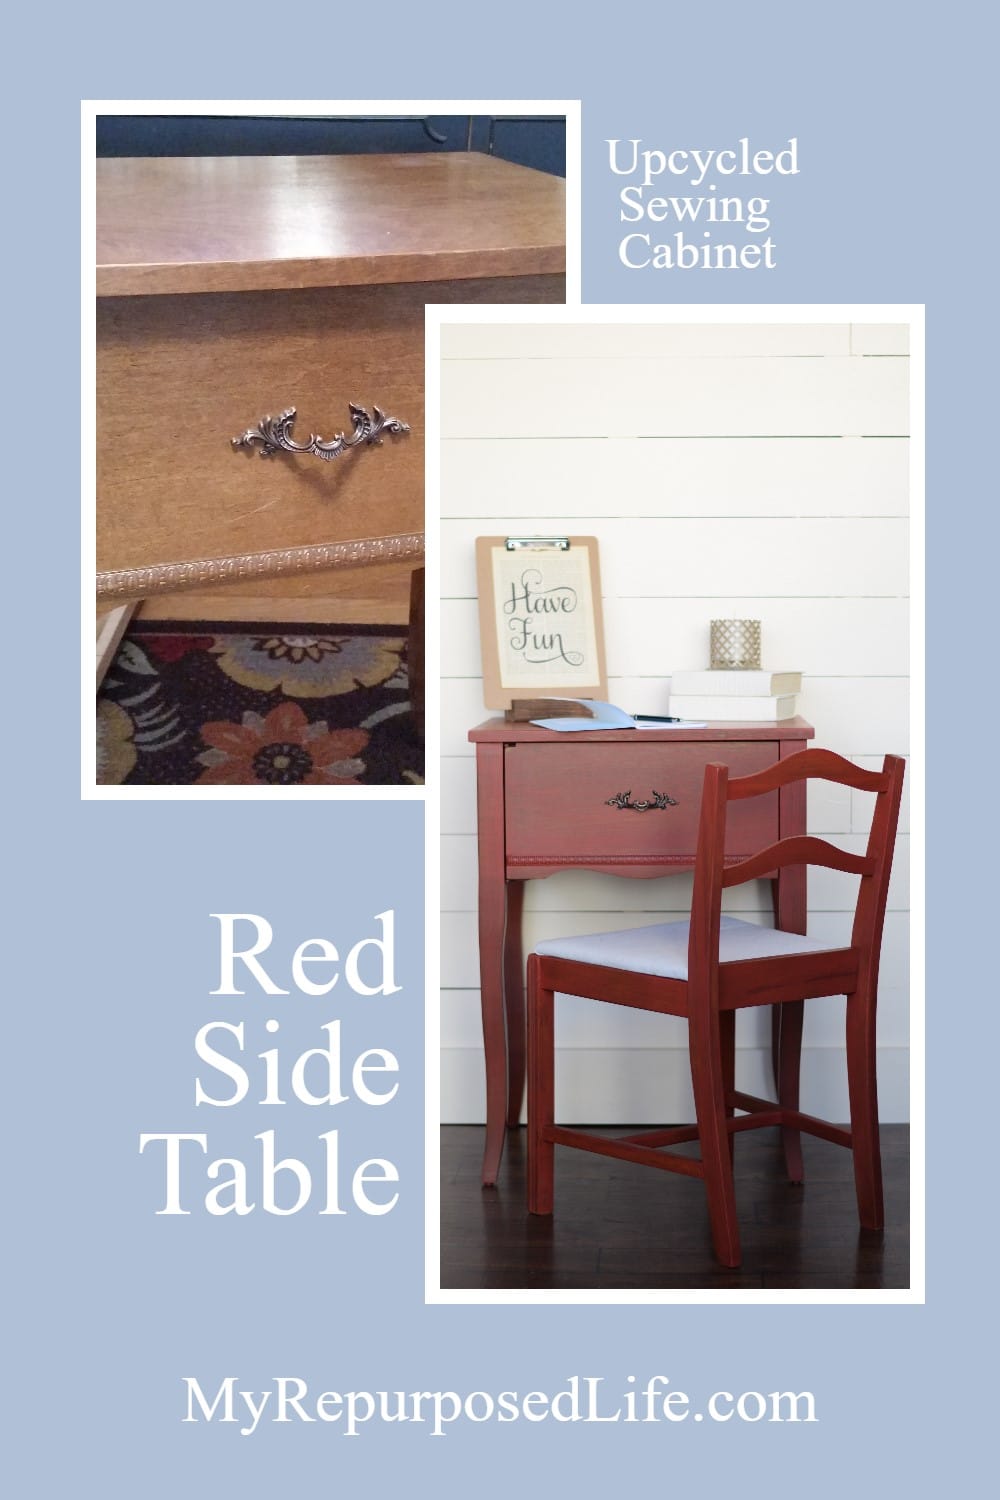
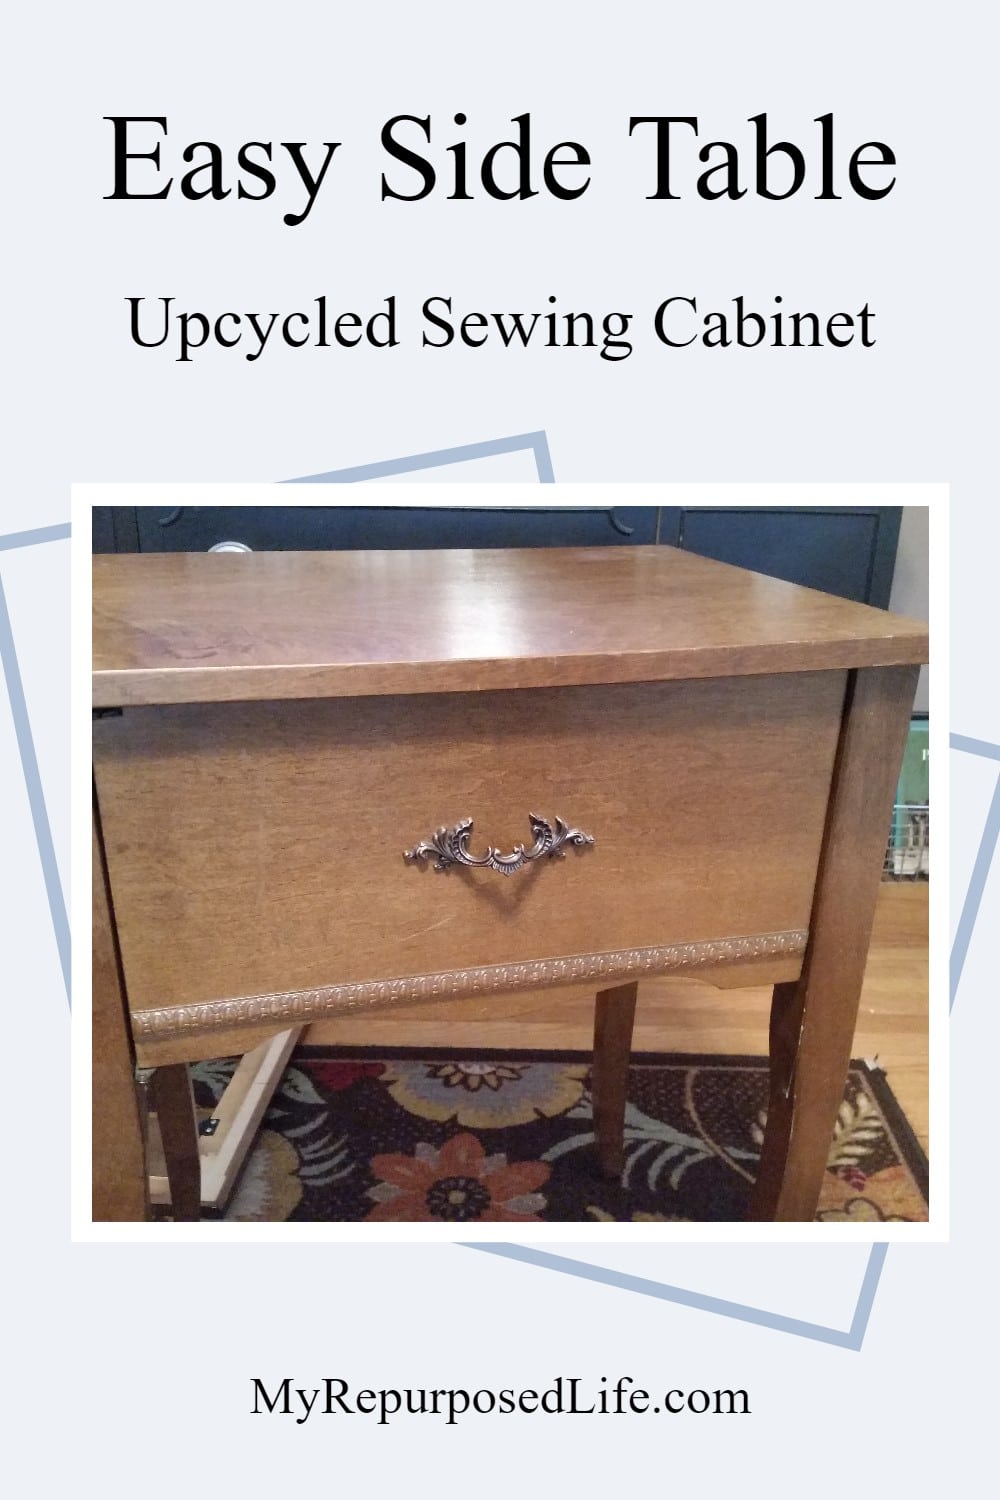
How to easily change up an $8 sewing cabinet into a red side table or writing desk.
Are you sometimes intimidated by what we DIY bloggers do? I know that I love using saws and such, but occasionally I like to take it easy with a quick and easy repurposed furniture project. That’s why I’m sharing this former sewing cabinet into a red side table with you today. It’s something you can do using only a screwdriver, or no tools at all, if that’s your choice.

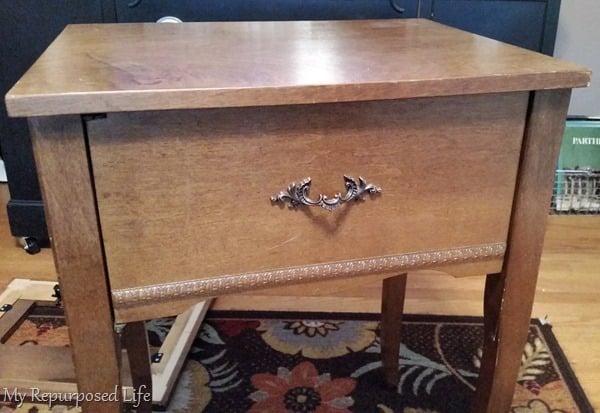
I shared this sewing machine cabinet with you last week. It was a great deal, and I think it was priced cheap because the machine was already removed. Little did the seller know, that I was happy to get this good deal on a cabinet sans machine! I do not like removing vintage sewing machines from their cabinets.
Visit the My Repurposed Life Amazon Store to shop my favorite items.
Dismantle the sewing cabinet
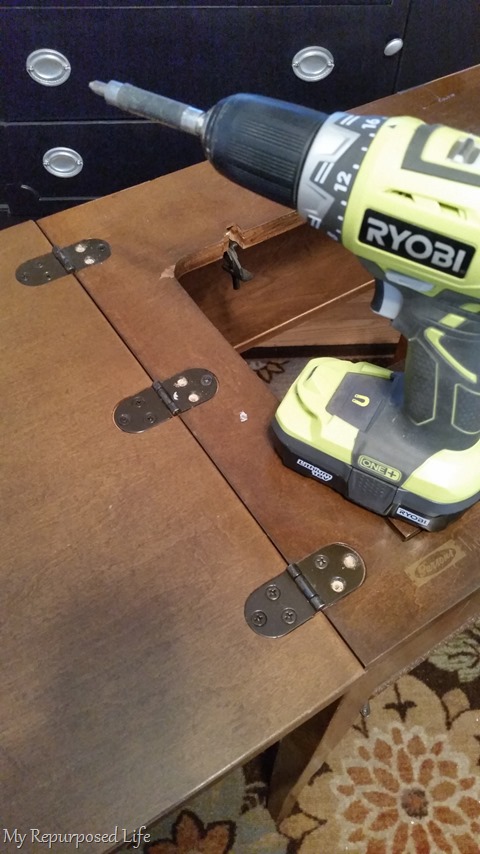
I started removing the hinges—I always remove two on each hinge, then raise the lid a little in order to safely remove the last screw in each of the hinges.
TIP Save the hinges and the screws for a future project. These are very strong hinges.
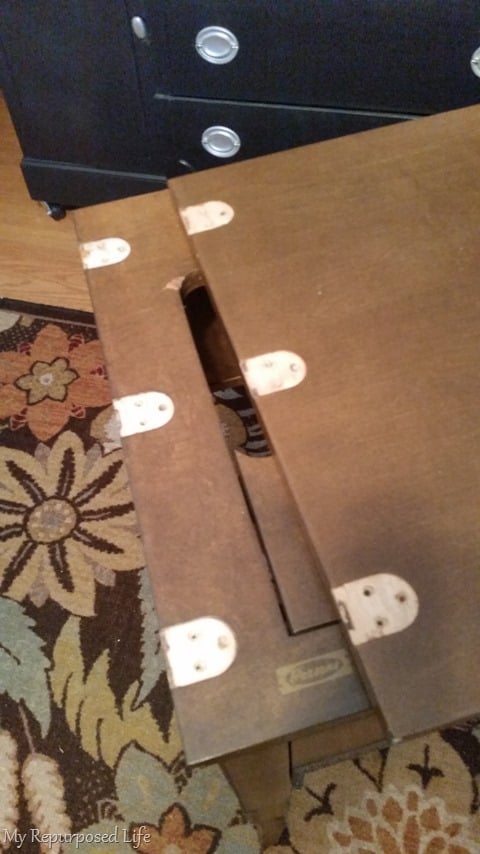
The lid is slightly cut out where the hinges were, if you’re really particular you can fill the holes and the indention. I did not. This was intended to be a “quickie” project.
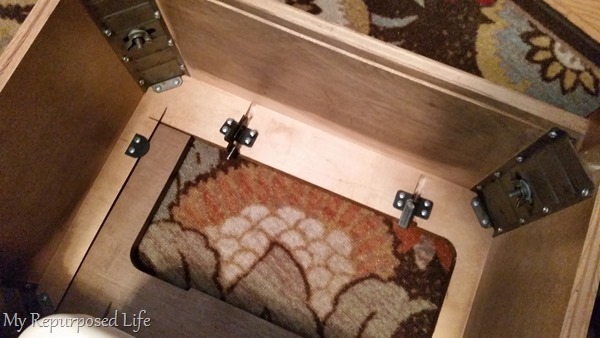
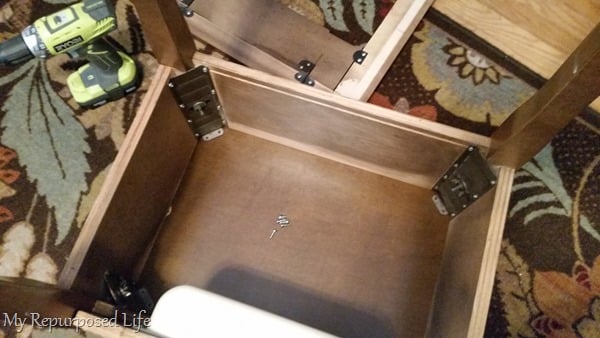
This is the underside of the sewing cabinet. There were only six screws holding the frame (that held the machine) in place. I removed those six screws.
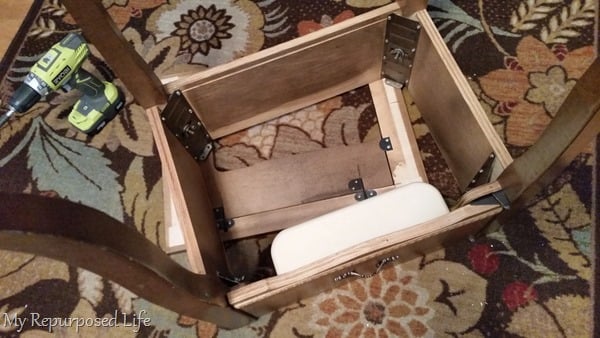
The frame was so easy to remove, and it’s going to make a huge difference in the way this cabinet looks when it’s done.
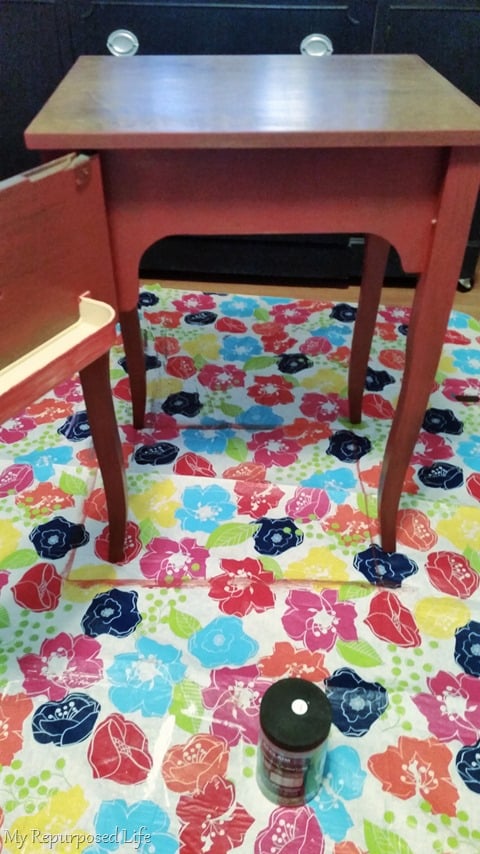
Replace the top of the sewing cabinet
I placed the cabinet on the underneath side of the original lid, and attached it with the screws that I removed.
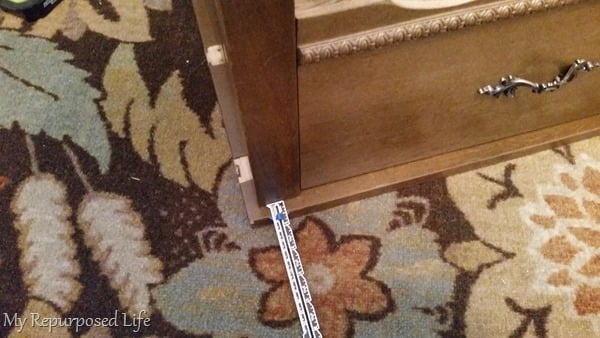
I used my hem guide to make sure that there was equal distance all the way around on the top (lid).
There ya go! Now, if you want to skip that step and make it extremely easy on yourself, go for it! On one sewing machine cabinet I did, I glued down the lid.
Make tweaks to the cabinet
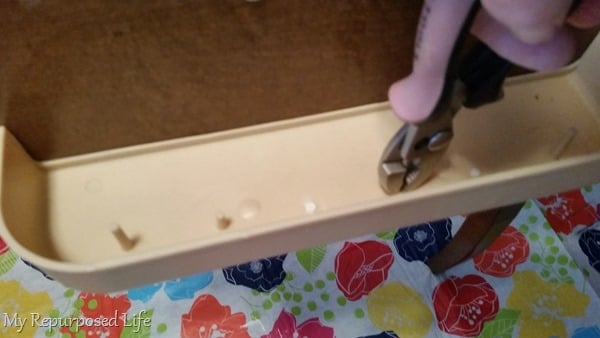
I decided to leave the small plastic drawer piece attached to the inside of the door. I thought it would make a nice little hiding place for keys, phones, chargers, etc. However, I thought that the little spool pins would be in the way. I simply snapped them off with my pliers.
Paint the New Red Side Table
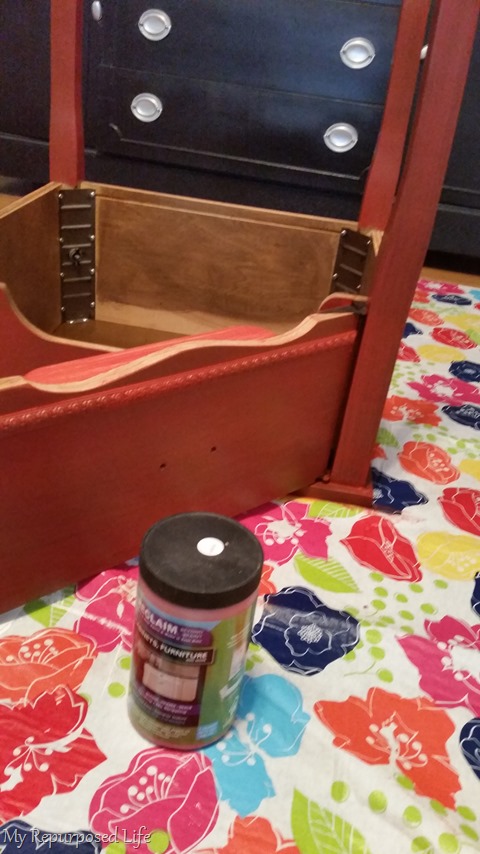
I removed the handle and used a cheap chip brush to paint one light coat of Reclaim Paint in Poppy. This jar of paint is going so far. A little bit of paint goes a long way. I love painting furniture black, then giving it a dry brush effect with red to make it look glazed. This time I chose to do a very light coat of the red to see if I could achieve the same look.
Because the inside of this cabinet was in such great shape, I didn’t paint it.
I ended up having to do two coats of paint on the small plastic drawer, but one light coat on the rest of the piece.
Furniture Wax Options
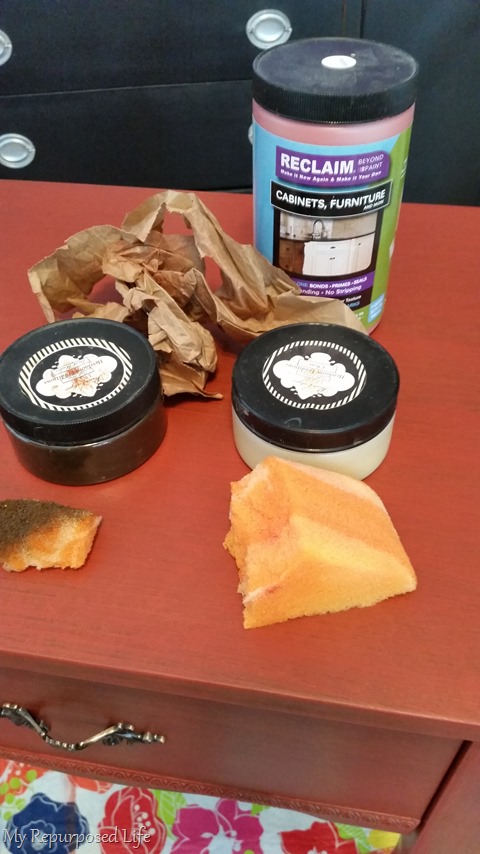
These are the items I used on this cabinet makeover.
- Reclaim Beyond Paint (Poppy)
- Heirloom Traditions Paint clear wax (for the cabinet) dark umber wax (on the little plastic drawer)
- carwash sponge to apply wax
- paper towel (to wipe off excess wax)
- brown craft paper (to buff the wax after it dried)
TIP I dampen the sponge slightly before applying the wax.
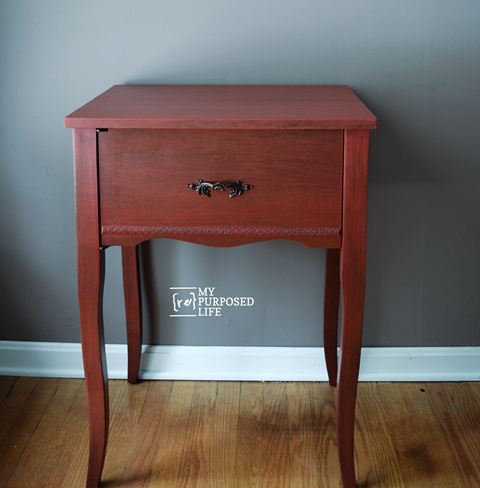
I wiped off the excess wax with the paper towel a couple of hours after waxing it. The next morning I used the brown craft paper to buff the finish to a beautiful sheen and feel.
I reattached the original handle without doing anything to it.
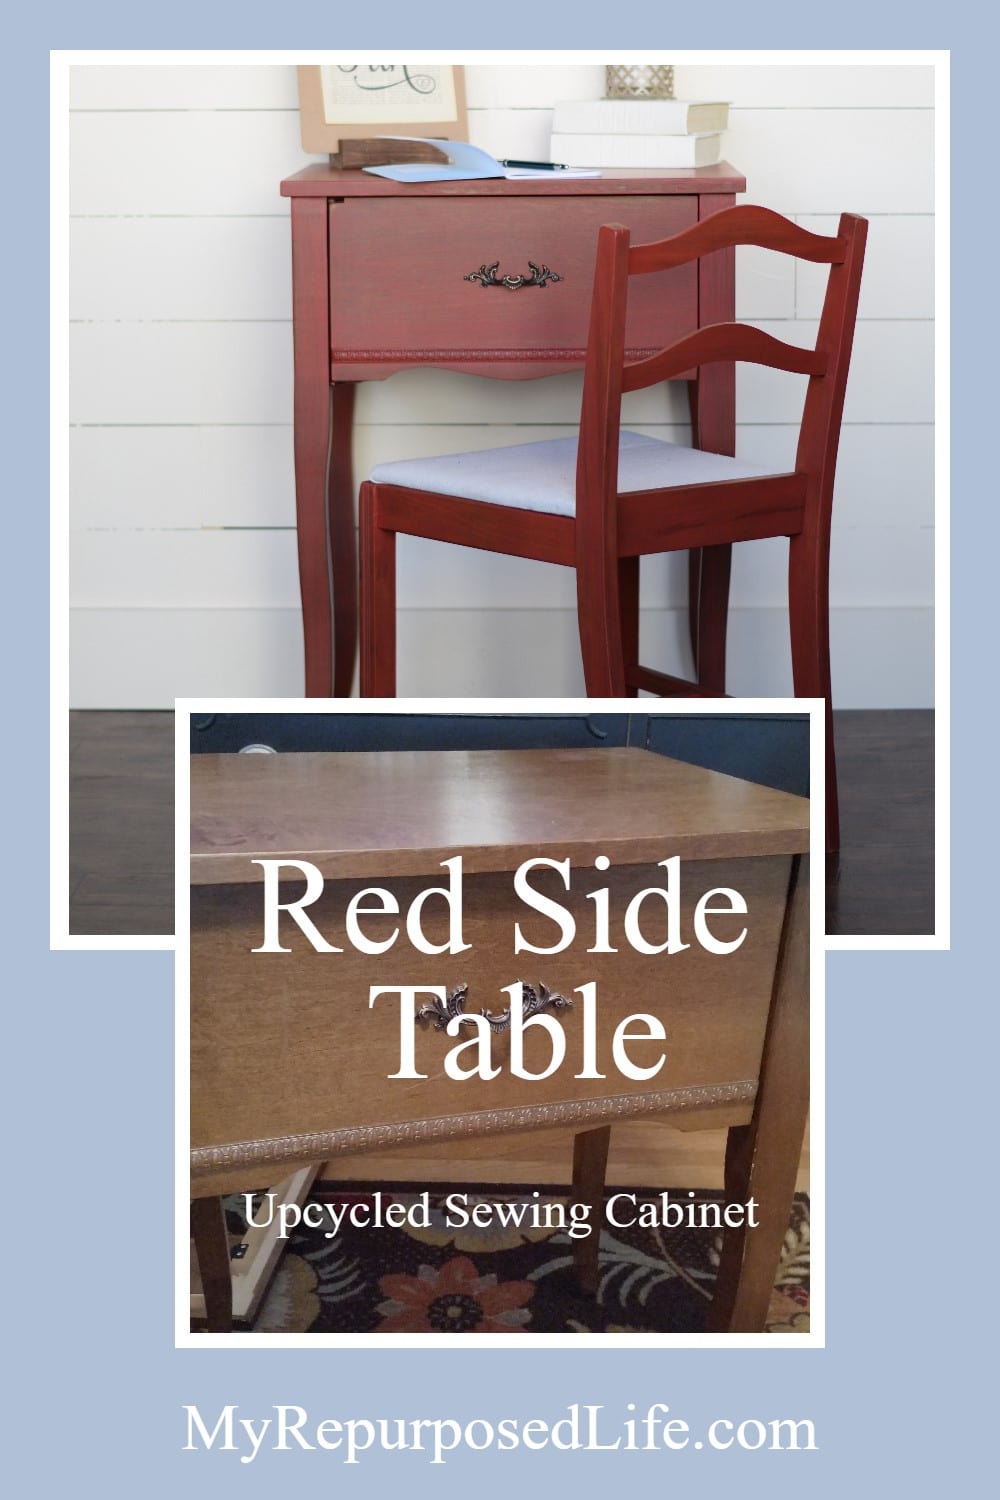
Easy Red Side Table
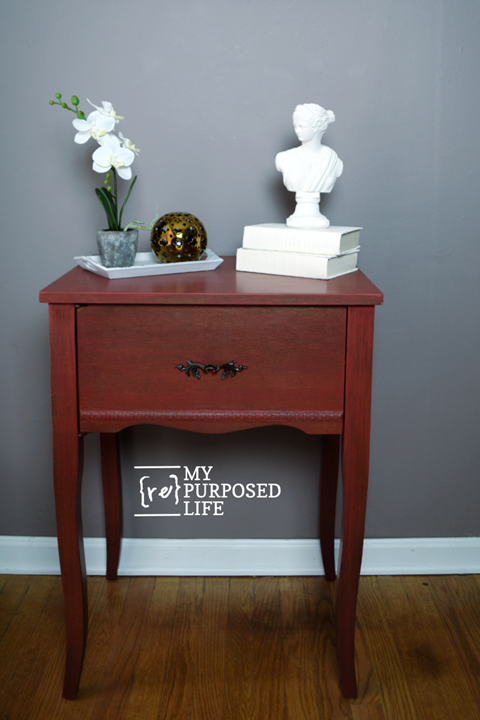

I love the legs on this new red side table. Also, I think it looks better without the original frame that held the machine in place. I enjoy building and sawing, but this project really makes me smile.
What color would you have painted this side table?
UPDATE
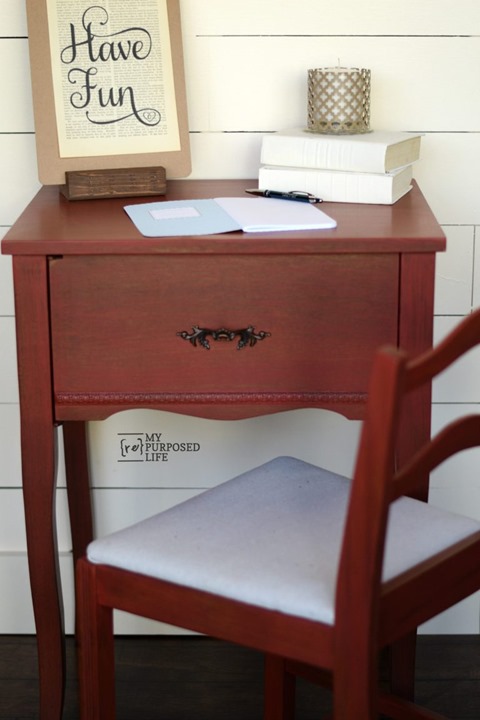
I found a $5 chair, painted it and gave it a new seat. For some reason I can’t find a before picture of the chair… or update pictures of me painting the chair. BUT! I do have pictures of it completed.
Please Save & Share on Pinterest!
gail
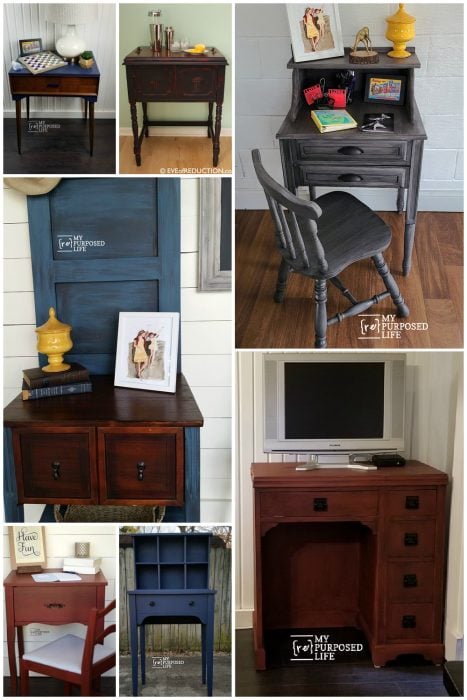
See More Sewing Cabinet Project Ideas
I recently saw one of these sewing tables that had a drawer inside the door. It was just a pain box that had drawer slides on either side so it slide so nicely. My sewing table is still serving drinks on the back porch, with a busier bucket in the hold for ice and drinks, and the opened top holds appetizers, or condiments.
Excellent use, in my opinion. I picked up one for free, in great shape, and like how the top opens up to the side. I picture it extending over a lower chair like an umm hospital table extension. Anyway, I love how you’ve used yours.
Thank you! That’s an awesome idea Diane!
gail
Car wash sax? Ive never heard of this-please explain. Thank you!
Love the new life that you gave to this precious table. Red is always a favorite of mine 🙂
~Tami
Gail,
I just love the new blog layout! And you did an amazing job on the table. 🙂
Happy day!
karianne
About the new layout, thanks!
The table… it was so fun and easy–the best projects ever! Something anyone can do.
gail
You created a beautiful piece of furniture Very professional in appearance. I like the color, but doesn’t work with my interior. What do you think about a Shabby Chic whitewash look? My mothers sewing machine case is longer with drawers going down the right side, I think there are three. Not sure how that would look.
Thanks for the tutorial. Very helpful!
Shabby was my second choice, but the red was easier and I think it will sell just as quickly. I’m really into red these days.
thanks for stopping by Kathy!
gail
I love how the little cabinet looks finished. The color you used is exactly what I am wanting to use on a shelf I am going to update. Thanks for the neat project.
I just can’t get enough of red projects lately! To get the same look you can use a black basecoat and any red you may have on hand.
gail