Amazing Grace sign | Old Bed
As an Amazon Associate, I earn from qualifying purchases.
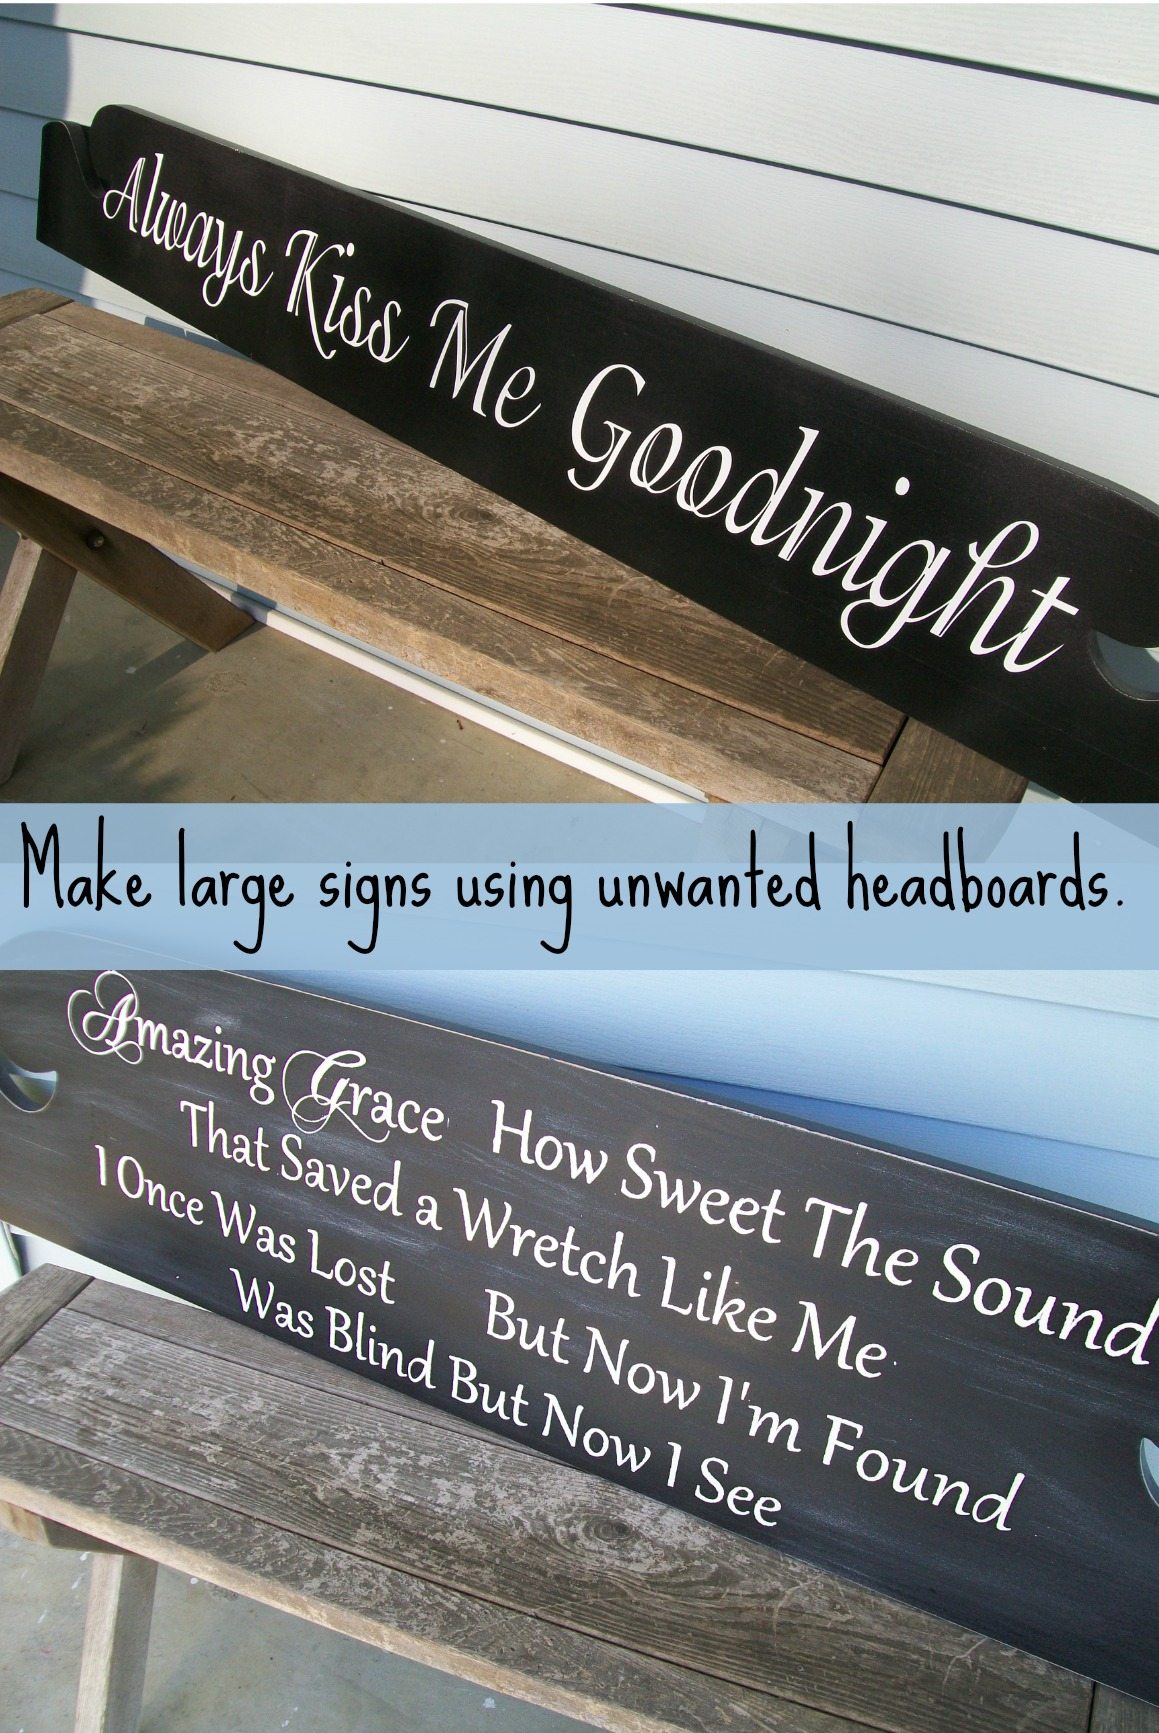
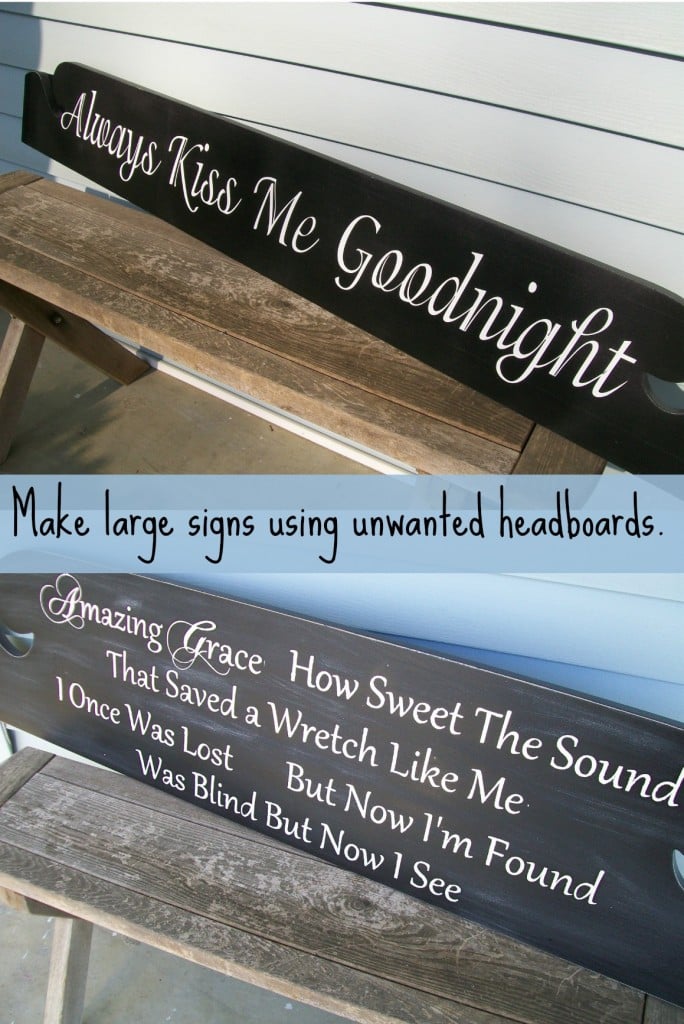
I can’t wait to share this Amazing Grace sign I made out of an old bed!
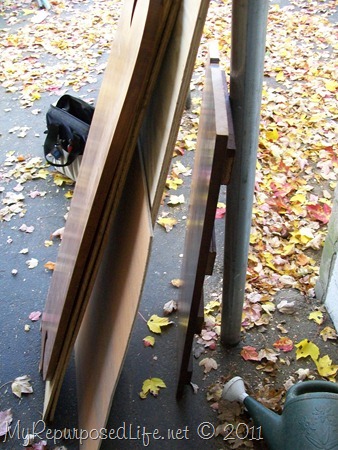
Let’s recap a little. I got this pile of stuff last fall from some very good friends. 
I showed you yesterday that I made a sign out of the foot board sign Always Kiss Me Goodnight.
Old Bed Sign Always Kiss Me Goodnight

Today, I’m showing you the sign I made out of the headboard.
Dismantle Headboard for Sign

I used my compound miter saw to cut the end pieces of on either end of the headboard.
Paint Headboard Pieces

You can see here where I cut it and that I painted it with primer.
Black Bed Pieces to Make Signs

After the primer dried I used my Paint Sprayer that I got at Harbor Freight to paint it black.
Amazing Grace Sign on Silhouette

I designed my words in my Silhouette program. I love that you can make it as long as you want it. This was almost 4 feet long I believe. I used a different font for the A in amazing and the G in grace. I used contact paper for this stencil because I didn’t want to waste my premium vinyl. You can see my settings. Speed=4 Thickness=3
Contact Paper Stencil on Silhouette

This is the polka dotted contact paper I used. I got it on clearance.
Lay Out Stencils for Amazing Grace Sign

After laying it out, I decided it wasn’t going to work in three lines as I have it here.

I cut the phrases apart and made it four lines instead.
Use Painter’s Tape to Lay Out DIY Stencil

Notice that since I am using this as a stencil, I have peeled away the “positive” and left the negative.

I used my handy self centering tape measure…. LOVE IT!

Still trying to get it all laid out.

I used some Scotch Blue painters tape where the letters were really close to the edge so that I wouldn’t accidentally paint the board.
Painting Contact Paper Stencil | Amazing Grace Sign

I used a stencil brush… for the first coat. I wasn’t really thrilled with how it was going.

So I switched to a sponge.

This is after I peeled away most of the stencil.
Amazing Grace Sign made from an Old Bed

Here it is after the paint dried.

Lightly Distress Sign

I decided to distress it a little. I think this would be great in a foyer or over a double doorway. Possibly even over a picture window? I would love to keep it, but so far I haven’t found a place to put it.
Save & Share this project on Pinterest here.
gail
Pin It
Linking to:


Hi, love the stencils and stenciling. Have you a stencilling machine or cutter that cuts the stencils and if so what type and where could I purchase one from. Many thanx, Davey.
This is absolutely beautiful!! My father passed away this last Halloween and this as his favorite song. I have been searching for something like this for a few months now and have not found anything that really caught my eye. This is exactly what I have been looking for to put in my home. Do you make these to sell?? I live in Vermont and would love to purchase this item. I look forward to hearing from you, Kristal
kbail2324@charter.net
Absolutely fabulous, Gail! Great headboard for a sign! You did a beautiful job!
I’m so grateful that you linked up in this week’s Creative Bloggers’ Party & Hop 🙂 This awesome post totally rocked the party!
I just love that song! Such a special message! You did a wonderful job on this! Thanks so much for sharing! 🙂
http://lifeofasoutherncouple.blogspot.com/
what a beautiful way to give that new life!
Amen! That’s the message of Easter!
This is SO lovely! 🙂 Very nice job! I agree, it would look lovely over a double doorway! 🙂 Thanks for sharing!
That is a beautiful sign. I think you are right on using that sihlouette machine. I unfortunately still use the old fashioned over head projector method..maybe one day I can jump into this new fangeled way..haha
tammy
Love this a lot! Didn’t know you can substitute inexpensive contact paper for the more pricey vinyl. Awesome sign for and awesome hymn!