Small Step Stool | Easy One Board Project
As an Amazon Associate, I earn from qualifying purchases.
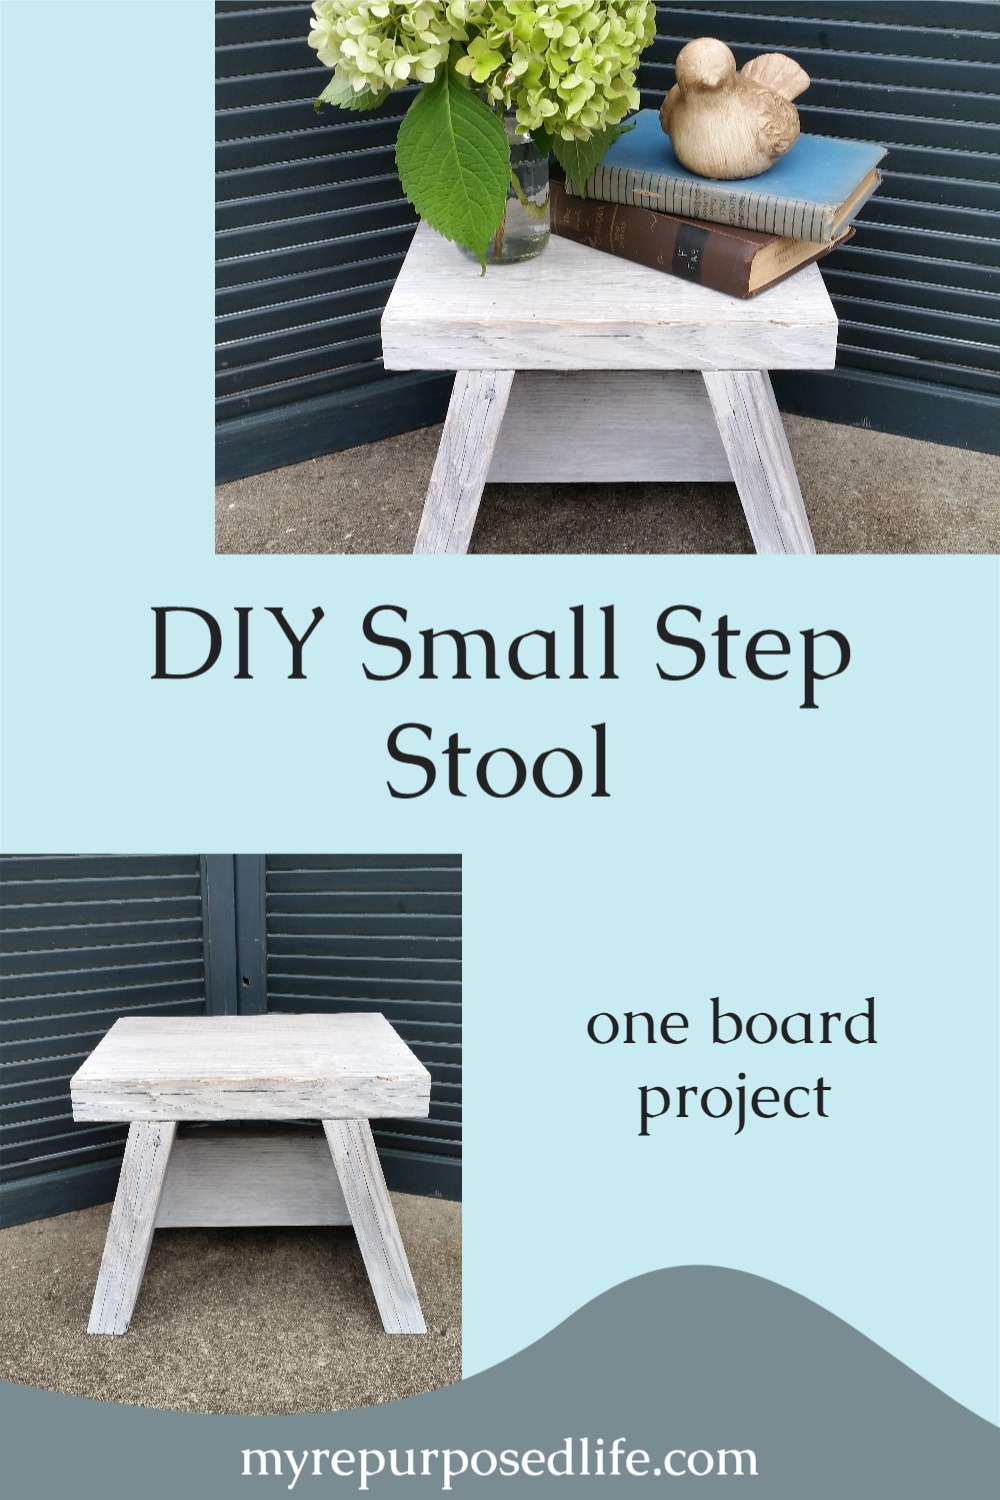
When you need just a little extra height, a small step stool is one of those “why didn’t I make this sooner?” projects. For this build, I challenged myself to use a single reclaimed board and to keep the design simple, sturdy, and easy to replicate. The result is a compact stool that works in a closet, kitchen, bathroom, or anywhere you want a quick boost without dragging out a bulky ladder.
This one-board stool is a great scrap-wood confidence builder as well. The cuts are straightforward, the parts list is short, and you can finish it any way you like, including leaving the wood weathered or adding a quick whitewash as I did.

Overview
How to make a simple stool: It’s perfect for reaching those upper kitchen cupboards, resting your feet, and adding extra height to a closet. It’s also great for kids who may need a little time out.
Materials
- (1) 2×10 by’6’
- Wood Glue
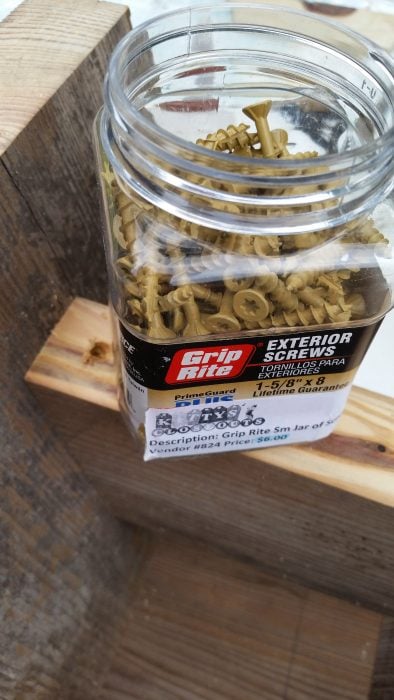
- (6) 1 5/8 wood screws
- Paint or stain (optional)
Tools
- Saw (I used a sliding compound miter saw; you could use a circular saw)
- Tape measure
- Carpenter’s pencil
- Nail gun and”2” brad nails
- Drill
- 1″8” bit for pilot holes
- screw bit for wood screws
- adjustable combination square
Cut List
- (1) “2” cross-cut (for the top)
- (2) 9 1″2” bevel cut (legs)
- (1) “0” x”4” miter cut (brace)
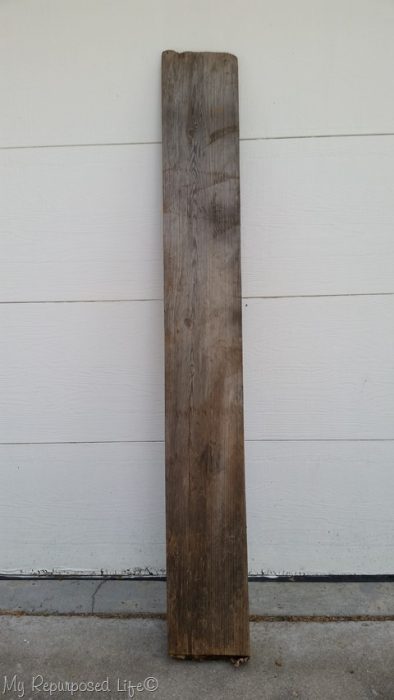
This photo is of the reclaimed, perfectly weathered one board I chose to use for this month’s Power Tool Challenge. Make a project out of any ONE board.
Cut The Seat (top) of The Stool
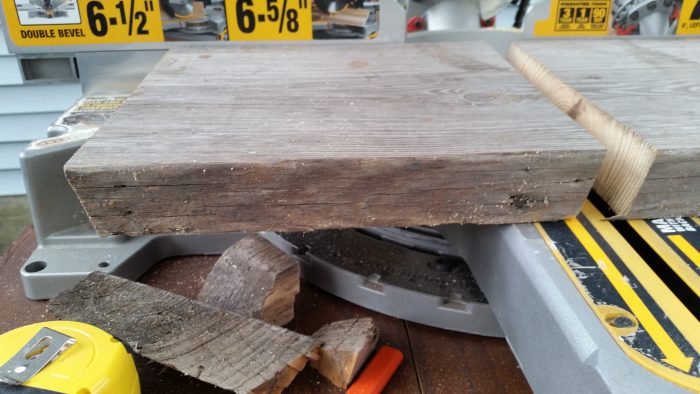
Cut the seat/top of the step stool to length.
TIP: If you are using reclaimed wood, double-check for nails.
Cut Two Stool Legs
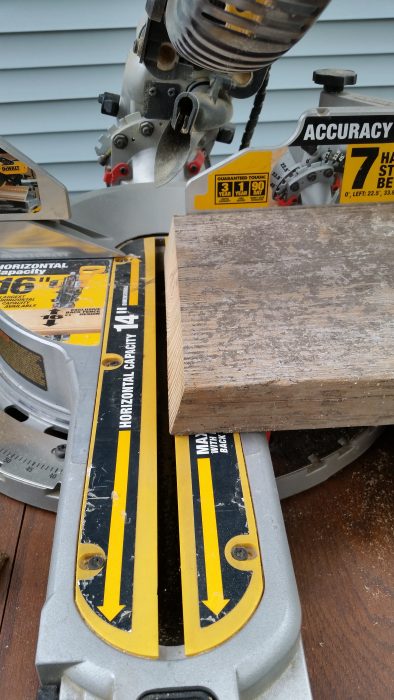
You will need two (9 1″2”) legs cut at a 15° angle. Cut the left side of the first leg. Slide the board to the left and cut the other side with the same angle (do not flip the board-lesson learned). Repeat for the other leg.
Cut One Middle Brace For Your Small Step Stool
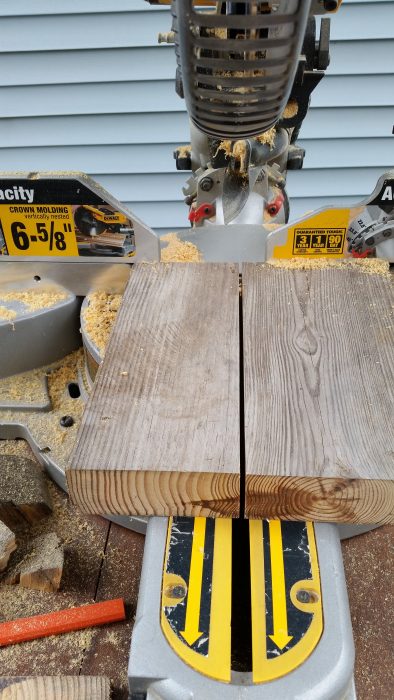
I cut the middle brace at “0” and trimmed it to be”4” wide. If I messed up the angle, at least I had a spare piece to try again.
Measure Distance For Step Stool Top
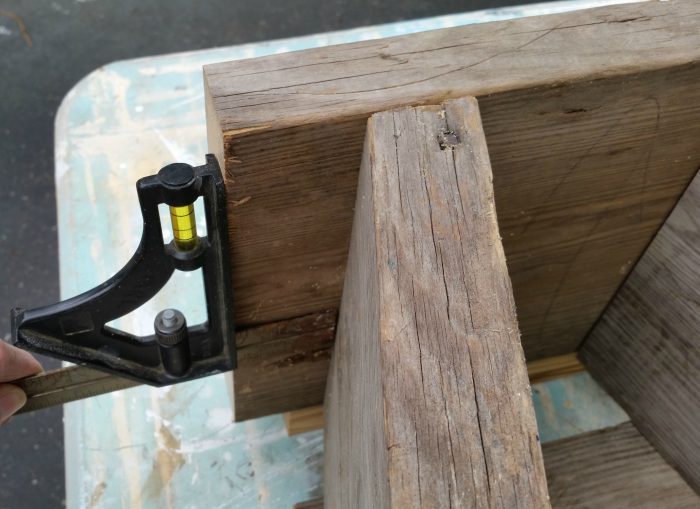
I used a measurement of two inches from the edge of the stool on the top of the leg using my adjustable combination square. This will ensure that the left side matches the right side.
Mark Step Stool Brace
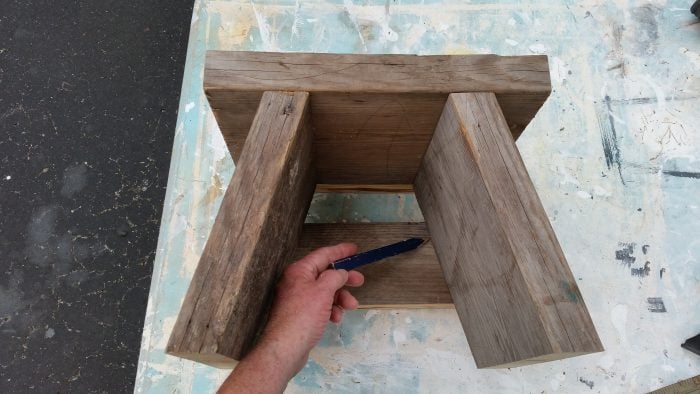
The brace has not been mitered yet. Place the scrap piece under the top (for support) and the brace under the legs. Measure to make sure it’s mostly level. Mark the angle. The miter angle is also 15°. Marking with a pencil will ensure that you cut your board correctly when you get to the saw.
Miter Cut The Middle Brace
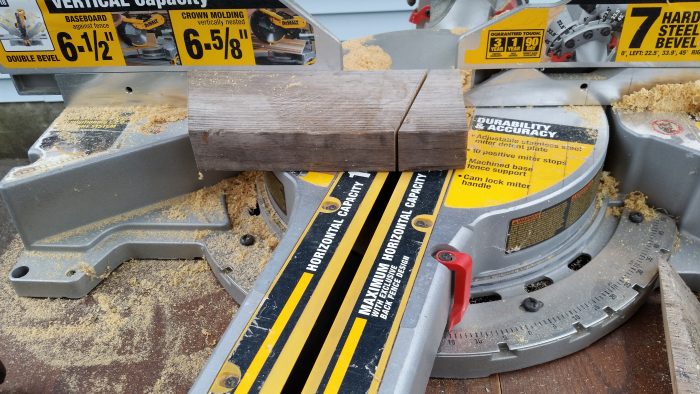
When you get to the saw, make your miter cut at 15° using your pencil marks simply as a guide.
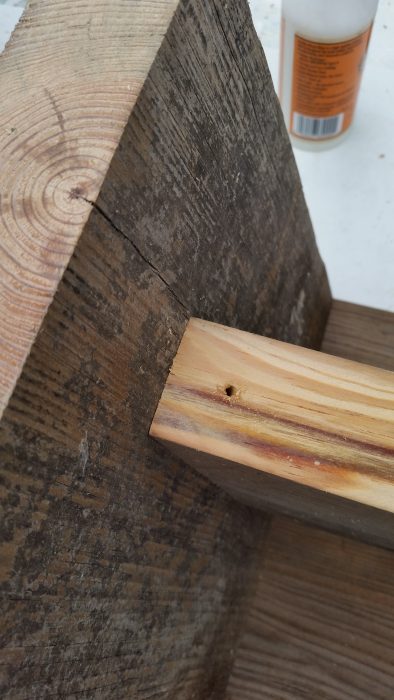
Assemble Your Step Stool

With your boards cut, now it’s time to assemble your easy step stool! Because the legs are at an angle, I chose to use my nail gun as a “clamp.” I used Gorilla Wood Glue and my Brad nailer to secure my boards until I could secure them with screws. Be sure to use the combination square to make sure everything is equidistant. I shot two nails through the top into each leg.
Insert Stool Brace

Turn your step stool upside down to assemble the brace. Using the combination square will ensure that the brace is centered.
TIP: The fresh cut of the brace faces the floor. When you look at the stool, you see the wonderfully weathered wood, not the fresh cut.
Install The Brace
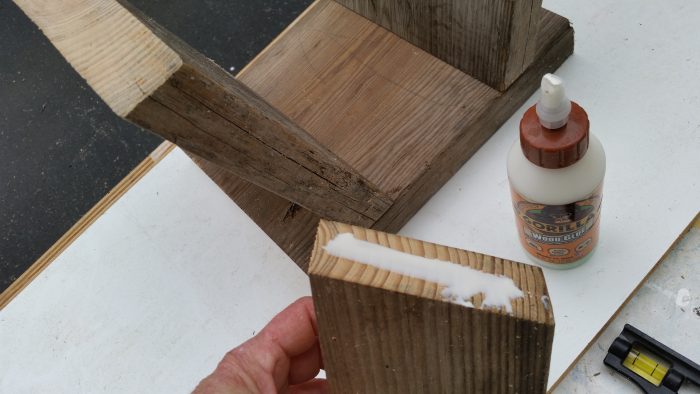
Use Gorilla wood glue and brad nail gun to secure the brace between the legs of the step stool
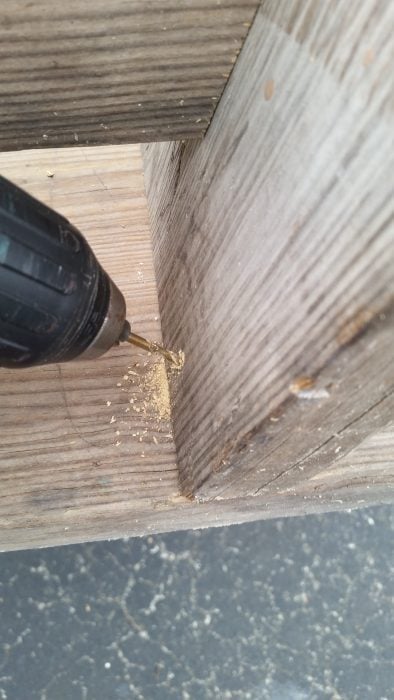
Drill Pilot Holes In The Brace
Drill a pilot hole at a slant and repeat on the right-hand side.
TIP: to drill at a slant, start your bit upright until you have a dent, then angle your drill bit.
Secure Brace With Wood Screws
Secure with a wood screw, slowly countersinking the screw head. Repeat on the right side.
Drill Pilot Holes in The Legs
Drill 2 pilot holes on the inside of the leg and secure them with screws, slowly countersinking the heads. Repeat on the inside of the other leg.

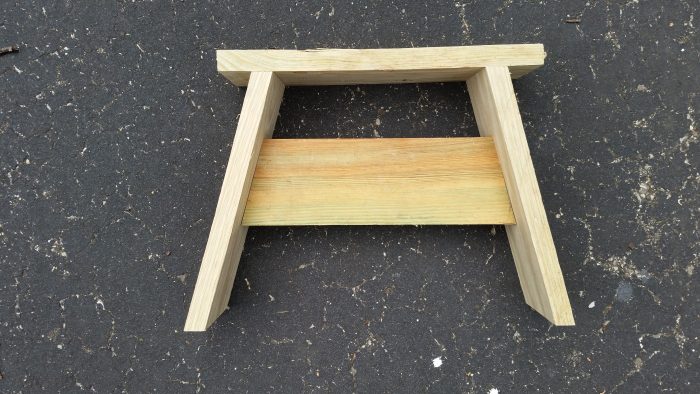
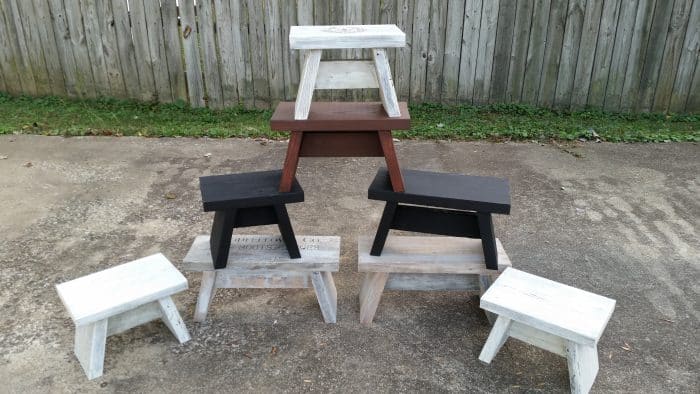
Ta Da! I have a new step stool that will allow me to reach items in the upper cupboards or on the top shelf of the closet. Someday, when there are small kids in the family, who knows—it may become the perfect spot for a time out.
Paint or Stain to Your Preference
This easy step stool project only took about an hour to make. It was easy because I made a prototype first. I had ONE scrumptious reclaimed board and didn’t want to ruin it by making the wrong cuts.
Tip: use scrap wood to test your angles if you’re unsure


My inspiration for this month’s project is a Japanese bath stool. I found this listing, which was for sale years ago. It’s tiny, at less than five inches in height.
Small Step Stool | Japanese DIY Reproduction

I whitewashed my stool by thinning white paint and applying it with a cheap chip brush.
I use this stool in my bedroom.
Hop over to this similar bench project. Same simple approach, different look. Perfect for using up scrap wood. Click here to see more ideas.
My friends have been really busy making their own awesome one-board projects. Be sure to check out what they’ve made.

- Scroll Saw Wooden Basket by Kim Six Fix
- Small Step Stool by My Repurposed Life
- DIY Pizza Bread Board by Refresh Restyle
- Do it Yourself Glue Gun Holder by Virginia Sweet Pea
- DIY Wood Letter Jewelry Hanger by Designs By Studio C
- Easy DIY Picture Frames by Domestically Speaking
- Easy Wood Pumpkin Cutout by H2OBungalow
- DIY Wooden Movie Projector by Thrift Diving
- Circle Back Kids Chair Plans by Her Tool Belt
sharing here: Creativity Unleashed Thrifty Decor Chick
great tutorial!!
thanks.
blessings
barb
Thanks Barb! I appreciate you stopping by to check out the one board step stool! It’s so handy!
gail
That is awesome Gail!!! I never knew what that little tool was used for with the ruler and the level. I have one and now I know! Thanks for all your great inspiration!
That’s why I’m here! 🙂
gail