bi-fold door vertical shutter shelf
As an Amazon Associate, I earn from qualifying purchases.
While I call this project a vertical shutter shelf, it is actually made out of a bi-fold door. For me, those are easier to come by at a good price!
How to Make a Vertical Shutter Shelf
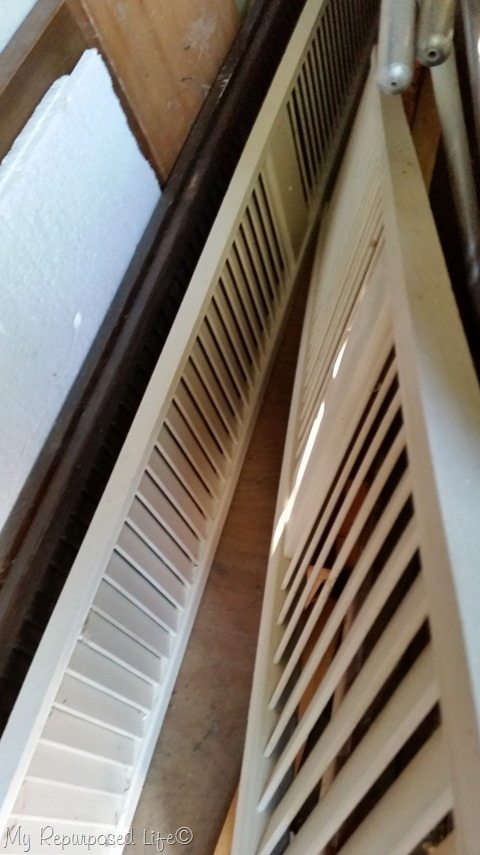 Looking for some easy projects, I headed to the shed to check out my stash of bi-fold doors. I grabbed four that seemed to be about the same size. It was actually 2 sets of two. One set was black, the other set white.
Cut bi-fold door in half
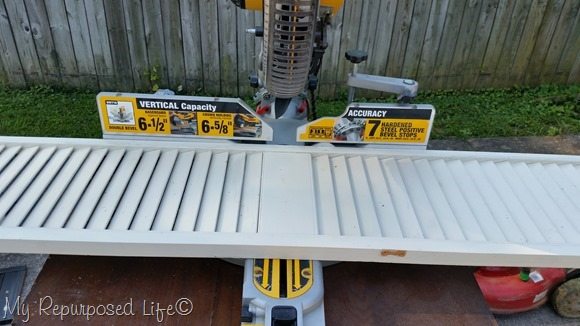 I used my compound sliding miter saw to cut the doors in half, yielding 4 tall ones and 4 shorter ones.
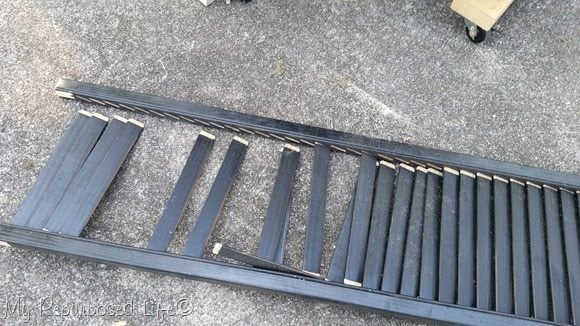 Then THIS happened to one of them that came apart and crashed to the ground. I set it aside and went on with what I was doing with the others. I will share the project using the four shorter ones tomorrow.

See what I did with this broken bi-fold door here.
Trim shutter (bi-fold door) on the table saw
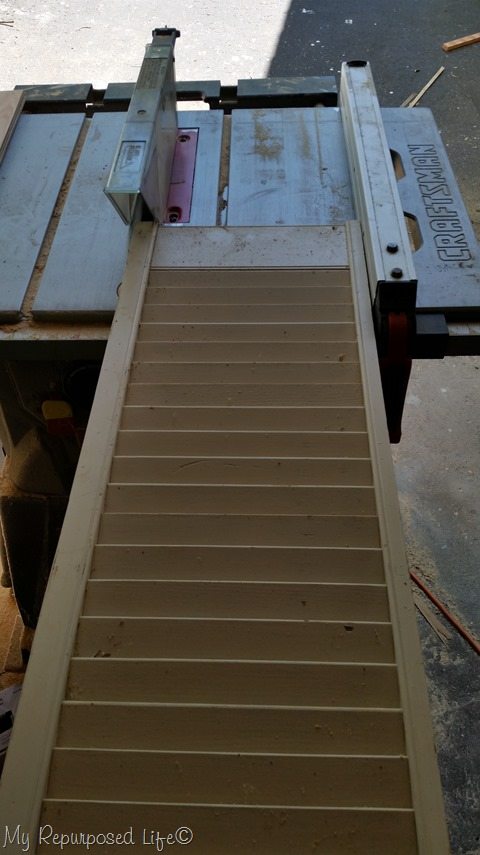 Looking at the left and right sides, you can see that the left side is wider. A quick ride through the table saw and all is well.
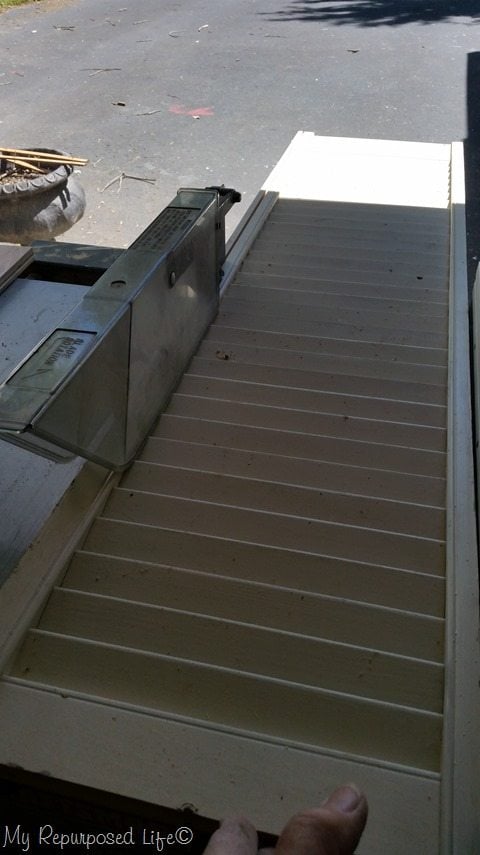
You can see the shutter only needed a little trimming.
Make small shelves for vertical shutter shelf
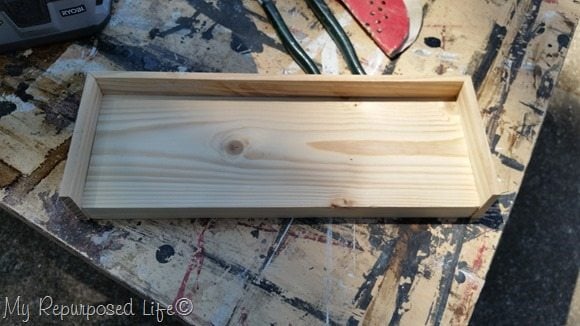 I decided to make some shelves for one of the shutters. I used some scrap 1x’s and some pieces that I had ripped off of 2x’s for one reason or another. The idea came from my friend Susan from Homeroad. I was going by memory, and now see that I did mine differently. My suggestion to you would be to leave off the side pieces like Susan did.
I used Gorilla wood glue and my nail gun to attach those little ledges.
Attach small shelf
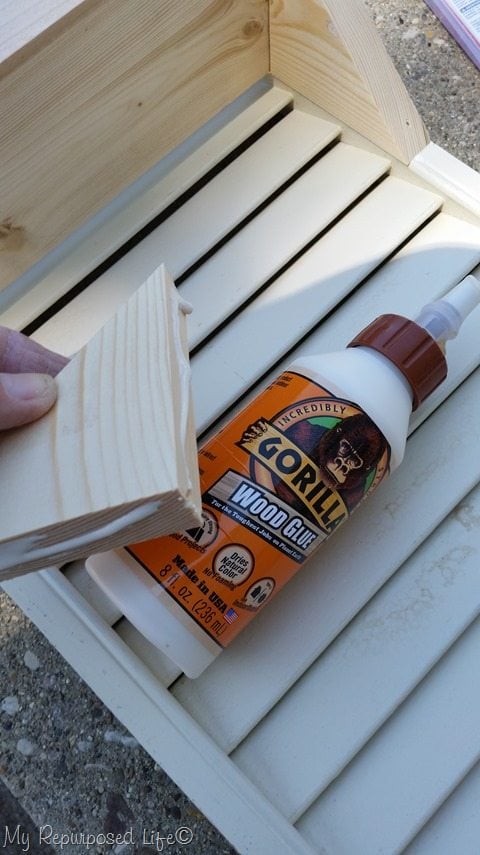 I used triangles just like Susan did. Then I attached them with my nail gun and some Gorilla wood glue.
Vertical Shutter Shelf ready for paint
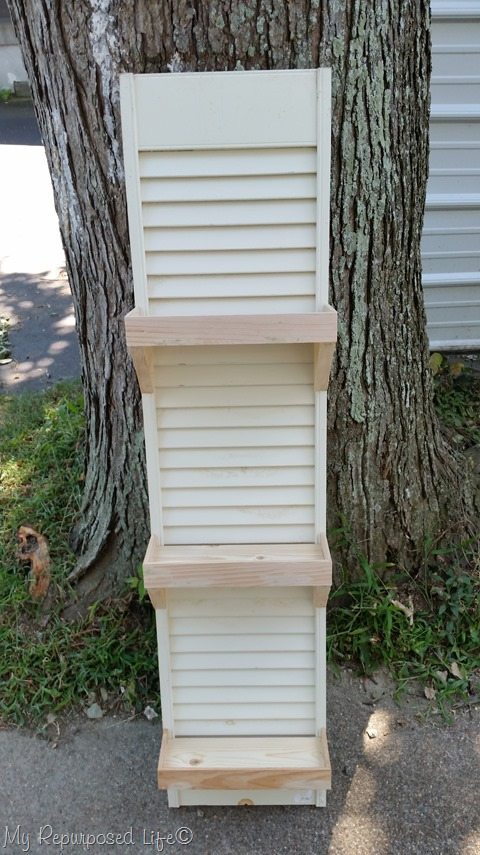 Here is the shelf all finished, and ready to be painted.
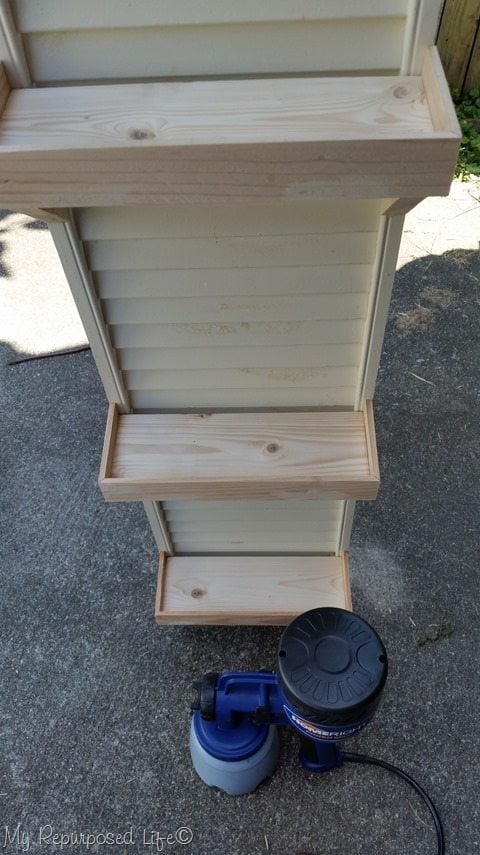 This gives you a better angle of the ledges of the 1×4 shelves. Painting any shutter or bi-fold project is not easy to paint by hand. I painted this while I was painting the portable coffee station and the cabinet door coat racks.
Small black shutter shelf made from a bi-fold door
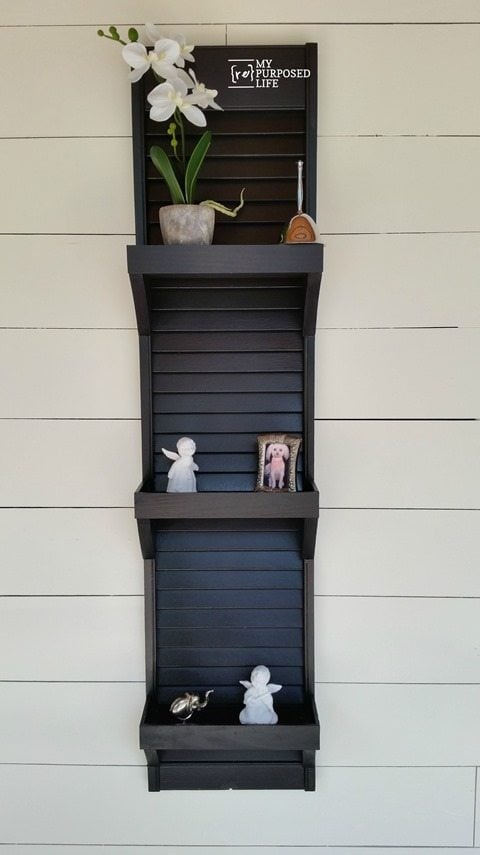

I quickly popped the shutter shelf up on the wall and added a few knick knacks to it. You can see that there is a little oops still visible on the bottom. It’s half of a hole where the original knob was. After I took these pictures, I took care of that by slicing off the bottom with the miter saw.
It was like Santa’s work shop around here that week. I was fluttering about sawing, building and painting. Be sure to check out my new shutter fireplace screen that I did with the four shorter pieces of bi-fold doors. If you’re looking for an easier shutter shelf, check out this one from Refresh Restyle.
gail


I did a guest posting of a “Shutter Shelf” for YOU, back in Sept. 2012! It’s one of my most popular posts. It’s similar, but no sides on the shelves and I used slots for my brackets to fit into.
Yes! Your shelf was sooo pretty. I didn’t dare try to do the slots. 🙂
Three years? that’s crazy! Where has the time gone Julie?
gail
Time is just flying and that’s why the next time I make a shutter shelf I’m just screwing the shelves in from the back… much quicker!!
This is super cute, I like the sides on the shelf too!
That turned out great Gail! Such a great repurpose of a bifold shutter door.
Really like this application using shutters!!!
Gail, that is so cute!! With the black paint, it looks amazing! I’ve never done a shudder project but if I did, this would be it. 🙂 Mayne for that family room that’s killing me right now! Lol