updated computer desk
As an Amazon Associate, I earn from qualifying purchases.
I have a quick and easy computer desk makeover for you today, in fact it makes me wonder why it took me so long to get to it.
I’ve had this old desk for about a year, I got it from my friend Leann. It’s just a run of the mill old computer desk—at least I think that’s what it was.
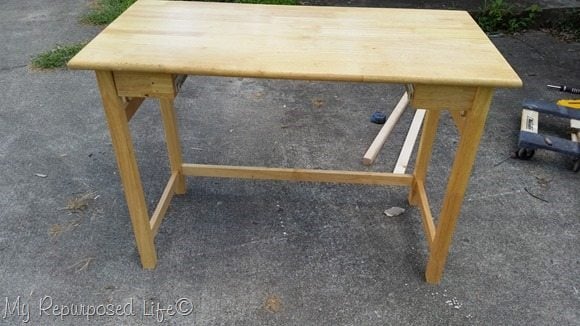 Here you can see some roller drawer glides.
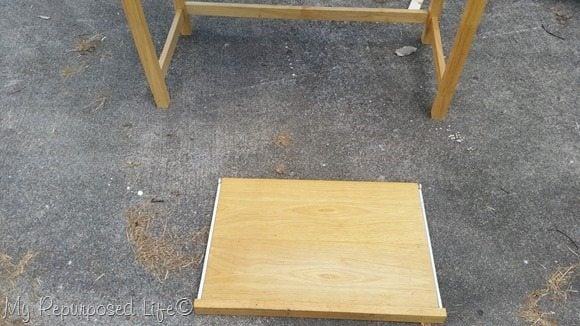 They were holding this keyboard tray before it slid out and landed right on my toes! OUCH! Maybe someday I will learn to wear real shoes when I do my projects. I was, of course wearing my “steel toed flip flops”.
You may notice that there is no front brace allowing this to be a desk. However , I want it to be a table now. I had a lot of repair work to do to get this little gal ready for her makeover. I added a brace across the front and had to lower the one in the back. In addition, I had to re-glue most of the joints with Gorilla Wood Glue.
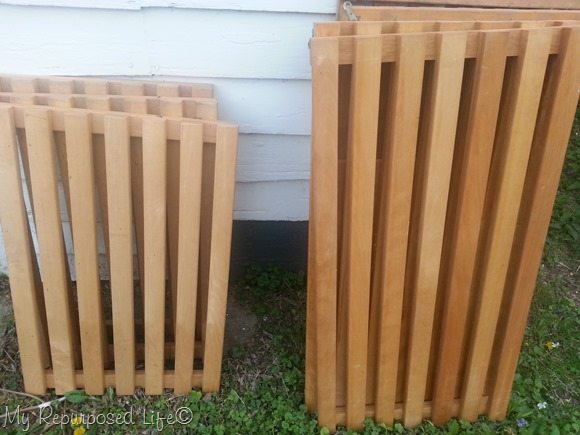 I knew I wanted some slats for the bottom shelf, so I used a couple of these store display shelves.
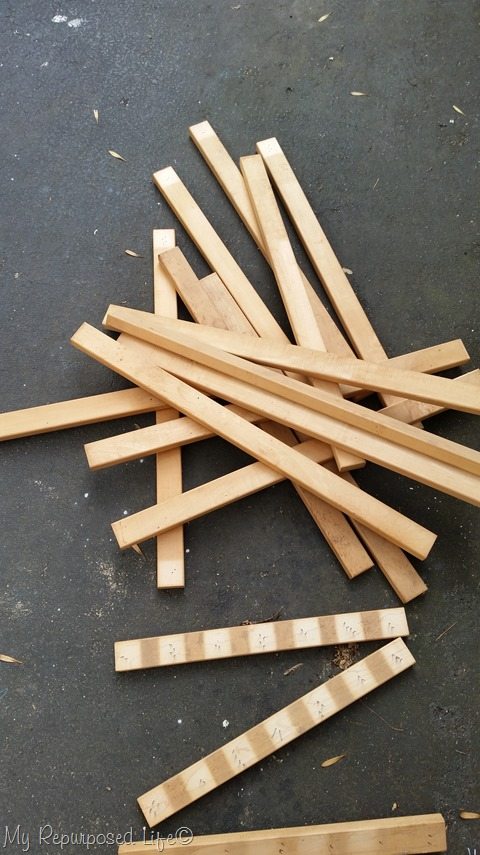 Then, I dismantled the slats and cut them to size on my miter saw.
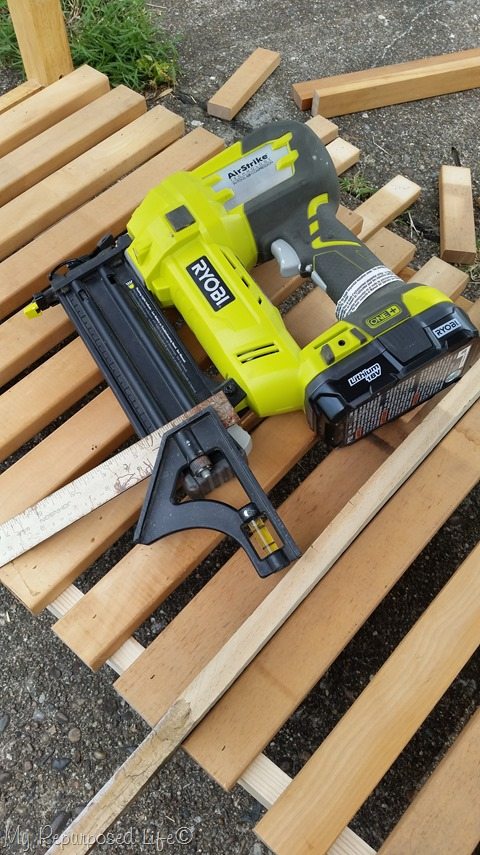 I used my nail gun and combination square along with a scrap piece of wood to get uniform spacing.
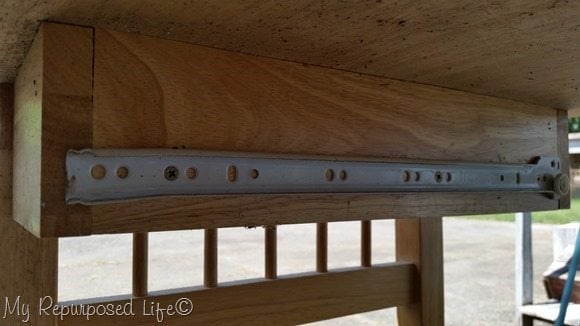 It was time to remove the hardware from the desk and the keyboard tray so I can prepare to paint.
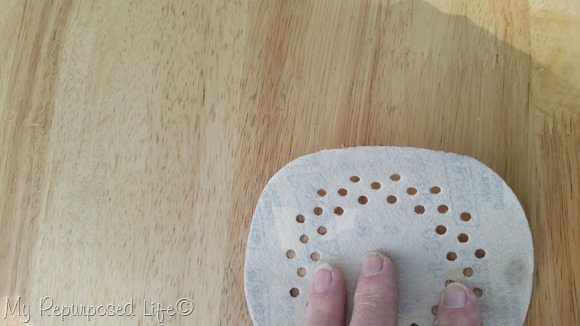 This desk had a really shiny finish so I did some light sanding.
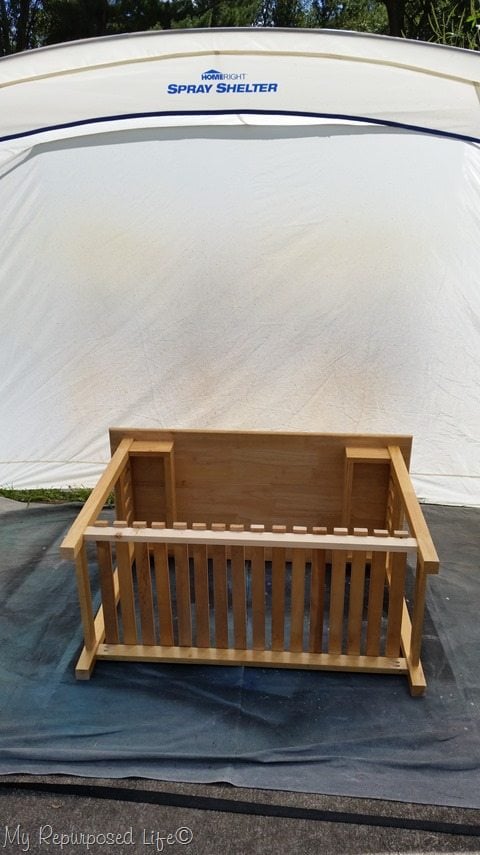 As always I set up my Homeright Spray Shelter and laid the table down so I could paint the underneath side of the old computer desk.
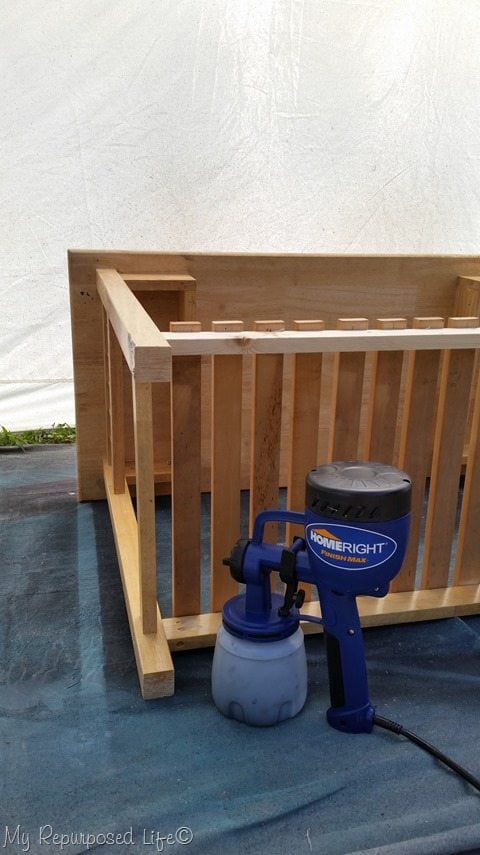 In this picture you can see that I used Kreg Jig pocket holes to reconfigure the back cross board. I also used pocket holes to attach the front cross board. I think it’s pretty obvious how difficult it would be to paint all those slats by hand. My Finish Max will easily tackle this job.
Need more details on using a Kreg Jig? See my article How to use a Kreg Jig Pocket Hole System
Notice the Homeright Spray Shelter is no longer in view. It was a very windy day and since I spray on the driveway, I was unable to stake the front of the shelter to the ground.
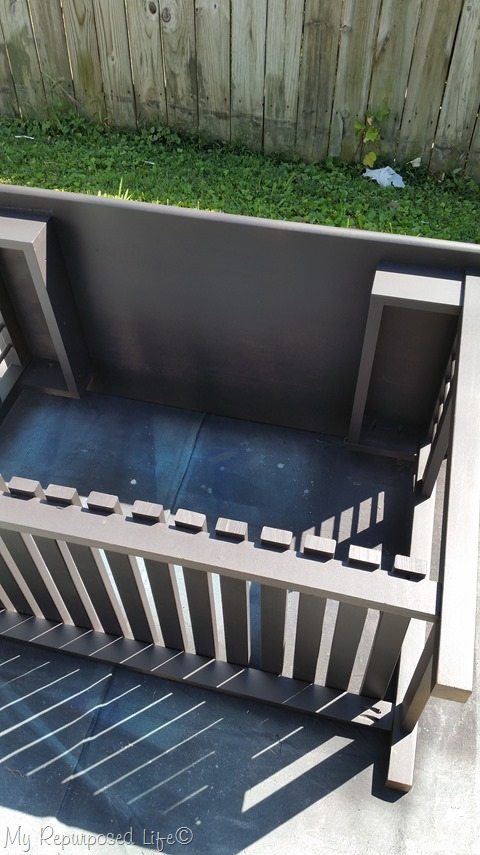 Of course I used my favorite DIY chalky paint primer for the base coat.
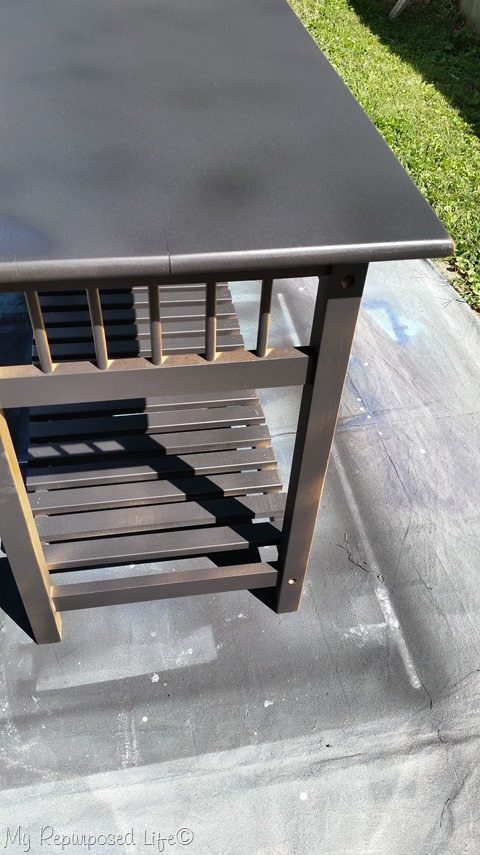 Upon standing it up, I can see where I need to spray with my Finish Max.
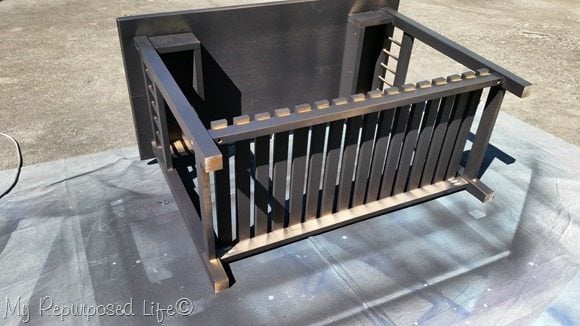 I laid it down on the other side so I can get a good look.
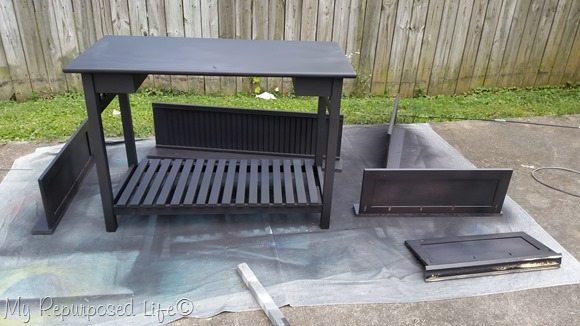 Then it was back up on all fours. You can see that I also was busy spraying my cabinet door coat racks.
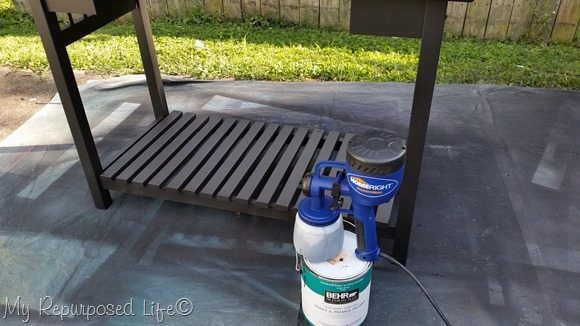 After 2 light coats of the DIY chalky paint primer on the computer desk, I used the semi-gloss paint as a topcoat giving 2 more light coats with the Finish Max. If you’ve ever painted slats by hand, you know that there can be a lot of dripping going on, causing you to paint one side, then catch the runs on the other side. My Finish Max gave these slats a flawless finish. It never disappoints.
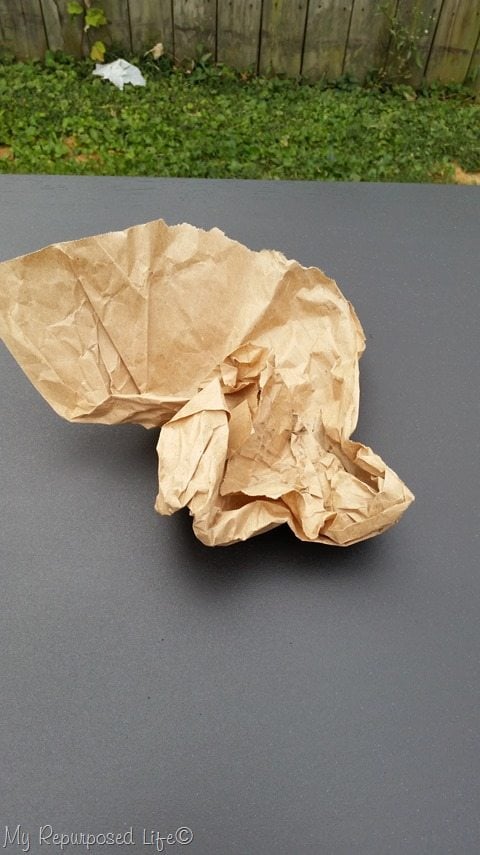 In between the semi-gloss coats I did a light sanding with some brown paper, wiping away the dust before the final coat of semi-gloss to seal the chalky paint primer.
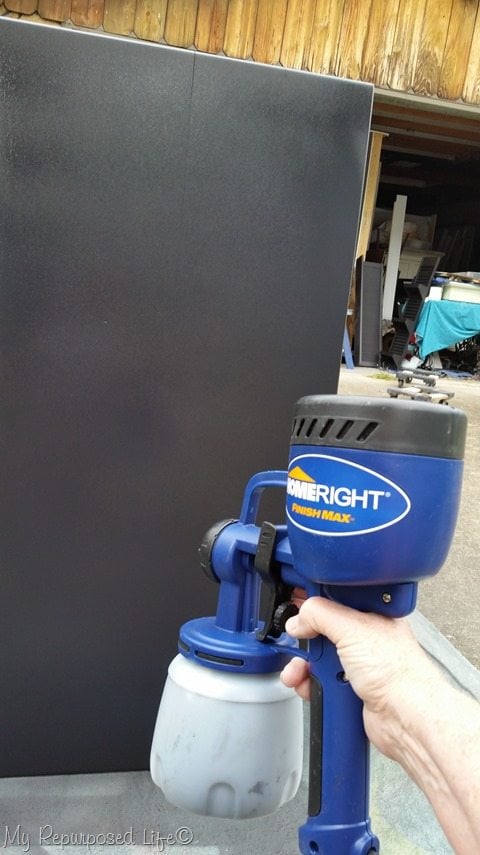 TIP I prefer to paint the surfaces of my pieces while they are in a vertical position rather than a horizontal position.
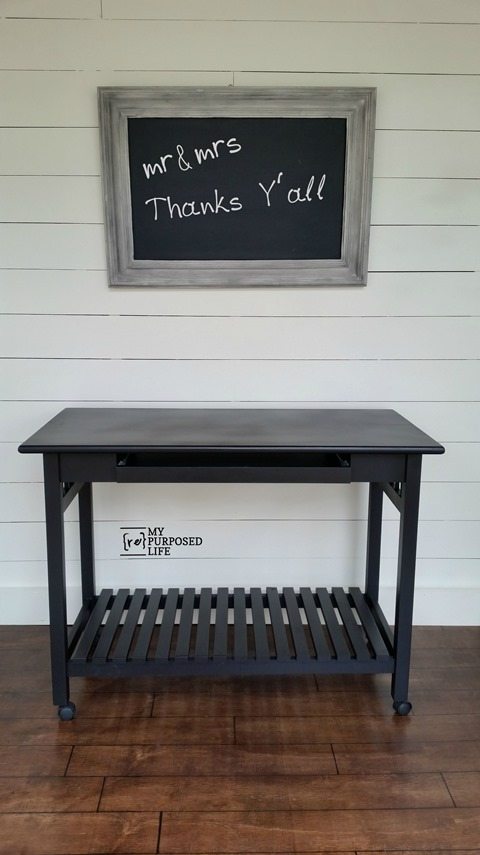 I drilled small holes in each of the legs and added some caster wheels to make it glide so easily across the floor.
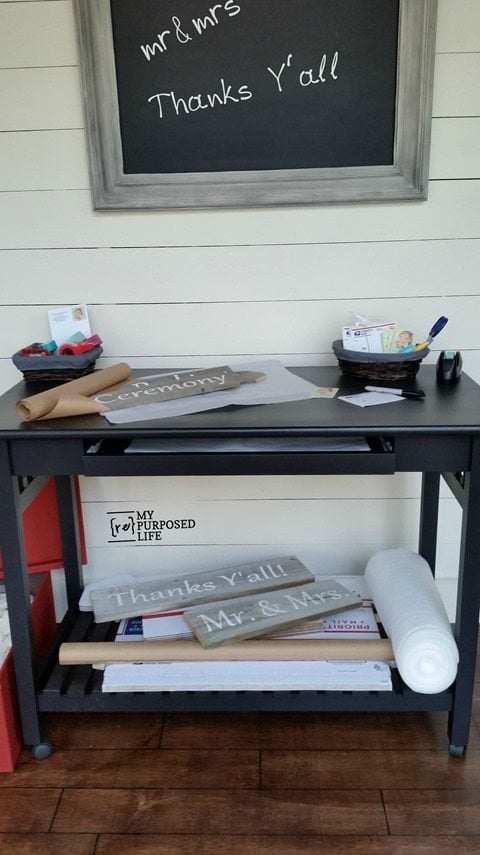
The former computer desk makes a great wrapping/shipping station for my Etsy sign business.
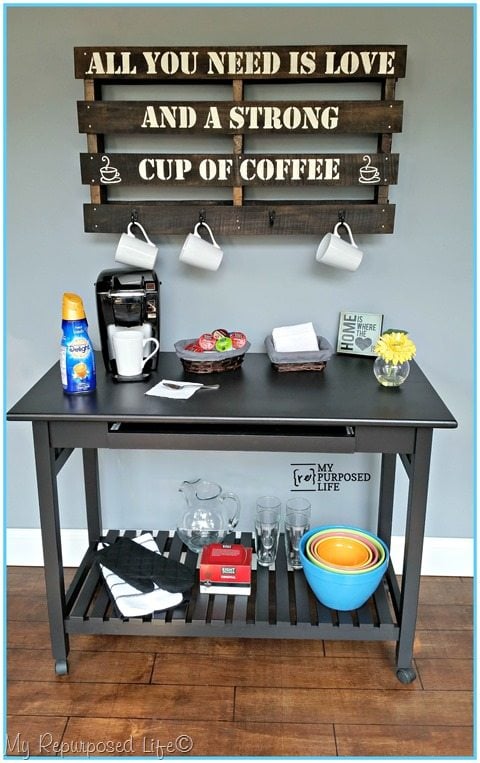
By adding my new pallet coffee cup rack and a coffee maker, it makes a great coffee station with extra storage.
If you have projects to paint, they really will go faster using a Homeright Finish Max. How would you use this repurposed desk? This desk makeover from Confessions of a Serial DIYer is soooo pretty!
gail
Related Content: See More Desk Projects Here
disclaimer: I am happy to be a Homeright brand ambassador so I can share great projects with you. All thoughts, opinions and projects are my own.



LOVE IT!!!!!!!!!!!
You go girl! I love how it turned out and I know someone is going to LOVE it in their home!
Happy day!
karianne
It looks awesome Gail, and sorry about your toes, ouch! I love the slats!
Thank you for your comment Mindi. I bet you wear tennis shoes when you DIY it, right? This old gal gets so hot when her feet are confined to shoes. 🙂
gail
You know you are quite a whiz when it comes to furniture makeovers. I love this one!!!