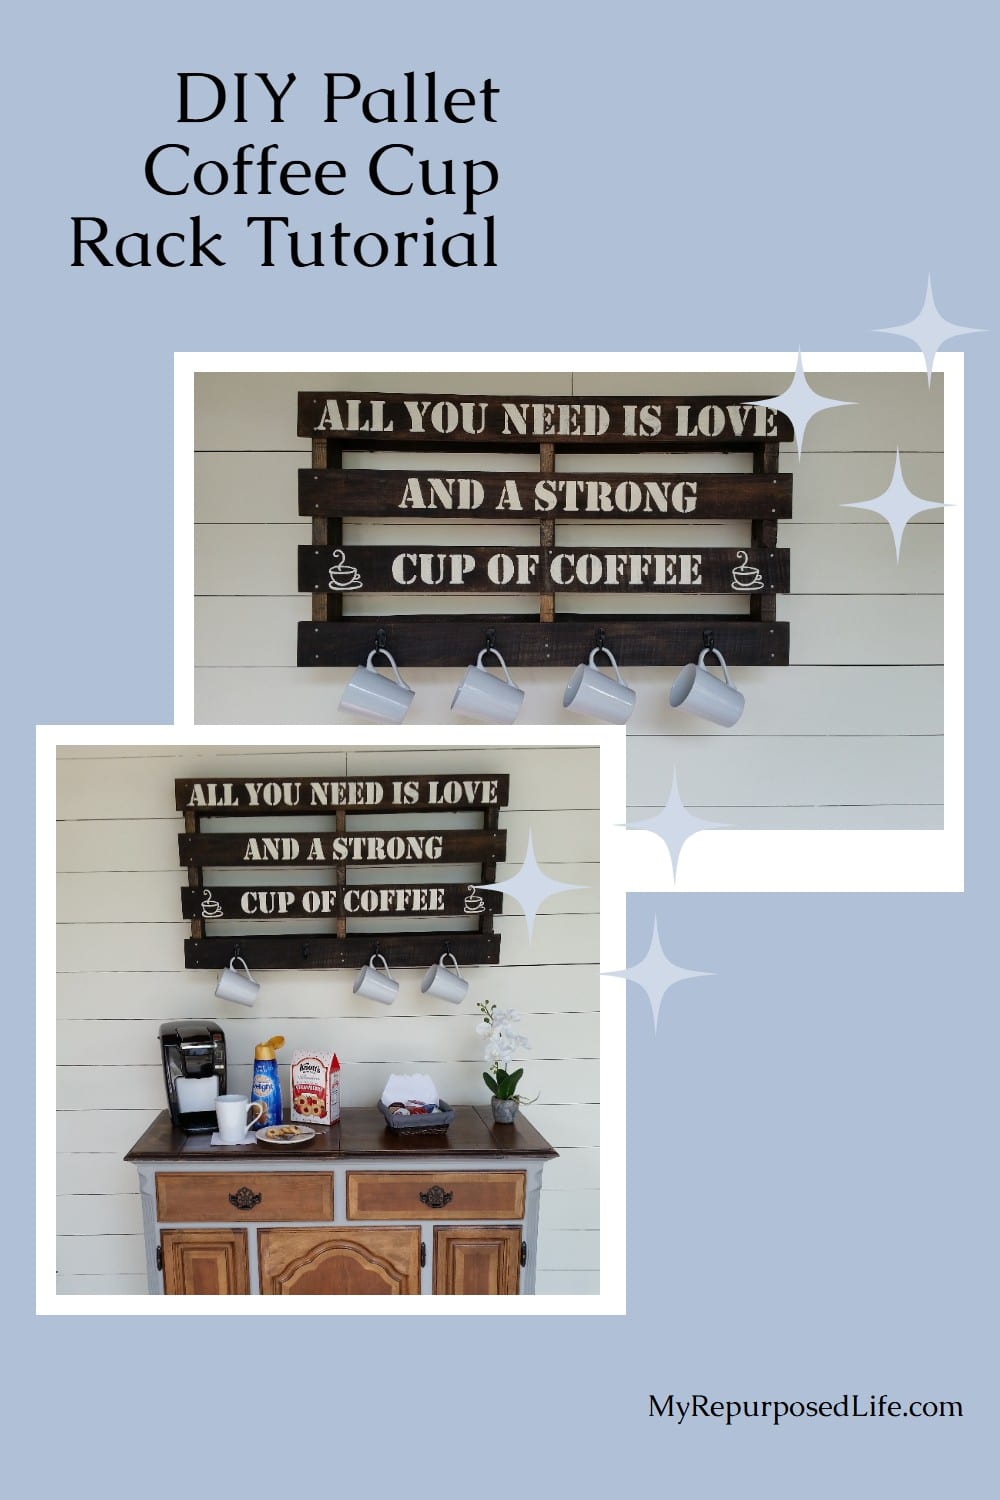
Repurposed Pallet Coffee Cup Rack
As an Amazon Associate, I earn from qualifying purchases.
Repurposed Pallet Coffee Cup Rack
I’m thrilled to share this charming repurposed pallet coffee cup rack—an easy, budget-friendly weekend project that breathes new life into old wood. With just a little sanding, staining, some playful stenciling, and a handful of hooks, this rustic piece not only organizes your mugs but also adds a delightful farmhouse touch to your kitchen. Even better? You can complete it in just an afternoon and feel proud knowing it started its life hauling pallets and ended it holding your favorite cup of coffee!

Small Free Wooden Pallet

When I started this project, I couldn’t remember whether I got this pallet at Home Depot or Target. However, looking at the picture, I now know where I got it—Orange! It’s a small pallet, and I feel certain that it must be heat-treated, not chemically treated. Looking at the date on the image, I’ve had this pallet for exactly a year!
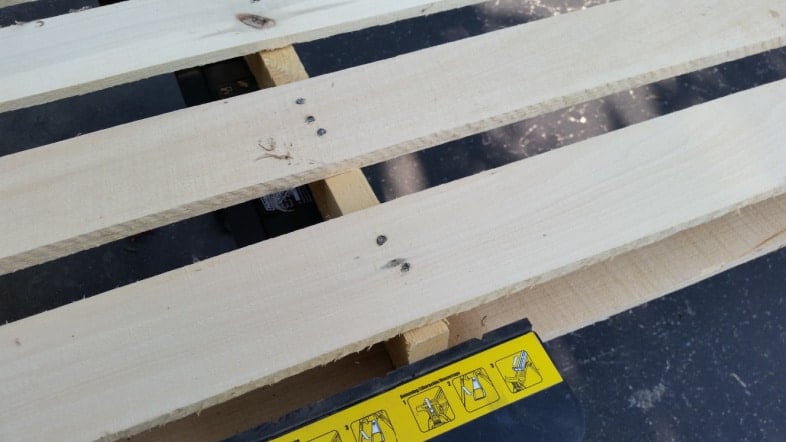
By the way, would you believe this is my very first pallet project? I set the pallet up on my jawhorse so I could sand the boards. Realizing that some of it was in poor condition, I decided it might be best to disassemble it and reconfigure it.
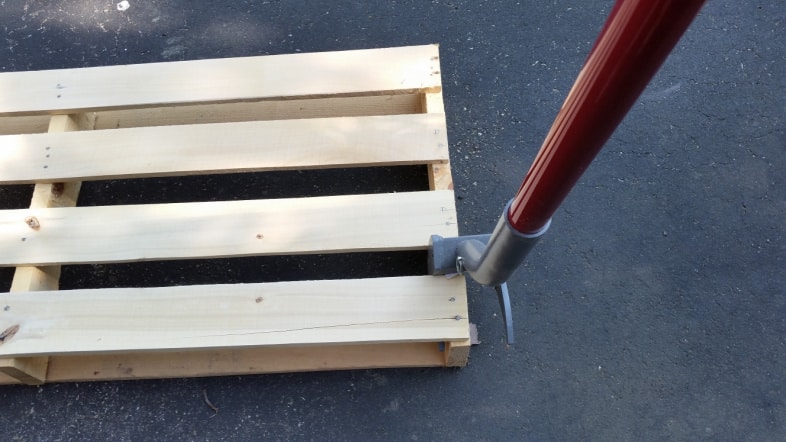
I have this great new tool called a Deck Wrecker. It’s available from Amazon. I bought it to help me dismantle old fence sections. Using it on this small pallet was so darn easy!
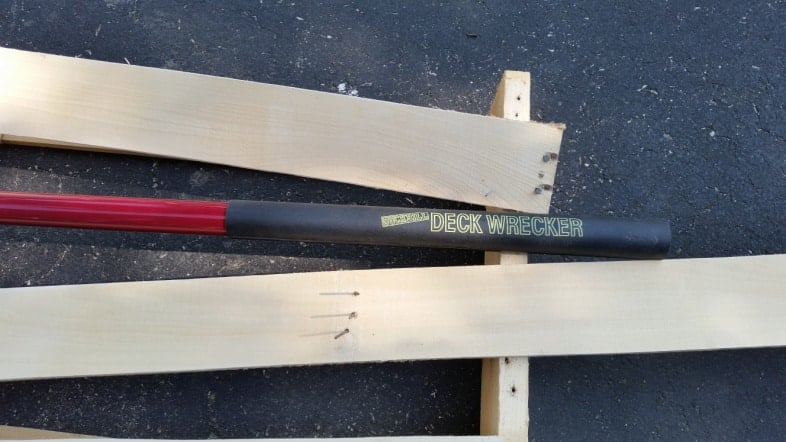
The Deck Wrecker took all the boards apart without a single busted board. I tapped the nails through and removed them with a hammer.
Learn how to safely dismantle pallets and get inspired with easy pallet project ideas! 👉 Pallet Projects + Tips for Dismantling
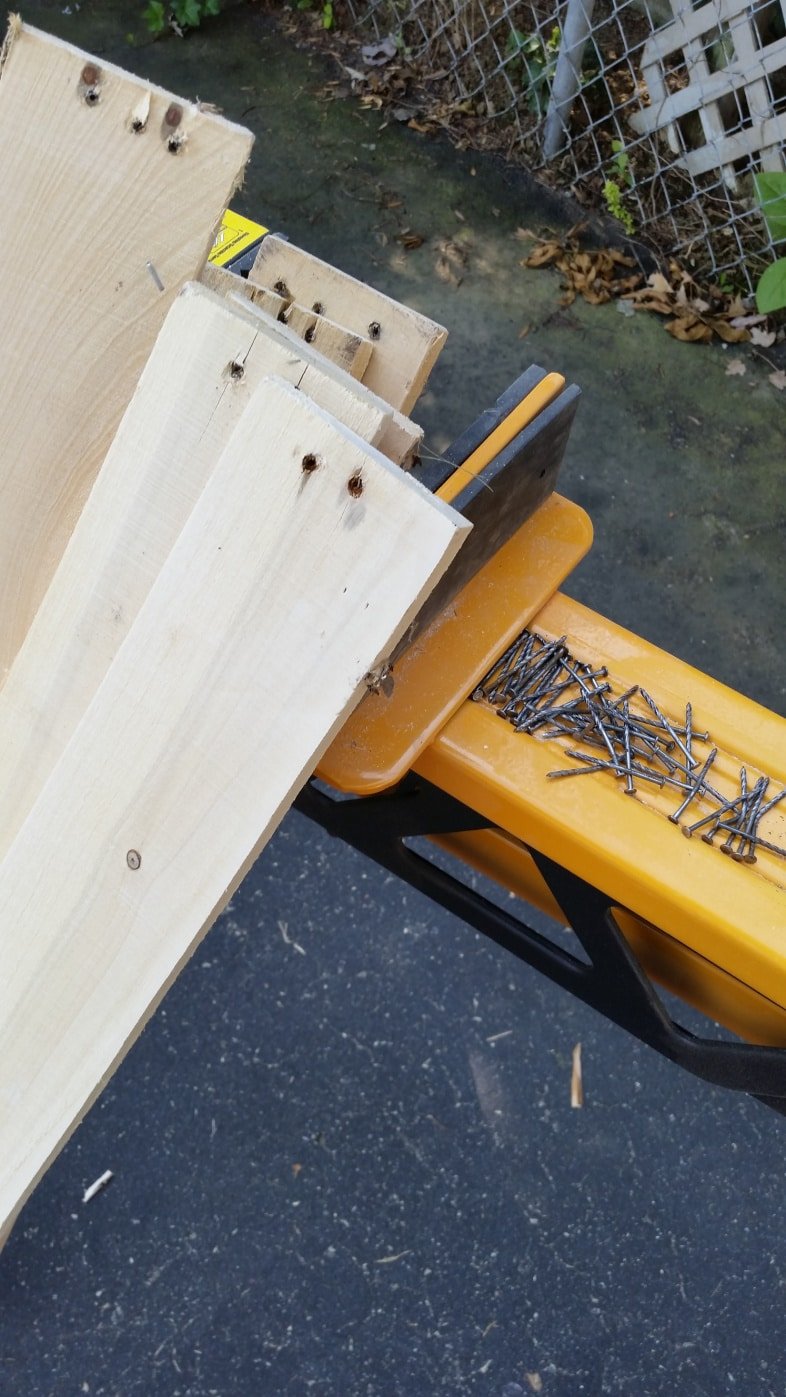
I removed the nails and saved them so I could keep the pallet’s integrity when I reassembled it. I trimmed the boards down to about 36”, removing both original ends on each board.
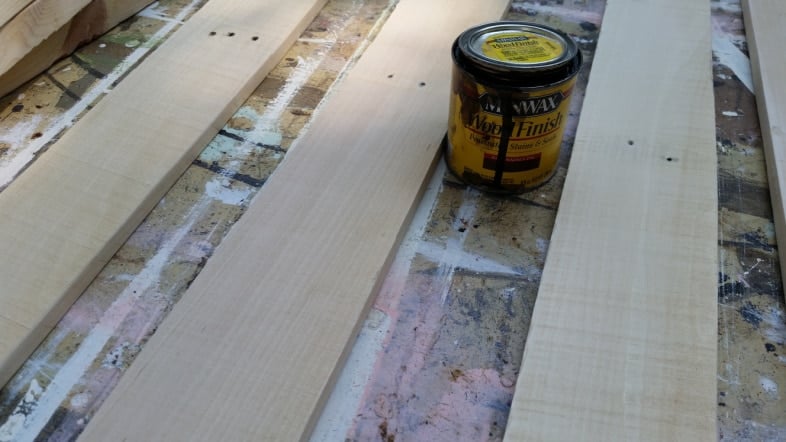
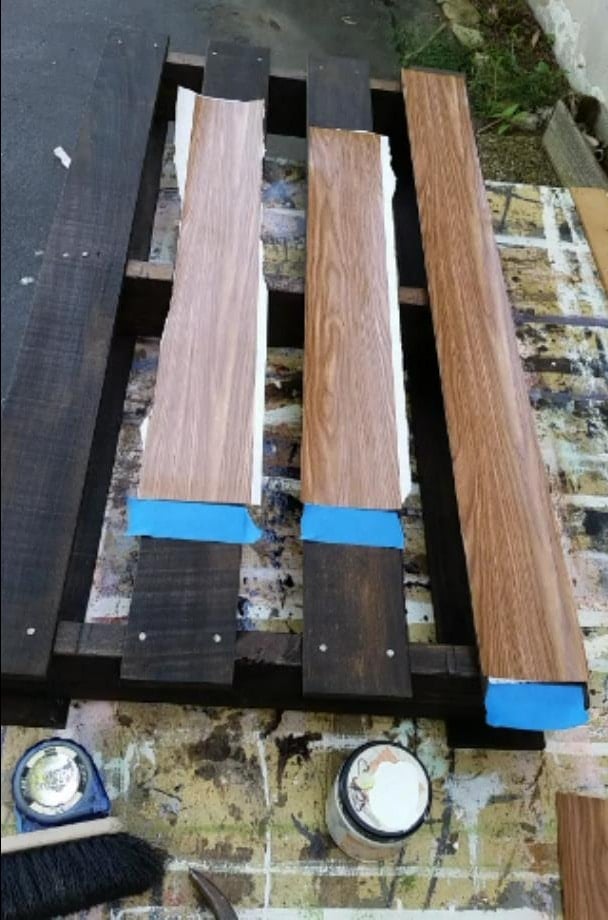
After sanding the boards again on all sides and edges, I applied a coat of Minwax Dark Walnut to all sides.
Reassemble The Pallet Coffee Cup Rack
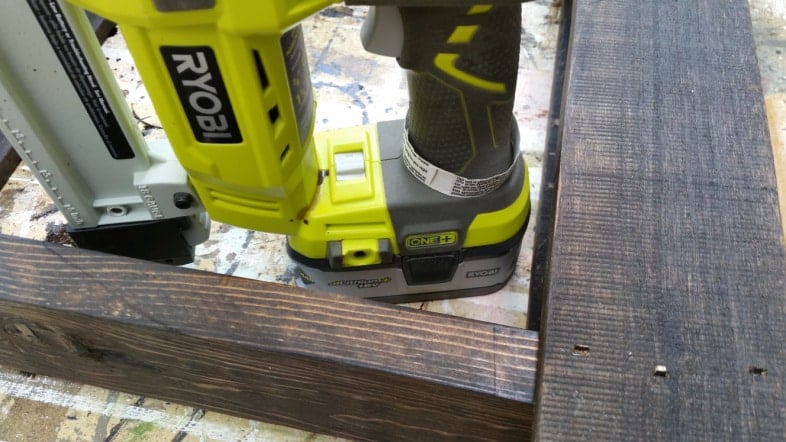
To reassemble the coffee cup rack pallet, I used staples for the two boards on the back of the pallet. (They wouldn’t be visible in my project.)
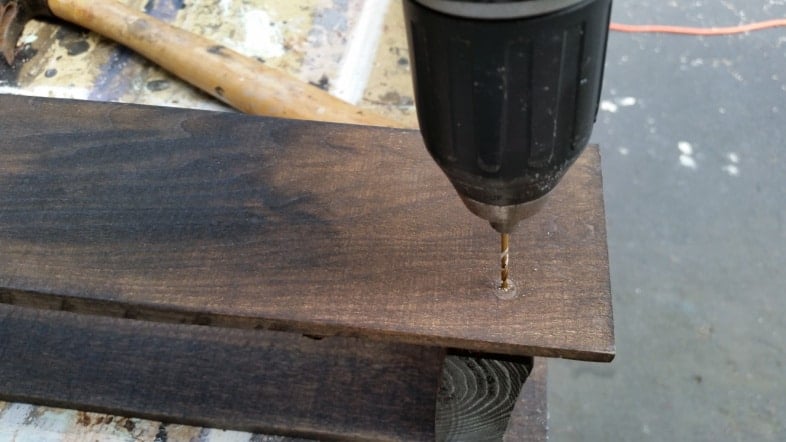
For the boards on the front of the project, I drilled pilot holes and used the original nails.

I made a stencil in my Silhouette program. You can see that I used the “STENCIL” font at a size of about 230. The stencil was about 34” long. I cut the first two lines, then moved them off the template, and cut the last line and the coffee cups.
NOTE: I add a box around all of my text to ensure it has straight edges, making it easier to apply evenly on the boards.
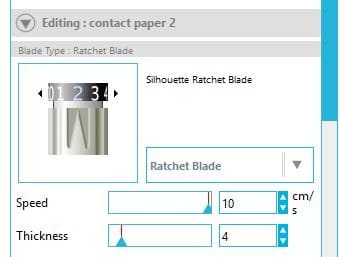
I cut this stencil out of contact paper with my blade on #2 and the thickness setting on 4.
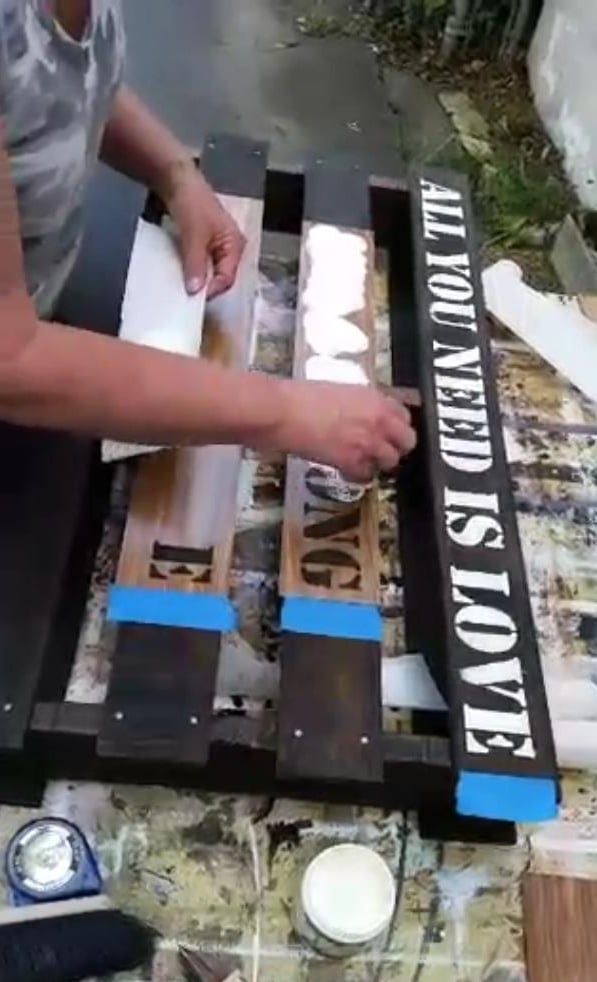
Stencil: All You Need is Love & a Strong Cup of Coffee
I did a couple of live videos showing how I create stencils for signs. I edited three videos to show how I remove the backing, place the stencil, and THEN weed out the letters. The following images are snippets from that video series.
Using the box around each line of text is the key to making this work so easily. I rip the contact paper down those lines.
You can see I used painter’s tape to mark the edge, so that when I have the stencil in my hands, it will be easy to center.

I lay the contact paper upside down and peel the backing away. Then I place the stencil down on the board.
I use Martha Stewart foam pouncers for all of my stenciling projects.
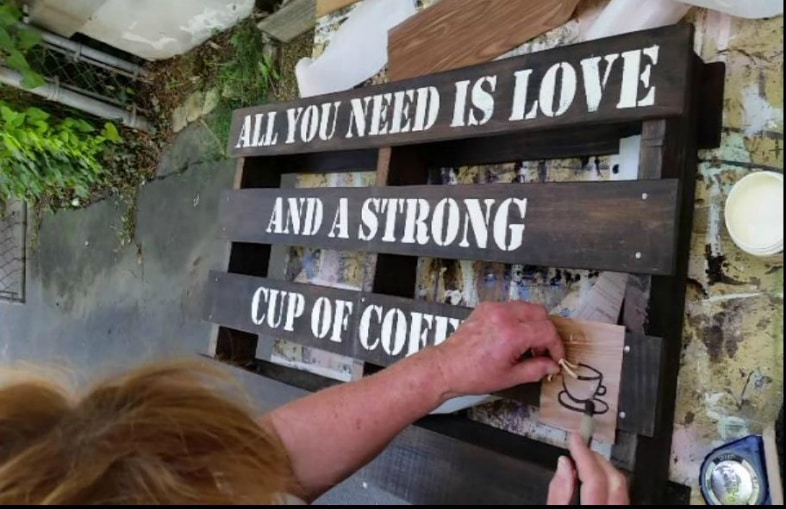
I purchased an image in the Silhouette online store to add to my coffee cup rack.

Here’s the video. I hope it helps you think about how you stencil. This method really makes stenciling easy.

Please take a look at how I created the video using my phone, clamped to a tripod and a large bar clamp. What I learned—I should have had it clamped to something other than my wobbly work table.
Adding Hooks to Coffee Cup Rack
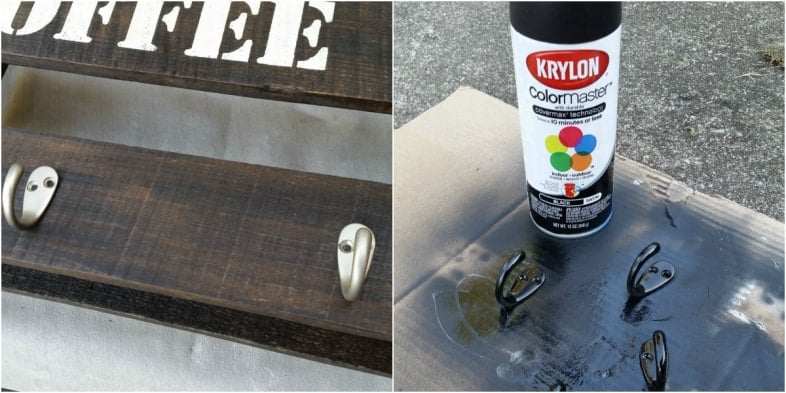
Since I didn’t have any black hooks, I spray-painted some nickel ones with Krylon ColorMaster.
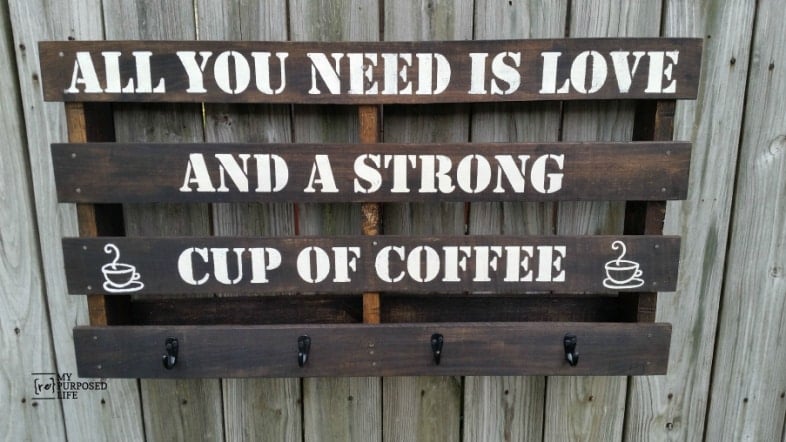
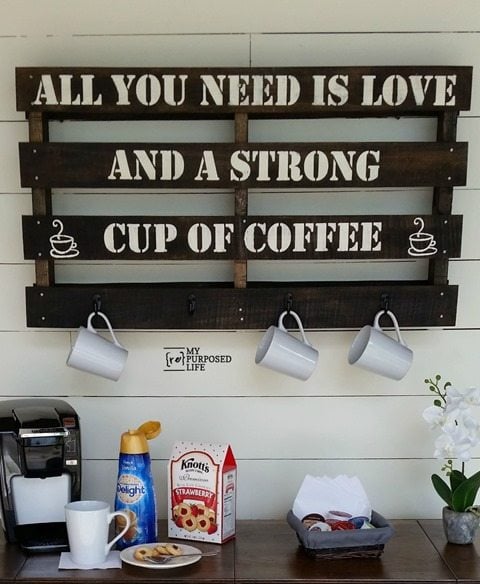
I was thrilled to complete my first pallet project, so I hung it on the fence to take a picture to share with my friends!
I LOVE how this project turned out. I’m itching to find another great pallet for my next project. Those who know me well are aware of a little secret about me: I don’t drink coffee.

I would love for you to pin this project so that others will see how easy it is to do these large stenciled signs.
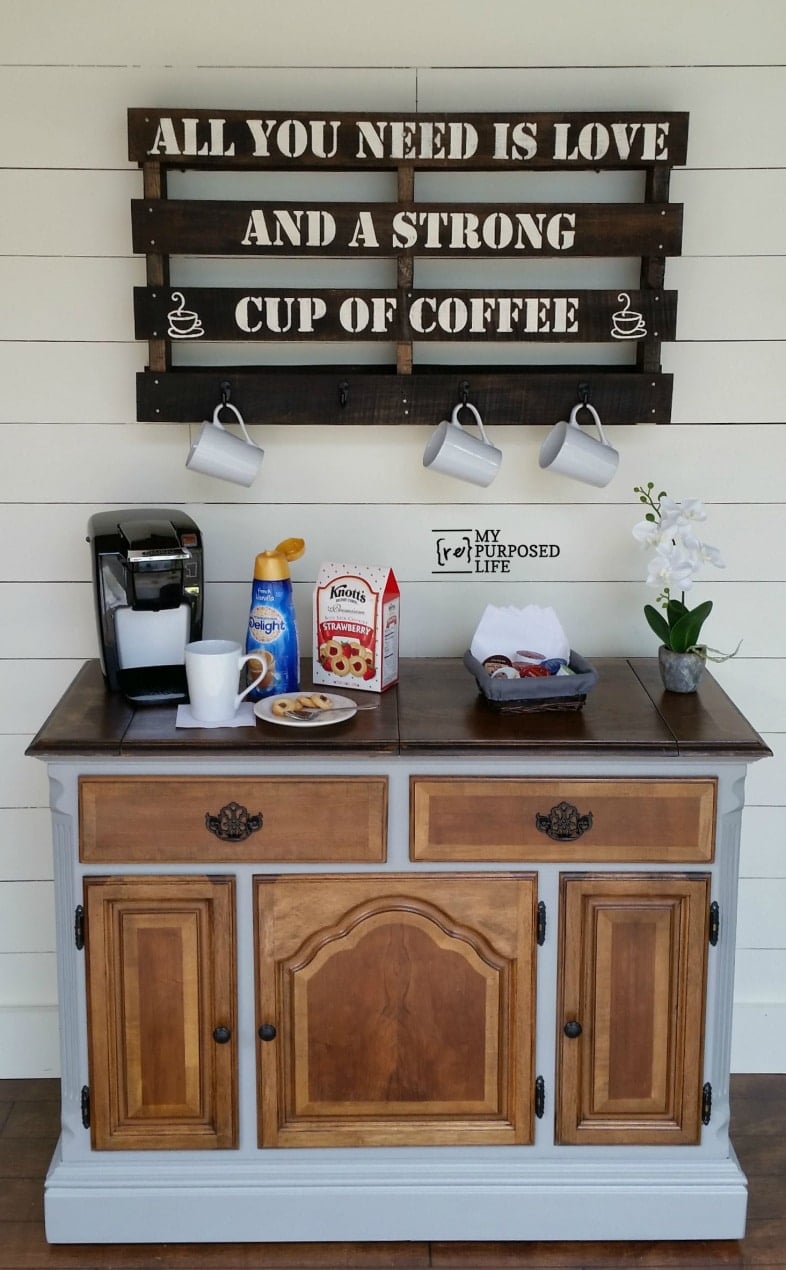
Check out the coffee station that prompted me to do this pallet coffee cup rack!

You will also love these easy cabinet door coffee signs if you are a coffee lover.
gail
Related Content: Spool Coffee Station
sharing here:
Hi Gail,
I’m a newbie at all of this. Can you enlighten me on the stencil program? Do you have a way of printing onto contact paper or do you trace the images onto contact paper? Then, are you cutting around each letter and design from that program to get each letter? I’m thinking there is no way I’m sure-handed enough to do this.
Karen,
I have a machine that cuts out stencils and vinyl lettering. I have a Silhouette, but there are also Cricut machines that do the same thing.
Silhouette usually has really big black friday sales, or you could check on Amazon.
gail
Hi Gail,
May I ask what kind of paint you used?
Maria,
I used Behr wall paint. I use it on most of my projects.
gail
Thank you for the info.
Love this project! Gotta go find my first pallet too.
Yes! you must. It’s so much fun.
gail
Freezer paper makes great stencils, cut your stencil, iron it on using low heat, let paint dry peel off reusable up to 5 times.
Yep, I don’t use freezer paper. I love using the contact paper. Thanks for your input.
gail
I really like your creative coffee station from a pallet. Funny thing-I don’t drink coffee either, I will have tea or hot chocolate any day of the week, though.
Thanks for sharing your work!
Meegan,
Thanks for stopping by to check out my pallet projects! 🙂 Happy Tuesday to you!
gail
Gail, love this pallet project! I see it was your first one, how many have you done since? It’s addicting! I need to play around with my silhouette machine more, this got me really itching to get it out! Love your work!
Leanne,
I’ve only done about 3 pallet projects, but I do a lot of reclaimed fence projects. 🙂
I love making stencils with my Silouette Portrait.
Let me know if you have any questions about the stenciling.
gail
Great project! I love the dark stain! Perfection!!!
Once you do one pallet you’ll be hooked. You’ll see pallets everywhere, you’ll dream of pallets, pallet wood will show up in every project…OK, maybe that’s just me. I knew I liked you, I’m not a coffee drinker either.
I am so going to try to lay my vinyl stencil down first and then weed out the letters. Usually Im using the transfer paper and that gets expensive! I’m also going to try contact paper for my stencils. I’ve been buying a stack of vinyl and using the colors I don’t like for stencils… also expensive! Thanks for the great tips!