Boys Rocking Chair | Lightning McQueen
As an Amazon Associate, I earn from qualifying purchases.

Do you know a little boy who loves Disney’s Pixar “Cars” movie, Lightning McQueen and Mater? This boys red rocking chair makeover using Cars fabric is sure to please any little boy that just can’t get enough of that wonderful movie.
Visit the My Repurposed Life Amazon Store to shop my favorite items.
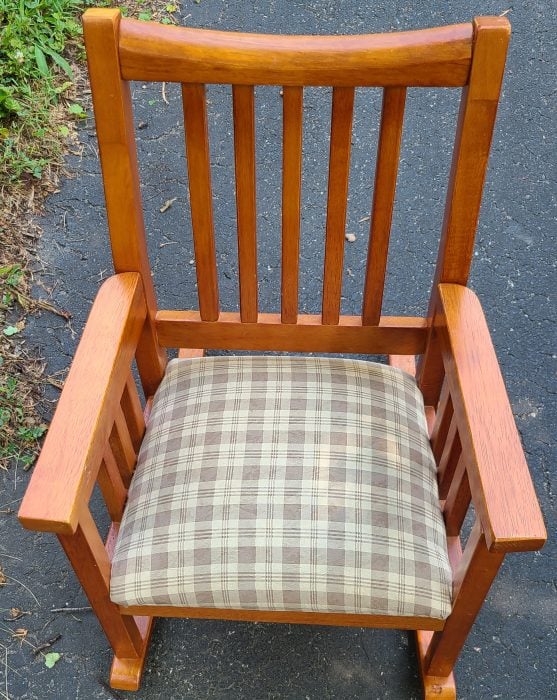
This thrift store boy’s rocking chair wasn’t in terrible shape, but it was time for an update for sure!!
Did you see the other small child doll rocking chair makeover I did?
How Do You Degloss a Project For Painting?
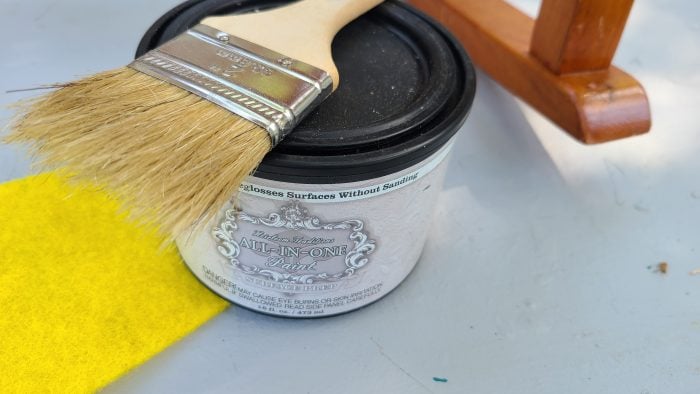
Because the boys rocking chair was pretty shiny, I reached for the HTP Deglosser, to clean the project and prep it for paint.
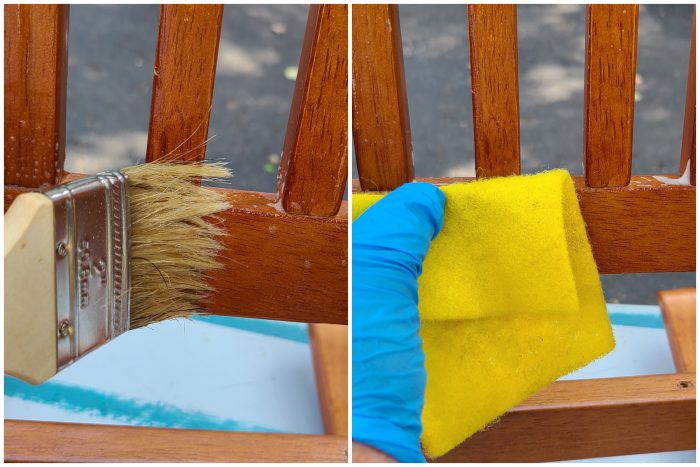
Simply brush on the deglosser with a chip brush, then scrub it gently with a scouring pad. There’s no need to rinse it off.
Make Repairs | Tighten Loose Screws
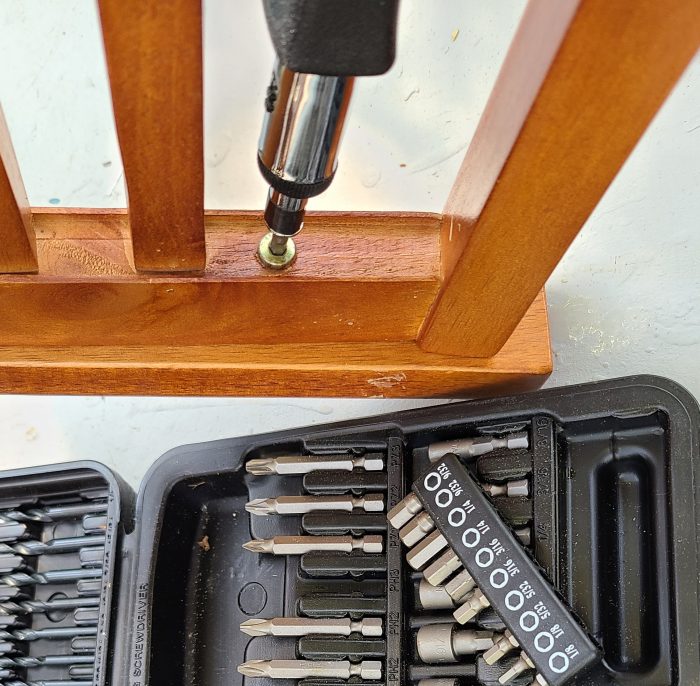
Some of the screws were loose, and needed a little tightening.
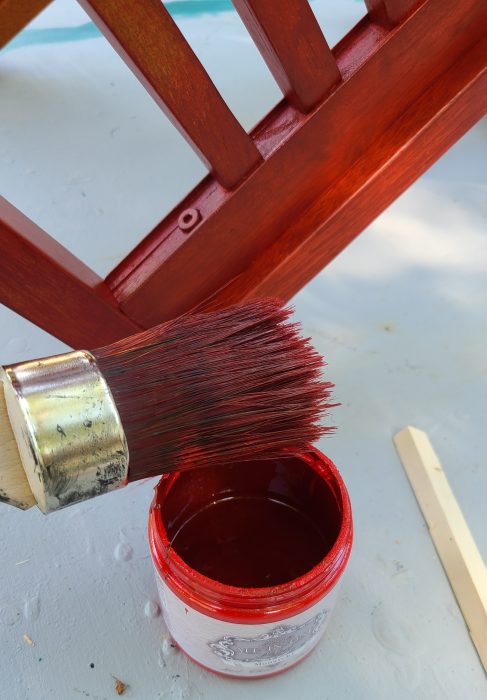
I wanted to paint the boys rocking chair red, but the red I had seemed a little too bright, so I added just a bit of black paint. The sample jar was nearly empty.
The paint went on beautifully because the finish was prepped well.
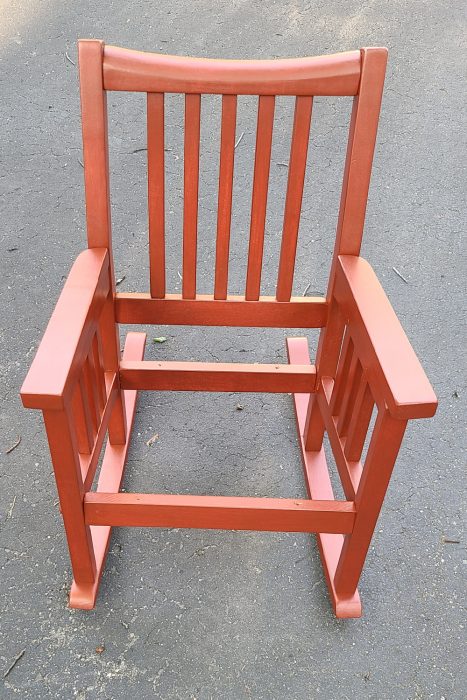
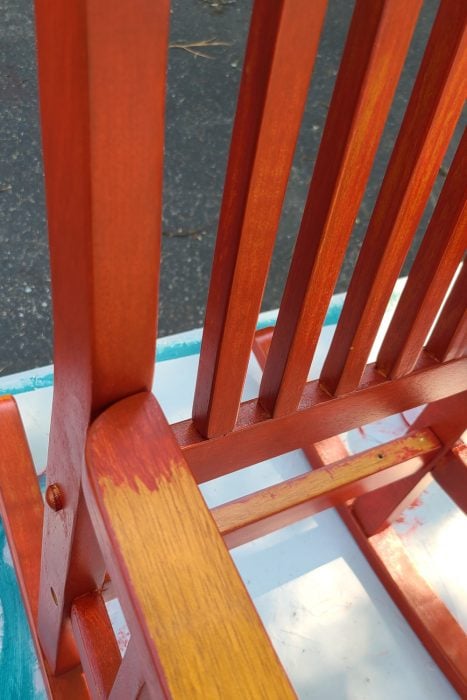
The boy’s red rocking chair turned out just as I had hoped! This is after the first coat, I added a very light second coat.
I took a paint sample to Hobby Lobby to choose some Disney Pixar’s Cars Fabric.
How to Upholster the Seat
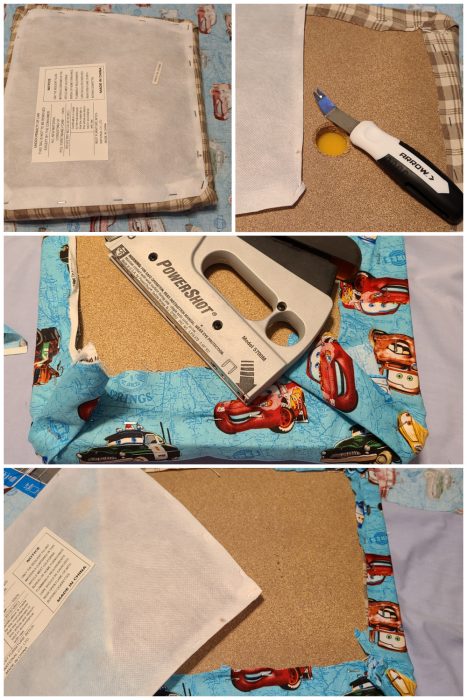
- Remove Dust Cover
- Remove (or leave) Original Fabric
- Staple New Fabric in Place
- Trim Fabric
- Replace Dust Cover
I chose to leave the original fabric, and simply put the CARS fabric over it. For this upholster project, I used an Arrow Power Shot, and a staple remover.
Furniture Button Plugs
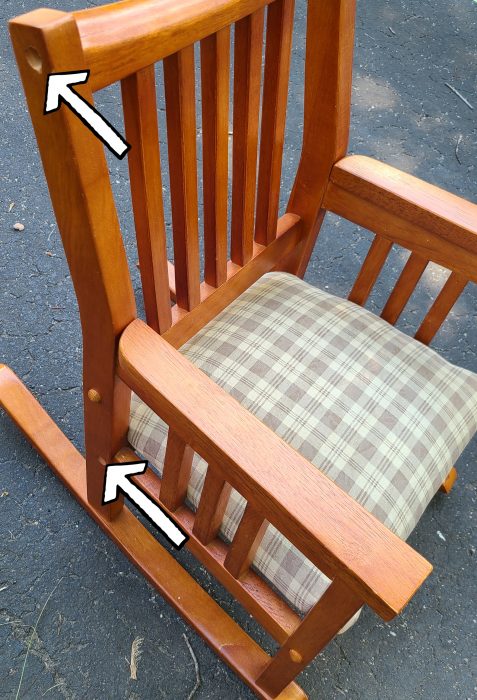
The boys rocking chair was missing some furniture plugs, 4 in all. Two on each side.
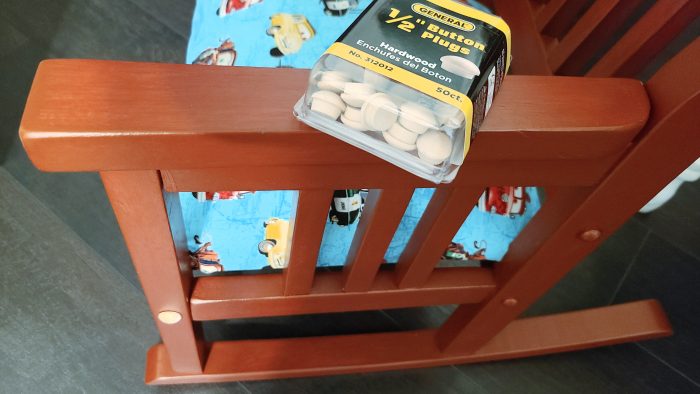
I found a package at Home Depot, but they didn’t match exactly. Initially, I only replaced the four missing plugs. But in the end, I took the time to remove the original plugs and replace them so they would all match.
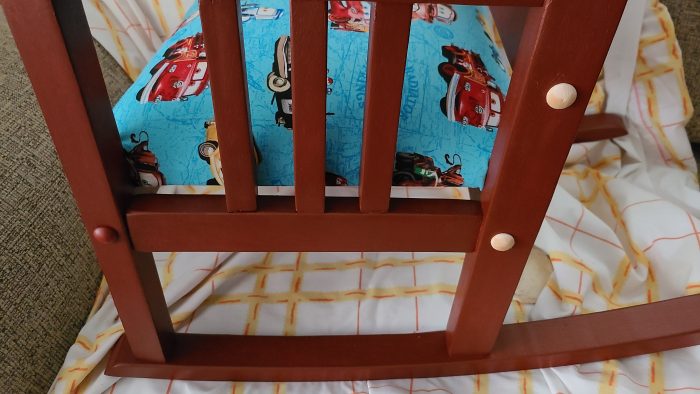
Can you see that the new plugs are larger than the original ones?

All of the button plugs needed to be painted. I chose to use a small piece of sponge to dab on several coats of paint until the color matched the chair.
Boys Rocking Chair Makeover

So, here it is all finished! Someone’s going to love this boys rocking chair! Why? Because he loves Mater and Lightning McQueen! 🙂
Let’s see MORE Thrift Store projects
Boho Chic Jewelry Tray My Uncommon Slice of Suburbia
Thrifted Child’s Wall Easel To Wall Decor – Organized Clutter
Sand And Seashells Beach Jar Idea – Petticoat Junktion
Upcycled Shutter Angel – House Of Hawthornes
Coastal Coasters – Sadie Seasongoods
Boys Rocking Chair – My Repurposed Life (you are here)
Refresh Bathroom Vanity Light – Shop At Blu
Large Farmhouse Metal Basket – Domestically Speaking
Outdoor Coffee Table Makeover – Our Southern Home
Easy Cake Stand – Reinvented Delaware
Gail, you did a great job on this rocker! I especially love that you took the time to plug up the hardware holes. Those kinds of detail matter!
SUPER CUTE refresh, Gail!
This turned out so great, love that combo of paint and material!
Gail that rocking chair is adorable!
This is adorable for a boy’s room. That fabric is precious!
Gail, the colors are perfect! You picked a fabulous fabric! So excited to be part of this tour!
Absolutely adorable! My son used to love the Cars movie. We’d watch them endlessly on repeat!
so cool! love the finished paint color and the choice of material.
Super cute makeover, Gail! Love the fabric seat!