Cabinet Door Table | Easy Build
As an Amazon Associate, I earn from qualifying purchases.
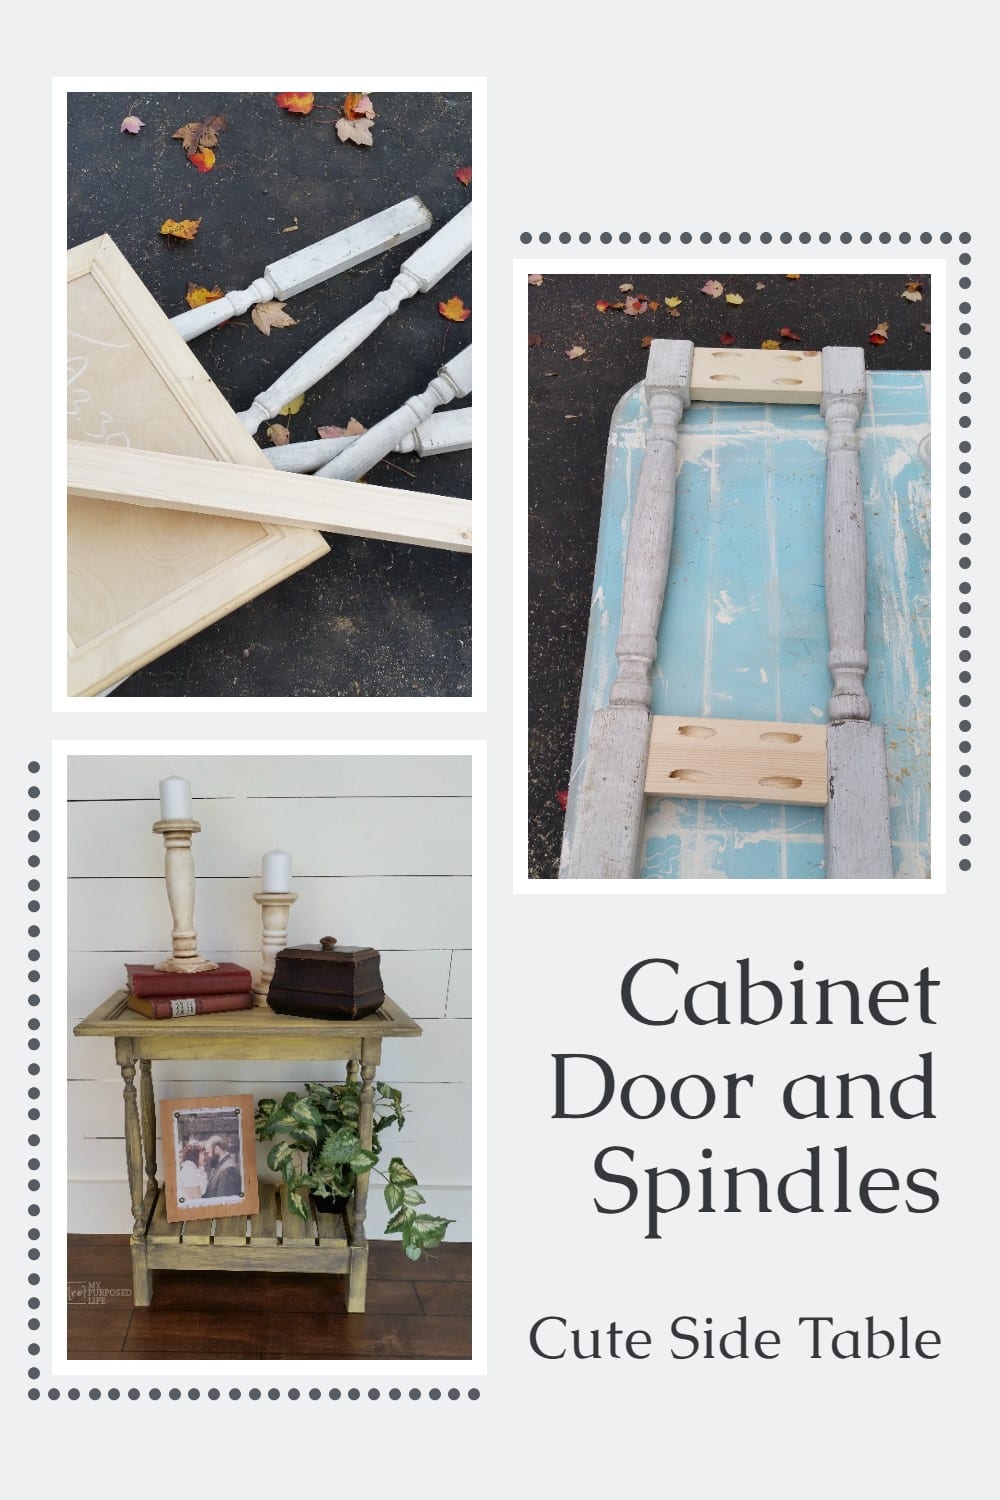

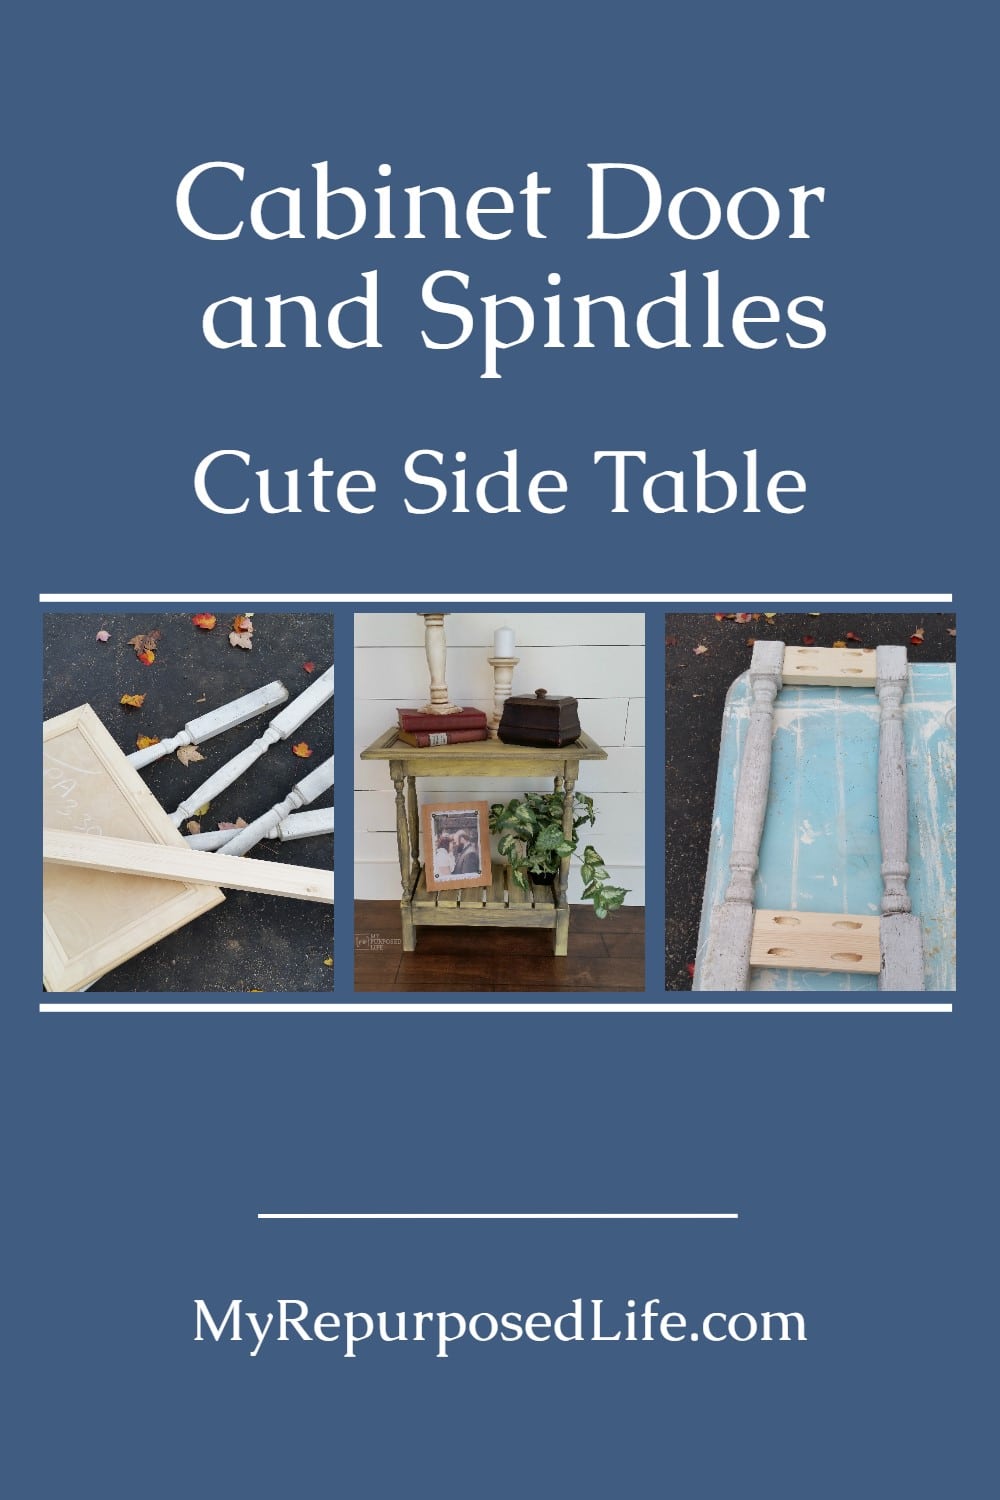
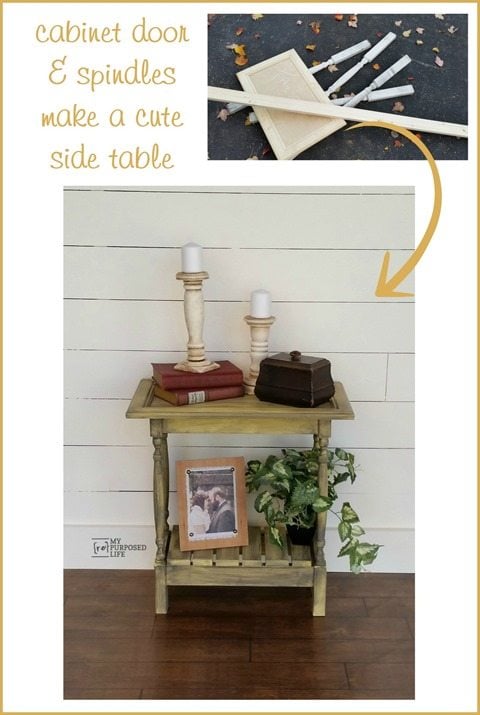
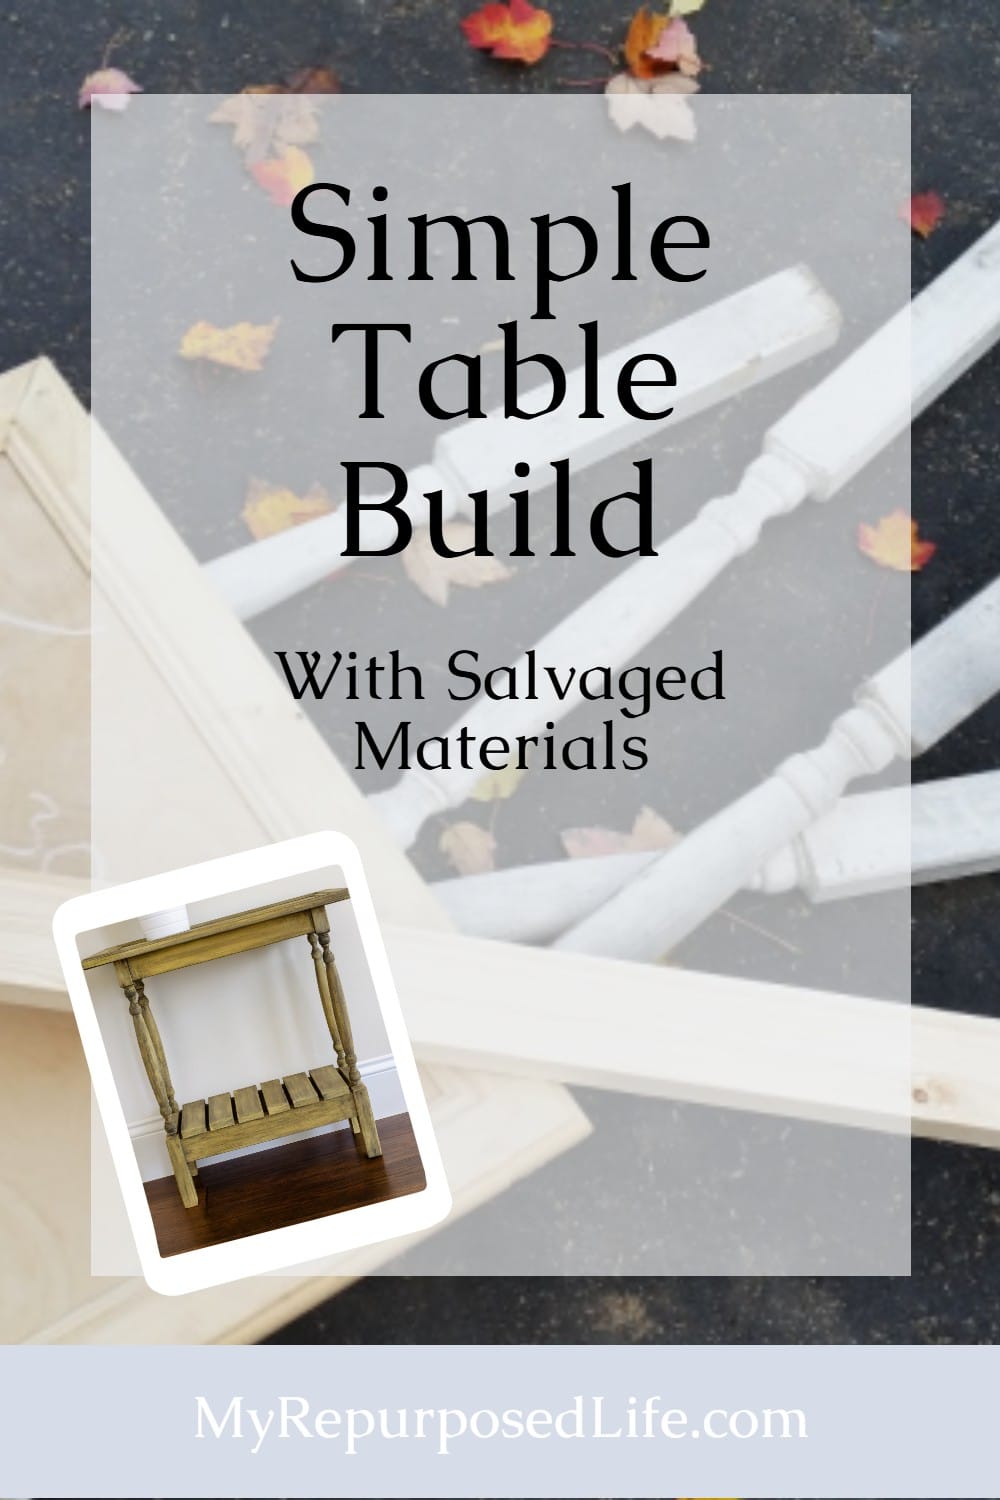
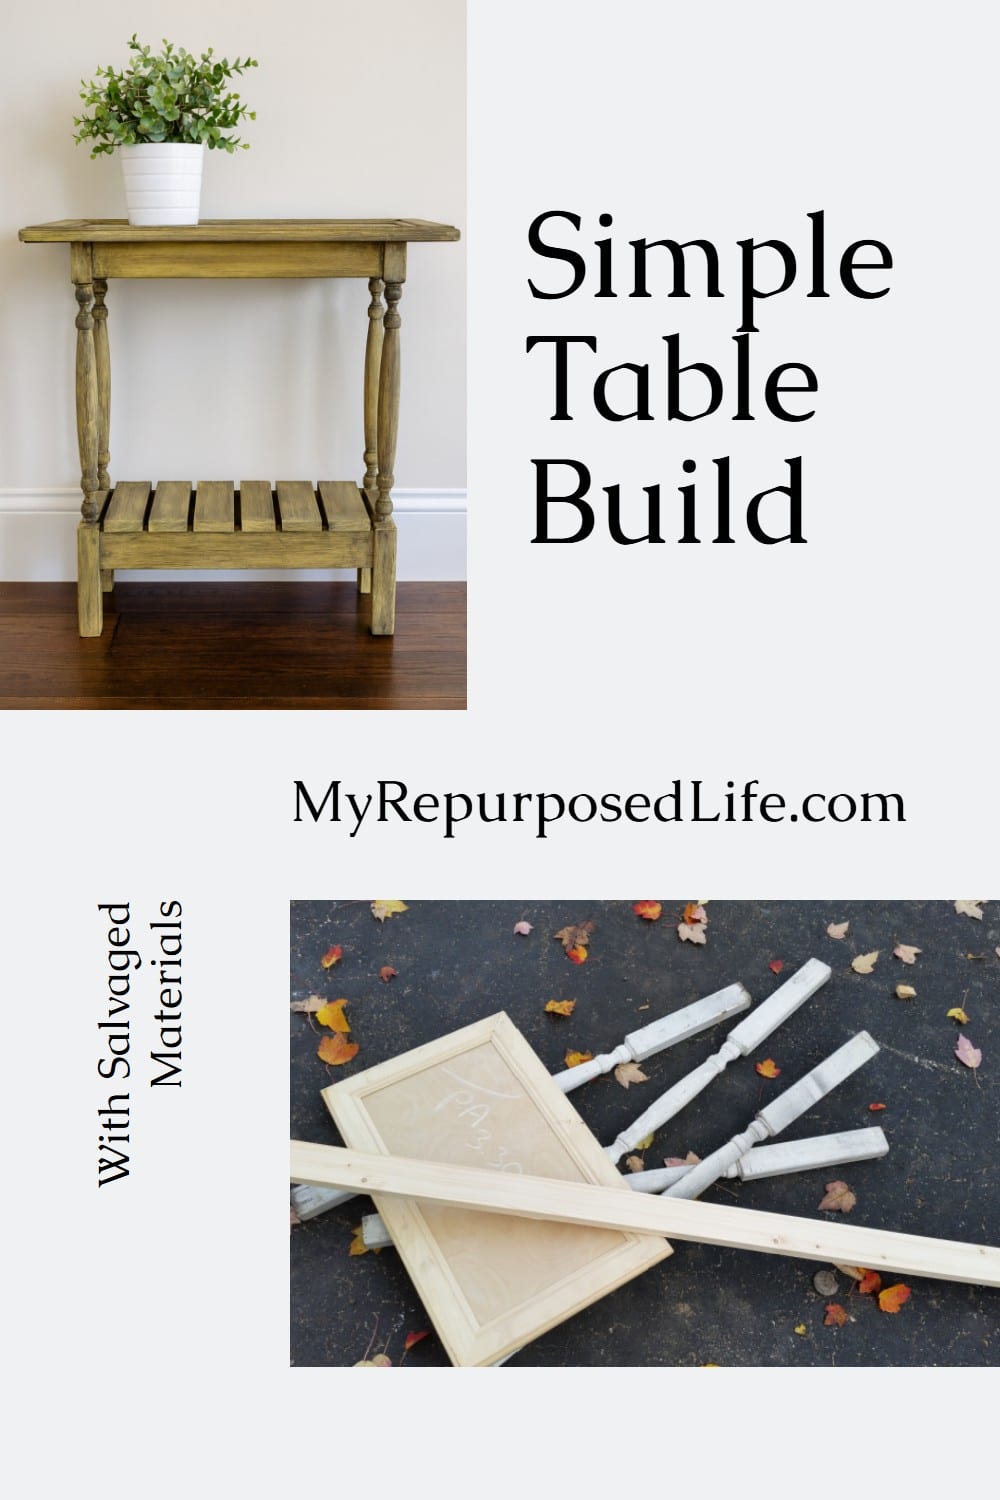
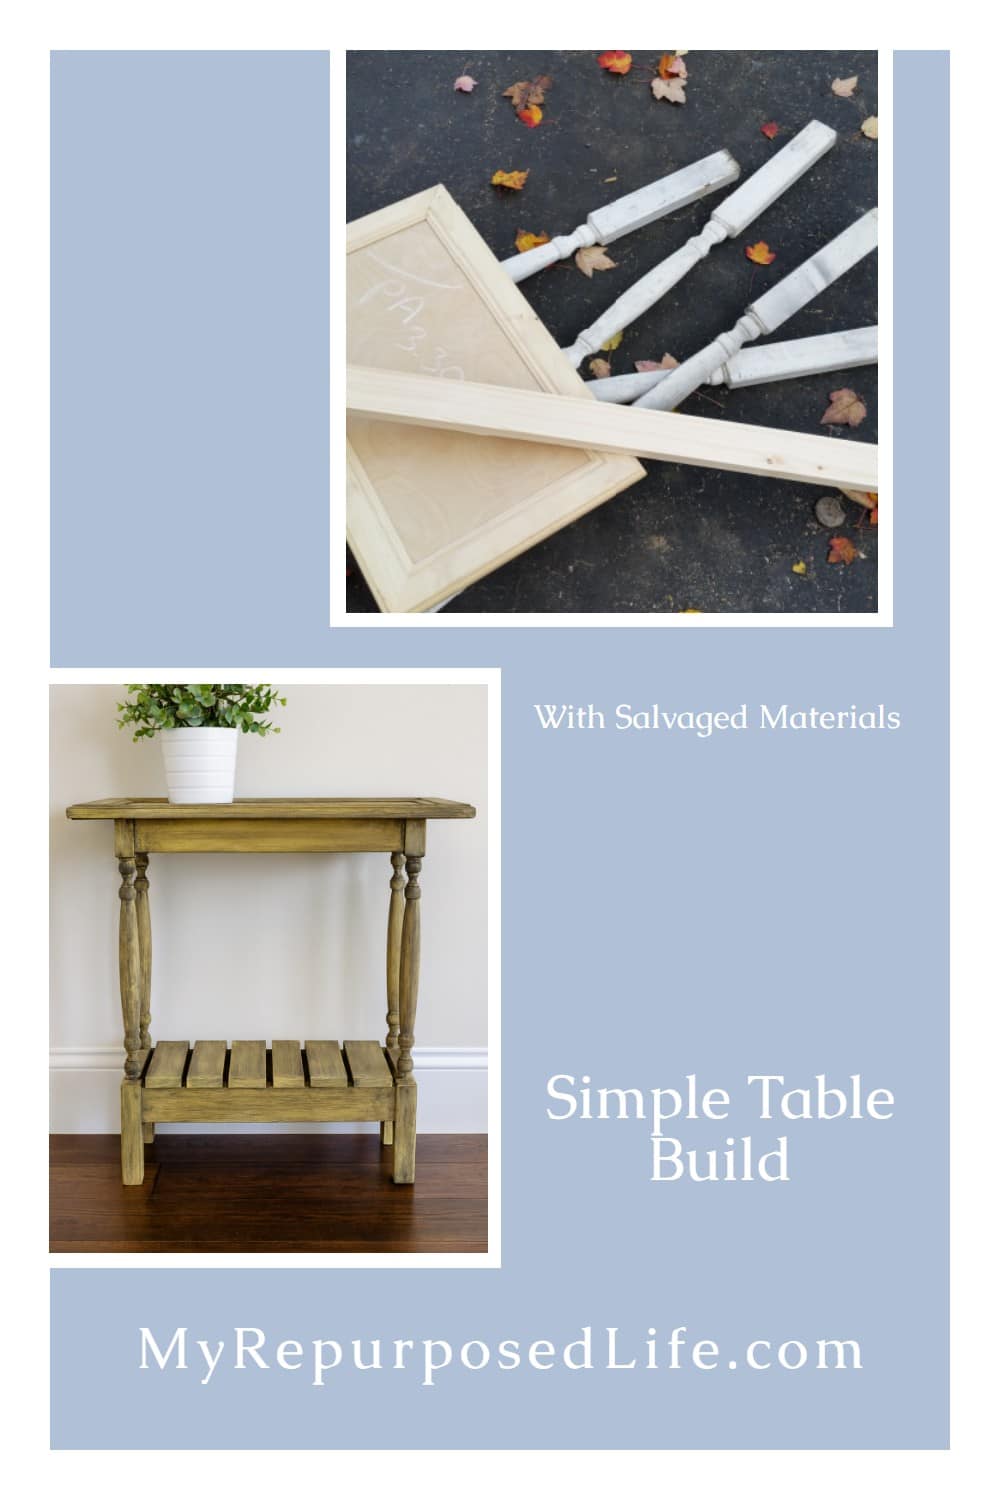
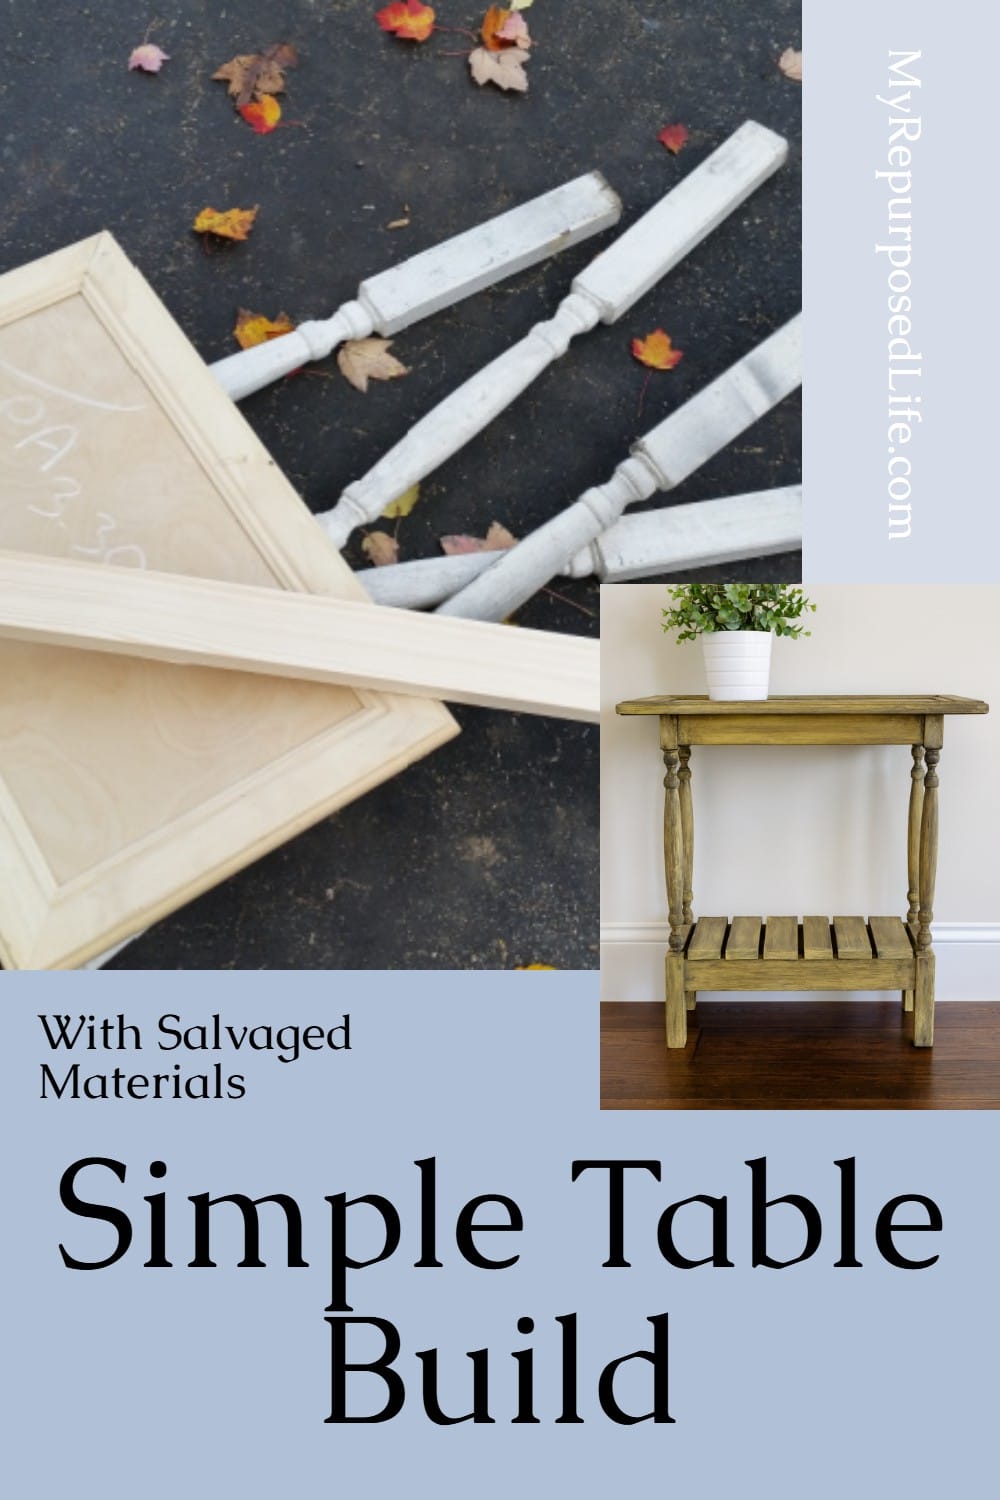
It’s amazing what you can build with a few leftover pieces. This table started with an old cabinet door, some salvaged spindles, and scrap wood from the workshop. With just a little cutting, assembly, and paint, I turned that random pile of parts into a charming cabinet door table. It’s a simple build that comes together quickly, and I’ve shared all the steps so you can make one too.
How to Build a Table out of a Cabinet Door
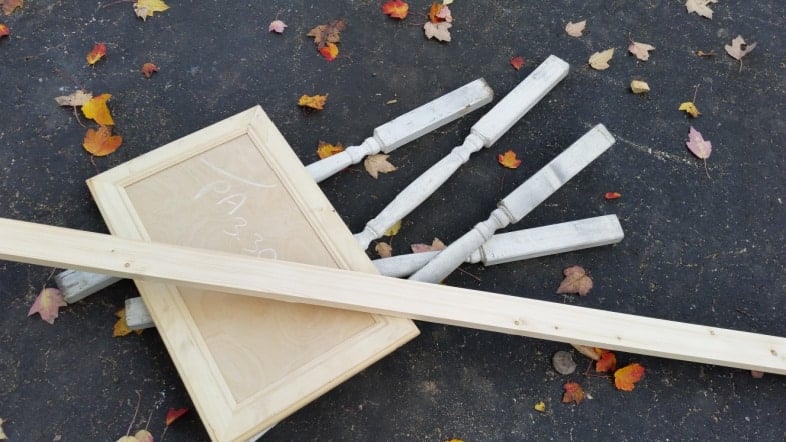
I grabbed these items from my stash to make this cabinet door table. Last year, I purchased a whole bunch of spindles for $5. I used a 1×4 for the table skirt and some other random pieces for the bottom shelf.
You could use pallet wood to make your table.
Designing a New Table

After trimming the spindles to the height I needed, I placed the cabinet door table upside down to measure the skirt’s length and width. I cut the 1×4 to size.
Everything’s in place for a dry fit, with no pieces attached yet.
How To Use a Kreg Jig
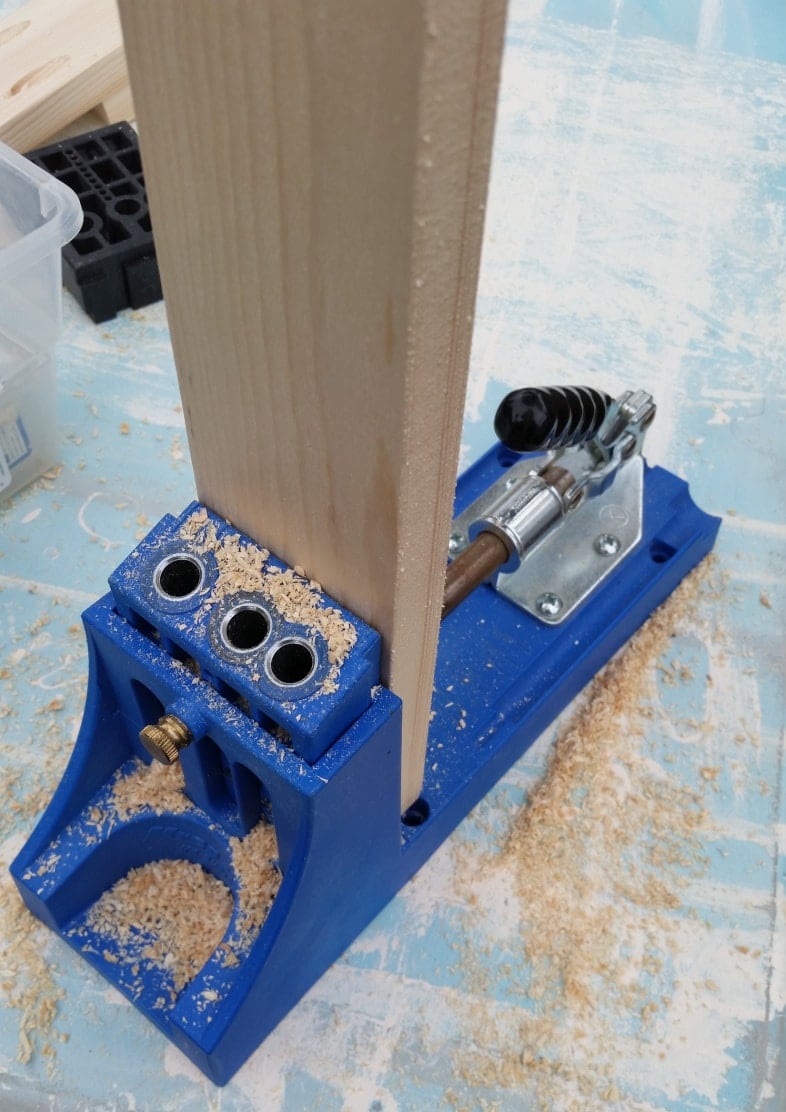
This tool makes all the difference in this little table’s looks and strength. A Kreg jig allows me to drill the perfect pocket holes to make this table come together.
Need more details on using a Kreg Jig? See my article How to use a Kreg Jig Pocket Hole System
Assemble The New Table
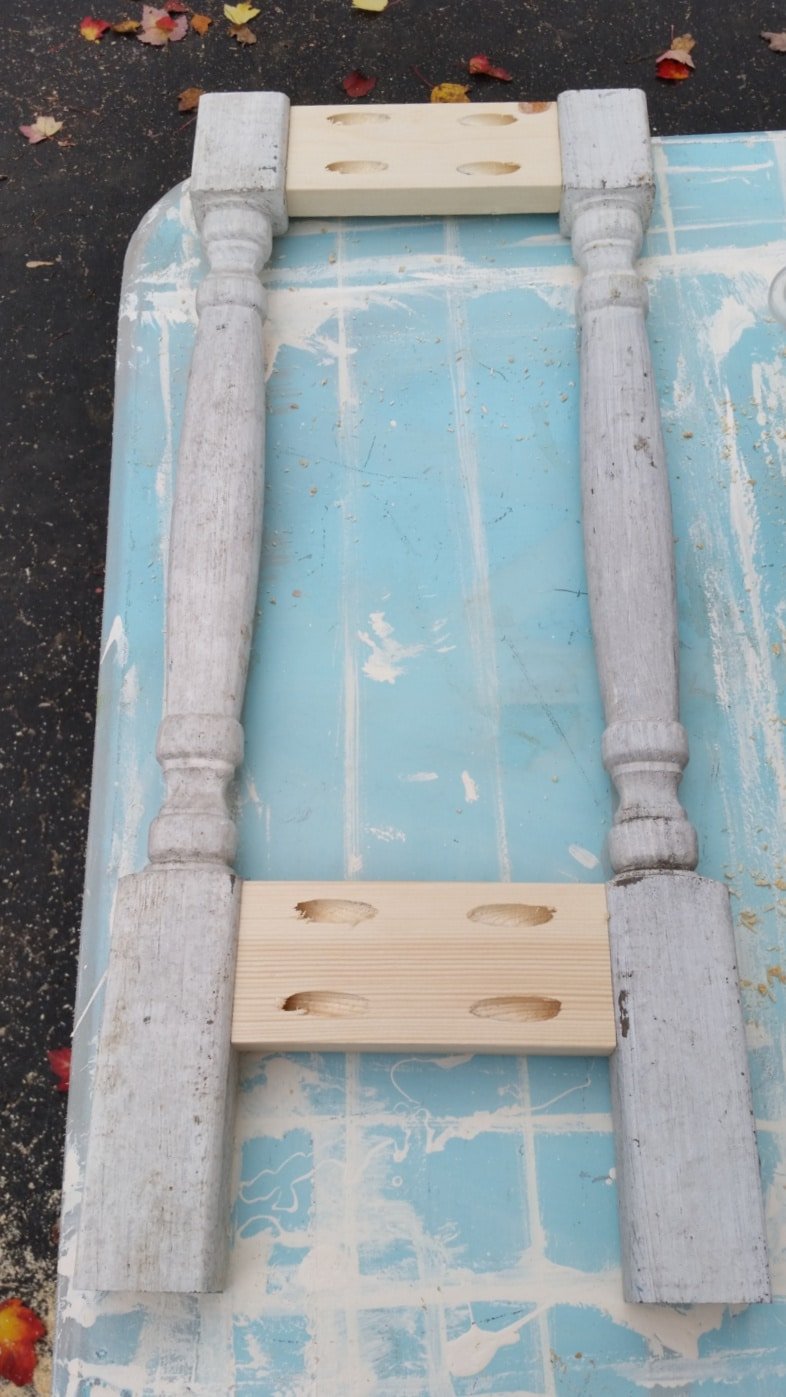
Drilling the pocket holes on the table skirting will connect the skirting to the spindles. Do this at both ends to create identical sections, as shown in the image.
Continue with the two side pieces (top and bottom) to complete the basic table build, using pocket-hole screws for all joints. Add pocket holes to the top skirting to attach the cabinet door to make the tabletop. The lower skirting attaches to the bottom shelf.
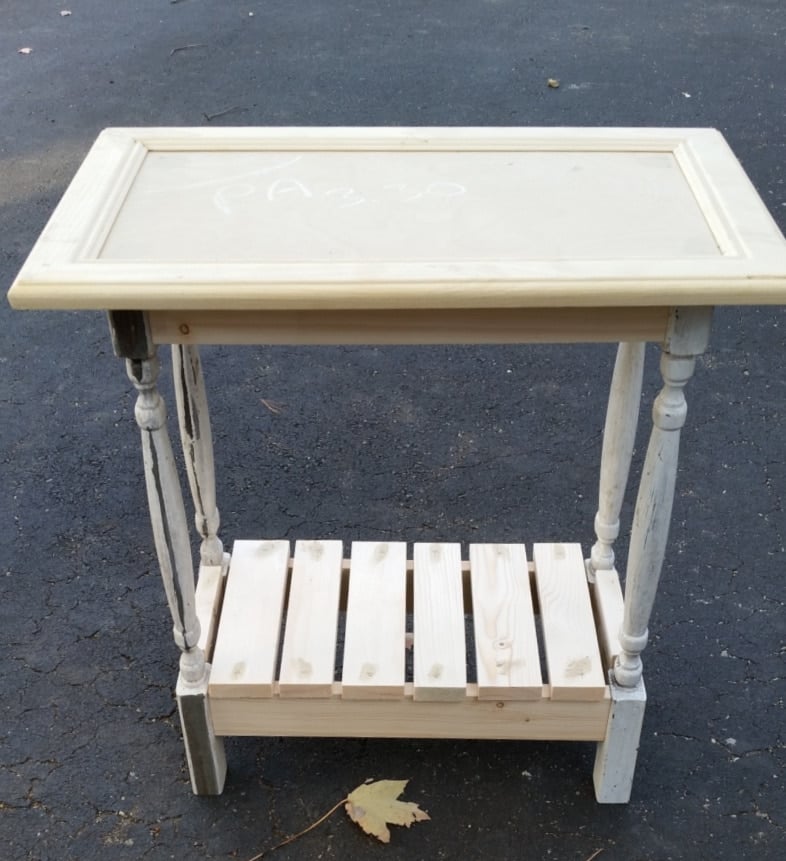
I scrounged around my scraps and found some random boards for the bottom shelf of the cabinet door table. Notice they are not all the same width. Placing random boards like this eliminates having to rip boards to fill the space.
Use a nail gun to attach the small scrap boards, then patch and sand the holes.
Time To Paint

When I was ready to paint, I went to my small can stash and grabbed the first thing I saw. It is Valspar (Summer Shirt Waist) chalk paint.
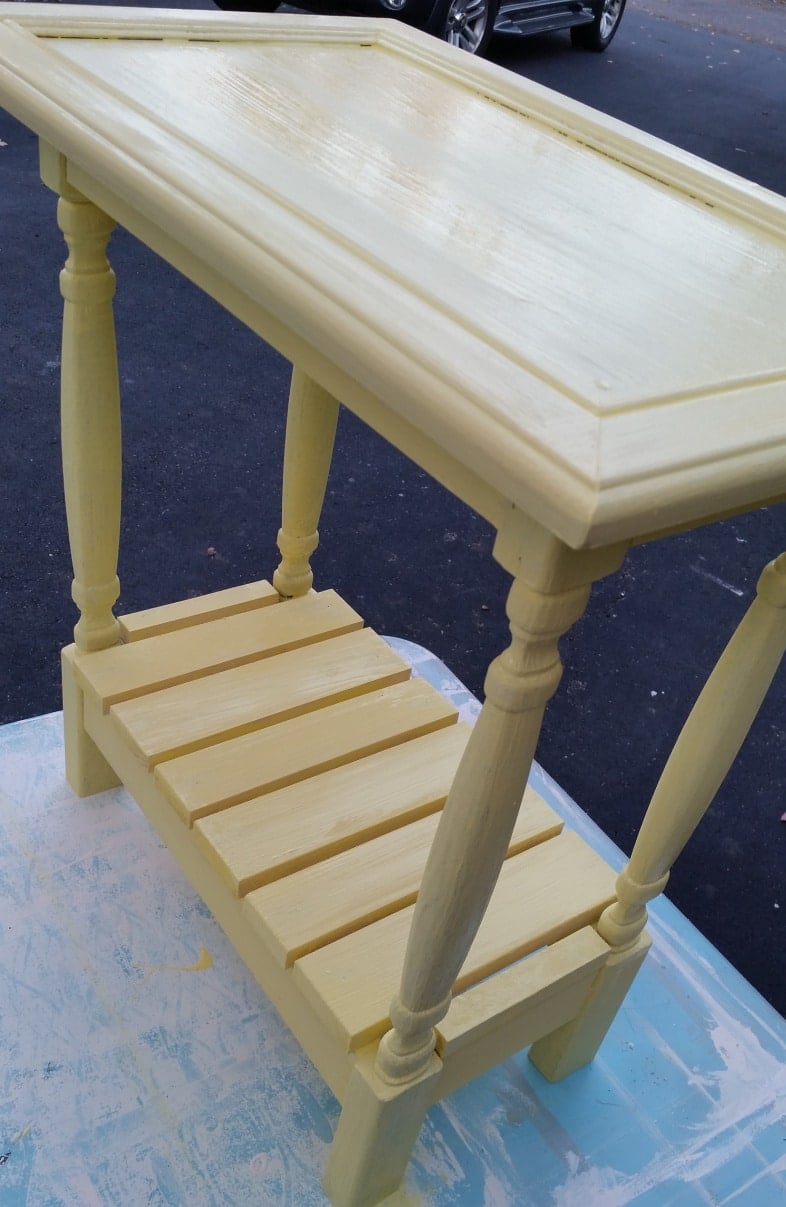
I had to do about three coats to get the spindles to look halfway decent, but I still wasn’t thrilled with how the little cabinet door table looked. It could be because yellow is my least favorite color.
Recently, I bought some Valspar Glaze: one is a whitish, transparent color, and the other is dark. I tried the light glaze to give the little table a slight sheen. I still wasn’t pleased.
How to Glaze Furniture
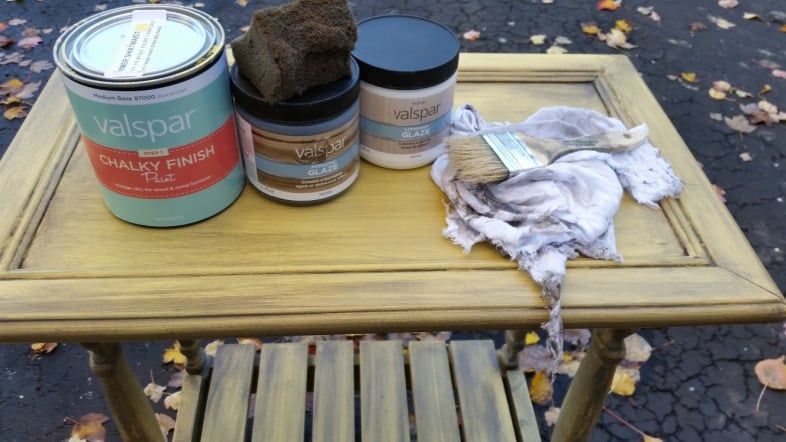
Then, I used a sponge to apply some dark glaze, a cheap chip brush to get in the cracks, and a rag to wipe it back.
I have found an easier way to glaze furniture.
I think I went a little too heavy with the dark glaze, but I was over this little table at this point.
Mostly, this is about how to build the little cabinet door table, NOT how to paint it.
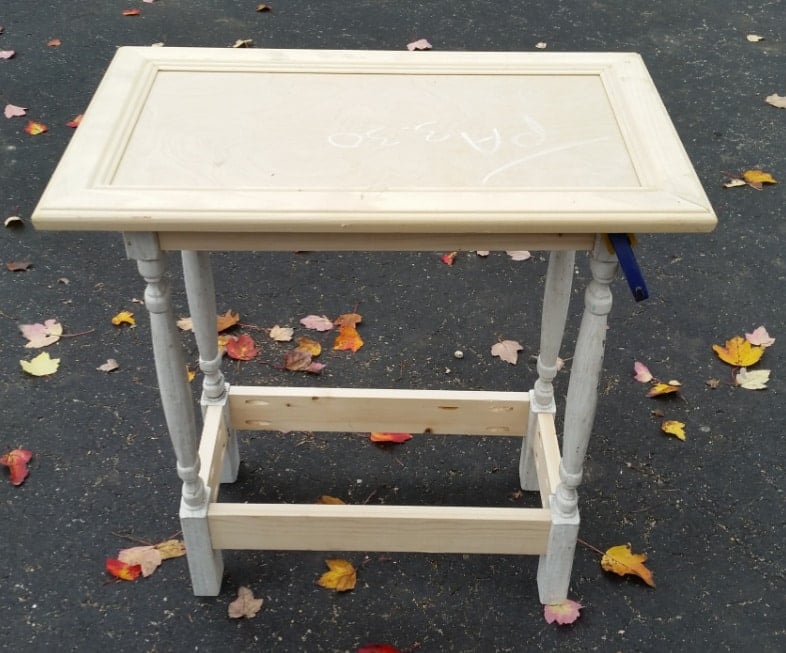
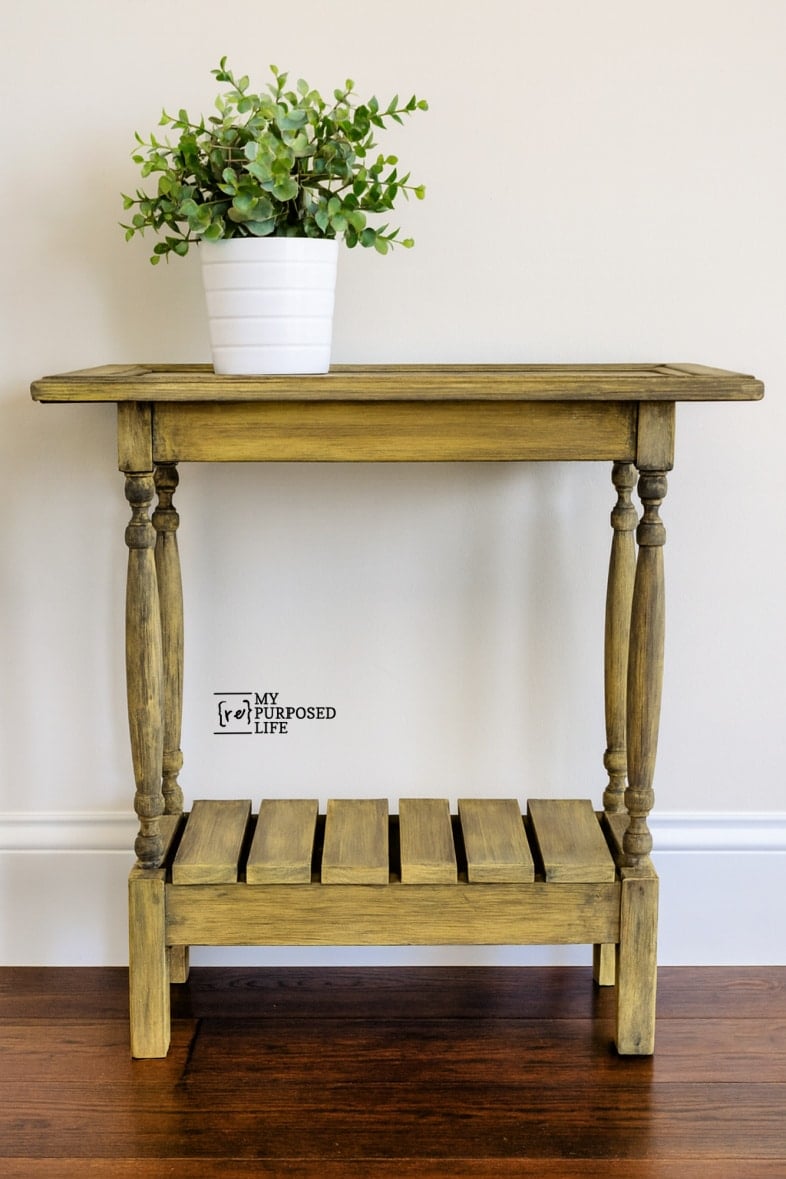
It is a cute table that was easy for a beginner to build.
This table is small, but a larger door and salvaged table legs could achieve the same look.
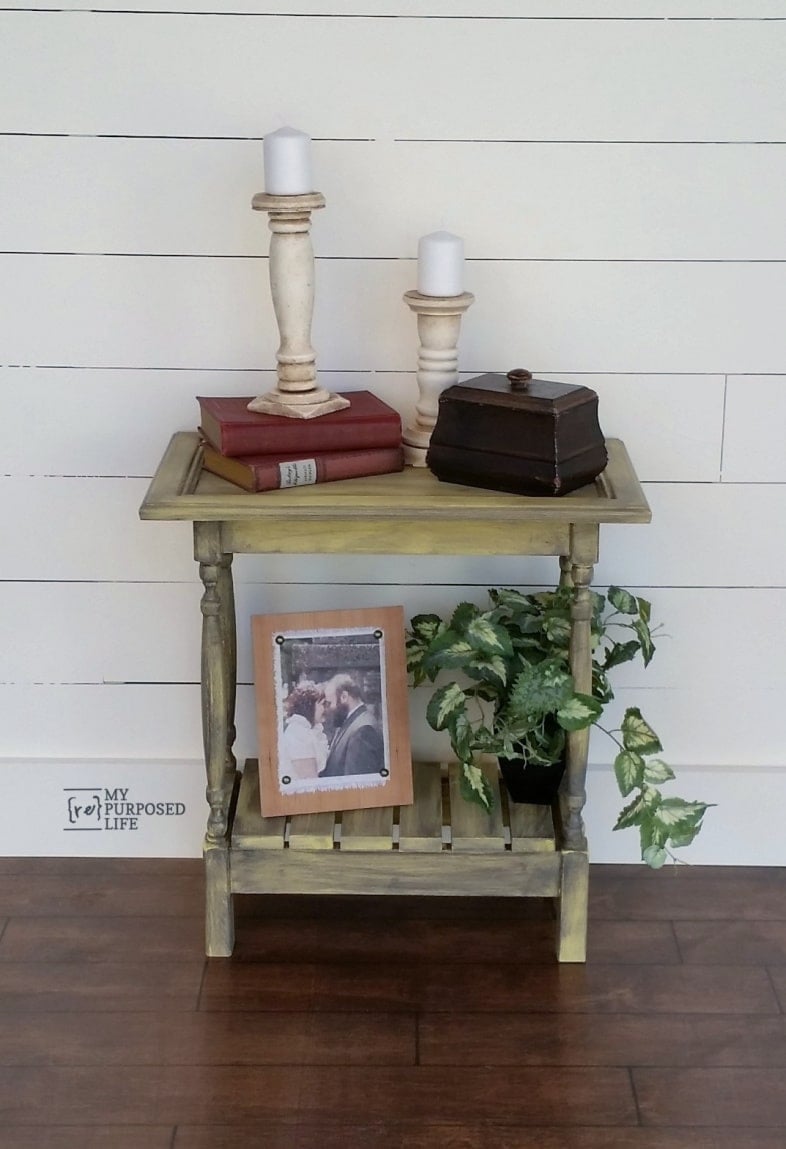
I love how this easy DIY project gives new life to materials that might have been tossed aside. The finished DIY table has the perfect mix of character and function, proving you don’t need fancy supplies to make something beautiful. Follow along with my step-by-step directions to build your own version—you’ll be surprised how simple it is to create something you’ll be proud to use.
See these articles: How to make scrap pile candlesticks (candlesticks on the table) and How to Print on Fabric (daughter and son-in-law’s photo)
I hope you learned something today!
You do a great job detailing your woodworking / assembly process !
Someday… I’d like to learn some basics. Your instructions make me feel like I could…?
Thanks for sharing.
Ok so my personal opinion is that I absolutely love everything about it!! I love the color! If you don’t, try going over it with some white wax or white paint mixed with a good deal of water and make a wash. It will lighten the glaze and you might like it better. I think it looks great just the way it is!
How do you attach the table top the bottom?
Great question Amy! I totally forgot to mention that I used Gorilla Wood Glue and my nail gun to shoot finish nails through the top into the skirt. Thanks for catching that. 🙂
gail
Such a cute little table Gail, a perfect example of repurposing! It is so true the right tools make this such an easy build, thank goodness for the kreg jig! Great tutorial, as always!!
Sooooo Love your cute table!! Would make a great nightstand. Mary
I really like this little table. I really wish I knew just basic skills, I have been thinkinking of taking some kind of wood working course at the vocational school.
Do you ever do workshops in your spare time (haha spare time)???????????????????
Patty,
It’s been my dream to host classes in a workshop setting, but I think the clock is ticking and that opportunity is just a dream for me. 😉
You are right about the “spare time”. hehehehe
you *should* take a class, or at least watch some great youtube videos!
gail
It’s great how you put that together. I’m so glad you put a skirt on the table, I’ve seen some in blogland without skirts and they just look… wrong!
As for the colour, sorry, I don’t like it either, but I’m sure you can get out your sprayer and spray over it with something else!
yep, I’m on the fence about the glazing on this piece. I think I went a little too far…. but like you mentioned.. . it’s just paint! 🙂
As usual, you are so clever! Still, I’m not sure that I love that stain.
I agree, thanks for your honest input Margot!
Really neat table Gail. It can be also used for a night stand. I will have to check on Habitat to see if they have spindles as well, because I would love to try this. I also need to get a Keg Jig as this makes everything look so professional.
Love your work and have a safe and Happy New Year.
I recently saw some thoughts on pocket hole joinery without actually drilling the pocket holes, mostly for “rough” construction. Rodney actually showed me how to do it on the fence we’re building! I look forward to using it in the future, but for furniture, I will definitely continue to use my beloved Kreg Jig!
You are too brilliant! What a cool use for cabinet doors! Our local Restore is full of them and at about $2 ea this is a crazy awesome project! I can’t wait to share this with my readers!!
OOOoo Gail, this is a GREAT idea! I think even I could do this! :))) I’m waiting to see how long it is until you repaint it. 🙂 A very cute table, thanks!!