Chest of Drawers
As an Amazon Associate, I earn from qualifying purchases.
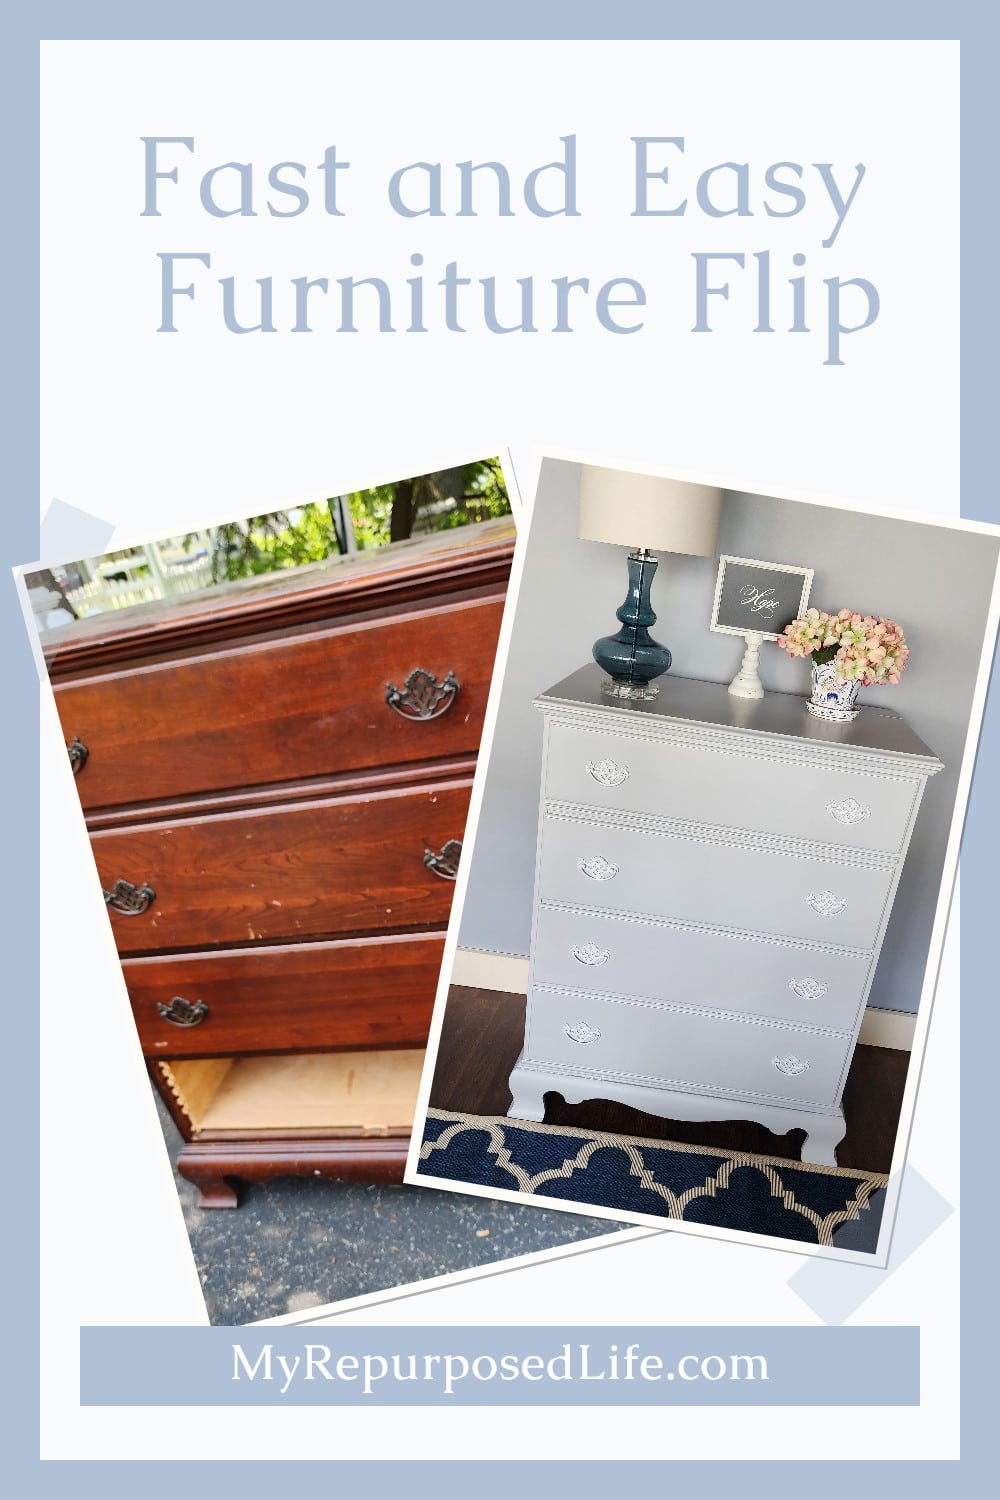

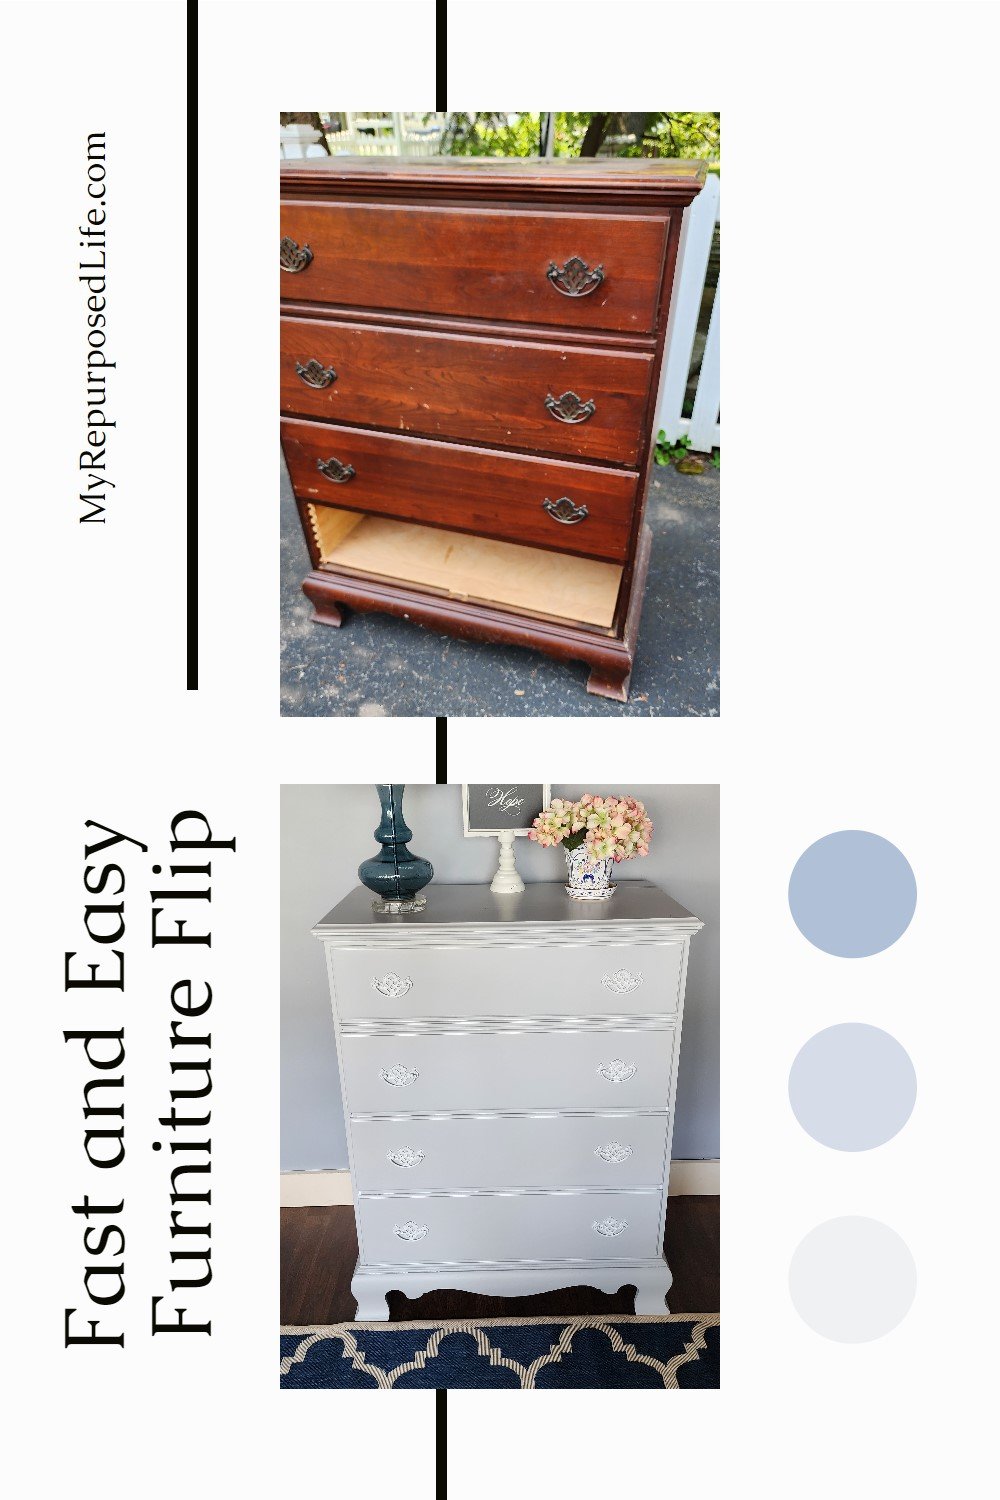
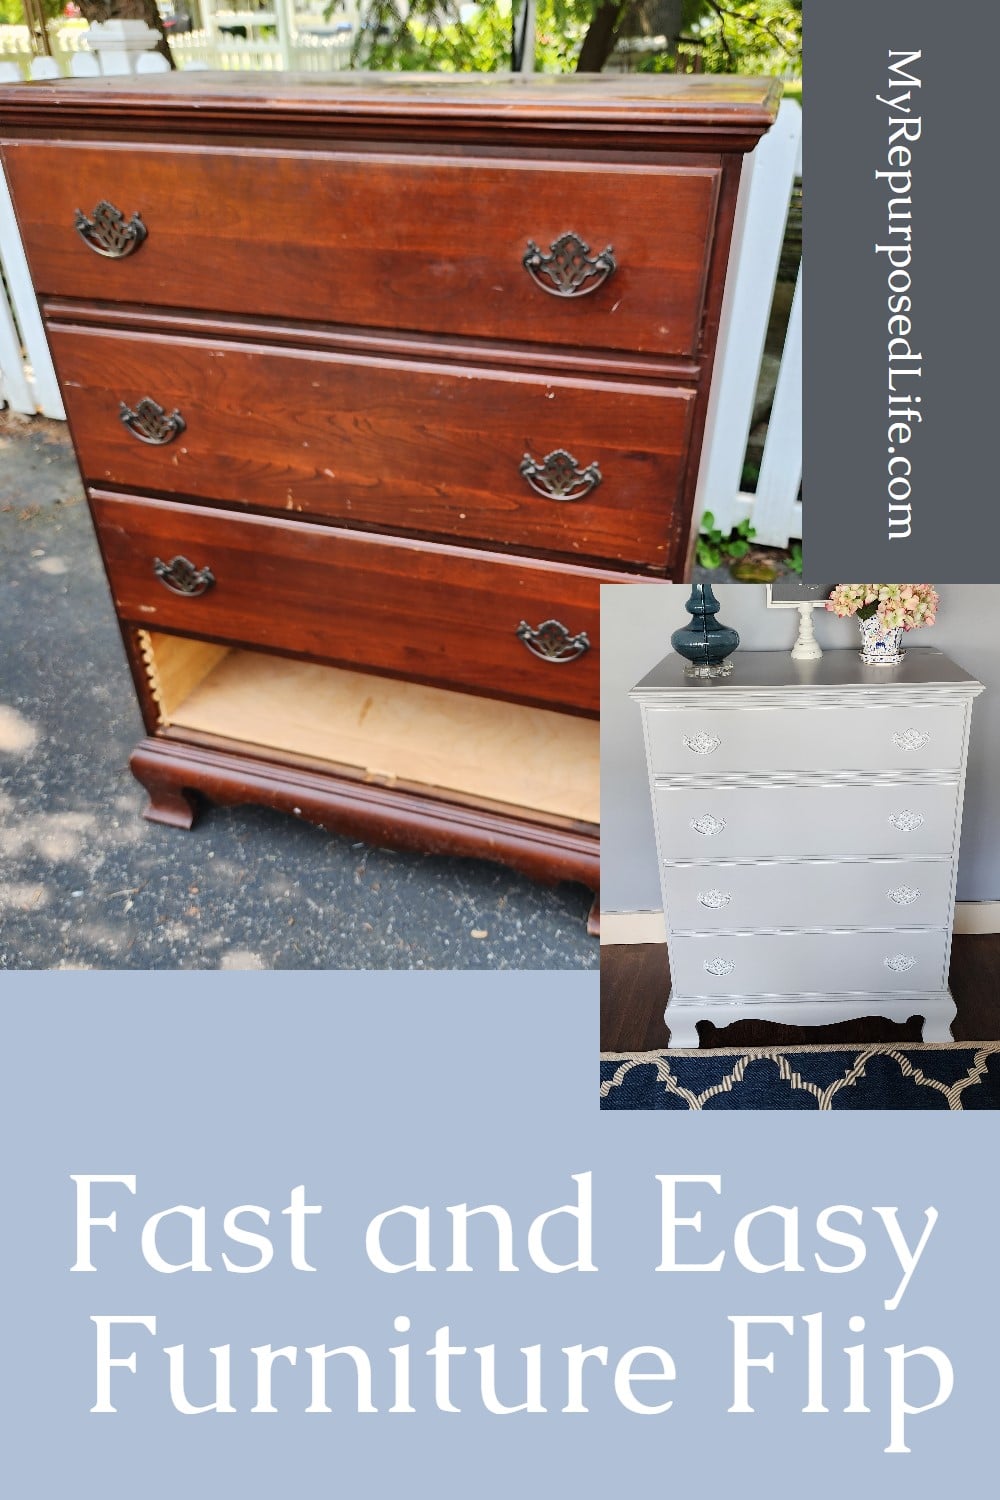
Maybe you call this a chest of drawers, Chester drawers, or a dresser; in any case, this little gal desperately needed a makeover. I can usually remember where my furniture pieces come from. But in the case of this abused chest of drawers, I’m clueless.
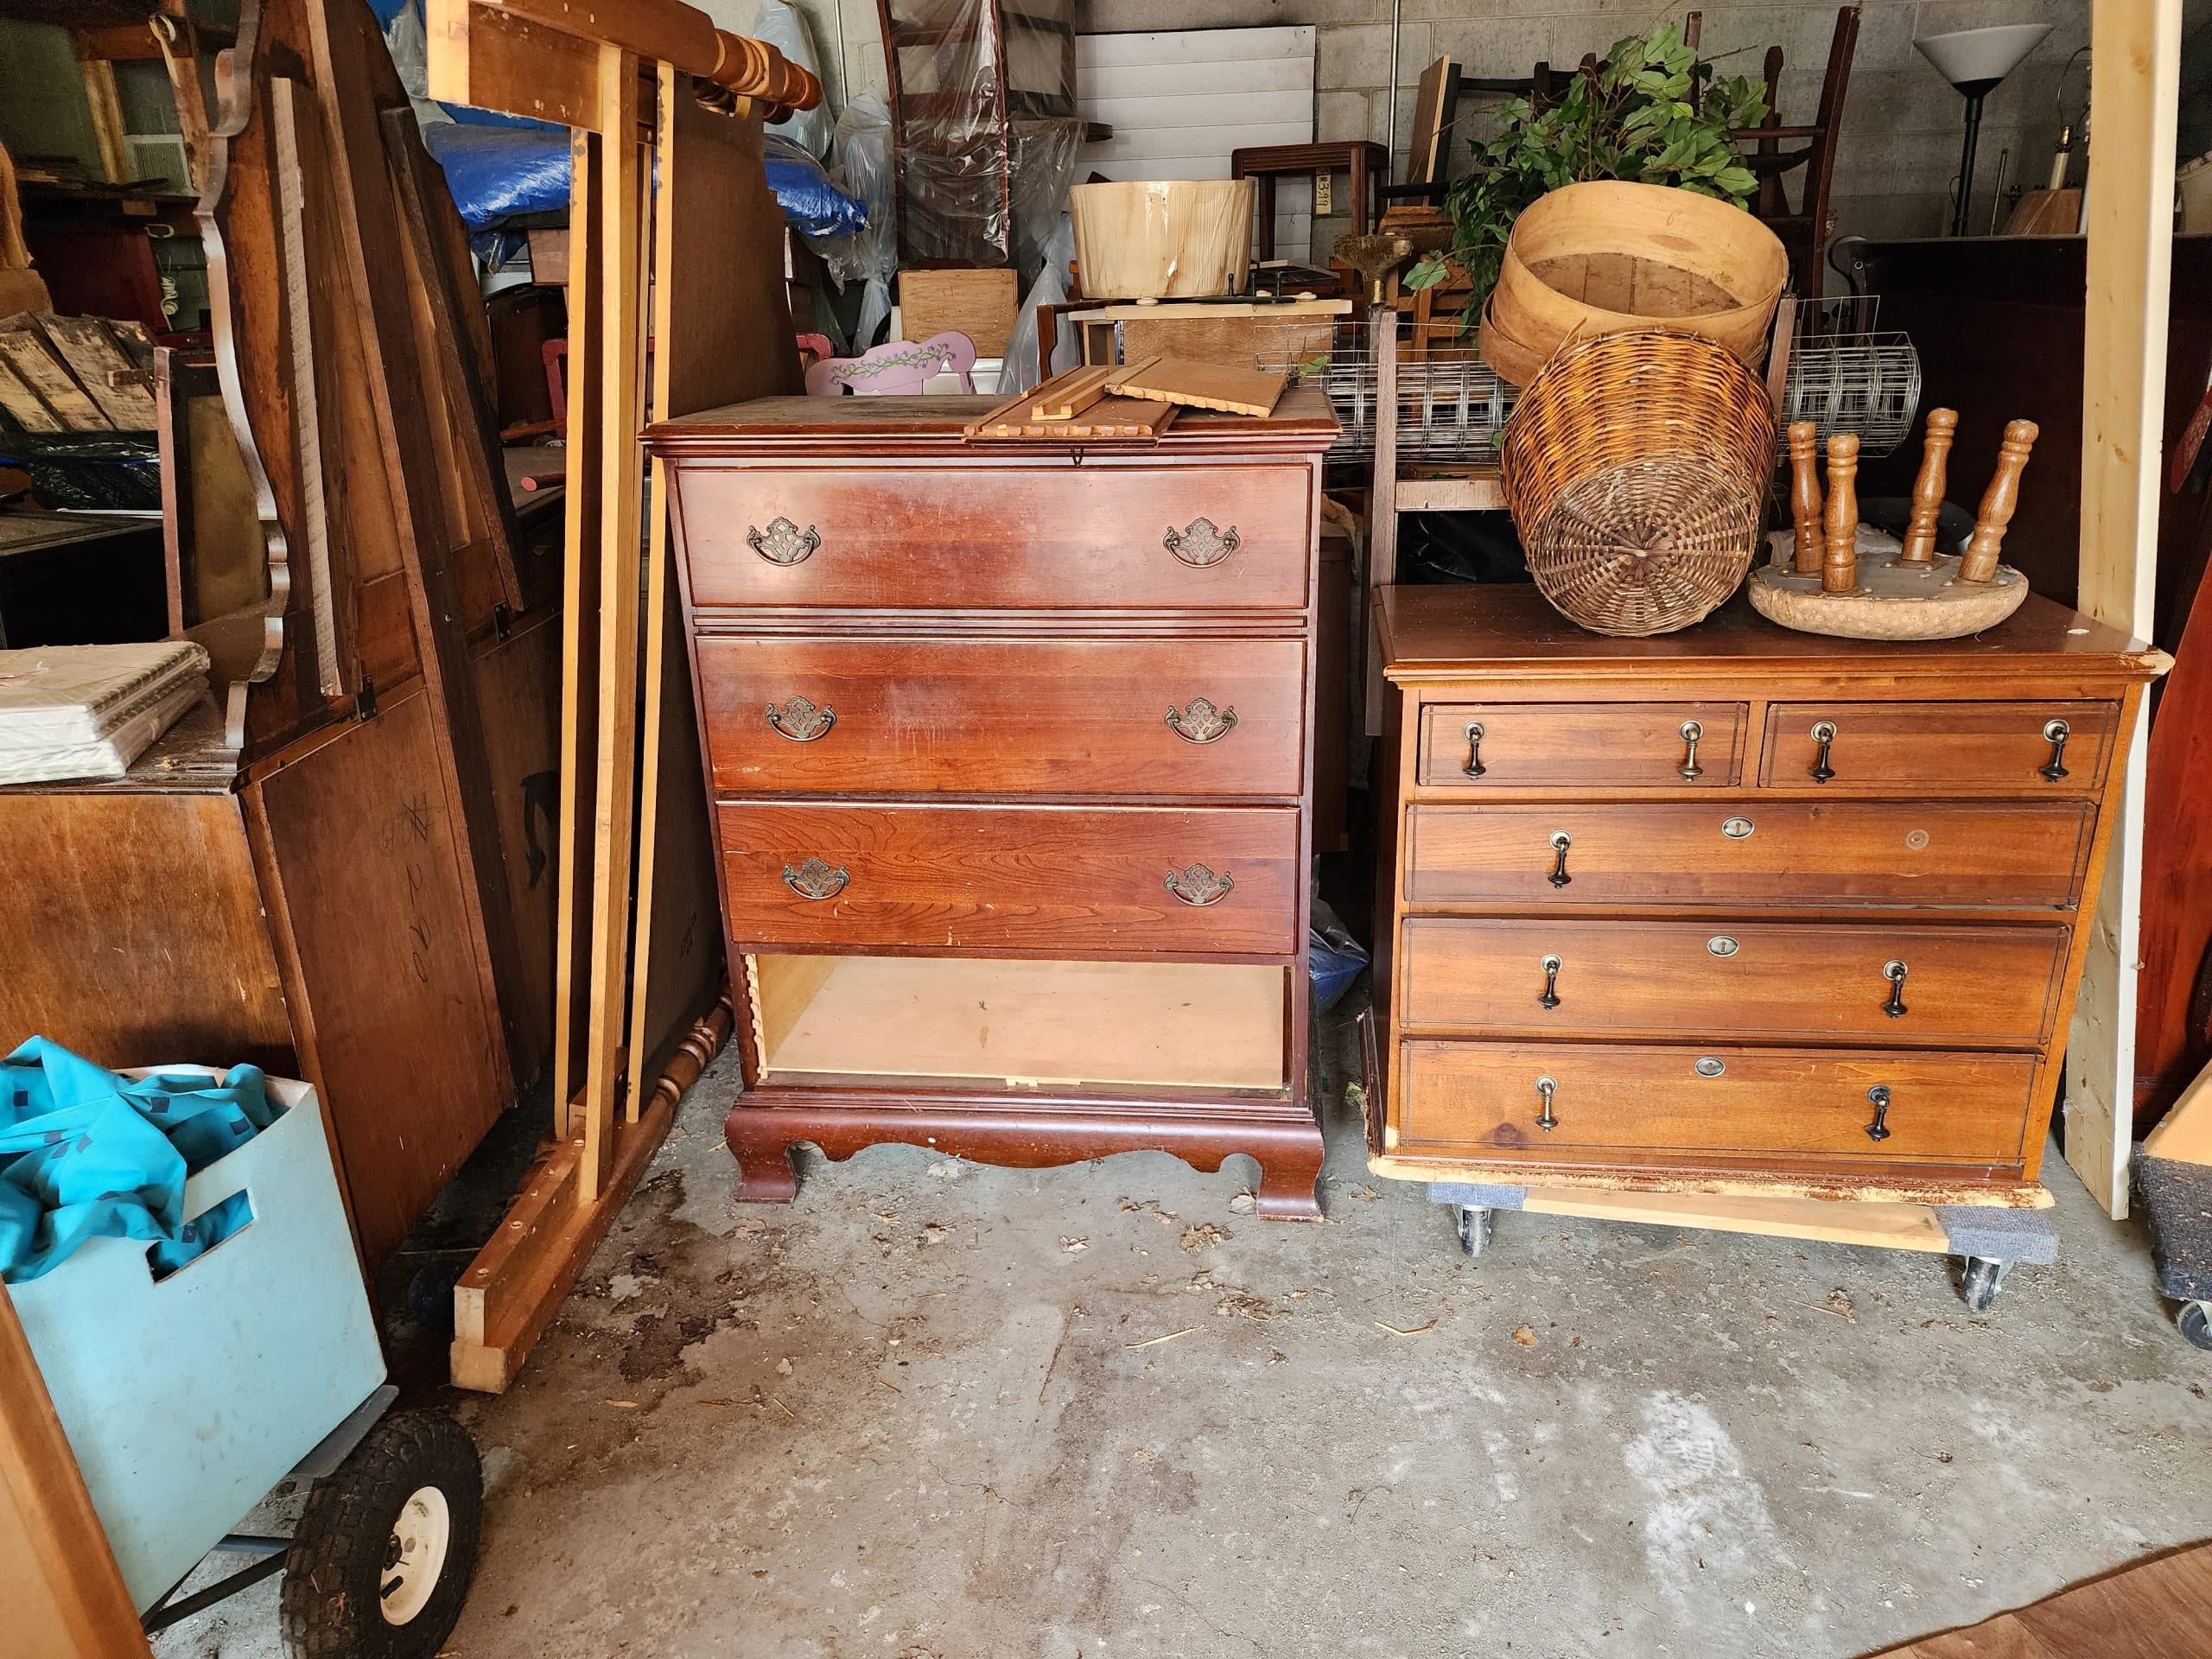
What a mess! I’m trying to work through the pieces I have in storage. There were three furniture pieces to choose from. On the left is an antique vanity, and on the right is a small dresser. However, I decided on the larger piece in the middle because I thought it would be the most straightforward furniture project.
It’s Furniture Fixer Upper Day! Please visit my friends and tell them Gail sent you!

This beast took forever to move from next door. I tried many ways to move it, finally settling on a furniture dolly. When you’re moving furniture by yourself, you need to get creative. More about that later.
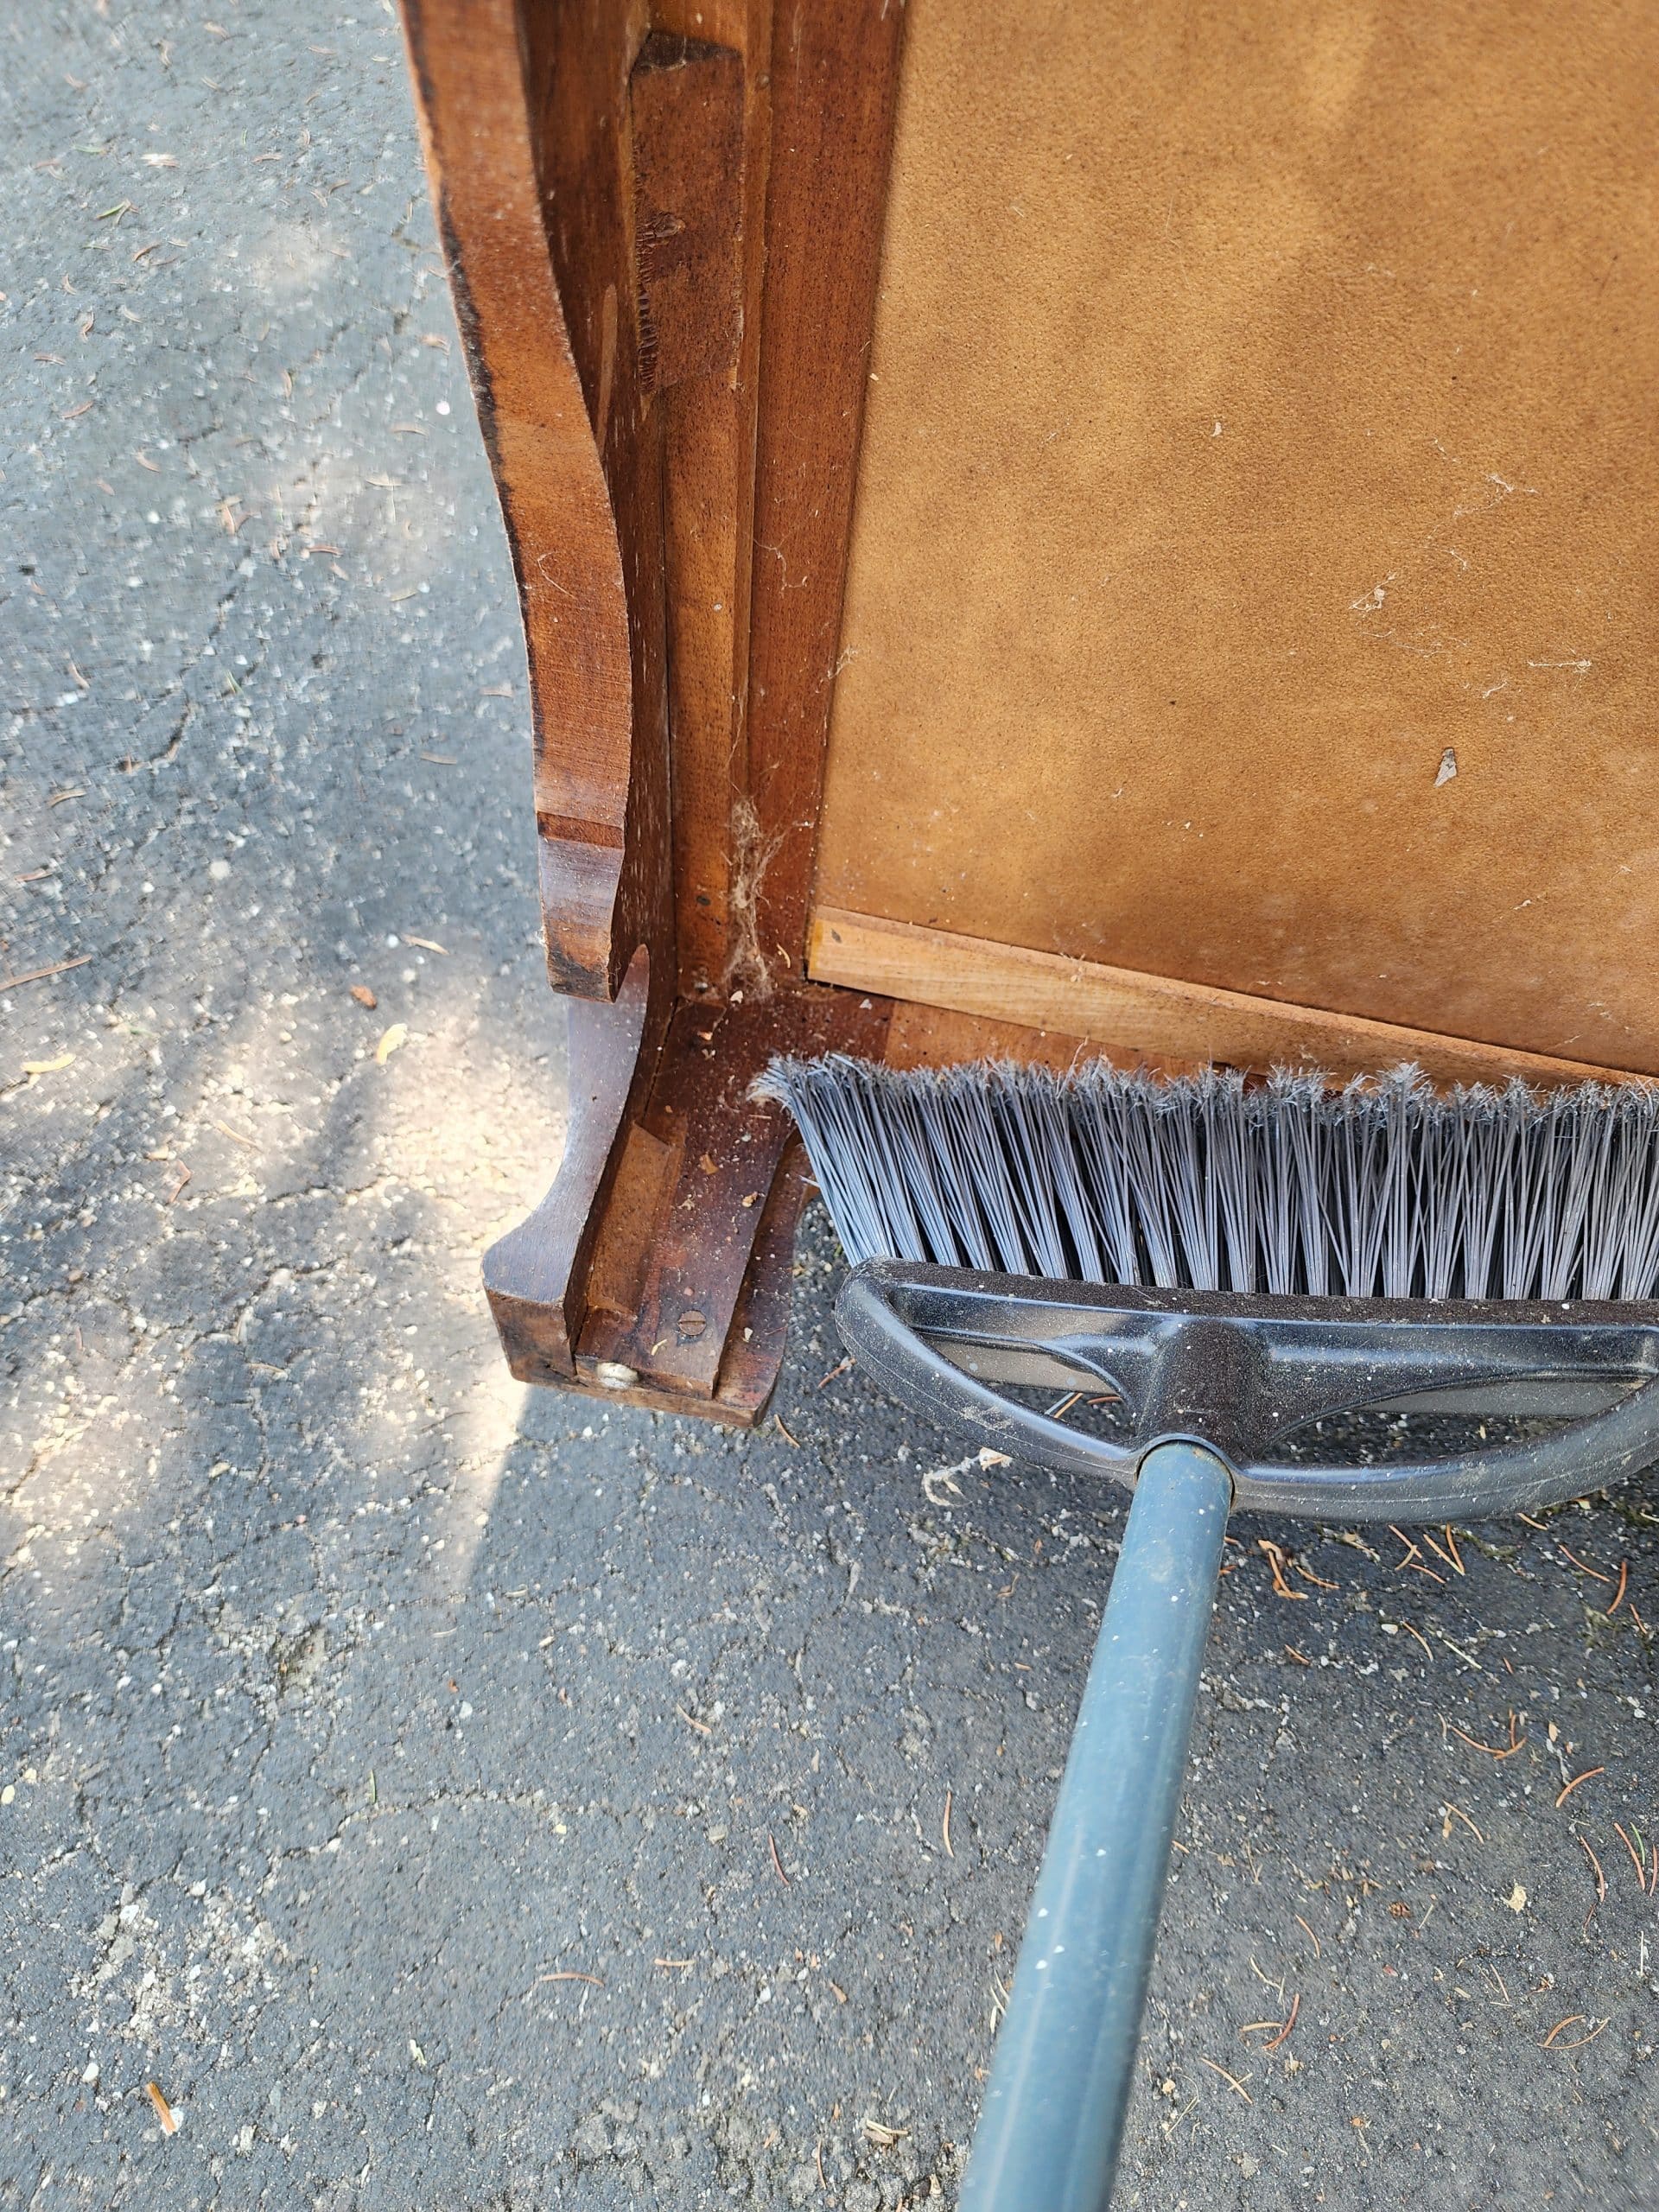
While the furniture was lying down, I grabbed a broom to dust off cobwebs and spider eggs.
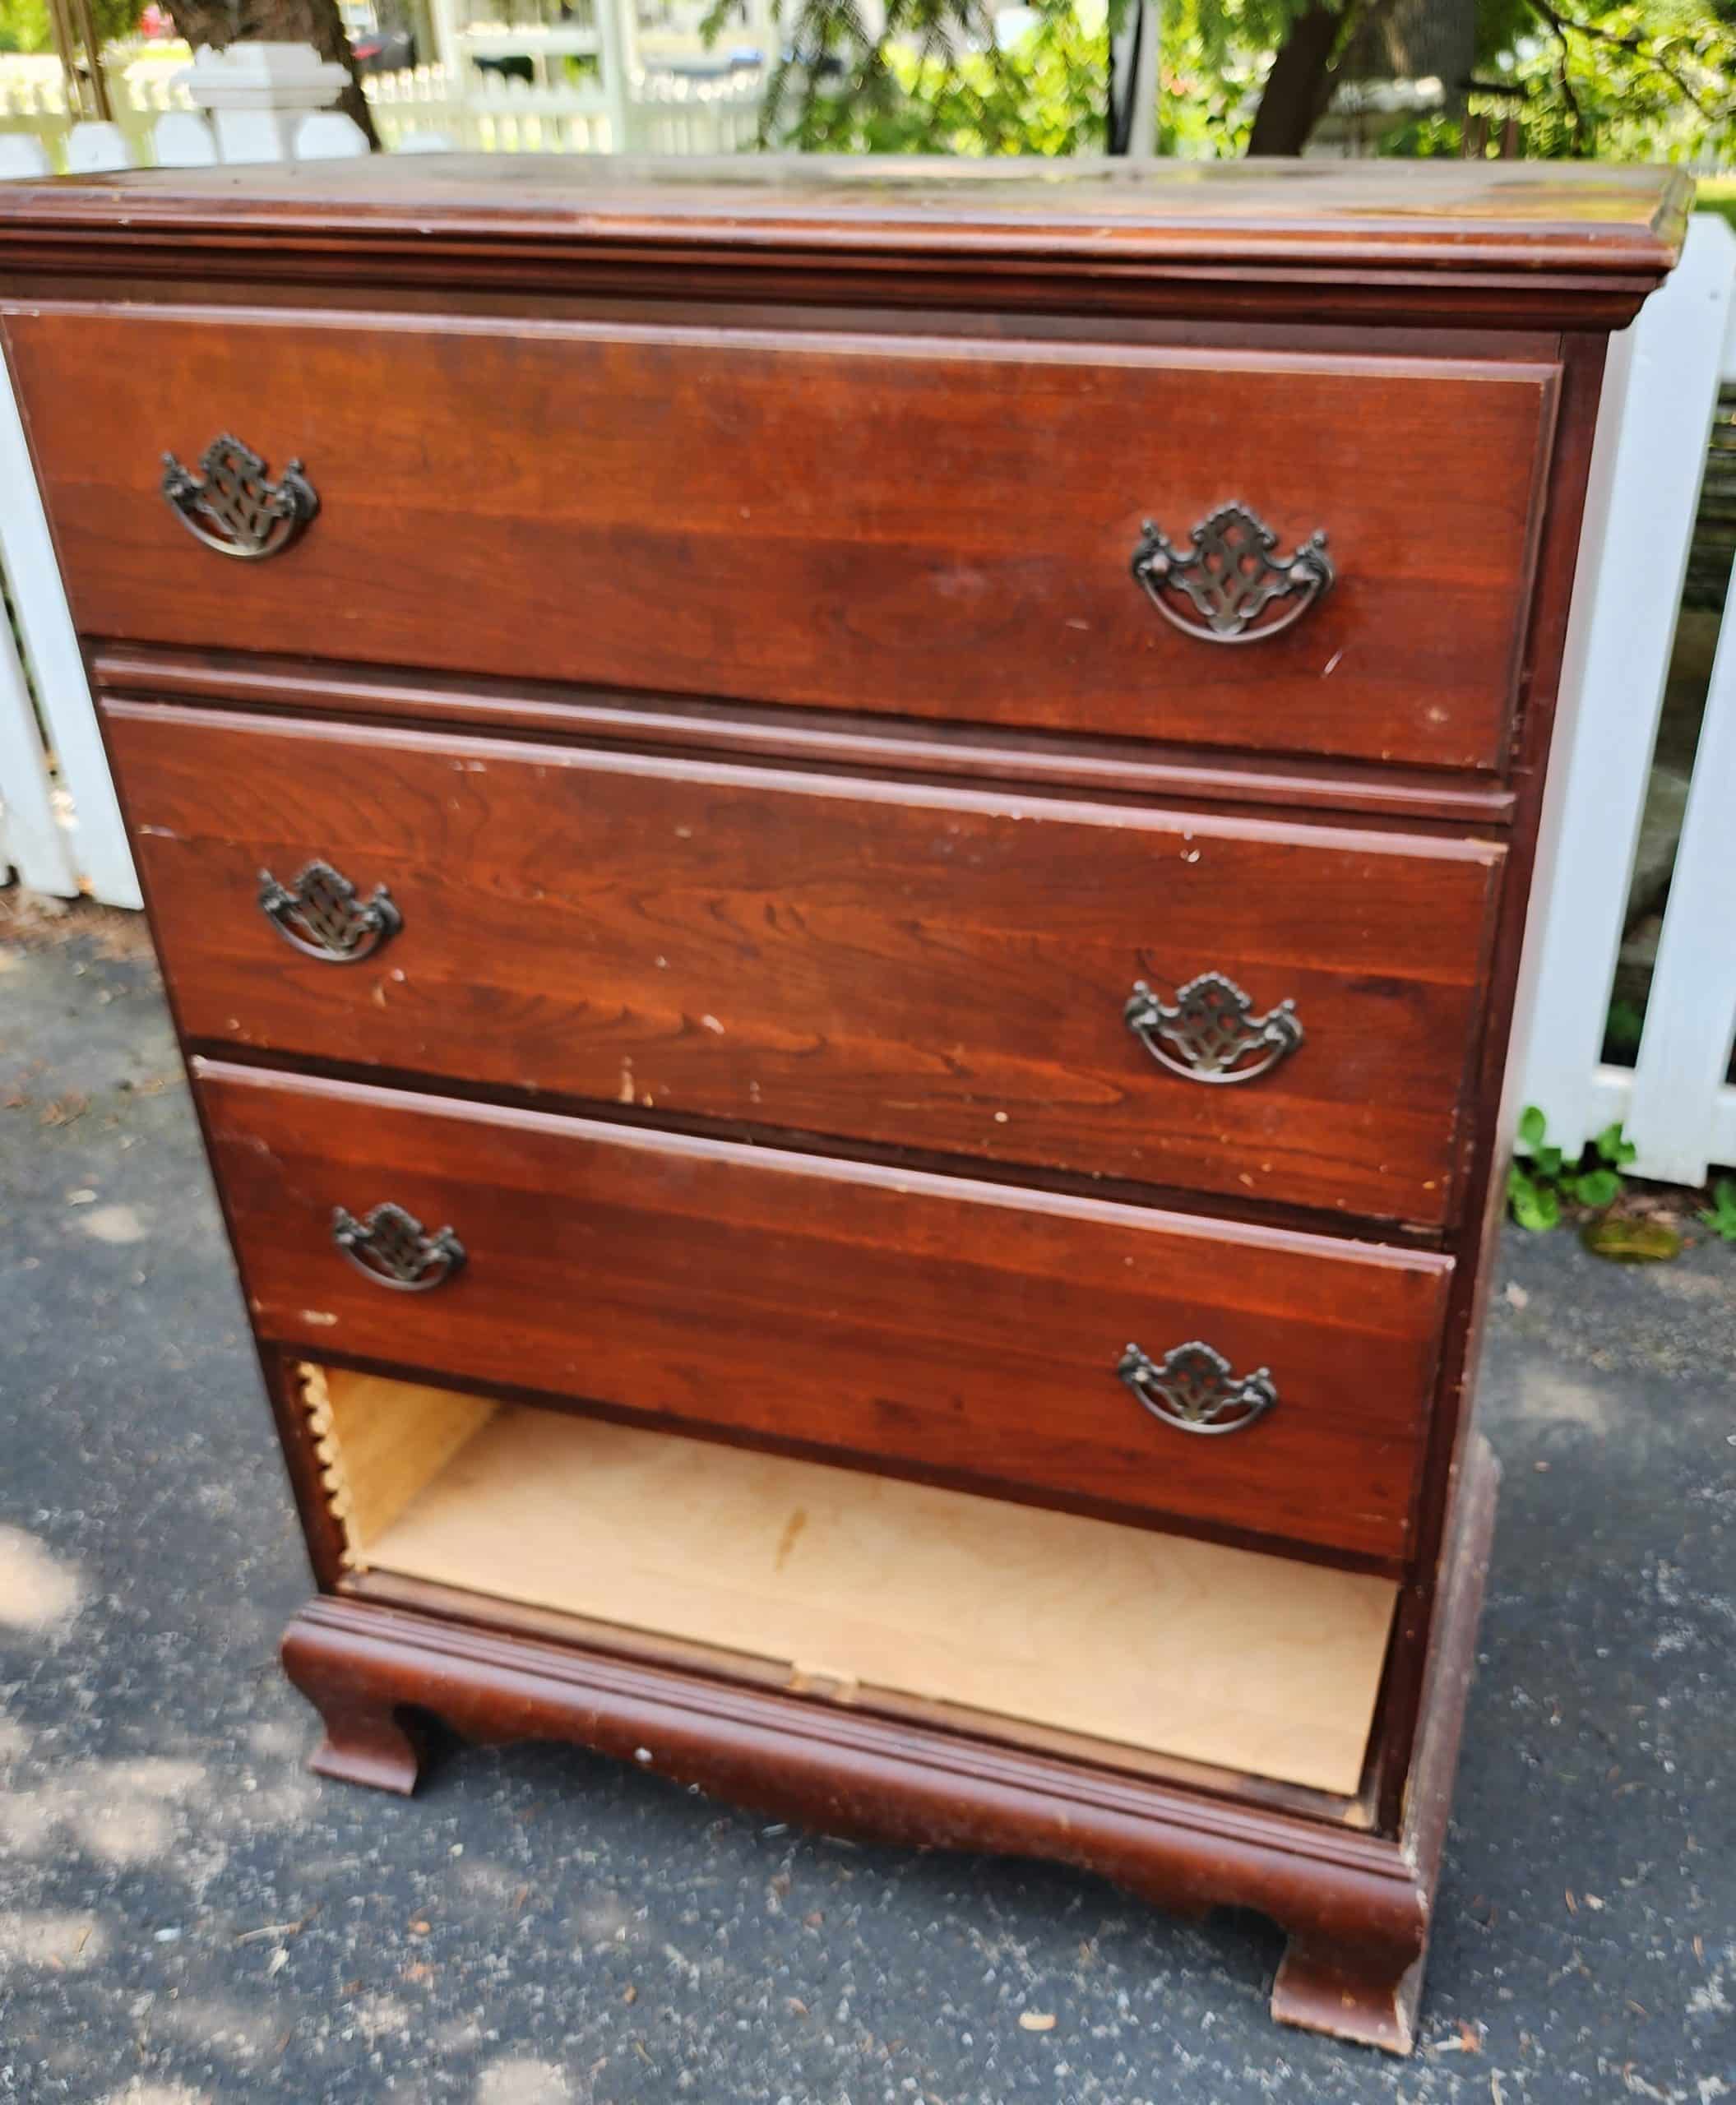
Then I set it upright and put the drawers back in so I could take this BEFORE picture.
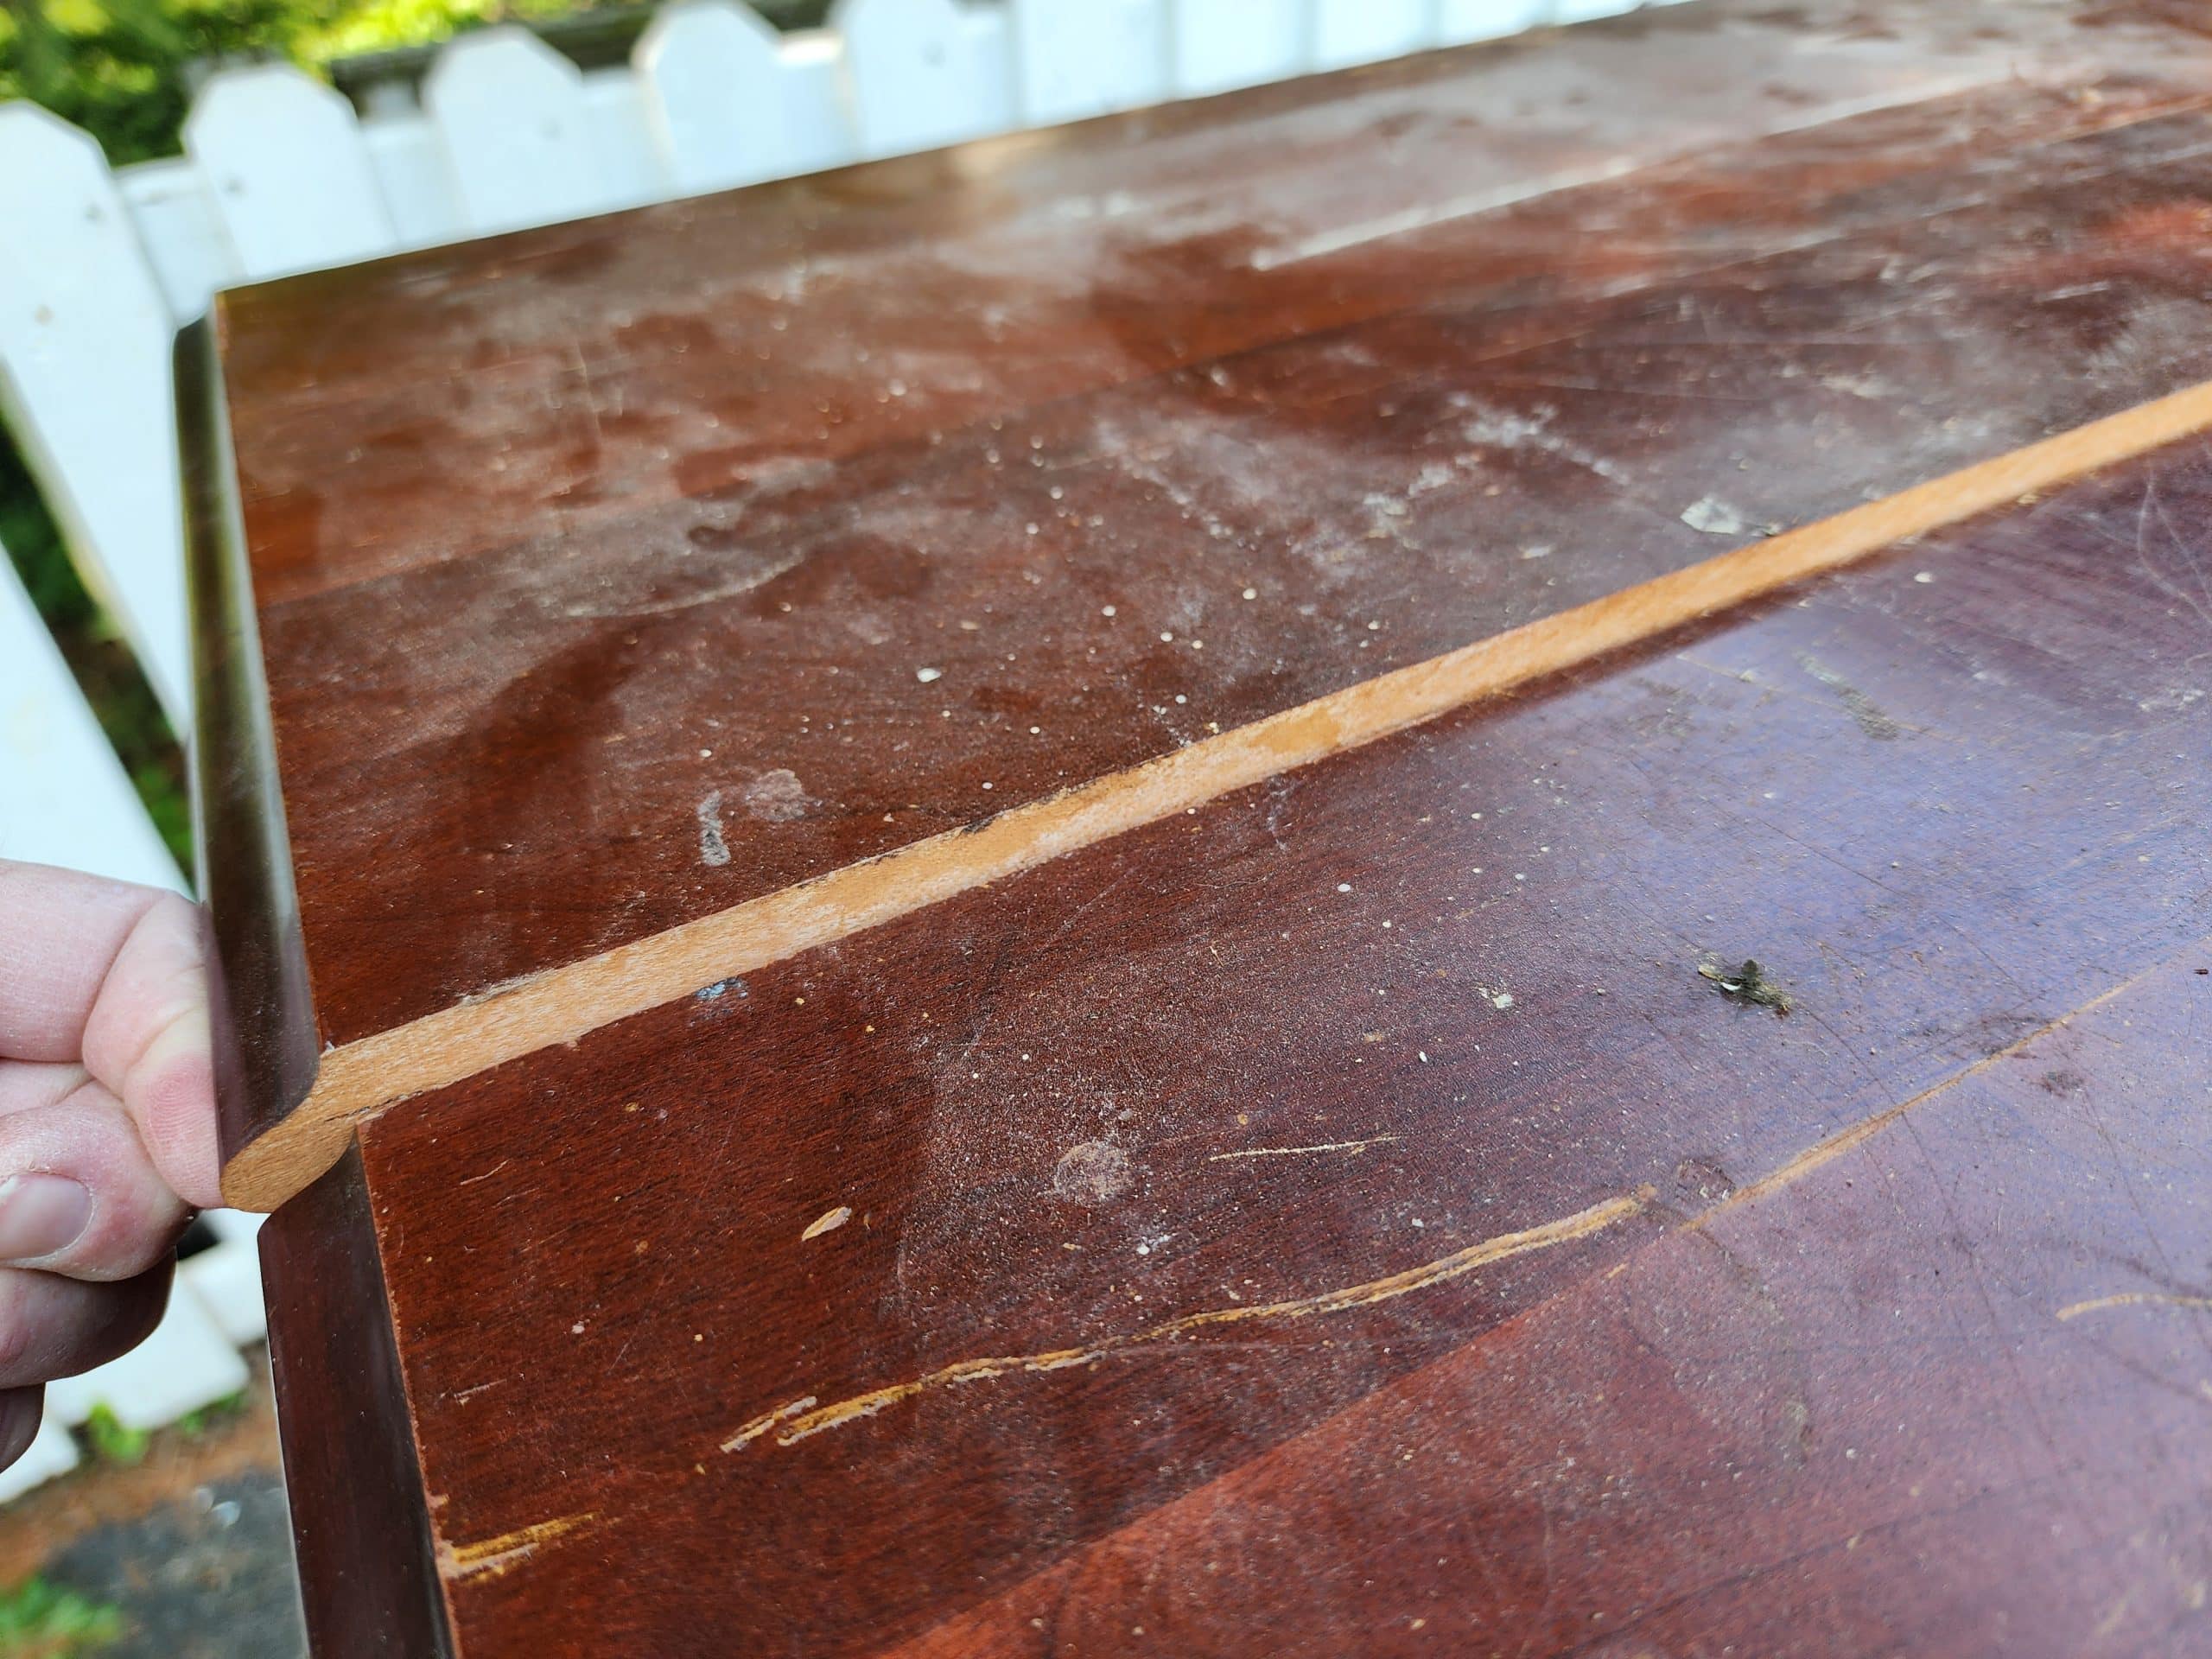
The dresser (chest of drawers) was a little wonky as I moved it. Upon closer examination, I noticed a couple of gaps between boards that make up the top of the chest.
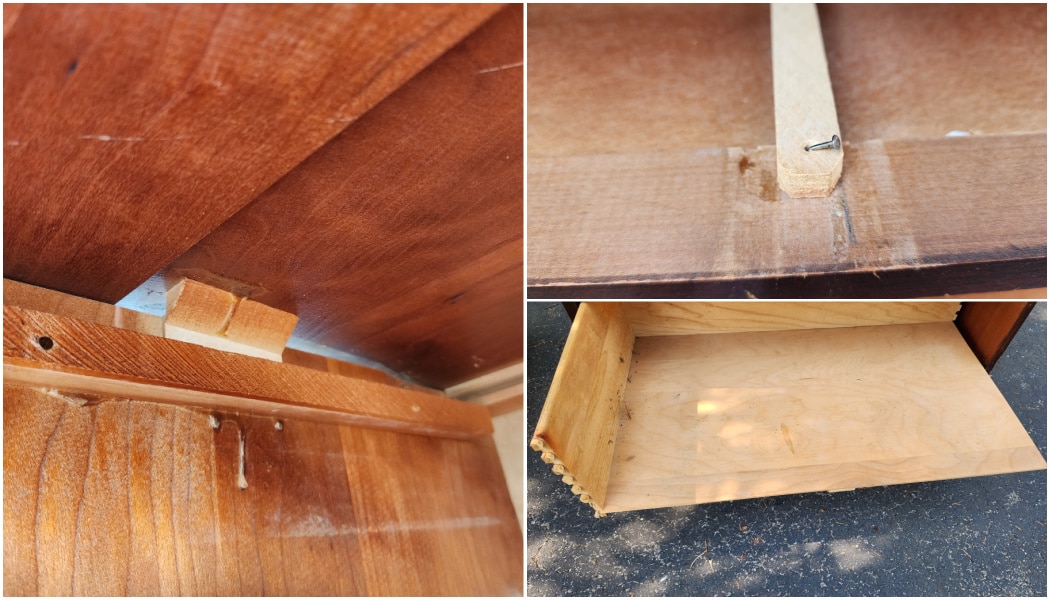
These are the items that need to be addressed. First, we have the boards on the top of the dresser, a wayward nail on the drawer guide, and, lastly, reconstructing the bottom drawer.
Reconstructing a Furniture Drawer
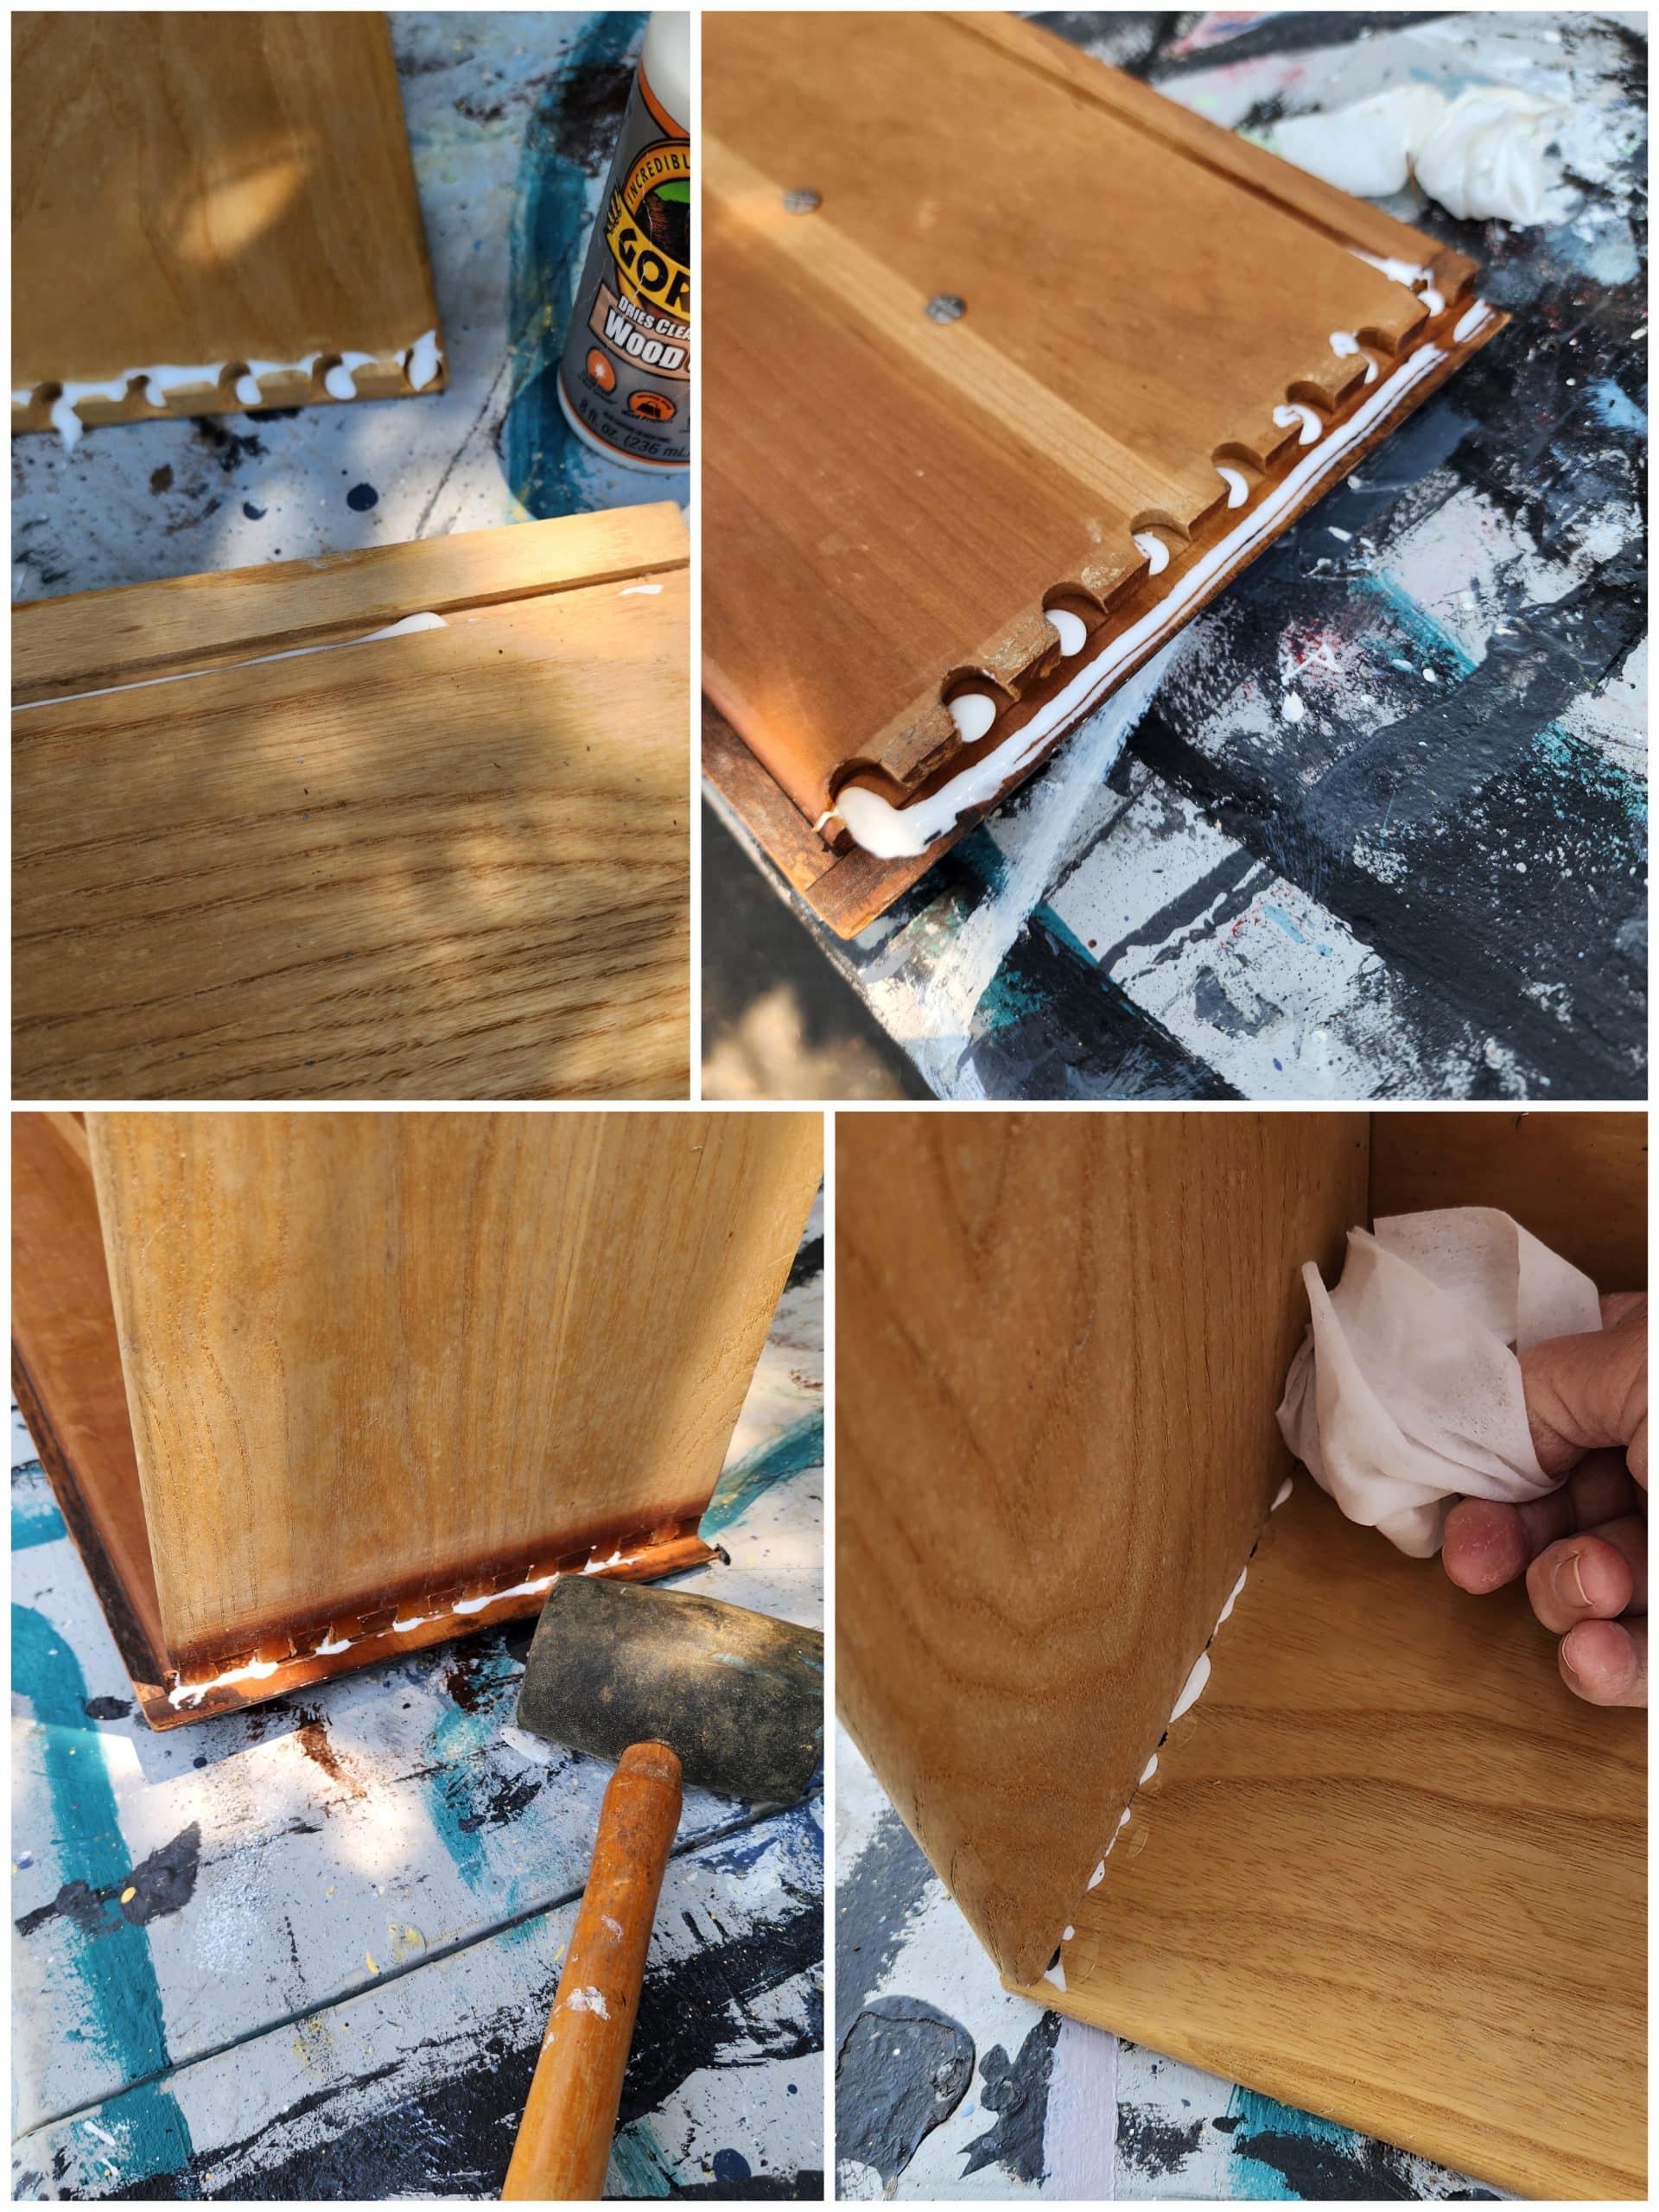
To reconstruct the drawer, I used Gorilla Wood Glue, a rubber mallet, a baby wipe, and a clamp to hold it together while the glue was set up.
You may have noticed in the storage photo that the drawer pieces and a drawer guide were lying on the top of the chest of drawers.
The guide was missing from another drawer and needed to be reattached.
Not shown, I straightened the nail and hammered it back in place.
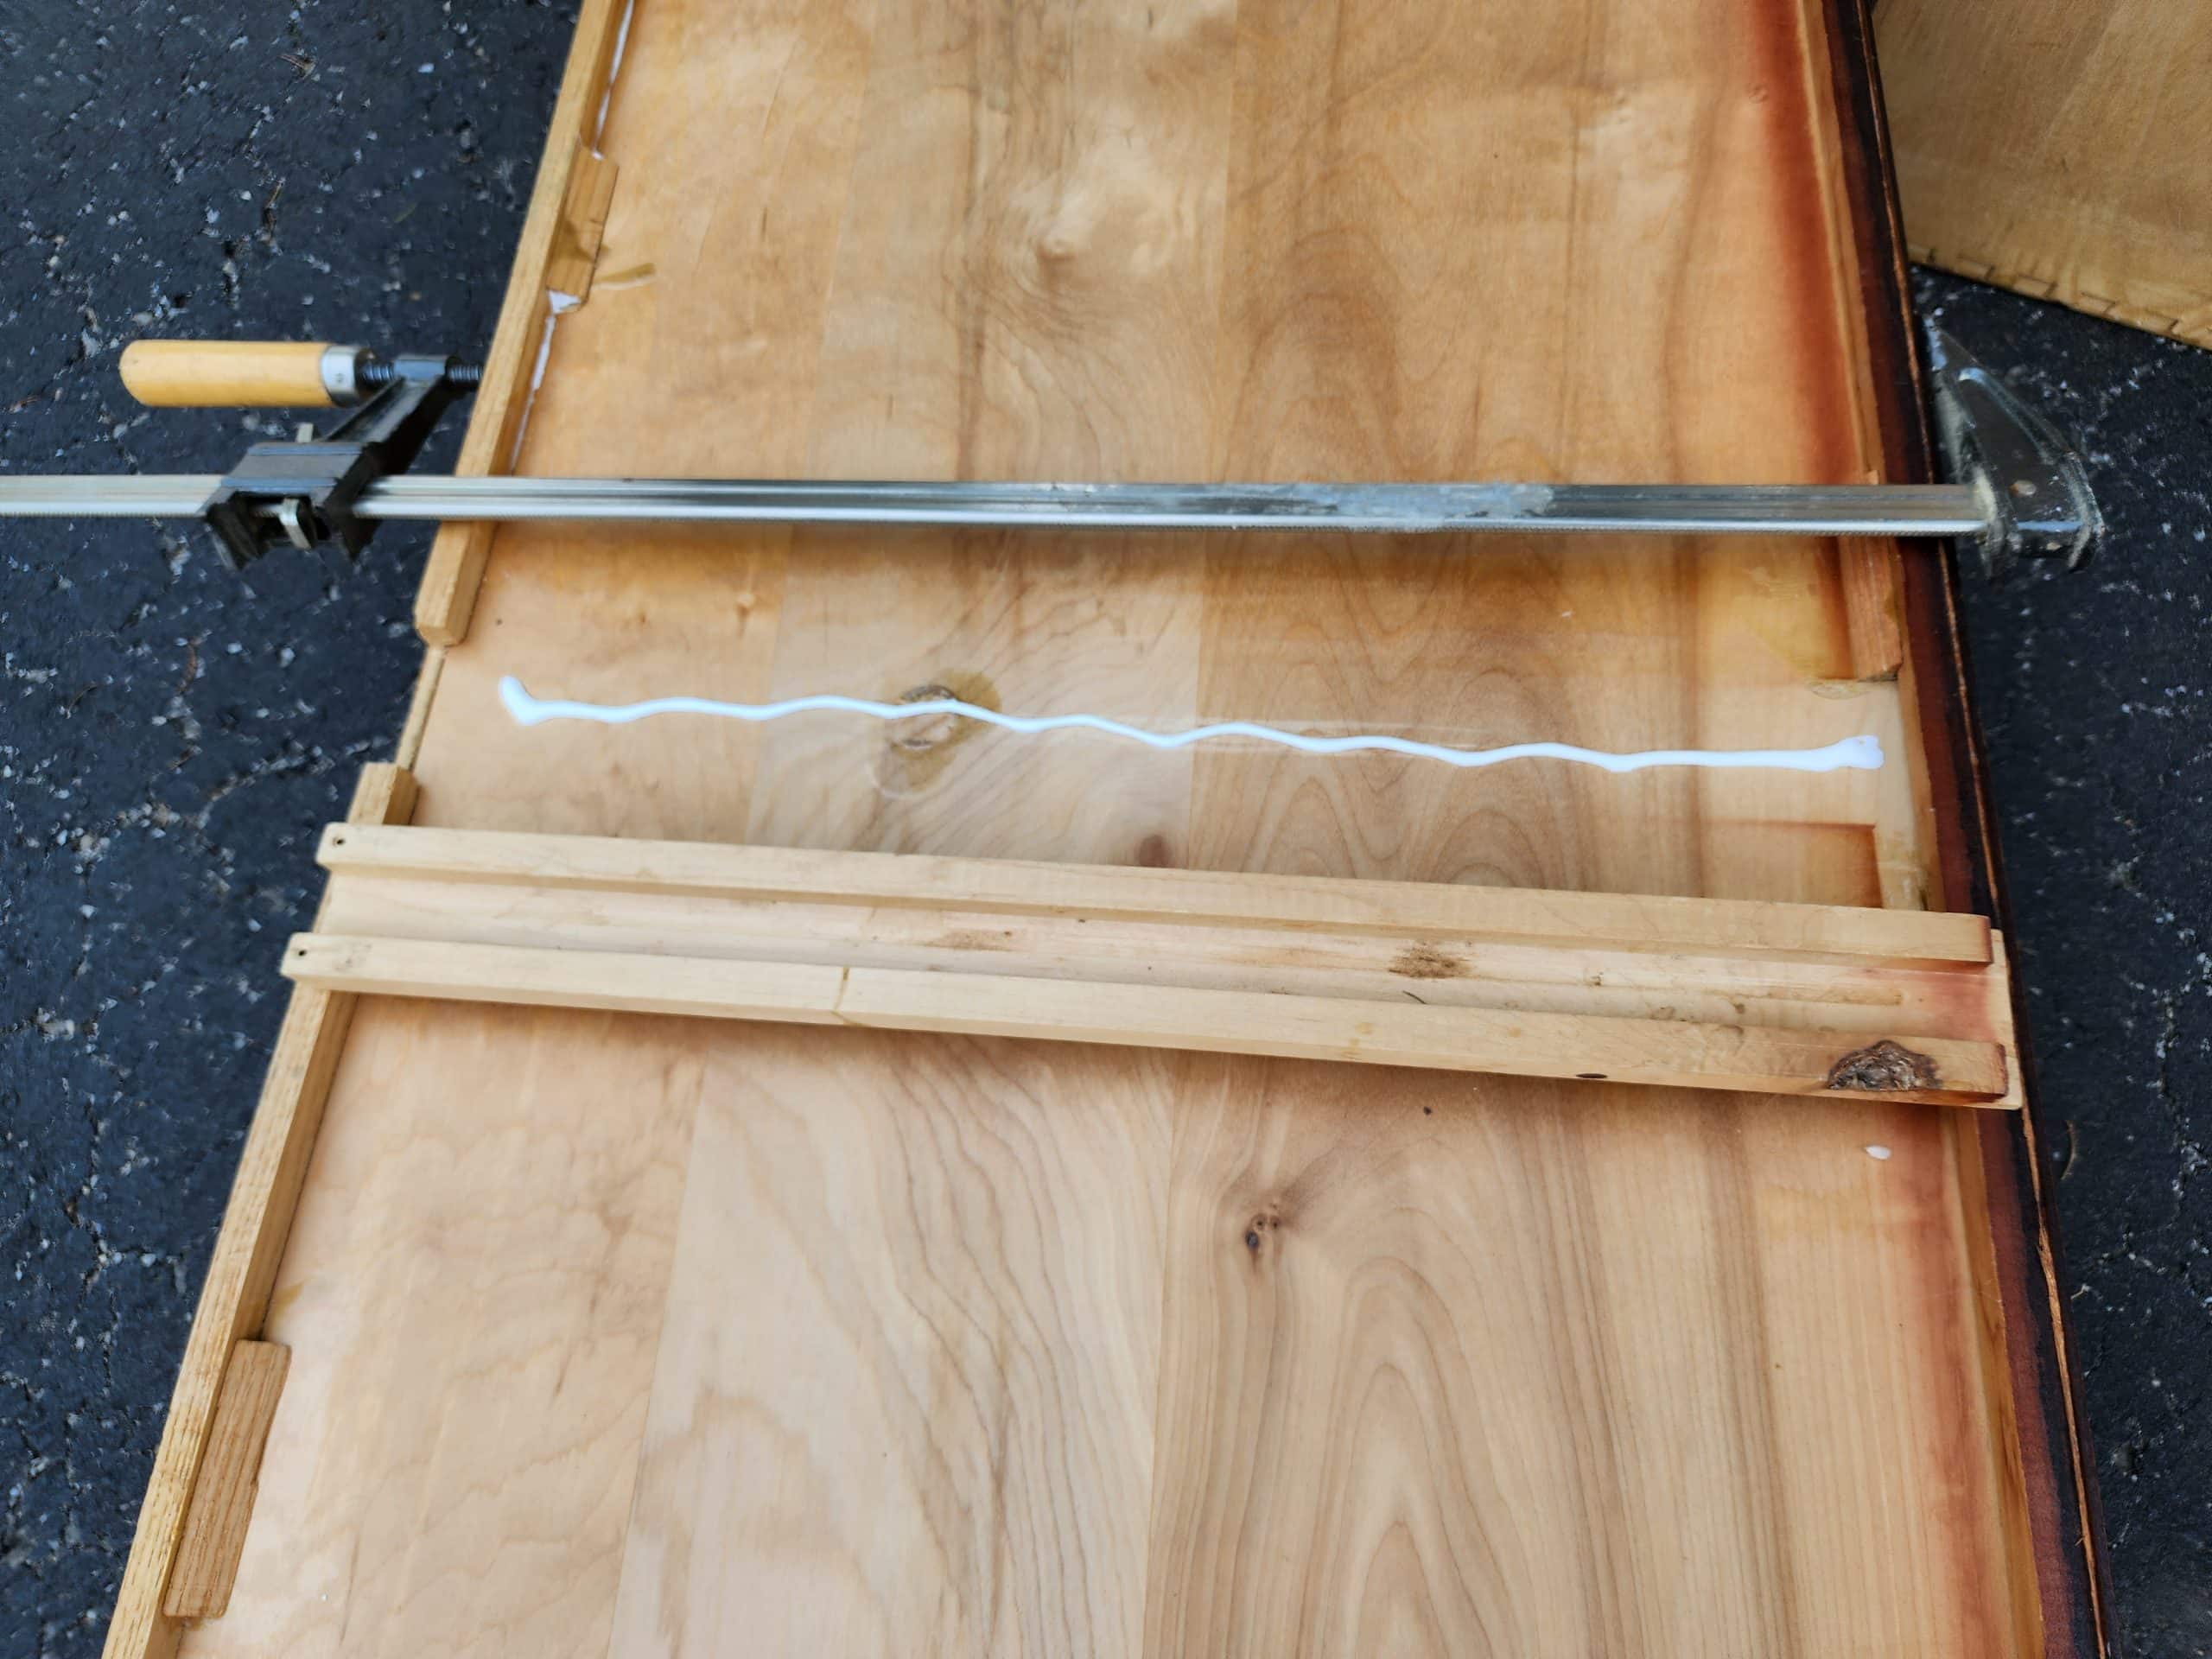
Repair Loose Boards
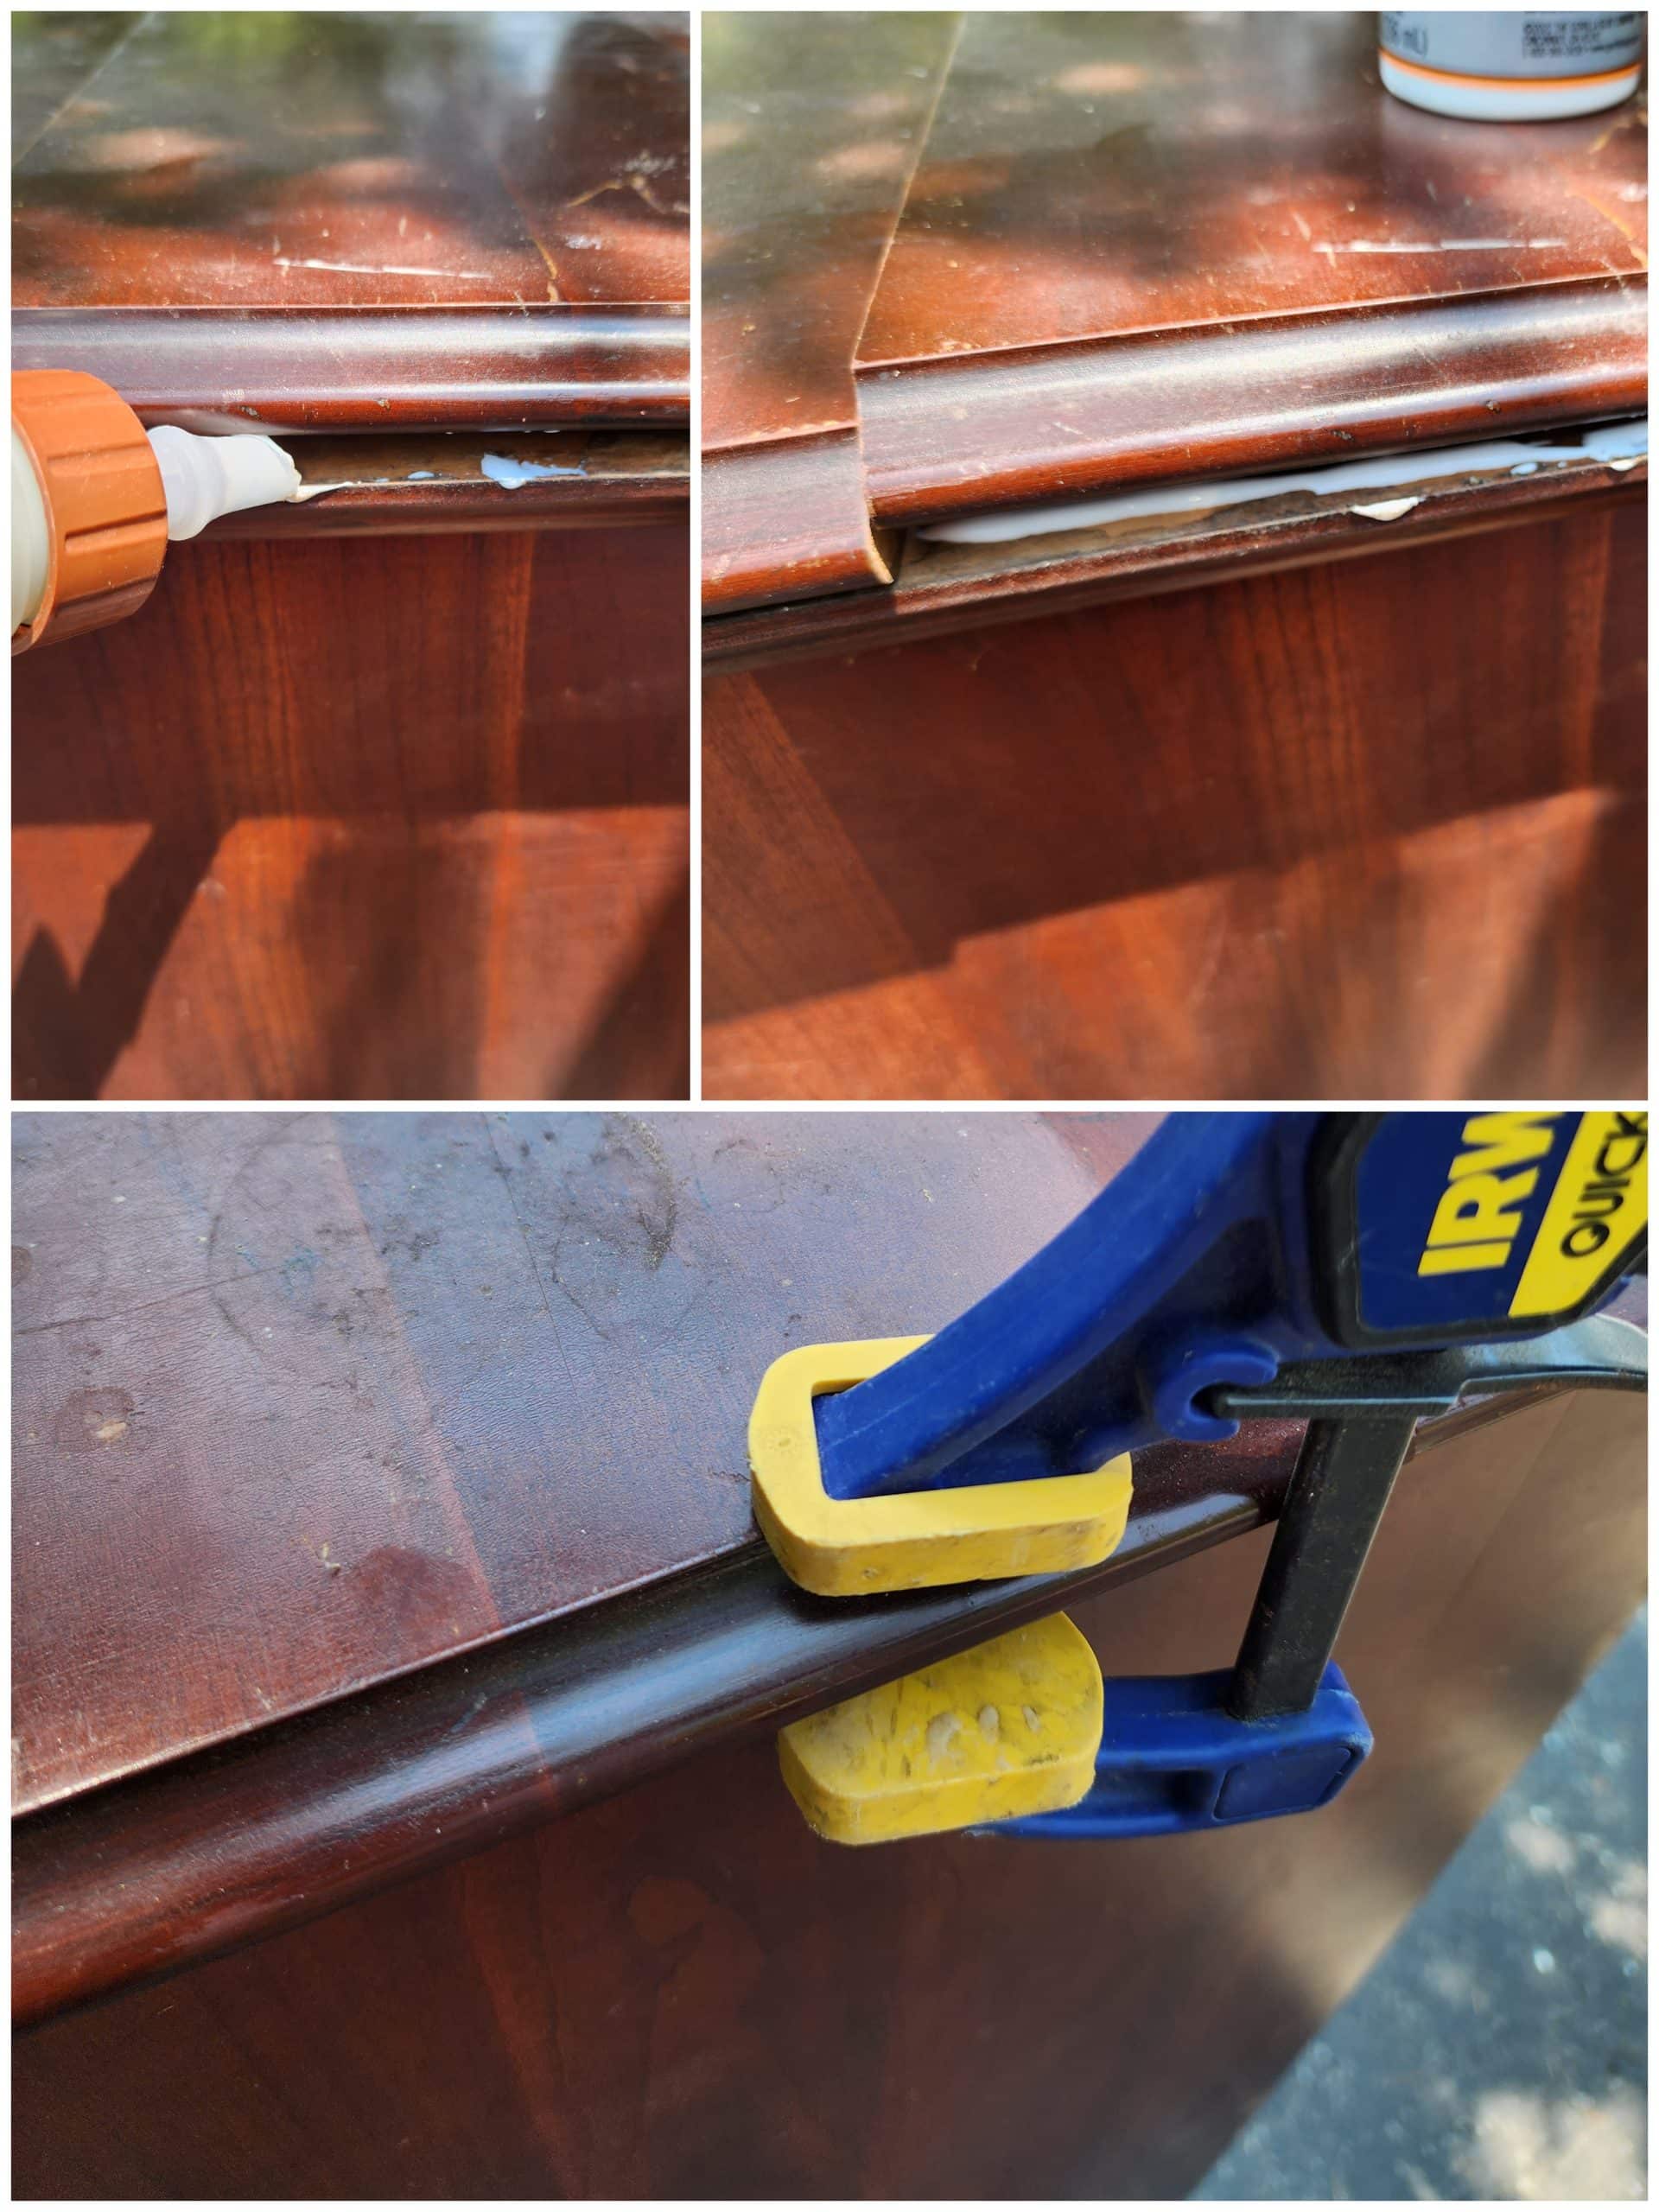
All loose boards that make up the top of the chest of drawers were glued and clamped; then, a baby wipe was used to remove any leftover oozing glue.
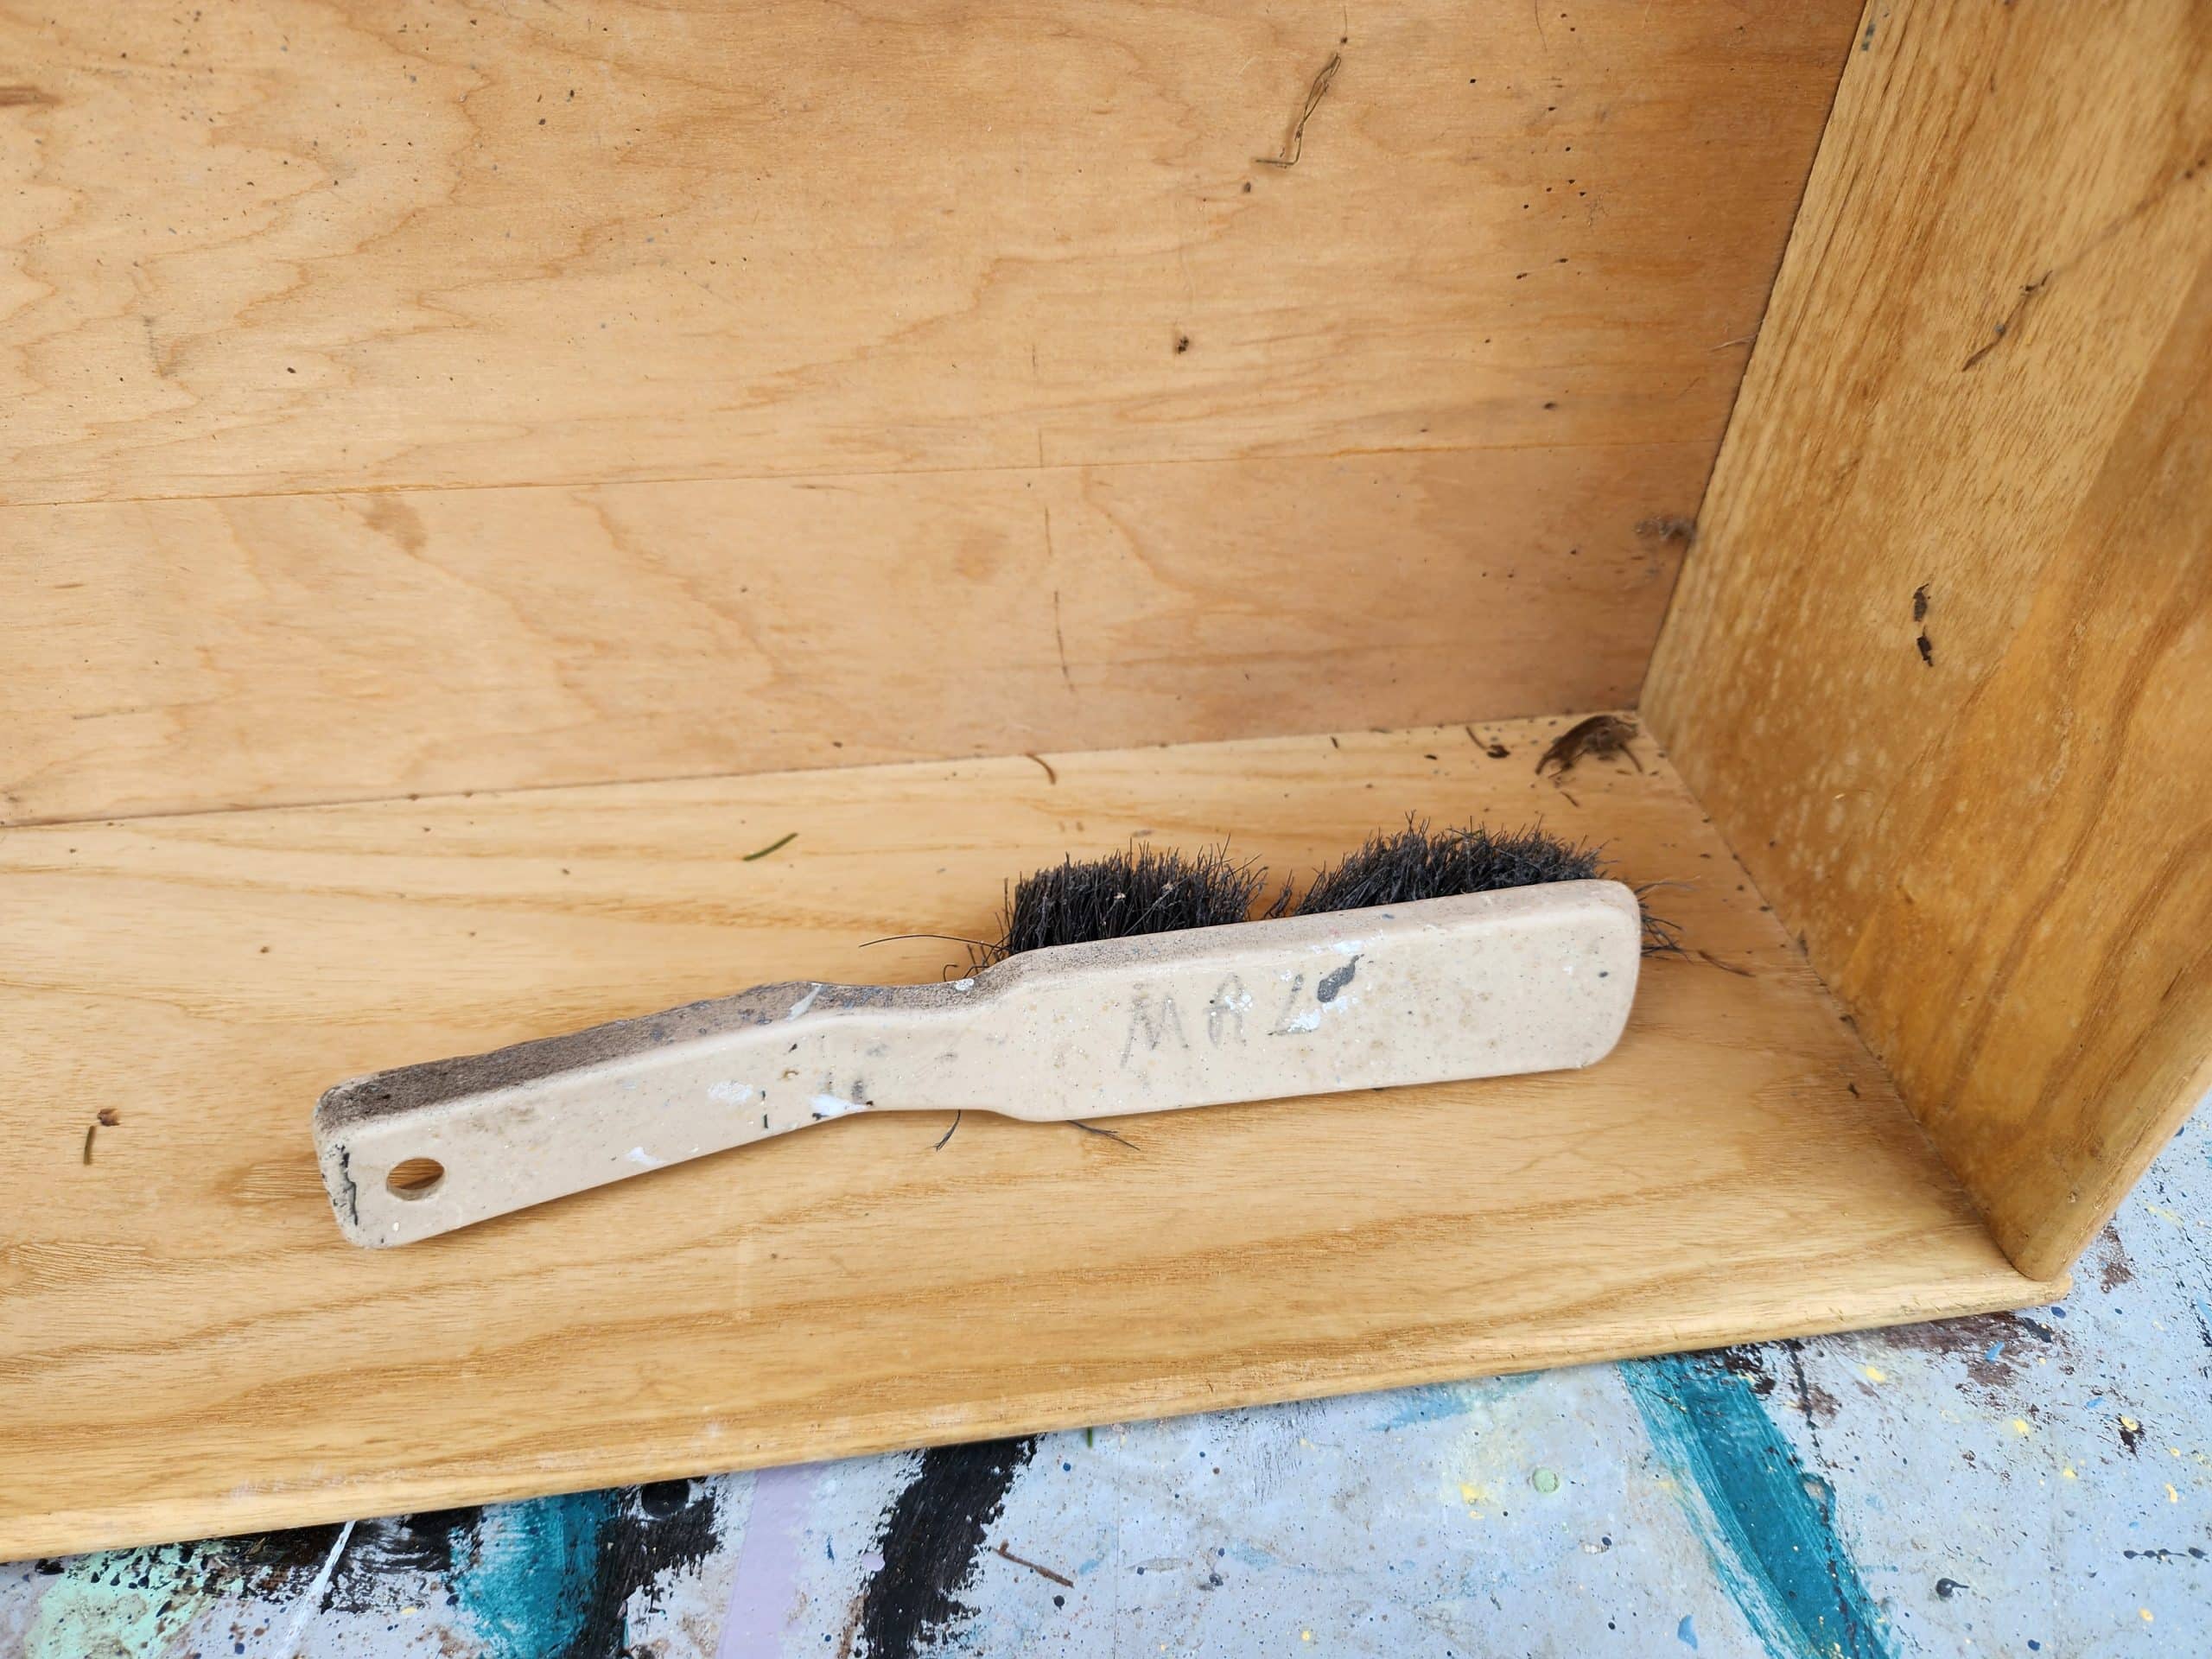
I love using dust brushes in my everyday life. That means in the shop, in the truck, and the camper! This vintage dust brush has been around for almost 20 years! All of the drawers got a good dusting, inside and out.
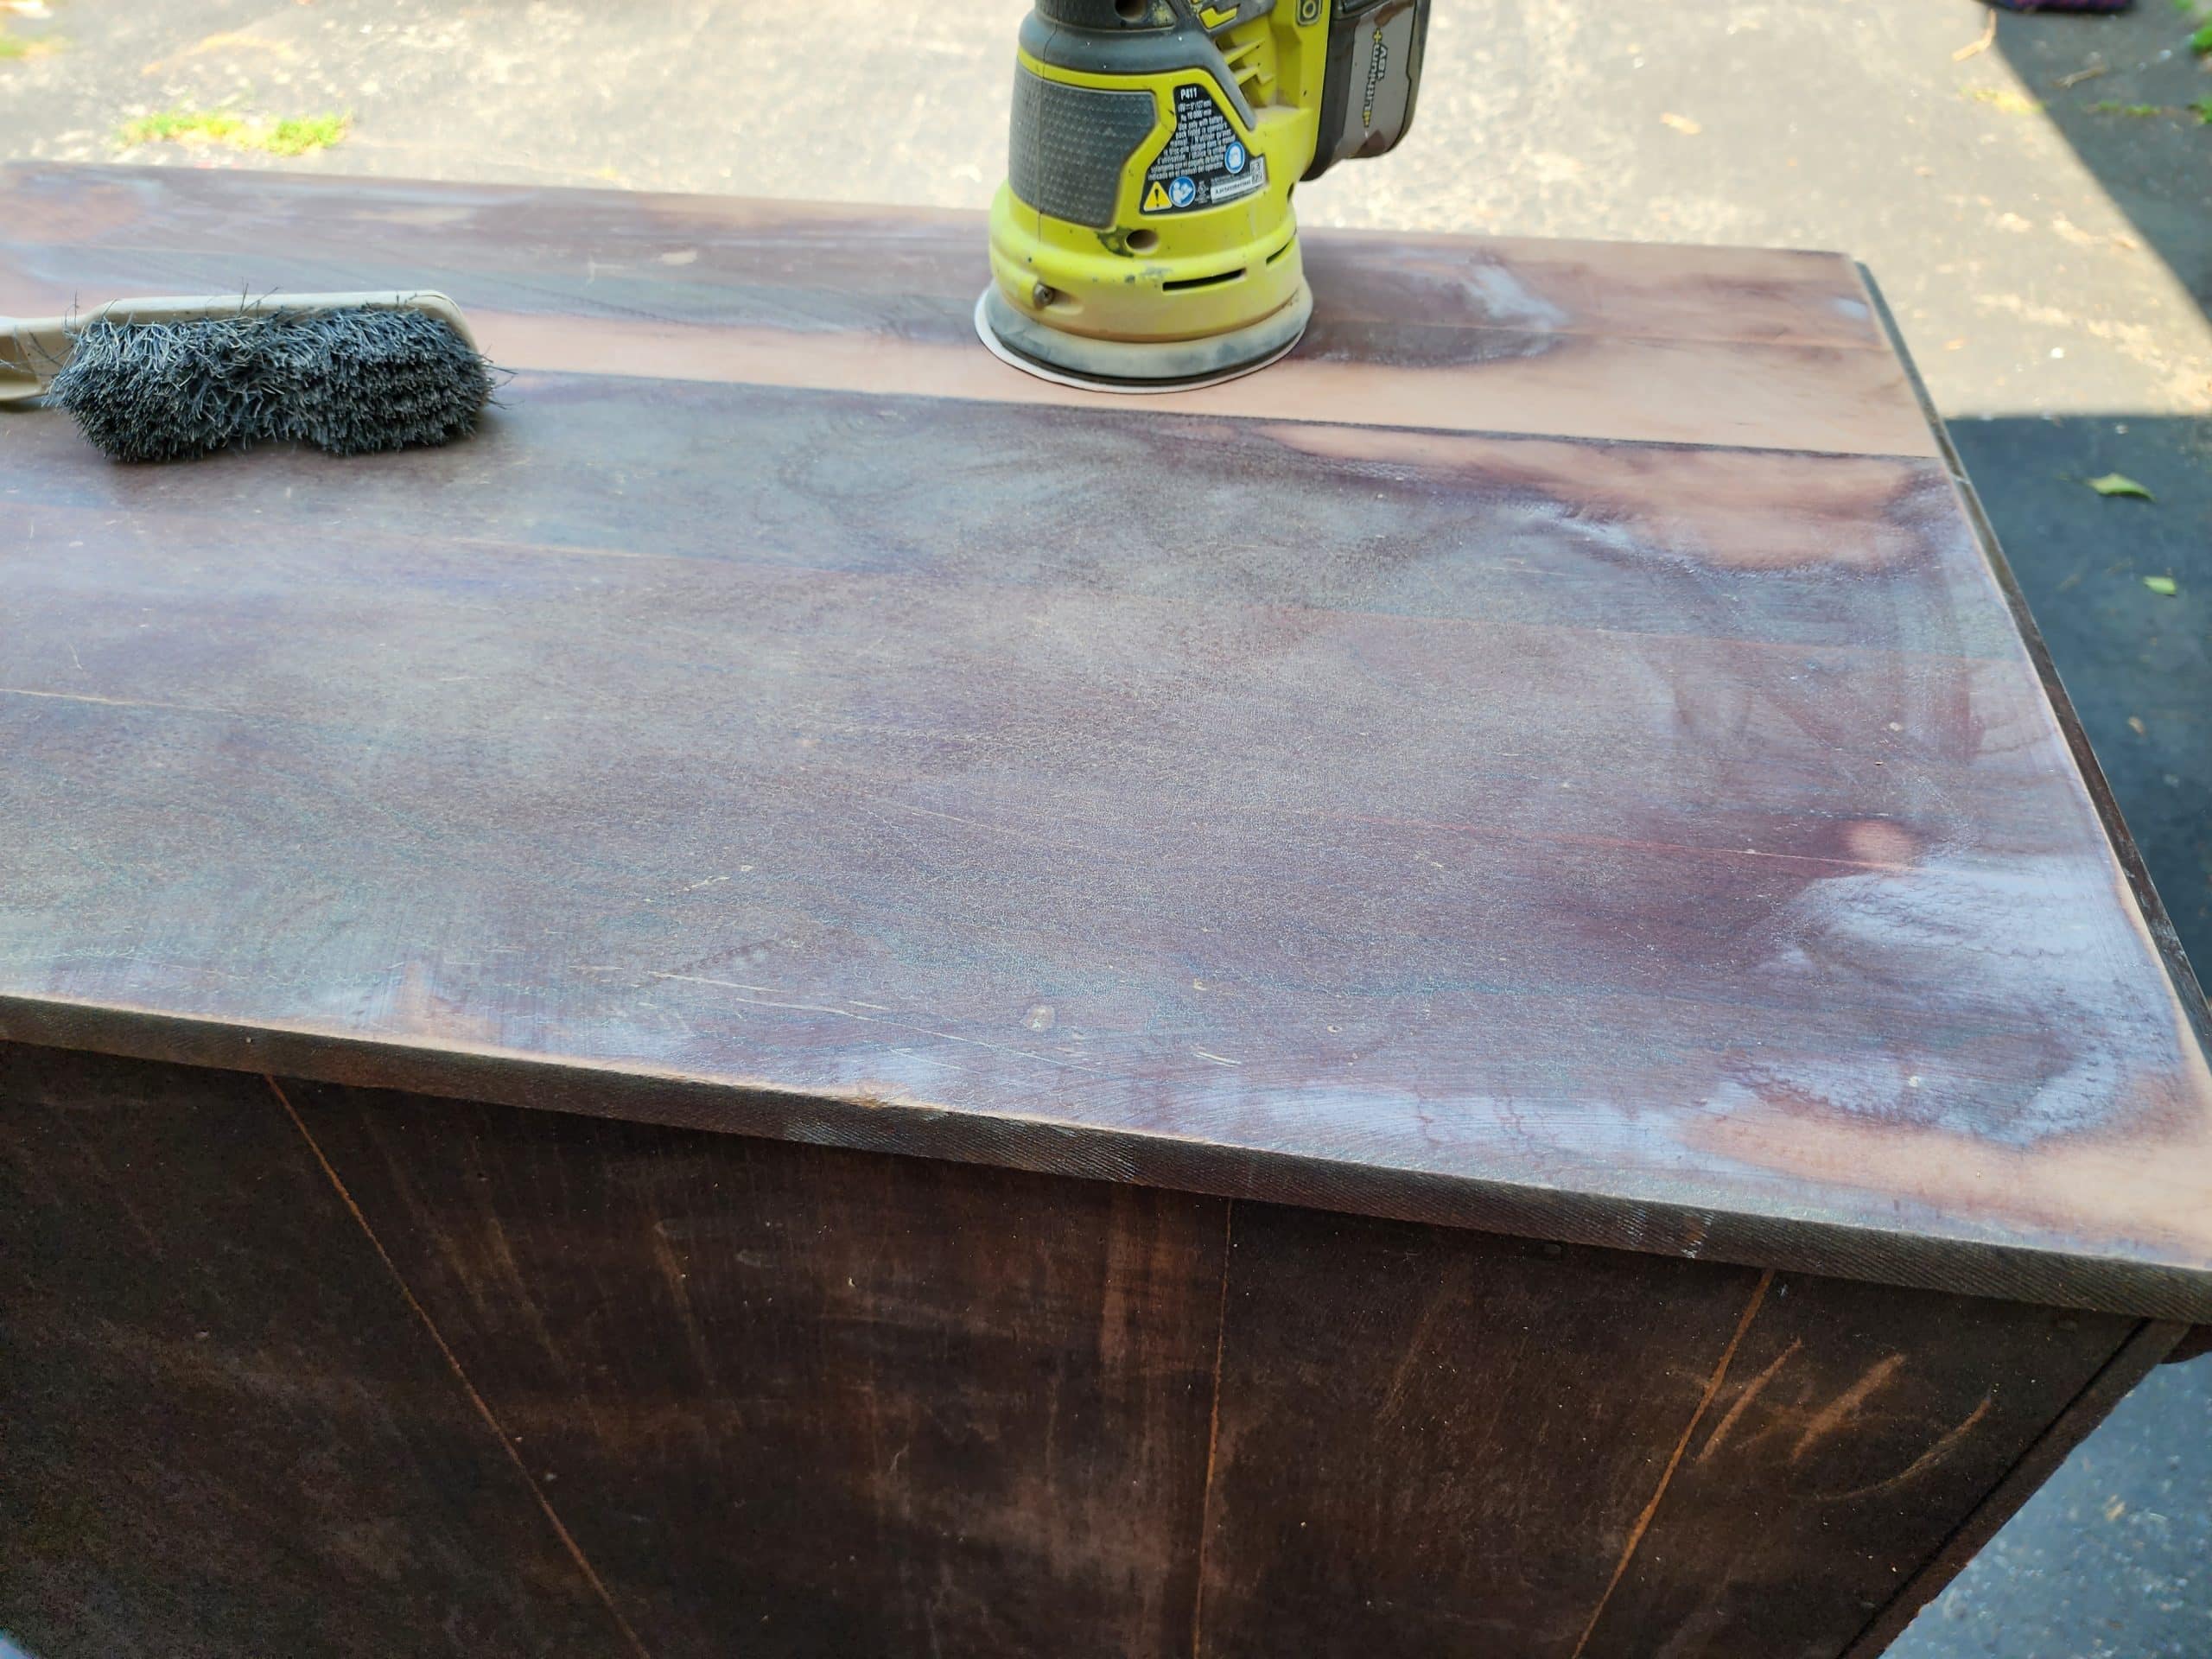
There were slight variations in the height of the repaired boards. I used an orbital sander on the surface of the top. The sander was only used on the top of the dresser; none of the other surfaces were sanded.
How to Clean Furniture Before Painting
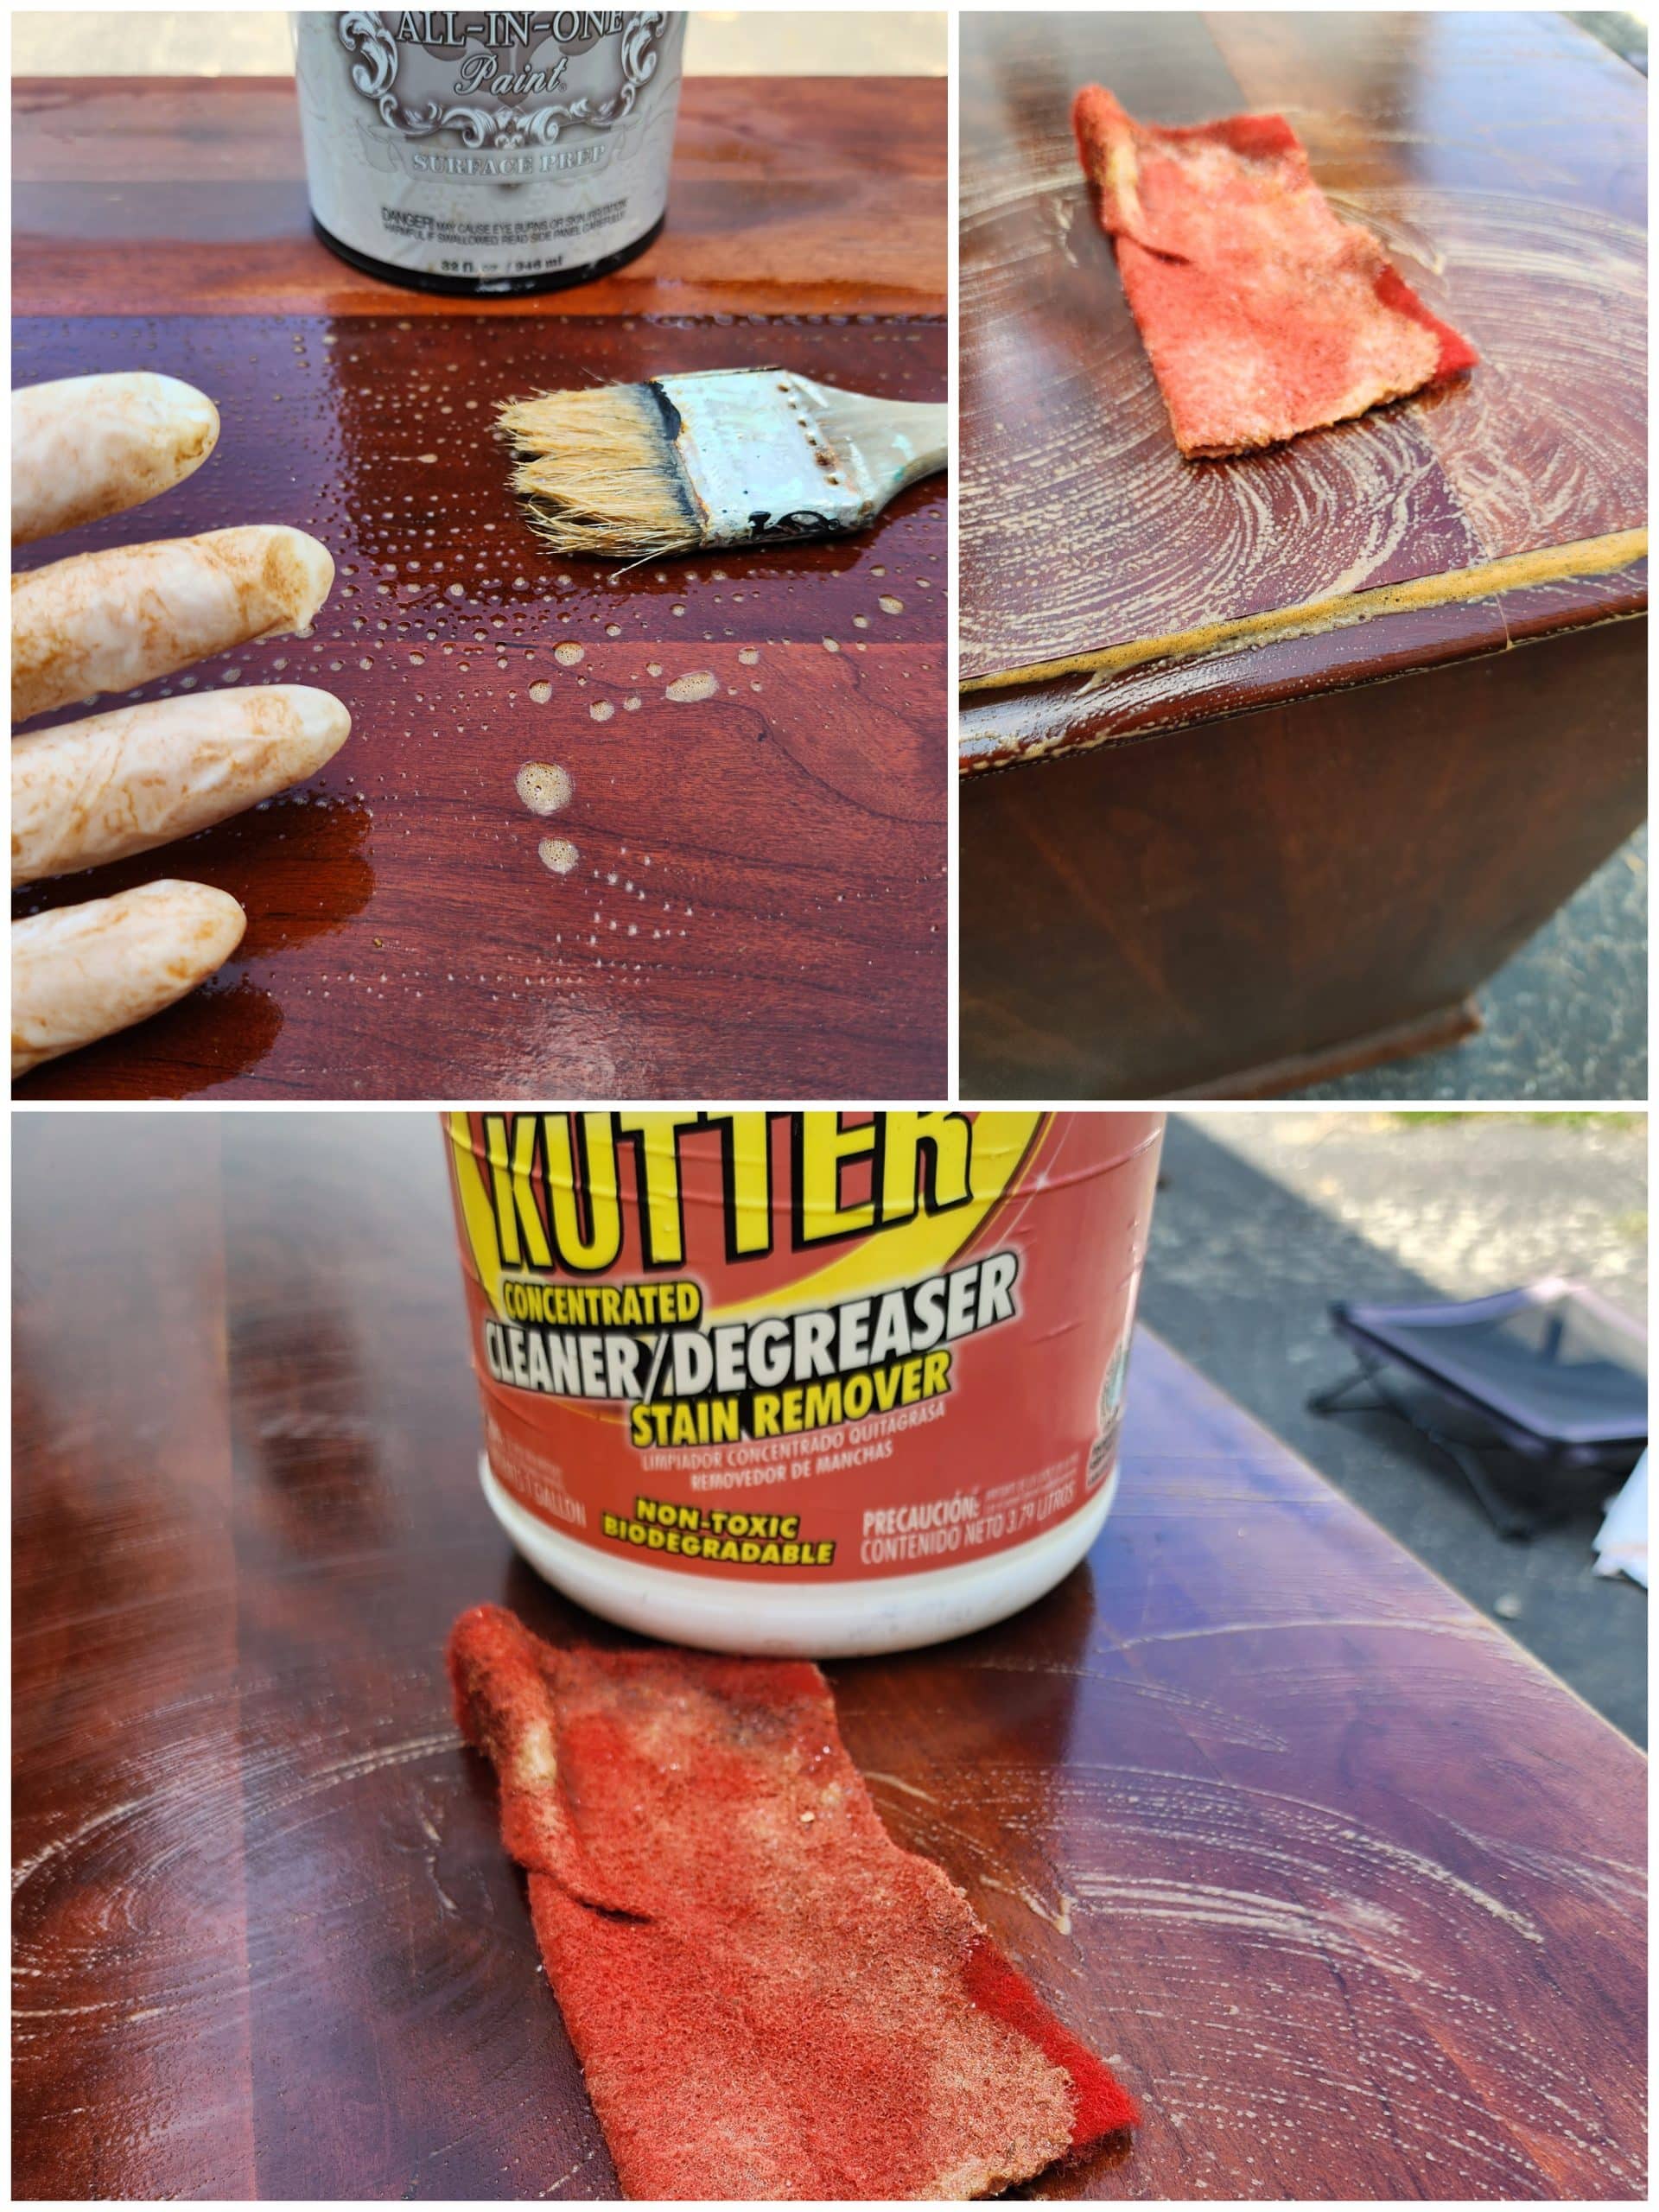
After repairs, the next step is cleaning. It isn’t easy to know what you’ll run into while prepping your furniture for painting. I reached for my standby, Surface Prep from HTP. After brushing it on, I quickly realized this chest of drawers was a victim of severe nicotine coverage. Even using a scrub pad wasn’t making a dent in removing the nicotine.
Eventually, I grabbed the Krud Kutter and started wiping and scrubbing years of nicotine from the furniture. The Krud Kutter was used on all of the wood surfaces. (The exception being inside of the drawers)
Paint Furniture the Easy Way
I’ve been painting and flipping furniture for many years. I have two easy ways to paint furniture projects. What’s the one way I don’t paint chest of drawers and other furniture flips? That would be using a paintbrush. I detest brush strokes on newly painted furniture pieces.
I prefer using a Finish Max Paint Sprayer technique, but if I’m being frank, I only do that when painting several pieces at once. Doing that is such a time saver!
I prefer a small foam roller for a quick makeover with great coverage! Yes, it is faster than spraying when you consider setting up and cleaning up.
Using a Foam Roller for Quick Furniture Makeovers
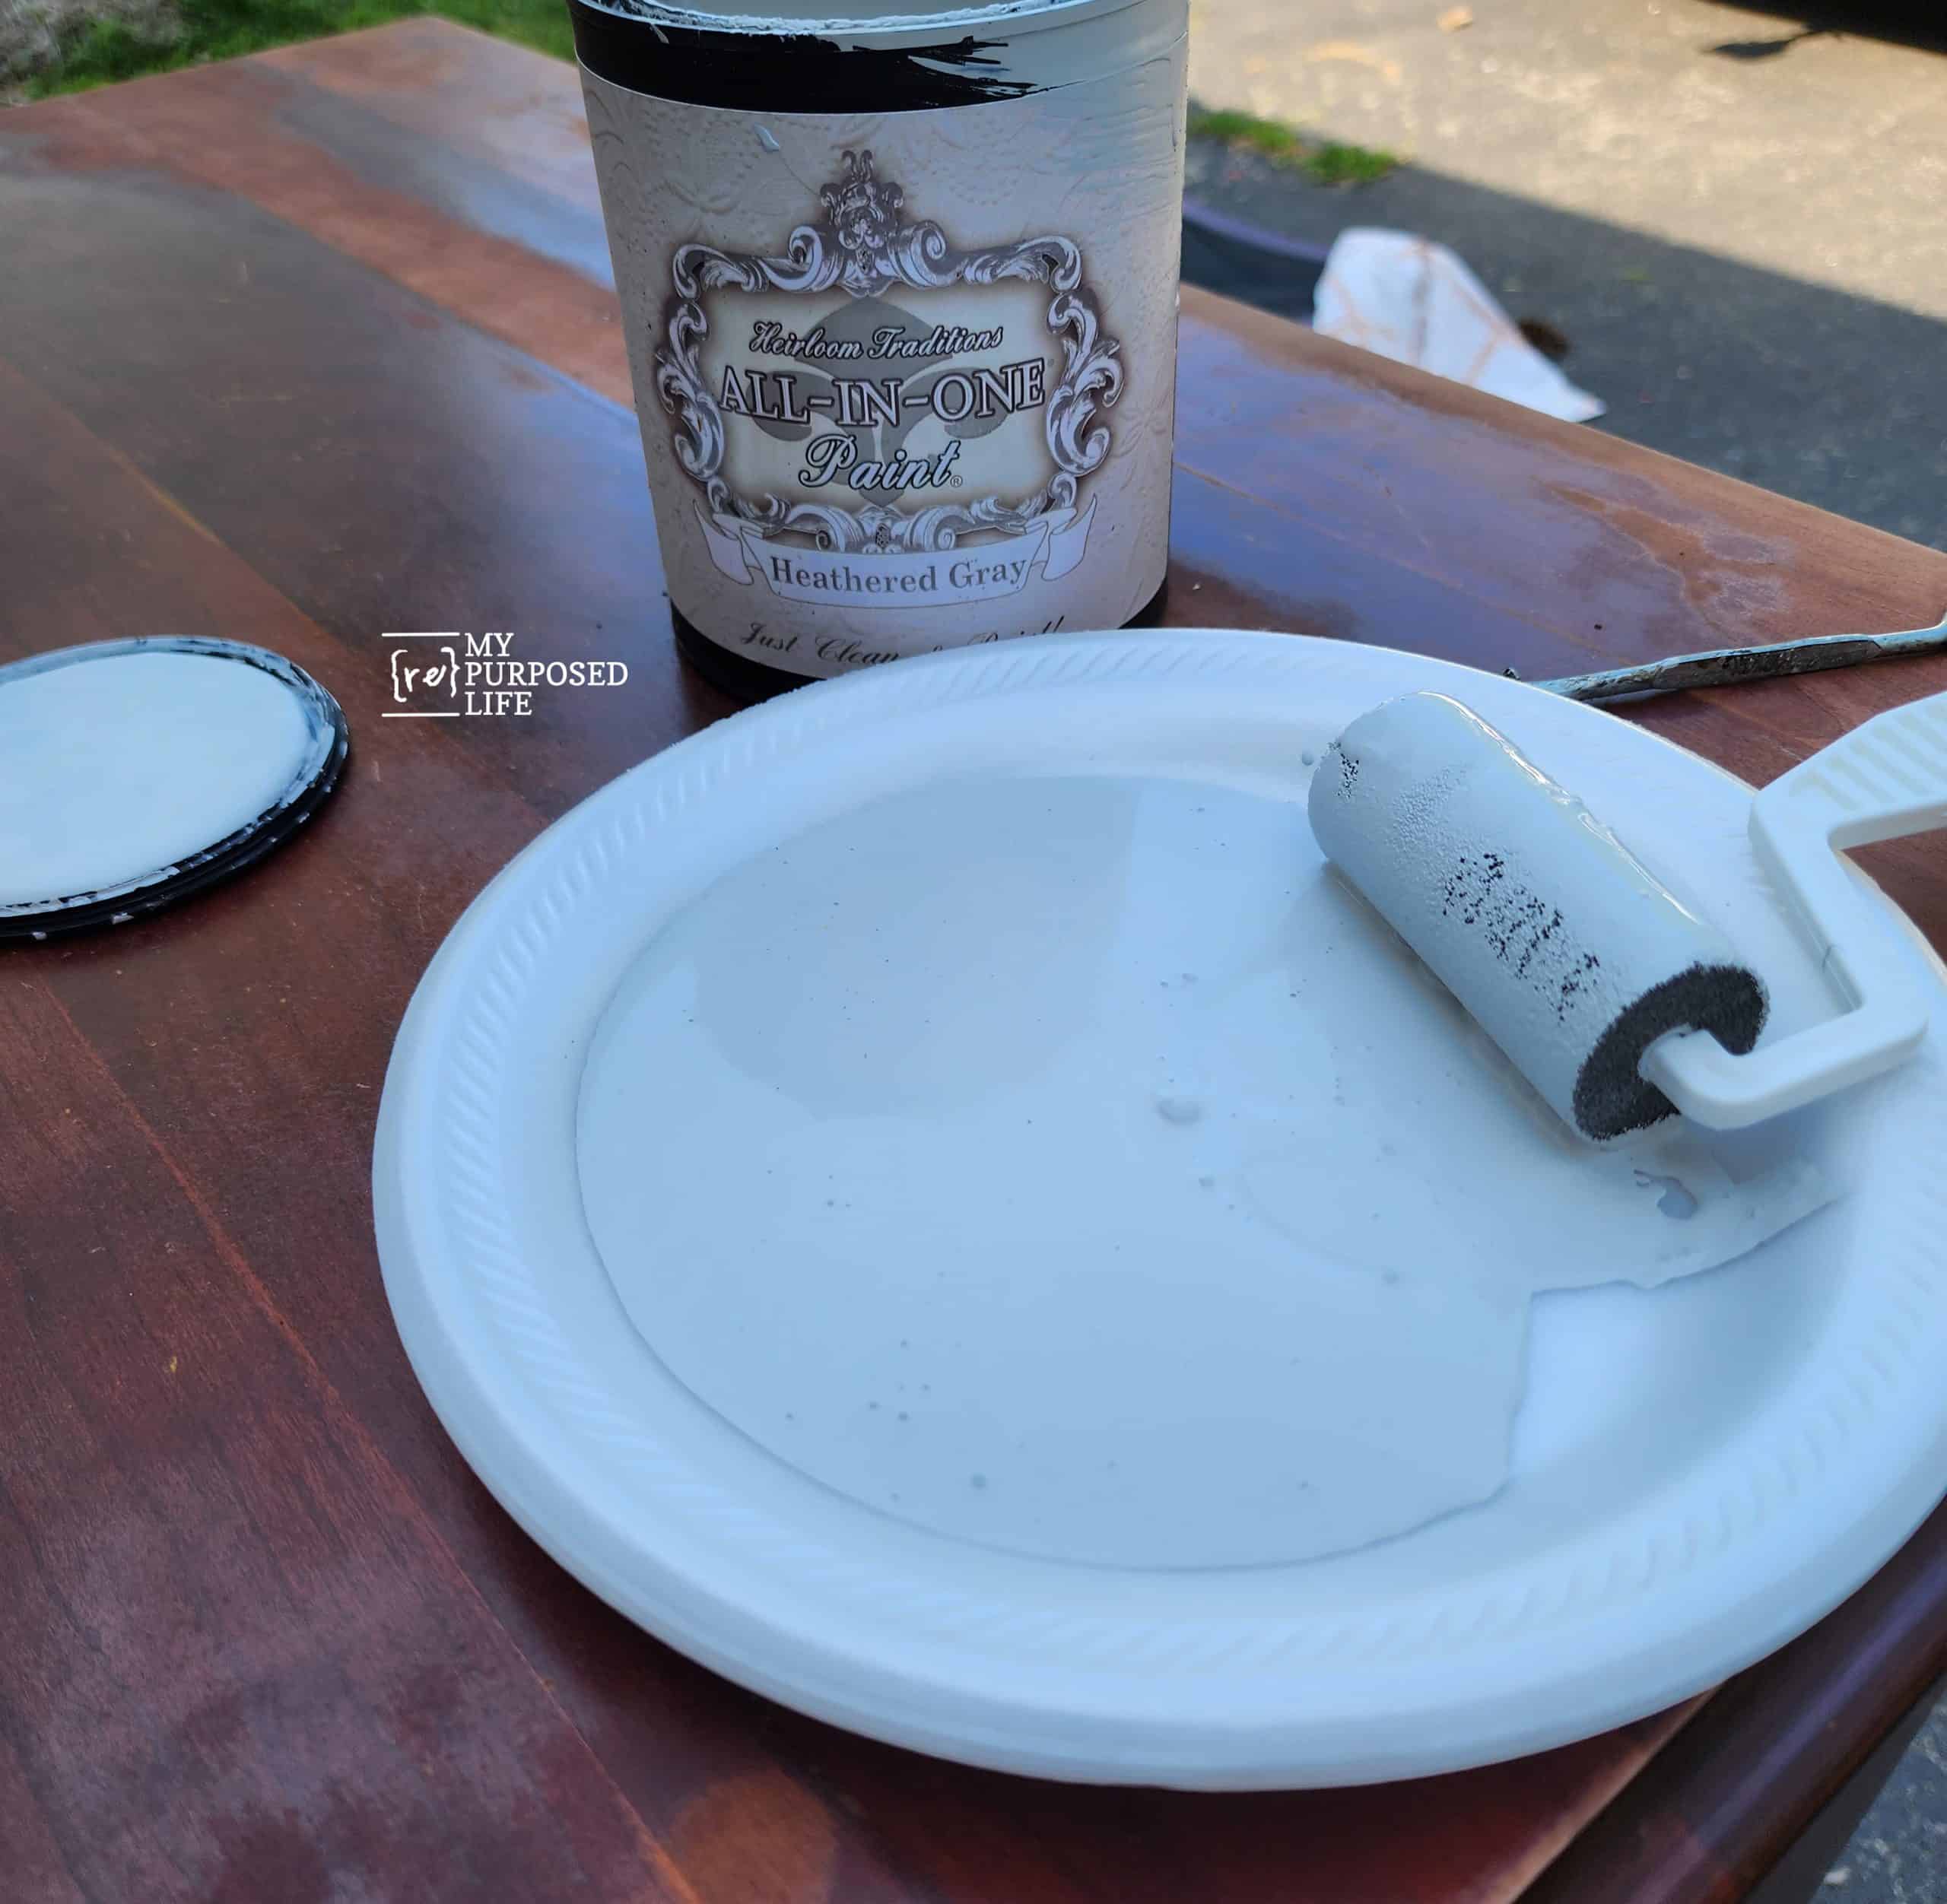
It doesn’t get any easier than this. Although the foam roller is small, it covers quickly. Another bonus for using a foam roller to paint furniture? Paint is expensive, and there is very little waste. I prefer putting the small foam roller in a cheap plastic baggie between coats. Be sure to keep it in a cool place and out of direct sunlight. When I don’t have this gray foam roller from Heirloom Traditions, I buy the yellow ones on Amazon. Don’t confuse these rollers with those dense white foam rollers. These have a different consistency and lay the paint down so much better.
Why do I prefer the gray foam rollers? In my opinion, they hold up longer than the yellow ones do.
The paint color is Heathered Gray, just a few shades darker than white.
Painting a Chest of Drawers with a Foam Roller
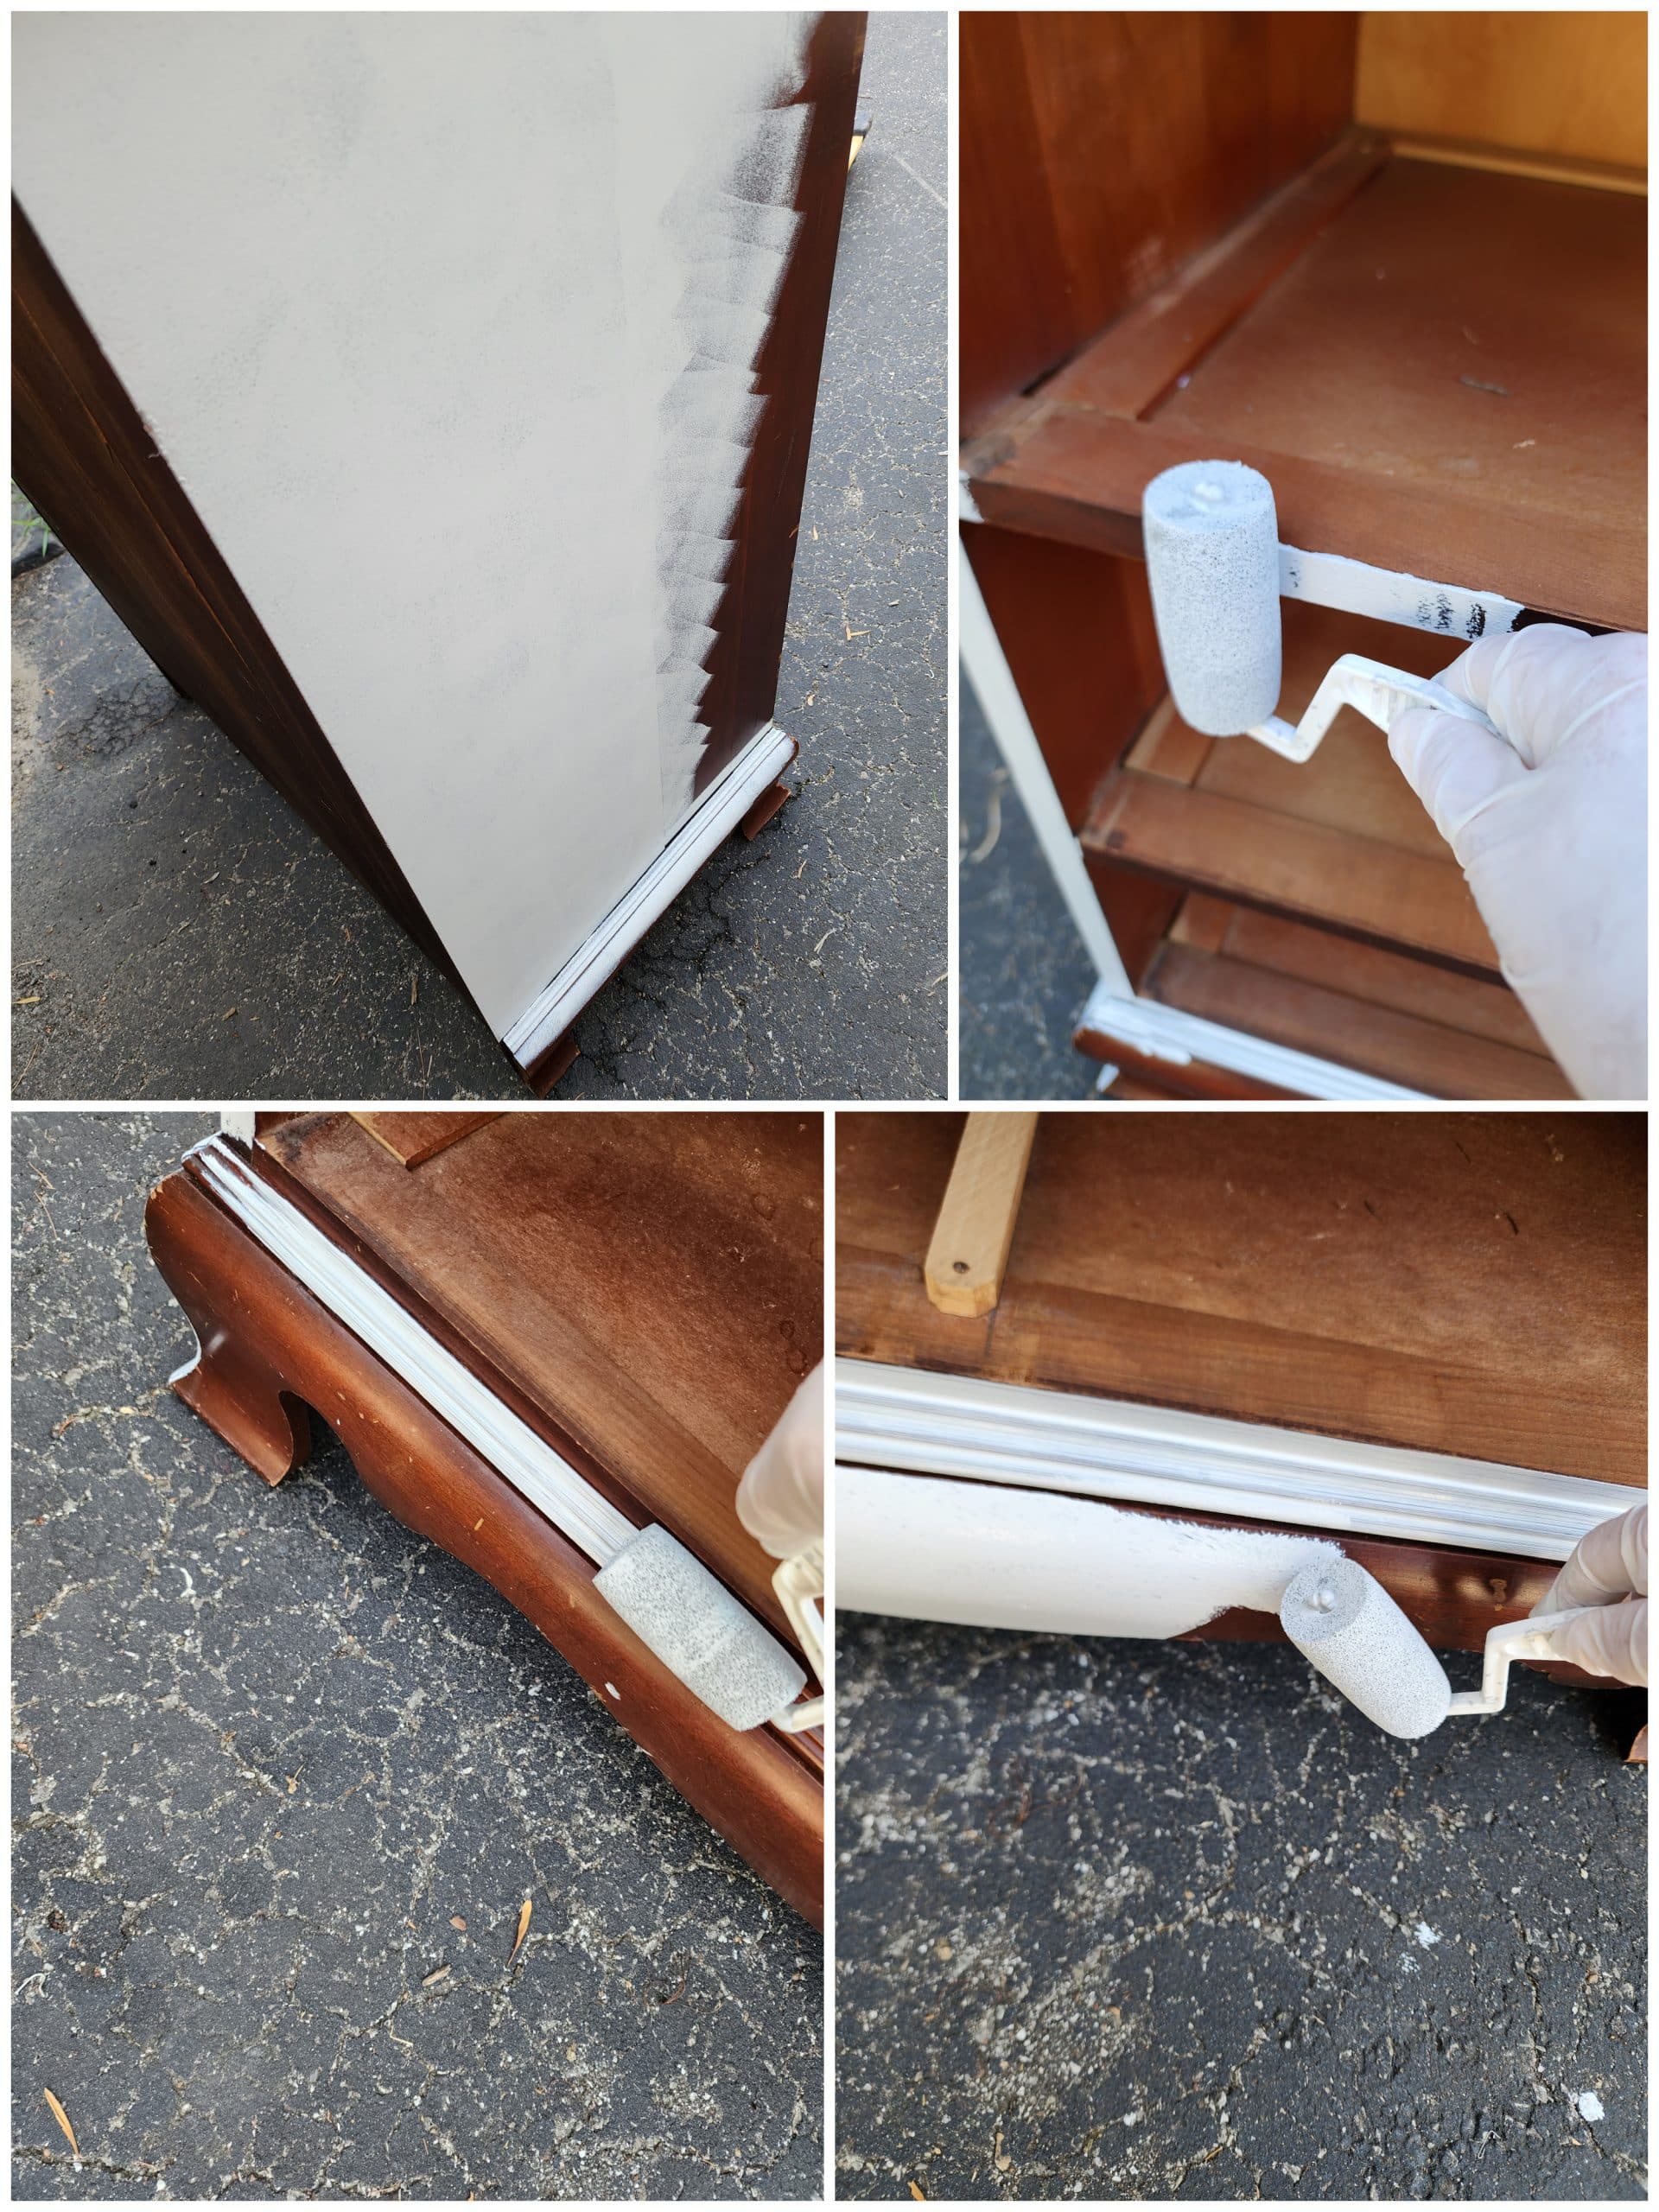
I checked the photo series for a time stamp. I started at 5:44 and finished the first coat, including the drawers, by 6:07.
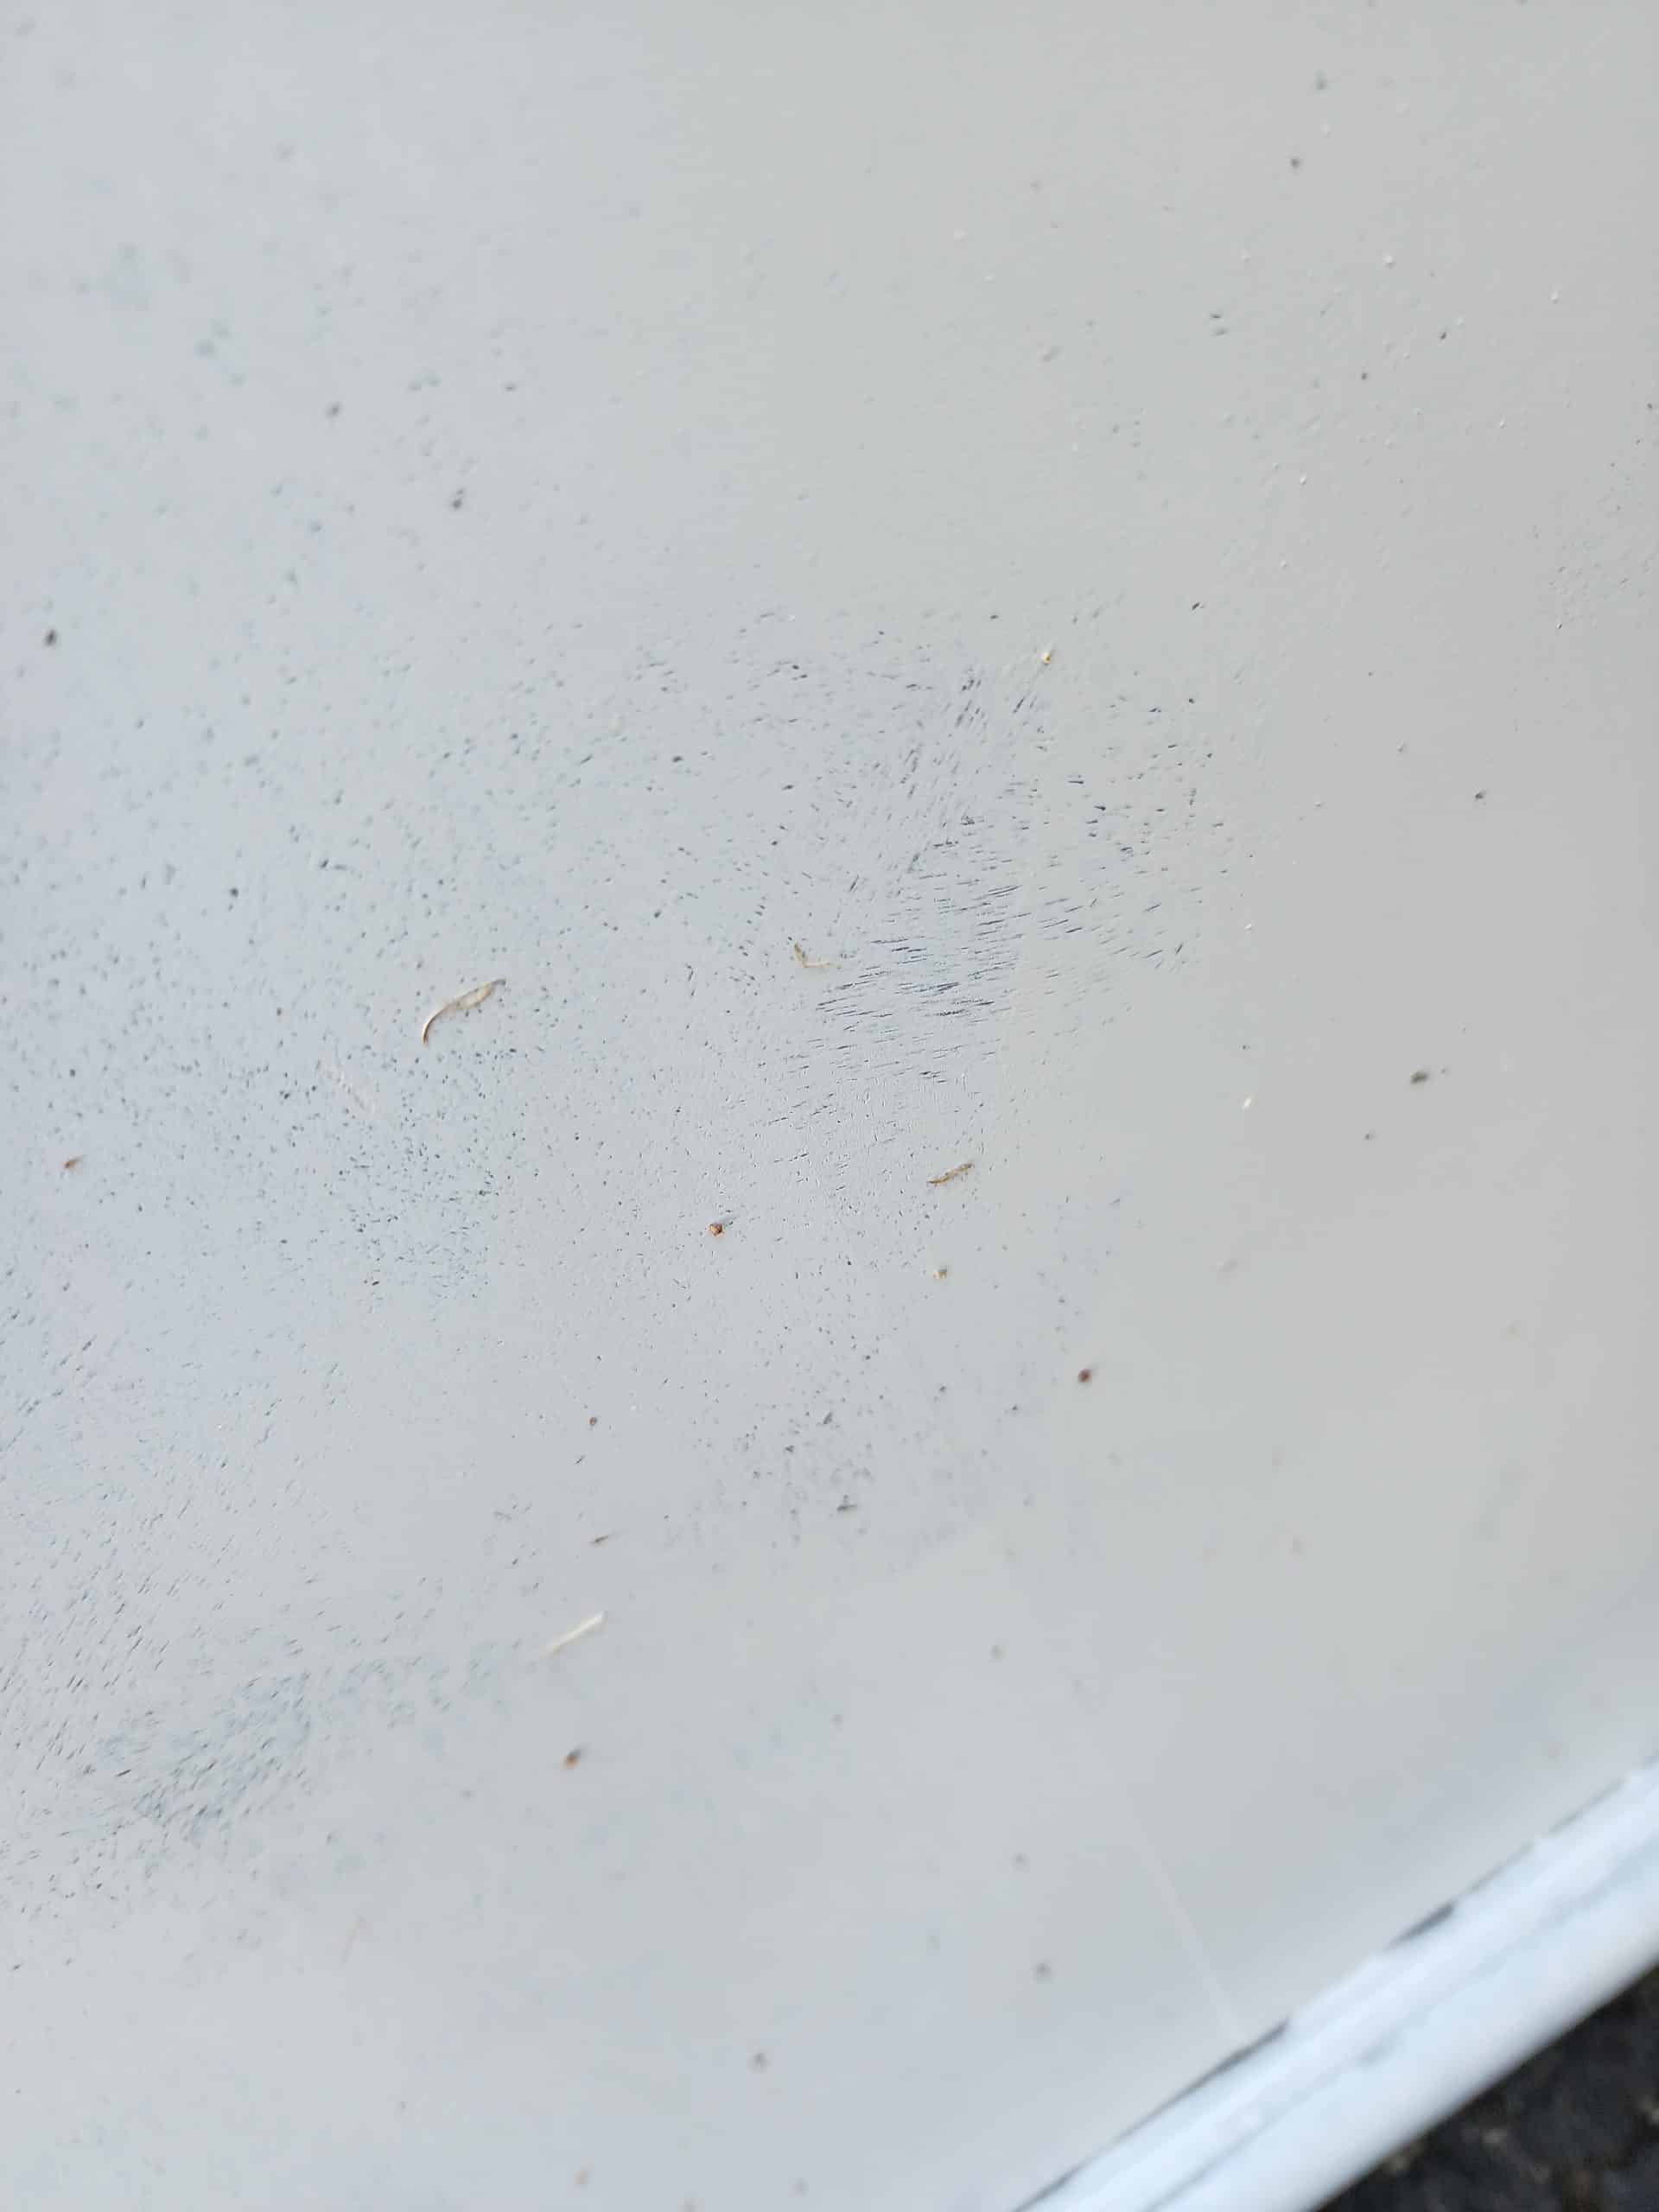
My tip is to let the first coat be thin and ugly. The second coat will be so easy if you do thin coats. I took this photo to show the dirt and debris that blew up on the side while painting. But it’s a great image to show you what the first coat looks like. By the way, the dust and debris brushed away quickly after the paint was dry.
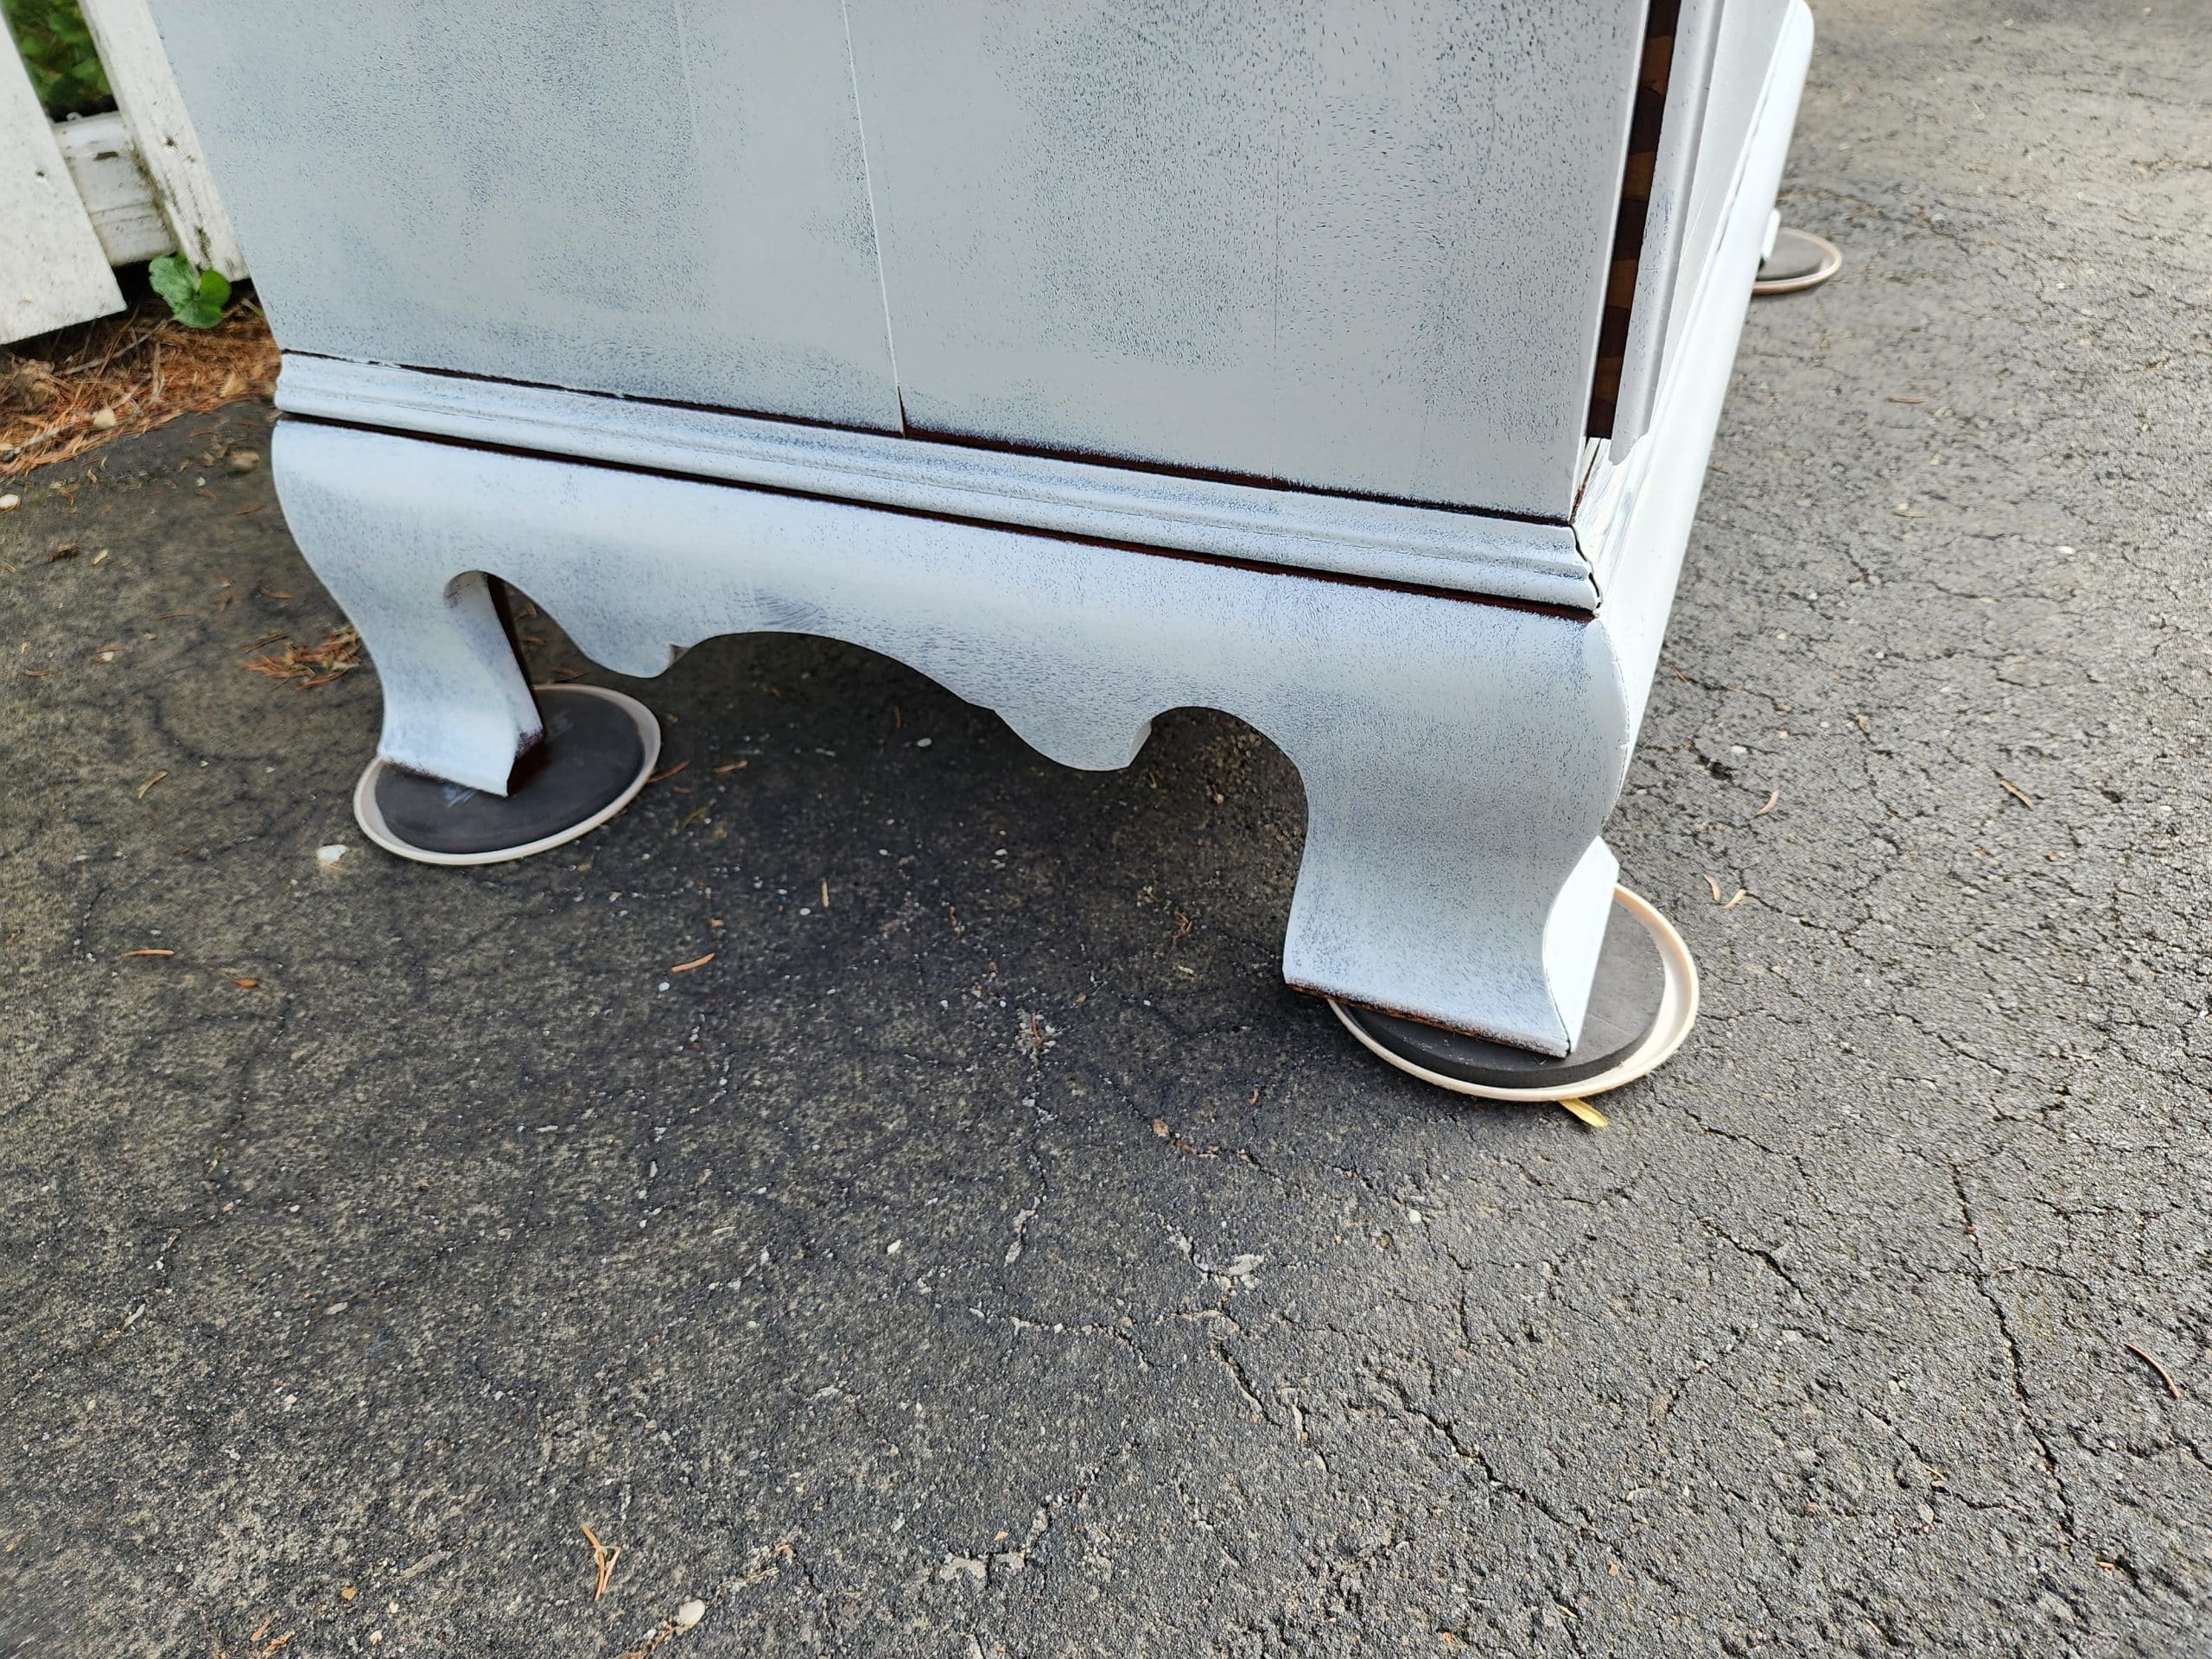
It was getting late, and I needed to move this beast to the patio to rest overnight. This very old, well-made chest of drawers is very heavy! These super-sized Teflon Furniture Sliders were just what I needed to shove the furniture from the driveway to the patio.
Use Brown Craft Paper Instead of Fine Grit Sandpaper
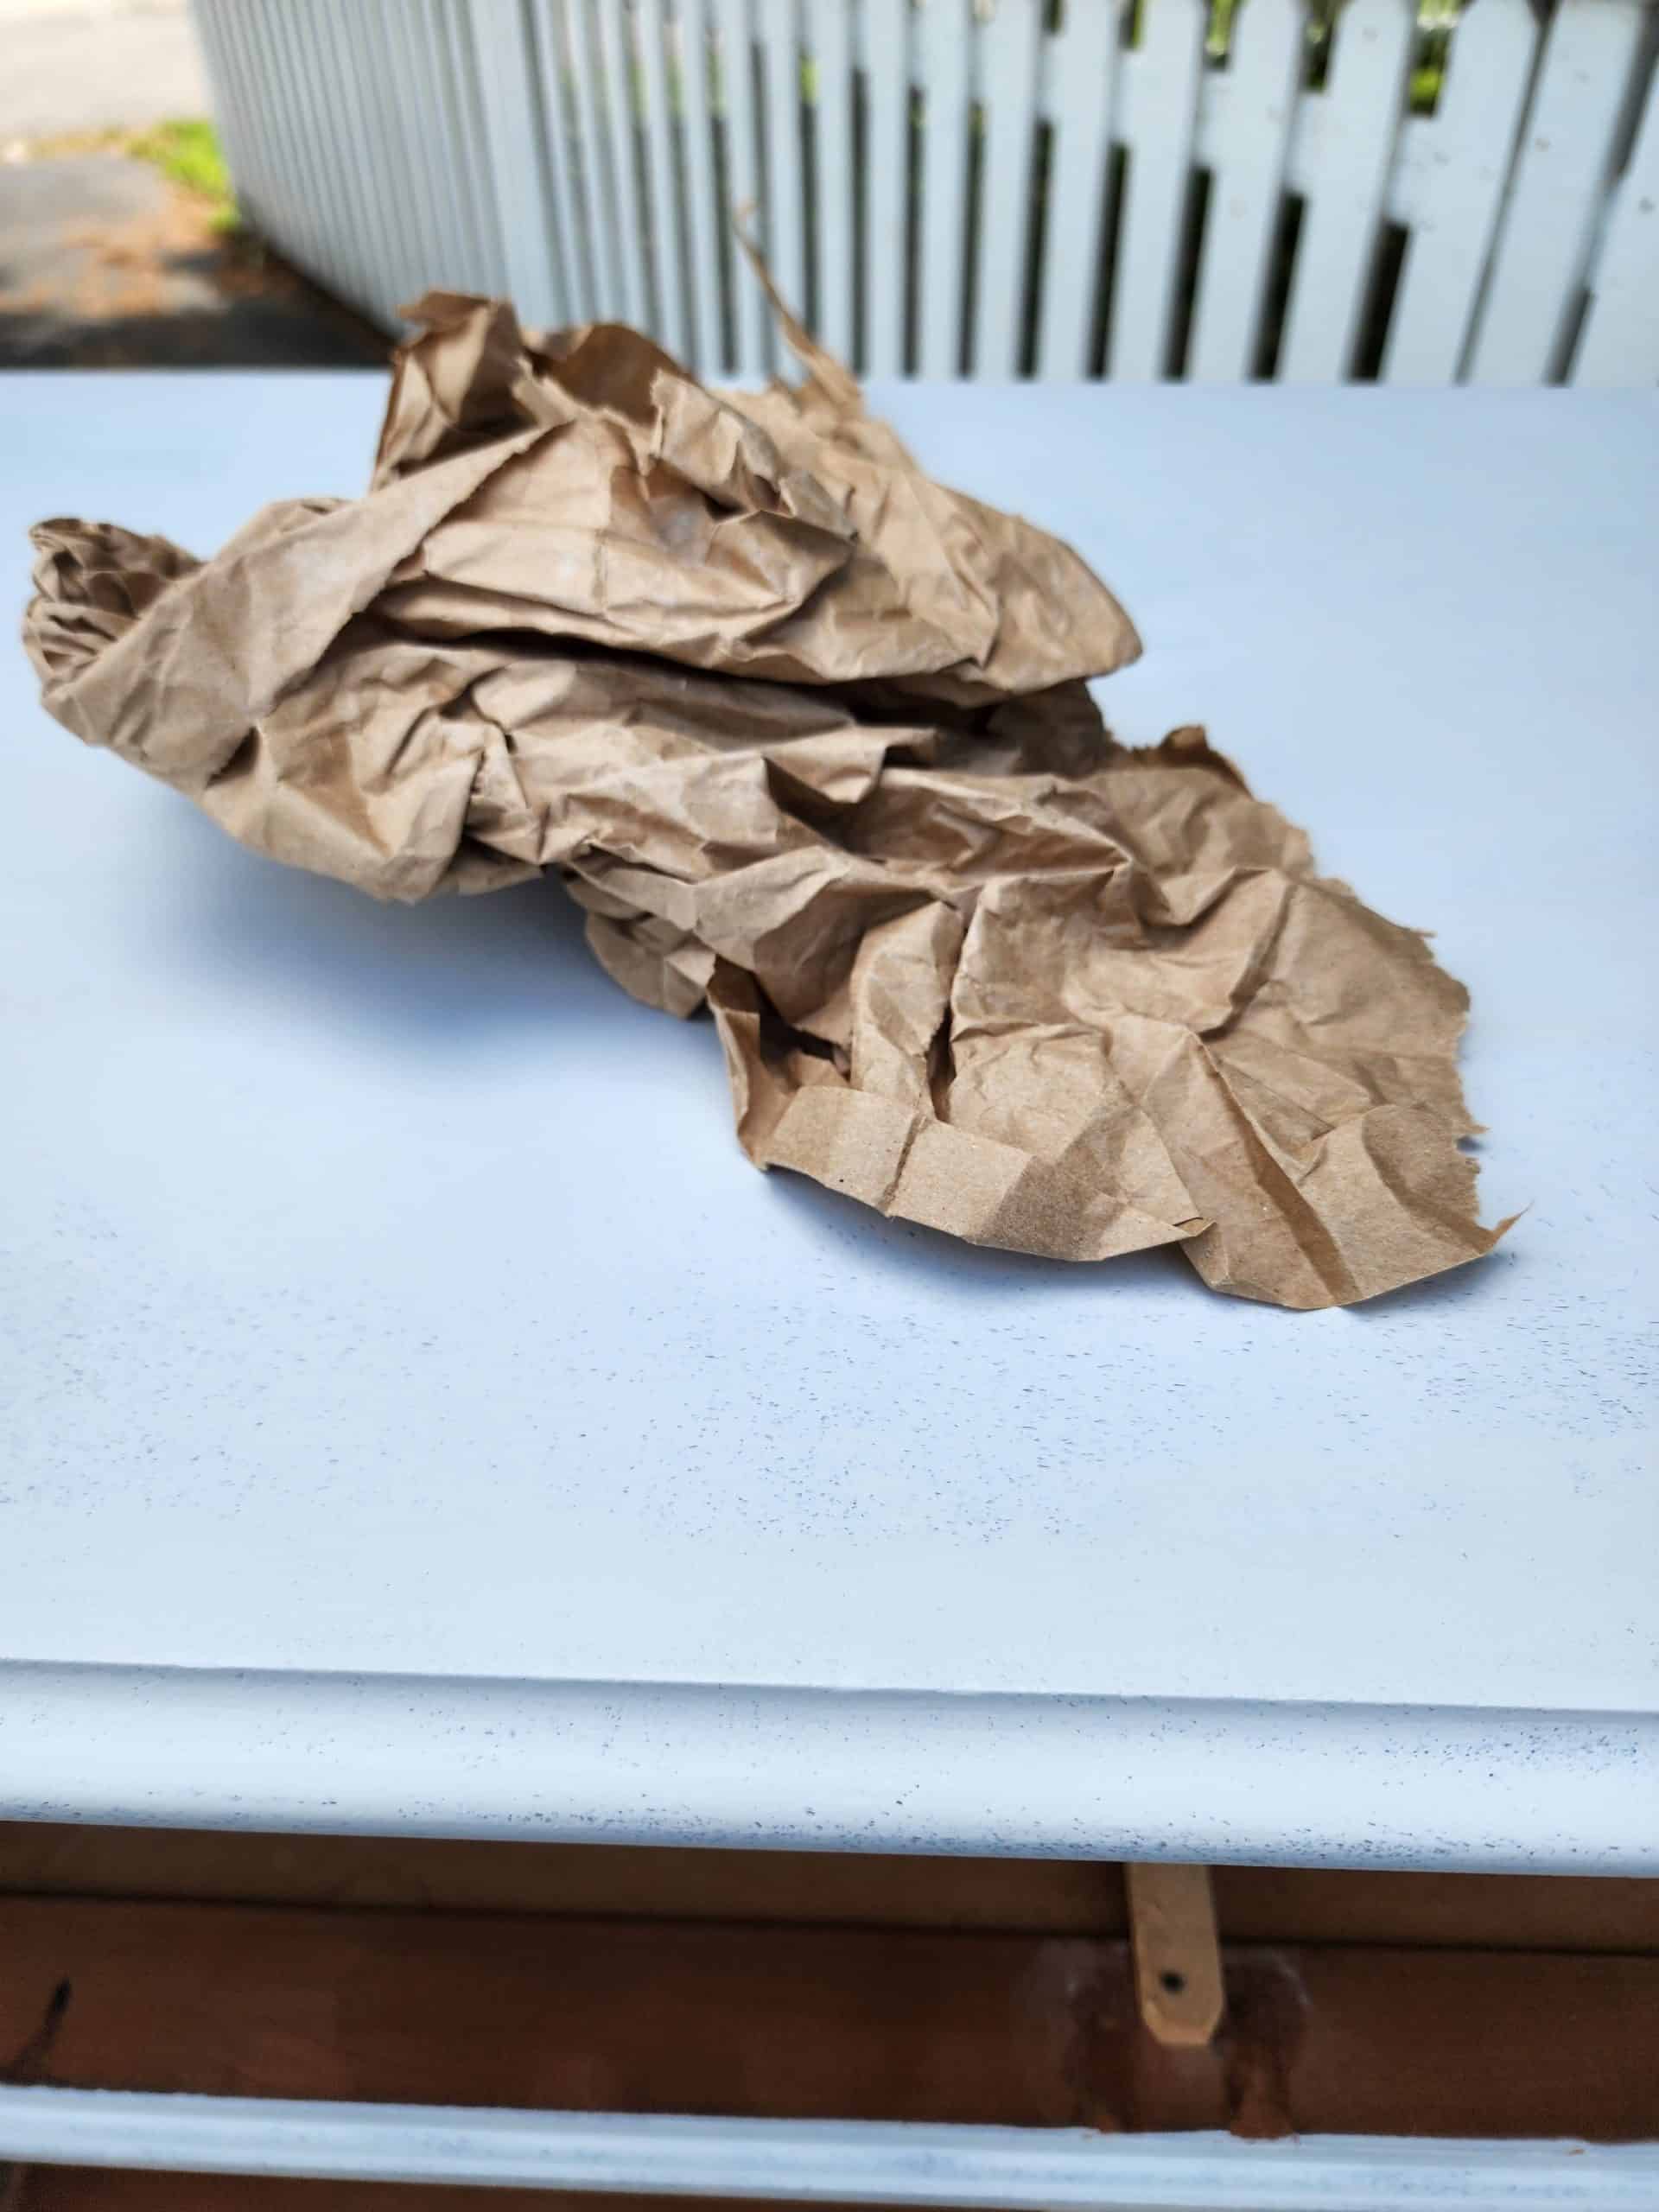
The next day, after the paint had dried completely, I used brown craft paper to sand or “burnish” the first coat of paint. Doing this will give your flat surfaces a very lovely smooth finish.
Second Coat of Paint on the Chest of Drawers
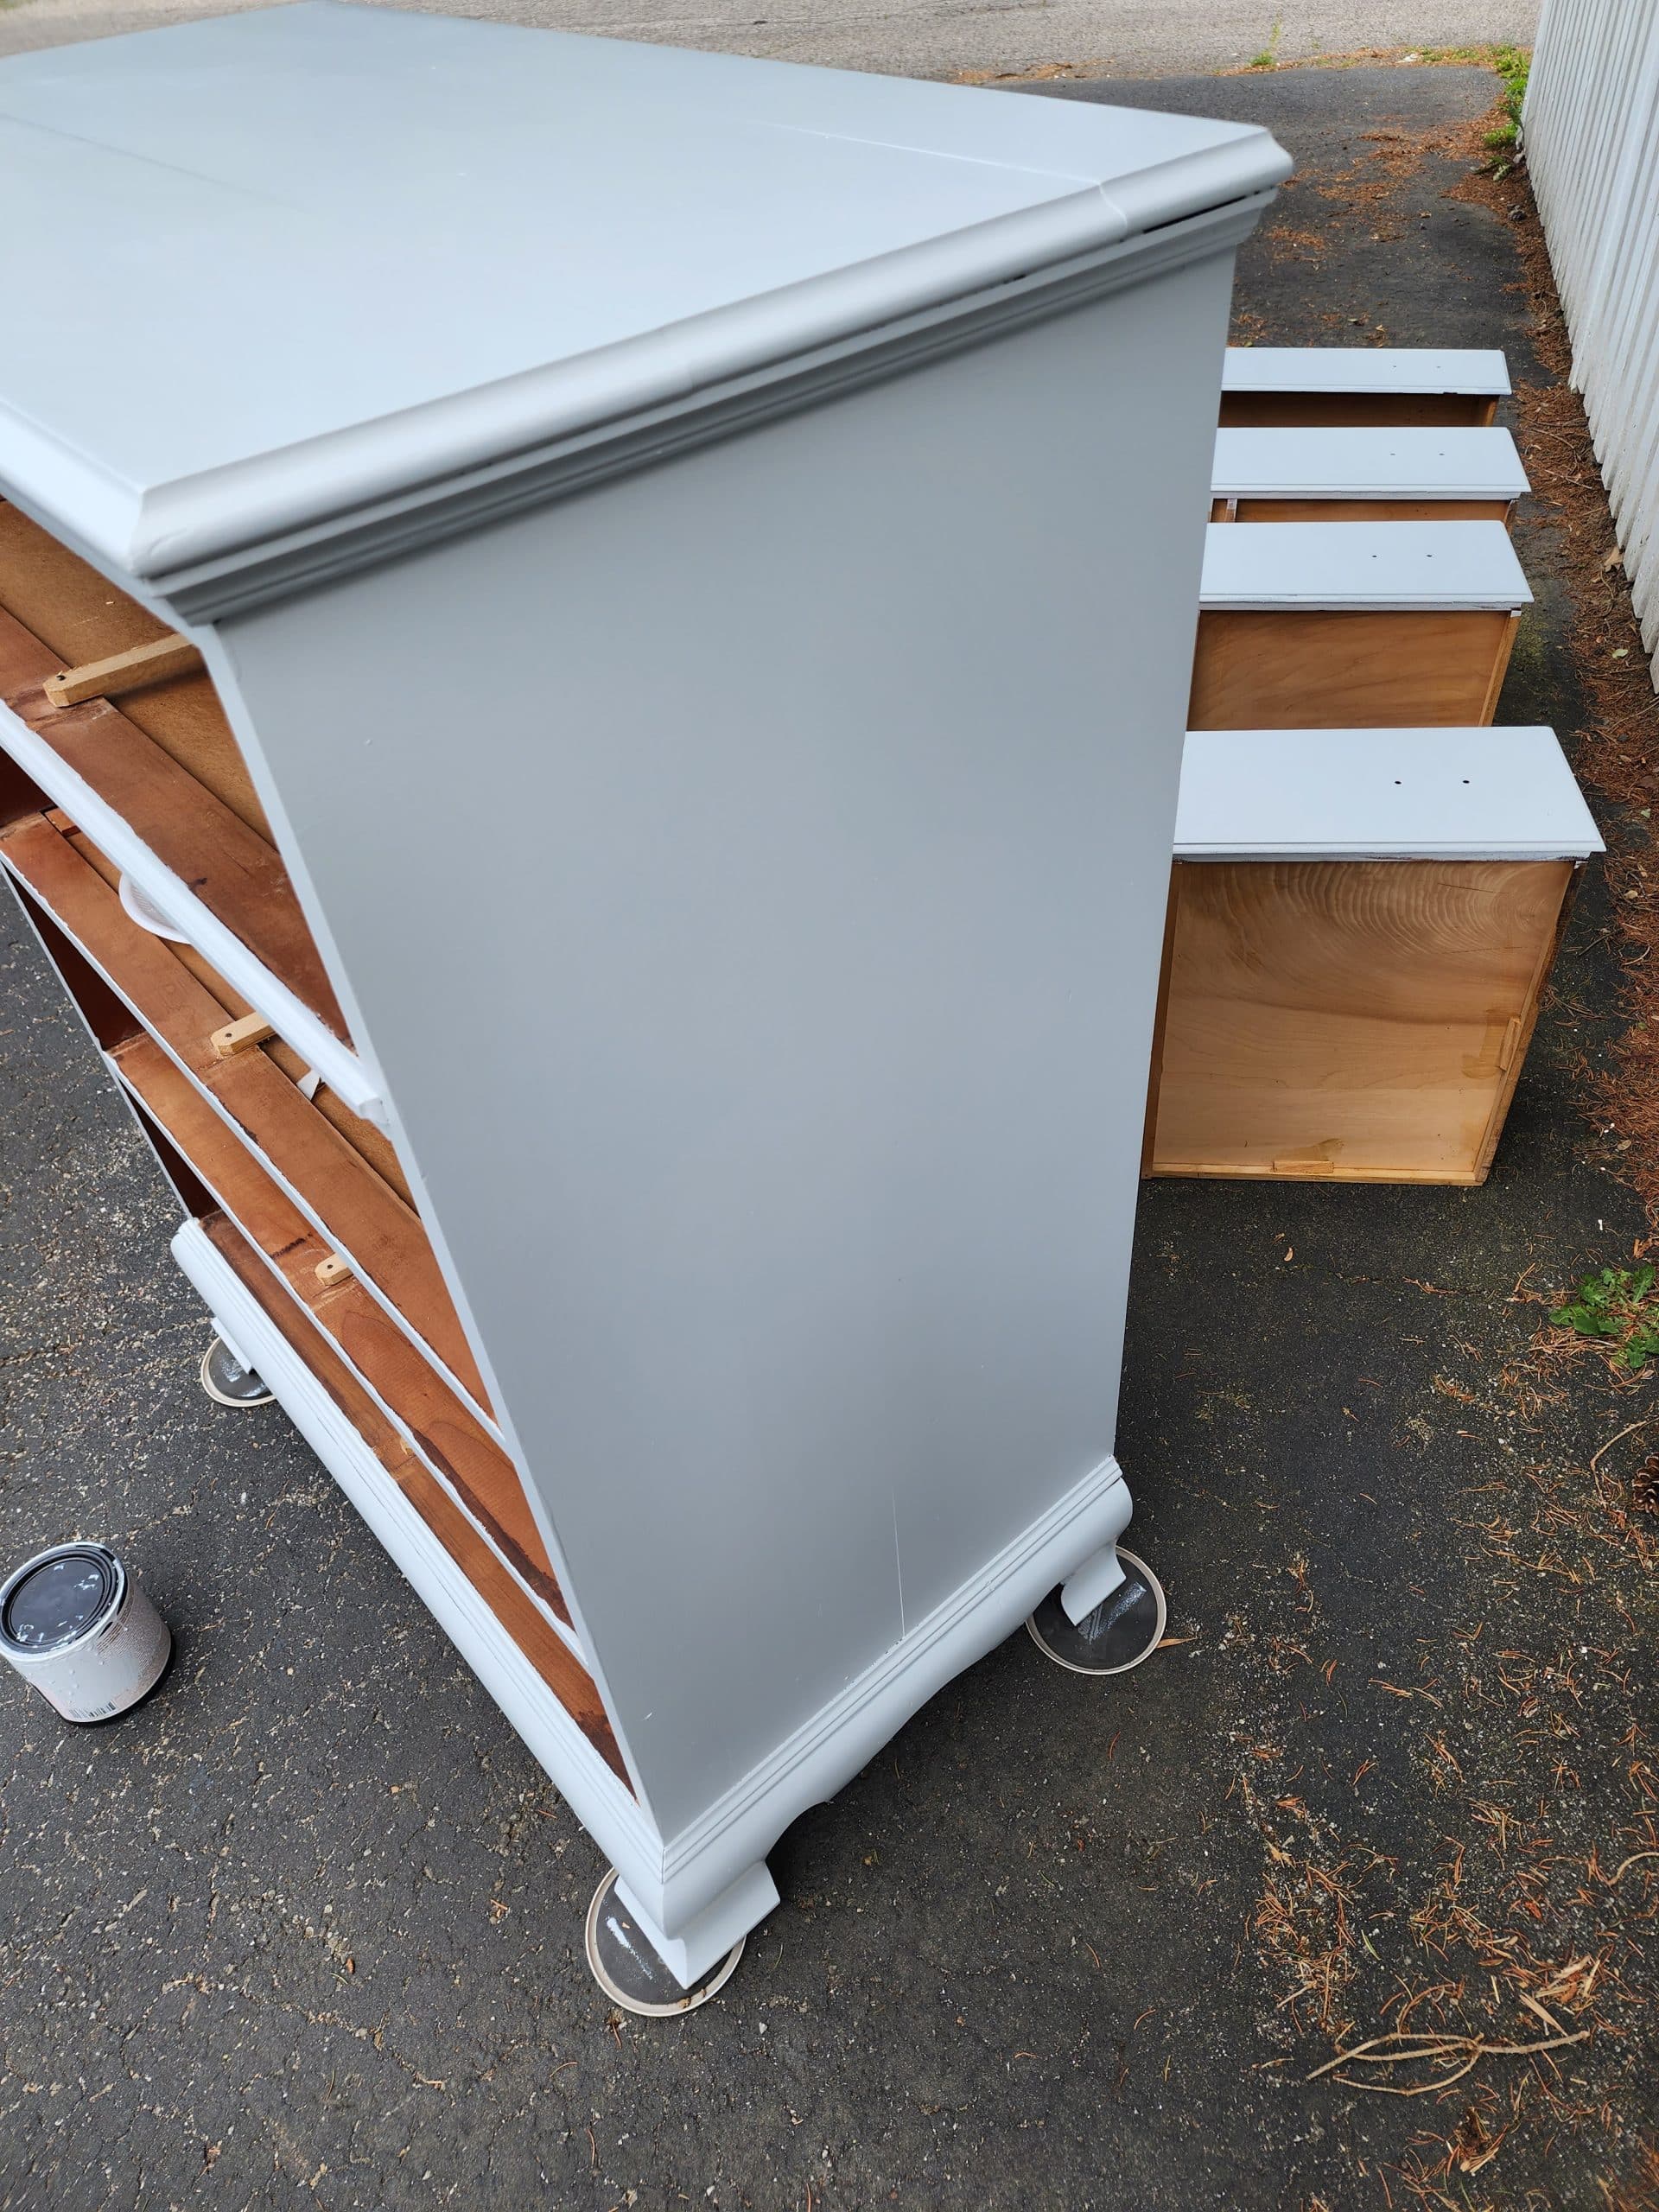
In this photo, you can see how I painted the drawers. Using a foam roller is what makes this makeover go so quickly. At this point, I had not used anything other than the paint roller. After the paint dried, I used a small artist’s brush to touch up any places the roller didn’t cover.
Spray Paint Vintage Hardware
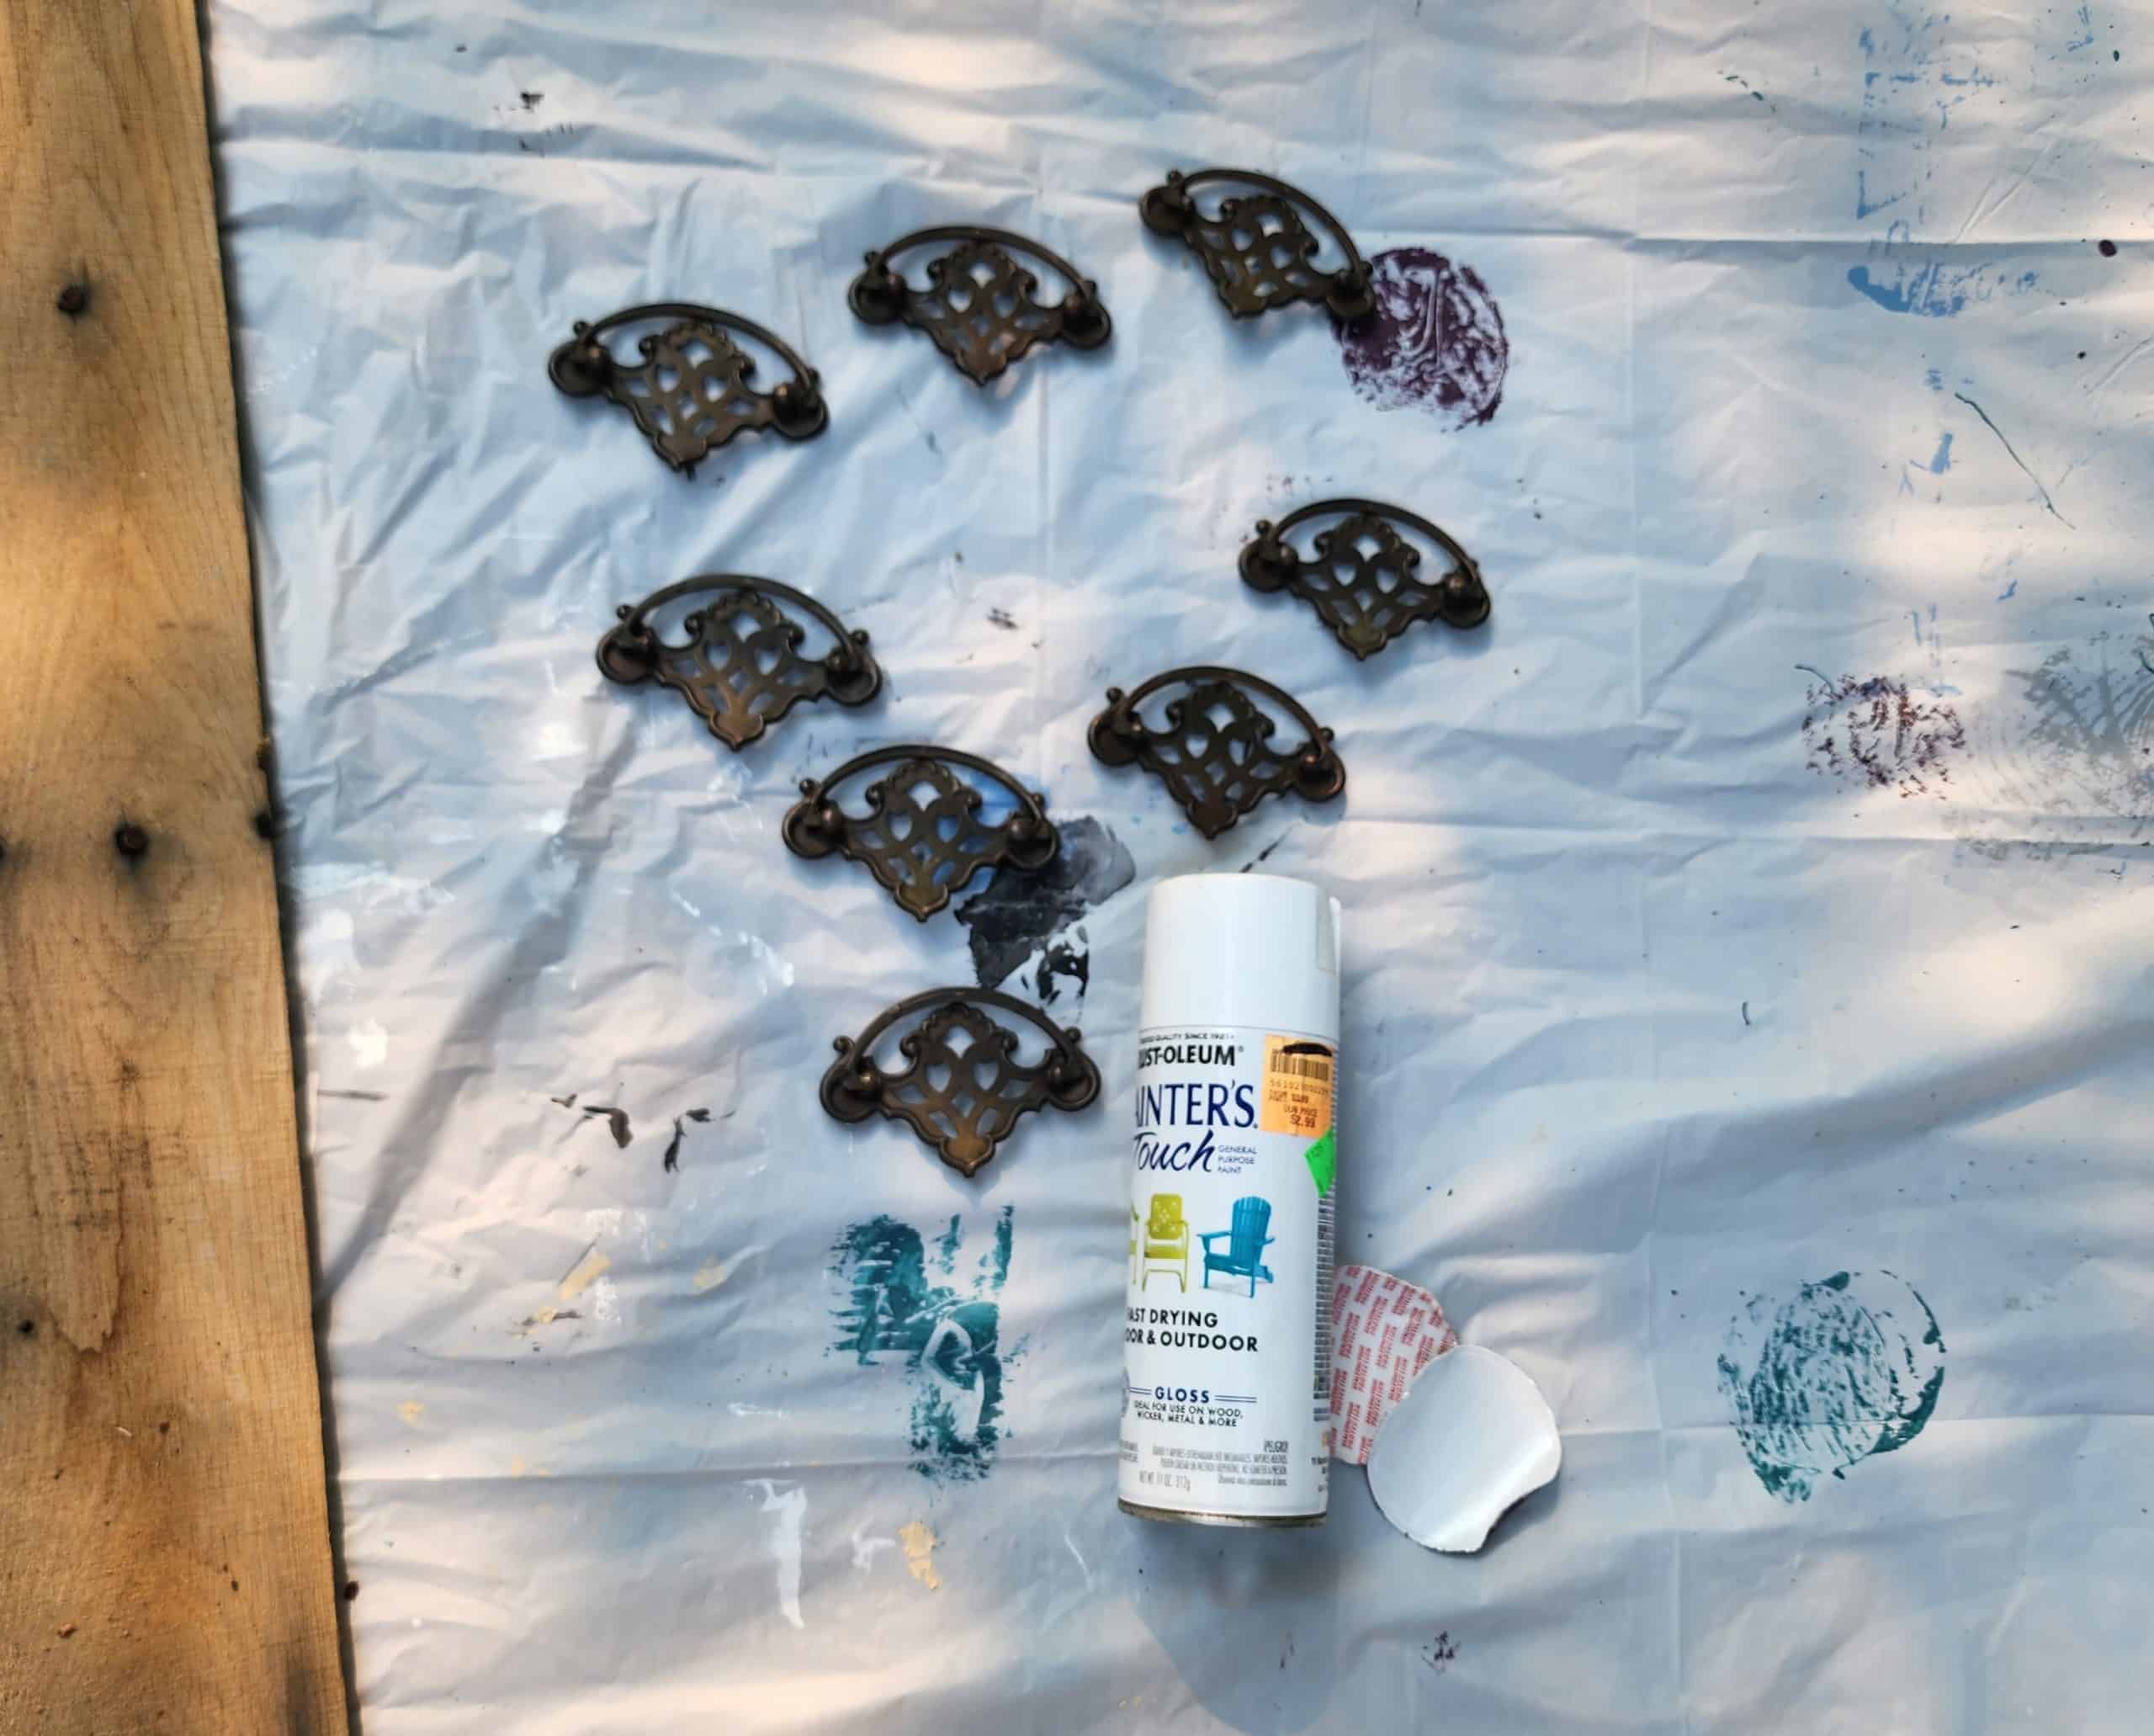
Did you notice the ornate vintage hardware when you saw the before photo? I loved it so much that I couldn’t even consider replacing it. Painting it white was a no-brainer for me because I knew it would look fabulous on the Heathered Gray chest of drawers.
Again, several light coats of paint work best. Read the directions on your can of spray paint. Drying and recoating times vary by brand and type of spray paint.
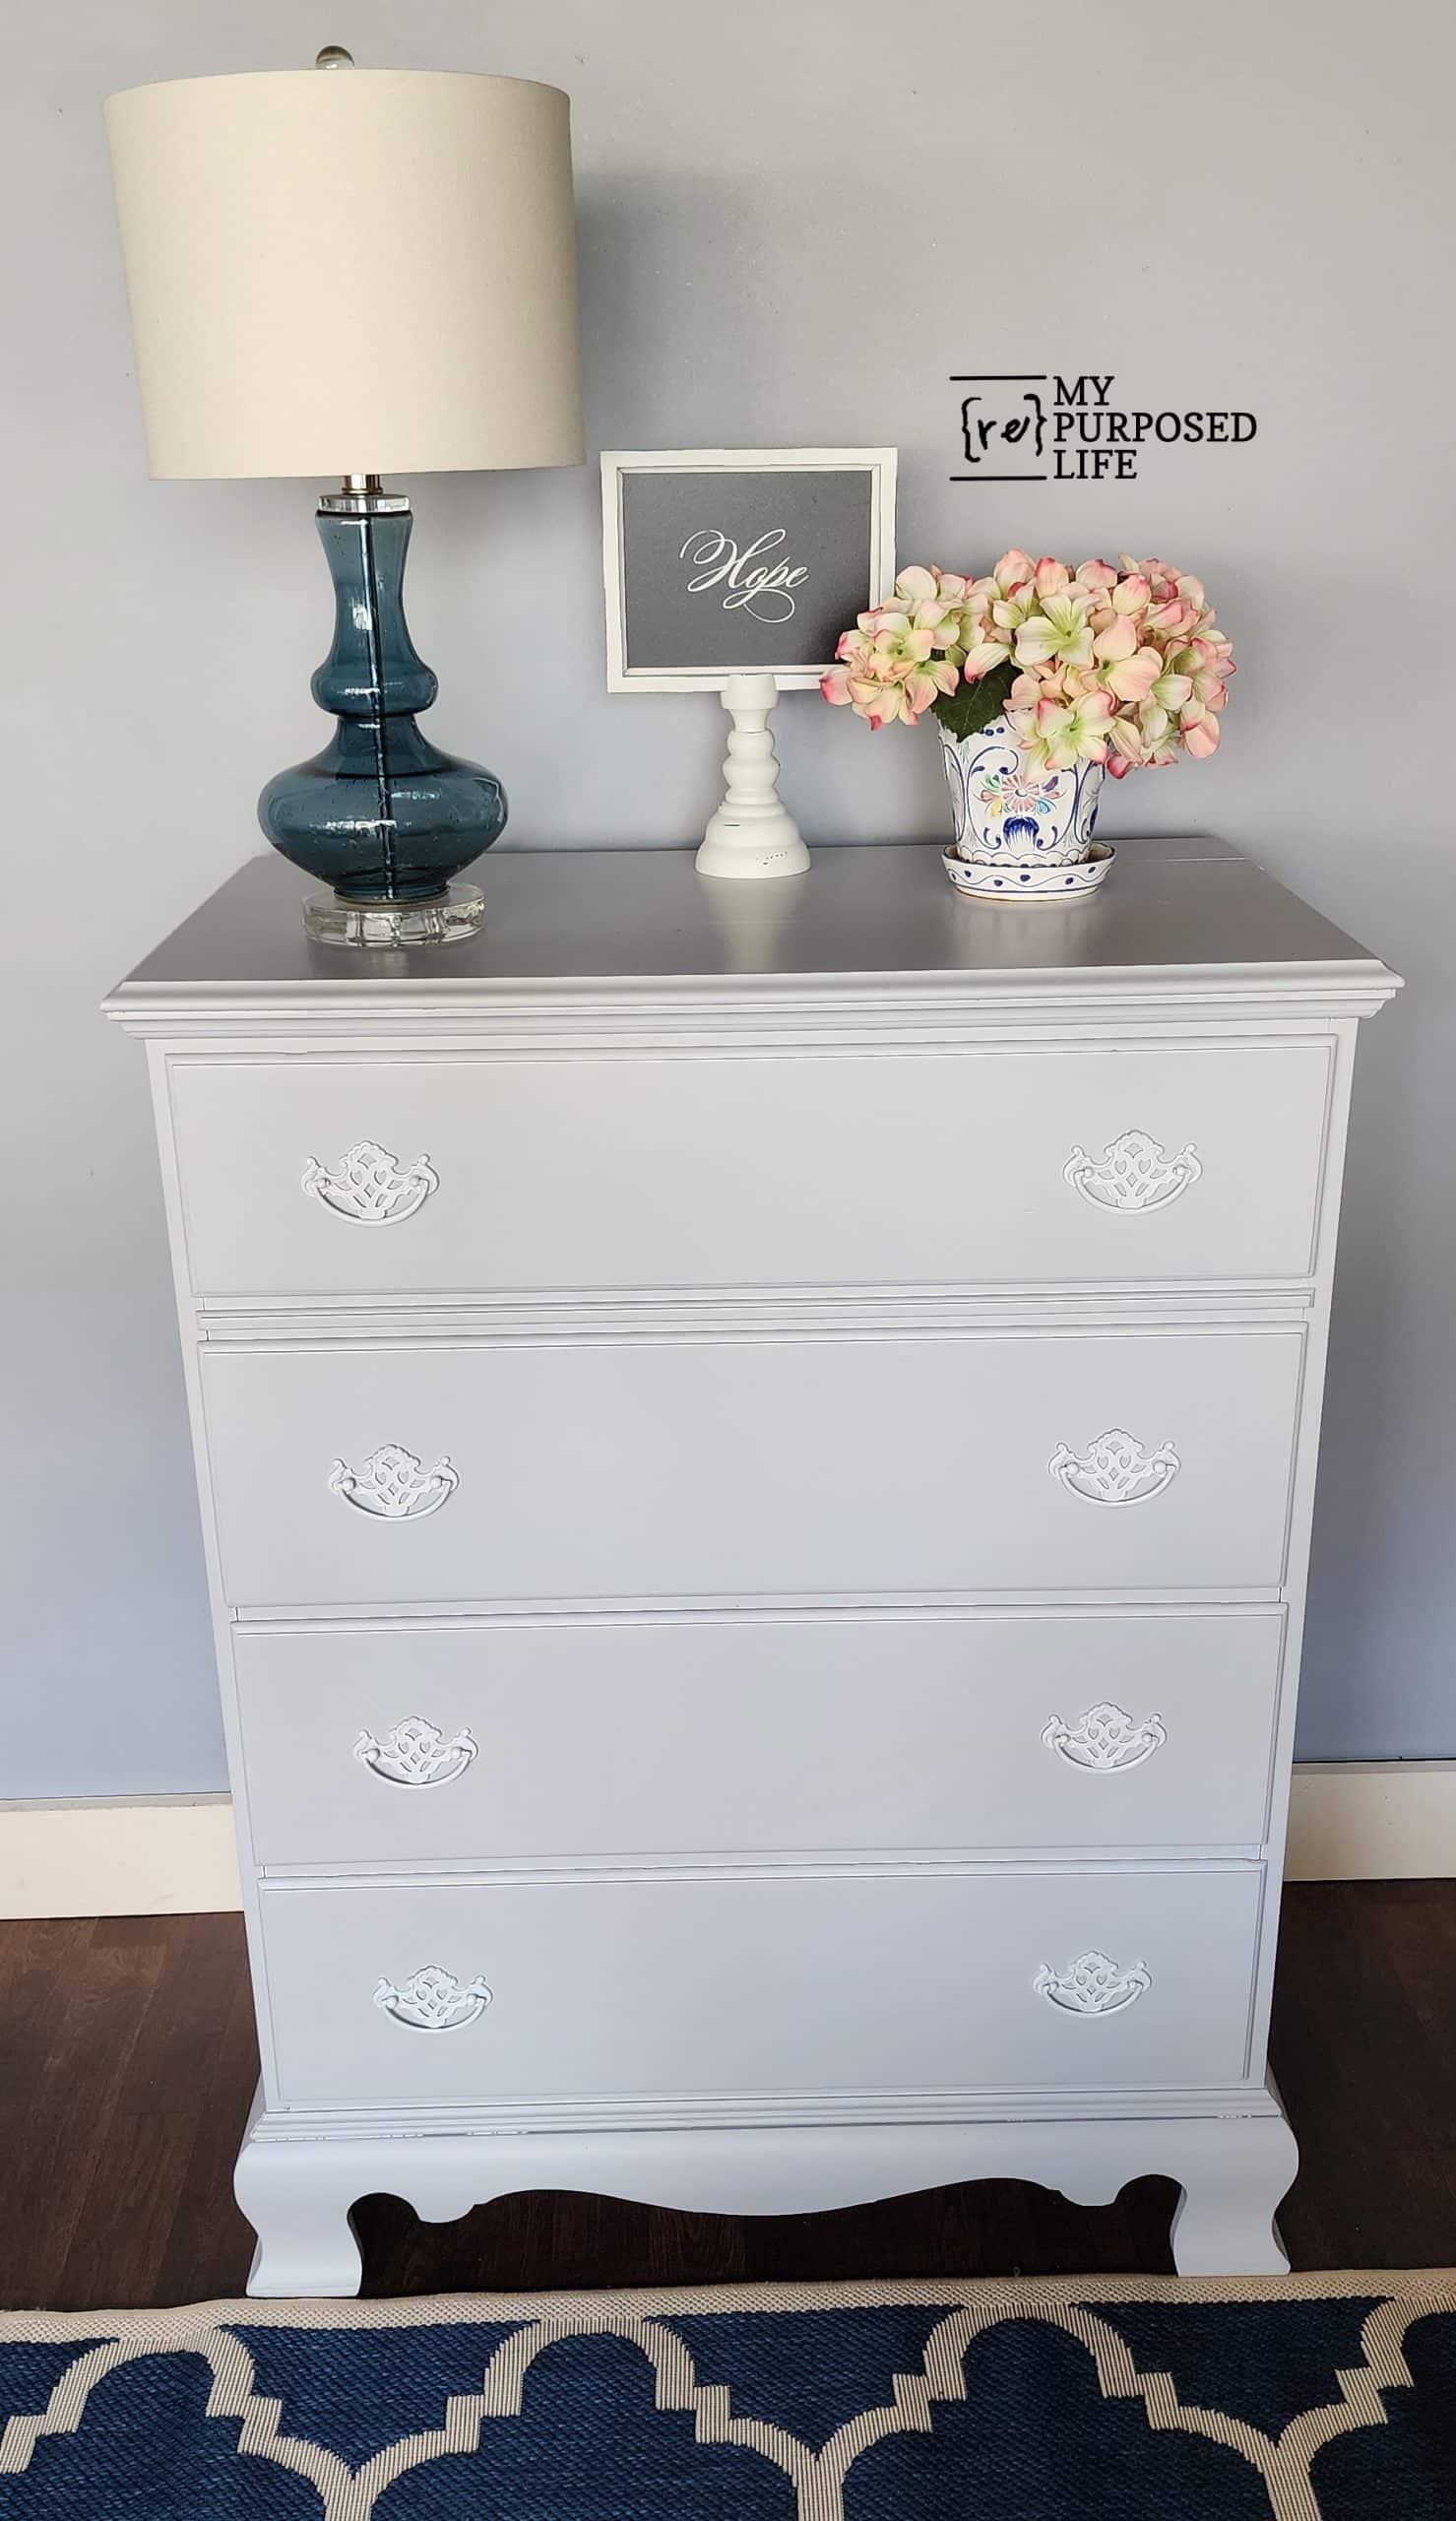
Heathered Gray Chest of Drawers
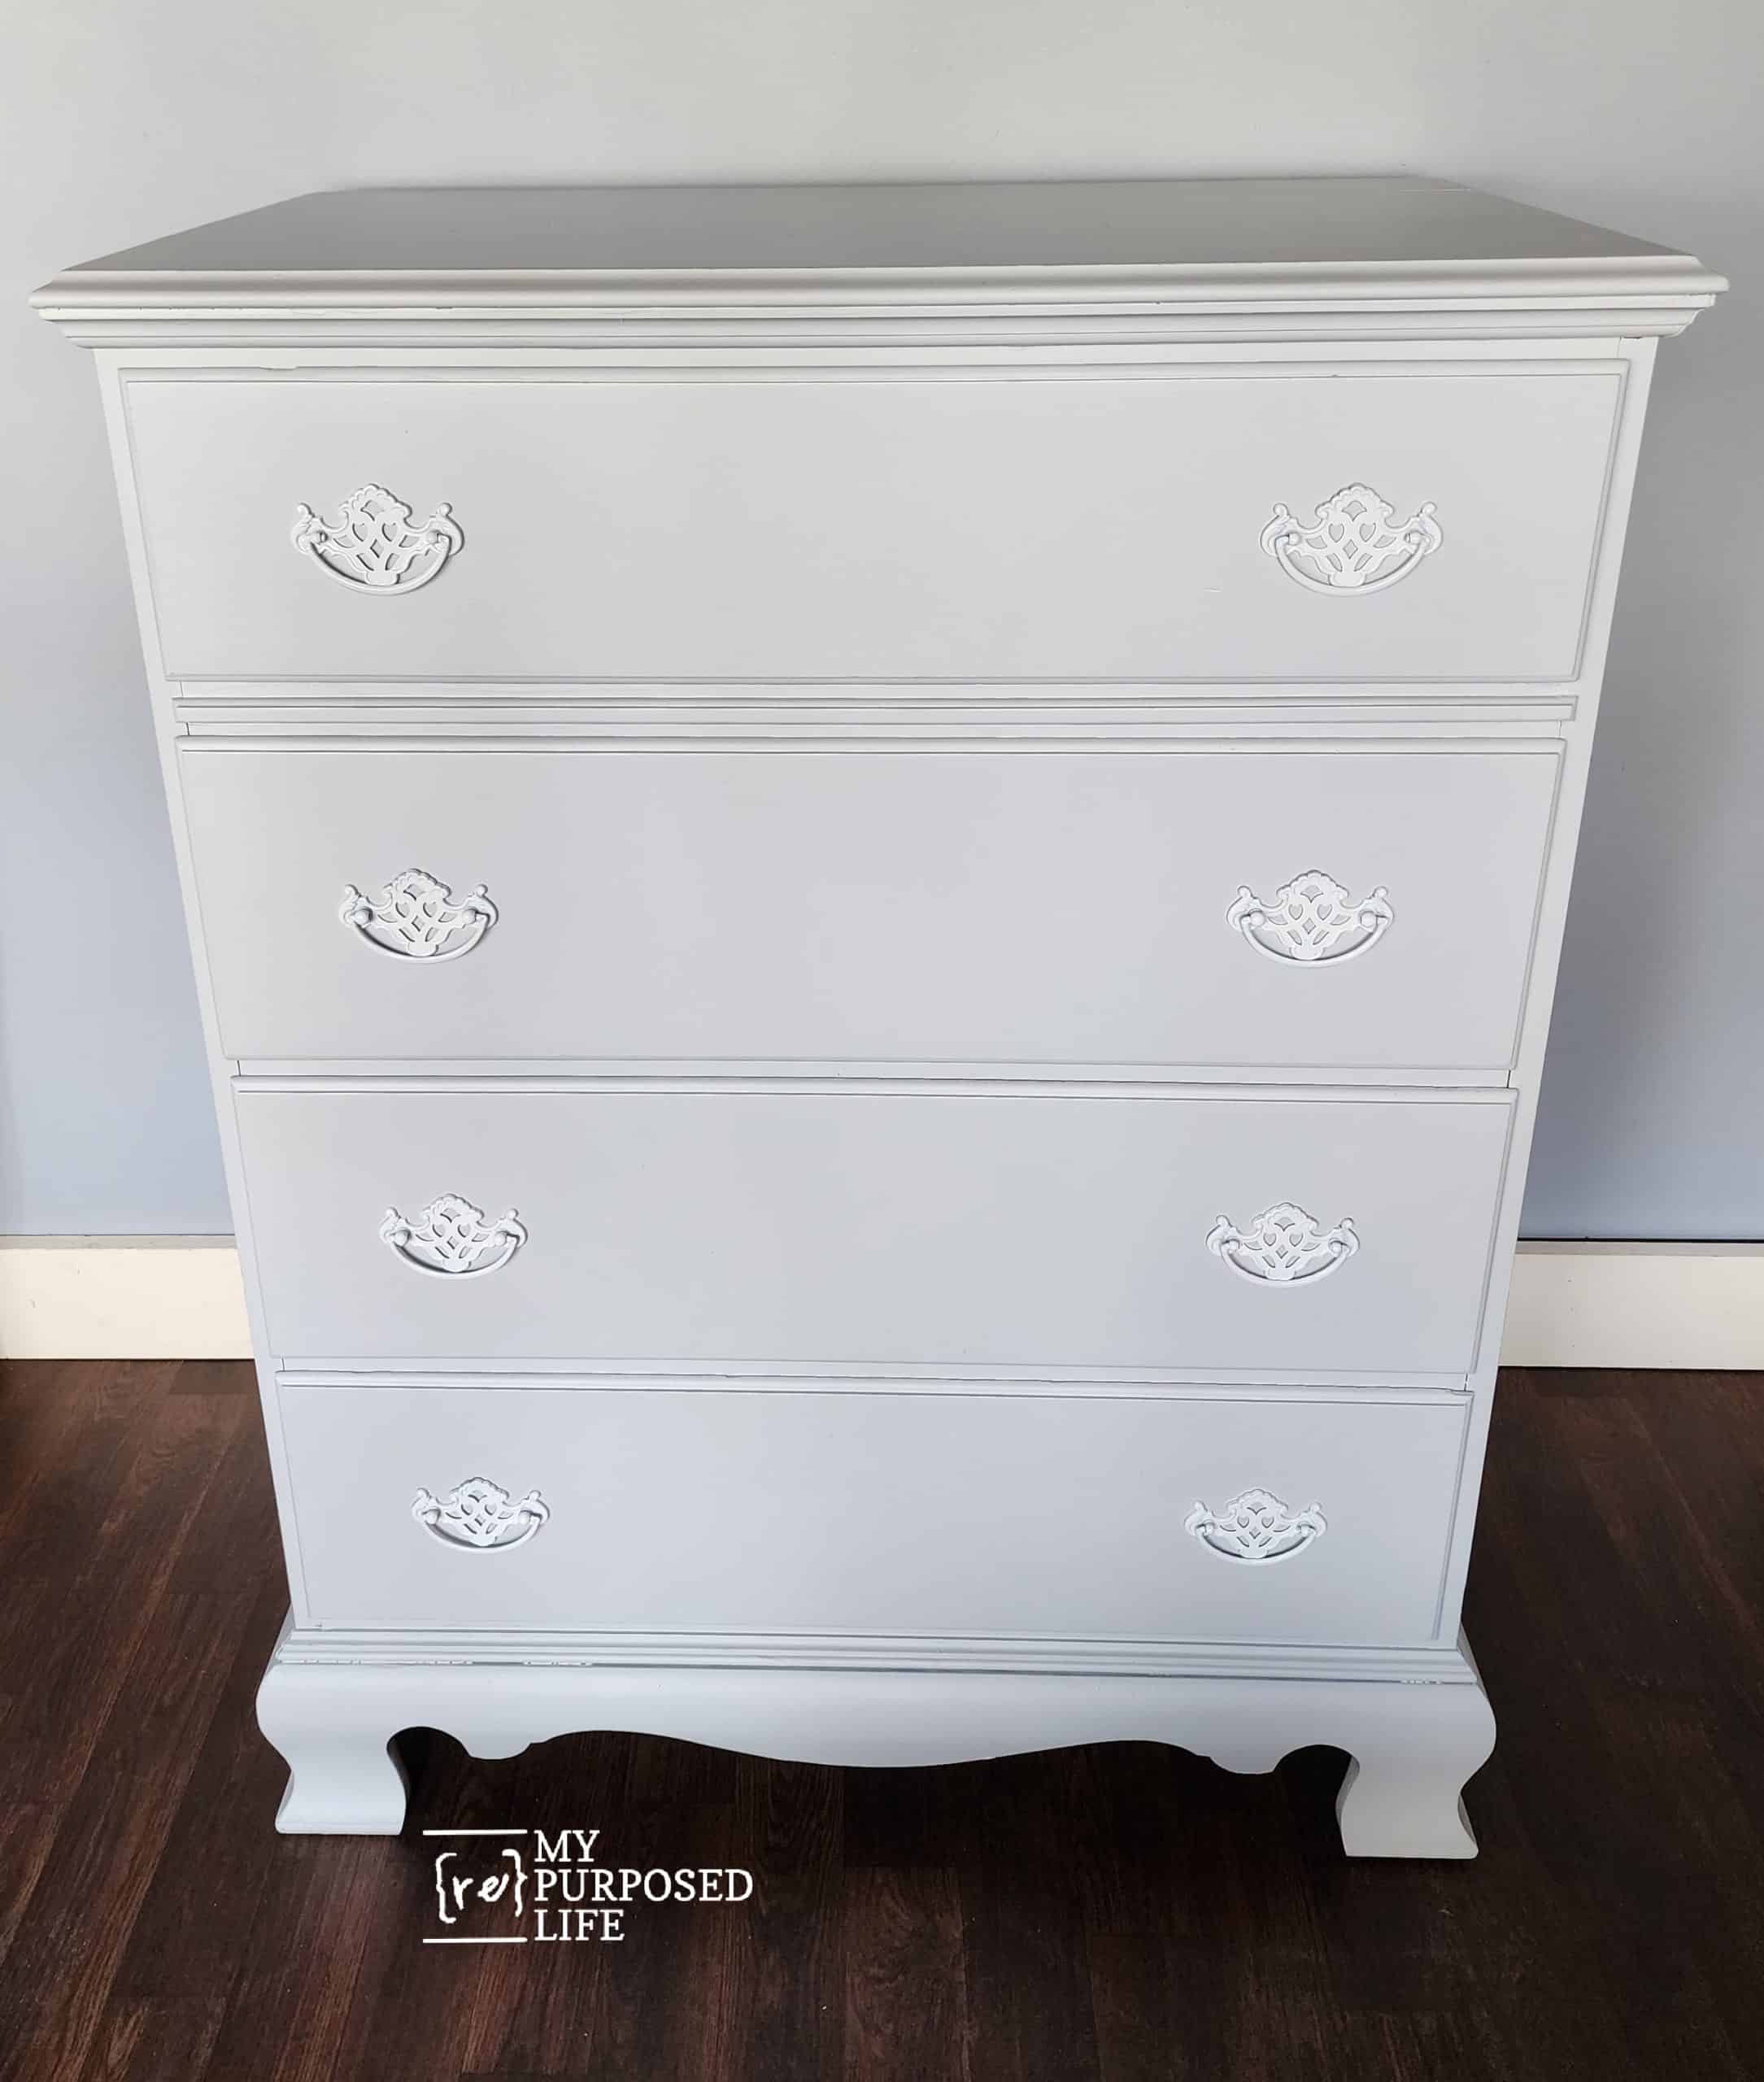
The white ornate vintage hardware looks as good as I thought!
This very old piece of furniture isn’t perfect, but it still has many years left to serve its new owner. All of the drawers work perfectly; they don’t stick at all.
I didn’t do anything to the drawers, no paint, lining, or peek-a-boo drawers. I’ll send it to my booth and see how it goes.
Related Content: Repurposed Furniture: Old Dresser Ideas and Makeovers
More Furniture Fixer Upper Project Makeovers
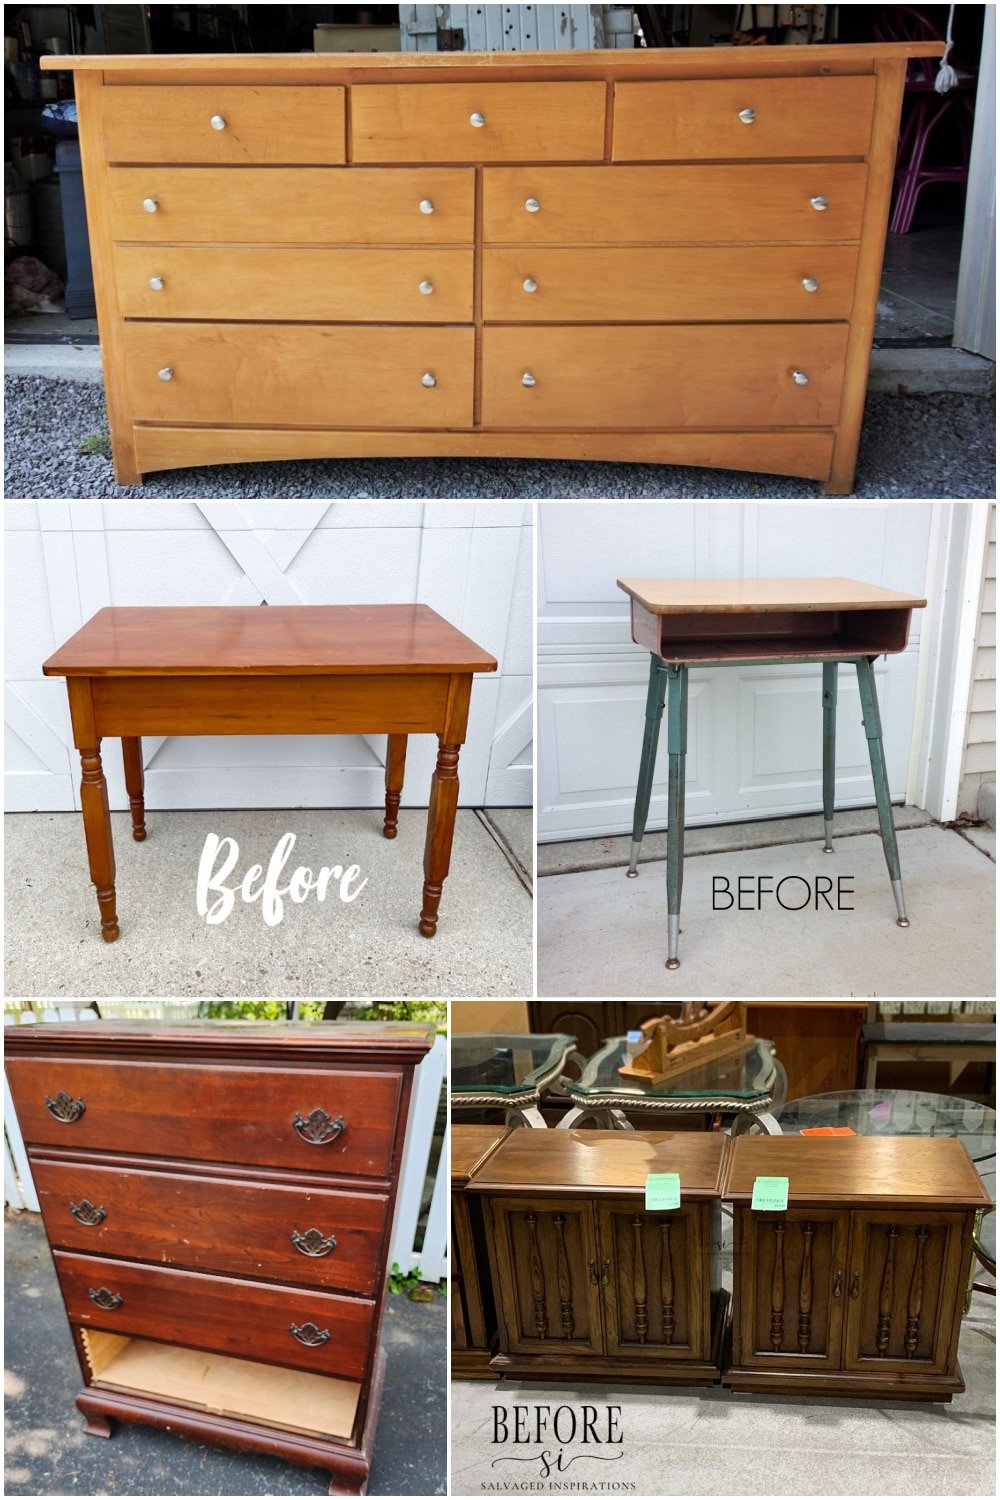
- How to Paint a Free Dresser With White Latex Paint
- Farmhouse Table Makeover
- School Desk Makeover
- Antique Chest of Drawers Makeover (you are here, thank you!)
- Cobblestone Painted Nightstand Set
Furniture Fixer Upper Tour Projects
If you love seeing old furniture get a second chance, be sure to visit more Furniture Fixer Upper Tour makeovers. Each project starts with good bones and ends with a fresh new story.
See more Furniture Fixer Upper makeovers here
You will find everything from small side tables to large statement pieces, all transformed by talented DIY bloggers who believe in saving furniture rather than replacing it.
Sharon,
Thank you for reminding me! I rarely forget where I get stuff. 🙂 It has already found a new home, which is so much better than it going to the garbage. I believe I still have a bed in my stash. Did you see the desk makeover? I can’t remember…. it was the one that was out at the road. https://www.myrepurposedlife.com/vintage-desk-missing-drawers/
gail