Coffee Station Repurposed Buffet
As an Amazon Associate, I earn from qualifying purchases.
I finished this coffee station last week, and took the pictures over the weekend. I wanted to show it to you on Monday, but Wednesdays are set aside for my Homeright projects. Finally! It’s Wednesday and I can share it with you. 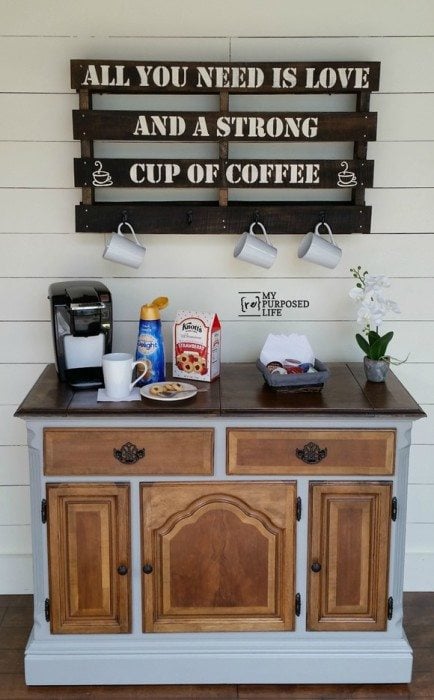
Let’s see how this all came together. . .
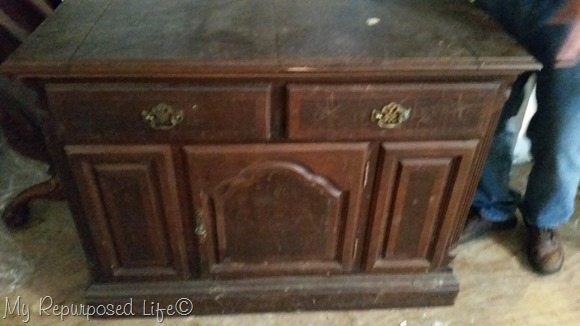 You’re so lucky that when you read my blog posts that you can’t smell the awful projects. When I got this buffet from a neighbor last month, it was so smelly and moldy. Now, it’s looking great and smelling fine—after a LOT of work!
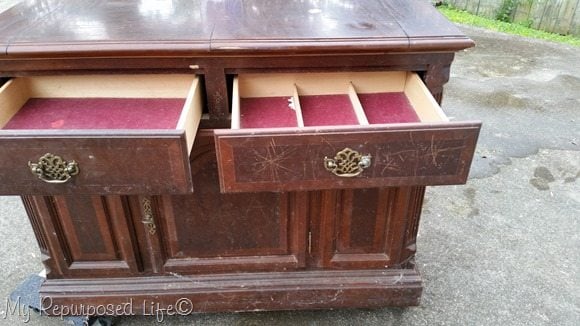 ugh! looking back on this, I wonder why I even grabbed it—oh yeah, it was in a dark shed.
Clean and sanitize mildew furniture
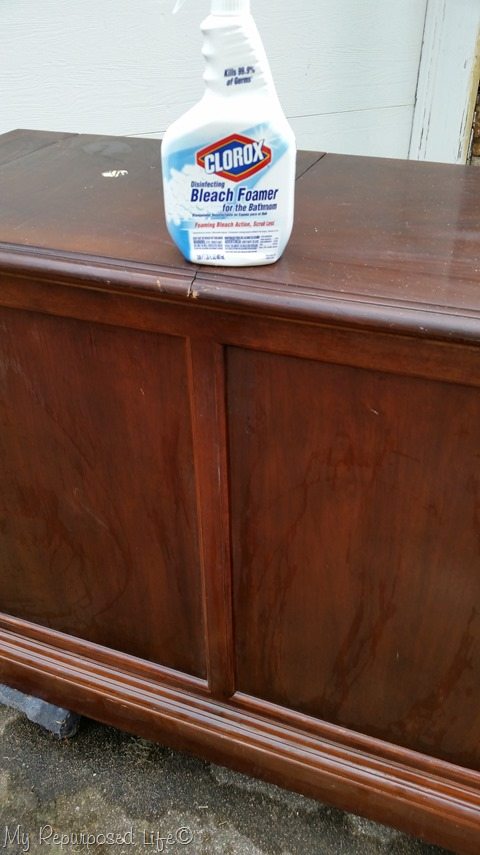 Don’t fall out of your chair when you see what I used to clean this little gal. Yep, I used bathroom cleaner to get rid of the mold that was attacking this piece inside AND out! It’s already smelling and looking so much better after one cleaning. I cleaned it again, and in some places a third time.
Sand finish off of coffee station top
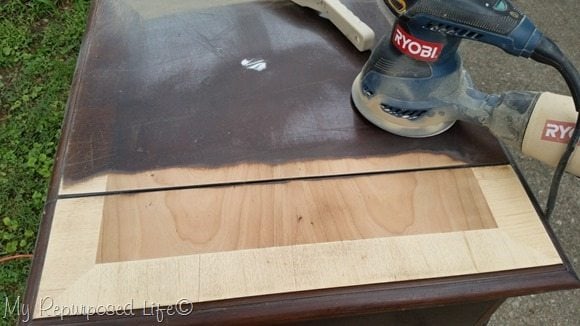 After cleaning it up, and letting it air out in the sunshine off and on for a couple of weeks, I got busy on giving the old gal a new look. I decided to strip the top of the coffee station so I could refinish it.
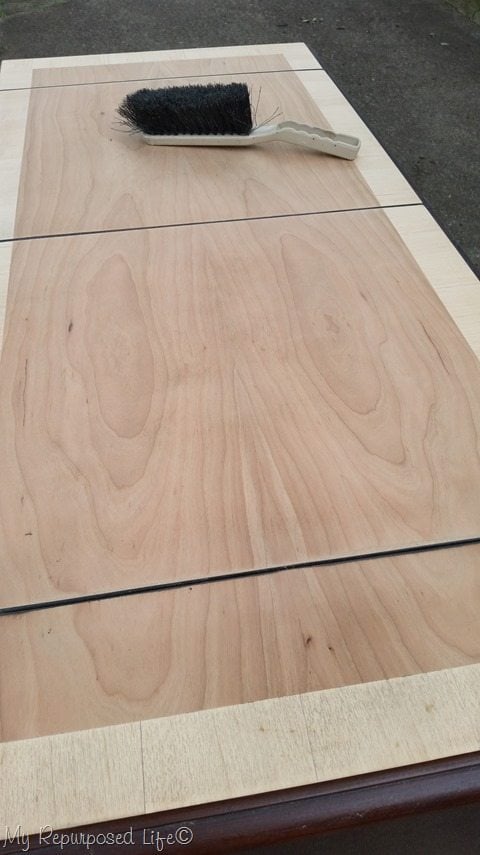 Wow! Can you believe how nice it looks?
Citristrip works for small areas
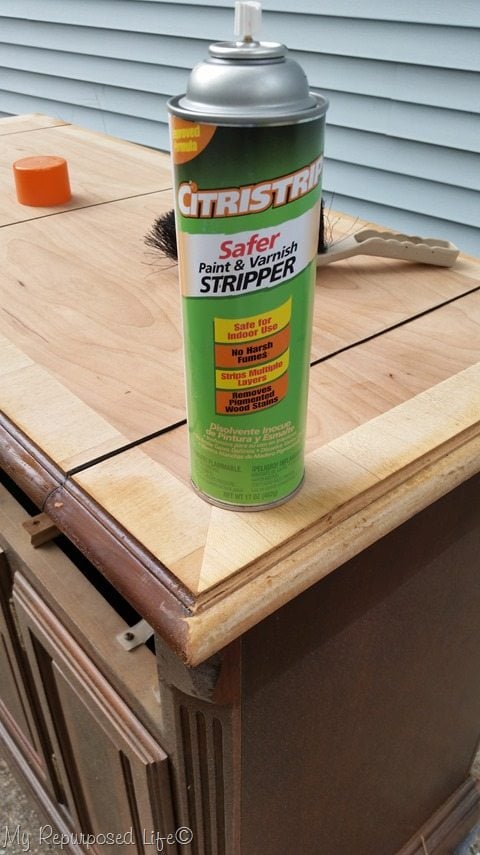 For the edge of the top, I used Citristrip Paint and Varnish Stripper. (affiliate link) I ordered this off of Amazon months ago to keep on hand. This was the first time I’ve had an opportunity to try it out. I must say I was impressed with the ease of it. Granted—nothing works like it did 30 years ago before they made things safer for our mother earth.
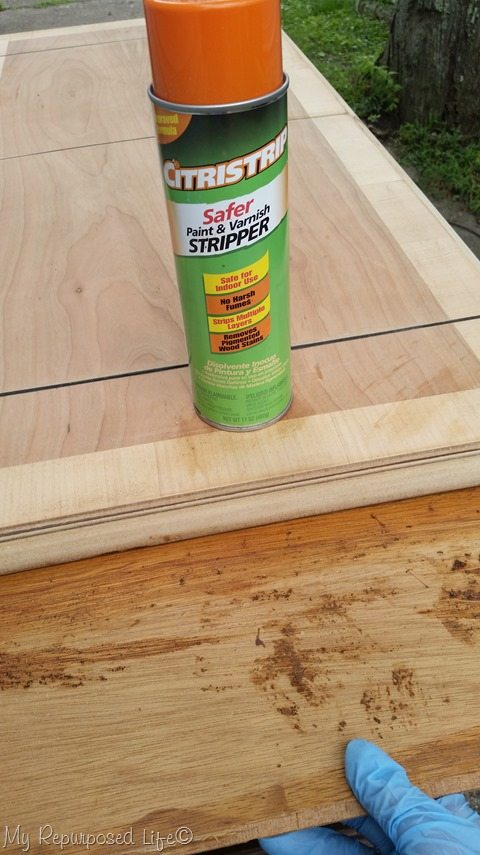 I used a scrap piece of thin plywood to hold under the edge while using a plastic scraper to remove the old finish. I sort of used it as a dustpan to catch and scrape the yuck.
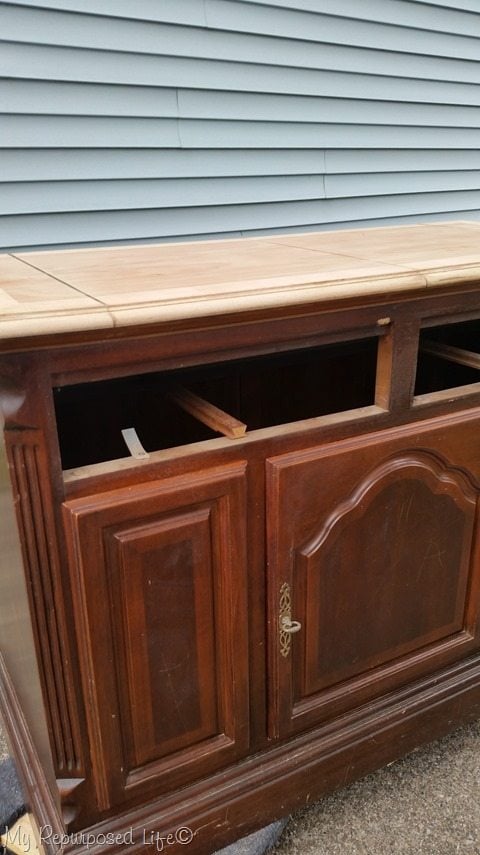 Here’s a snapshot of how nice the top of the coffee station looks. Notice the door and panels below. I see that they too have that inlay pattern on them.
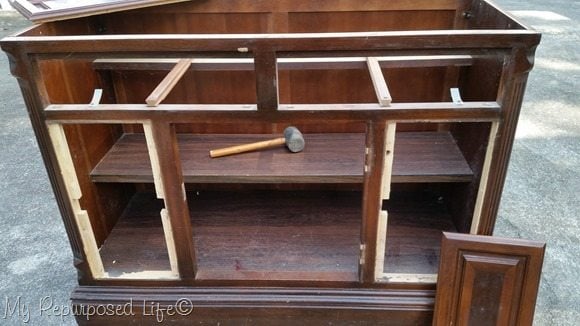 In a moment – on a whim – I decided to strip all of the front pieces, including the drawer fronts, the middle door and the two side panels. See the rubber mallet? Yep, it was very handy for removing those panels on the left and right sides.
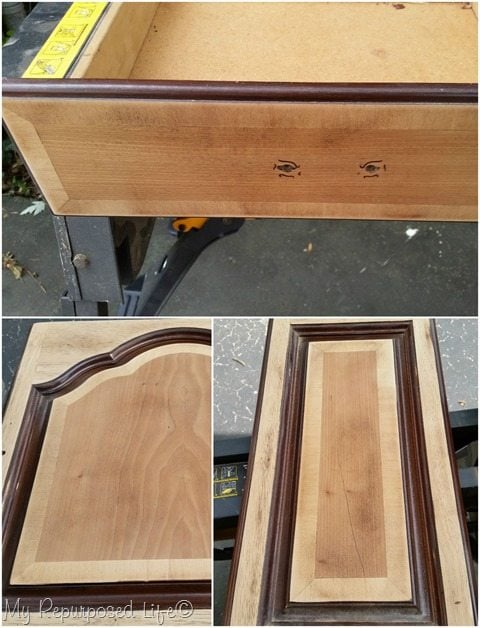 I used the sander to remove the finish off of all the flat portions, and the Citristrip to remove the finish on the trim parts.
Remove fabric from silverware drawer
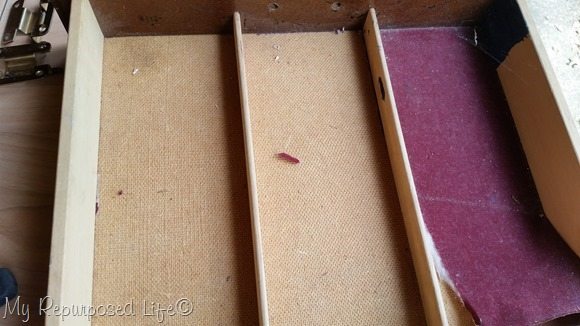 I removed the drawer lining from both drawers. There was no saving this stuff. Too SMELLY!
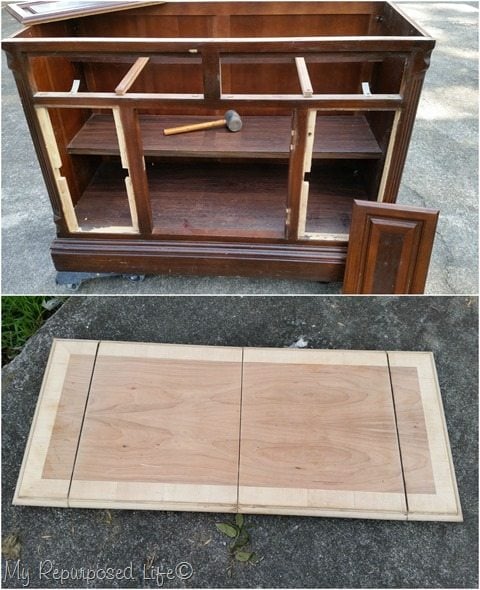 Did you notice in the picture above that the top was missing off the buffet? I decided it would be so much easier to deal with by removing the top. There were only a few “L” brackets holding it on.
Paint in Large Spray Shelter
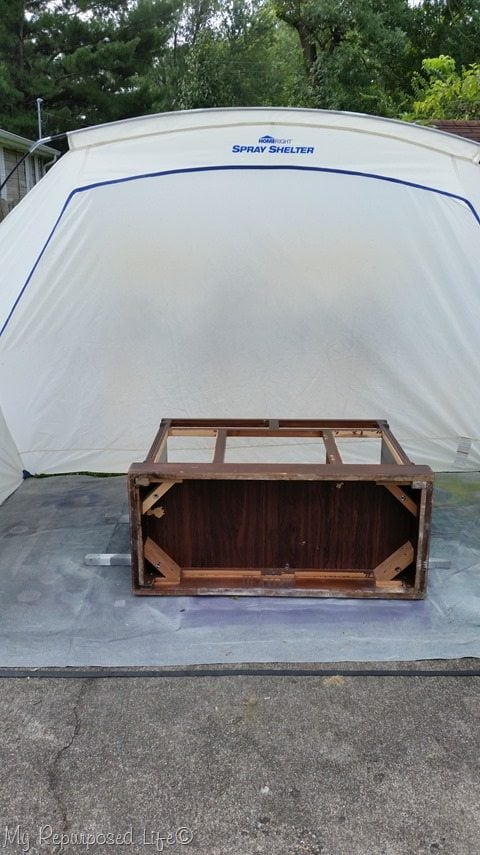 I was hoping that by removing the top it would be lighter in weight. Well, it did help, but it was still very, very heavy. I used furniture dollies to move it around.
Now it’s time to give this coffee station a new look with help from my good friends at Homeright!
Use a Finish Max
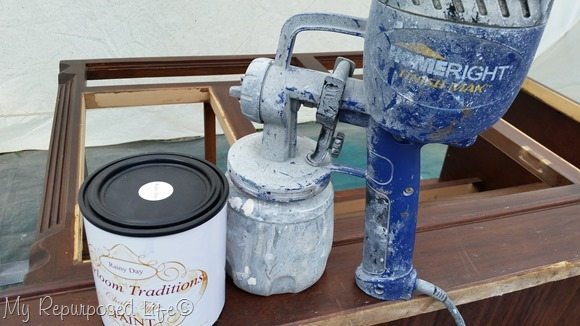 Did you know you can use many paints in your Homeright Finish Max, including chalk and chalk type paint from Heirloom Traditions Paint.
I went with Rainy Day. I always paint the bottom of my furniture pieces. Back in the day I didn’t and it was really embarrassing when someone would load a piece in their car, and the underside was dirty and ugly.
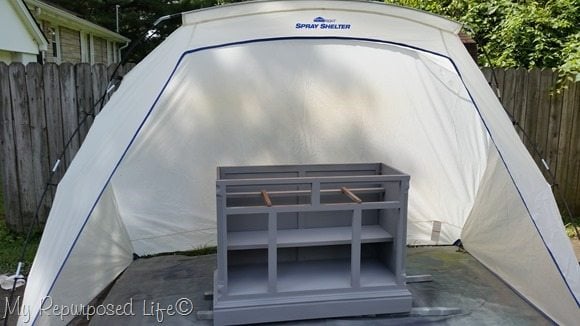 After painting the bottom, I set it up on some scrap 2×2’s so that I could get a nice finish around the bottom of the old buffet. I’m loving it’s new look! You can see that it was pretty easy to paint the inside of this piece with the Finish Max because I took the top off. I recommend you doing that whenever you can. Take a few extra steps to get a good finish on your projects. You’ll be happy you did.
You may notice that I didn’t paint the drawer guides. That’s easy to do with the Finish Max’s lack of overspray. Other sprayers can’t do that. You can also see that there is very little paint on the inside of my Homeright spray shelter, and I’ve used is a LOT!
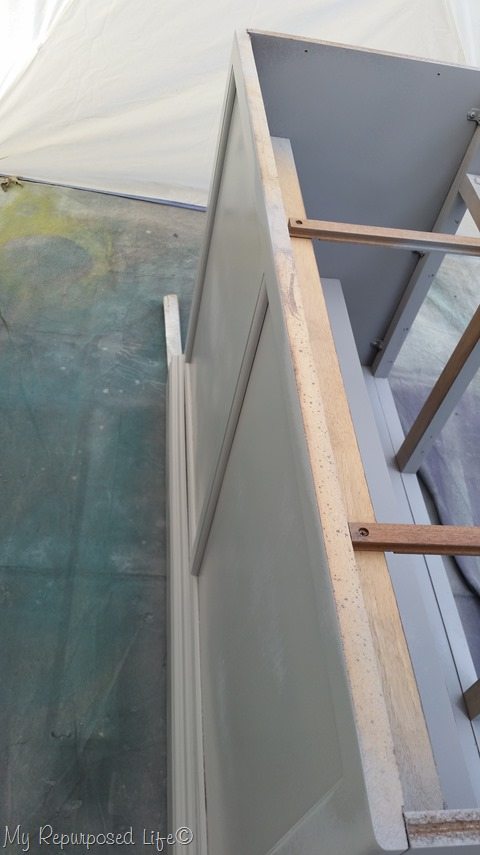 See? no over spray where I don’t want it.
Stain refinished wood
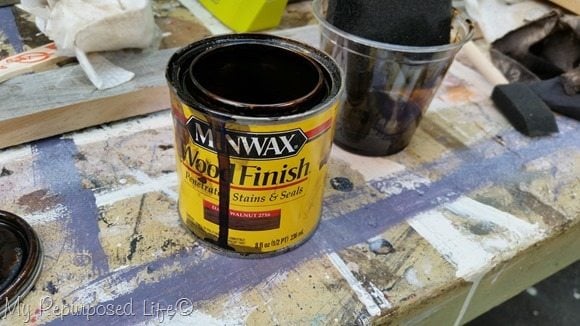 I stained all of the doors, drawers and the top with Minwax Dark Walnut.
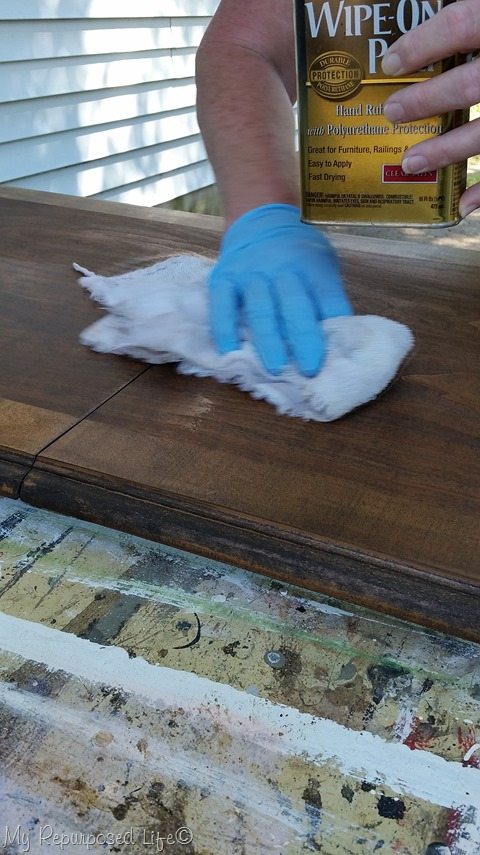 I used some wipe-on poly for all the stained pieces.
Paint hinges
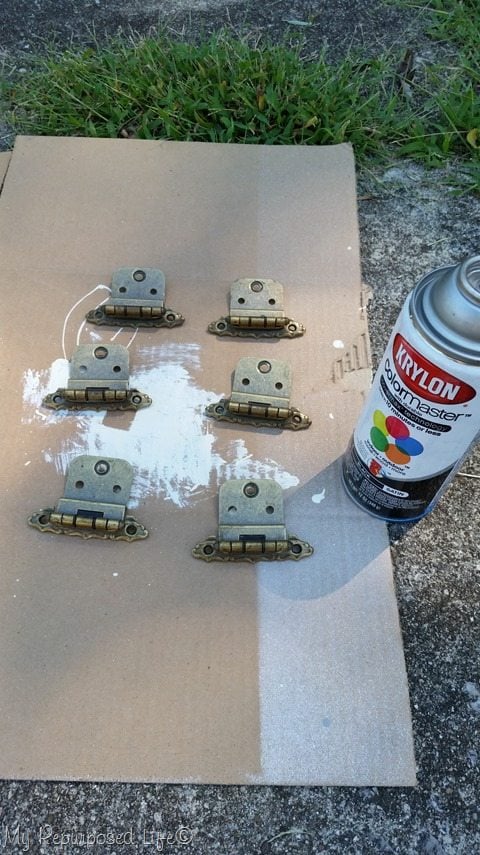 The hinges and the other hardware were spray painted with Krylon black satin.
The chalk type paint is very flat, so it needs to be sealed somehow. I brushed on a poly sealer with a chip brush.
Repurposed buffet into Coffee Station
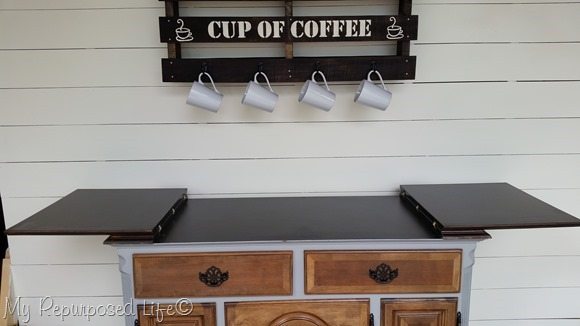 I cleaned the inside (top) so many times. For awhile I thought I may have to paint it, but I finally got it to look good!
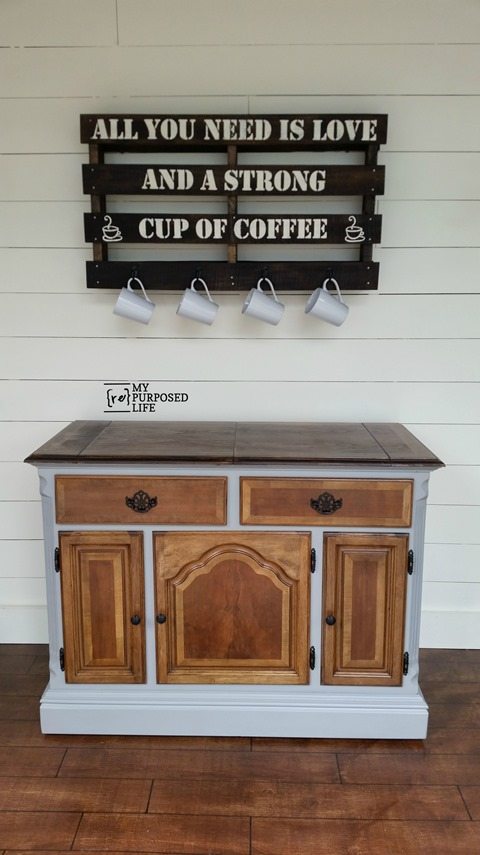 Oh my! Isn’t the coffee station gorgeous? I’m not a fan of refinishing furniture—it’s a LOT of work. However, I’m loving the look of this two toned piece!
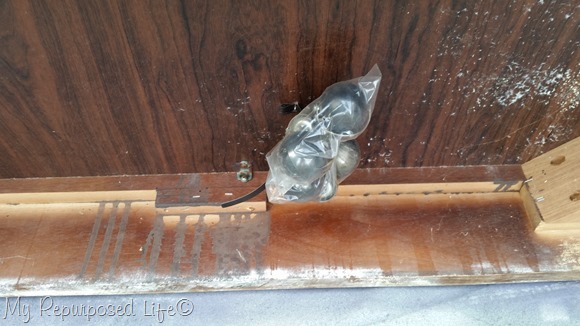 ohhh, I forgot to tell you something. When I tipped the buffet back to paint the underneath side, look what I found! It has wheels! How exciting is that! So, when you see the rest of the pictures, you’ll notice that it’s just barely off the floor.
Coffee Station with so much storage!
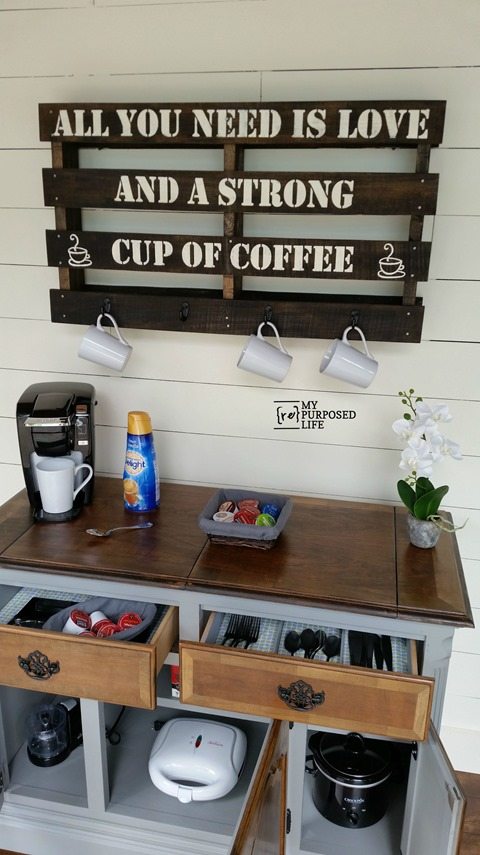 This repurposed buffet is so roomy, and very versatile. It’s great as a coffee station, but offers tons of storage. If the new owner added some hooks and or towel bars to the side, it would make an awesome kitchen island.
I painted the inside of the drawers and lined them with some cute drawer liner.
Have you noticed the extra steps I went to yet? How observant have you been?
There was one original door in the middle, and remember…. the left and right were panels . . . I made them into workable doors, for easy access! Did you catch that along the way?

Look at that paint finish! It’s flawless. I wish it had been easy all the way around, but at least the painting was a breeze with my Homeright Finish Max! Thank you Homeright for making my projects go smoother!
Did you see the pallet coffee cup rack tutorial I posted yesterday? It is my first pallet project, and I showed you how to do contact paper stenciling that will change the way you make signs if you use a vinyl cutting machine.
How to stage furniture for sale
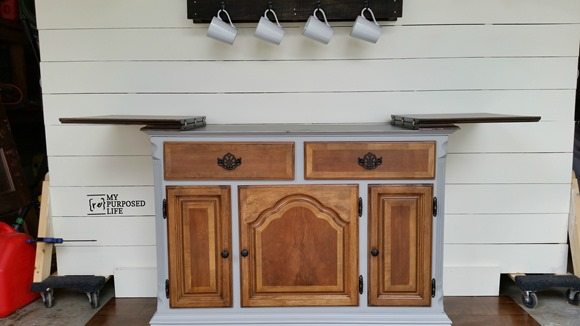 Are you ready for one more tiny secret? If you’re new here, you probably don’t know that this coffee station is set up in a garage with a fake wall and a fake floor I made for photographing projects.
What’s your favorite part of this repurposed buffet? Would you use it in your kitchen as a coffee station or an island? Maybe for some other purpose? do tell!
gail
sharing here:
DIY Sunday Showcase
disclaimer: I am so happy to be a Homeright brand ambassador. They supply me with great products and compensate me for my time. All thoughts, opinions and projects come from my own little head! I know—sometimes I surprise myself!


Thank you , thank you, thank you – for your wonderful website. As ‘a do it your selfer ‘ with only very basic and minimal tools I have a few unfinished jobs because I have got lost along the way and unsure how to complete what is in my imagination. Your very clear photographs and easy descriptive style makes everything so much more achievable.!
Cheers
Chris ( Western Australia)
so happy you found My Repurposed Life. I hope you find a lot of ideas to inspire you. I’m always here if you ever have any questions.
gail
i never knew there are spray tents out there! i love the new ‘doors’ on the piece and how the top unfolds! what a wonderful idea to paint the bottom of your pieces! makes saying goodbye as it’s loaded so much more pleasing!
Nice redo Gail and great tutorial, I remember the posts on the wall and floor those posts were great too… and really want , have to create my own…. My question is how are you hanging heavy stuff on that wall without having to mar it up with a bunch of holes every where? Are you just placing them between the boards to hide them or what, Do tell!
That’s a great question Brenda!
With the planked side, it’s a little easier. If you look closely at the first picture in this post, you will see that I have 2 screws (in studs) in between the horizontal boards. I’ve yet to secure a screw into the underlayment board…only between the cracks.
On the gray side, I do currently have 2 holes. One is generally in use for a photo shoot. If it’s the higher screw hole, you can’t see the one below, because it’s hidden by the project. If it’s the lower hole, I take the picture keeping the higher hole out of the shot.
I hope that helps explain everything a little better. Today, I staged the same project two different ways–one on the gray side, and then turned the wall around and did the same shoot (staged differently) with the plank wall.
I am so glad I built that portable wall!!! It sure is a lot better than hanging stuff on the fence each time.
Thanks for inquiring about how I do that!
gail
I am so excited to see this post! by happenstance I am refinishing almost the exact same piece of furniture into a kitchen island. Ours is the bottom half of a buffet and hutch set. It was given to us because someone shot a bullet hole through the hutch!! (yes weird I know) but the buffet is in pristine condition. I love seeing your ideas and how well you refinished this. It gave me confidence. The back of our piece was not finished so we had to put beadboord on the back.
I do have a question…Were all three door fronts originally hinged or did you add the hinges to the doors on the left and right? OUrs has a solid panel in the middle and I have been contemplating taking it out and making it open.
Beautiful job!! I would buy that in a NY minute.
Nicely done! I like the different wood tones and am a big fan of the wood/paint combo. You’ve sold me on the Homeright sprayer and shelter!
Carol,
Thanks so much for your comment. I spent the afternoon doing a painting marathon with my Finish Max! Lots of projects in the works for my upcoming craft show (in October)
gail
This looks fantastic! I have a similar hand-me-down piece from my parents that I have never quite figured out how to redo to give it a semi-current look. Love your redo! Thanks for sharing!
Gail…I LOVE this project and I can’t believe how beautiful the wood was underneath all that damaged exterior. You really are brave because I’m not sure I would have seen the potential beauty in that buffet. Super project & thanks for sharing your knowledge…I always learn someting new when I read your posts:)!
amazing love it great job!!!
You are amazing.
Enough said.
What a wonderful transformation. 🙂
Happy day friend!
karianne
That is awesome! (To use an outdated phrase…) My daughter would love the sign.
It’s wonderful!!
He he he, I’m not the only one who uses bleach and bathroom cleaners for unusual things! It looks really great. I feel like I need one of those little tents. 🙂
Thanks so much for stopping by and taking the time to leave a comment. 🙂 Hey…. sometimes we gotta bring out the big guns, right?
gail
What a beautiful eye catching ~ conversation piece you have created. I have a few pieces of ‘old’ furniture that I would like to try my hand at restoring with some new interesting changes. I’d like to start with a chest of drawers from a neighbor. My lack of motivation is the slight odor that still lingers after many attempts to get rid of it. I’m all for trying the bathroom foam cleaner, but would appreciate your directions on the process. Thank you for any helpful tips.
Mary Lou,
This piece was in such bad shape, I really had nothing to lose, so I just sprayed it on, let it for about 30 seconds, then wiped it off. I recommend trying a small area as a test.
good luck!
gail
Thank you all for the very sweet comments about this well-loved piece of furniture. It’s such a good feeling to renew something so worn out.
I appreciate you all stopping by and taking the time to leave such sweet comments.
gail
Absolutely beautiful…….anybody else would have trashed it. You do unbelievable work!
Wow. This is just gorgeous! Holy cow what a transformation, I LOVE the two toned look, and you are so sneaky and smart to make the panels into doors! I didn’t catch it, I am too tired :), but I am so glad you called it to my attention…brilliant! You knocked this out of the park Gail!
Wow! What a beauty and so well worth all the extra effort. I’m so happy to see that you left the natural top and doors. Love the transformation, Gail. Thanks so much for inspiring us at Vintage Inspiration Party.
Absolutely beautiful! I love the wood grain that came through when you stripped it. What a wonderful contrast to the paint you chose.
Gail, I desparately need one of these. Can you please make one for me.
Robin
Thanks for all you do for MRL Robin! 🙂
my word gail you knocked this one way out of the park gorgeous just gorgeous xx
Gail, I think you did a great job and well worth the effort. It looks stunning. I found a Campaign chest at Habitat I plan to make into my coffee station. My problem is I don’t have the vision you do to see it finished and therefore am afraid to begin. 🙂 I then get ahead of myself and think, Oh, I need to paint my kitchen and cabinets first and then choose a color to paint the cabinet. Isn’t that silly. I did purchase a HomeRight spray painter because of your recommendations and look forward to using it. Thanks for all the great ideas.
Kathy,
It sounds like you’re making things more difficult than they need to be! It’s just paint! I’m glad you found something to repurpose into your coffee station. If you get it in the kitchen, maybe all the rest will fall into place. 🙂
gail
This piece of furniture has great bones although they had been broken. I am so glad you did what you did to bring it back to life! You worked hard and it shows! I like what you suggested to use it as, a coffee station. If you use it as an island, the “flaps” will be in the way. It is an excellent piece!!!
Hi Gail; once again you did it. fab. I would use it as an island probably if I had the room for one. I would love to redo furniture and transfer signs w/a projector but don’t know how to use comp. that good to download graphics. I have to find someone to show me. I did a piece , I didn’t do all the steps you did; I lightly sanded, painted and free hand painted flowers. people ask me if I uced a stencil which I didn’t. someday i’ll take a picture and send to you. I can do that. ha ha.
you are great kid; love your work.
phyllis
Wow Gail it is gorgeous! I just finished a very smelly piece myself.. it is a lot of work! I love what you did with the sign too 🙂
This looks wonderful!