Photography Backdrops and Floors
As an Amazon Associate, I earn from qualifying purchases.
Are you looking for ideas for photography backdrops and floors? You’re in the right place!


I wonder—are you impatient like I am? When I get something in my head, I feel the need to get started and see it through immediately. My daughter Jamie is the same way…. I wonder where she gets it? I had this brilliant idea: I needed a new photography backdrop to stage my furniture pieces.
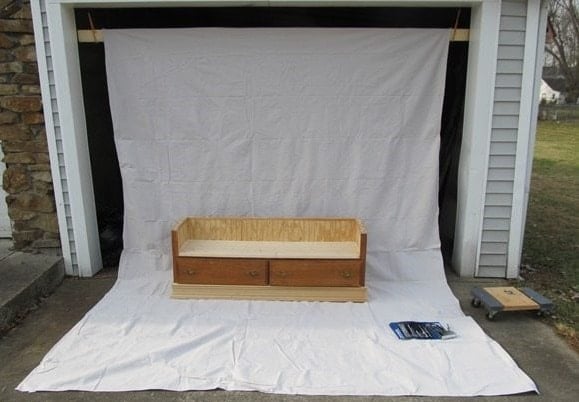
 My friend Catherine gave me the idea to use a drop-cloth backdrop. I’ve been using it for months, and it’s worked well. It worked well to stage my Lego Table, Crib Easel, Bench Dresser, and Painted Wing Chair.
So, I got these ideas for some photography backdrops and floors, but we are in the dead of winter. We had a few lovely days in January, and I ran to Home Depot to buy some 2x4s.
How to make Photography Backdrops
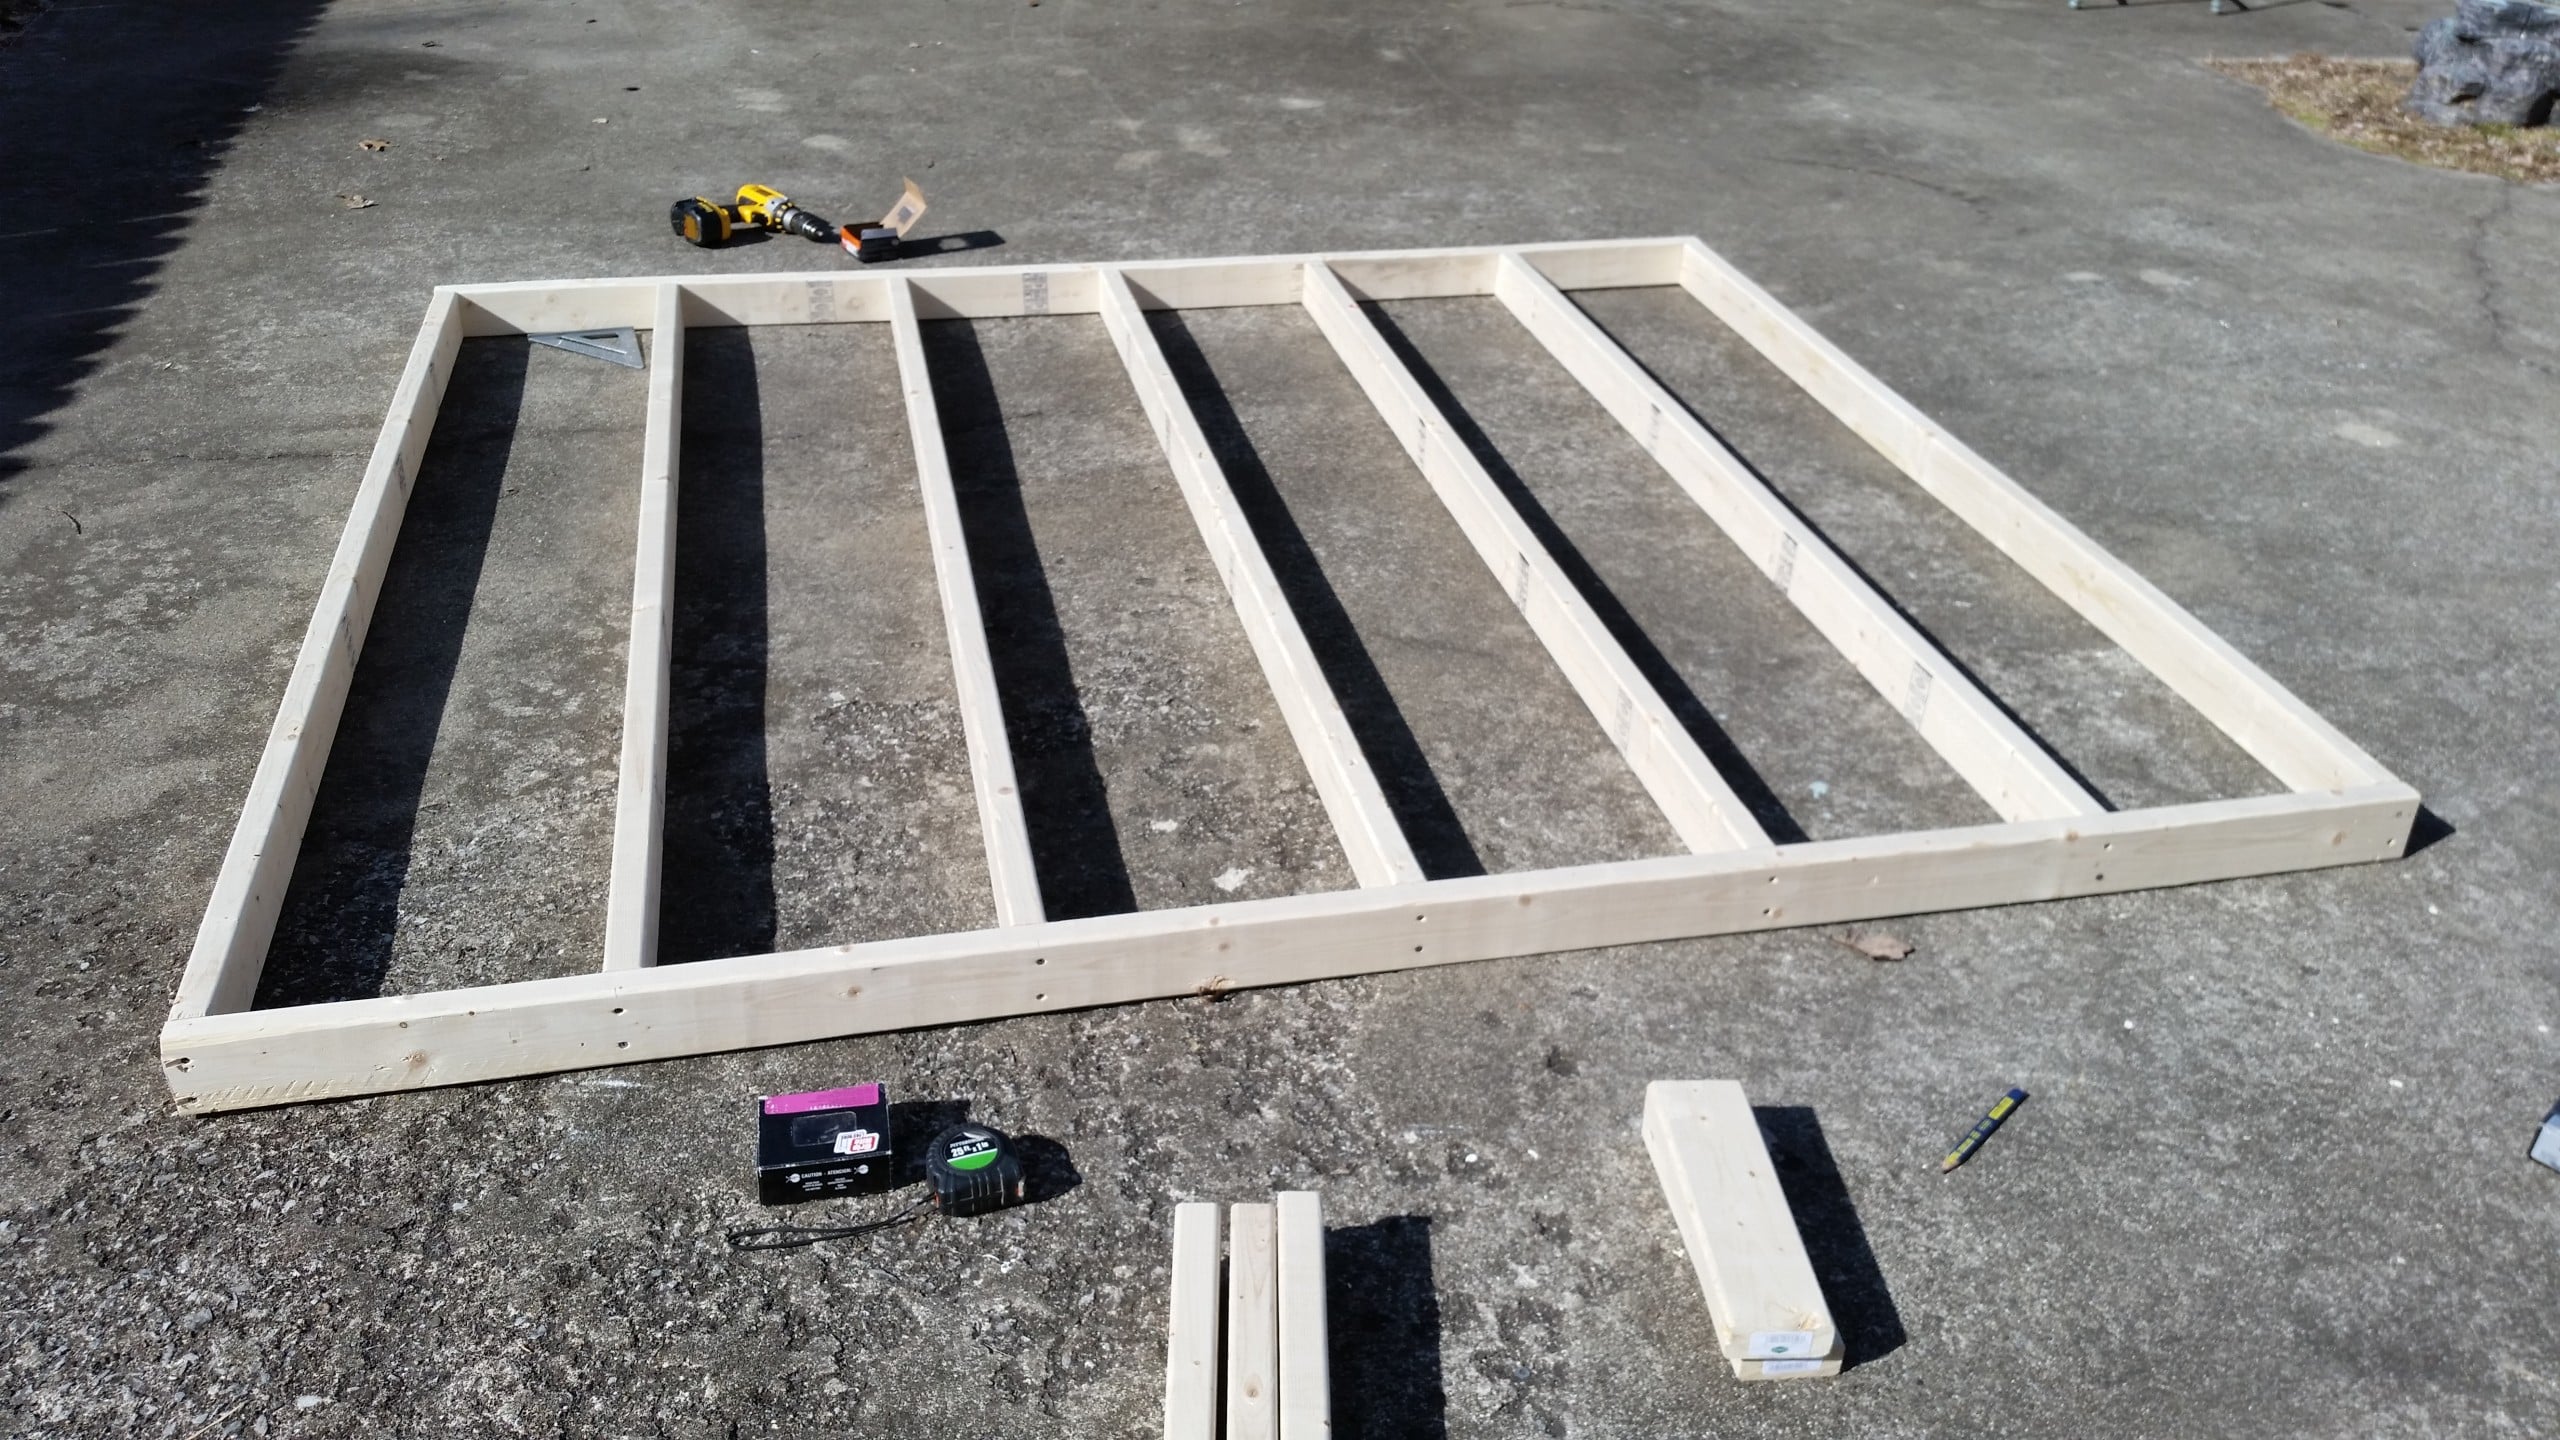
I had never framed a wall before, but it went together quickly. Of course, it would have been easier if I hadn’t had to bend over so much while building it on the ground.
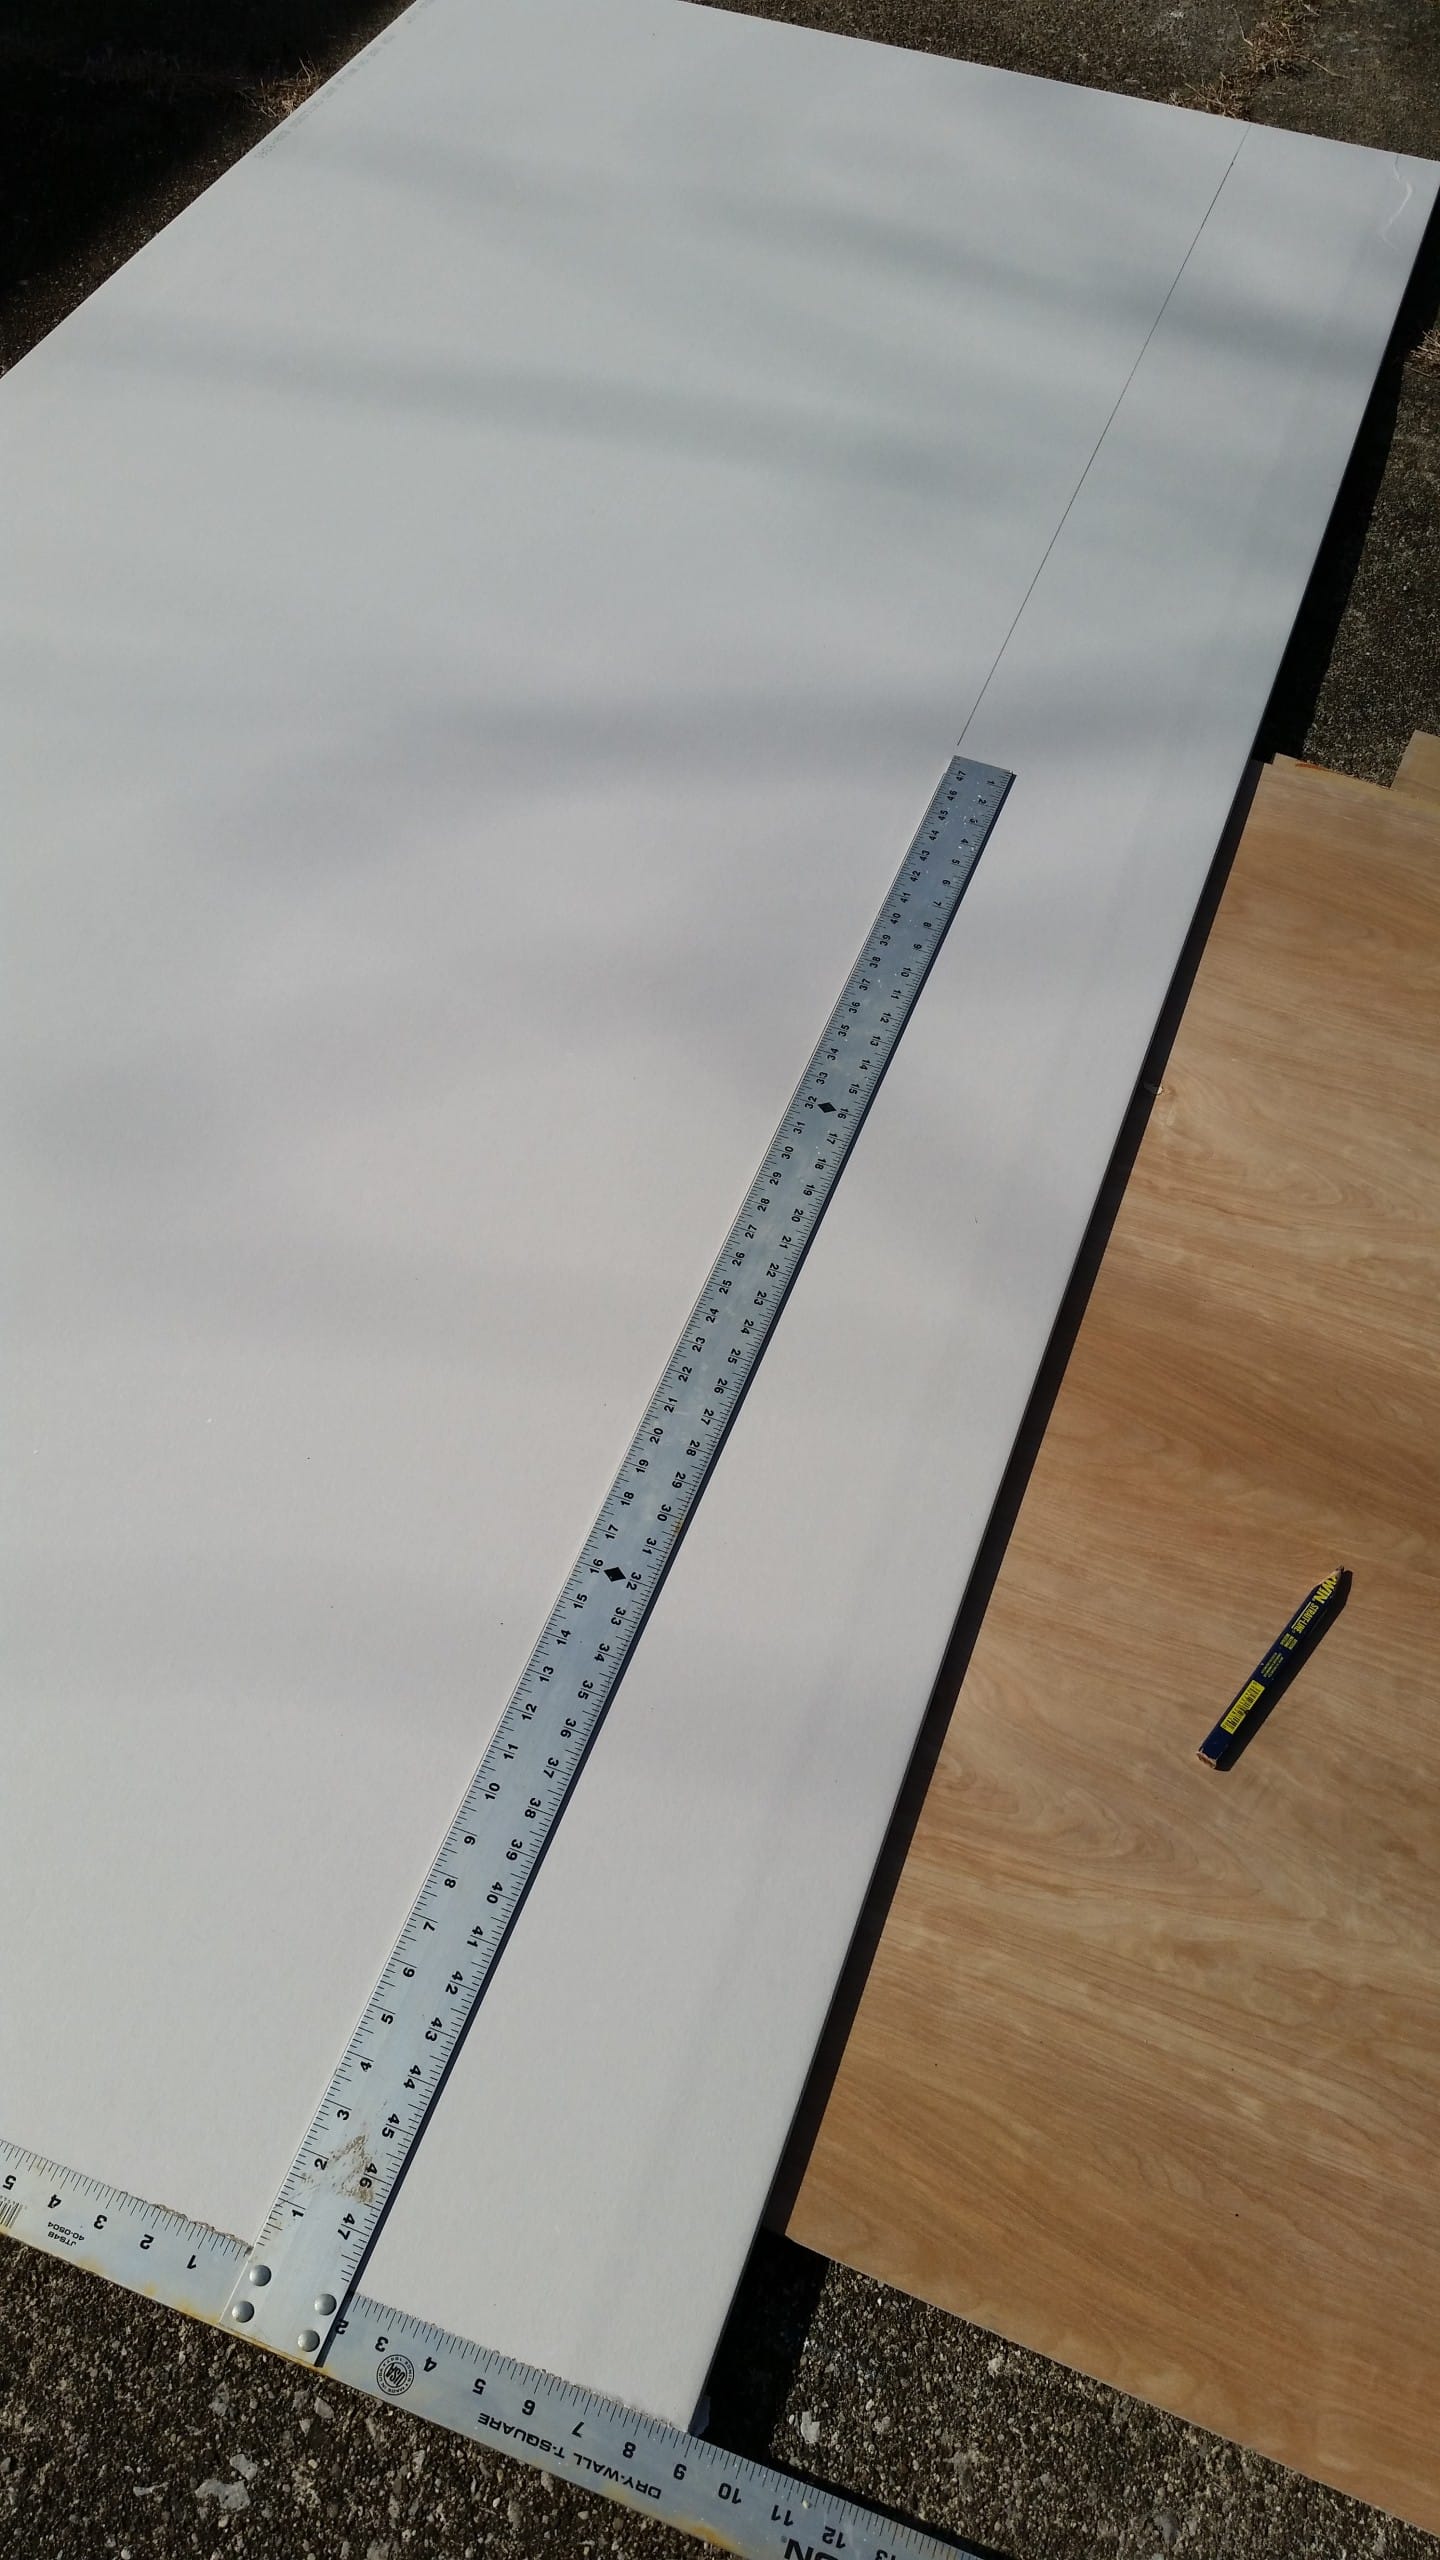
I had to trim one of the pieces of drywall to fit my frame. You will see why in a minute.
Drywall a fake photography backdrop wall

I secured the drywall to the new frame with screws.
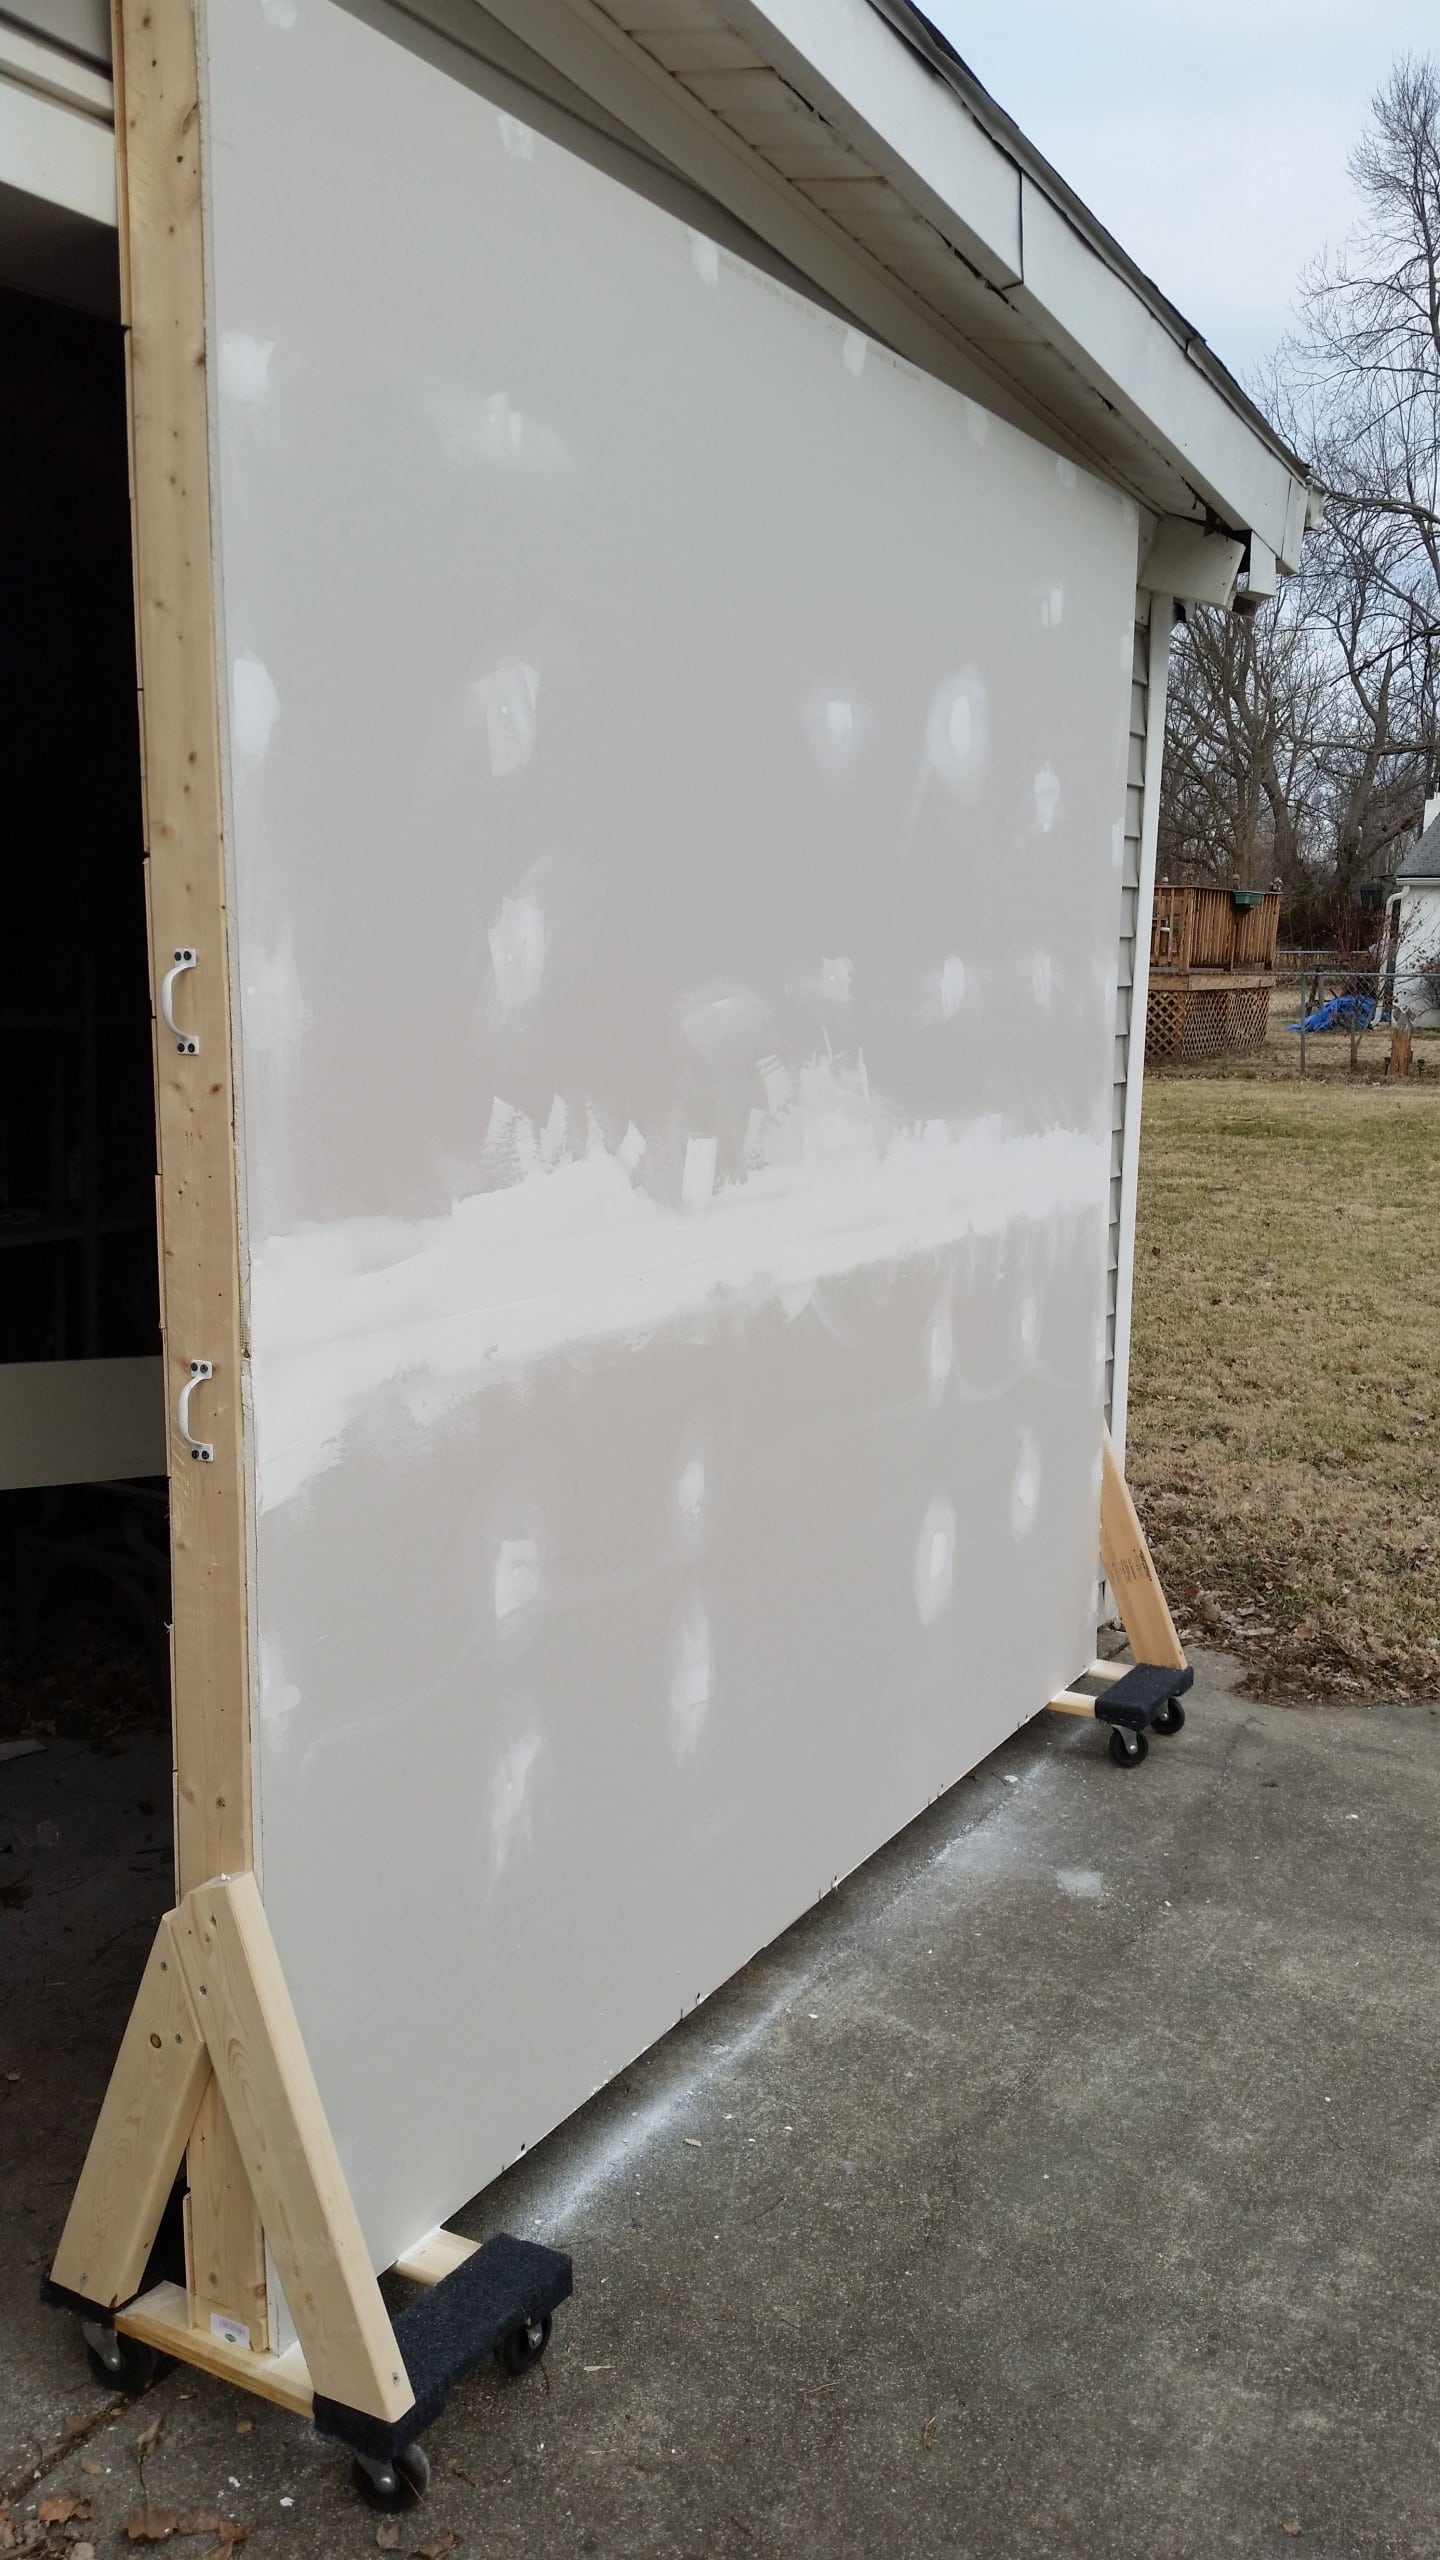
Then, I built the portability of my new wall! I used two small furniture dollies and some 2x4s to allow my wall to be moved around. I put 2 gate handles on each side of the wall to help roll the wall around. This is the carport where I usually paint with my Homeright Finish Max.
I must tell you, like my mom used to say, “Do as I say, not as I do.” My wall is a little tipsy and might be prone to being blown over by a big gust of wind. I recommend using the larger ones if you use furniture dollies to build photography backdrops.
Make a plank wall for photography
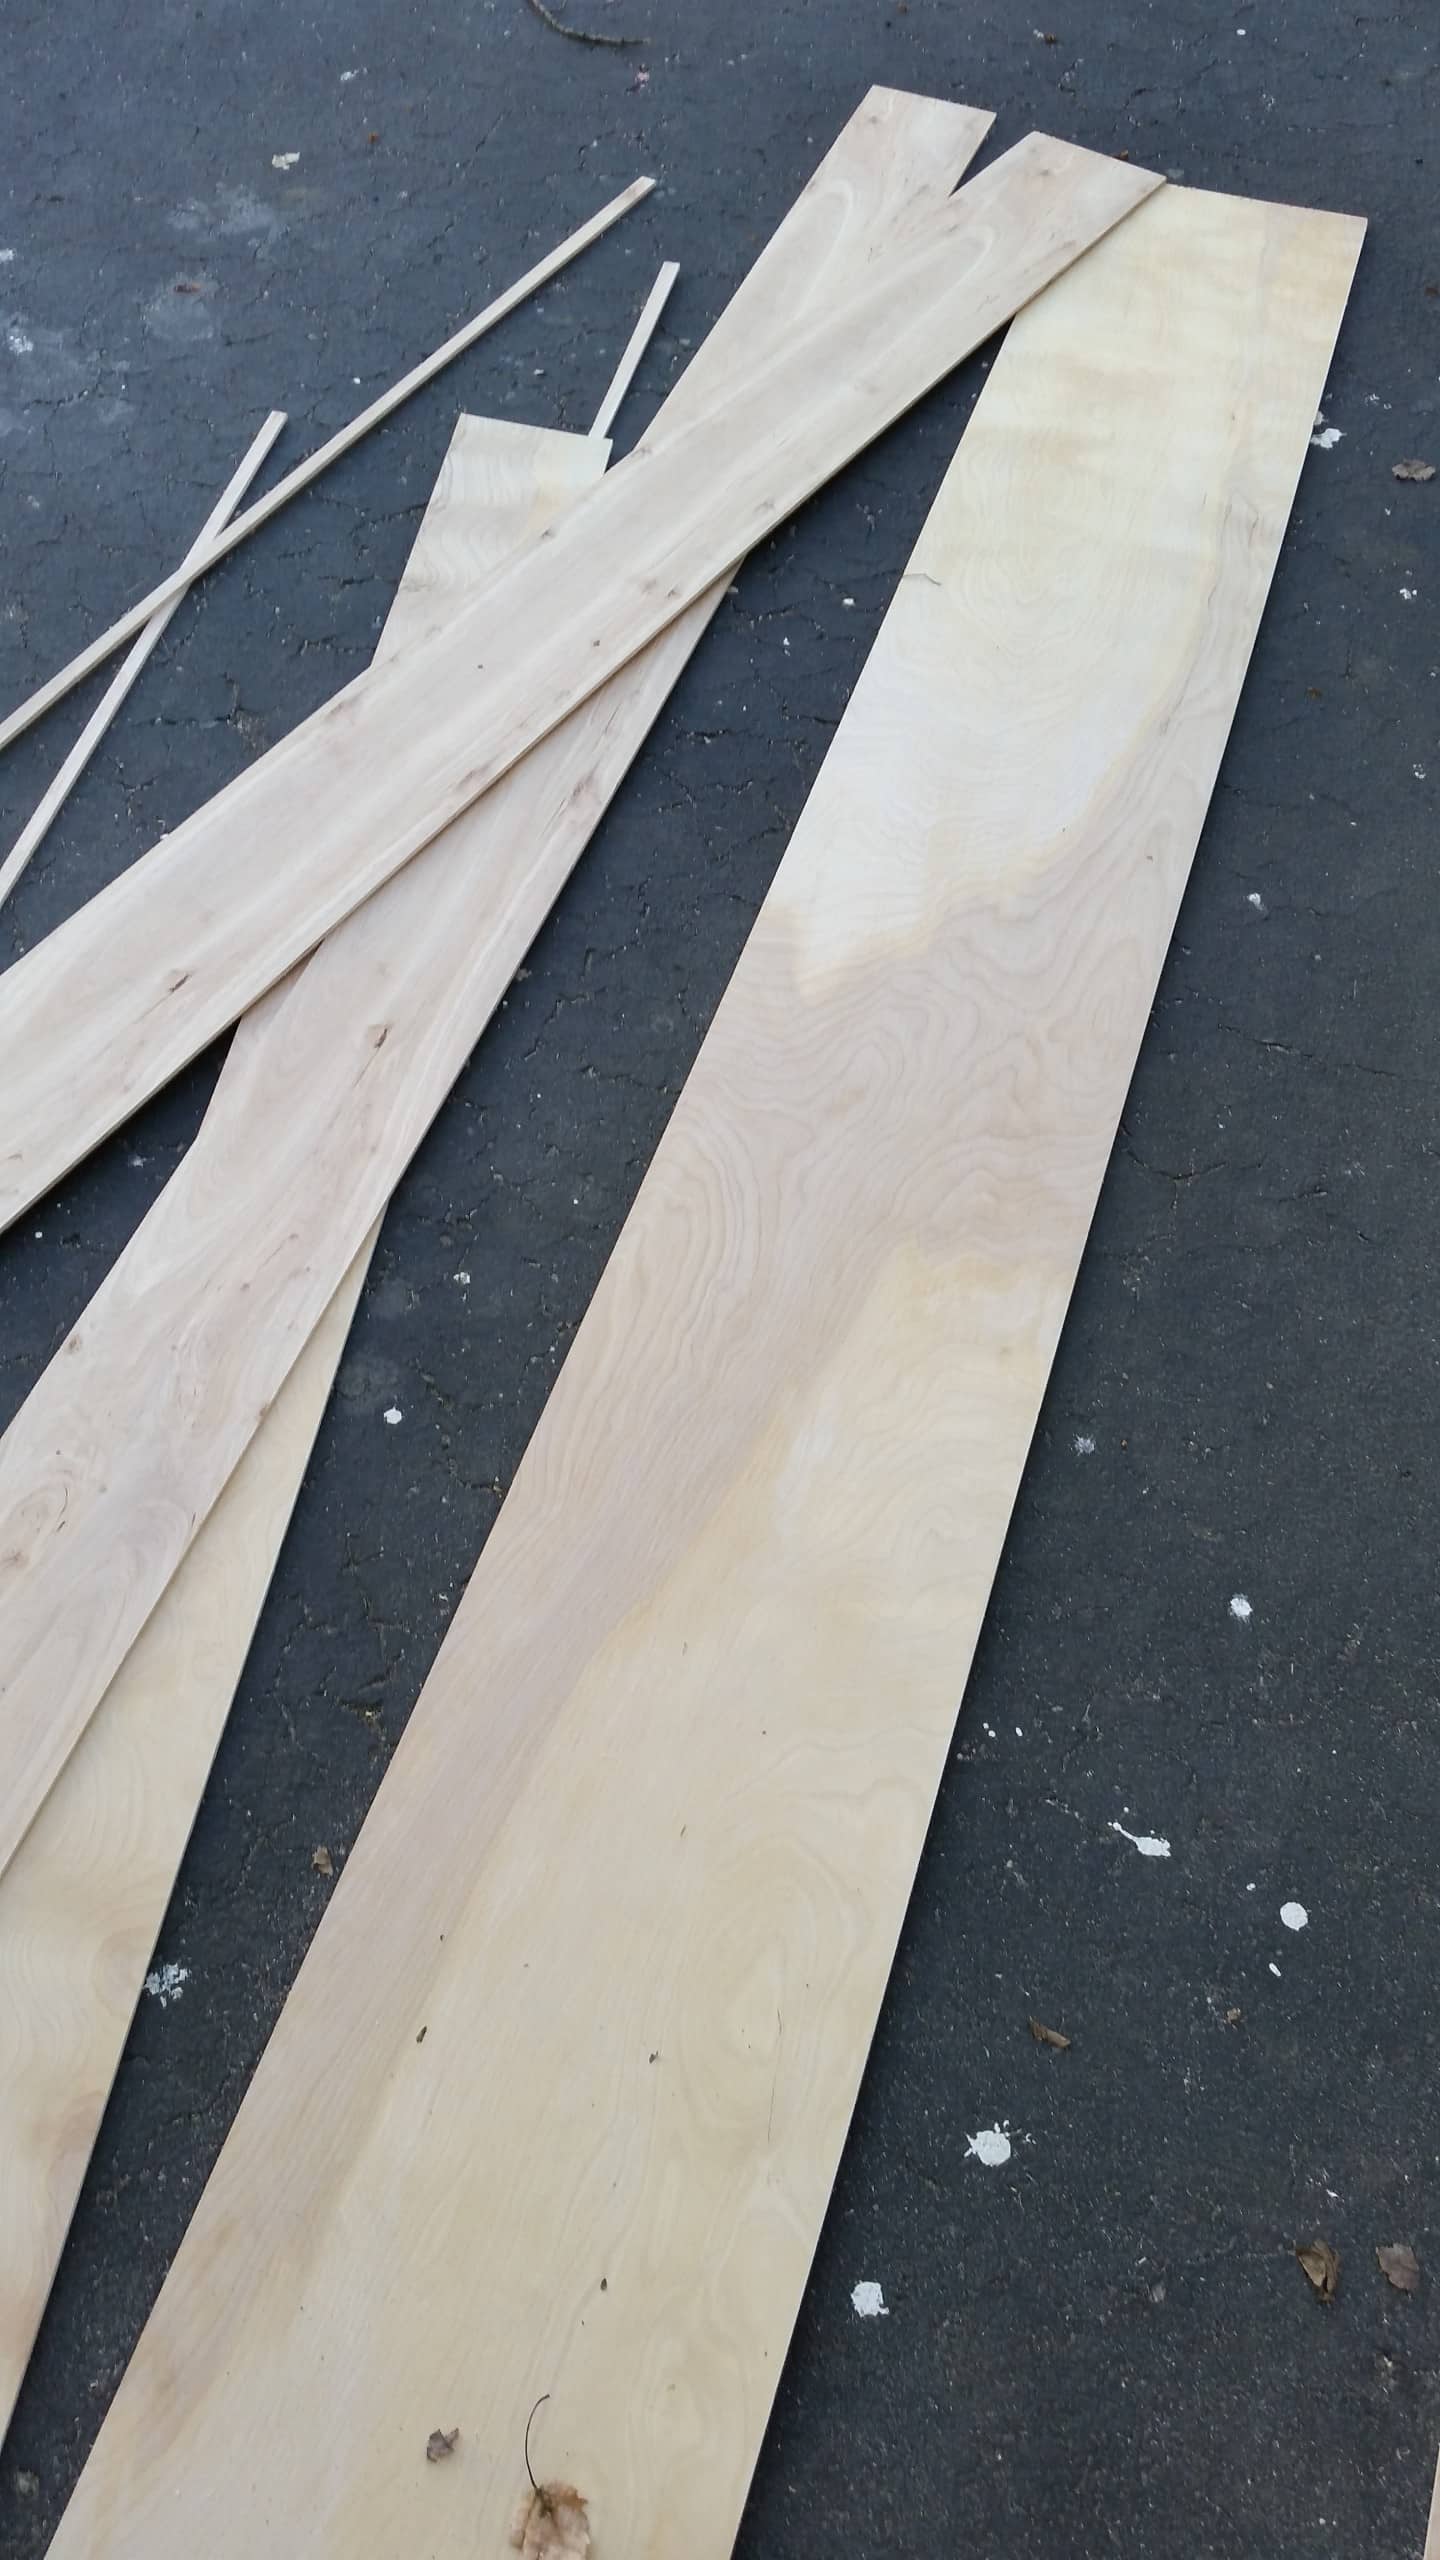
While the drywall mud was drying, I ripped some thin plywood (underlayment) on the table saw. Because a full sheet is difficult for me to handle, I ripped my pieces a little over 12″ in width. (Plank on the right). After I got all my 12″ pieces ripped, I then ripped those in half to be about 6″ wide. (planks on the left).
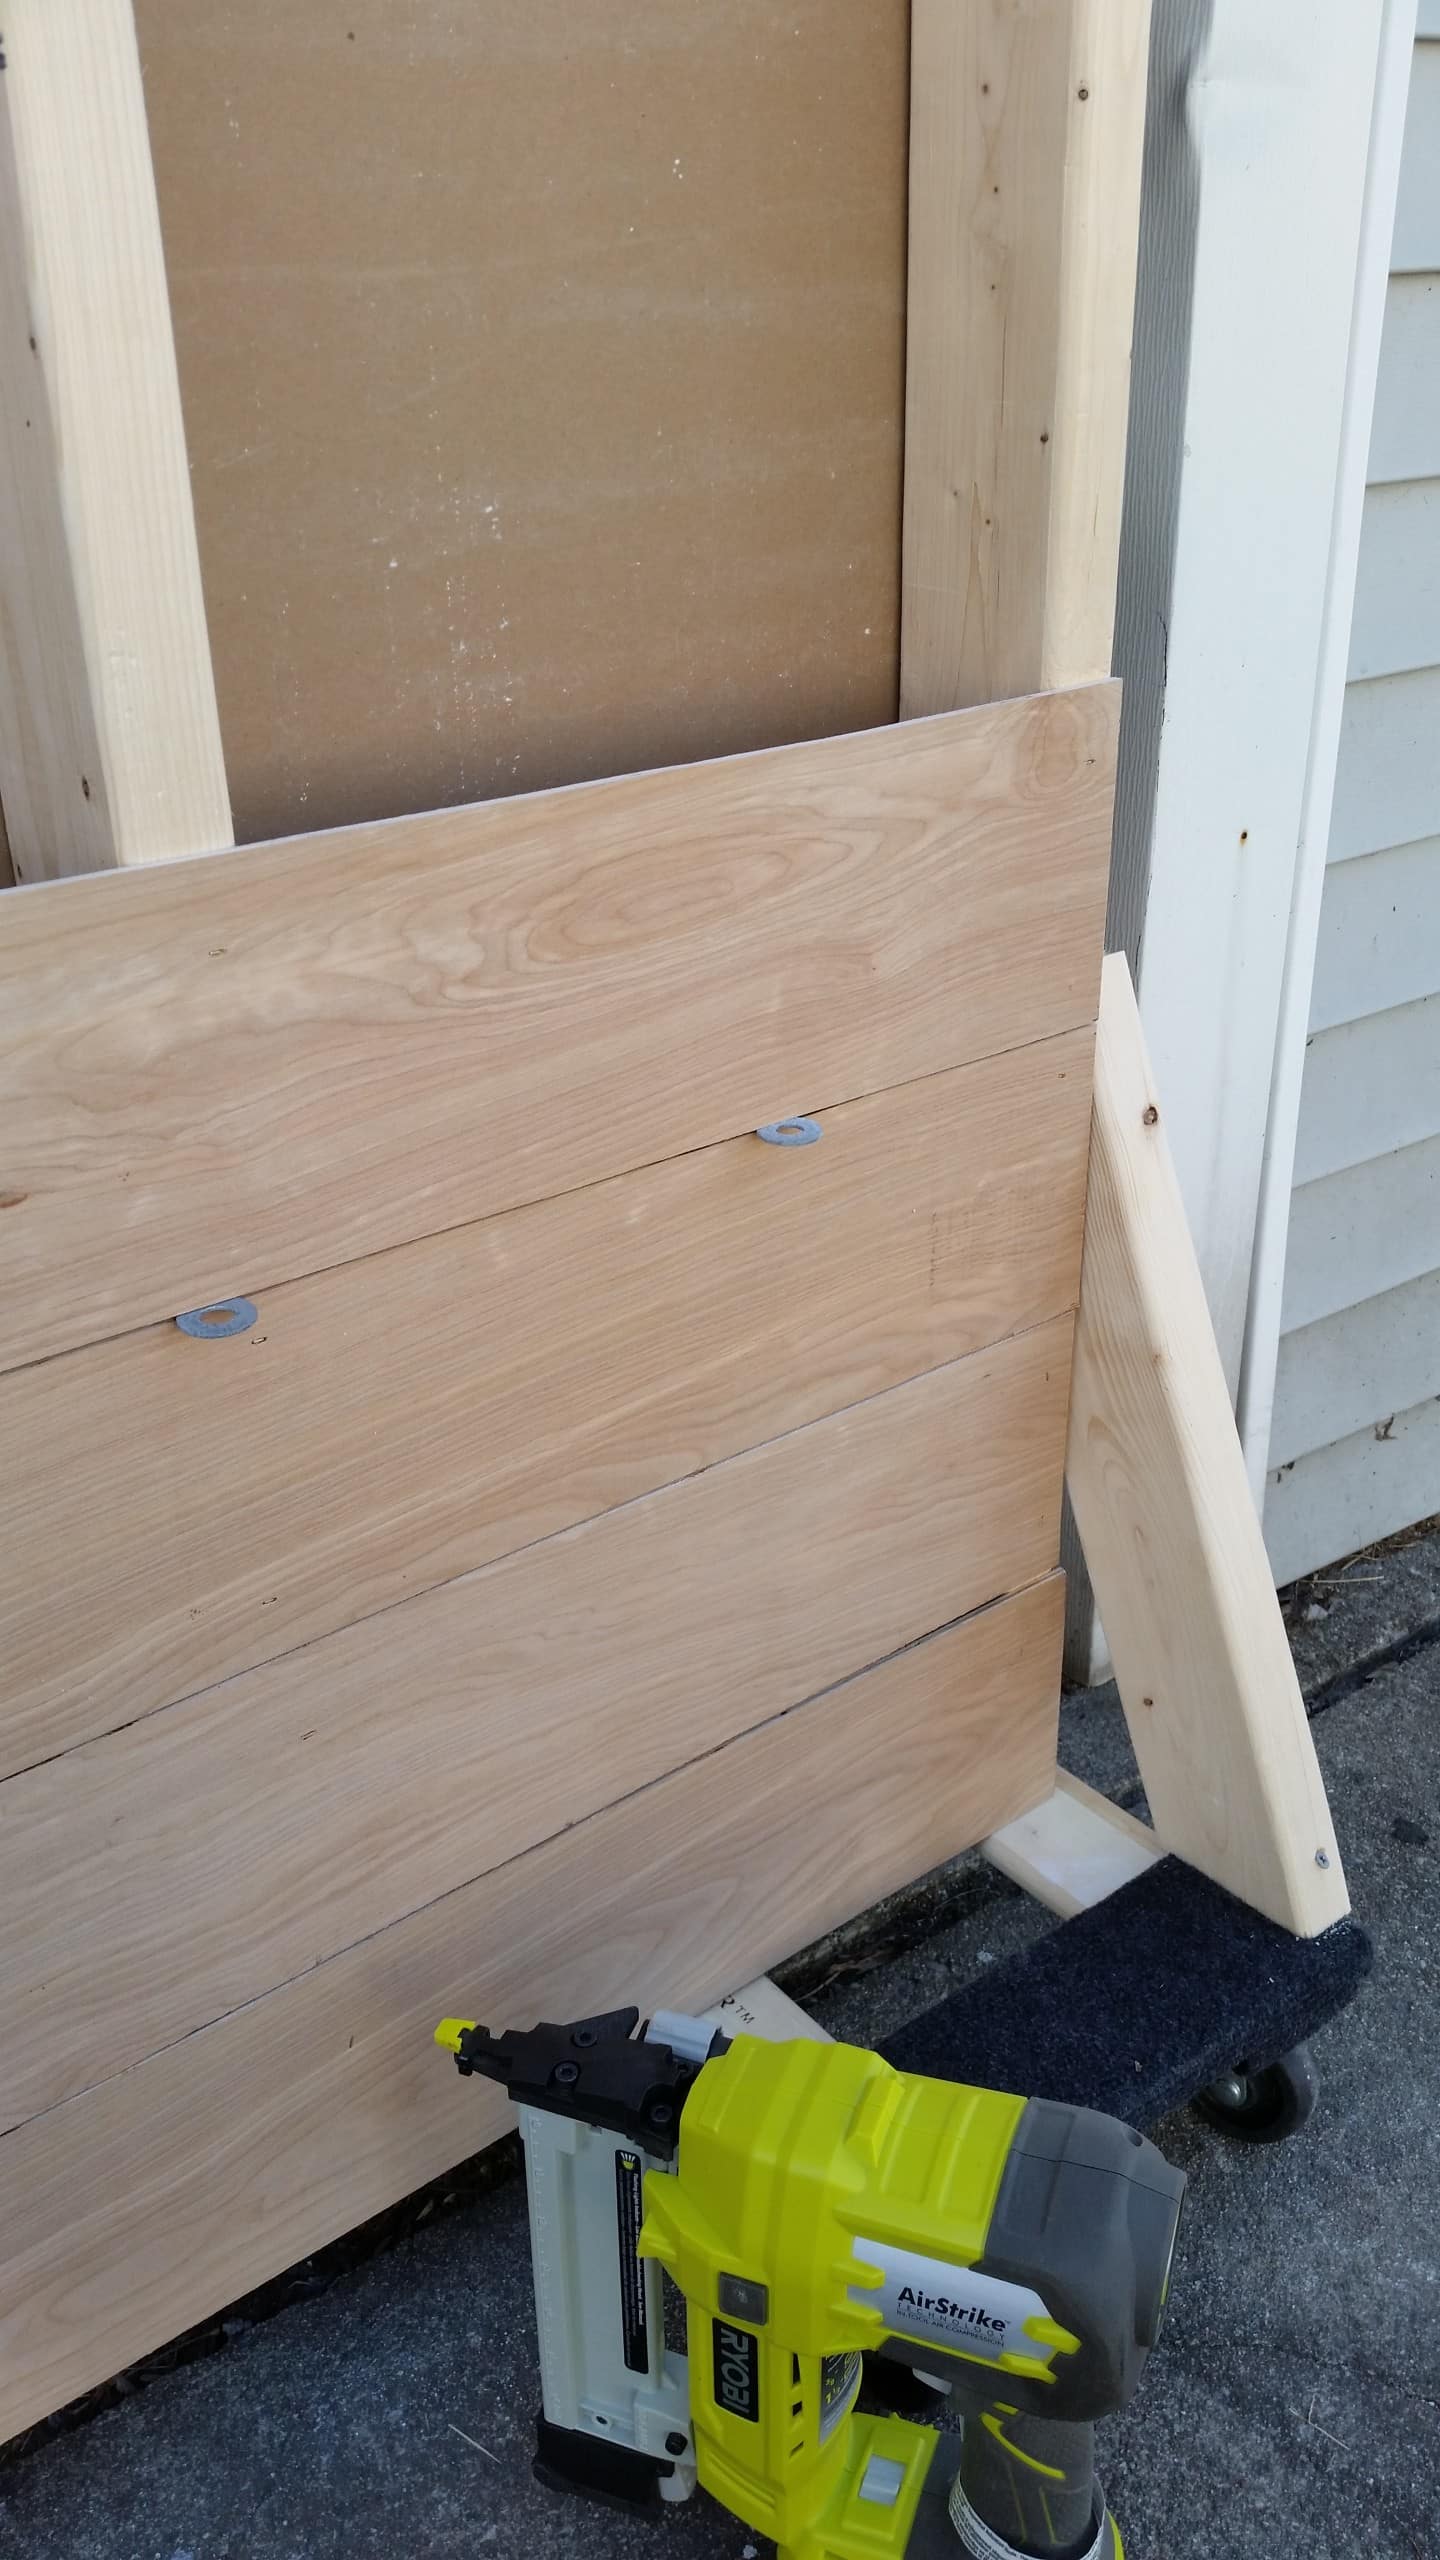
I used washers as spacers and my Ryobi Airstrike Stapler to attach the planks.
Portable Plank Wall Tutorial as a Photography Backdrop
Although I could have made each plank extend the entire wall length, I chose to cross-cut some to look more realistic in pictures. I did follow a pattern, working my way up the wall.
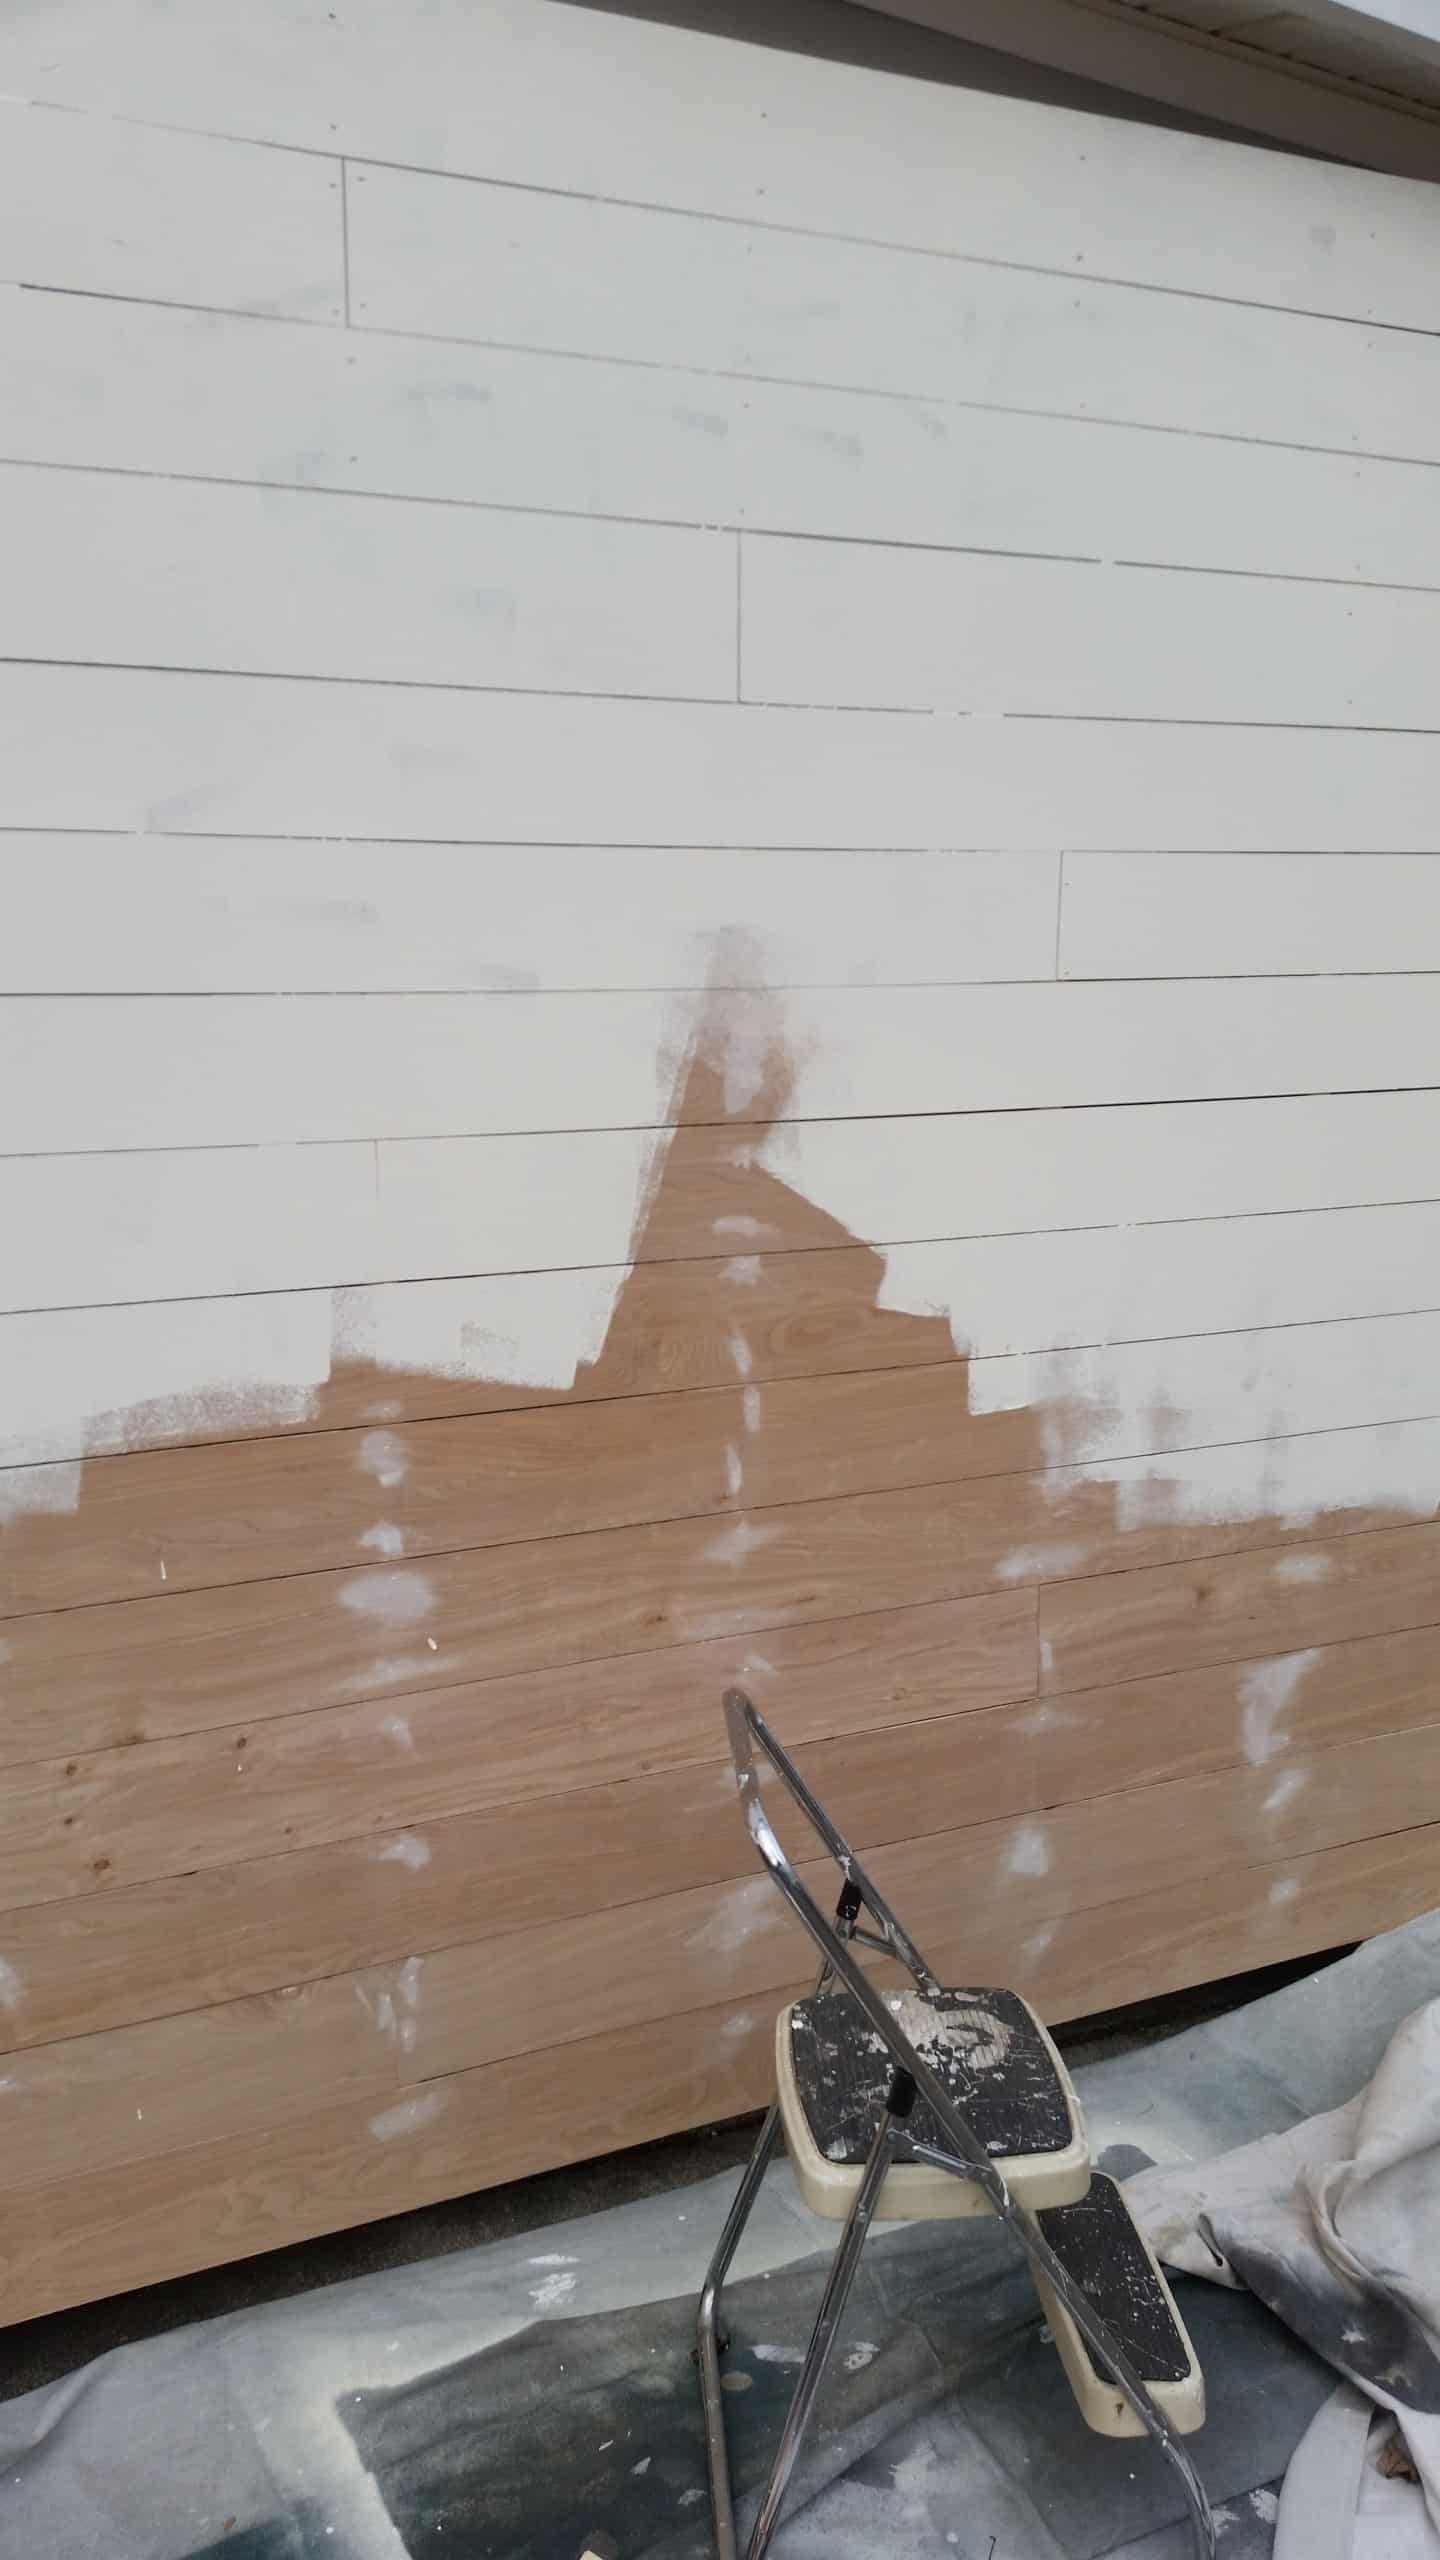
I filled the holes, then used a quick coat of diy chalky paint (as a primer) on my new plank wall photography backdrop. You could stain your plank wall if that’s the look you prefer.

Remember earlier when I told you that I had to trim the drywall? This is why. The garage door clearance is right at 8′. However, these trim boards are more like 7.5 feet from the driveway. I measured many times to ensure this portable wall would be as tall as possible but still clear the boards. Of course, I tested to make sure it really would clear the opening as soon as I got the wall secured to the wheels (dollies)
I do not know what that line is that appears to be on the drywall? Maybe it’s a shadow?
Faux plank wall for photography
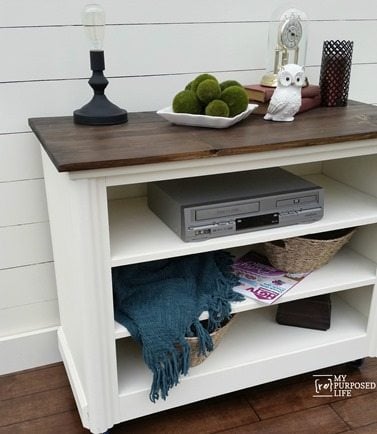
The wall at work allows me to stage this dresser TV stand. You might want to check out the EASY DIY hardwood floor photo backdrop.
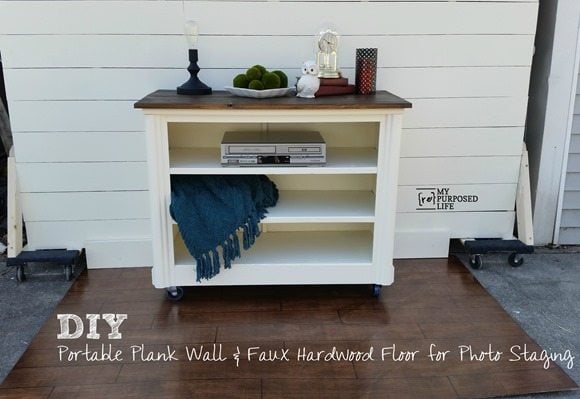
Here’s what it looks like, all set up with the baseboard and the flooring. I’m thrilled that the idea in my head actually became a reality.
The actual width of the wall is 8′; however, the space between the dollies is about 77″, which may cause me to be a little creative with larger pieces.
Even so, it’s considerably taller than the drop-cloth backdrop is.
The drywall side of this portable wall is unfinished due to the snowy winter weather we have been having. I will update this post when it’s finished. In addition, you will see it in use in future projects.
I feel like a little girl at Christmas. I’m so excited to use my new toy!! Could you use your own Photography Backdrops and Floors to stage your “beauty shots”?
gail
Check out Elizabeth & Co. for more great ideas!
Hi Gail! Thanks for such an excellent design. I built the wall for a photo studio with some improvements, like magnetic removable panels. I ran into the too-tall issue during the drywall installation. Overall, it turned out great!
I recorded the build and posted it to YouTube. I linked the notes and in-video to your post here. I hope you don’t mind. You can see it here:
https://www.youtube.com/watch?v=h0Hlz-J7GBg