Colorful Glittered Pine Cones
As an Amazon Associate, I earn from qualifying purchases.
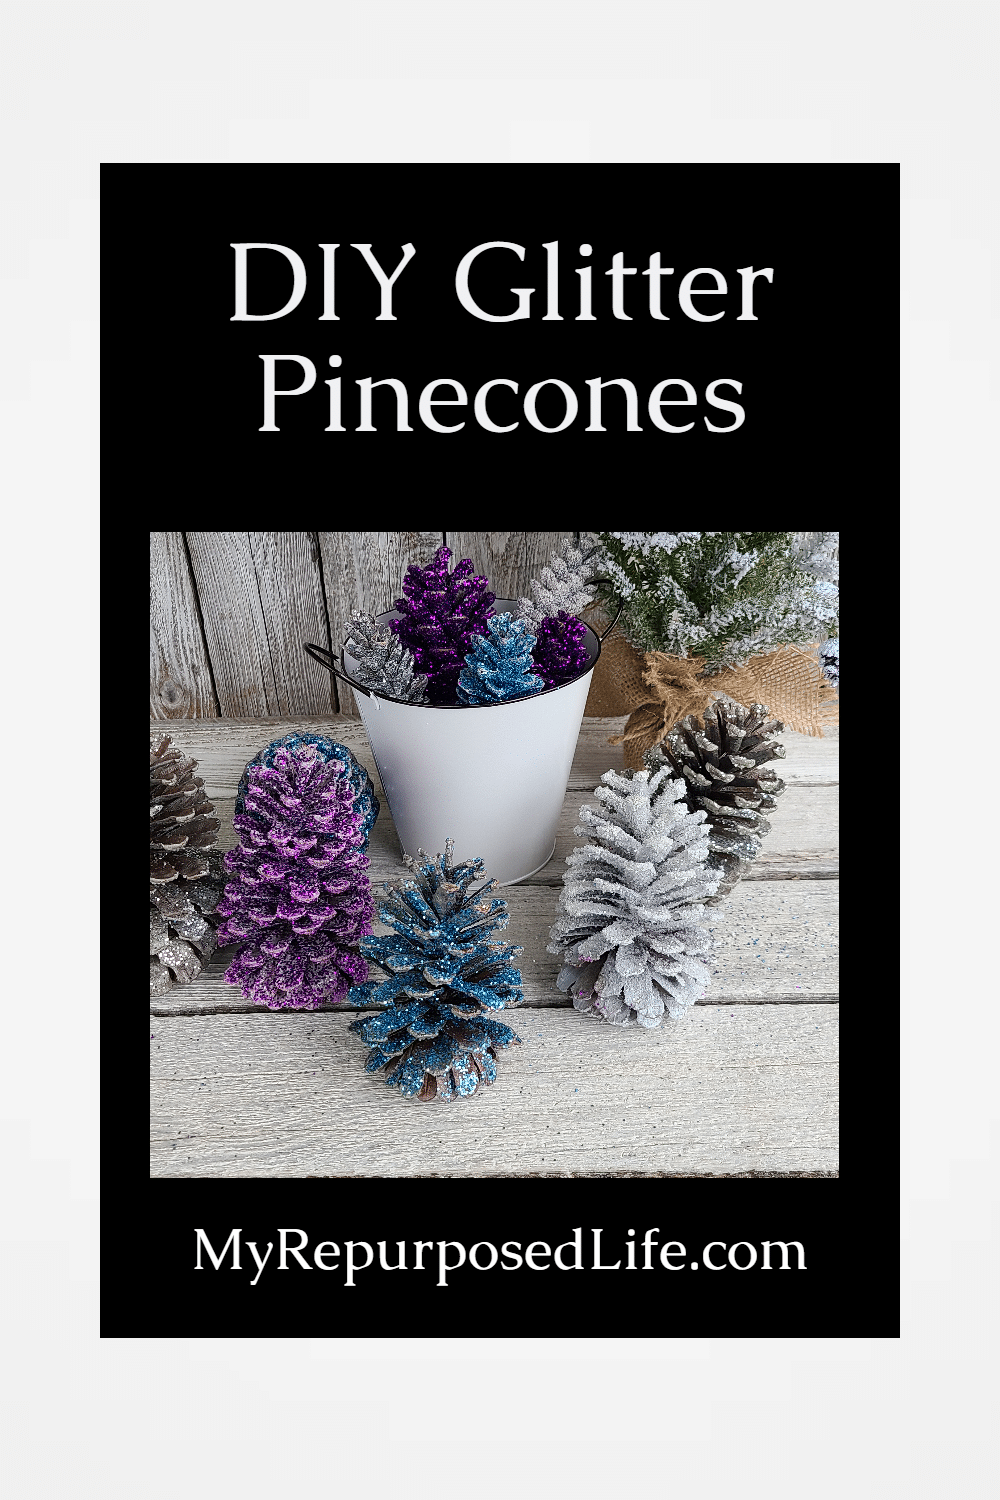
I’ve been sharing many Christmas ideas, and today, I am sharing colorful glittered pine cones. I know I’m not the first to make pretty glittered pine cones, but I have some tips to make it as easy as possible!
Visit the My Repurposed Life Amazon Store to shop my favorite items.
Materials to Make Glittered Pine Cones
- Pine Cones
- Spray Paint
- Spray Adhesive
- Glitter
- Latex Gloves
- Brown Craft Paper
- Cardboard Boxes
- Leaf Blower (optional)

I purchased the glitter on Amazon but had everything else on hand. Please keep reading to hear more about the glitter I used.
Prep Pine Cones for Glitter

If you collect pine cones from your yard, you will want to bake them in a slow oven. I did 200° for 45 minutes. The pine cones I used for this project were leftover from the ones I used for Tree Branch Christmas Decorations.
Spray Paint Pine Cones

I was inspired to do this project by ideas I found on Pinterest. However, the tutorial that intrigued me the most was from The Homes I Have Made. I LOVE the colors Megan used.
Setup For Paint & Glitter

Megan started by painting her pine cones. I grabbed the first metallic spray paint I found, but then I realized it wasn’t the best for me. I chose to use two identical Amazon boxes for spraying and glittering. Each box was lined with brown craft paper. Do you recycle those boxes? I do because I’ve been ordering online a lot!
Do you see the small branch? It came in handy for “stirring” the pine cones while spray painting.
TIP: Raise your spray paint project off the ground! It makes it so much more comfortable.
Spray Adhesive & Glitter

When I started, I used a different spray adhesive, but it stopped working, so I switched to this 3M product. The screwdriver was to open each of the new containers of glitter.
Shake Glitter onto Pine Cones

It was difficult to take pictures because of the stickiness and the glitter. After painting, I sprayed the adhesive and sprinkled the glitter. Of course, the glitter fell off the pine cone and landed on the paper. It wasn’t long before I realized that if I gathered up the brown craft paper and did a “shake & bake” technique, it really helped coat the pine cone with glitter!

After shaking and spreading the glitter, there was very little waste. After each color, I shook the excess glitter into the box and started with another color.
That being said, before I started the “shake & bake” method, there was a considerable amount more glitter on the paper. In that case, I folded the paper in half, opened the container of glitter, and poured it back into the container. Having been a pre-k teacher for 19 years, I definitely did my share of glitter projects and learned a lot of tricks!
Latex Gloves for Glitter Project

Was I happy that I used gloves? Ohhh, yes I was!
Allow Your Project to Dry Well

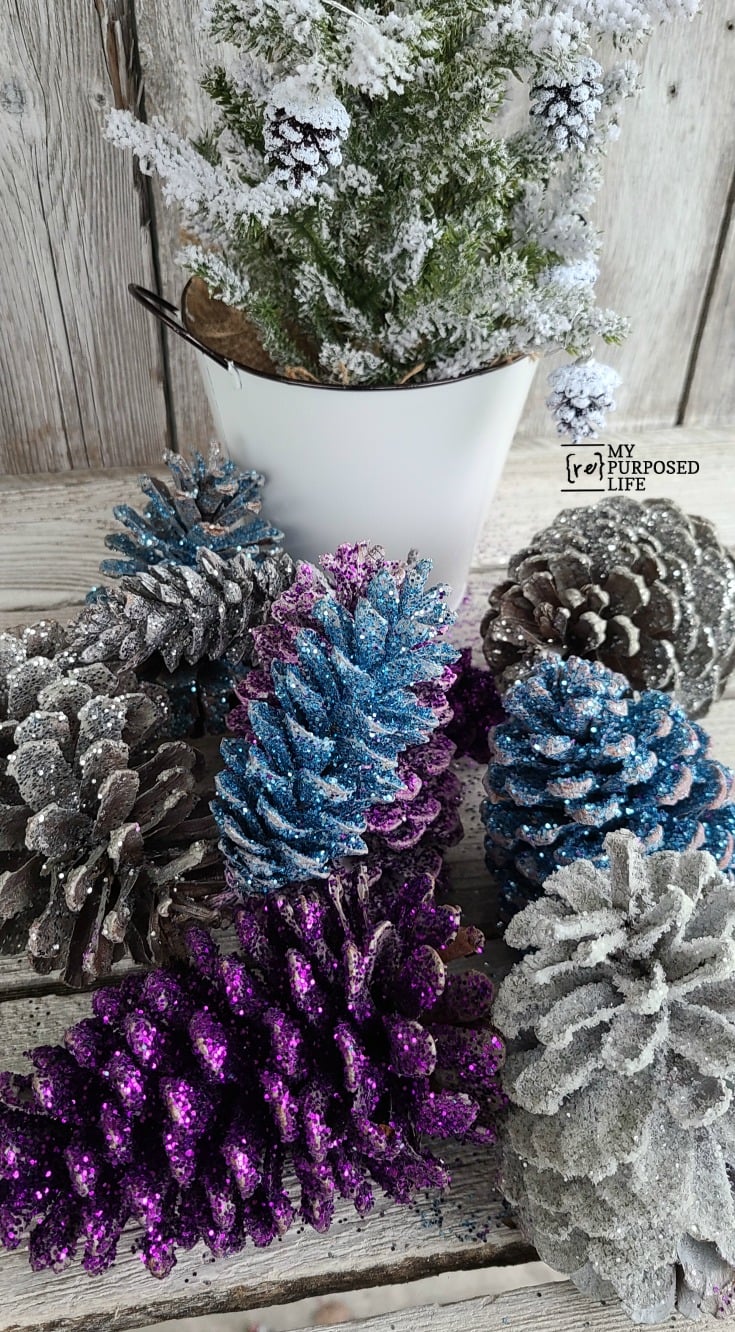
There are two kinds of pine cones: the extra large ones that came from Louisiana and the much smaller ones that came from my yard. All were baked to prepare for my projects.
Colored Glitter

I took this photo to show you how much glitter I used for this project. While shopping on Amazon for glitter, I avoided getting “very fine” glitter. But the decision to buy these bottles took forever. I decided to show you what I bought and how far it went.
What Is The Best Glitter

In the top left image, you may notice how the middle pine cone looks different. It was spray-painted white, and the glitter was added immediately after painting without adhesive.
The top right image—painted with the metallic paint, and the less than perfect adhesive was used.
For the bottom left image—it was sprayed with metallic paint, but the 3M adhesive was used.
On the bottom right, the large pine cone was sprayed with metallic paint, good adhesive, and glitter. The smaller pine cone was not painted but glittered.
Video Tutorial Glittered Pine Cones
What Colors Were Used?
These colors were used in case you would like to use the same brand and color.
Purple Sparkling Crystals 4 ounce
Glitter Sparkling Crystals 4 ounce Sky Blue
Glitter Sparkling Crystals 4 ounce Clear
The jar of silver glitter had the only easy-on, easy-off screw-on lid, which made it really easy to add the loose glitter back to the jar. The other three jars required carefully prying the lid off.
How To Store Glitter

Before bringing the glitter shakers into the house, I slipped each into a plastic baggie for safekeeping! Spilled glitter is NOT a mess you want to try to clean up.

To try to keep loose glitter out of the house, I used my leaf blower to blow the “nearly” dry pine cones to remove excess glitter. See more clever ways to use a leaf blower.
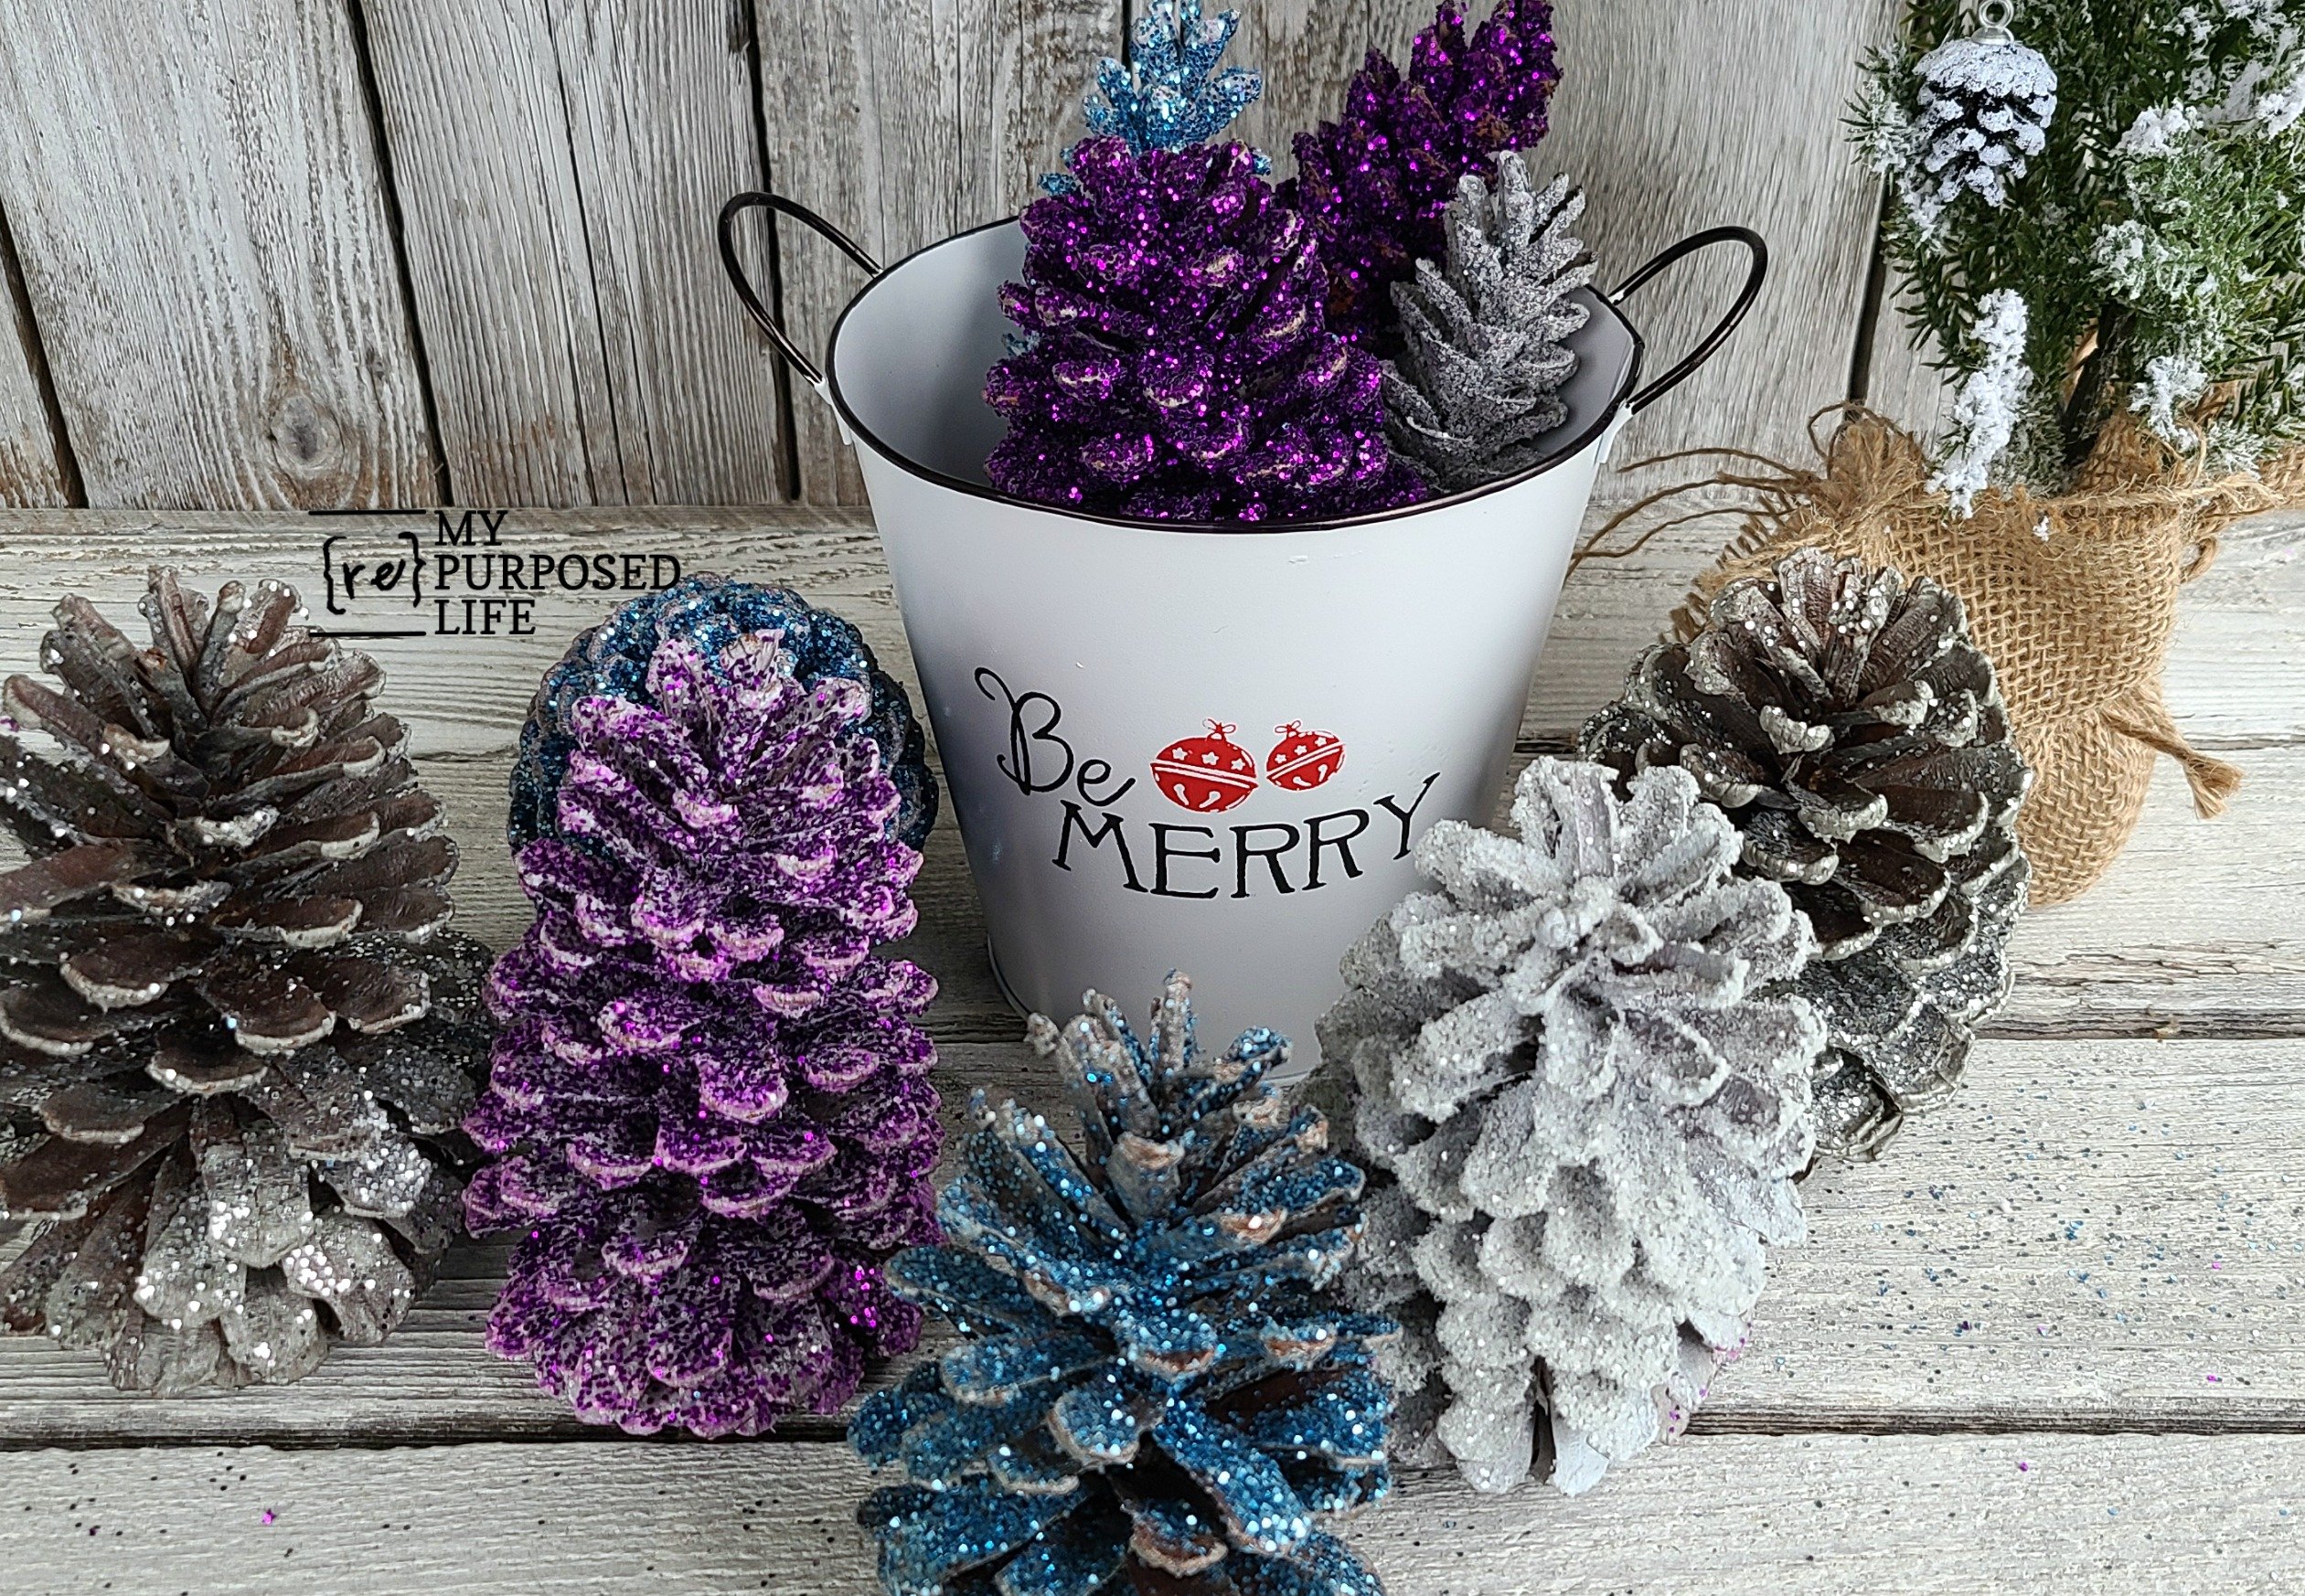
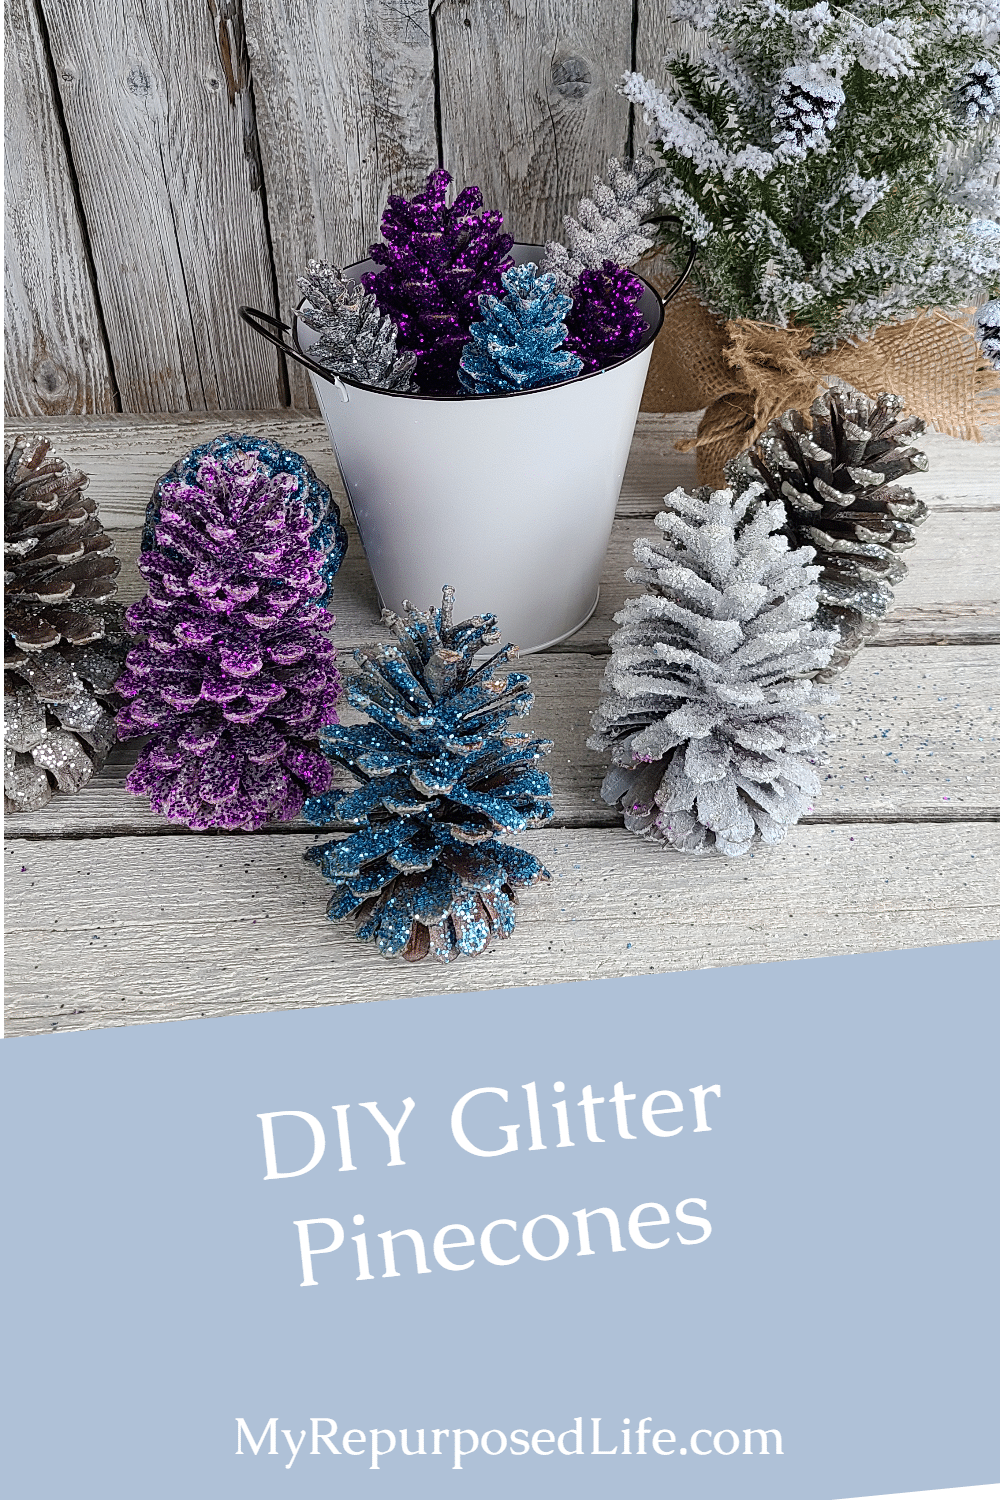
Here are the glittered pine cones in my faux enamel bucket.
Do you love them as much as I do?
gail
These pinecones are so fun and festive! I mean, who doesn’t love glitter!😊 You are a smart woman for doing this outside!!
hahah Thanks Cindy! It was so much fun to do this project!
gail
Very pretty! I was a preschool teacher too and understand about saving the glitter. I also remember, there still being glitter EVERYWHERE for weeks after! But the kids loved it!
hahah yes, a little messy in pre-k, but everything is prettier with glitter especially for Christmas! 🙂
thanks for stopping by and leaving a comment!
gail
love how they turned out! SO pretty. color choices are different and cuddly/cozy.
Your glittered pinecones are very pretty, Gail! I especially love the purple ones! I’ve used lots of glitter in projects, too, and always had to seal the glitter.. Do you think a final spray of a clear sealant would help? Even though you blew the loose glitter off, I think the glitter will continue to flake off.
Gail,
Great minds think alike! I was wondering the same thing…. about spraying a coat of sealant. I’ll try that to see if it helps. Thanks for stopping by.
gail