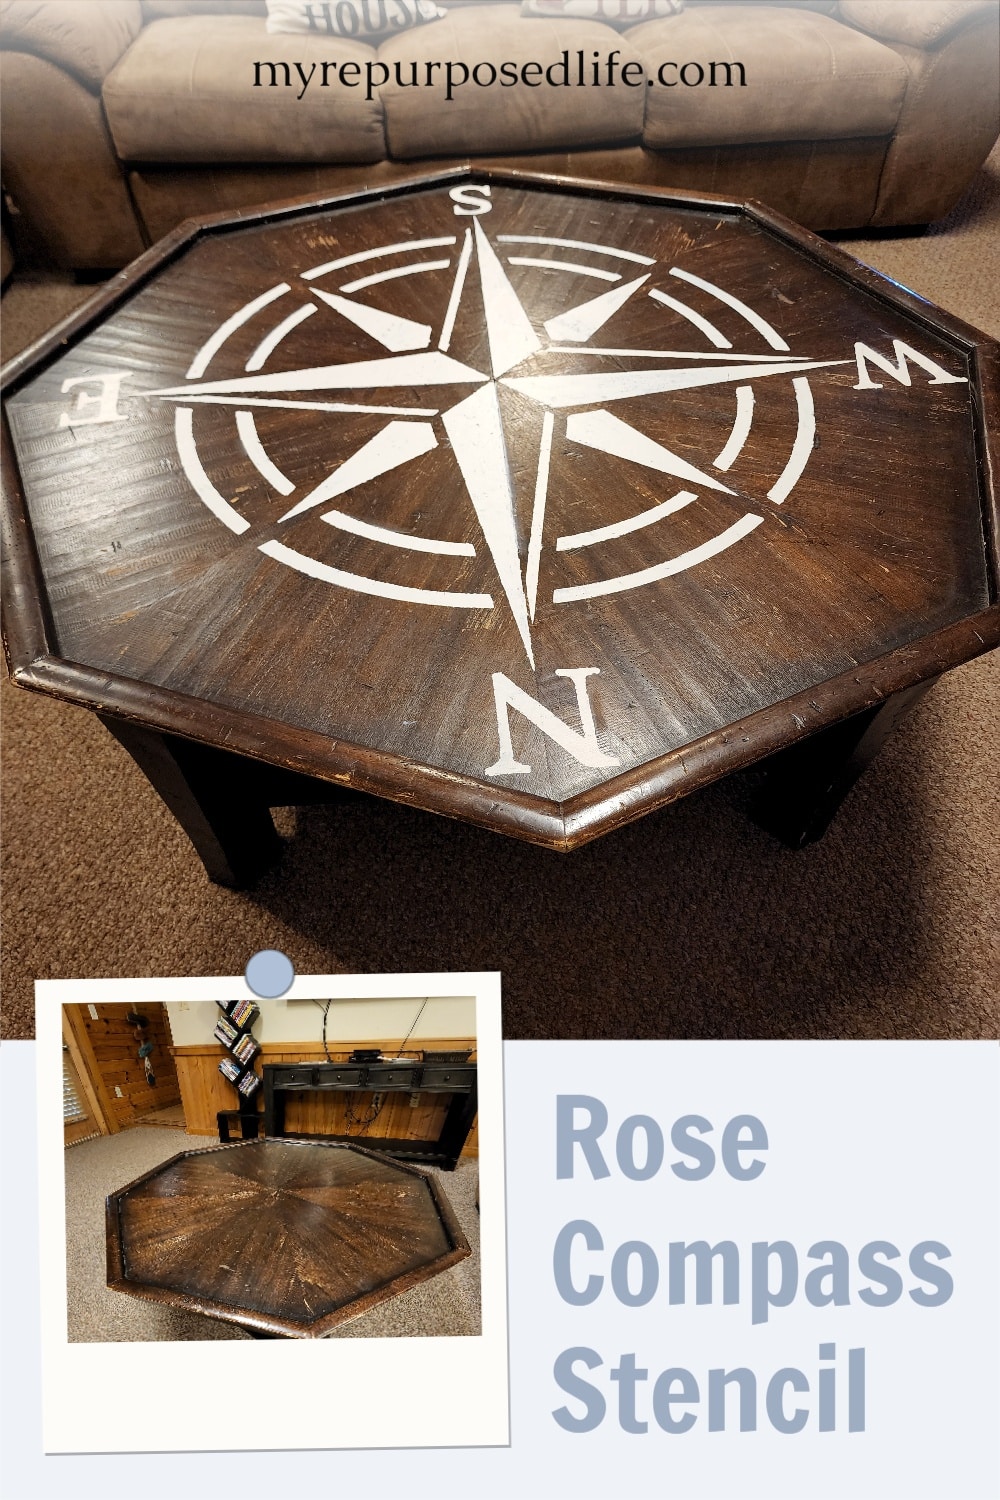
Compass Rose Stencil Table
As an Amazon Associate, I earn from qualifying purchases.
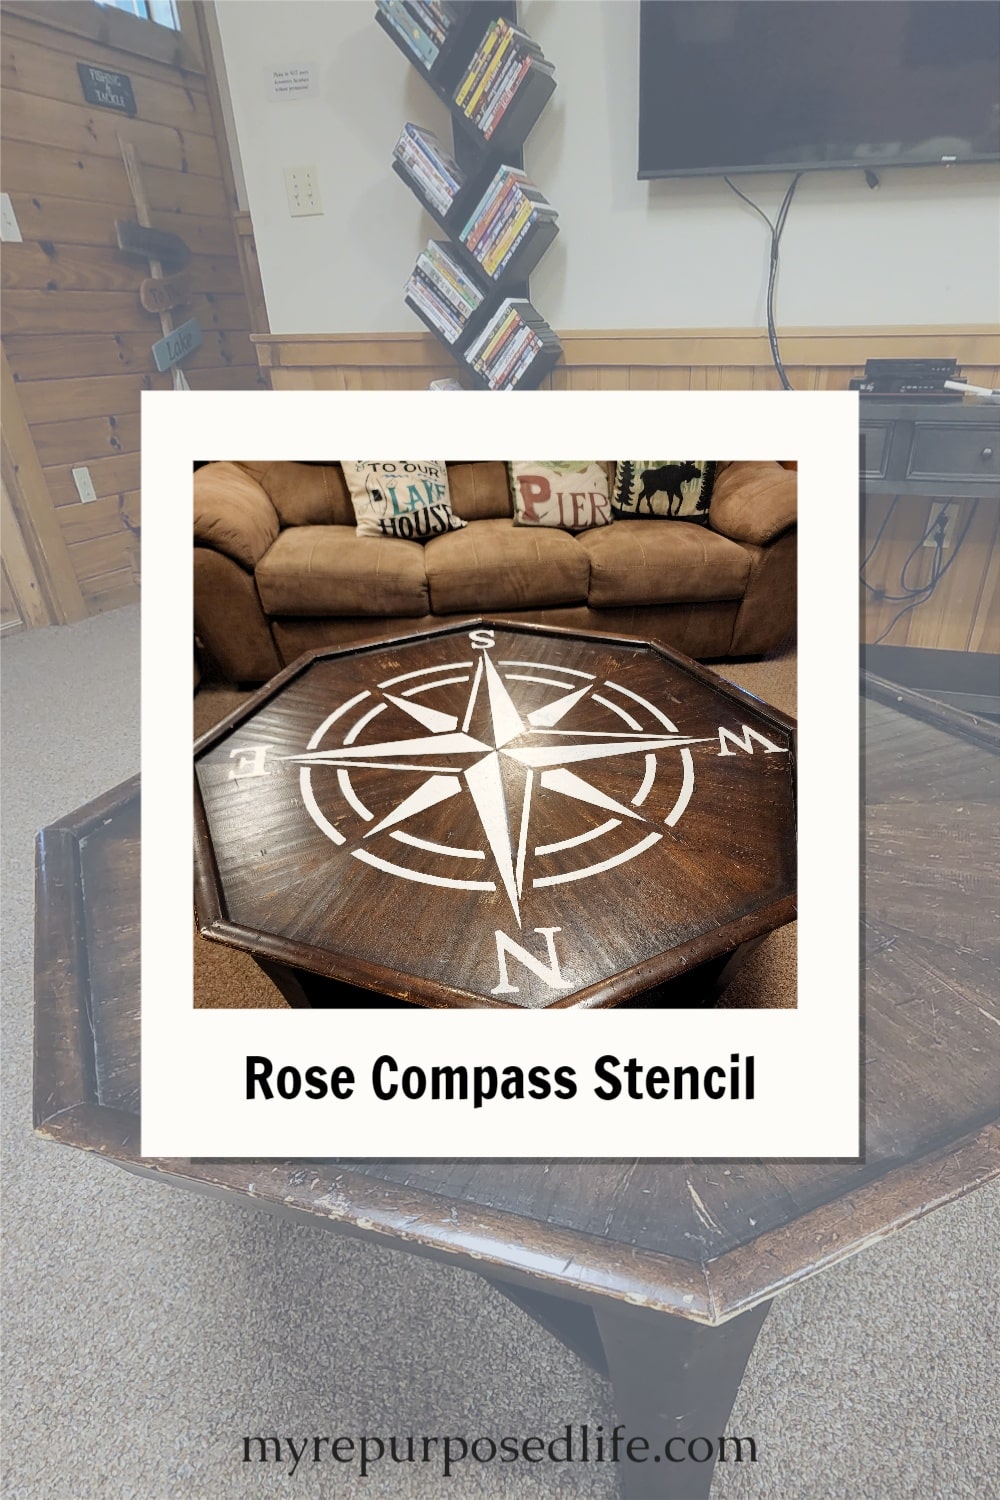
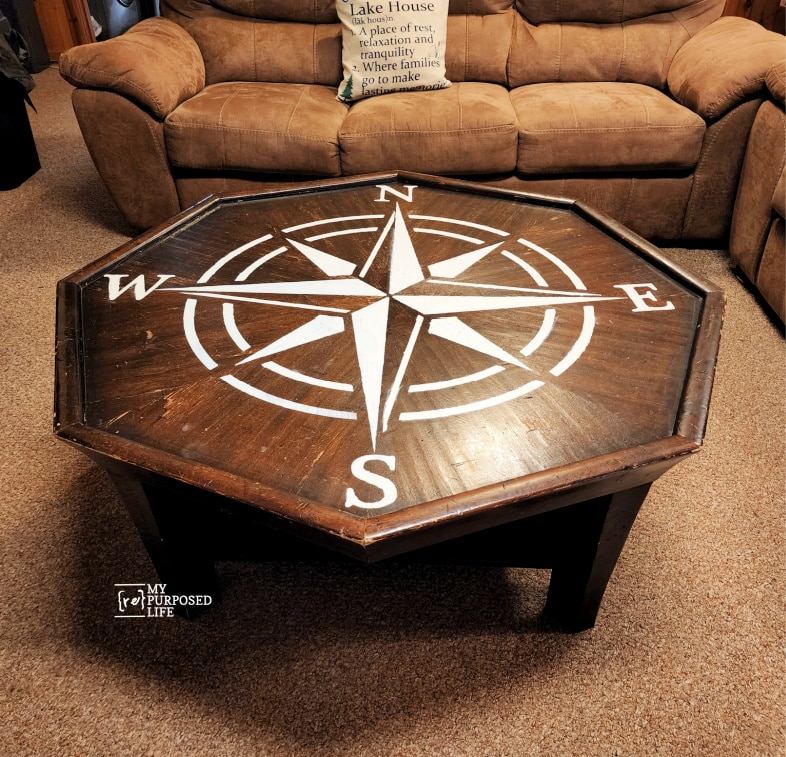
Revive your furniture with a striking DIY twist—meet the Compass Rose Stencil Table makeover! In this project, Gail transforms an oversized octagonal coffee table into a show-stopping statement piece using a durable, reusable compass rose stencil. Perfect for large-scale applications, this stencil project breathes new life into old wood—no coastal home required.
Because the coffee table is an octagon (eight-sided), this DIY stencil project was a no-brainer. The stencil is very durable and easy to use. You are in the right place if you’re looking for a large stencil project.
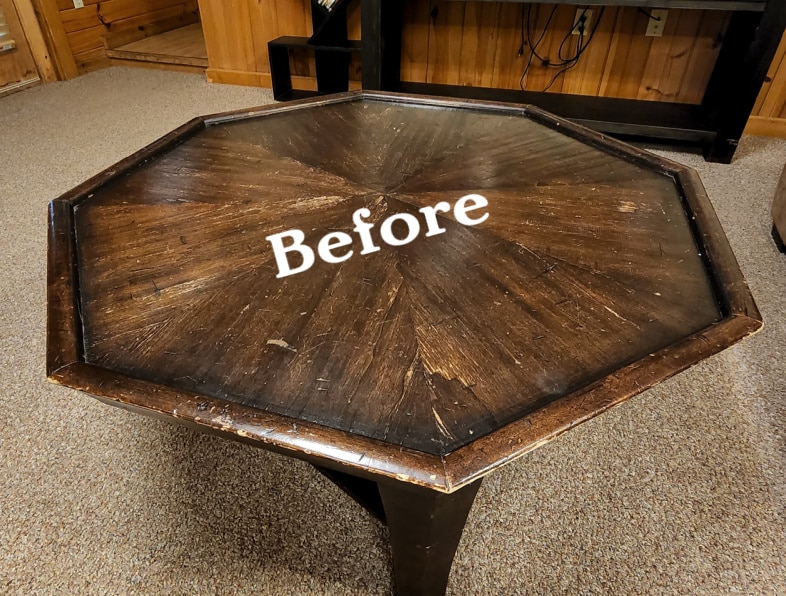
This particular coffee table is old. Would you prefer to paint your table first? I have tips for painting tables here.
It’s Furniture Fixer Upper Tour Day! Be sure to visit my friends’ projects at the bottom of this post.
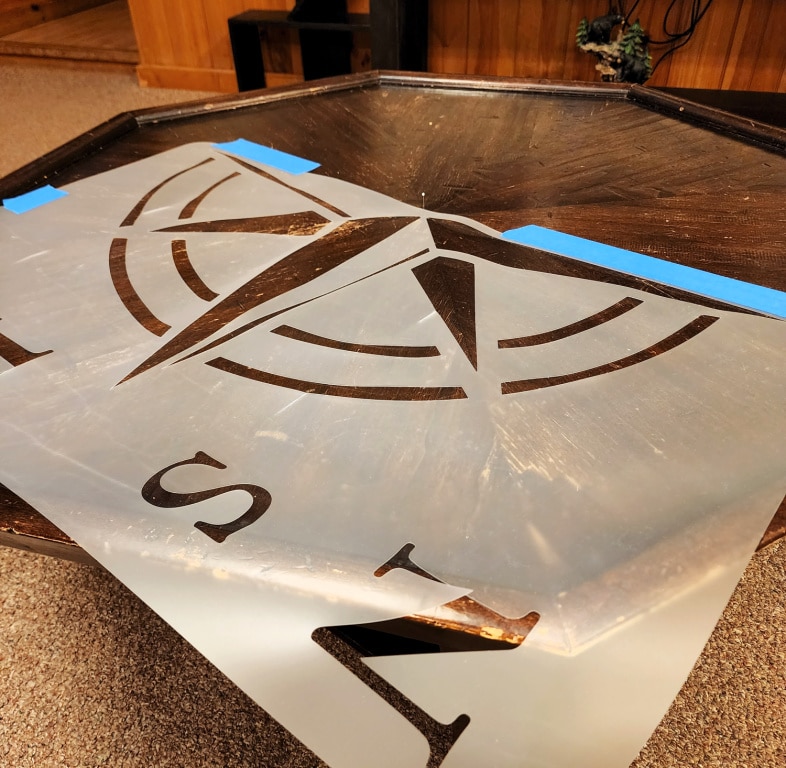
Secure Stencil with Tape
Reusable plastic stencils are easy to work with. This one comes in three sizes. Of course, you don’t have to be in a coastal city to use nautical-themed stencils. This table is in a cabin by the lake.
I like to buy my craft supplies on Amazon. You can pick up the compass wind rose mylar plastic stencil here.
Apply Paint to the Stenciled Table
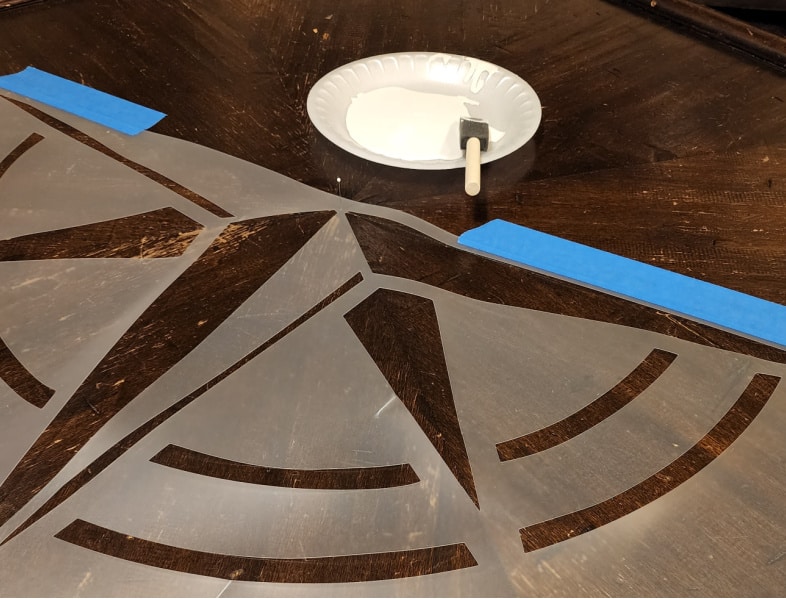
Using painter’s tape to hold your stencil will be very helpful. Because I was stenciling this table for a friend, I was caught off guard and didn’t have proper stencil brushes. As you can see, I used a foam brush instead. What do you use for stenciling? Foam? Stencil brush?
Not shown, I did use two paper plates—one for holding the paint and the second for offloading the foam brush.
Visit the My Repurposed Life Amazon Store to shop my favorite items.
Rotate Large Stencil
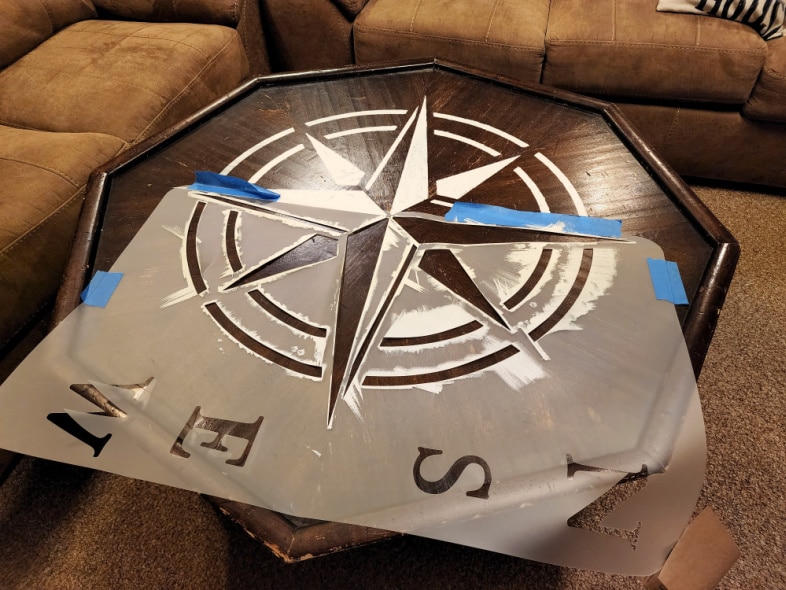
Since this table had sections, I lined up the points along the lines of the table. Additionally, I used a straight pin in the very center of the compass rose stencil to help spin it around when it was time to create the mirrored half. Do you use similar hacks when you’re using a large stencil?
Roll Painter’s Tape for Extra Hold
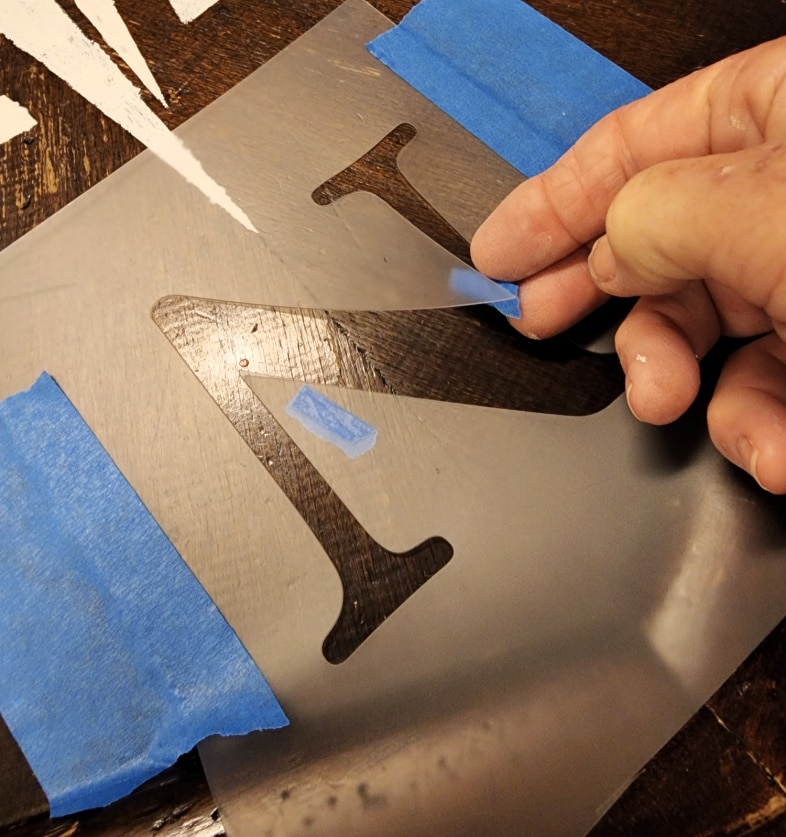
The stencil had been shipped “curved,” which left the tails of the letters a little warped. It didn’t help that the large stenciled letters were so near the edge of the octagonal table. Therefore, I chose to use rolled painter’s tape to hold down the pointy parts of the letters. Would you have done that? Perhaps you would have used a spray adhesive? I wish I had some on hand for this project.
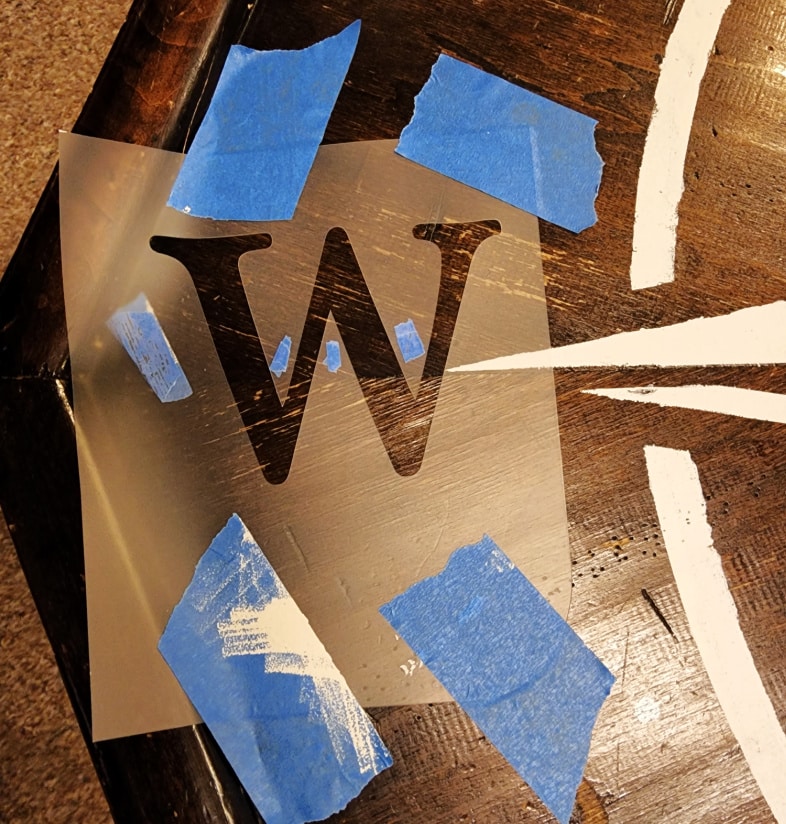
The same method was used for the W on the rose compass stencil. You can see that I reused some of the painter’s tape.
Compass Rose Stenciled Coffee Table
Update your old table AND your home decor in one quick DIY project. Nautical stencils add a little whimsy to your pillows, trays, walls, and more. What is your favorite stencil design? Perhaps you may like a retro star? Then, my stenciled three-legged table tutorial may tickle your fancy. It was also done with reusable stencils.
Clean your stencil with warm water and soap when you’re finished.
Save this idea to your Pinterest Ideas!
Do you have tips for us on using extra-large stencils? Won’t you leave a comment below so I can learn from your expertise?
Not a fan of the “early American yard sale” look? No worries, this project is all about making it your own. A fresh coat of stain or a sleek painted finish can completely change the vibe to match your style. Whether you opt for a rustic, coastal, or modern style, this compass rose stencil is a simple way to give any table a fresh, new look with a whole lot of personality.
More Awesome Furniture Fixer Upper Projects
I’m sure you’ll love these projects from my talented friends!
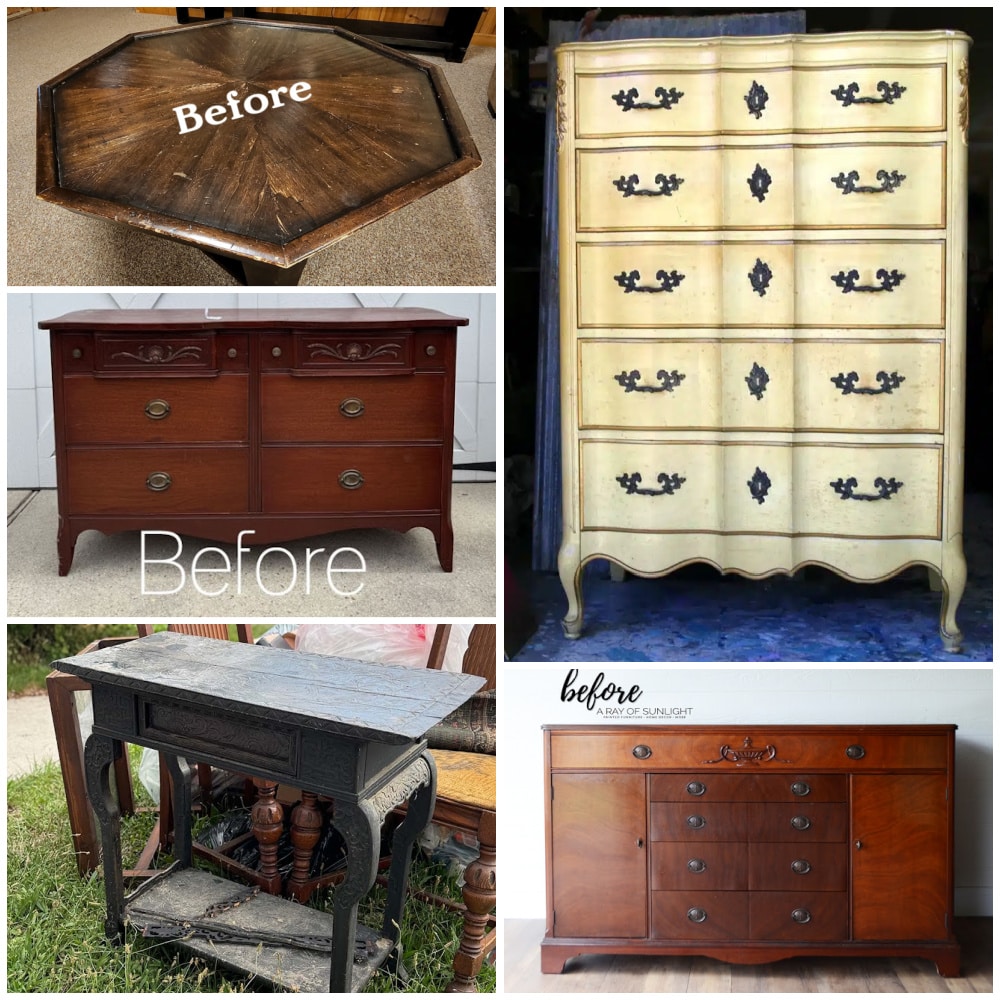
- Stencilied Octagon Coffee Table (You are here, thank you)
- Outdated Provincial Furniture
- Painted Dresser With a Stained Top Makeover
- How to Highlight Furniture Details With Paint
- How to Milk Paint a Buffet Cabinet
I have 3 stencil brushes. My taste runs to traditional, bows and swags. Have been thinking about adding some stenciling to a small 9 drawer I’ve had for years and never could decide what to do with it.
Great to hear from you Kathleen!
Have you ever tried furniture transfers? I’m not as experienced as some of my creative friends, but I do LOVE the way they look on furniture (drawers).
Good luck whatever you decide to do!
gail
The stencil was cool! Gave this table a personality.
The end result is nice but I am a bit shocked that you didn’t sand and touch up the finish before stenciling??
Mary,
This is in a rustic cabin in Sevierville TN. It’s not my cabin, not my table. The owner asked me to apply the stencil, so I did. 🙂 That’s why I address options for readers to fix up their project if they choose to do so.
It was a quick visit and I barely had the supplies with me to do the stencil. In real life, it appears that the table has always had the stencil on it, and that it has a lot of stories to tell.
gail
What a great stencil for this piece and you always have great tips! XOXO
It really was a good match, eh? Thanks for stopping by!!
gail
Thank you, I love it when I learn something new! Your straight pin in the center of the stencil is genius idea! Pinned XOXO
Thanks Denise! I’m glad you gleaned a DIY tip in this article!!
gail
that looks really nice! i haven’t used any big stencils, only small ones. i think you did a fantastic job!
Thanks Nova! My cousin sort of roped me into doing this project while we were on a “work weekend” at the cabin! I wasn’t really prepared. hahahah
For 90% of my stenciling I use spray paint, I use a little more tape & masking paper but it makes for a neater finish.
Great tip John! This was on the fly while I was out of town. 🙂
gail