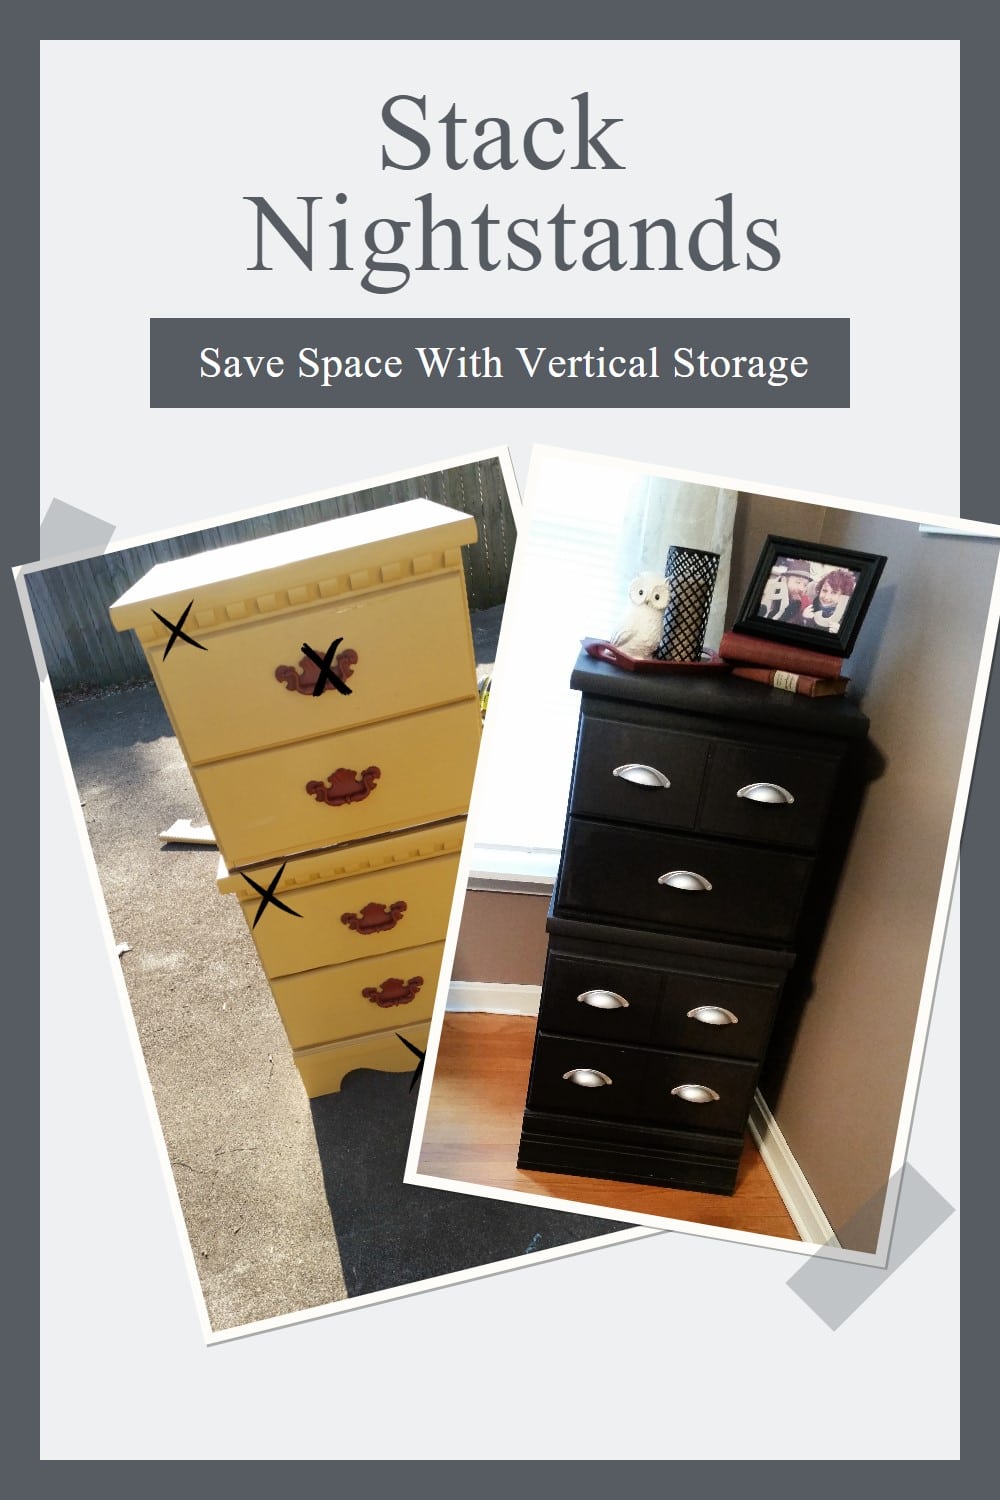
Repurposed Nightstands create Vertical Storage
As an Amazon Associate, I earn from qualifying purchases.
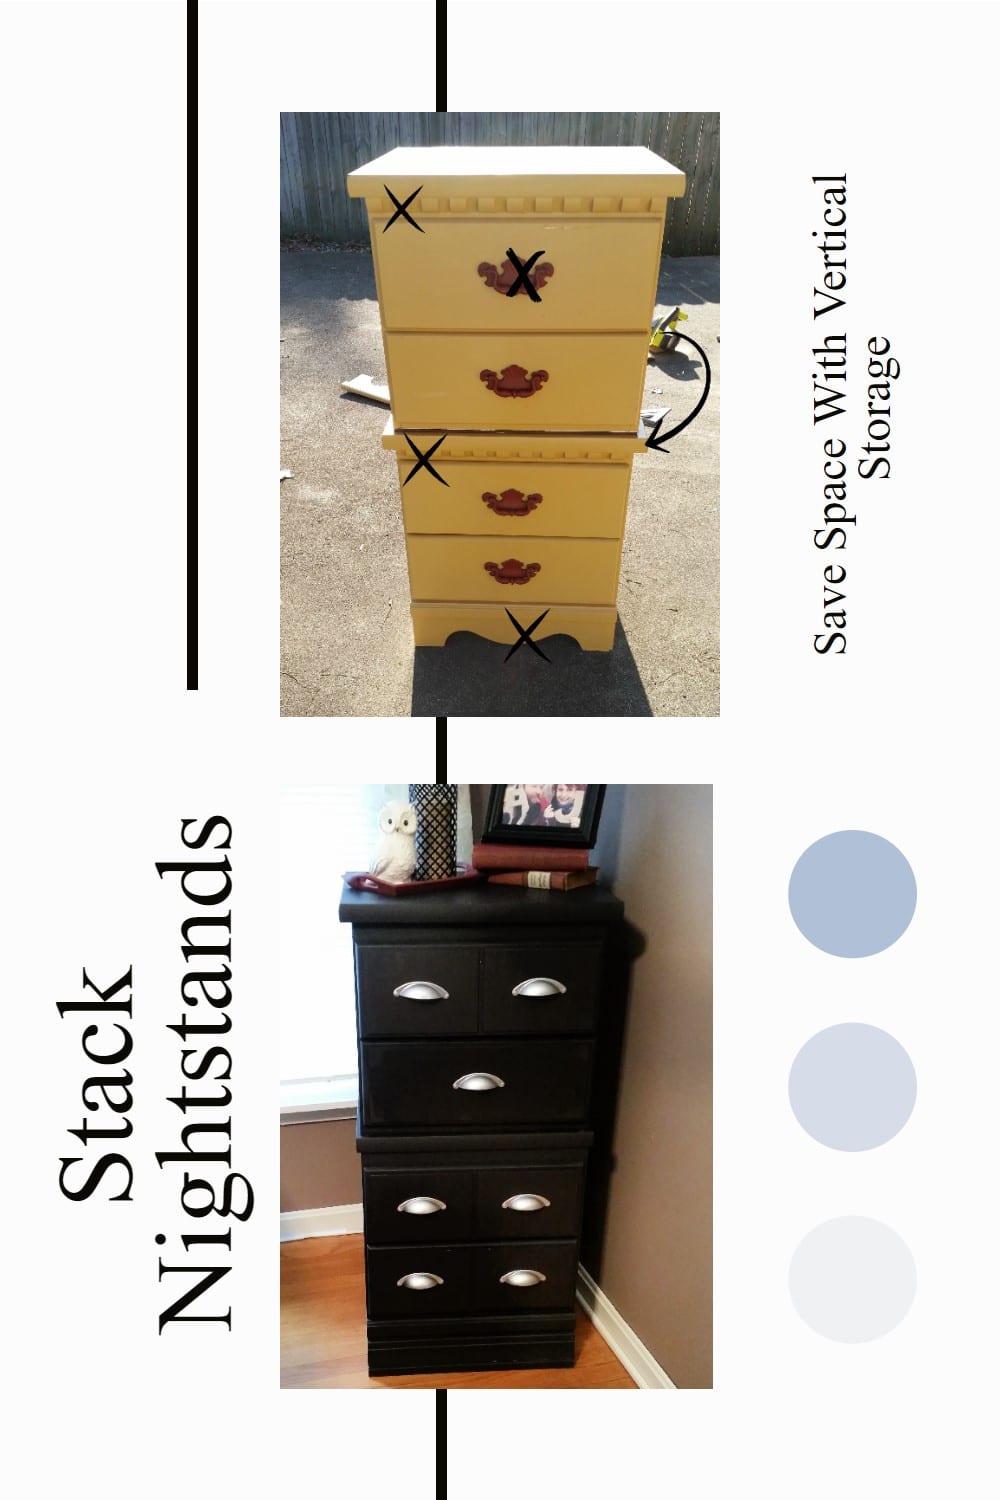
Tired of tangled cords sprouting around your workspace? This clever project transforms two outdated nightstands into a sleek vertical storage solution: perfect for hiding power strips, chargers, and cables. With just a circular saw, some trim work, paint, and a discreet surge protector tucked into a drawer, you can reclaim floor space and eliminate the clutter without sacrificing style
You know I rarely keep my project pieces because my house is small, and I don’t have room for anything else.
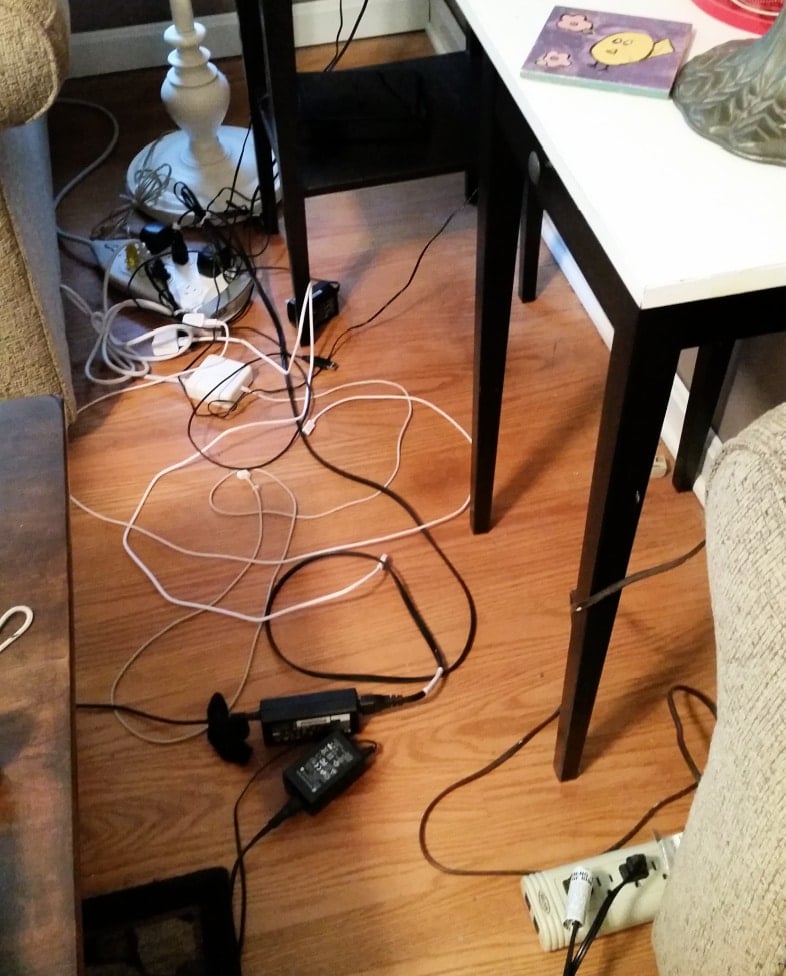
Too Much Cord Clutter
You should probably PIN THIS idea so you can find it again.
This situation has gotten worse, and it’s been driving me crazy! I don’t have an office—I do all my blogging right here in this little corner of my living room. I have made good use of these two IKEA tables I painted, but it’s time for a change.
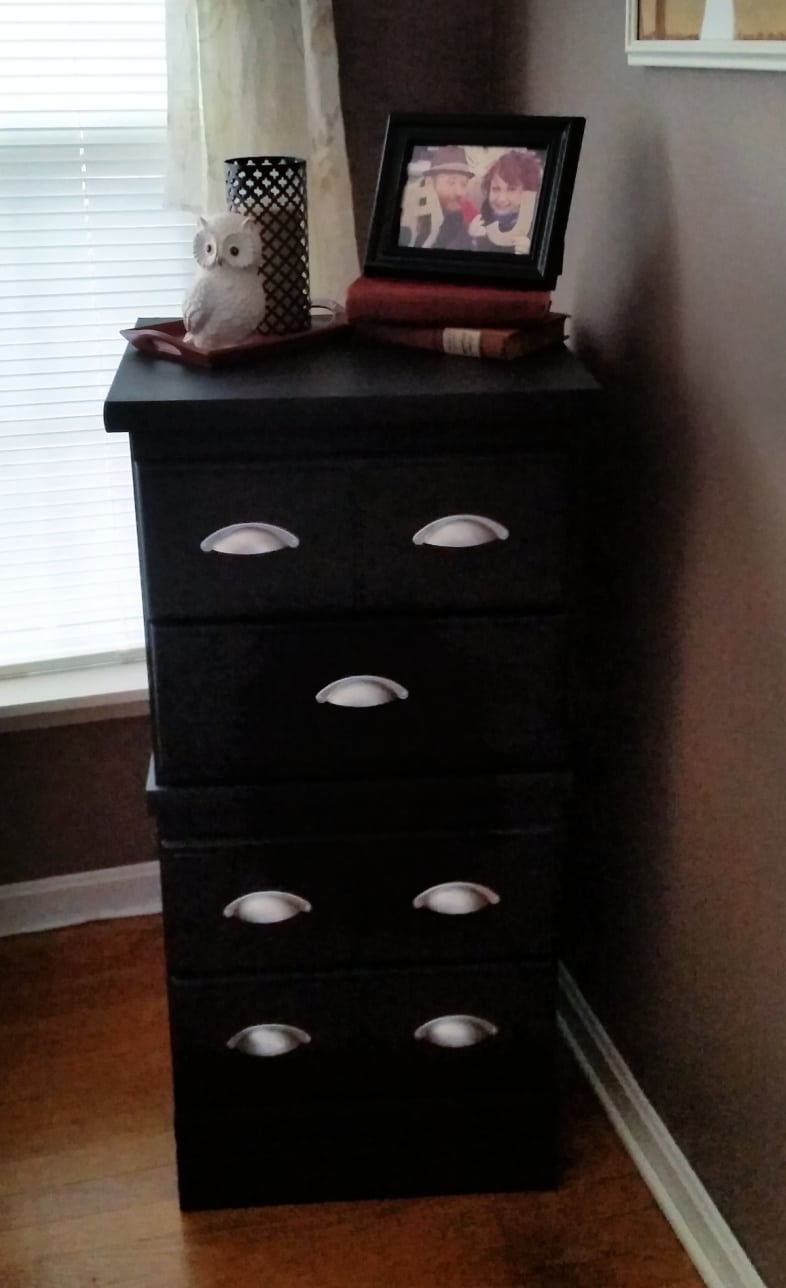
Ahhhh, much better. Do you think I just picked up a small chest and painted it? Ohhhh no! You know me better than that!
Related Content: Repurposed Desk into Lingerie Cabinet (Desk drawer sections stacked)
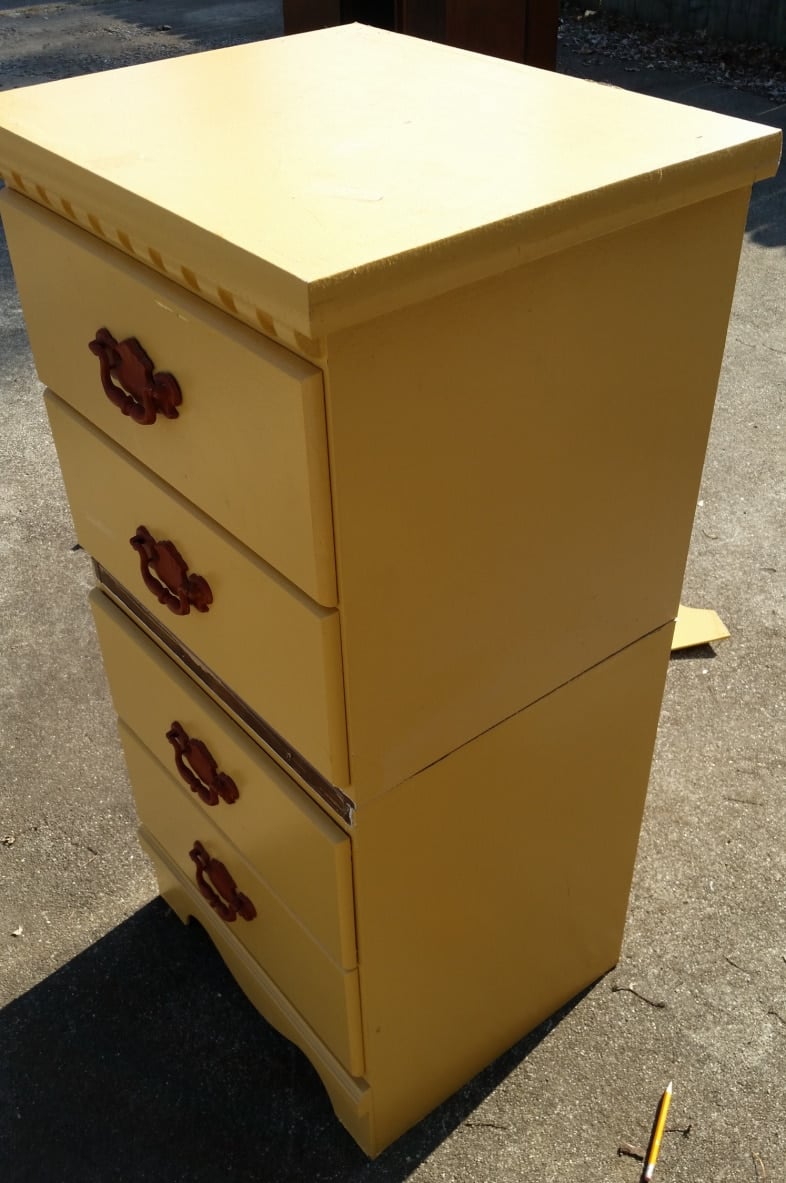
Matching Nightstands Transformation

Do you remember these two nightstands I picked up last month? If you’ve been around for a while, you know I love to stack furniture—it gives excellent vertical storage with a smaller footprint for tight spaces.
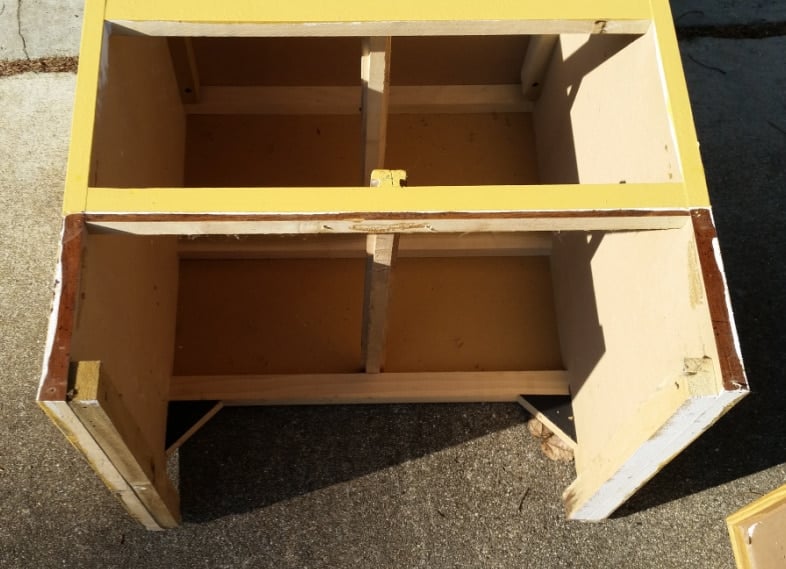
Disassemble Repurposed Nightstands
First, I removed the bottom trim on the front of one of the nightstands.
Cut the Nightstand Bottom With a Circular Saw
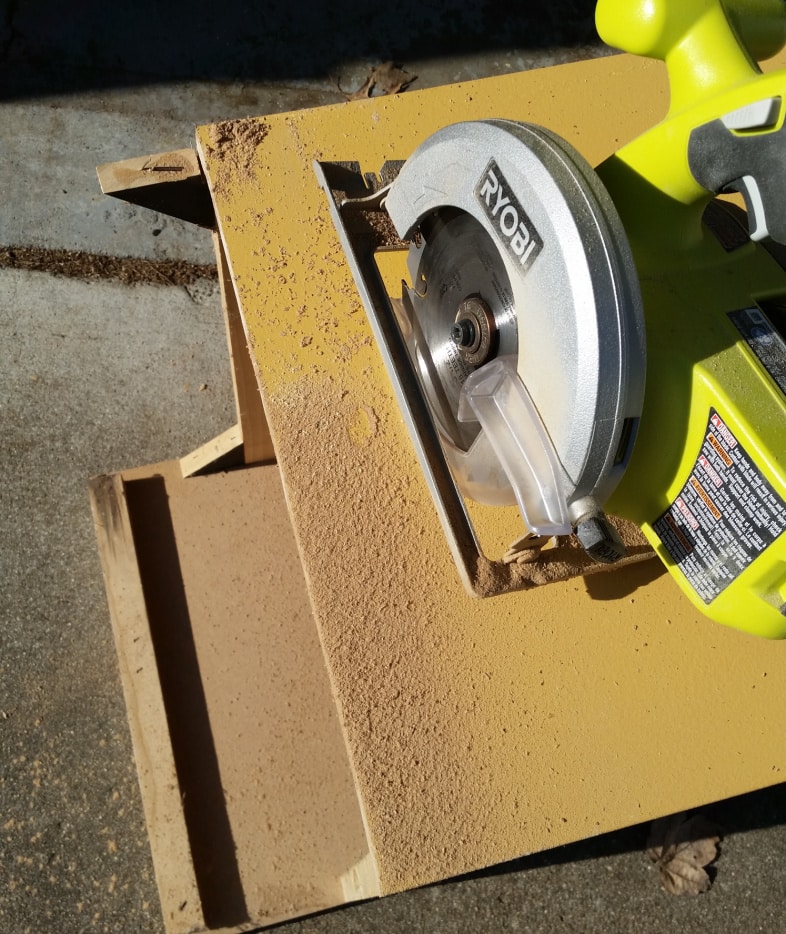
Then, the best part! I had to trim the lower one because I didn’t want it to look like two stacked nightstands. Out comes the circular saw, and I begin cutting the nightstand to shorten it. This little Ryobi saw makes quick and easy work of tasks like this.
Design Vertical Storage With Repurposed Nightstands
I was so anxious to stack them to see how tall they would be and what I would need to do next. So, I decided to remove the moldings, replace the bottom trim, change the hardware, and make some adjustments to the top of the bottom nightstand.
I removed the molding and the top of the bottom nightstand. I don’t want to deal with the seam on the side…

Now it’s looking better. I have removed the molding on the top nightstand and added a piece of base molding for the bottom front. I decided to keep the top of the bottom nightstand, but trimmed it down on the table saw so it doesn’t protrude so much.
Easy Vertical Storage
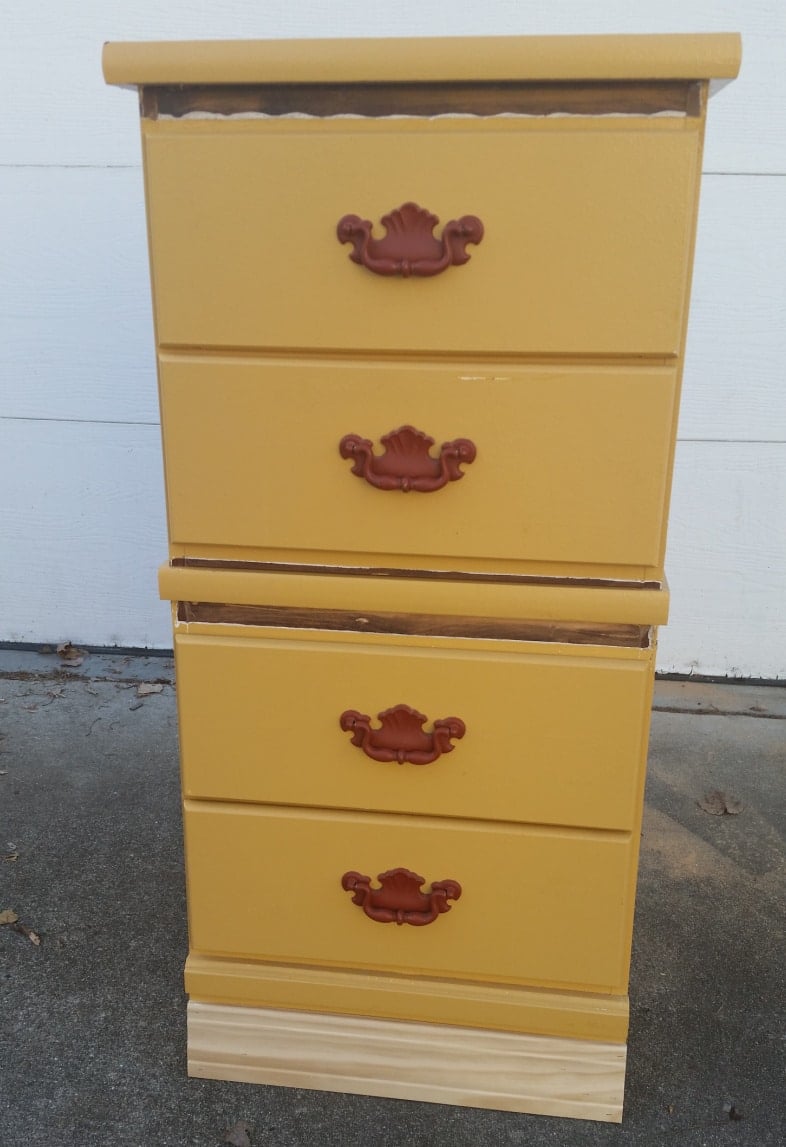
It’s so difficult to see beyond that yellow paint! I couldn’t wait to get some paint on it.
DIY Chalk Paint as a Primer
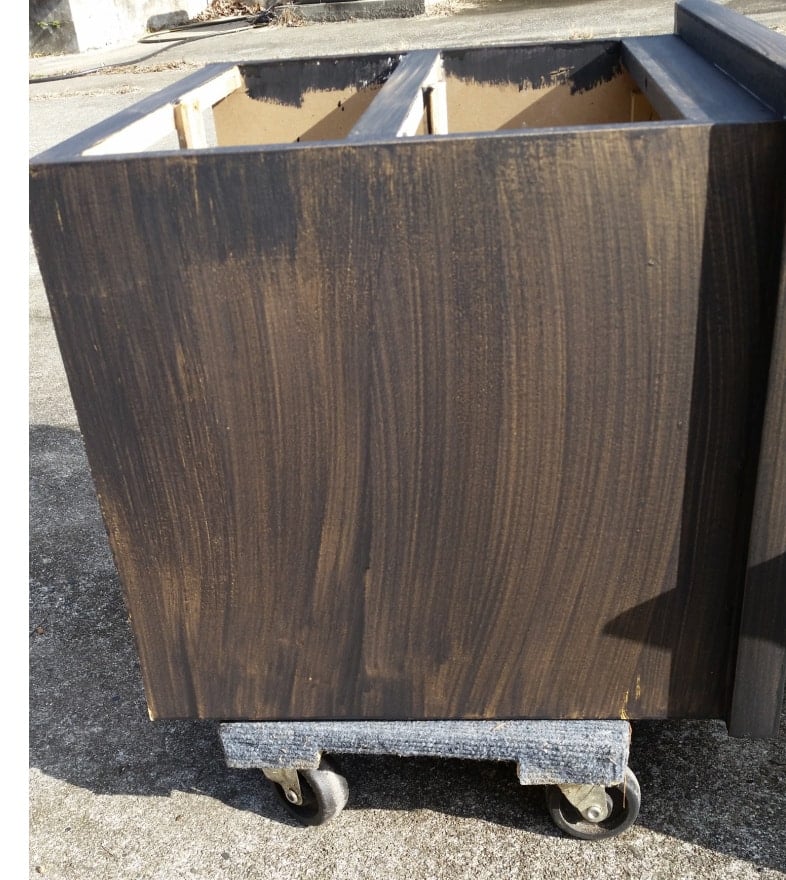
I mixed up some of my favorite DIY black chalk paint and applied a couple of quick coats to the repurposed nightstands.
Chalk Paint Primer Needs Wax

I sealed the DIY chalk paint with Country Chic Wax. After finding a great inspiration piece, I waxed the chest but not the drawer fronts because I had a plan for them.
New Vertical Storage Solution
Then the weather turned cold, so I had to bring it inside. Since it was inside, I filled the holes, sanded, filled them again, and repainted. I still haven’t waxed the drawers.
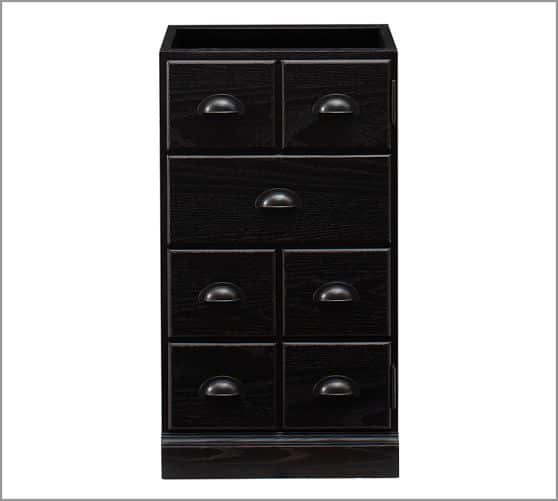
I guess it’s time to show you that vertical storage inspiration piece. It’s from Pottery Barn. You’ll notice my piece has four drawers. It’s time to address that!
Make Faux Drawers
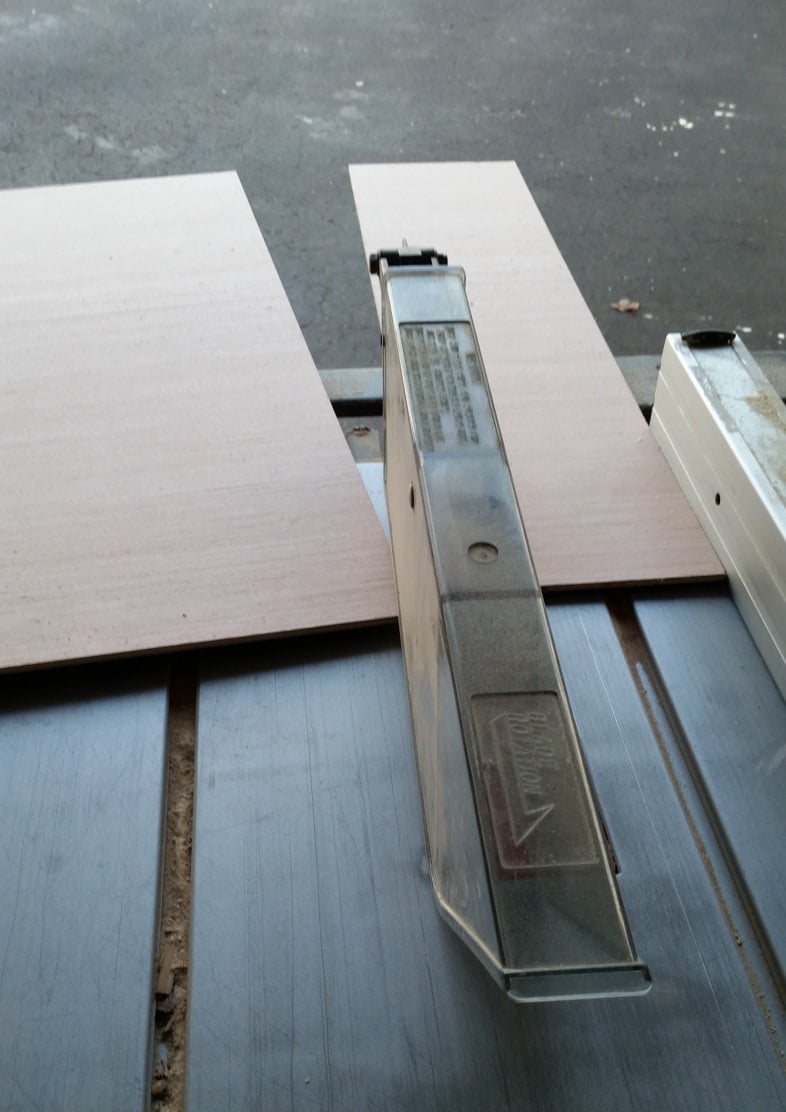
I would have to make faux drawers for my repurposed nightstands to mimic the inspiration piece. I braved the cold and ripped some thin plywood pieces.
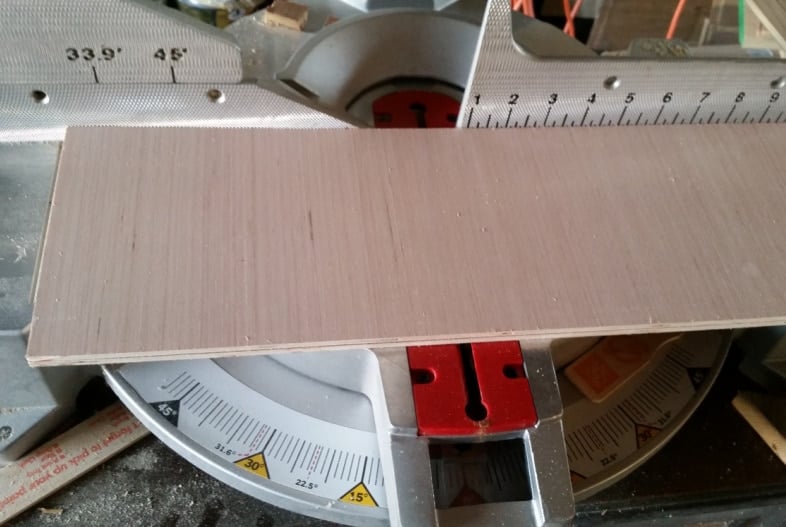
Then, I cut them to size on the miter saw.

I painted the pieces and tinkered with some hardware choices. Bronze or Silver?
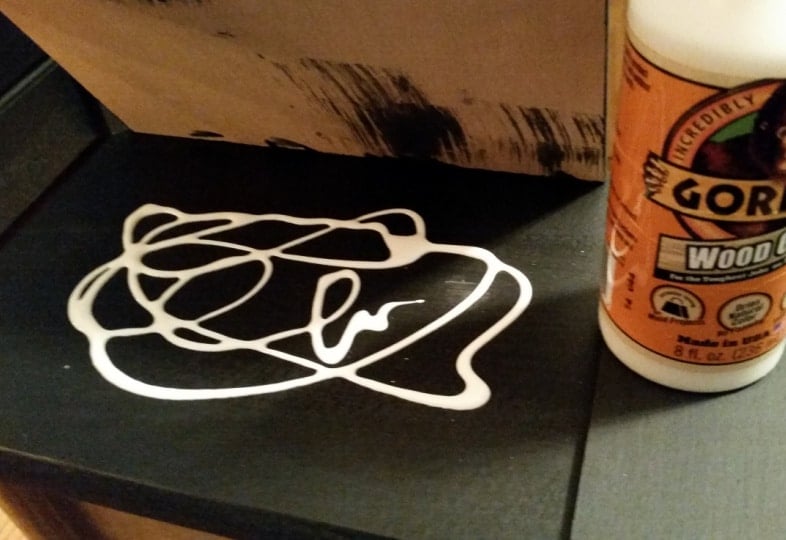
I glued the faux drawer fronts on with Gorilla Wood Glue.
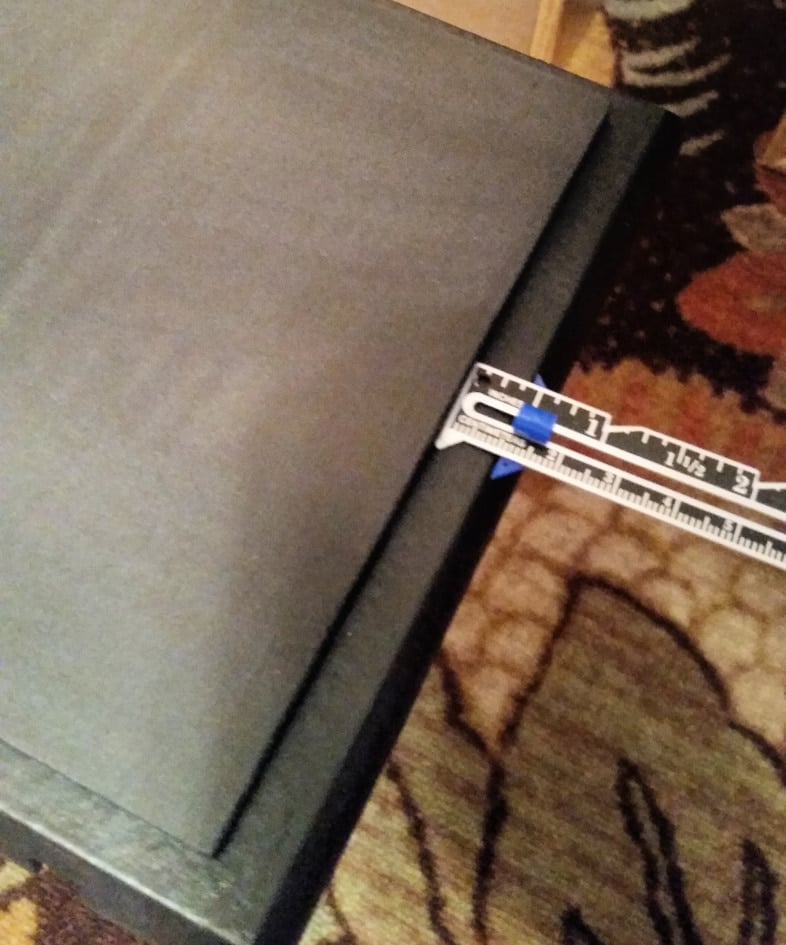
I used my hem guide to get uniform spacing all the way around and ensure all drawers matched.
Hardware Jig for Pulls
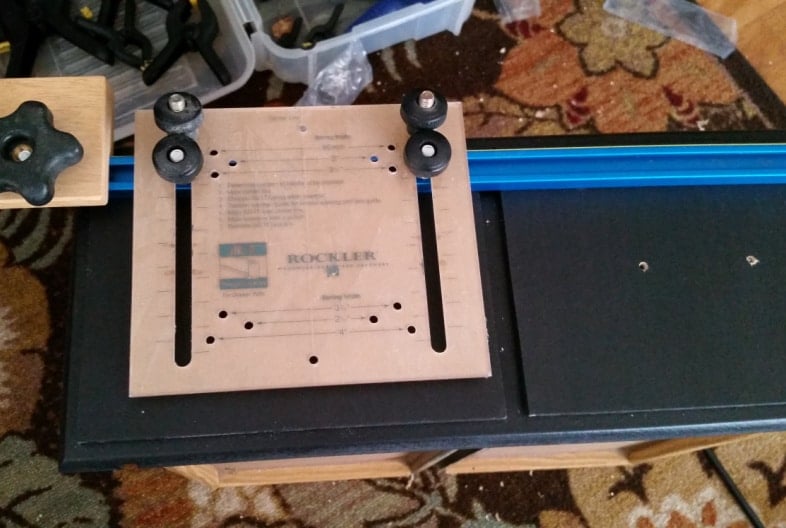
I did some painting touch-ups and then waxed the drawer fronts. This Rockler Deluxe Drawer Pull Jig is really helpful to drill your holes uniformly when installing hardware.
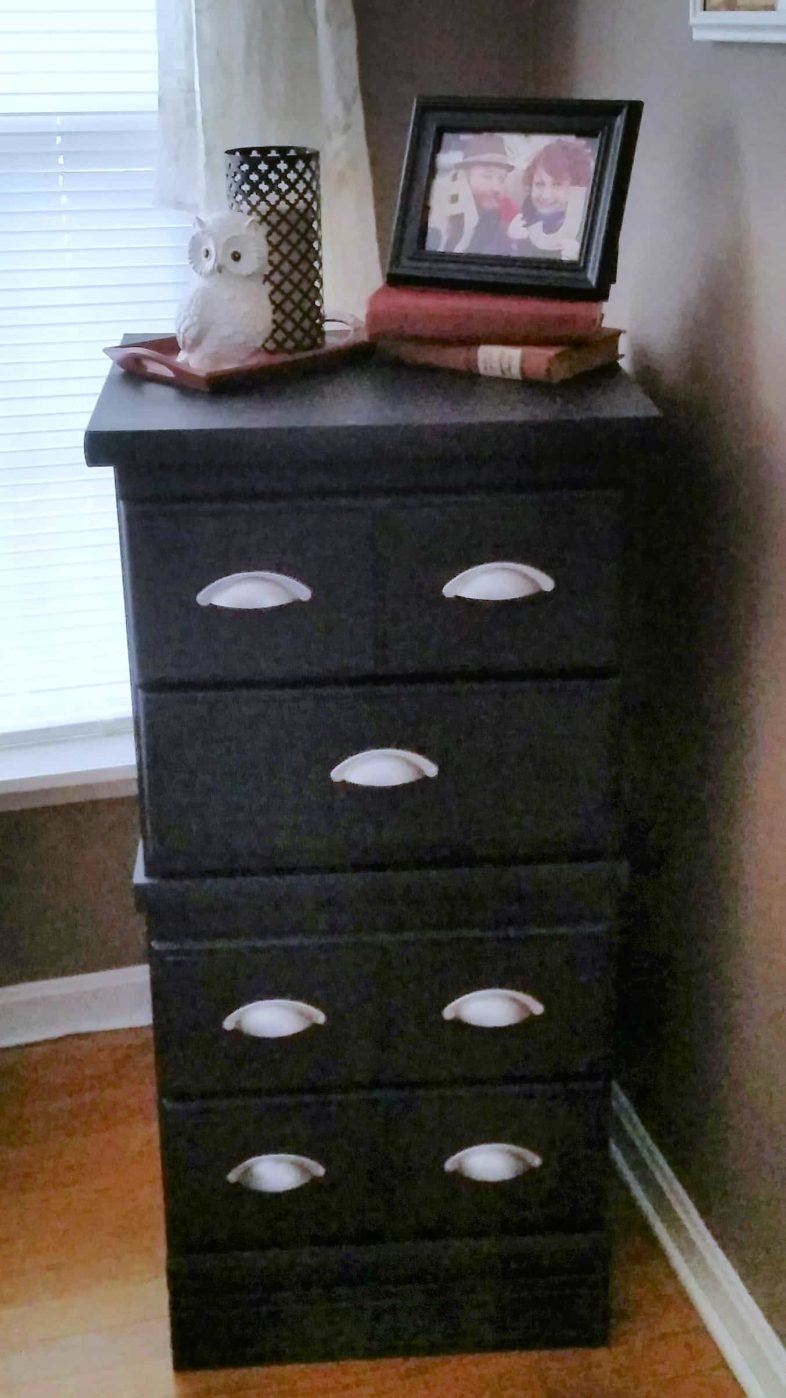
It was nearly impossible to get good “after” pictures of this piece. It reminds me why I generally take my after-shots outdoors. The silver pulls are from my friends at D. Lawless Hardware.
Breakdown of my cost:
- Nightstands $17
- Paint: no cost; I had it on hand
- Thin plywood: no cost; I used scraps
- Cup Pulls: 7 @ 1.85 = $12.95
- New surge protector: $20
- Easy Liner Midnight Bloom $5.50
Total cost for this project is $55.45
Getting rid of all that mess—PRICELESS!
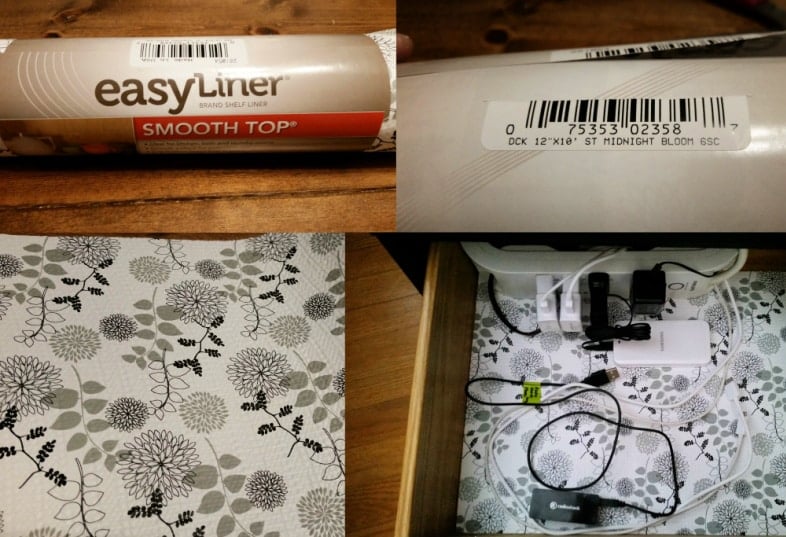
I lined the drawers with Easy Liner Midnight Bloom.
I still only have one surge protector with one white cord that is run out over the back of the drawer, under the back of the cabinet, and taped with white tape to the white baseboard, making it virtually unseen.
The back of this cabinet doesn’t meet the floor, so it was an easy task with no need to drill any holes in the drawer or the handy board on the back of the cabinet.
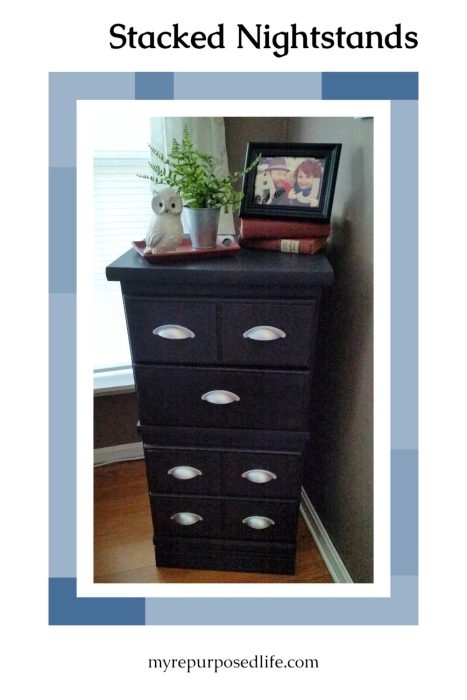
If you look closely, you can see ONE surge protector cord running along the baseboard (to the left of the cabinet). What do you think of my new vertical storage solution? Do you have a similar cord clutter problem?
gail
Related Content: Lingerie Chest Makeover
Sharing here:
Just perfect! If you didn’t show before photos, no one would ever know the dresser wasn’t from Pottery Barn. Lot cheaper too!
Ohhh, thank you so much for you comment! I do love what I do.
Thanks for stopping by!
gail