DIY Coat Rack Repurposed Bunk Bed
As an Amazon Associate, I earn from qualifying purchases.


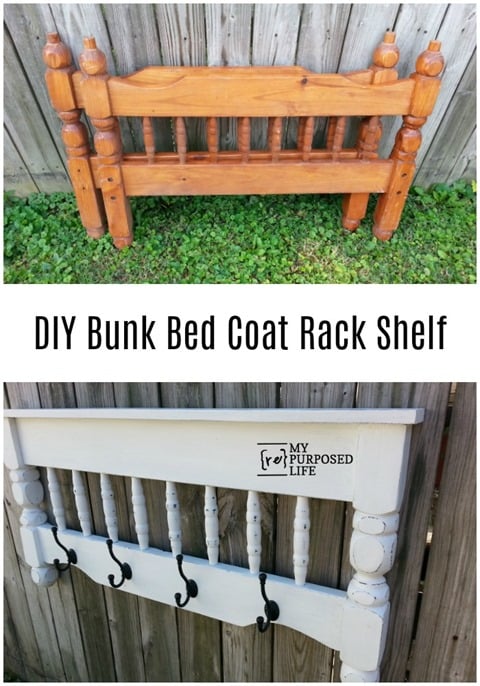
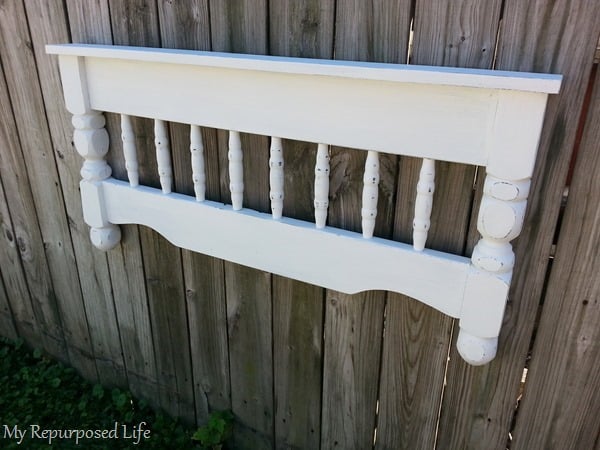
I have already shown you the twin to this repurposed bunk bed …. the bunk bed wall shelf. Today, I have another repurposed bunk bed project, a small shelf, but more importantly, it’s a great DIY bed coat rack!

How To: DIY Bed Coat Rack

My friend gave me these bunk bed pieces that she had left over from her yard sale. They’re perfect for a DIY bed coat rack!
Seriously, these old bunk beds can be found at thrift stores cheaply! Maybe you already have one in storage? If not, you can always ask your friends and family on Facebook if they want to get rid of one.
Cut Bunk Bed Top & Bottom
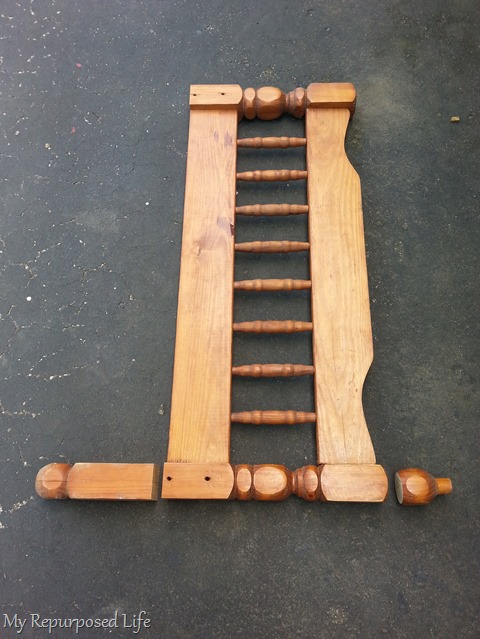
I didn’t take a picture of how I trimmed this bunk bed project; this picture shows how I trimmed it up for the repurposed bunk bed wall shelf.
You could use a small circular saw, a jigsaw, or even a handsaw to get this look.
Paint Multiple Bed Projects at One Time

You can see I had a painting marathon, priming all three pieces using some diy chalk paint and my HomeRight Finish Max. Notice that I left the nub on one bunk bed but cut it off of the other. All three of these pieces are resting upside down in the paint booth. Click this link for more HomeRight Sprayer Projects.
The project on the left is this Headboard Chalkboard Coat Rack. The one on the right is a Repurposed Bunk Bed Wall Shelf.
Black Bunk Bed Wall Coat Rack
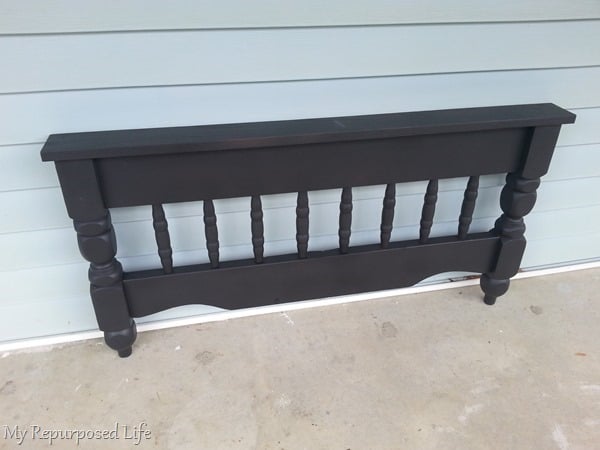
When I took the “in progress” shot, the nub was still on the bunk bed. Before painting the top coat, I carefully cut the nub off with my saw.
Painting with Chip Brush
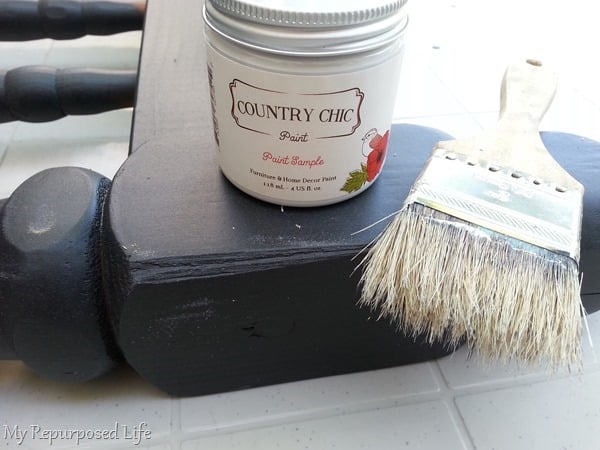
I used this paint sample from Country Chic to paint a top coat with a cheap chip brush. Do you think I should have left The DIY wall coat rack black?
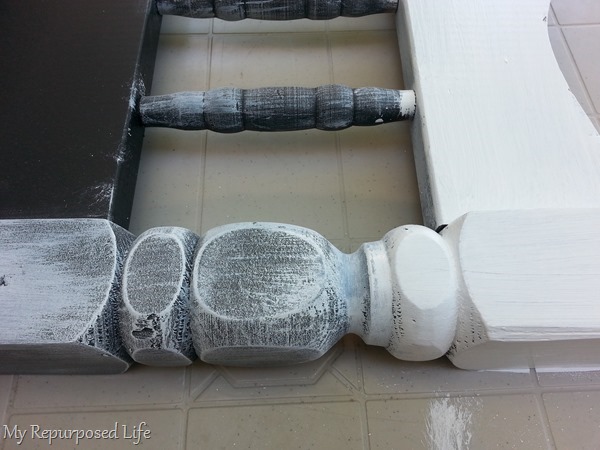
Initially, I started using a dry brush technique, as I did on the green bunk bed wall shelf. I liked how it looked on the middle portion, but not elsewhere, so I gave it a slightly heavier coat.
Distress Paint with Emery Board
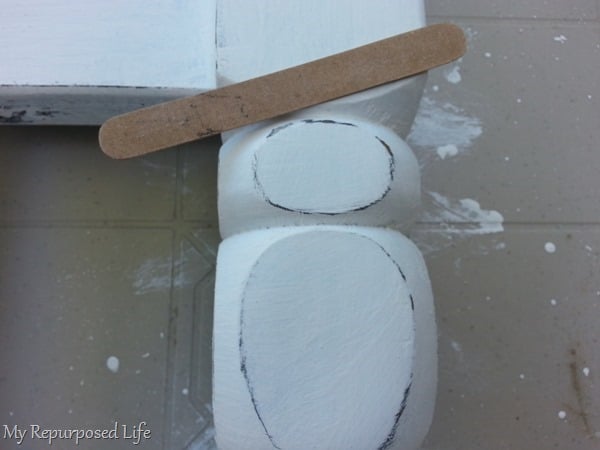
Did you know that emery boards work great for light distressing? I buy them in bulk on Amazon; click that link, and you can stock up, too!
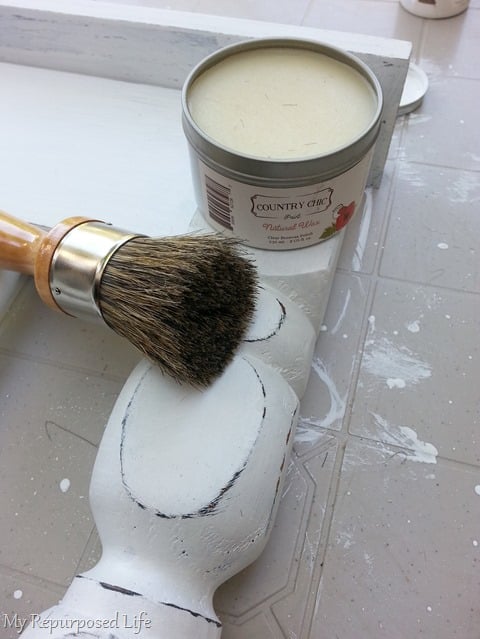
After painting, I gave the entire piece a quick and light coat of Country Chic wax—which I really liked! I was pleased with the wax and the brush. The wax went on very easily.
I added some D rings to the back for hanging. The D rings are my go-to way to hang my DIY projects.
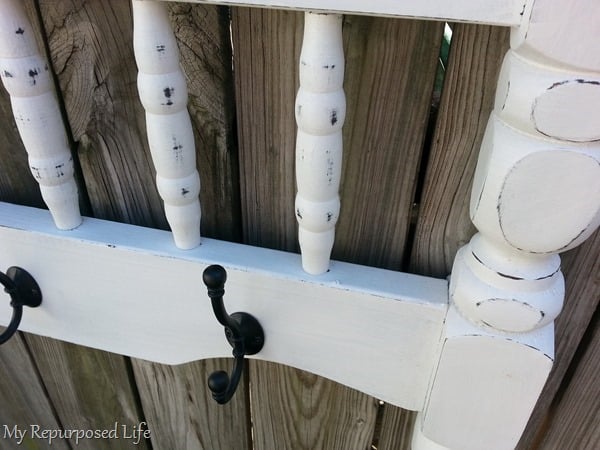
Add Coat Hooks

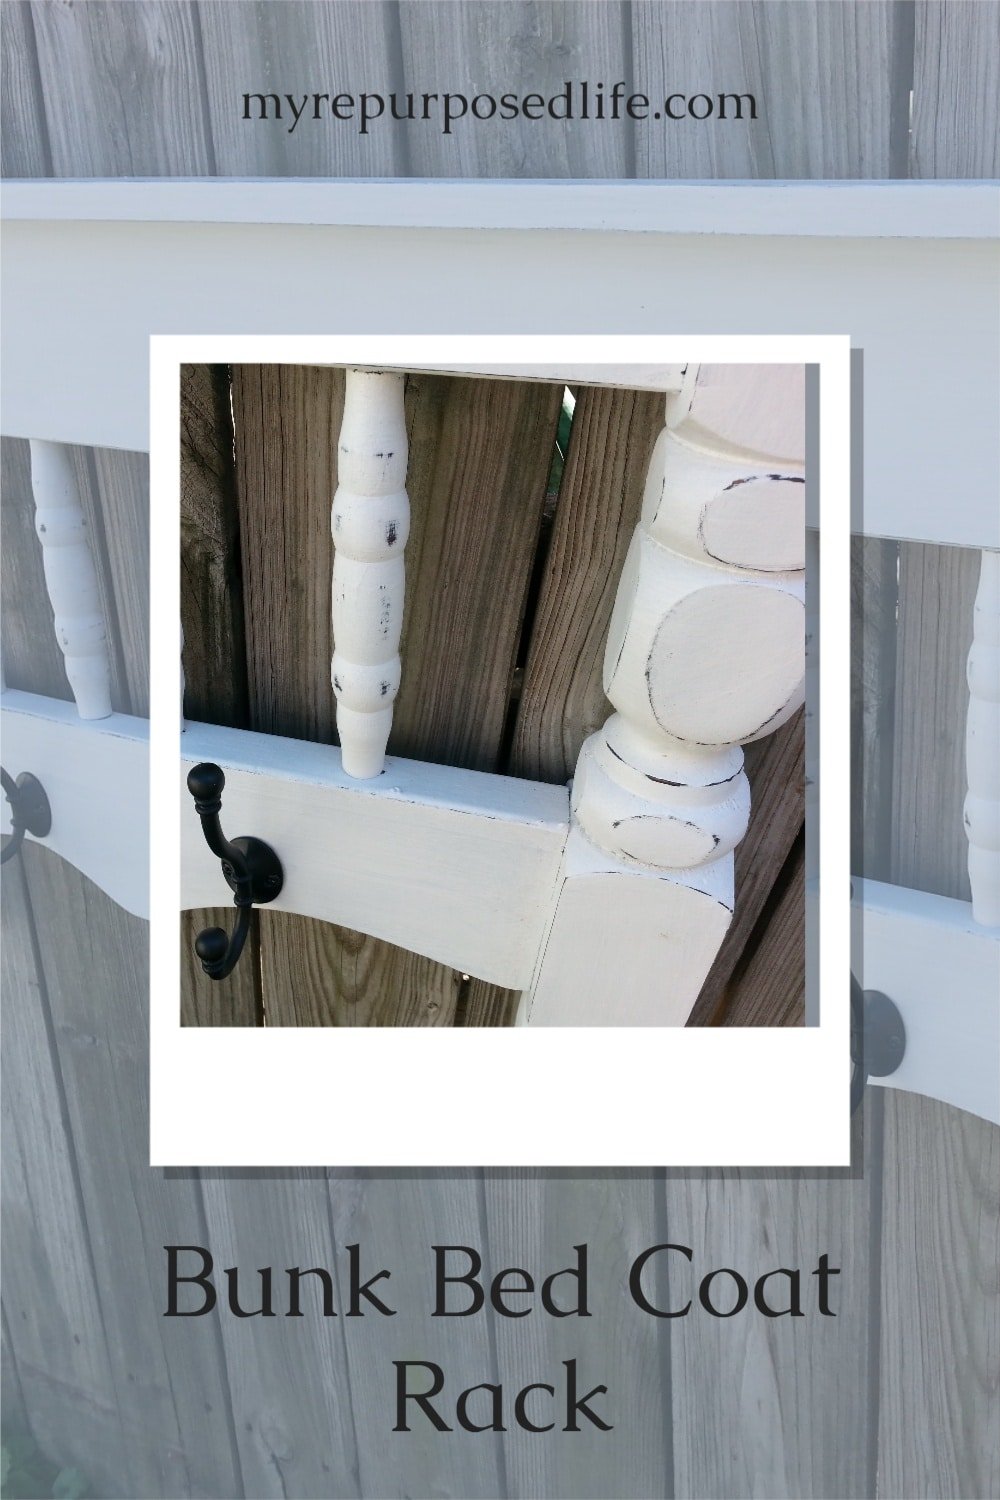
Then I got busy adding the coat rack hooks I bought from D. Lawless Hardware. I got a great deal on them and was so pleased with the quality that after adding them, I jumped online to purchase more while they were on sale. ![]()
You can see I use an adjustable square to ensure they all match when attached.
If you need help or tips on adding coat rack hooks, click that link for more details.
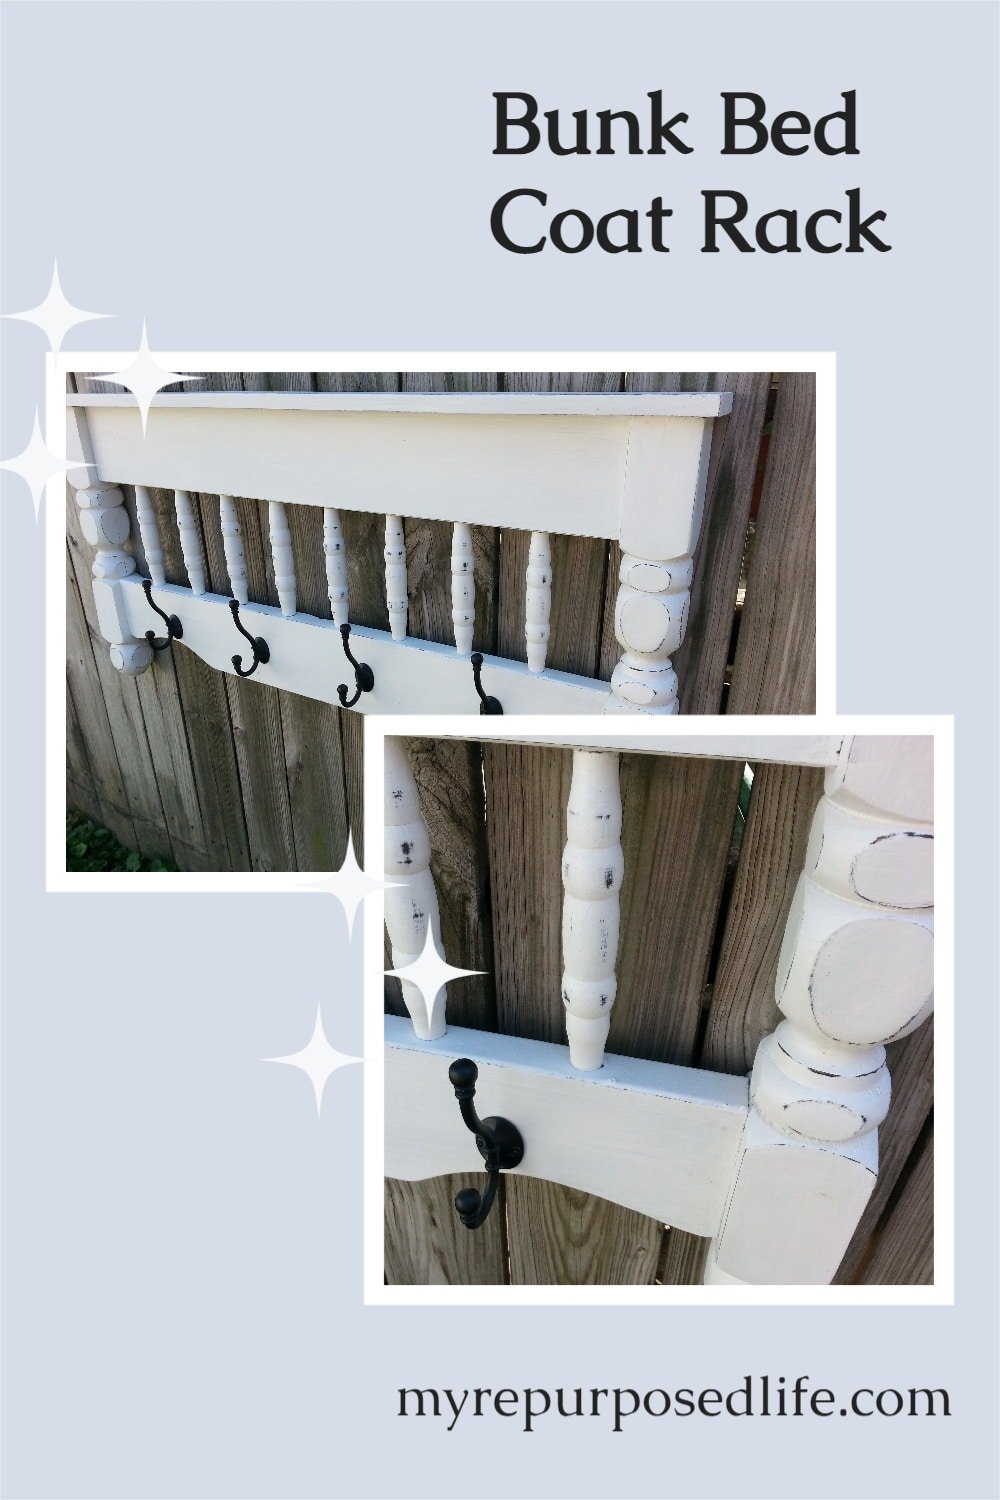
Save & Share on Pinterest
DIY Bed Coat Rack
Don’t these hooks make the DIY bed coat Rack look awesome? I love the light distressing!
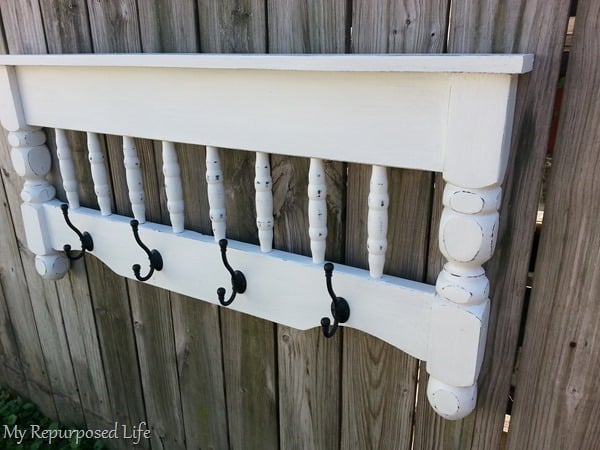
When I first started painting this DIY bed coat rack, I didn’t think I would like it. But it quickly won me over.
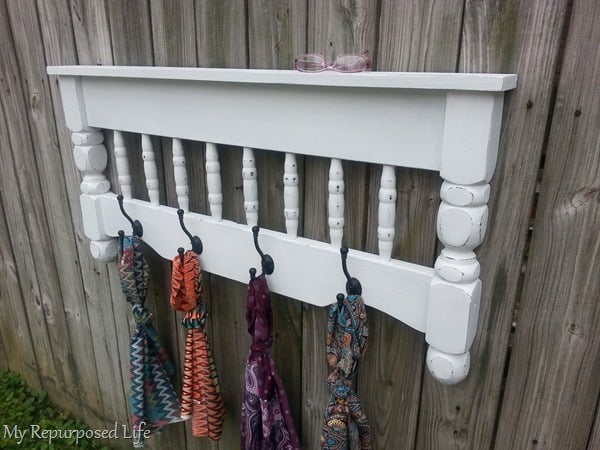
There is a small shelf up top to hold incidentals. The perfect coat hooks will hold backpacks, jackets, hats, or scarves.
So, do you have a bed that you could use to make this DIY bed coat rack with a shelf?
gail
sharing here: Be Inspired @ Elizabeth & Co.
I’m just curious if you go back every year to re-wax your projects that you keep? And how many customers & readers know that wax needs to be refreshed every year”
Shirley,
hmmmm, I can’t say I’ve ever gone back to rewax anything I have kept. Now you have me looking around the living room, trying to remember which items are waxed. I think most of my diy items here at the house are probably done with my DiY chalky paint primer, with semi-gloss paint as the top coat. A couple are diy chalky paint primer with glazing as the top coat. I can’t really think of any waxed items that I’ve kept. 😉
Thanks for reminding us about this!
gail
Great way to re-purpose an old item. I am sharing this on Pinterest.
Put a heart felt saying across under the shelf and it will be sold really quickly.
Trish,
People were grabbing these up so fast at Glendale that I made lots more for the next year. I love coat racks, and apparently other people do too!
thanks for stopping by and taking the time to comment.
gail