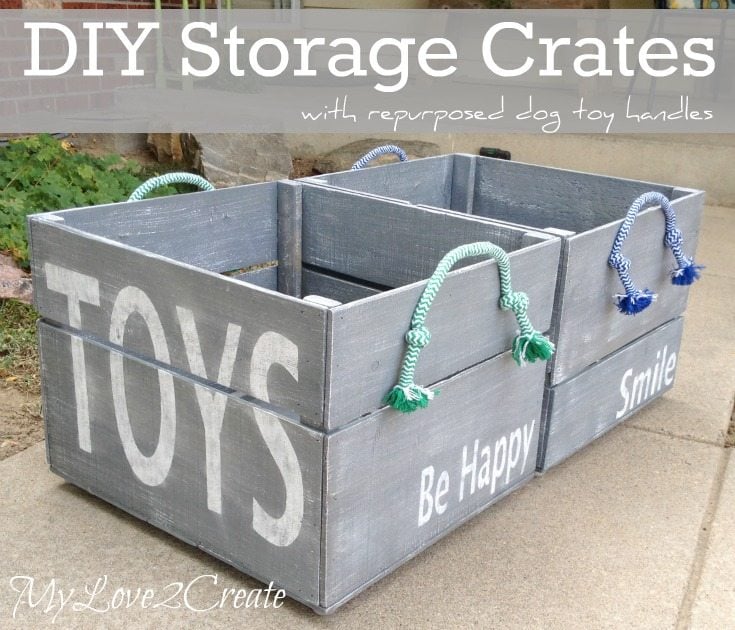
DIY Storage Crates
As an Amazon Associate, I earn from qualifying purchases.
With Six kids I not only feel completely overwhelmed with laundry (my nemesis), but toys seem to appear out of no where… and keeping them contained can be tricky.
I have been really good at repurposing my empty plastic laundry soap tubs to use as toy bins, but lets face it, they only come in one size, and they aren’t always big enough. So, I decided to make some DIY Storage Crates.

I was able to make them fit my space exactly, and they are solving a much needed problem in containing blocks and weapons (5 boys). Plus, they are WAY cuter than laundry soap containers…Way Cuter. (is that even a word?)
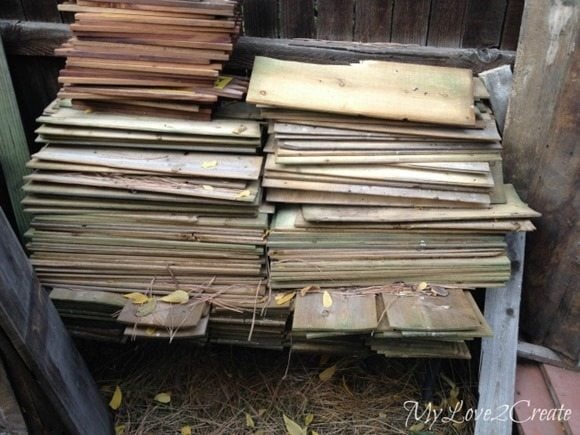
This is a glimpse of where these babies first started…well at least from my house. This pile of awesome wood came from and old old nursery in Boulder, CO. Free reclaimed wood on Craig’s list always catches my eye, and this is a small part of my reaping from that blessed day. I haven’t even scratched the surface.
Anyway… I used this wood and some scrap 1×2’s to build the crates, you could use pallet wood, fence wood, pine, whatever makes you happy. Free makes me very happy. 🙂
I cut my 1×2 boards to the height I wanted the crate to be, and then the side boards to the width I needed.
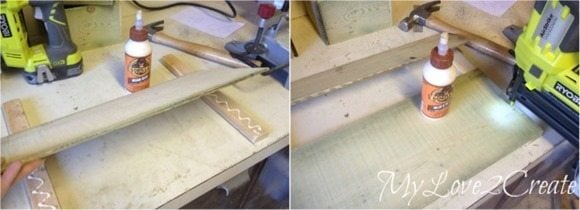
With all the boards cut all I had to do was glue and nail them together. I added glue to the 1×2’s and then nailed on the side boards with my Roybi air strike nailer. I choose to use a thick and thin board since both of them together were almost the same height as the 1×2’s. I used 1” finish nails.

Glue is the most important thing, it is what will hold the crate together. The nails are to secure it until the glue dries. I love using Gorilla Wood Glue for a nice strong hold, and my kids love that it is called Gorilla Glue.
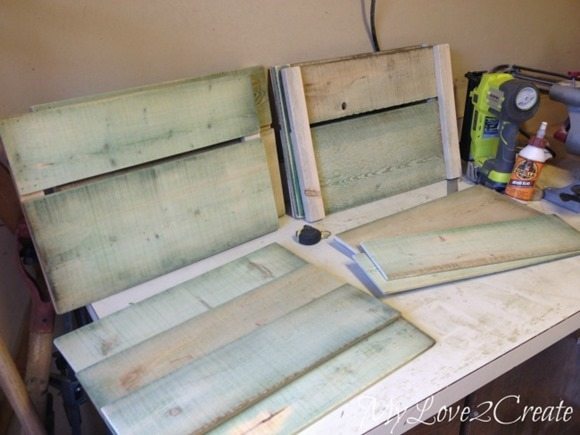
With my sides attached to the 1×2’s, you can see them standing in the back. I have them so you can see front and back, I made two for each crate. This wood was pretty rough and I sanded it really well after cutting the wood, for me it is easier to sand before I build.
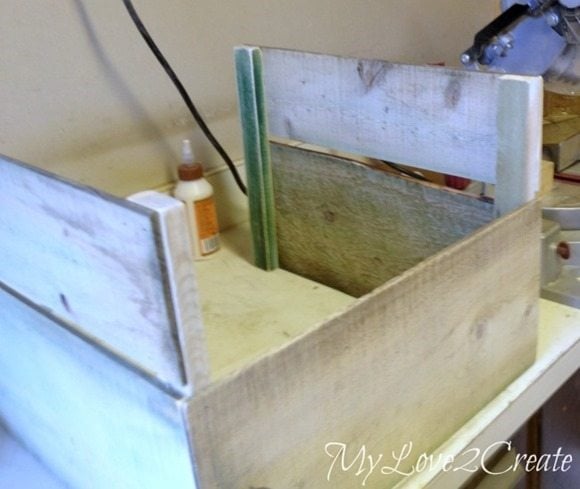
I stood up the two sides, and glued and nailed on the front and back boards.
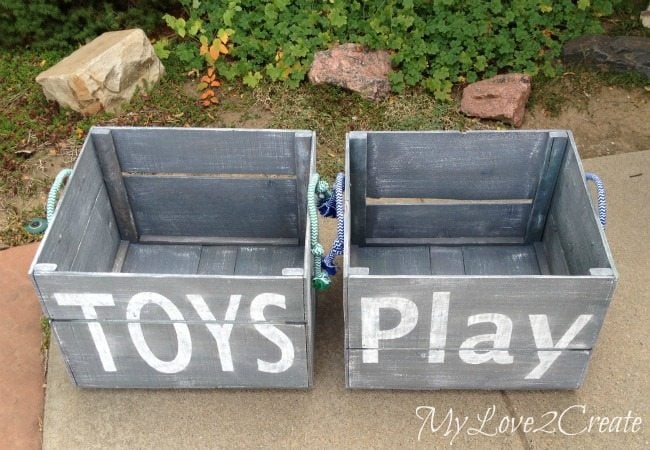
Which gave me two of these.
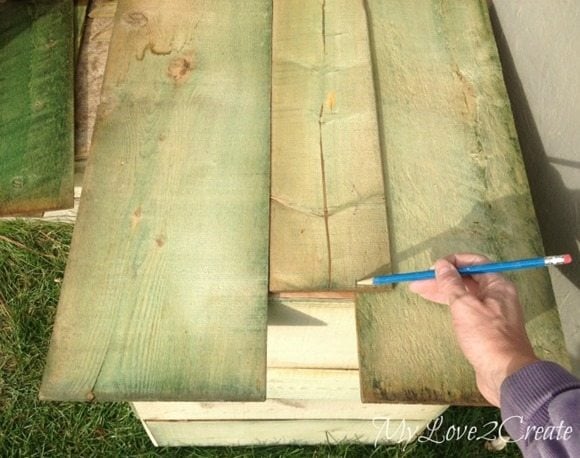
Since I just figure things out as I go, I tried some wide and thin boards to see what worked best for the bottom of the crates. I ended up with two wide boards and a thin one for the middle that I am marking in the photo above to cut. Since I don’t have a table saw (sigh) I used my miter saw. I cut one side and then flipped it around to cut the rest.
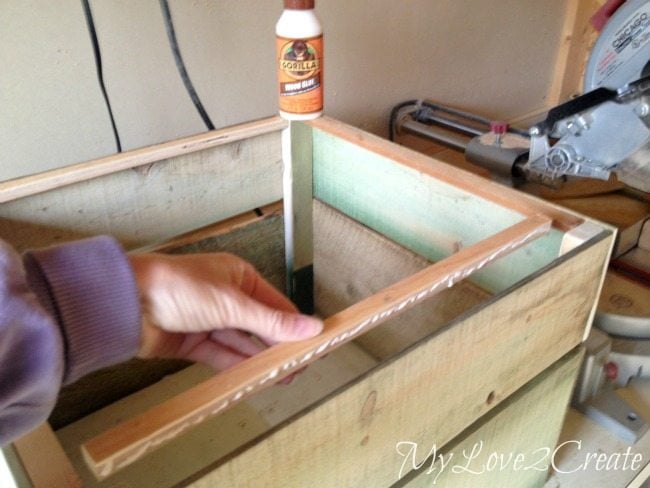
I am sure you have noticed the thin wood I am working with, it is about a 1/4 inch thick or less, and because of this I added some scrap plywood strips for support and for a place to screw the bottom pieces into. I just glued and nailed them on.
If I was paying attention I would have realized that these pieces that I was attaching should have gone on the other side. I had intended the short boards to be on the top of the crates. I had already done the damage when I realized it, and wasn’t going to rip the boards off…That is why my crates are different. Maybe you didn’t even notice… My brain was in la la land.
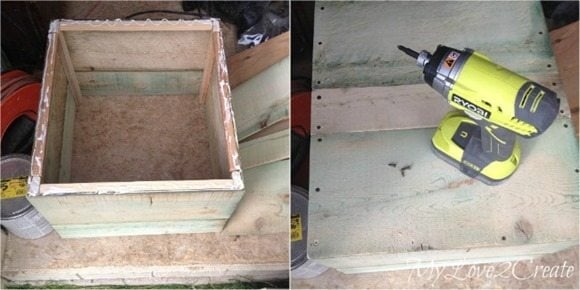
Now I was ready to attach the bottom pieces. I made sure to pre drill holes and and then screw them on. Even with pre drilling, I had to drill very slow so I didn’t split the wood. I had a few split that I had to glue and clamp. That is the joy of working with old reclaimed, super thin, wood. 🙂
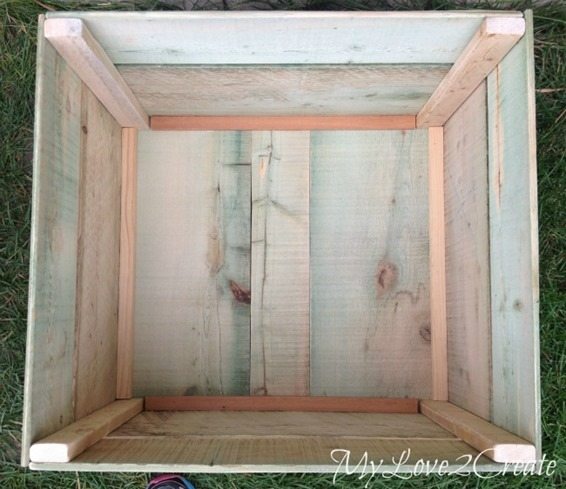
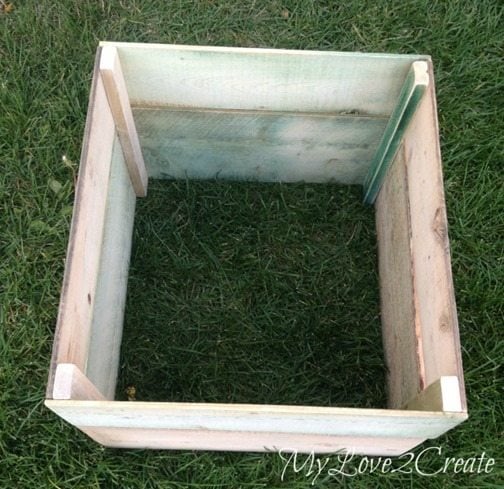
Here is a shot of the inside.
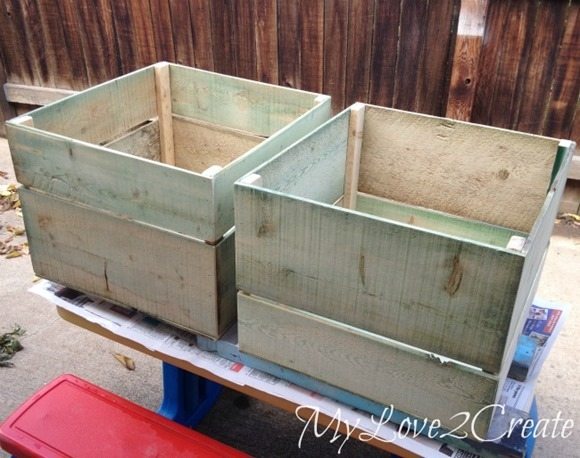
At this point I debated for about a week whether to leave them like this or paint/stain them. I asked my kids and they helped me decide. Stain it was. I used Rustoelum’s Weathered Gray.
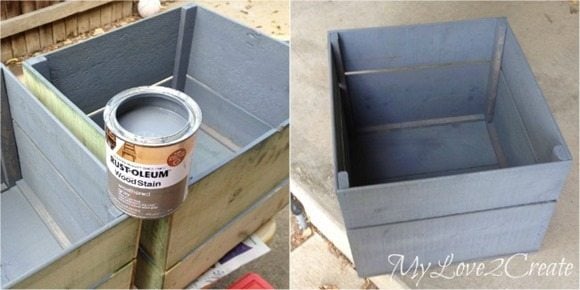
I started with the insides, and then the outsides. This wood really soaked up the stain, and I used way more than I expected. If you want to see it on a different type of wood you can check out my Old Deck Wood Laundry Crate, it worked better on the plywood.
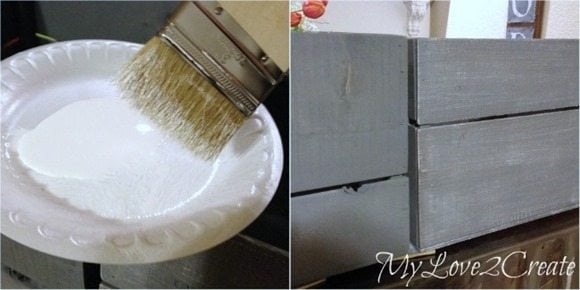
Because it soaked up the stain so much I didn’t get as much wood grain showing as I wanted, and it looked kind of boring and gray. I figured that a little white paint might give it some dimension and help perk it up a little.
I grabbed a large chip brush and some white acrylic paint and very lightly dabbed the ends of the brush into the paint. I wiped most of the paint off on the paper plate and then I did long light strokes onto the wood. You can see the one on the right in the photo above has the white and the one on the left doesn’t. It made a HUGE difference!
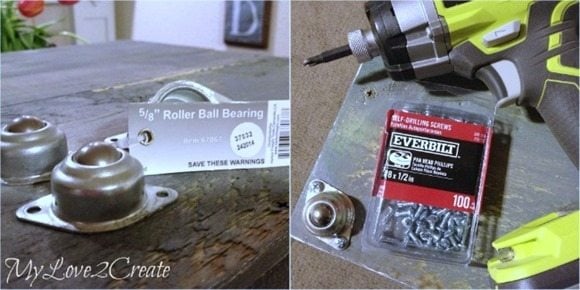
When I took the crate to my boys room to see how they fit I realized I made them about a half inch too tall for adding casters. Ugh! They actually slid on the carpet just fine, but I went ahead and bought these Roller Ball Bearing things that were only 5/8″ tall which was perfect. Plus they were only 89 cents each a Harbor Freight. I had these self drilling screws from another project and I loved not having to pre drill my holes, I just zipped them right in!
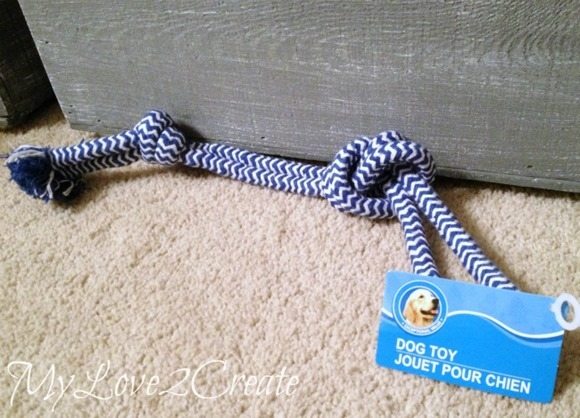
Next up were the handles. I had decided on regular rope handles, but at the last minute I spied my dog’s chew toy rope and had an idea. I made a quick trip to the dollar store and bought two dog toy ropes (I am only showing one in the photo) which came to $2. I untied the knots and split each rope into two. Then I tide knots on the ends and frayed them, giving me 4 rope handles.

I made a template to mark where to drill and then I drilled two small holes close together, making a total of 4 holes on each side.
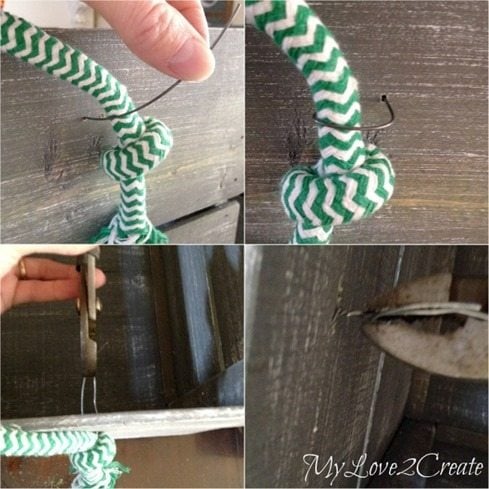
I drilled small holes because I was attaching the rope handles to the sides of the crate with wire. I put the wire through the holes securing the rope, then pulled them tightly from the inside with pliers, and then twisted them securely.
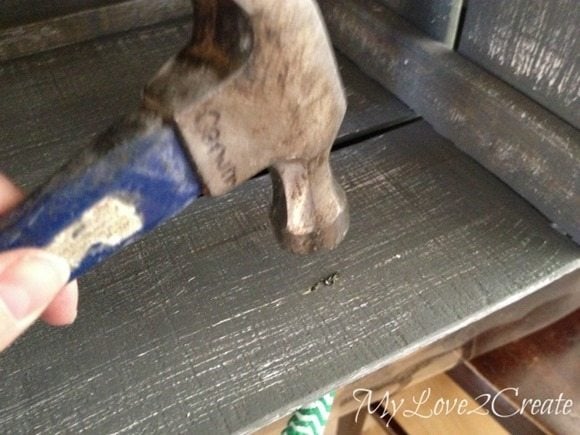
I clipped off the excess wire, hammered it flat and then used hot glue to cover the exposed wire. That way I avoid snags and sharp wire hurting little hands. I thought about covering the wire with leather or felt, but decided to see how the hot glue worked first.
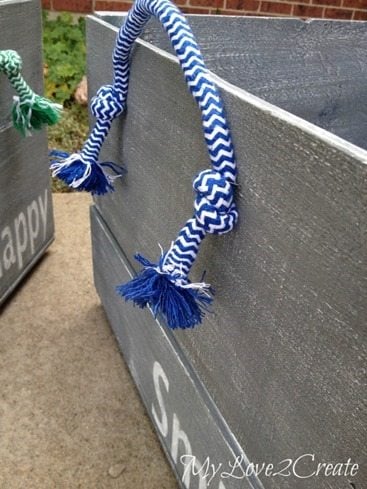
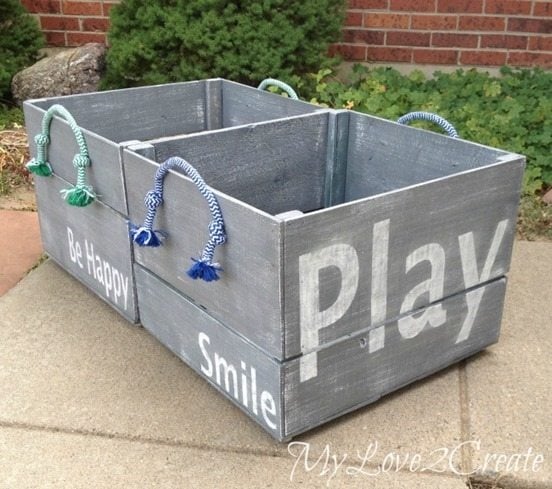
It was fun to try a different way to attach the handles, I think it looks cute, they are sturdy too. I love that I could have fun rope colors for the kids room by repurposing the dog toys. There are tons of different dog toy ropes in lots of colors at the dollar store, image the possibilities!
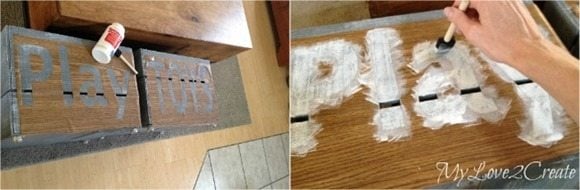
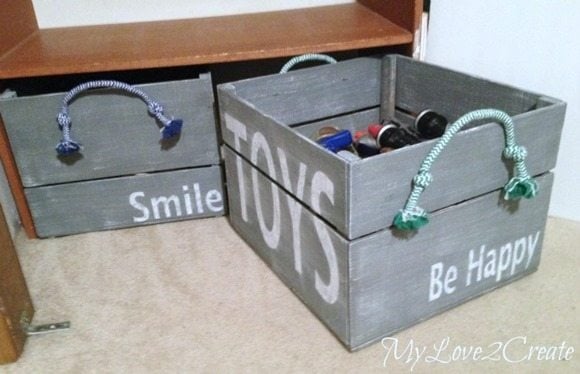
I couldn’t resist adding some words. Letters and numbers seem to make everything look better. I thought these were perfect for the contents involved. I cut them on contact paper and very lightly stenciled them on. If you don’t have a cutting machine you could free hand or use pencil transfer.
And, as a mother, what harm is there in adding some subliminal messages as well?
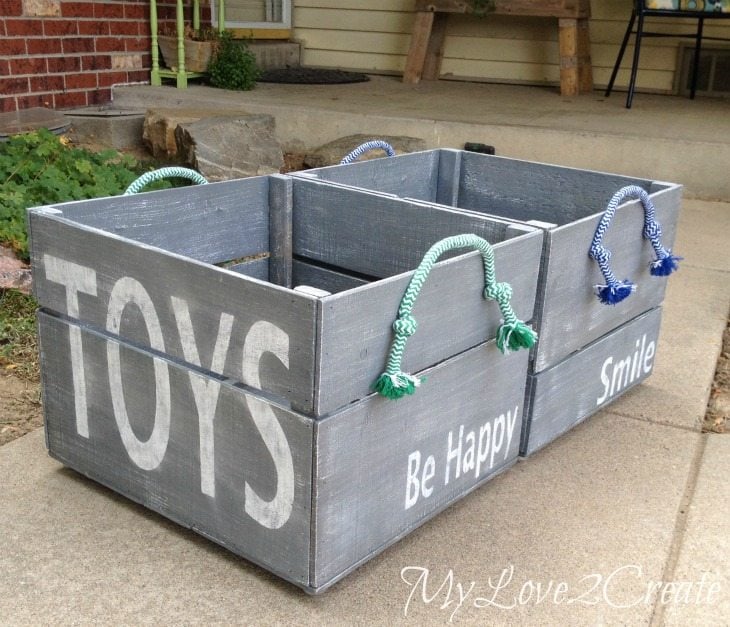
You won’t see the words on the side where these are being stored, but who cares, you will be able to see them when they pull them out to play.
Besides, I will eventually re-do their closet, and then maybe these will be used somewhere else.
I think this way would be cute.
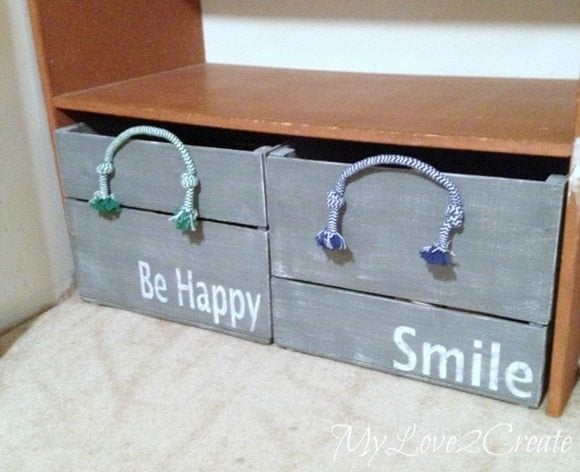
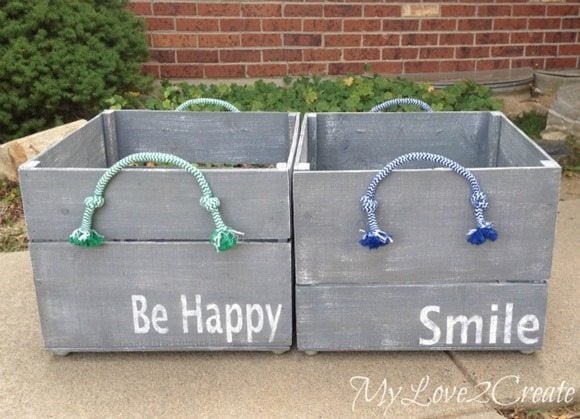
But for now, here is their new home. I think they look great! And just so you know, I am very “happy” and I “smile” every time I see them in their room. (wink wink)
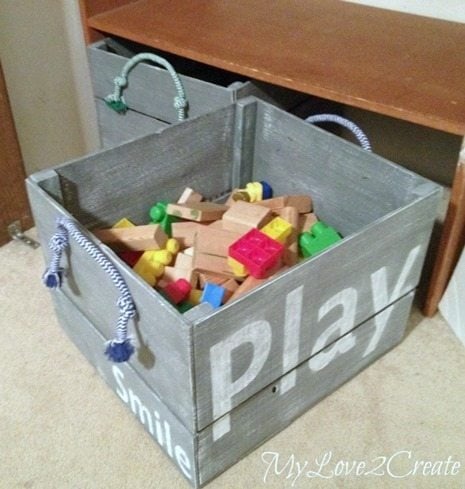
Plus they are doing a great job. No more blocks spilling over the top of “too small” laundry soap containers…
Or tripping over light sabers and air guns.
Yes these will do quite nicely. I think I need to build some more…
Are you a crate lover like me?
Hugs,
Mindi
see more of Mindi’s posts on MRL below:
[categorythumbnaillist 274]
Hello just curious what size nail do I use?
Hi Heather! Thanks for catching that, I updated the post. Because the boards are so thin, I used 1” finish nails. And after using these crates for years they have held up great, except on the one side where the handle is, I would recommend using 1” screws, because the kids are pulling on them so often, I have had one of the boards pop off. 🙂 It was an easy fix, I just added more glue and used the 1” screws instead, no problems since! I hope that helps!
I simply love this Idea, I want to try this.Its just perfect for my grandsons toys.thank you for sharing this great idea. An your how-to instructions. ♡
Hey what are the dimensions of these boxes??
Hi Lindsay, the Crates are 19” long 17” wide and 13” tall. Hope that helps!
I love it and would love to make some of the projects thanks for shareing them
That is just too cute. I don’t have the kids running around the house anymore but that would be cute with just books stacked in them, or store your throws and pillows in them…
Hi; I thoroughly enjoyed your recycled ways of dealing with your creativity gift. It is truly a gift from your heart, to make things and at a minimum on expense. they are pleasant, with sunny and happy sayings, whichmalso give children or even adults be more encouraged to put away toys, etc. socks, tools, books misc. away and have everything look nice too! I’m all for orderliness and an end to clutter1 thanks! (: bev.
So nice, makes you wish you had one to put something in – Not Just Toys. NICE!! I like.
Oooooh, ahhhh, love these crates, and going to build one soon. Thanks for the directions.
Still need that paint sprayer, my big box store was out of them. I am going to get one as soon as they come in.
Love the dog chew toy for handle idea!!
I swear, Gail, you and Mindi should get an award for coming up with the most genius ideas out of nothing! Love these crates!
Thanks Jenna! I love what Mindi does with nothing! 🙂
Mindi–you really did a great job on these crates, and you still have SO much of that free stuff left! I can’t wait to see what you come up with next.
gail